


By default, Windows 11 will automatically track and maintain the accuracy of the time and date on the computer through the network time server. This is of course very convenient for daily use, and the time can be accurately displayed without the need for frequent corrections. If you need to manually adjust the date and time, turn on automatic time synchronization again, or force time synchronization, you can do this in “Settings”. How do you do this? I’ll teach you!
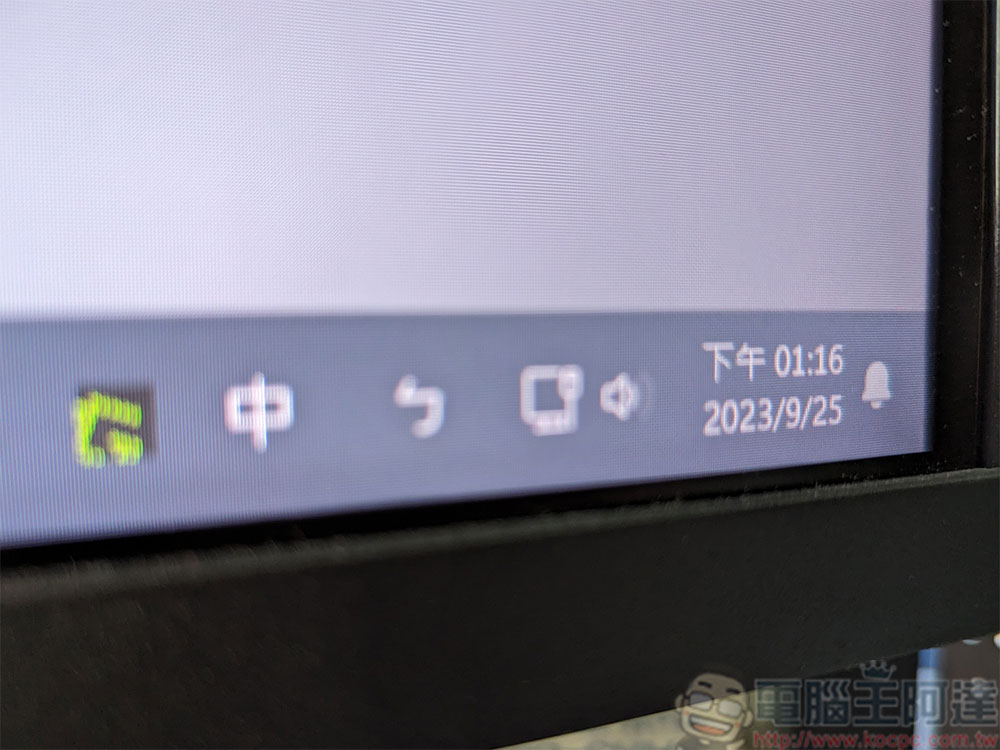
How to change date and time on Windows 11?
Set the date and time manually in Windows 11
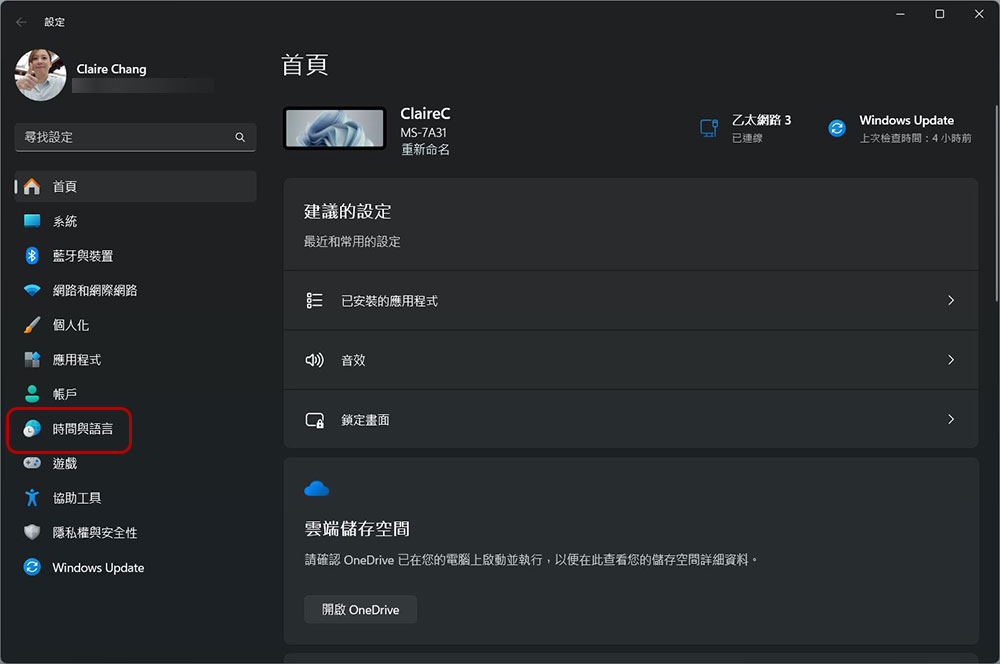
- First, open the Settings application in Windows 11 (or press Win + I) and click to enter the “Time and Language” tab.
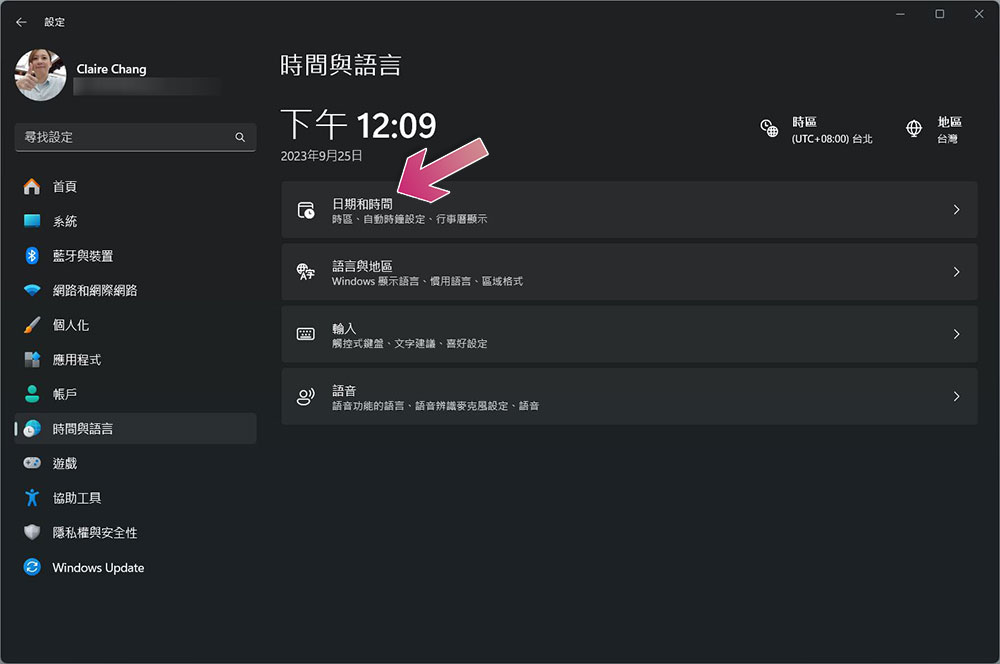
- Click “Date and Time” in the “Time and Language” tab.
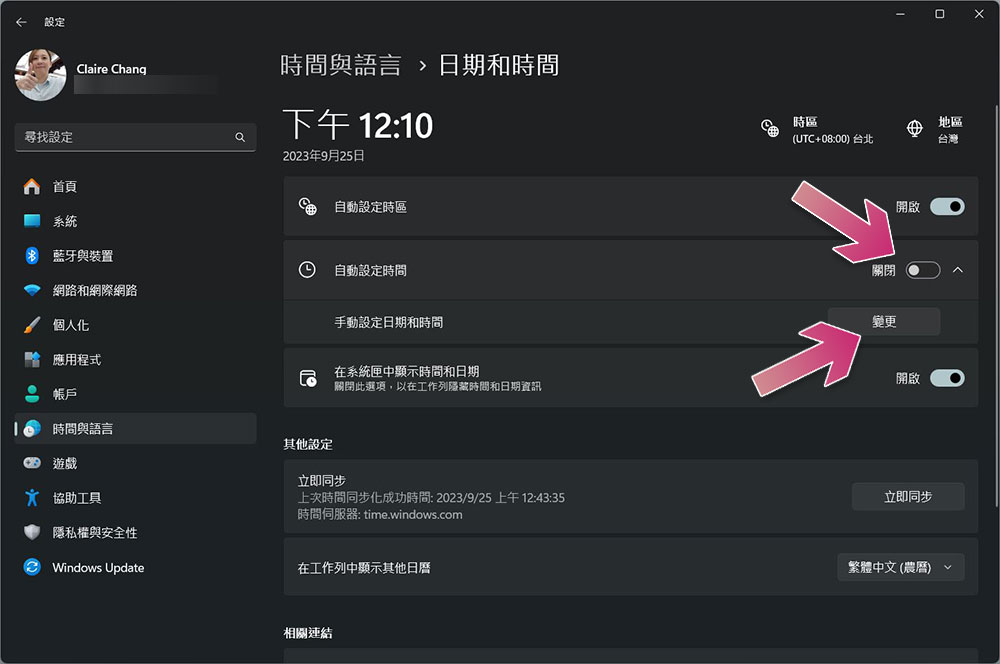
- Turn off the “Automatically set time” switch. After closing, you will see the option to manually set the date and time below, click “Change”.
- Next, manually enter the date and time you want in the window that pops up.
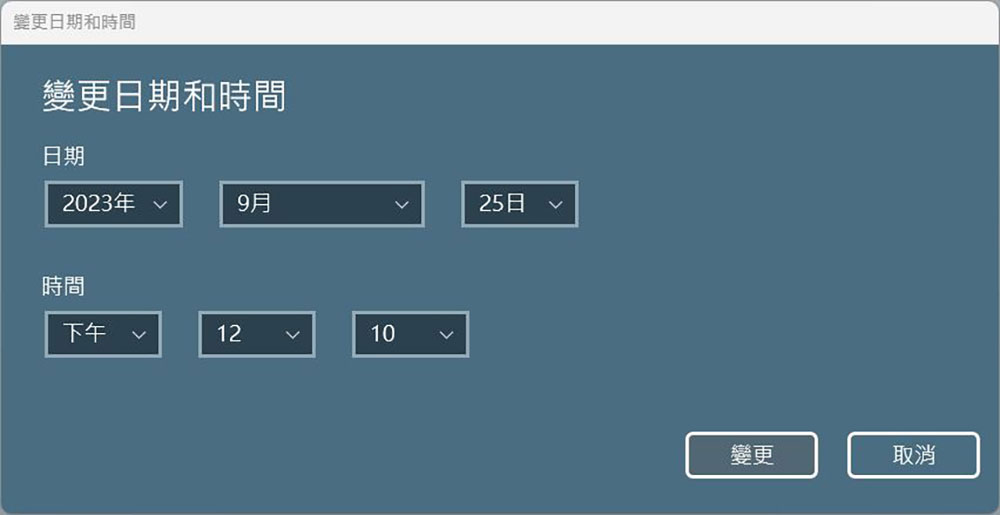
The changes you enter will take effect immediately. If you still need to manually change the time zone, just turn off automatic time zone and use the drop-down menu to set it. When done, close settings. If you need to change the time again, just follow the steps above to make the change.
Automatically set date and time in Windows 11
By default, Windows 11 automatically obtains the correct time from the network, but if you’ve disabled this feature before, you can easily re-enable it.
- First, make sure your computer is connected to the Internet, open the Settings application in Windows 11 (or press Win + I), click to enter the “Time and Language” tab, and enter “Date and Time”.
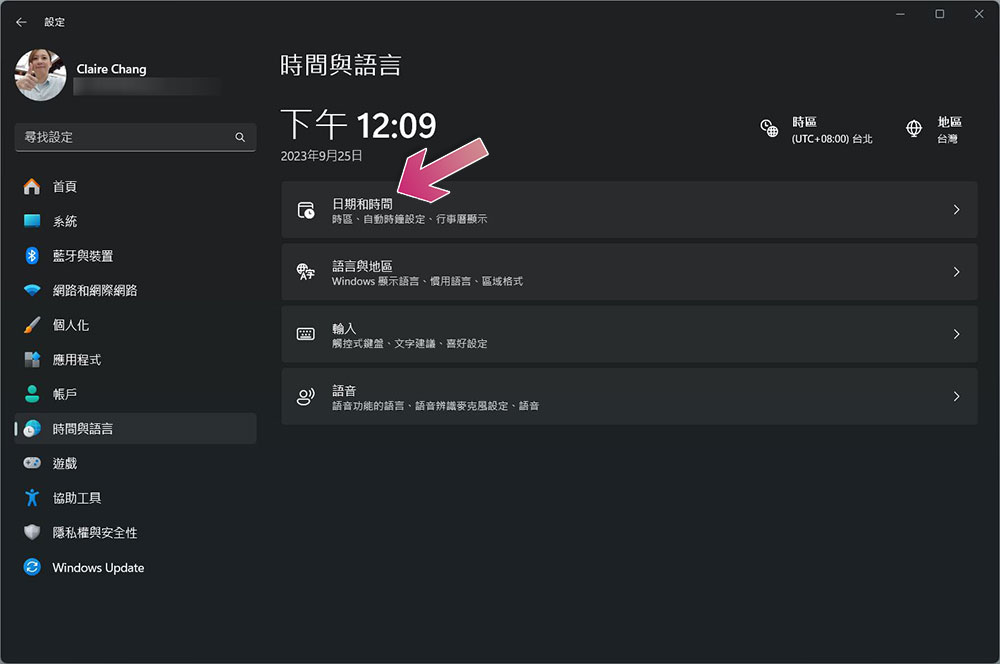
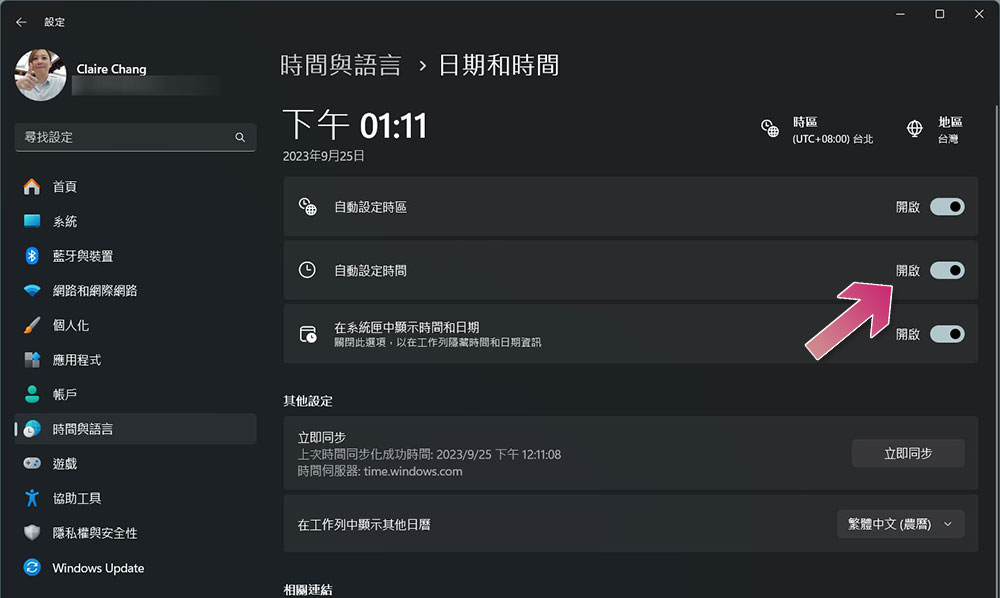
- Turn the “Automatic time zone setting” switch back on. If you have turned off automatic time zone setting before, don’t forget to turn on automatic time zone as well.
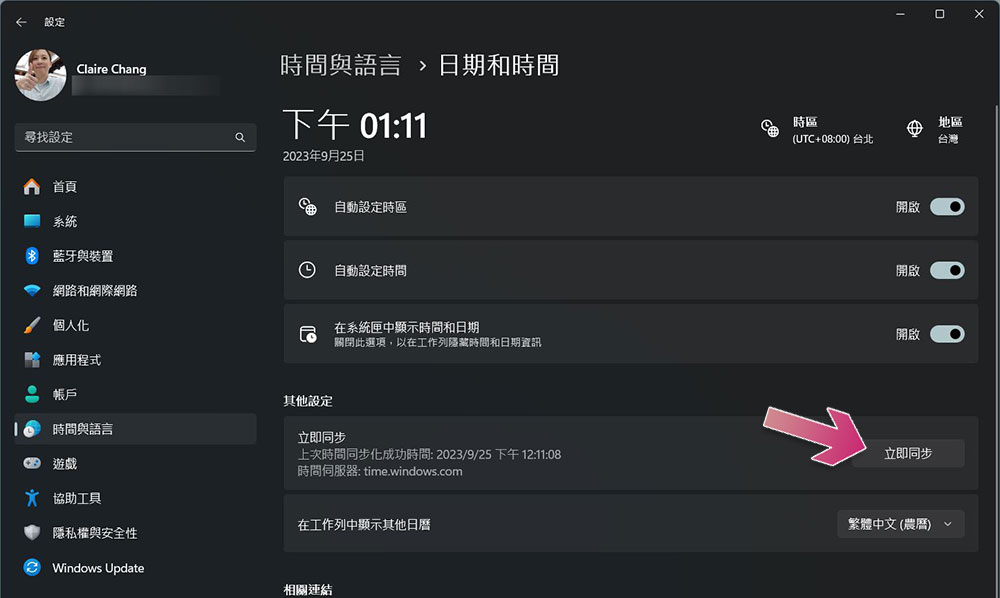
- Next, click the “Sync Now” button in the other settings below. This action will force your Windows 11 computer to synchronize the system date and time with a time server. Finally close the settings and it’s done.
Source: KOCPC Chinese