


As AI becomes more and more powerful, the image retouching function is really becoming more and more powerful. In the past, when the resolution of the image was increased or enlarged, there would be noise, but now there is no noise at all. Recently, I discovered this very powerful free open source software Final2x. After actual testing, after enlarging the photo by 2 times the resolution, it is almost the same as the original image. It is not obvious that it has been enlarged. Even if you use Zoom in, you can’t find any flaws. Supports multiple platforms and can be used on Windows, Mac, and Linux.
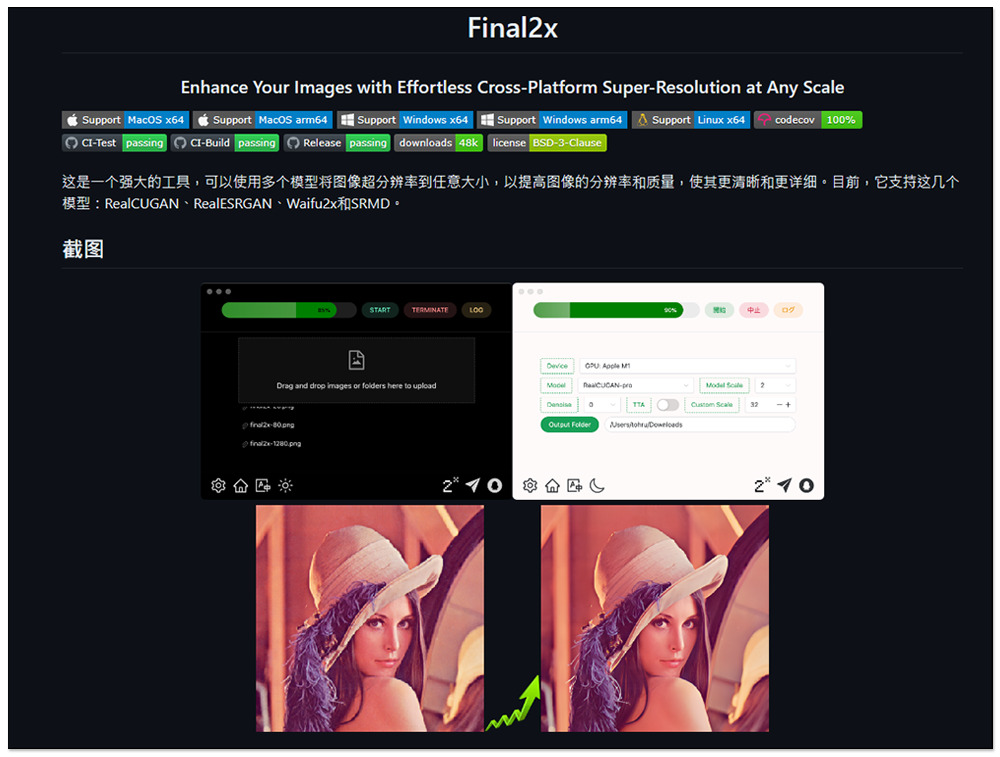
Final2x is a free open source image resolution lossless enlargement software with amazing effects, supports CPU and GPU, and multiple models.
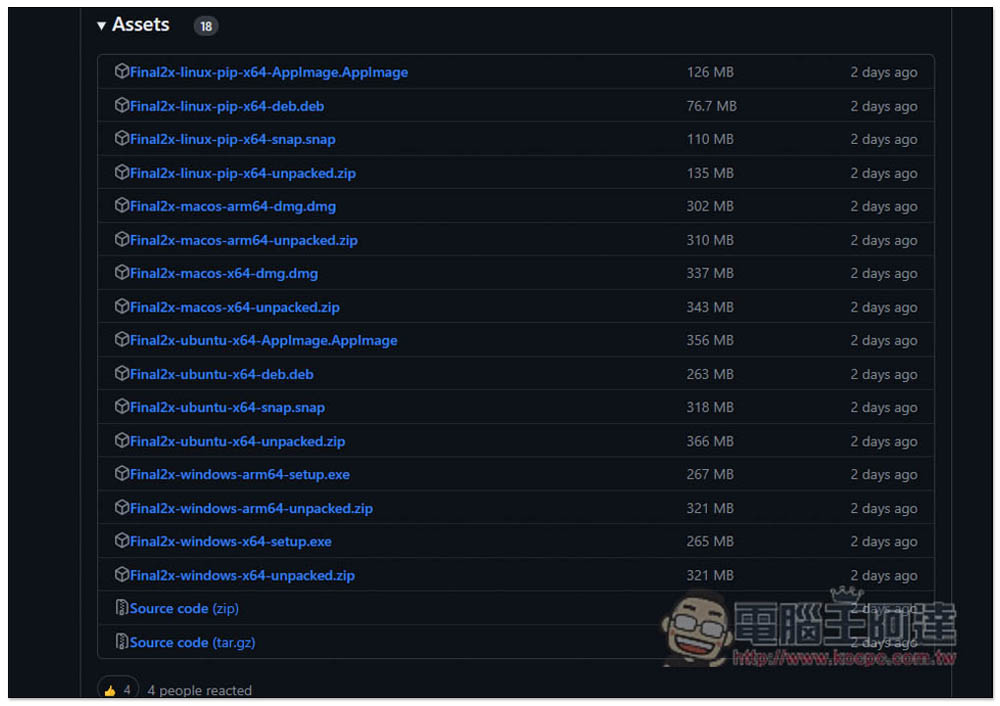
Final2x is a free open source software that is shared on GitHub. It provides installation files and installation-free files. I am taking Windows as an example. If you want to use the installation-free file, please download the unpacked.zip one:
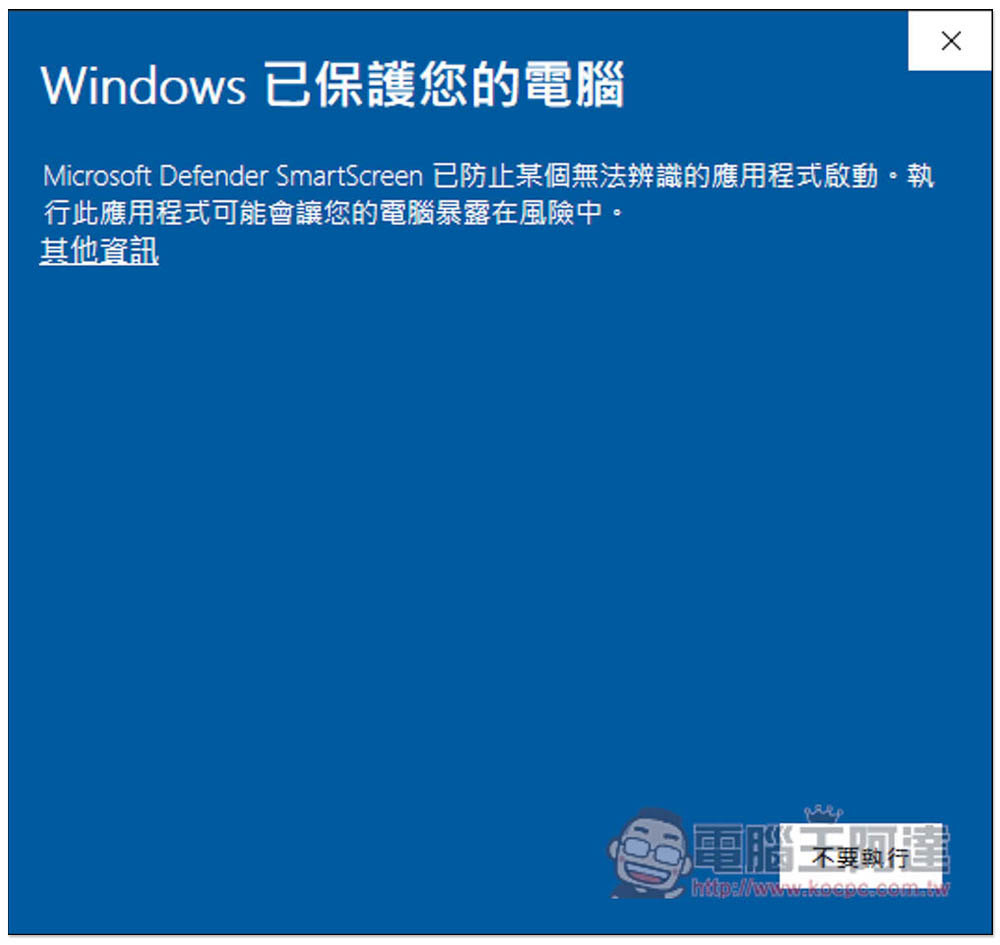
This screen will appear when you open it for the first time, click on other information:
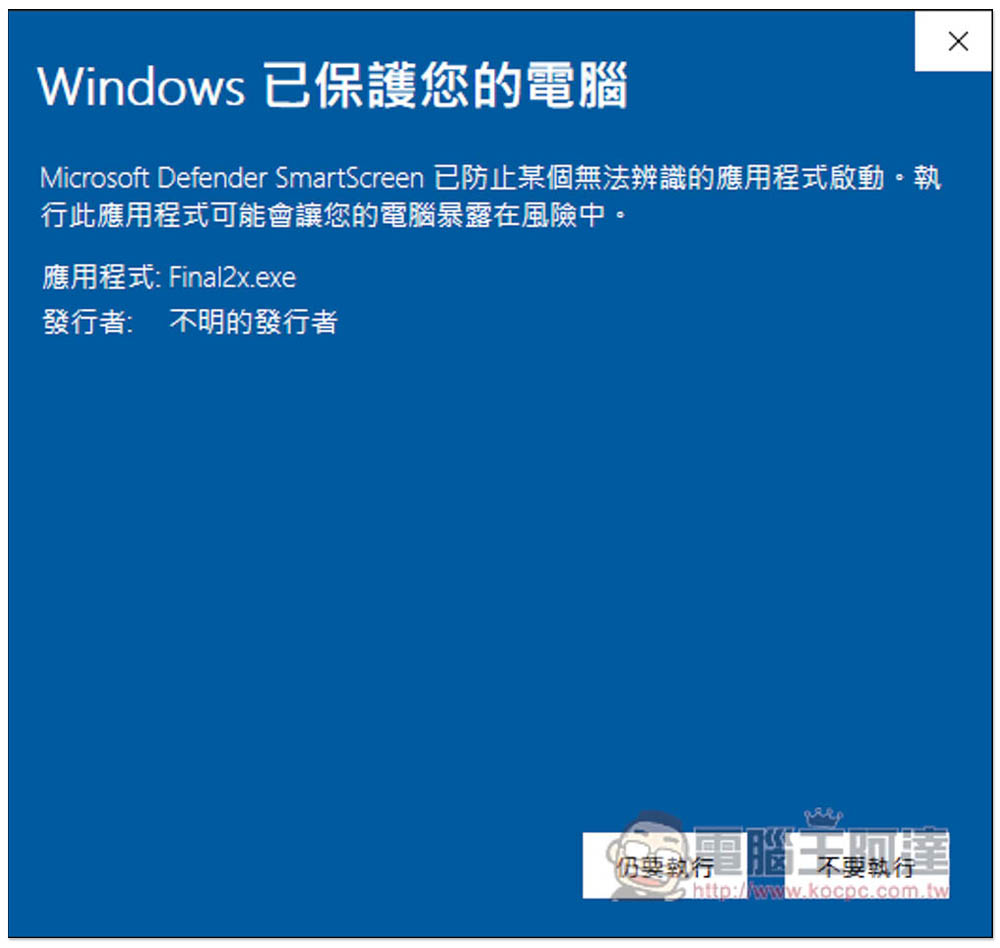
The button to still execute will appear:
The default is English interface, with Chinese available. Click the A icon in the lower left corner to switch:
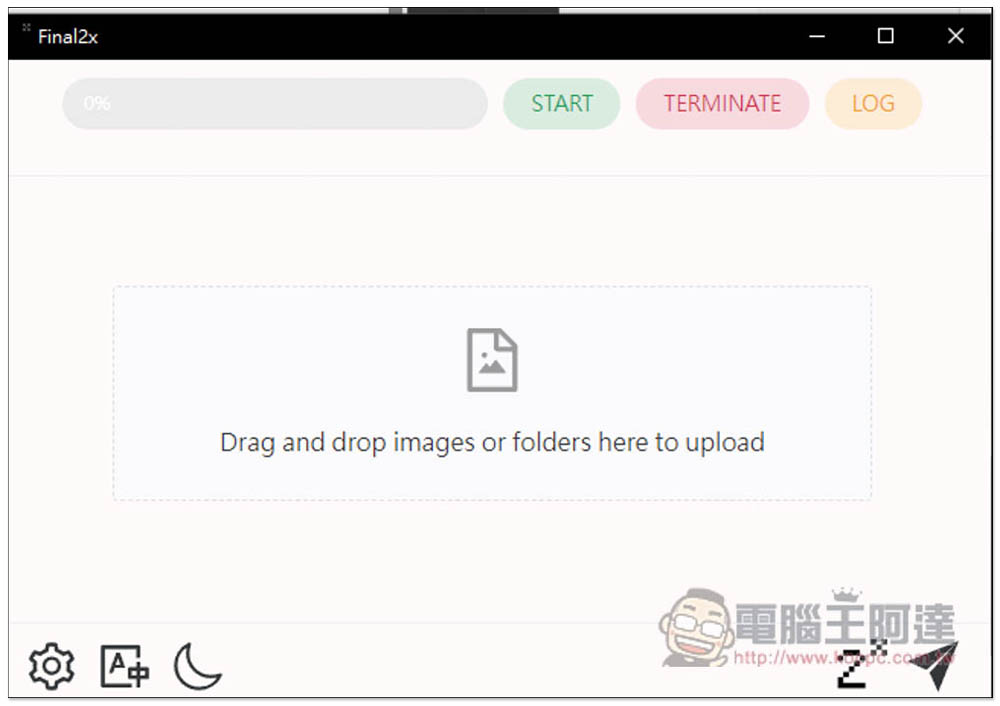
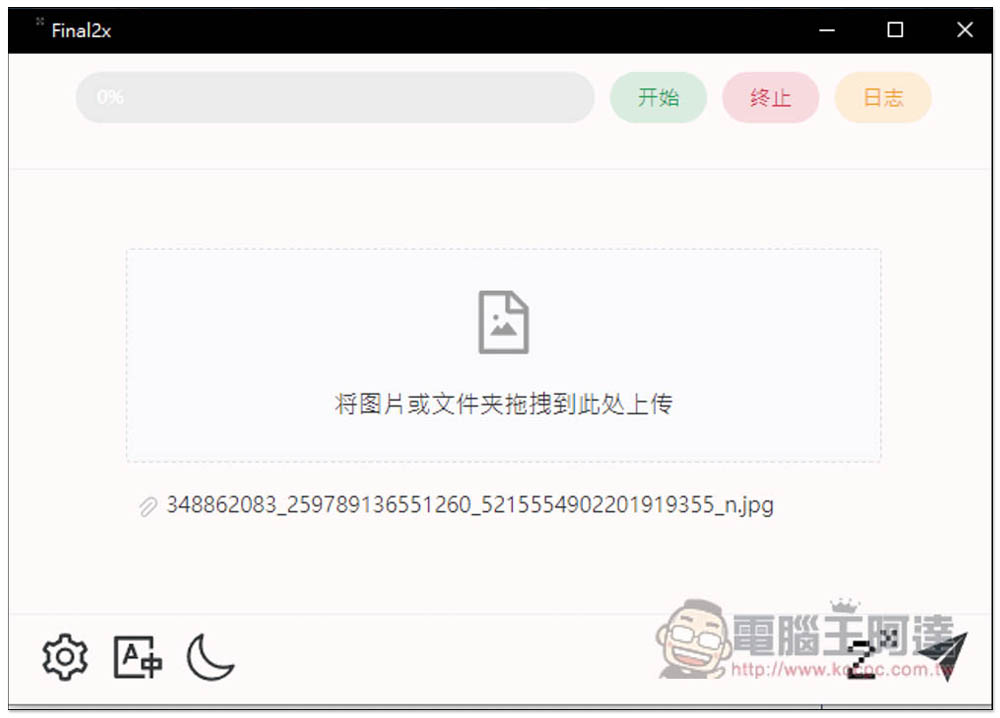
Like this. The method of use is also very simple, just drag the picture you want to enlarge into the window, and batch processing is provided, that is, you can drag multiple pictures in at one time:
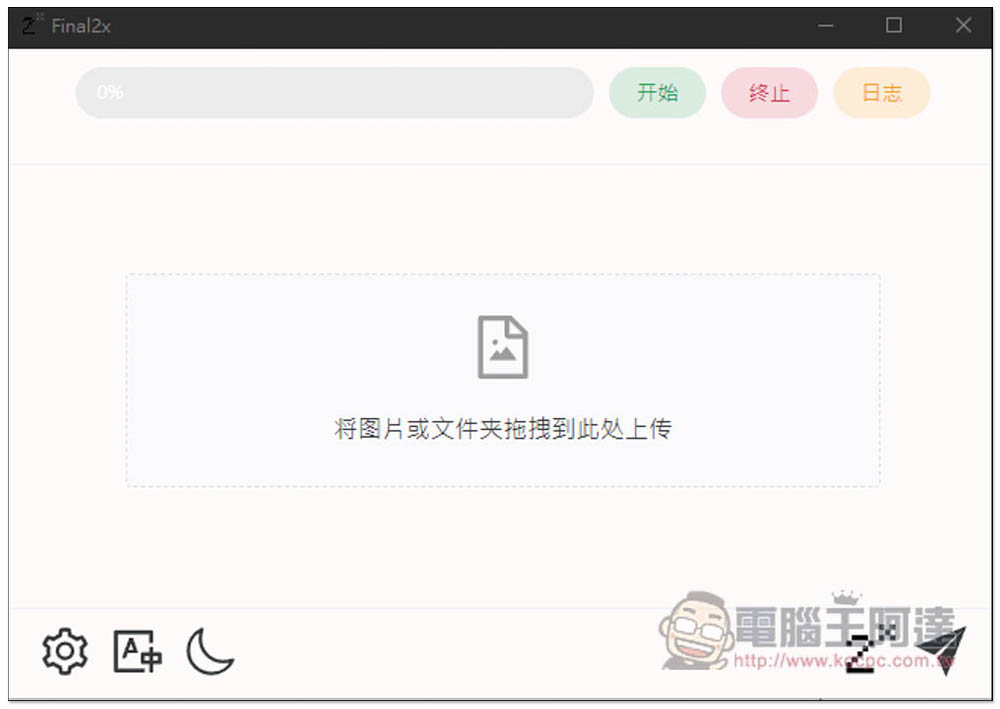
Then press “Start” above and it will zoom in, which is quite fast:
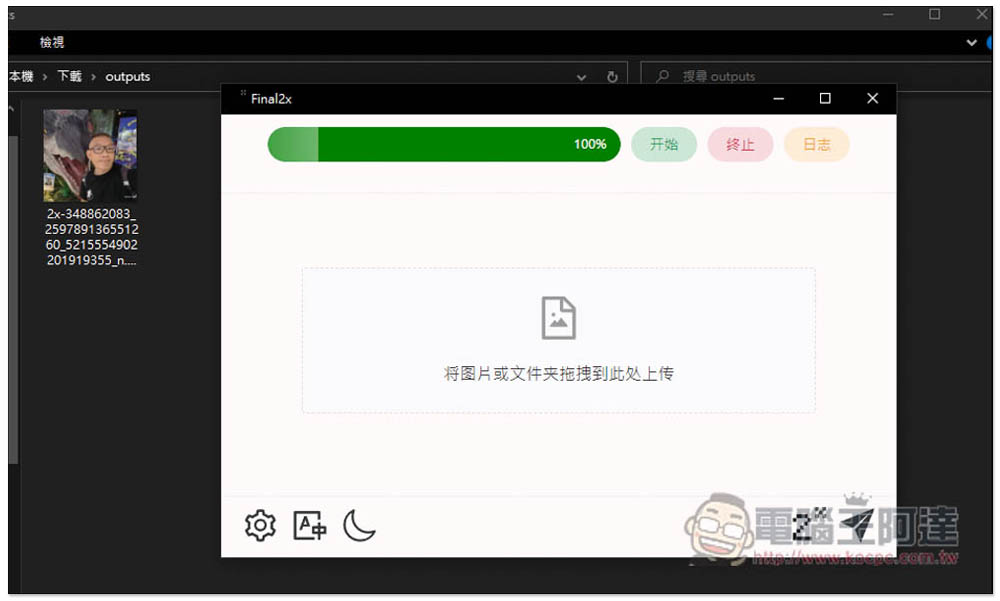
When it displays 100%, it is completed, and the saved folder will be automatically opened:
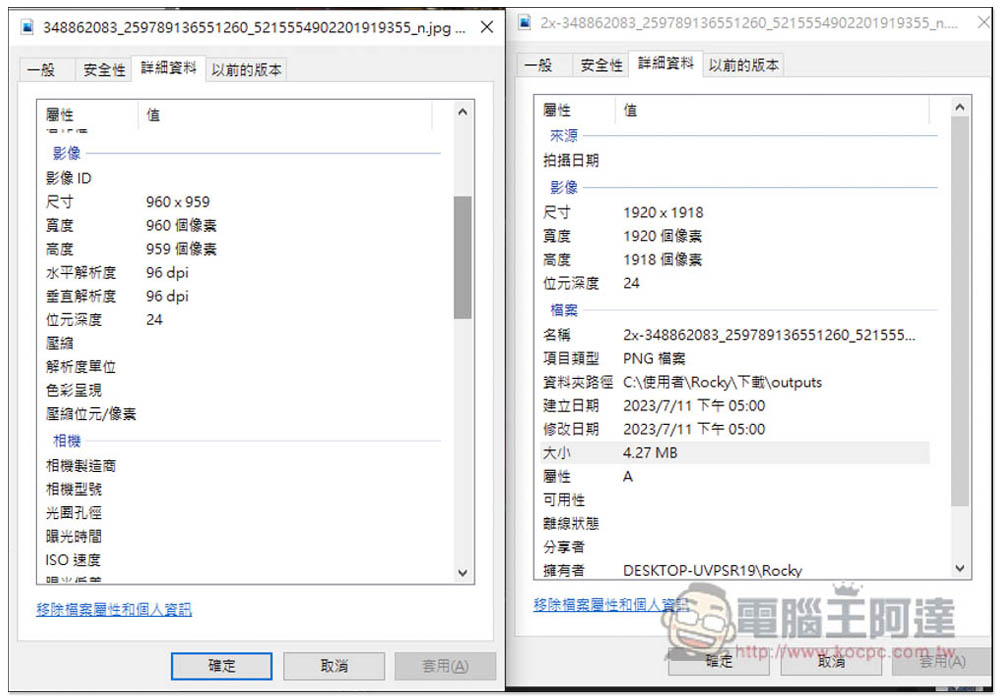
The left side is the original file with a resolution of 960×959, and the right side is enlarged 2 times and the resolution becomes 1920×1918:
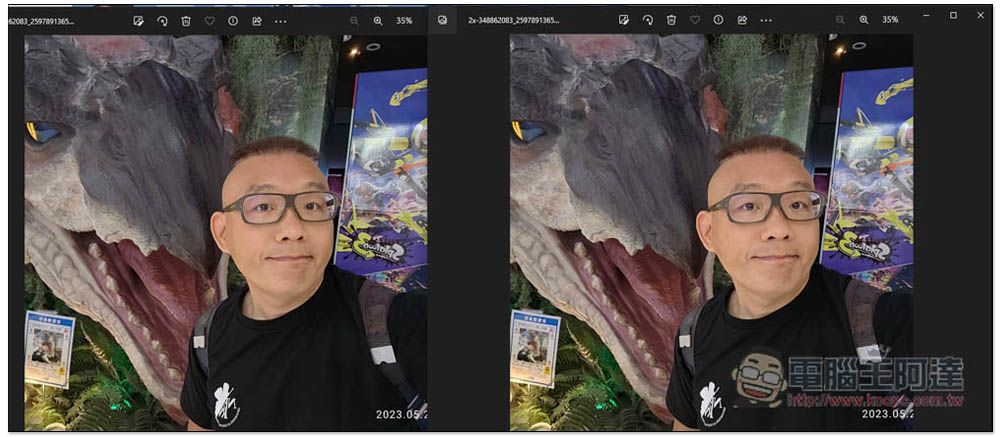
The left is the original image, and the right is the enlarged image. If you don’t tell me, you wouldn’t know that the right is a post-production enlarged photo without any noise:
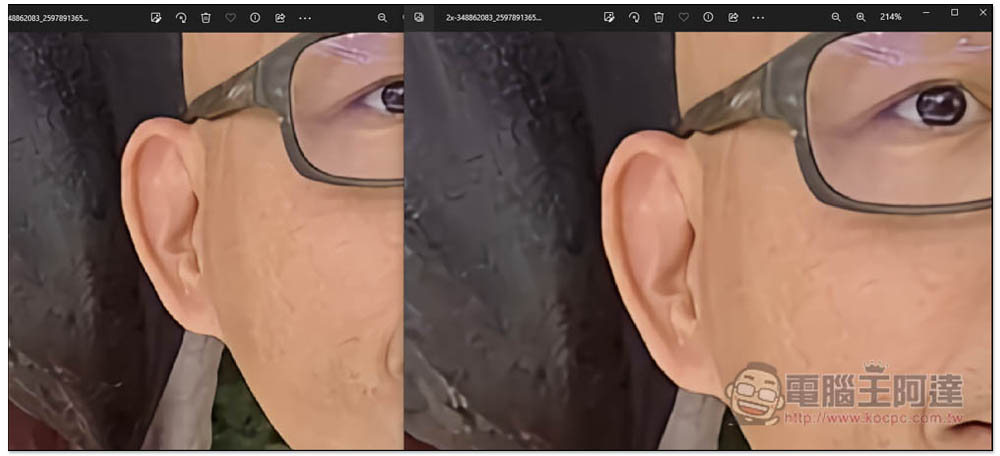
zoom in The same is true for zooming in, it’s really cool, and I actually feel that the quality after zooming in is even better than the original image:
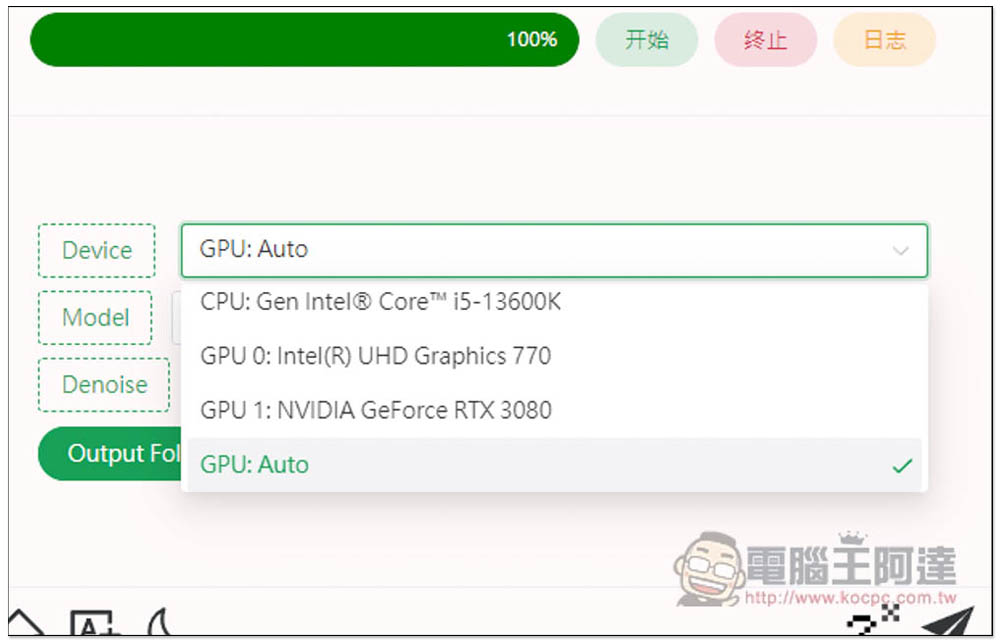
There are some settings in the settings that can be adjusted, such as the computing device to be used by Device, which is GPU by default:
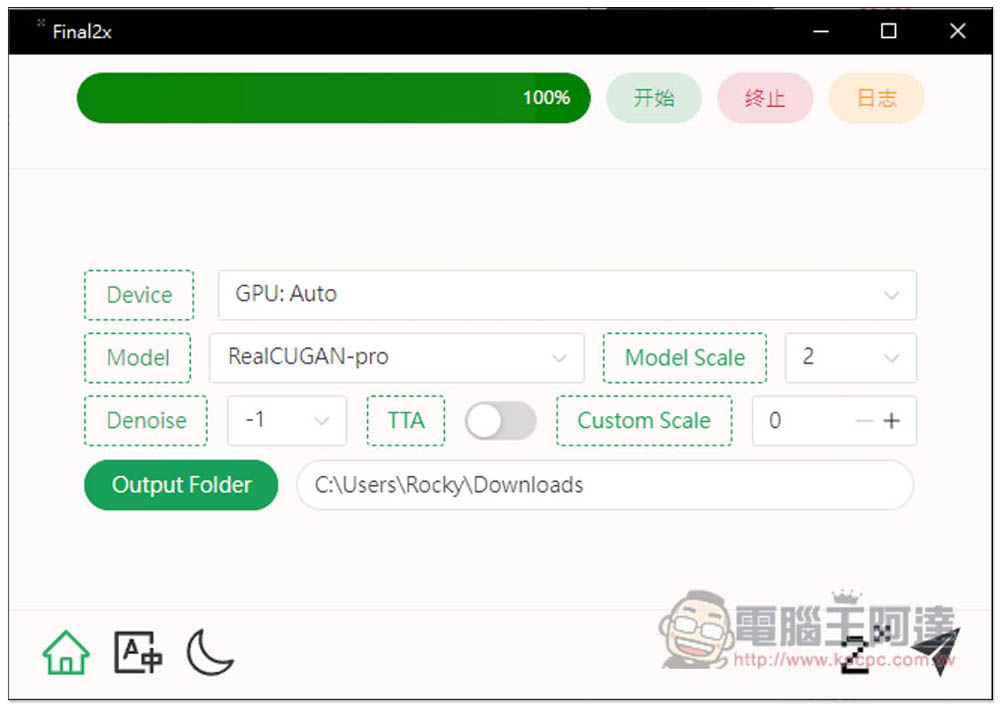
It can be changed to CPU and GPU. I have an NVIDIA GeForce RTX 3080 discrete graphics card installed. The original i5-13600K processor also has internal graphics, so I can specify which GPU to use. When processing magnification, if you feel that the computer does not become very slow, then basically use the default GPU: Auto:
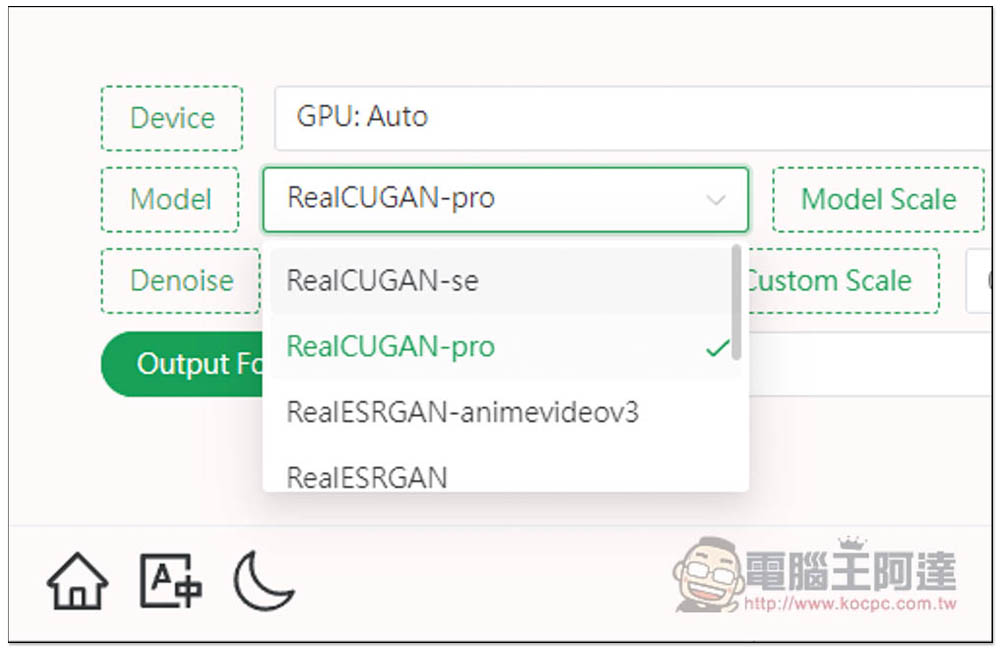
Supports a variety of models, including:
- RealCUGAN-se
- RealCUGAN-pro
- RealESRGAN-animevideov3
- RealESRGAN
- Waifu2x-cunet
- Waifu2x-upconv_7_anime_style
- Waifu2x-upconv_7_photo
- SRMD
There is no need to change it unless you have special needs:
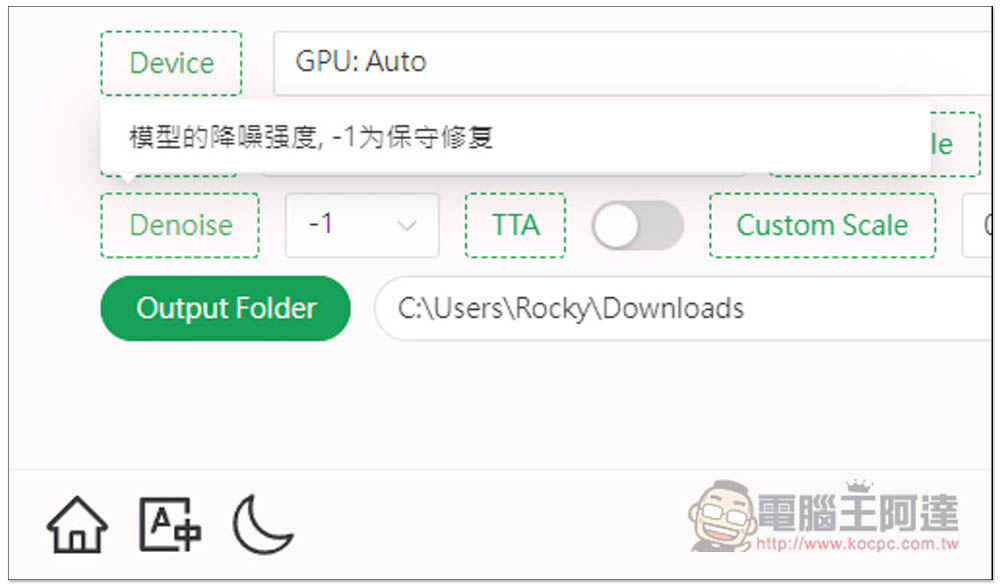
If you don’t know what each function is used for, you can move the mouse above and a Chinese explanation will pop up. Denoise is the noise reduction intensity:
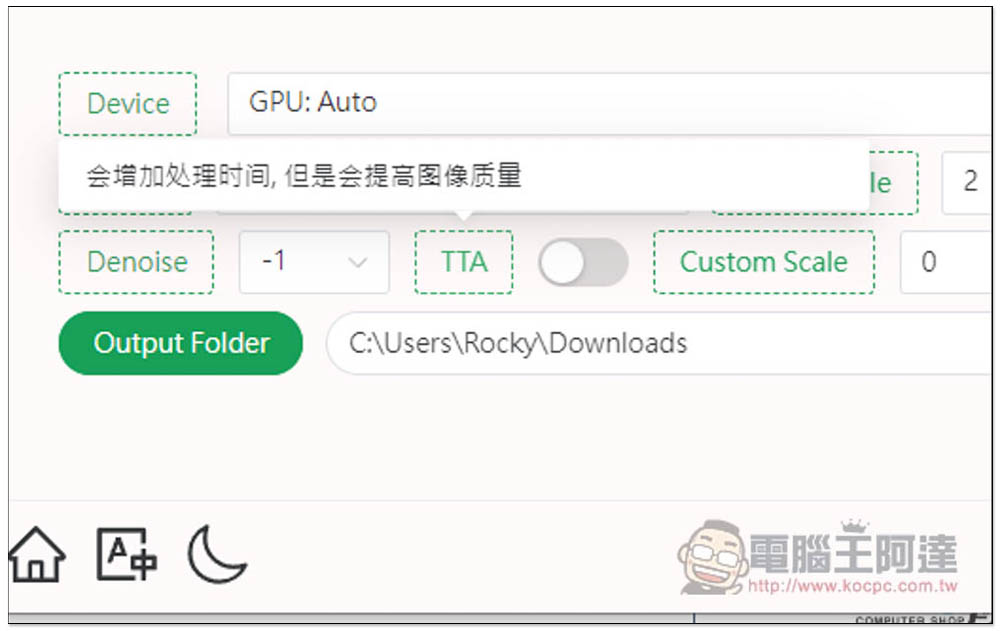
TTA is a function that improves image quality, but it will increase the processing time. It is recommended to open it after enlarging it and feeling dissatisfied:
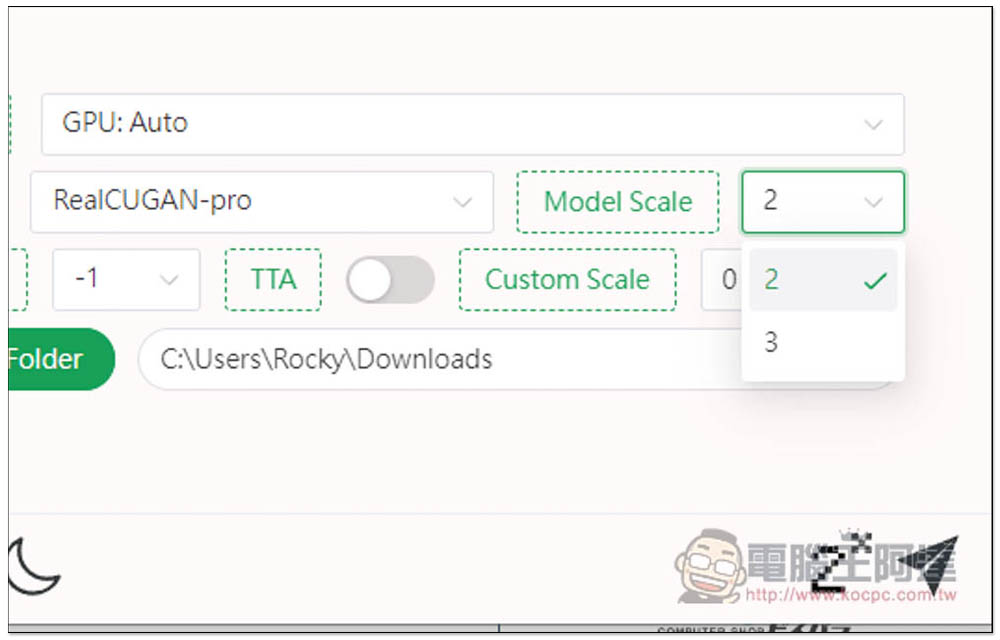
Model Scale is the magnification factor of the model. Each model supports different magnification factors. For example, RealCUGAN-pro has two options: 2 and 3, while SRMD provides three options: 2, 3, and 4:
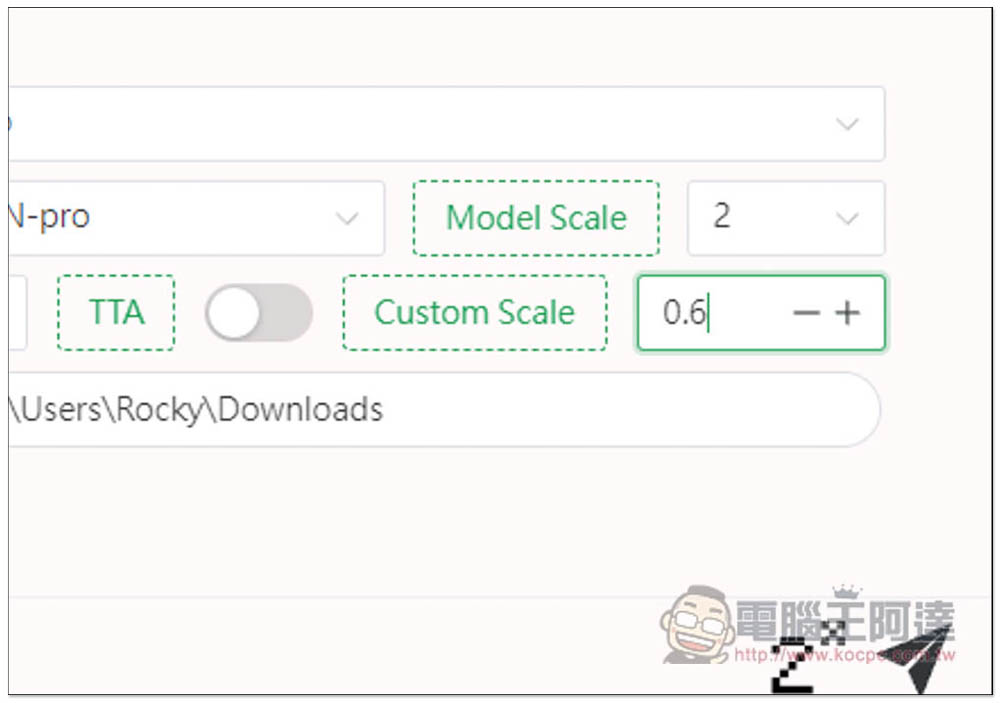
You can also customize the magnification factor, and the decimal point can also be used:
Source: KOCPC Chinese