


The quality of the pictures taken by old cameras at home is generally not high, and it will be blurry if you want to enlarge it. With the advancement of technology, there are many tools that use artificial intelligence (AI) deep learning technology to make old photos clearer and of better quality, taking photos to a new level. This time I want to share with you 4 free and easy-to-use online photo enlargement tools. If they are easy to use, share them with you. Do you know?

▲ Figure 1: The computer can not only pick potatoes, it can also enlarge photos/from Photo-ac
Comparison of advantages and disadvantages of AI artificial intelligence photo enlargement
Many photo enlargement tools have been introduced before, and they are listed here in detail!
This time I will introduce 4 additional photo enlargement tools. The article will be relatively long, so I will list the advantages and disadvantages of various photo enlargement services here. These tools all use AI amplification without distortion technology, which not only improves the image quality, but also allows old photos to be seen more clearly.
The rating is subjective, please use it as a reference!
| AI Image Enlarger |
|
⭐⭐⭐☆☆ | Click here to view enlarged image |
| DeepImage |
|
⭐⭐⭐☆☆ | Click here to view enlarged image |
| KakudaiAC |
|
⭐⭐⭐⭐⭐ | Click here to view enlarged image |
| Vance AI |
|
⭐⭐⭐⭐☆ | Click here to view enlarged image |
▲ Table 1: Comparison of advantages and disadvantages of AI artificial intelligence photo enlargement
The editor has uploaded all the comparison results to the Internet. If you are interested, just check it out from the link below! If you want to see how each service compares with the original photo, please go to each service.View resultsBar!
- AI artificial intelligence photo enlargement (original file)
- Website link:https://wblackhub.github.io/image-enlarger-all.html
alright! The above is a comparison of usage restrictions and features. Next, let’s take a look at how to use each service and personal subjective thoughts! The following are sorted in alphabetical order!
AI Image Enlarger (★★★☆☆)
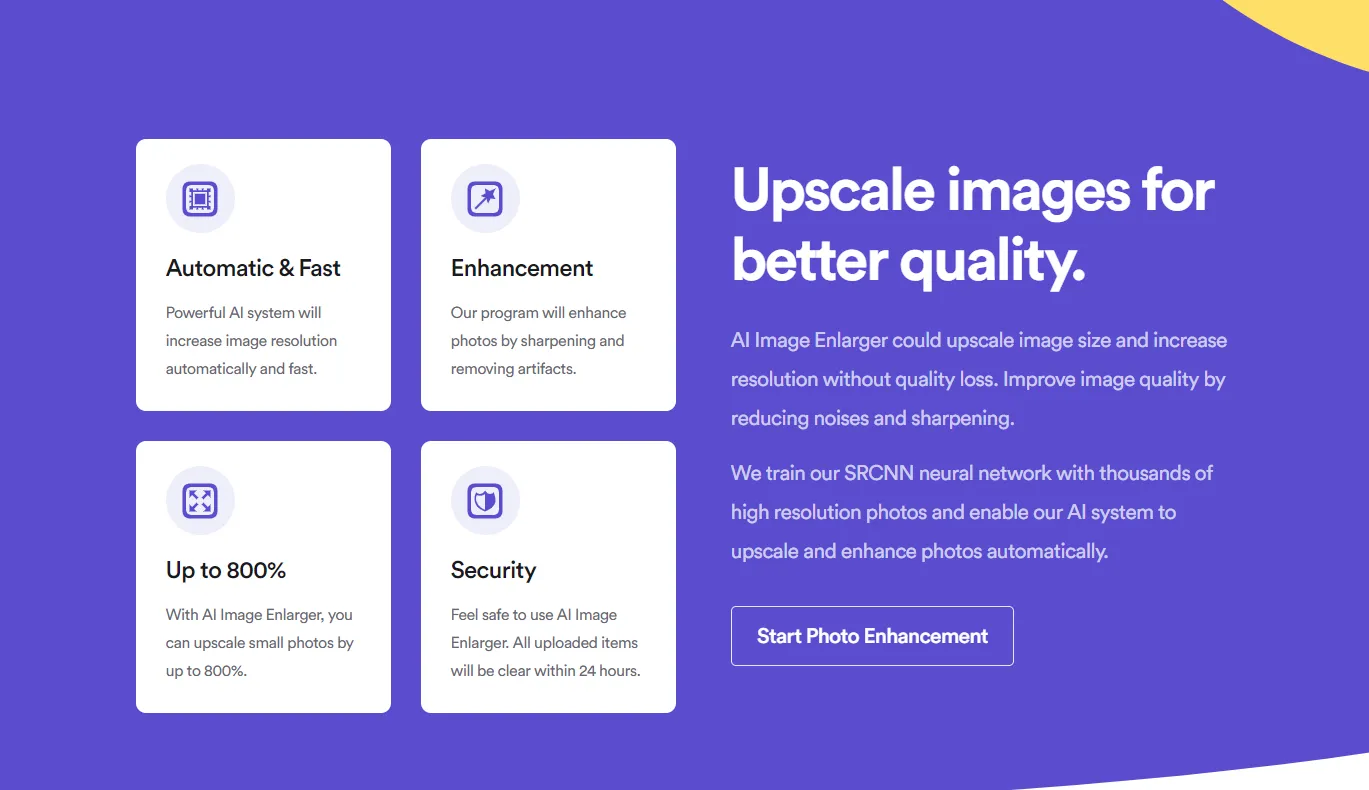
▲ Figure 2: AI Image Enlarger official website
- Website name:AI Image Enlarger
- Website link:https://imglarger.com/
- Usage restrictions:Membership required 4x magnification only 8 free uses
- Subjective Rating: ⭐⭐⭐☆☆
- View the results:Click here to view enlarged image
Subjective experience
Although it is troublesome to register, and it is not always available for people to use. I think the detailed effect of the run is already very good. The performer’s face can be seen clearly, but the totems on the clothes are still quite unclear.
The large text on the poster is clearly visible, but the white text below is still unclear, which is a pity. The smoothness of this picture is currently the highest, and it is more like the effect taken by a camera.
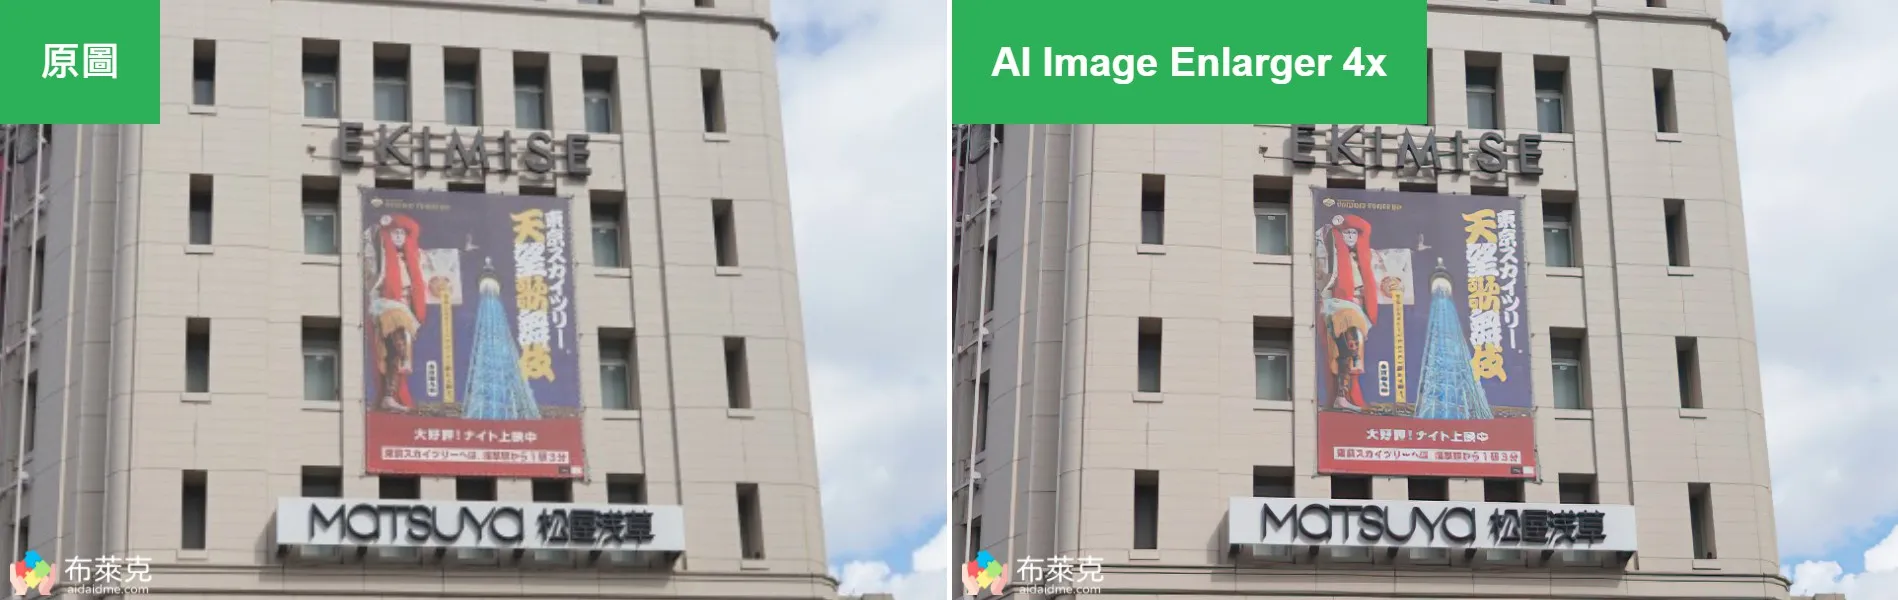
▲ Figure 3: Comparison results between AI Image Enlarger and original image
Usage steps
Step 1 Register as a member
Before using AI Image Enlarger, you need to register a set of member accounts. It will send a verification letter to the mailbox you fill in. It must be enabled before it can be authenticated.

▲ Figure 4: Register as a member
Step 2 Upload photos to the AI Image Enlarger website
The functions on the website are also very weak. There are not enough functions that can be adjusted, and it feels uncomfortable to use.
AI Image Enlarger only provides 4x magnification, and there is no way to make it smaller or larger.
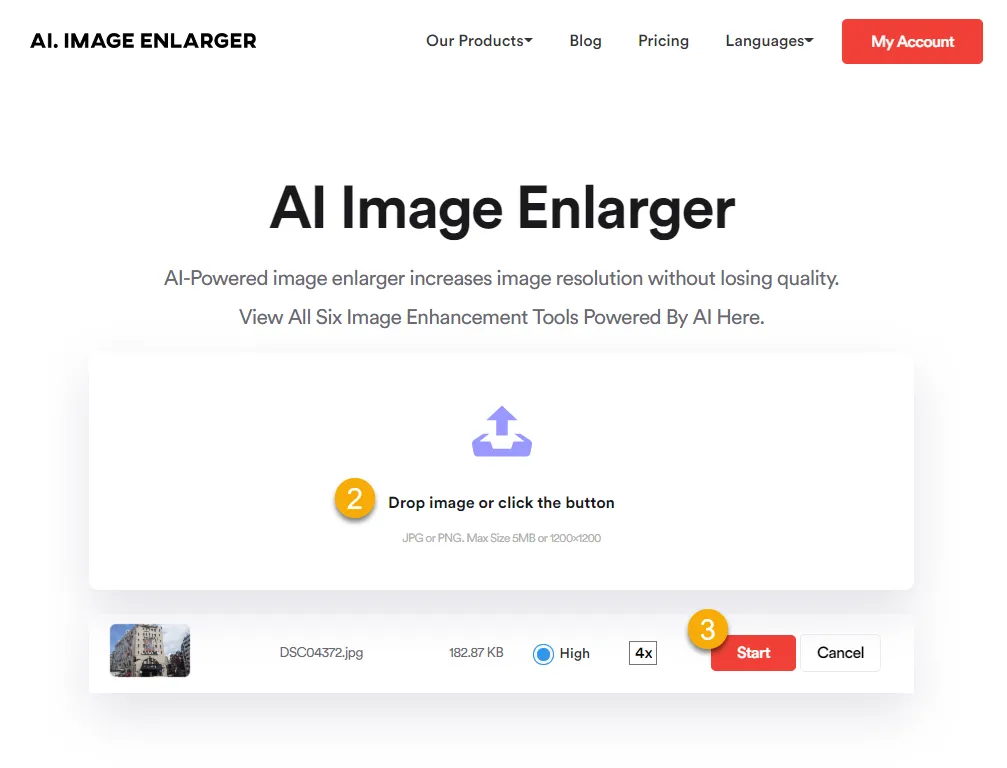
▲ Figure 5: Upload photos to AI Image Enlarger
Step 3 Download the adjusted photo
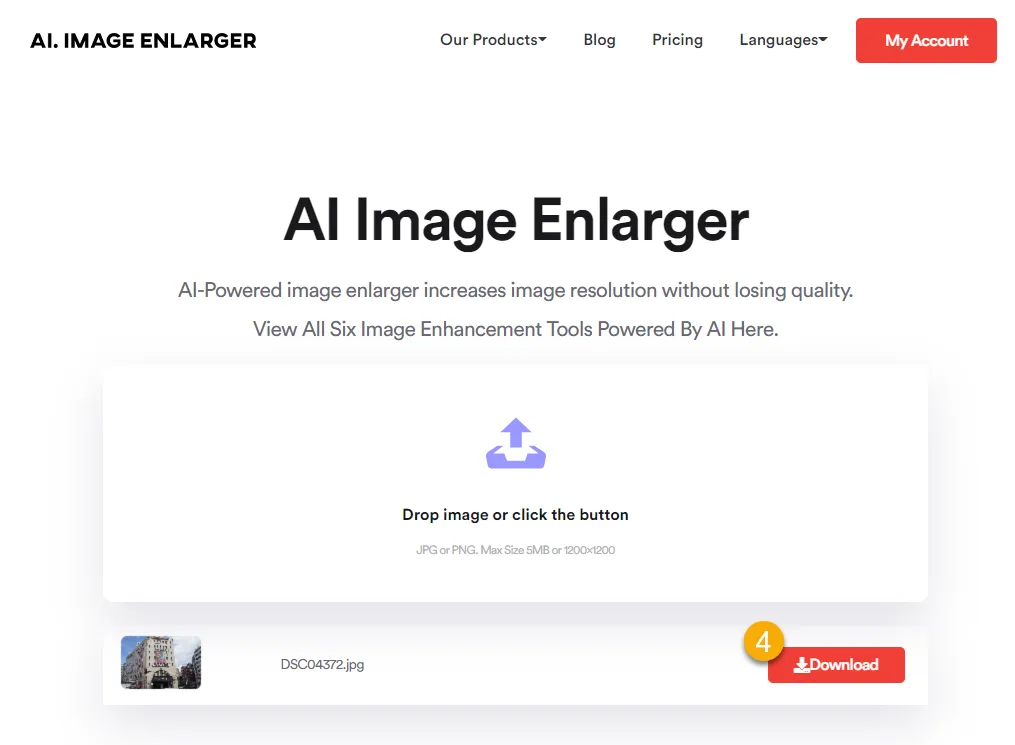
▲ Figure 6: Download photos
DeepImage (★★★☆☆)
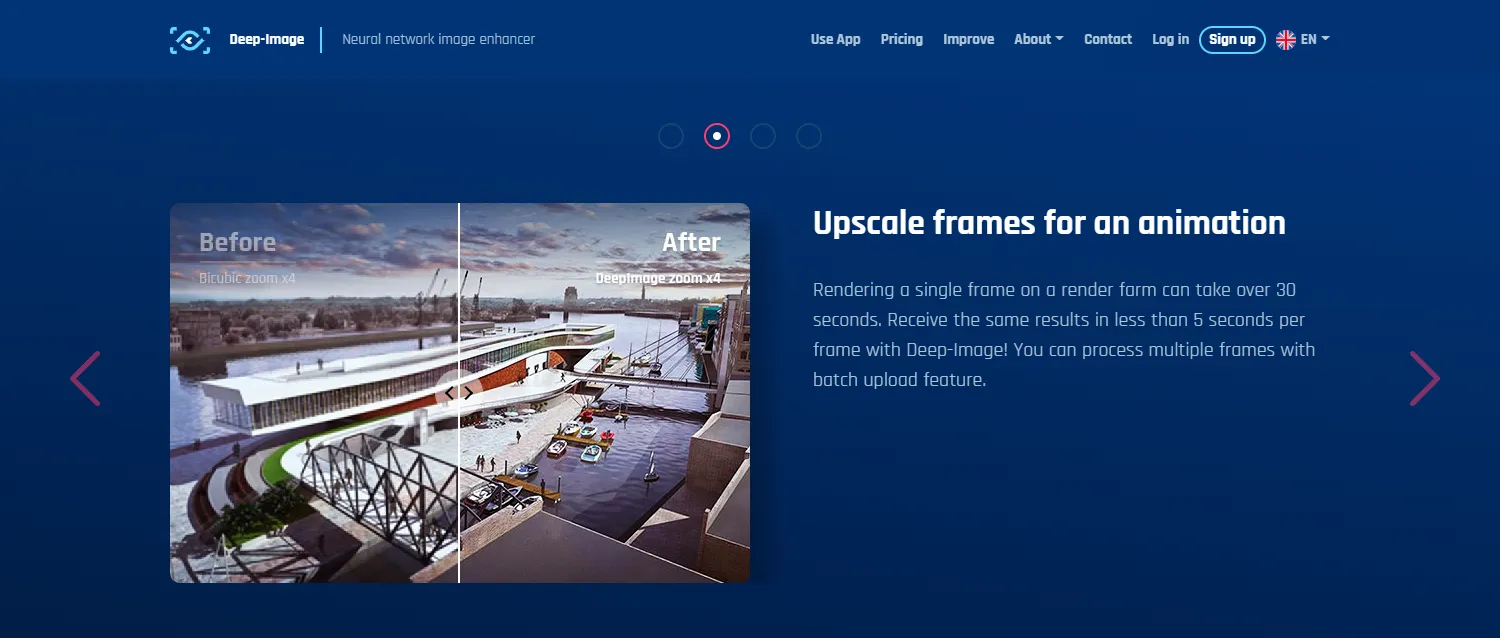
▲ Figure 7: DeepImage official website
- Website name:DeepImage
- Website link:https://deep-image.ai/
- Usage restrictions:Membership required up to 4x 5 free uses
- Subjective Rating: ⭐⭐⭐☆☆
- View the results:Click here to view enlarged image
Subjective experience
The DeepImage website interface is very nice, I like it very much. After 4x magnification, the picture detail has indeed improved. Most of the text in the photo is understandable, but the smaller white text at the bottom of the poster is still unclear.
Although the face part is still blurry, it is much better than the original one. The details of the performer’s skirt are handled very well, and the totem on the sleeve is the clearest one so far.
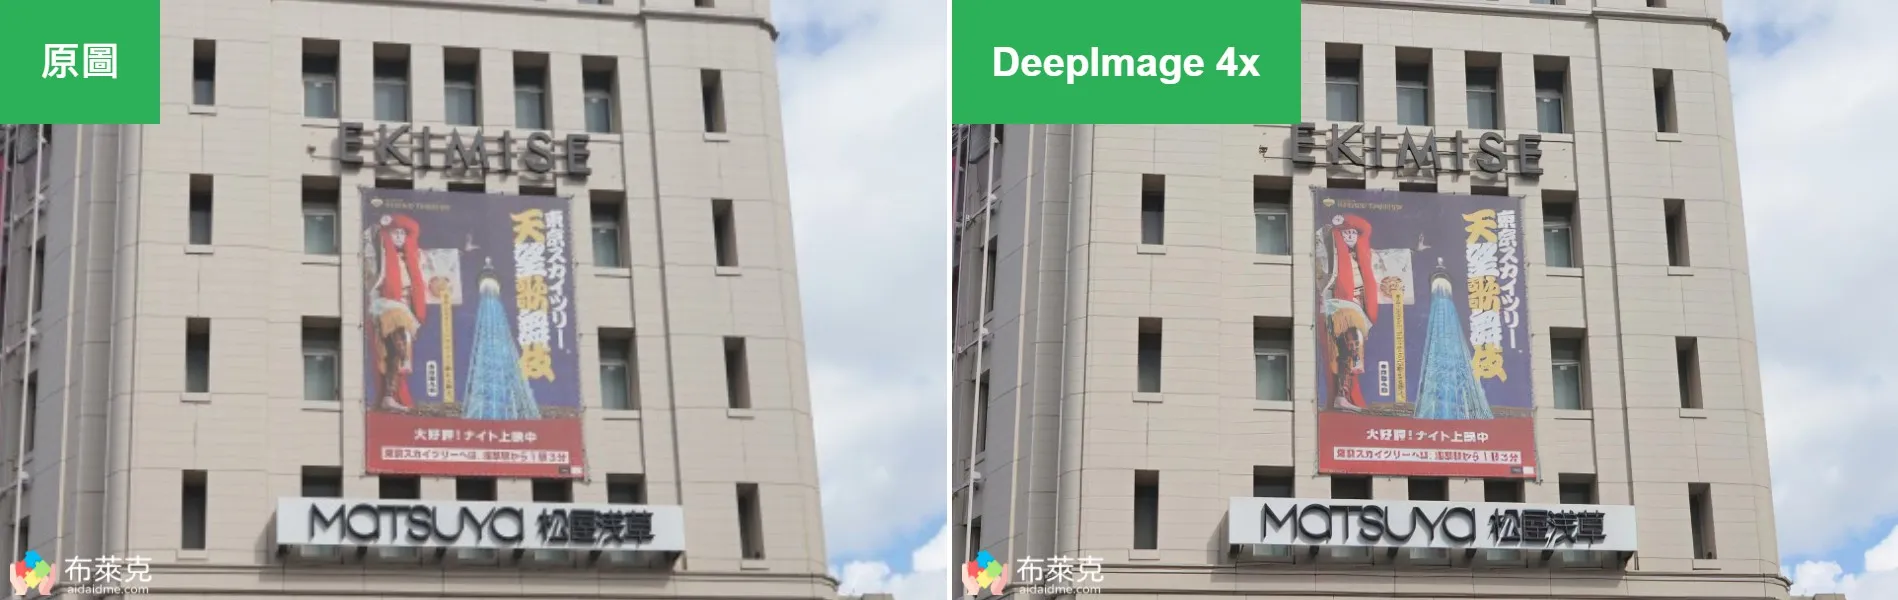
▲ Figure 8: Comparison results between DeepImage and original image
Usage steps
Step 1 Register as a member
Before using DeepImage, you need to register a set of membership accounts, which is much more troublesome than the previous websites. It will send a verification letter to the mailbox you fill in, and it must be enabled before it can be authenticated.

▲ Figure 9: Register DeepImage
Step 2 Upload photos to DeepImage’s website
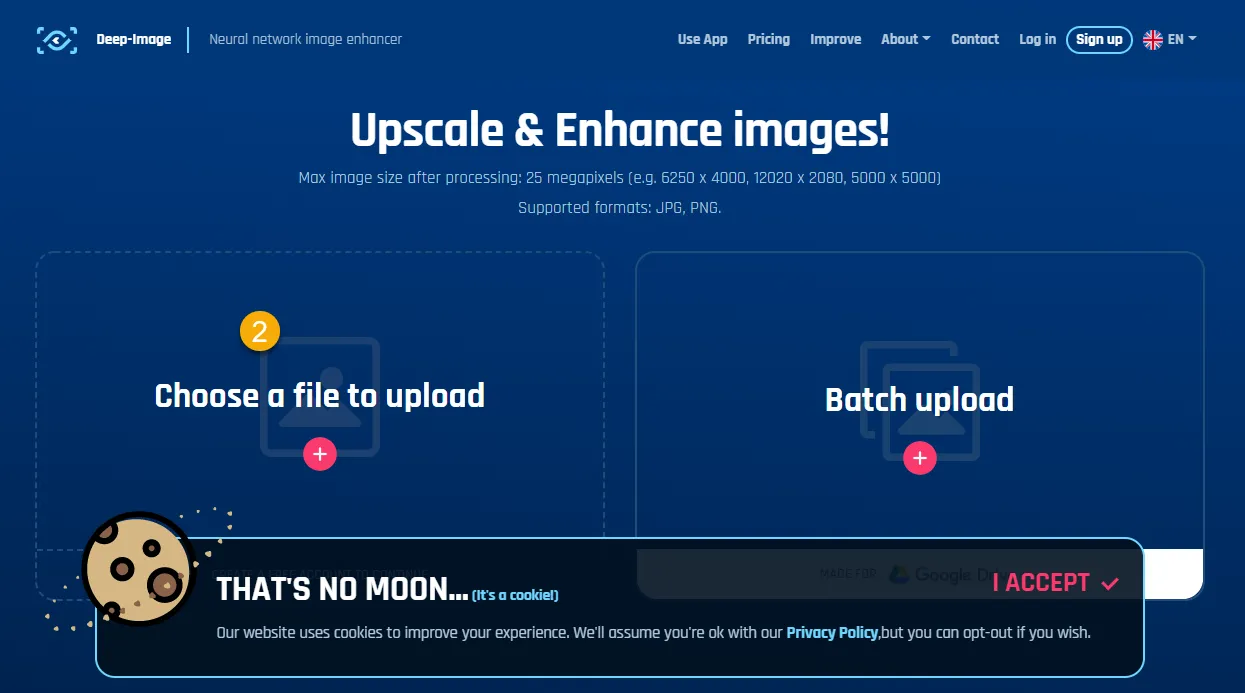
▲ Figure 10: Upload photos to DeepImage
Step 3 Adjust photo magnification, noise reduction and sharpening
DeepImage has up to 4x magnification.
At the same time, it also provides a function to reduce noise, which is more needed in low-light or high-sensitivity photos. Here, keep the default value. The sharpening function will make the borders of photos with variable colors more prominent, making them look less like those taken in a natural environment. Also select the default value to turn off the effect.
After the settings are completed, you can enlarge the photo, and the website will also send a letter to the mailbox you just registered.
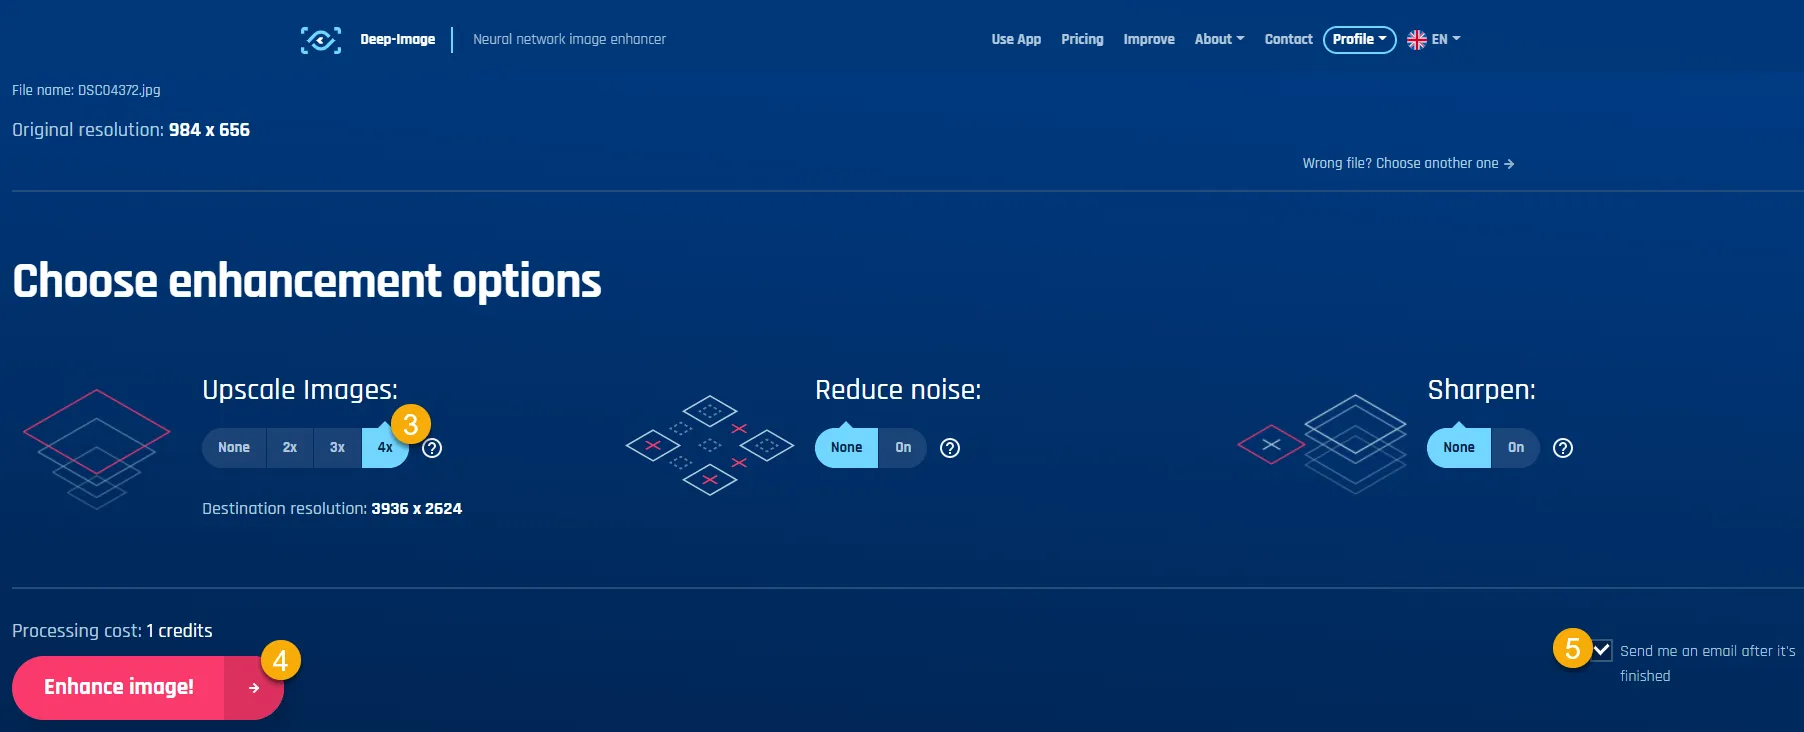
▲ Figure 11: Adjust photo magnification
Step 4 Download the adjusted photo
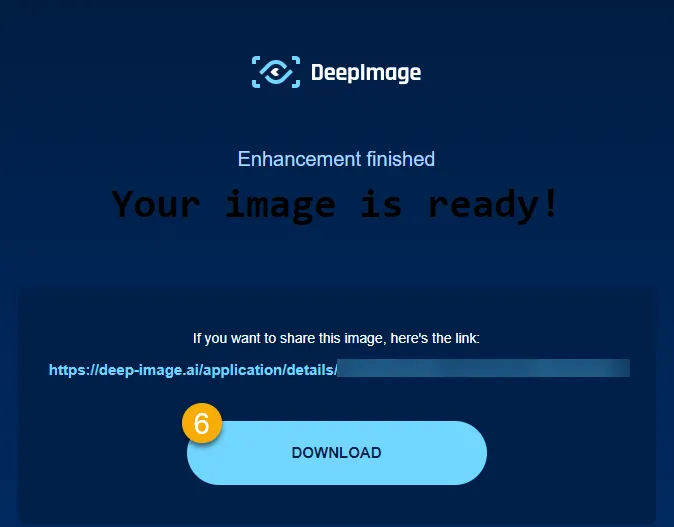
▲ Figure 12: Download photos
Kakudai AC (★★★★★)
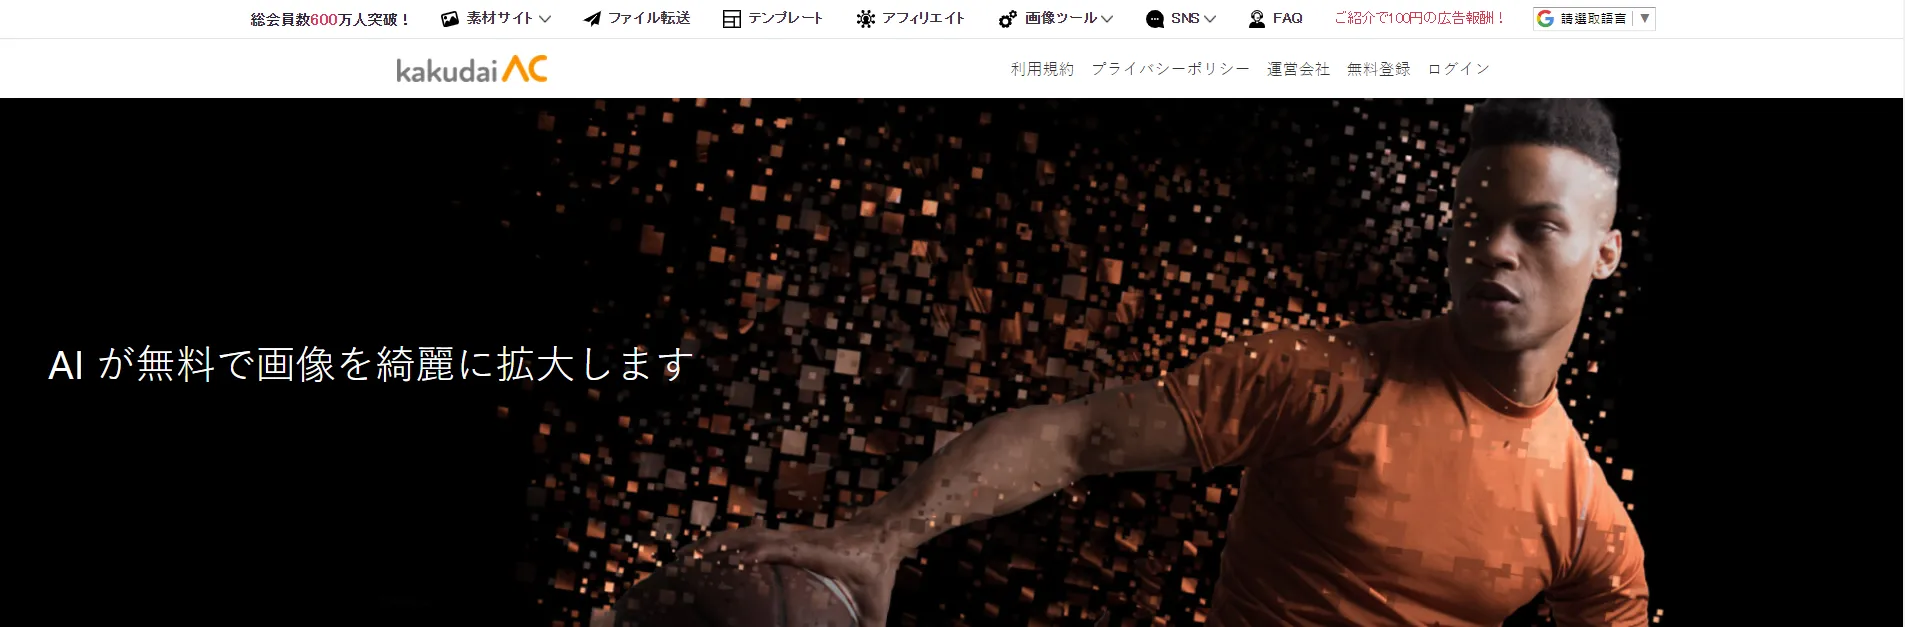
▲ Figure 13: KakudaiAC official website
- Website name:Kakudai AC
- Website link:https://kakudai-ac.com/
- Usage restrictions:Up to 16 times without membership 3 free uses Operation speed is very fast
- Subjective Rating: ⭐⭐⭐⭐⭐
- View the results:Click here to view enlarged image
Subjective experience
The conversion effects of KakudaiAC and Let’s Enhance below are both very good. It’s hard to distinguish between them. If you want the editor’s opinion, Let’s Enhance can retain more details. For example, the textures of buildings and characters are well maintained, and it also has a more detailed effect.
Although KakudaiAC is slightly worse,The magnification is the highest in this article, and the quality up to 16x magnification is also very good. The best part is there is absolutely no registration required! If you are interested, just play it yourself and see!
If you join as a member for free, you can use it for free up to 5 times a day. If you have a lot of photos, you can register a few more to try it out!
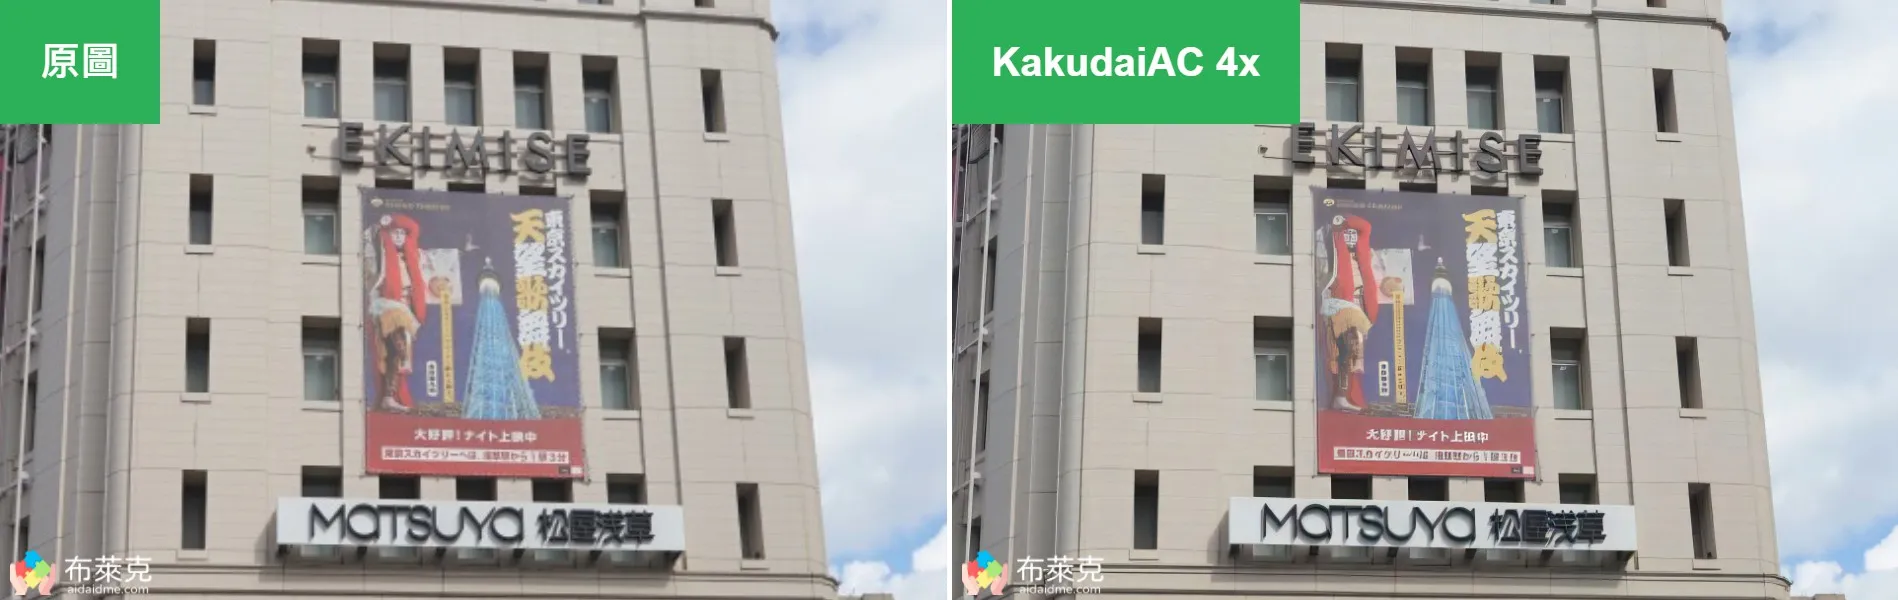
▲ Figure 14: Comparison results between KakudaiAC and the original image
Usage steps
Step 1 Upload photos to KakudaiAC website
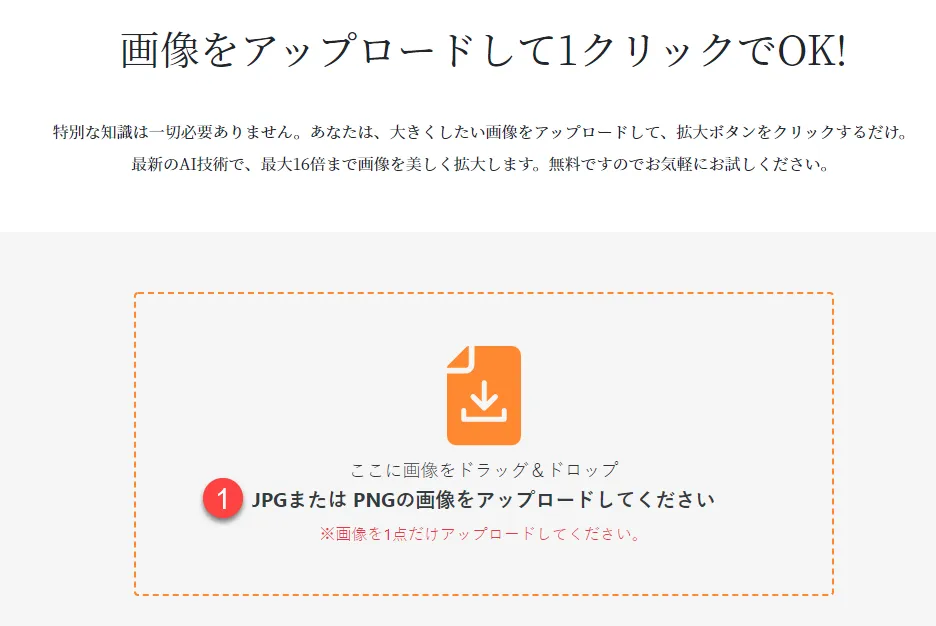
▲ Figure 15: Upload photos to KakudaiAC
Step 2 Adjust photo magnification, reduce noise and sharpen
KakudaiAC has a maximum magnification of 16x, but there is a premise that the magnified length and width multiplied cannot exceed 25,000,000 pixels.
For example, if you have a 640×480 low-quality photo at hand and want to enlarge it:
- If the length and width are enlarged 16 times, it is
(640 x 16) x (480 x 16) = 78,643,200Pixels, this has exceeded the upper limit. - If the length and width are enlarged 8 times, it is
(640 x 8) x (480 x 8) = 19,660,800pixels, without exceeding the upper limit. - Therefore, the magnification can be set up to 8x.
The website also provides functions for reducing noise and sharpening. In low-light or high-sensitivity photos, it is more necessary to reduce noise. Here, keep the default value. The sharpening part will make the boundaries between colors more obvious. Too strong sharpening will not look good, so sharpening will not be applied here.
After the settings are completed, you can enlarge the photo. The website’s calculation speed is very fast, and the free one can also have such good quality.
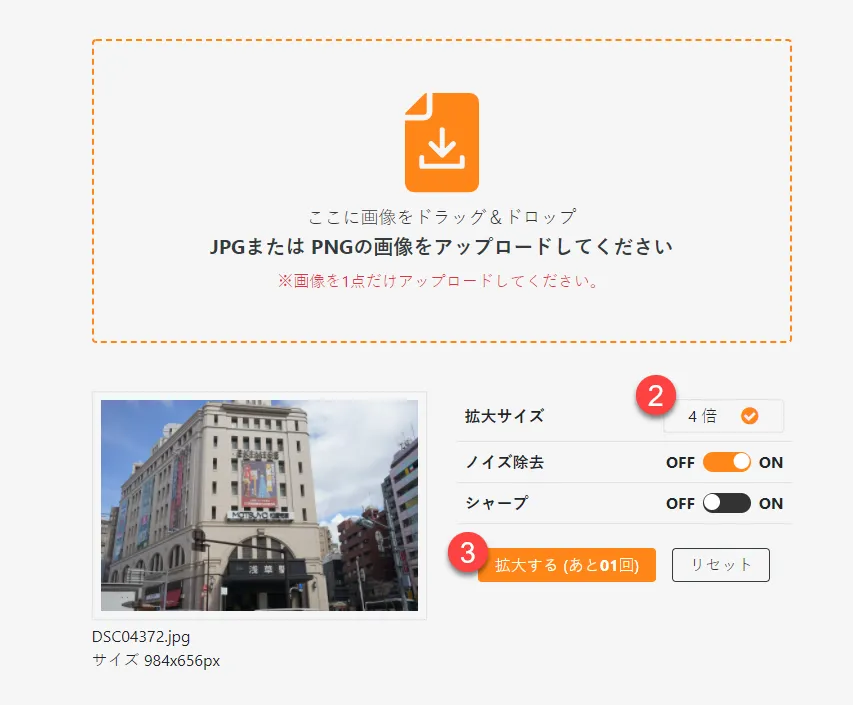
▲ Figure 16: Adjust photo magnification
Step 3 Download the adjusted photo
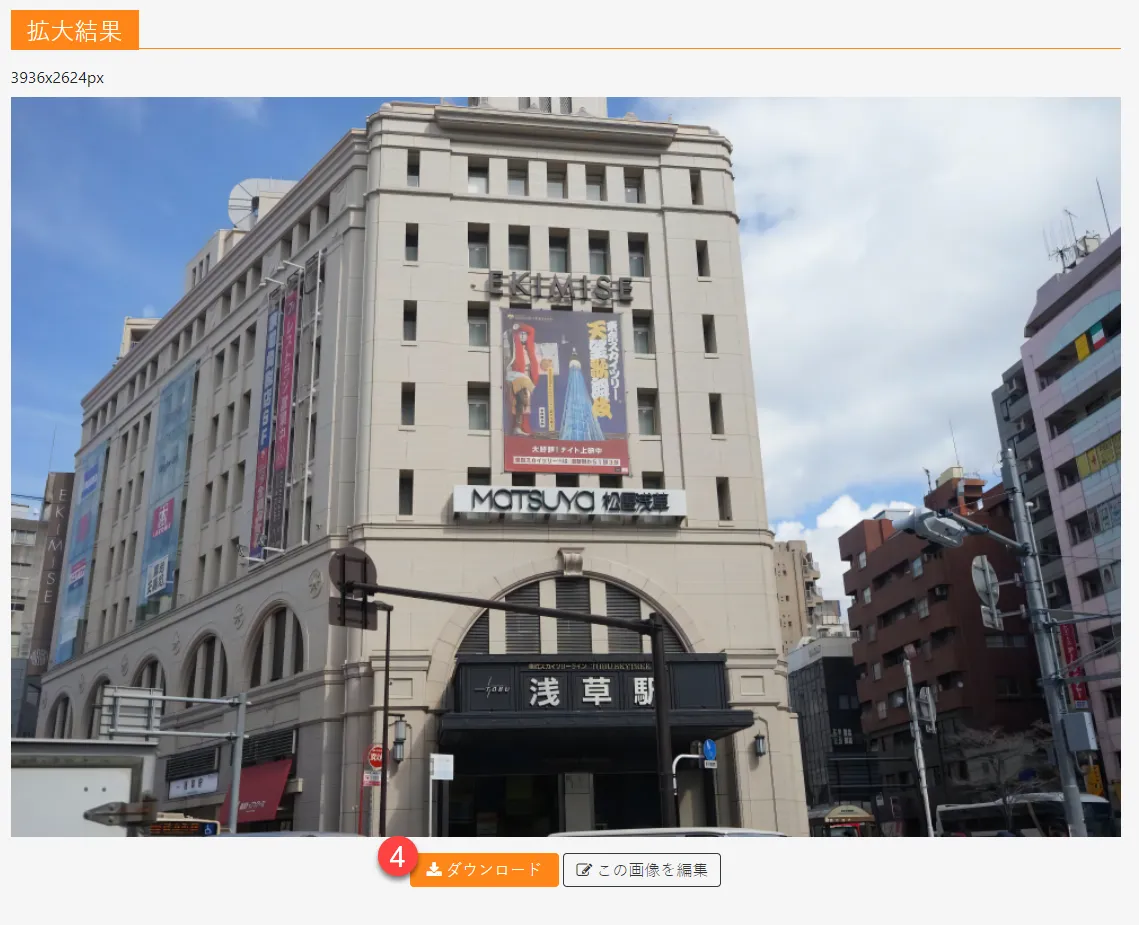
▲ Figure 17: Download photos
Vance AI (★★★★☆)
▲ Figure 18: Vance AI official website
- Website name:Vance AI
- Website link:https://vanceai.com/
- Usage restrictions:Membership required up to 4x 3 free uses
- Subjective Rating: ⭐⭐⭐⭐☆
- View the results:Click here to view enlarged image
Subjective experience
I think the results of this run are quite good, but there is still a gap between the previous two Let’s Enhance and KakudaiAC. Let’s Enhance pays attention to the details in photos, and although KakudaiAC has a little more detail distortion, at least the magnification is very good.
Vance AI is a bit less detailed and the magnification isn’t as strong. The editor has tried this service 2-3 times. It uses Credit to calculate the number of free uses. However, the mechanism for deducting Credit is confusing. Credit will be deducted once during calculation, and Credit will also be deducted when downloading for the first time. I don’t understand why it is designed this way.
Even the first few times I tried it, I only saw 2x magnification, but the last time I saw 4x magnification, I don’t know why. It is quite fast during operation, but slow down when downloading files. Therefore, the subjective score was deducted a little.
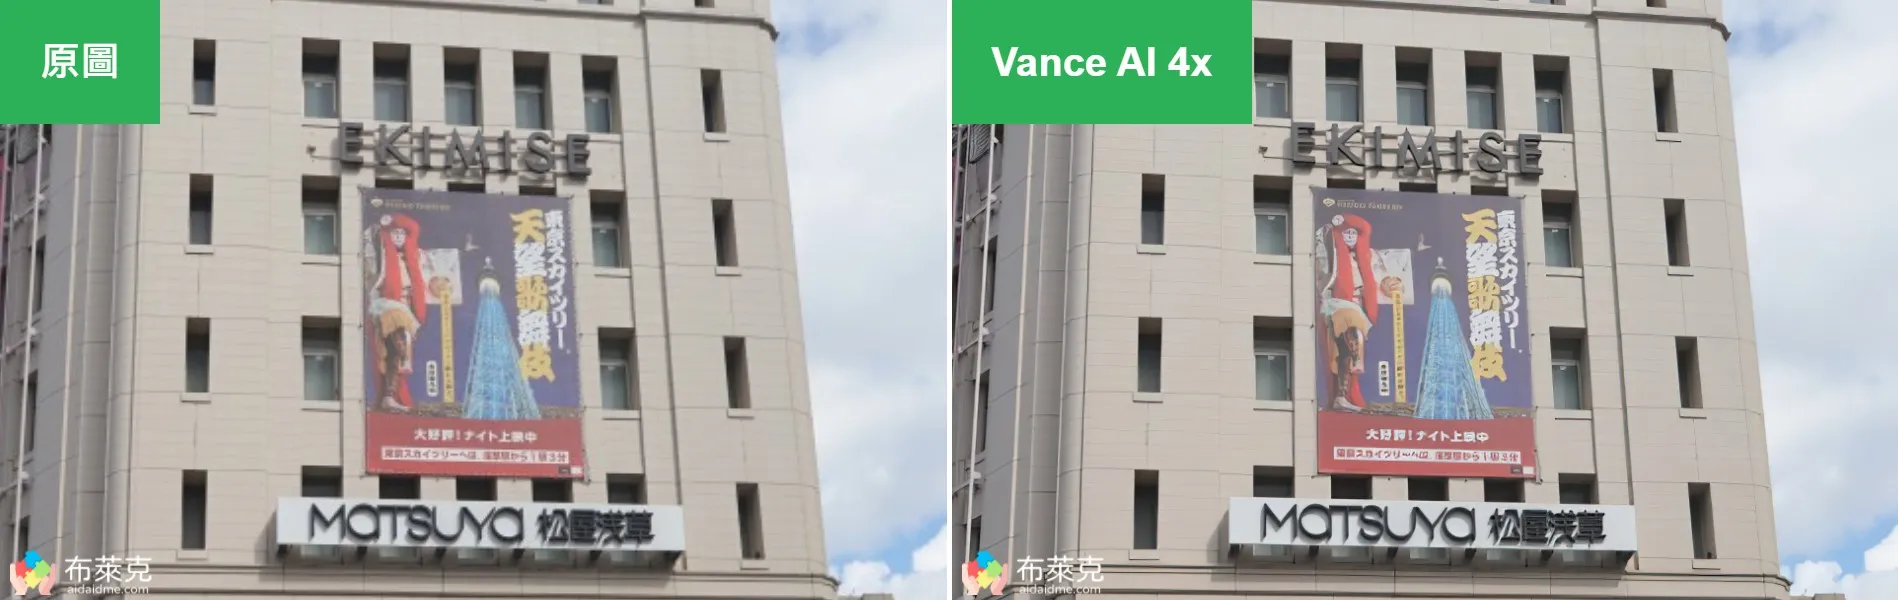
▲ Figure 19: Comparison results between Vance AI and the original image
Usage steps
Step 1 Register as a member
Vance AI also needs to register a set of member accounts. It will send a verification letter to the email address you fill in. It must be enabled before it can be authenticated.
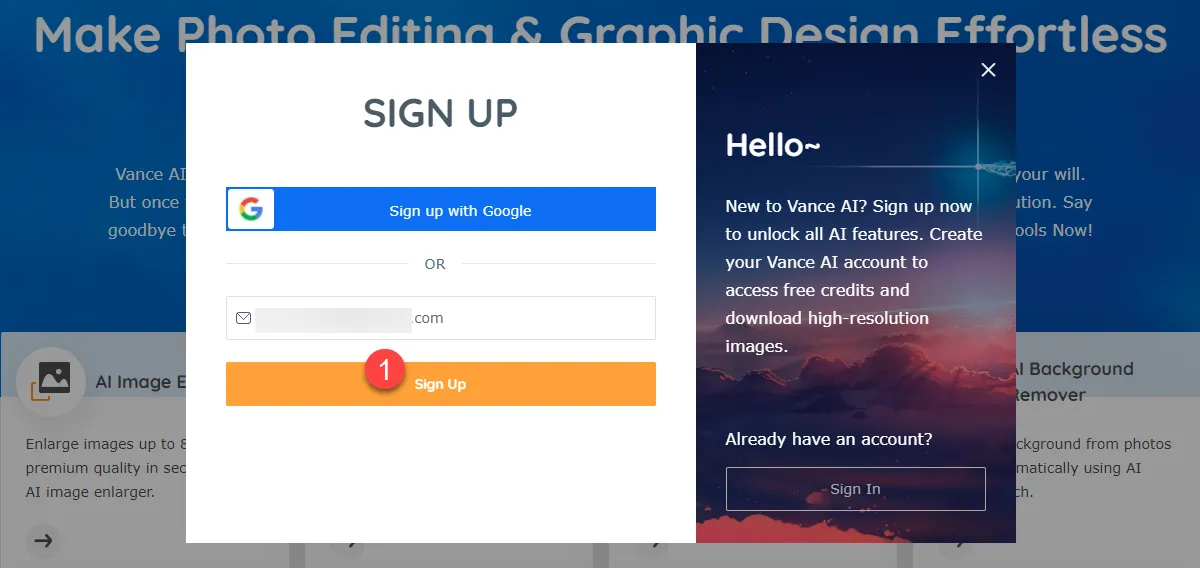
▲ Figure 20: Register as a member
Step 2 Upload photos to Vance AI’s website
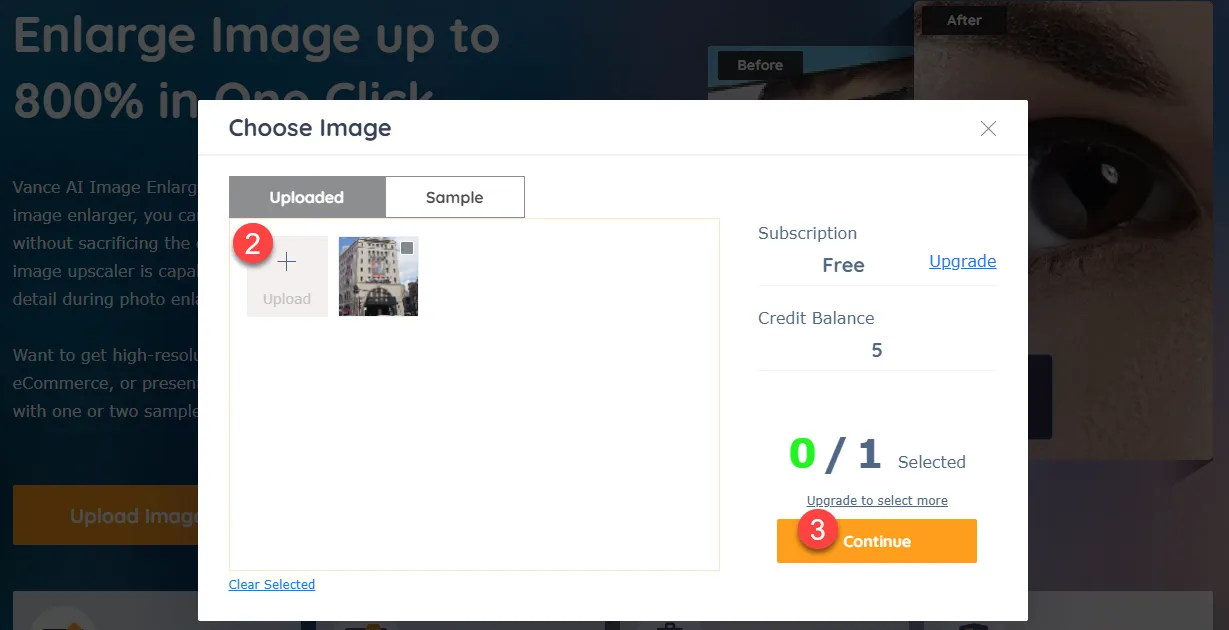
▲ Figure 21: Upload photos to Vance AI
Step 3 Adjust photo magnification, suppress noise and remove blur
With up to 4x magnification, you can choose whether to suppress noise or eliminate blur.
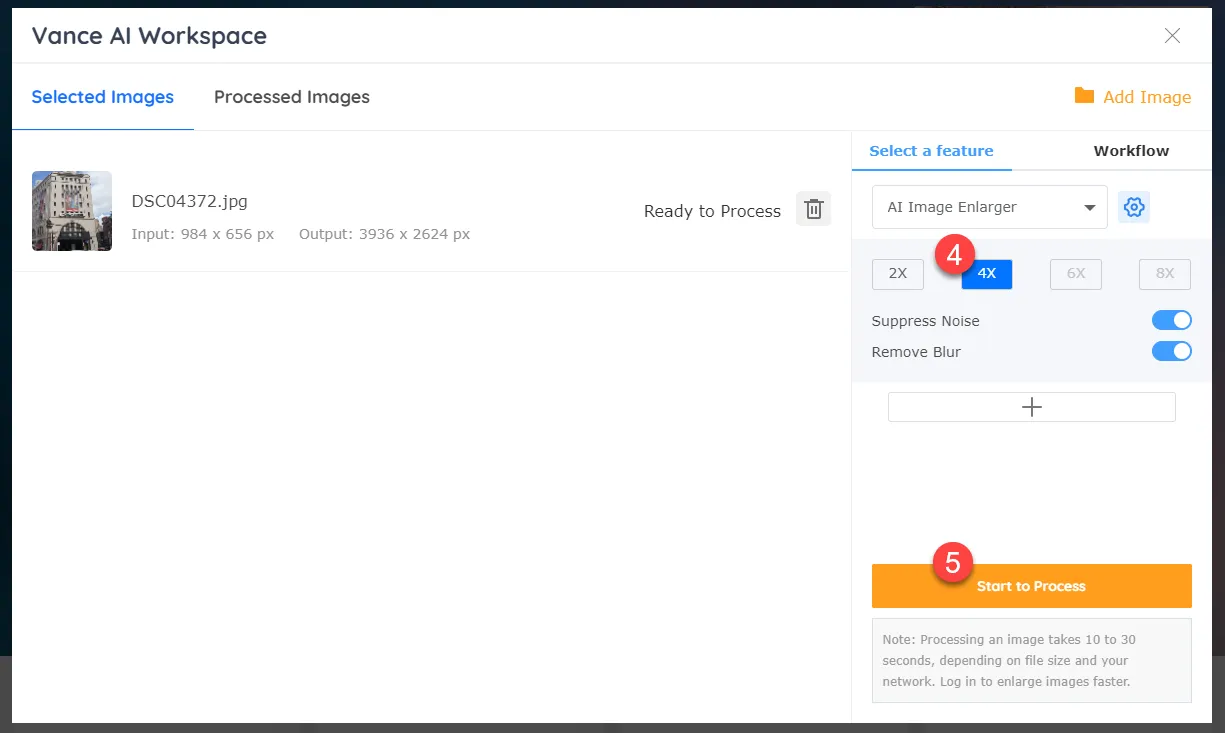
▲ Figure 22: Adjust photo magnification
Step 4 Download the adjusted photo
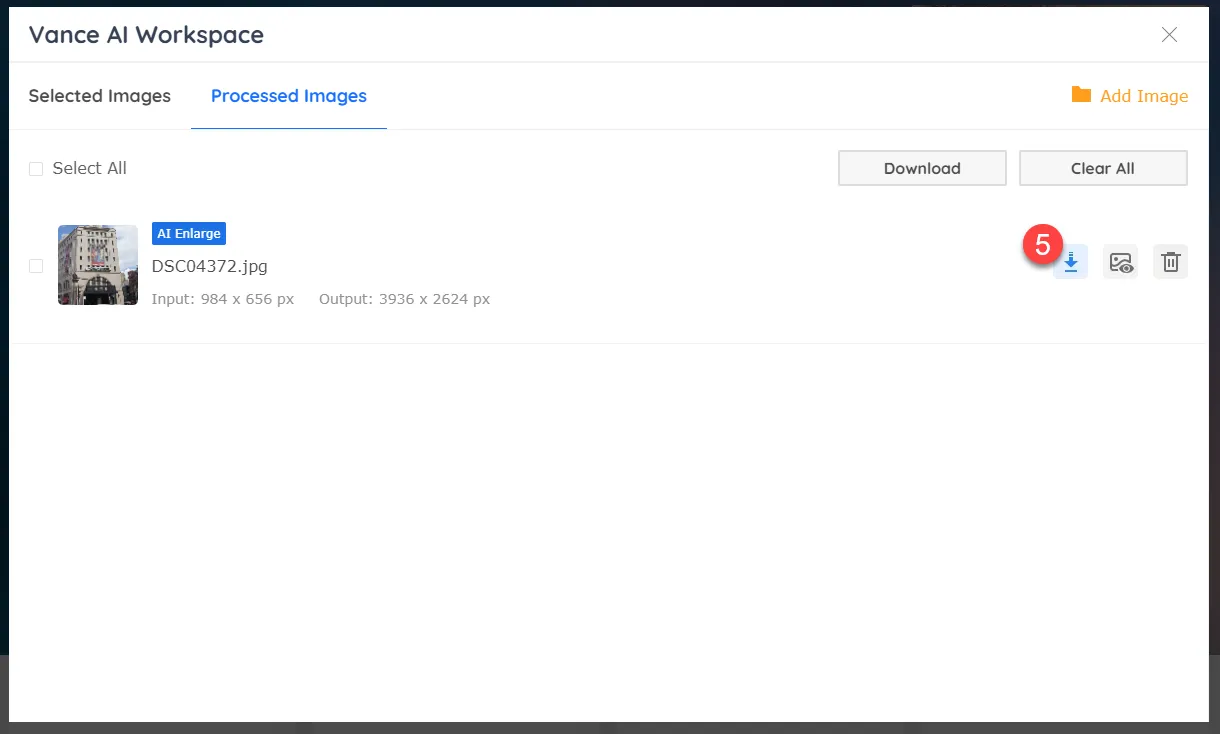
▲ Figure 23: Download photos
Conclusion
The above are the AI artificial intelligence image quality improvement tools I want to share this time. It not only improves image quality, but also solves the common problem of insufficient pixels in cameras in the old era. Technology has really brought us a lot of convenience!
The main reason why the editor thought of this topic is that when I was sorting out the files on my computer recently, I saw a lot of photos taken when I was a child. While discussing with my family what I was doing at that time, I recalled how carefree I was back then.
However, due to the poor technology at the time, the photos were blurry or the color was not good, so I found some related services to use. I thought it was quite fun, so I share it with you.
There is a lot of content in this article. Thank you for reading until now. I hope this content is helpful to you! If you happen to have a friend or family member who encounters the same problem, please share it with me!
If you like the above article, welcomeSubscribe to newsletter, and you will receive photography-related teaching articles!
by Engineer Blake
Source: KOCPC Chinese