


After buying a professional SLR camera, you find that there are many functions on the camera dial and you don’t know how to use them? It doesn’t matter, this article will share with you the four major shooting modes in the camera, P, A (Av), S (Tv) and M mode, and when is the most appropriate time to use them, so that you can graduate from Auto mode as soon as possible!
▲ Figure 1: Novice photographers should learn the P, A, S, M photo modes/from Sony Taiwan YouTube channel
What is PASM shooting mode?
These four camera modes have their own adjustable parameters. The editor has compiled them into the following table. I hope you can quickly grasp the key points of this article.
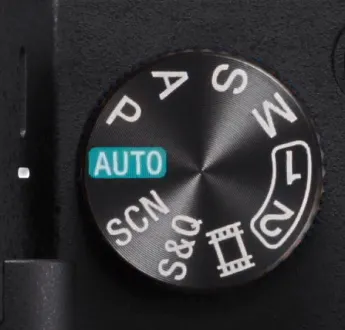
| icon | Schema name | aperture | shutter | ISO sensitivity | exposure compensation | Metering mode | focus mode |
 |
P mode Program automatic mode |
❌ | ❌ | ✔ | ✔ | ✔ | ✔ |
 |
A(Av) pattern Aperture priority mode |
✔ | ❌ | ✔ | ✔ | ✔ | ✔ |
 |
S(Tv) mode Shutter priority mode |
❌ | ✔ | ✔ | ✔ | ✔ | ✔ |
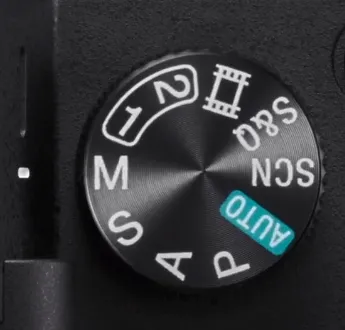 |
M mode manual mode |
✔ | ✔ | ✔ | ❌ | ✔ | ✔ |
▲ Table 1: Differences between the four PASM camera modes
Among the four camera shooting modes of P, A, S, and M, most brand cameras are marked this way, but only Canon’s cameras mark A and S as Av and Tv, which mean exactly the same. Don’t think it is a new mode!
Pay special attention to the fact that M mode can freely adjust the aperture, shutter and ISO value, so how much light can enter has been determined, so exposure compensation cannot be adjusted. You can refer to the following article on this point.
Where can I set the PASM photo mode?
Regardless of whether the camera you have is a single-lens camera, a micro-monocular, or a quasi-monocular, there is a dial on the body that you can turn to quickly switch between different modes. The picture below takes the Sony Alpha 7 series as an example. You can see various shooting modes, including P, A, S, and M modes.
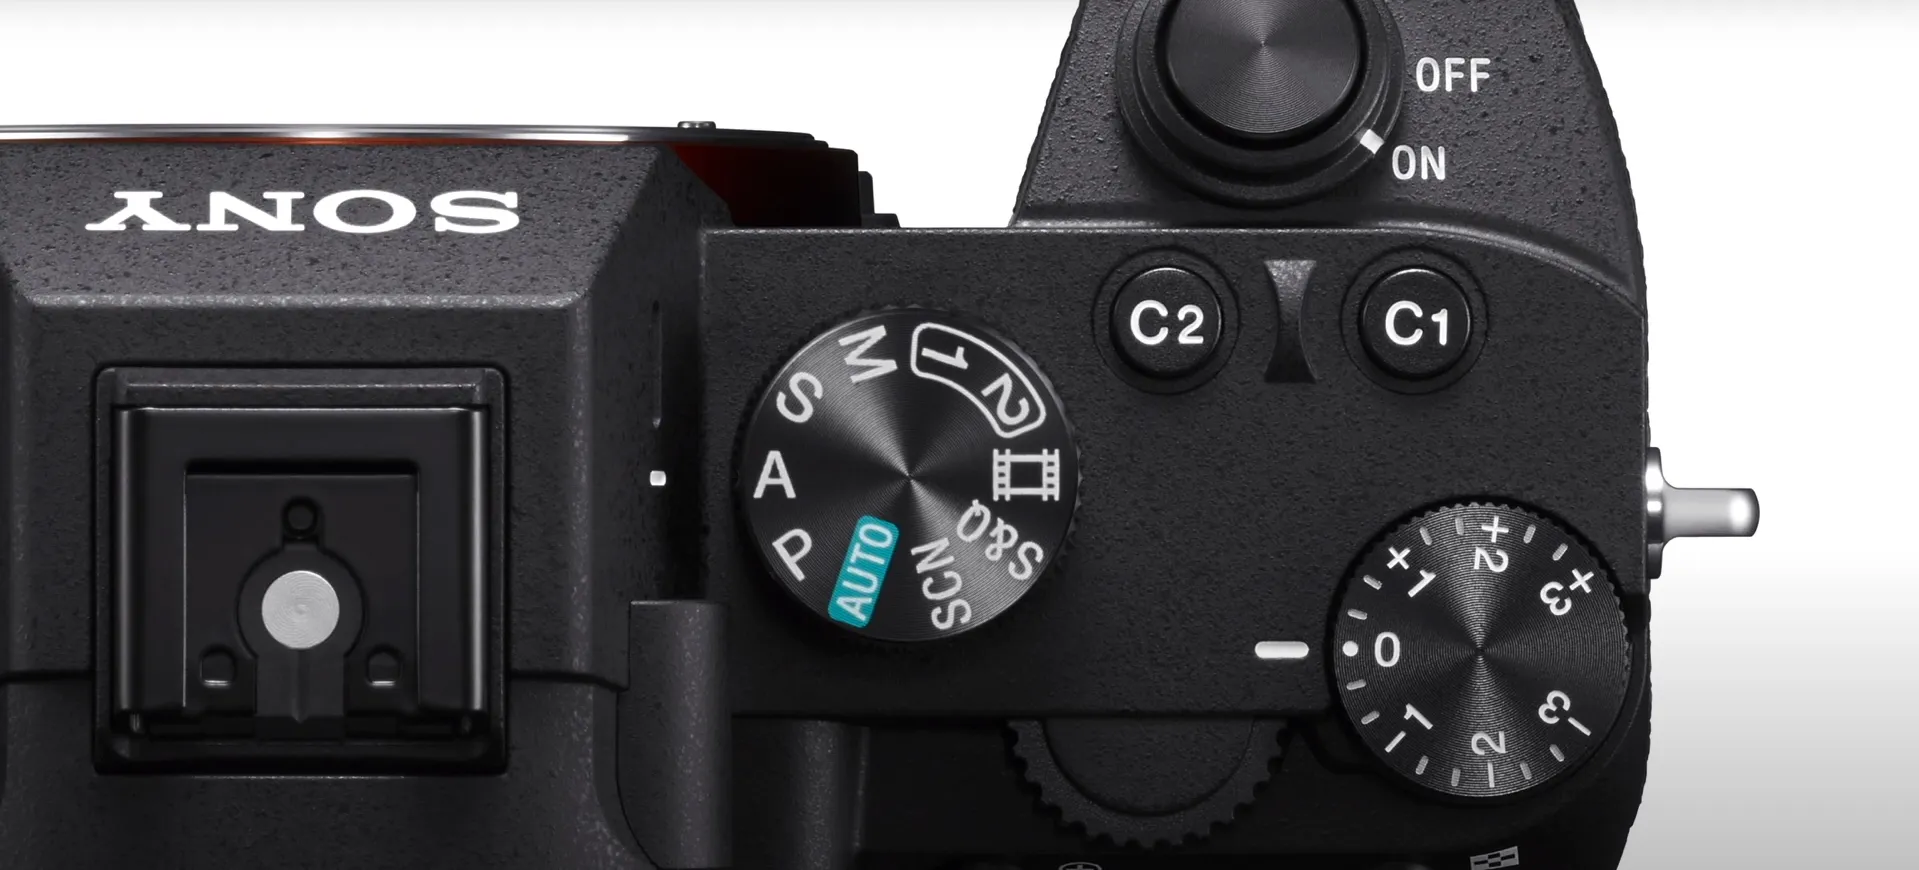
▲ Figure 2: The turntable on the body/from Sony Taiwan YouTube channel
Generally speaking, cheaper cameras have countless dial modes, such as flower, portrait, sports, etc., which provide users with preset parameters and intuitive operations. Generally speaking, the more expensive the camera, the less the dial mode, or even only P, A, S, M these four modes.
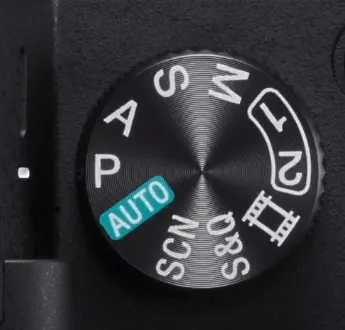
P mode (programmed automatic mode)
▲ Figure 3: Adjust to P mode
- Need to shoot quickly
- fleeting scene
- Sensitivity ISO
- flash mode
- exposure compensation
- Continuous shooting
- Metering mode
- focus mode
- focus area
- white balance
- aperture
- shutter
P is the abbreviation of Program, which means “program”. It is called program automatic mode. In this mode, the camera will automatically determine the aperture and shutter values for you. Compared with Auto mode, you can freely adjust parameters such as ISO sensitivity, focus point, metering mode, exposure compensation (Ev), white balance, etc.
Although SLR cameras with higher unit prices have fewer shooting modes to choose from, this mode is still provided so that users can quickly capture the scene they want to capture without having to worry about aperture and shutter values. It is a very convenient mode.
I rarely use this mode myself. I usually only use it when I have no time to adjust parameters and want to capture a certain moment. And protagonists who are relatively uncontrolled, such as animals and children, probably won’t just look at the camera without moving, so if you want to capture a moment, this mode is more suitable for shooting.
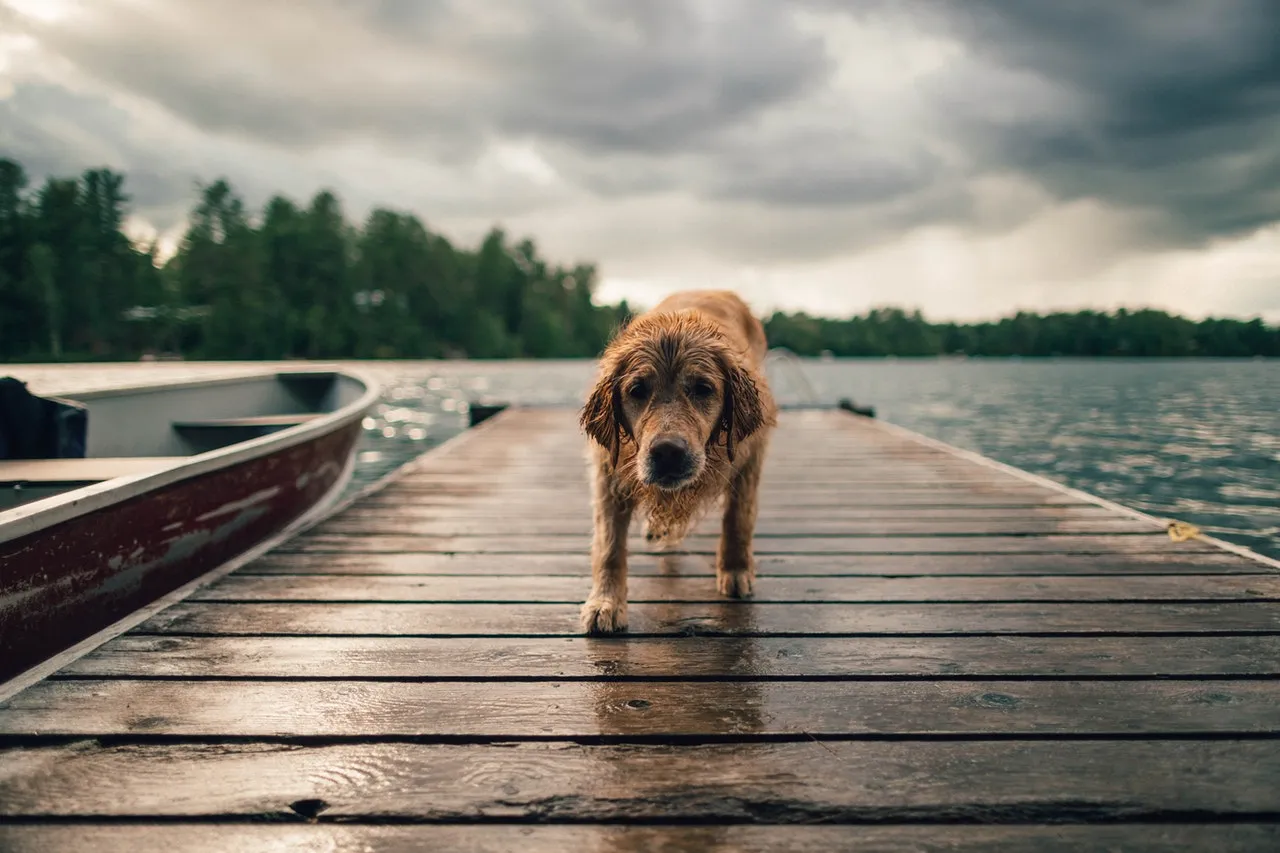
▲ Figure 4: Animals often have soothing images / from Pexels

▲ Figure 5: Babies’ movements are difficult to control/from Pexels
But in this mode, you will occasionally be disappointed. For example, you expected that this composition would have bokeh at a large aperture, but the camera decided that a small aperture would be better. You hope to capture a freeze-frame shot of a racing car moving at high speed, but the camera determines that the slow shutter speed is causing the car to be blurry. The editor has encountered these situations and knows that the lost beauty will never appear again.
Therefore, if your heart is alreadyIf you have expected effects or ideas, please remember to switch to other shooting modes first!
By the way, I have shared how to take pictures of children before, the link is below.
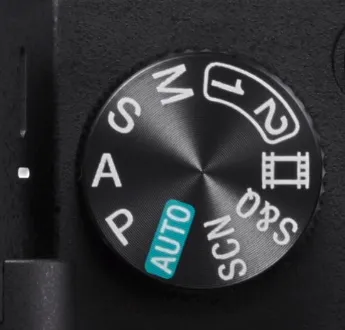
A mode (aperture priority mode)
▲ Figure 6: Adjust to A mode
- Emphasize the subject
- Photographing starbursts
- aperture
- Sensitivity ISO
- flash mode
- exposure compensation
- Continuous shooting
- Metering mode
- focus mode
- focus area
- white balance
- shutter
A is the abbreviation of Aperture, which means “aperture”, so it is called aperture priority/priority mode (Canon cameras are called Av mode, or camera Av mode). In this mode, you can determine the aperture size, and the camera automatically calculates the shutter speed. You can also freely adjust parameters such as ISO sensitivity, focus point, metering mode, exposure compensation (Ev), white balance, etc.
The size of the aperture will directly affect the degree of bokeh. The larger the aperture, the more obvious the bokeh and the blur of the background. It can be used to emphasize the subject, which is the concept of shallow depth of field. You can directly look at the schematic diagram below to get a clearer picture. Using a large aperture can blur the surrounding people and things.

▲ Figure 7: If you want to highlight the girl in the middle of the picture, adjust the aperture to a large aperture

▲ Figure 8: If you want the background to be clear, adjust to a small aperture
Also be reminded that the size of the aperture will directly affect the brightness and darkness of the picture. If the aperture is too small, a tripod is required to prevent the image from shaking!
Let me show you more examples below to deepen your impression.
Large aperture
光圈越大,畫面中的背景越模糊,非常適合用來突顯拍攝主體,讓觀眾可以明確知道攝影師要傳達什麼重點。
When I took the food photo below, I particularly wanted to show the luster of the meat slices and shrimp and the graininess of the rice grains. I took the water glass as a foil, but I didn’t want it to be photographed too clearly, so I used a wide aperture to take the photo.
As for the Sloth Bear puppet, it felt soothing to lie down like this, so I positioned it right and took a photo to emphasize the main subject in the photo. The surrounding Sloth Bear puppets were also used as foils, so I used a larger aperture of f/3.5. (Lazy girl OS next to me: Why don’t you take a picture of me!)。
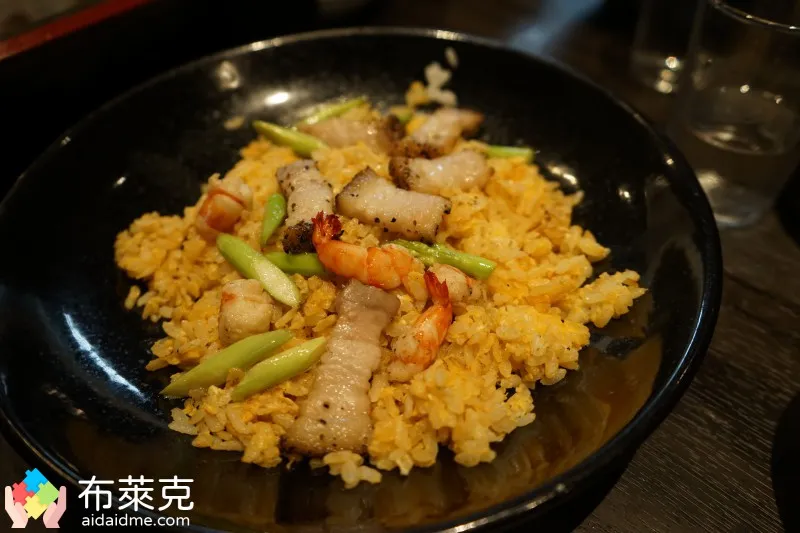
▲ Figure 9: Emphasizing delicious food, it looks more inviting. Aperture f/3.5/Shutter 1/60 sec/ISO 640

▲ Figure 10: Emphasis on the puppets, letting the audience clearly know the protagonist. Aperture f/3.5/Shutter 1/50 second/ISO 500
Regarding the tips for photographing delicious food, the editor has shared it before. If you are interested, you can refer to the article below!
small aperture
光圈越小,畫面中的景物都很明顯又清楚,有時候風景照也適合用小光圈來拍攝。另外,在小光圈 f/8 以後搭配三腳架適合用來拍攝路燈的星芒效果。
When I take pictures of buildings, panoramic photos, landscape photos, etc., I usually narrow the aperture a little. How small the aperture is depends on the composition I want to present. For example, the scenery around the Kinkakuji Temple in Japan is full of trees, and there is no sense of inconsistency when photographed together. It even has a bonus effect, so naturally I use a small aperture.
Keep the aperture narrowed and shoot directly at a place with light to capture beautiful starbursts. Generally, setting the aperture to f/8 will allow you to capture starbursts. Just narrowing the aperture will reduce the amount of light entering, and you may need to use a tripod to avoid camera shake.
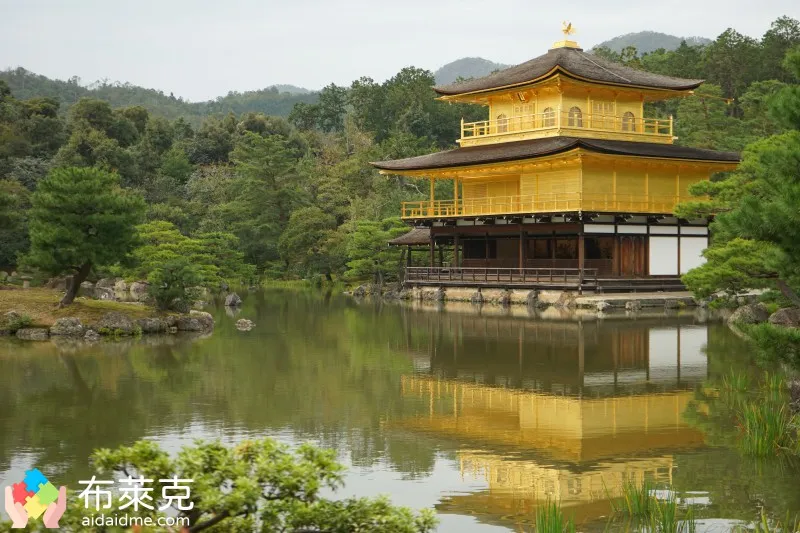
▲ Figure 11: The outline of the scene is clear/Kinkakuji Aperture f/5/Shutter 1/160 second/ISO 160
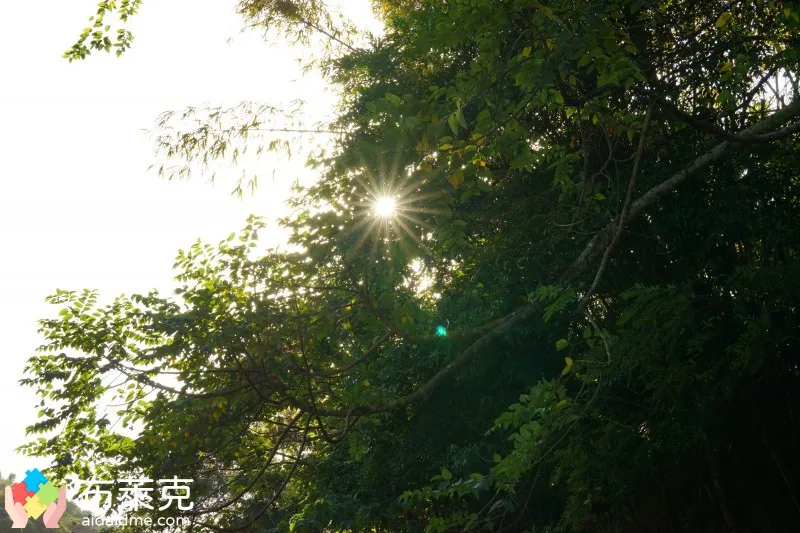
▲ Figure 12: Starburst/Longtan Thousand Layers Waterfall Aperture f/22/Shutter 1/80 second/ISO 640
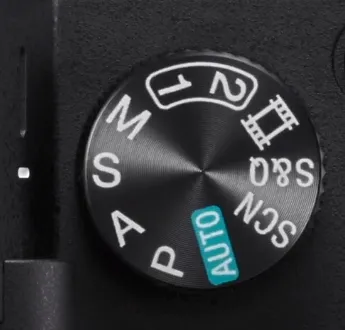
S mode (shutter priority mode)
▲ Figure 13: Adjust to S mode
- sports events
- wild animals
- Rail light and shadow
- Light and shadow graffiti
- fireworks bloom
- shutter
- Sensitivity ISO
- flash mode
- exposure compensation
- Continuous shooting
- Metering mode
- focus mode
- focus area
- white balance
- aperture
S is the abbreviation of Shutter, which means “shutter”, so it is called shutter priority/priority mode (Canon cameras are called Tv mode, or camera Tv mode). In this mode, you can decide the shutter speed, and the camera will automatically calculate the aperture size. You can also freely adjust parameters such as ISO sensitivity, focus point, metering mode, exposure compensation (Ev), white balance, etc.
If the subject is a moving person or animal, you can use a high-speed shutter speed to freeze their movements, or you can use a slow shutter speed to create an endless stream of dynamic photos.
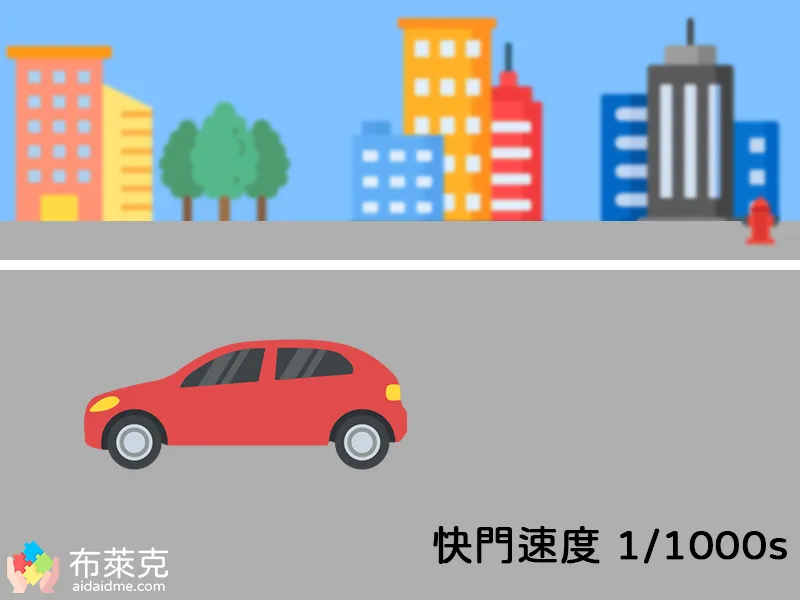
▲ Figure 14: If you want to freeze the moment when an object is moving, adjust to a high-speed shutter
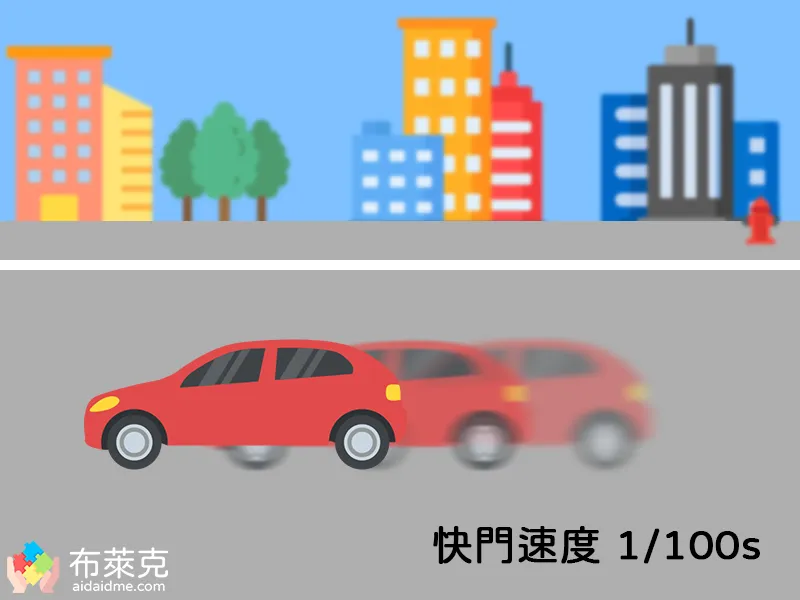
▲ Figure 15: If you want to maintain a sense of movement, adjust to a slow shutter speed
Also be reminded that the shutter speed will directly affect the brightness and darkness of the picture. A shutter speed that is too slow also requires the assistance of a tripod to prevent the image from shaking!
Let me show you more examples below to deepen your impression.
high speed shutter
高速快門會讓進光量減少,畫面可能會暗一點,這時可以調高感光度 ISO 來輔助喔!
The driving speed of a go-kart is not considered racing-level, but for professional racing competitions, horse racing, football matches, etc., to capture moving cars, horses or athletes, and to capture condensed moments, a high-speed shutter speed of 1/500 second to 1/1000 second is more suitable.
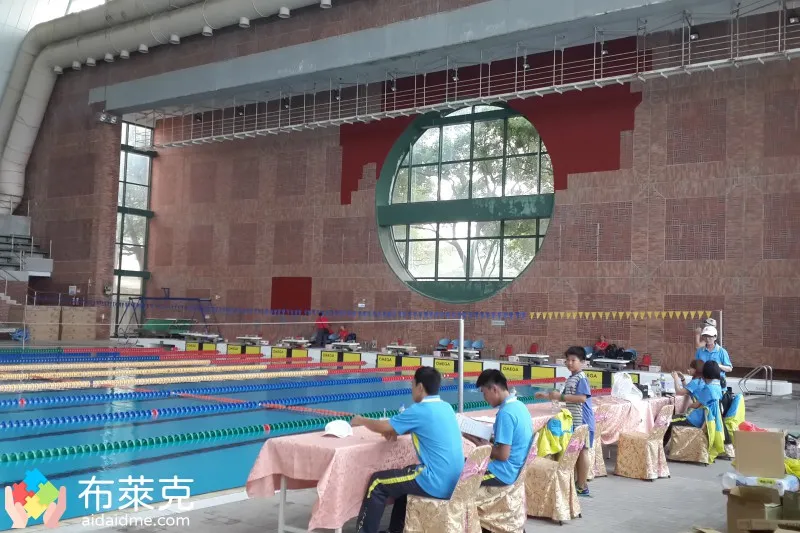
▲ Picture 16: Swimming competition/National Chung Cheng University
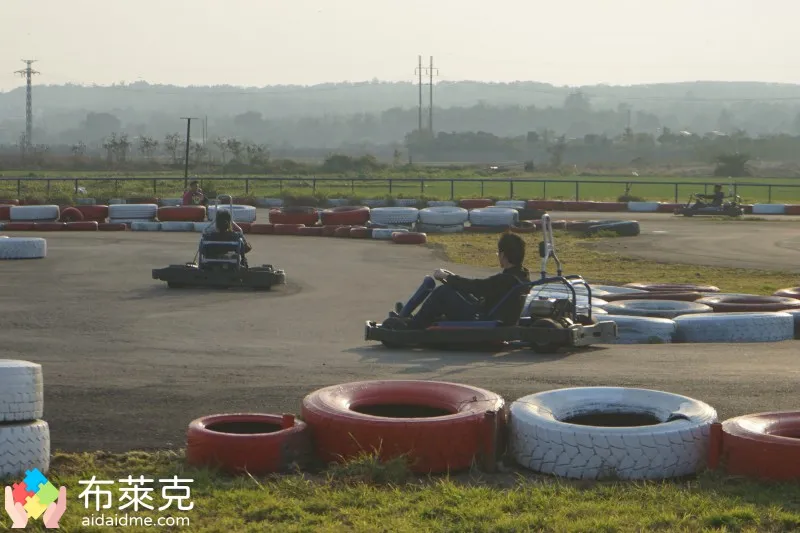
▲ Figure 17: Racing competitions are always exciting/Pingtung Kart Aperture f/6.3/Shutter 1/640 seconds/ISO 100
Wildlife is also an area that players who like to shoot landscapes will invest in. To capture fast-moving birds, a high-speed shutter of at least 1/1000 second is more suitable. As for the bird photography I took, because the shooting distance is relatively far, the birds can be captured without moving the lens quickly, so the shutter speed is slightly slower.
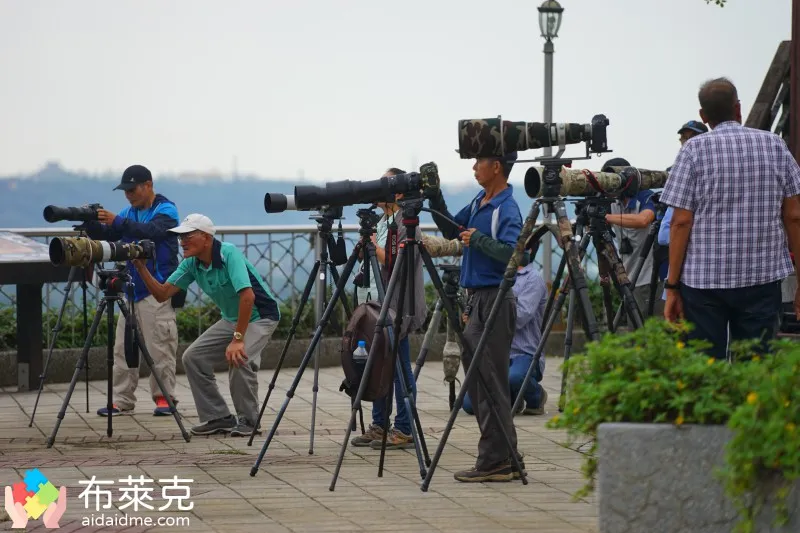
▲ Figure 18: Bird Photographer/Shimen Reservoir
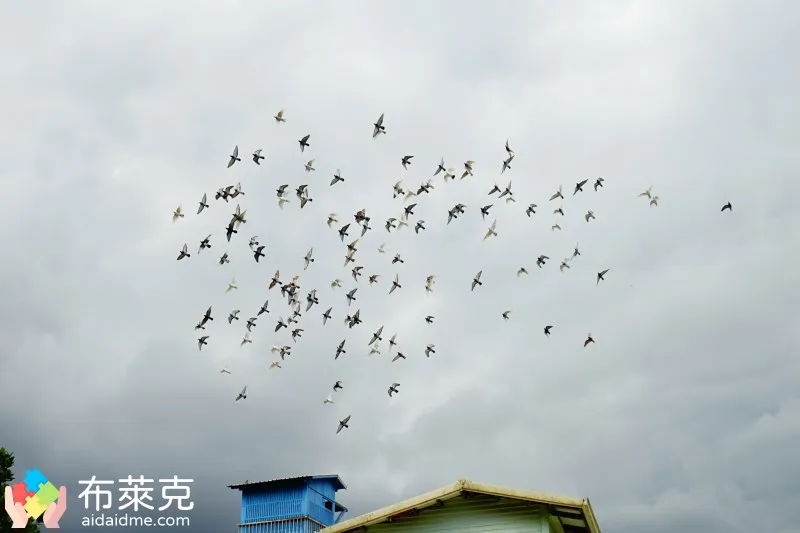
▲ Figure 19: Condensed moment of birds flapping their wings/off-line pasture aperture f/4.5/shutter 1/640 sec/ISO 100
slow shutter speed
低速快門會讓進光量增加,畫面可能會過度曝光,這時可以調降感光度 ISO、光圈或是搭配減光鏡來輔助喔!同時也需要三腳架需要輔助攝影工作。
Photographing the continuous trickle of a waterfall is what many photographers pursue. This kind of beautiful photo does not require a long waiting time. You only need to slow down the shutter speed to about 2 seconds. The waterfall photo I took was placed on a horizontal surface, the aperture was narrowed, and the shutter speed was slowed down.
To take photos of blooming sparks, you need to adjust the aperture size appropriately, otherwise it will be very easy to be overexposed or too dark. But it is not easy to capture the moment when fireworks bloom. Sometimes you think the sparks just now are big and beautiful, but the camera may not capture it. This requires many adjustments, but the release time of fireworks is usually very short, and it is a subject that requires accumulated experience.
For example, there is a little story when I went to Hualien to take photos of the National Day fireworks. At that time, I wanted the sparks to be big and wide, but I was too obsessed with taking pictures of the blooming moment. As a result, almost all of the 30-minute fireworks were watched by staring at the small screen of the camera. It was really not fun! When I think about it later, I feel that it is a pity that I came all the way to see it without taking a closer look!
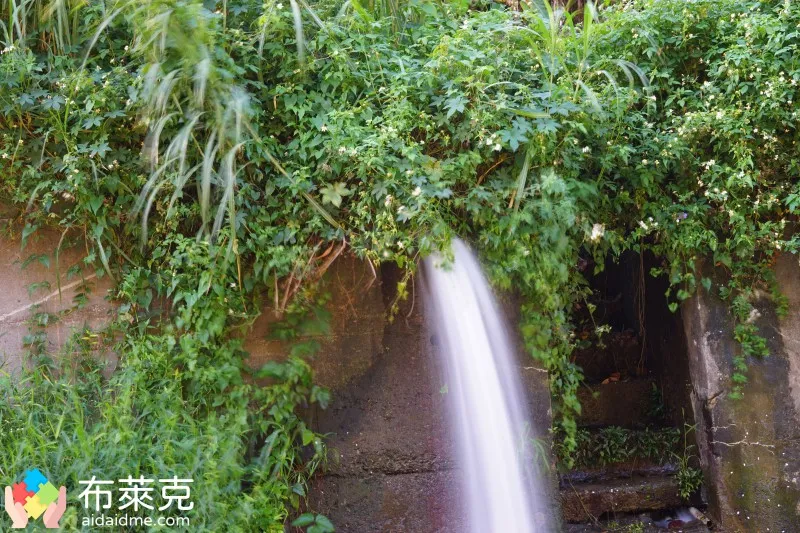
▲ Figure 20: Continuous water flow of waterfall/Longtan Thousand Layers Waterfall Aperture f/22/Shutter 1.6 seconds/ISO 100
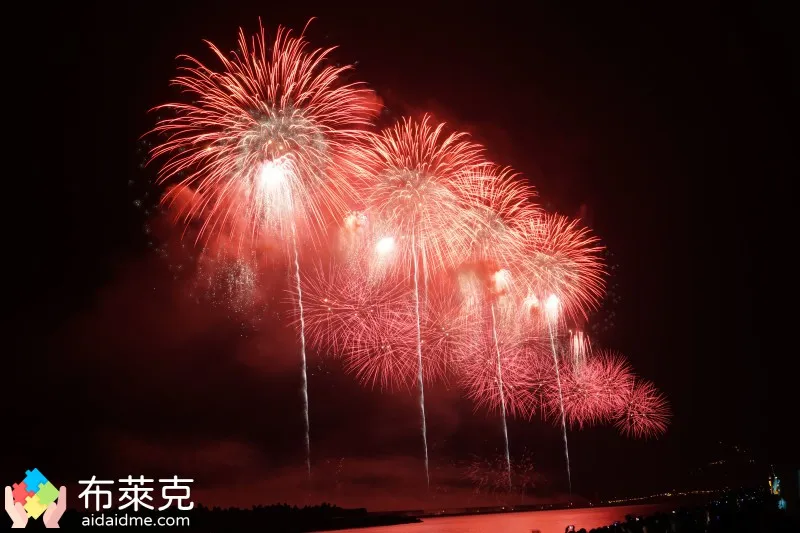
▲ Figure 21: National Day Fireworks/Hualien Port Aperture f/18/Shutter 11 seconds/ISO 200
Shooting the light and shadow of train tracks or using light to paint graffiti are visual effects that many people like. Such themes are also created using slow shutter speeds. For example, this light graffiti was taken by waving a flashlight quickly in the darkroom, and it was not difficult to actually take the picture.
The light and shadow of the rails are even simpler. Just place the camera at an intersection with heavy traffic, and then set a slow shutter speed to take pictures. When I took this photo, I may have forgotten to bring UV protection glasses when I was in a hurry to go out, so there was some glare on the photo.
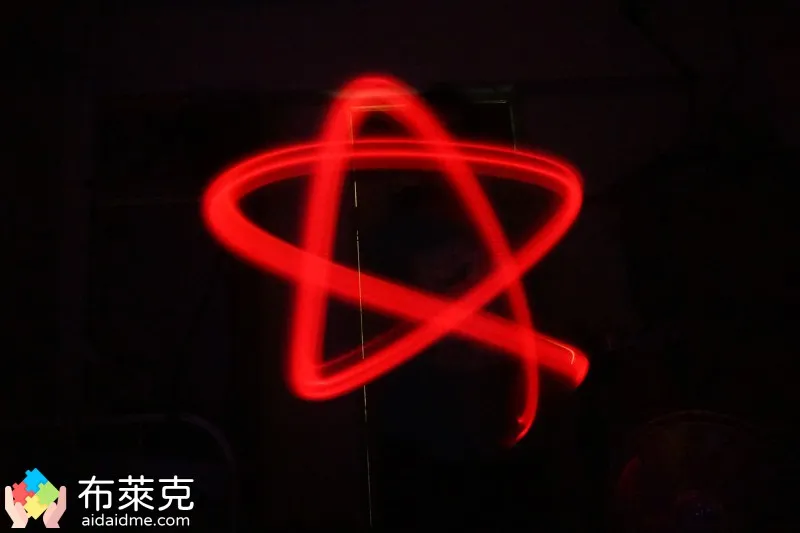
▲ Figure 22: Light and shadow graffiti/Aperture f/3.5 in the darkroom/Shutter 3.2 seconds/ISO 6400
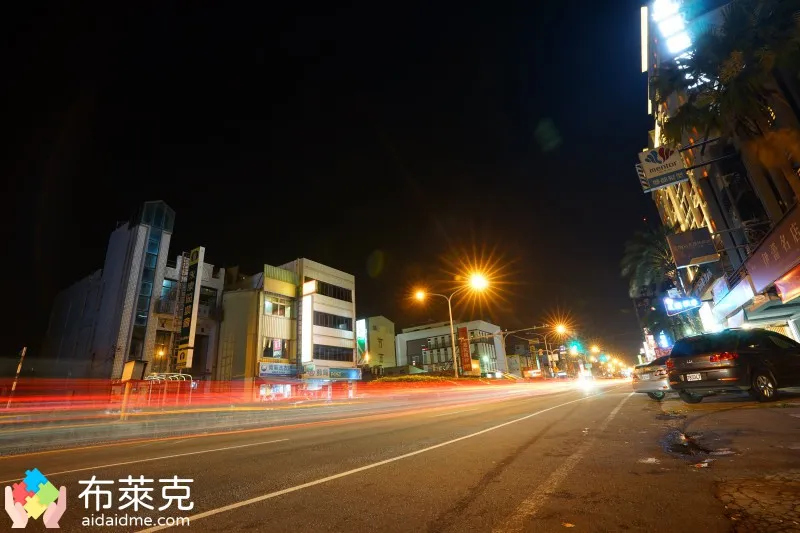
▲ Figure 23: Track light and shadow/Intersection with heavy traffic Aperture f/11/Shutter 20 seconds/ISO 100
The rather dreamy star trail theme is also achieved using shutter priority. It usually takes about ten minutes to several hours to shoot. You can manually open or close the shutter by setting “B shutter”. As for the shooting methods of train tracks and fireworks, I have also put them below for your reference.
M mode (manual mode)
▲ Figure 24: Adjust to M mode
- Meet newbies in photography
- Clarify the concept of photography
- aperture
- shutter
- Sensitivity ISO
- flash mode
- Continuous shooting
- Metering mode
- focus mode
- focus area
- white balance
M is the abbreviation of Manual, which means “manual”, so it is also called manual mode. In this mode, any parameter can be adjusted freely, and it is all set based on your own shooting experience. Because all exposure parameters are controlled by yourself,Exposure compensation function cannot be used in manual mode. Even if it can be adjusted, there will be no darkening or lightening effect.
If you are not familiar with light metering, it is easy to encounter overexposure or underexposure. In this case, you can judge it through the exposure indicator (also called a light meter) in the camera.
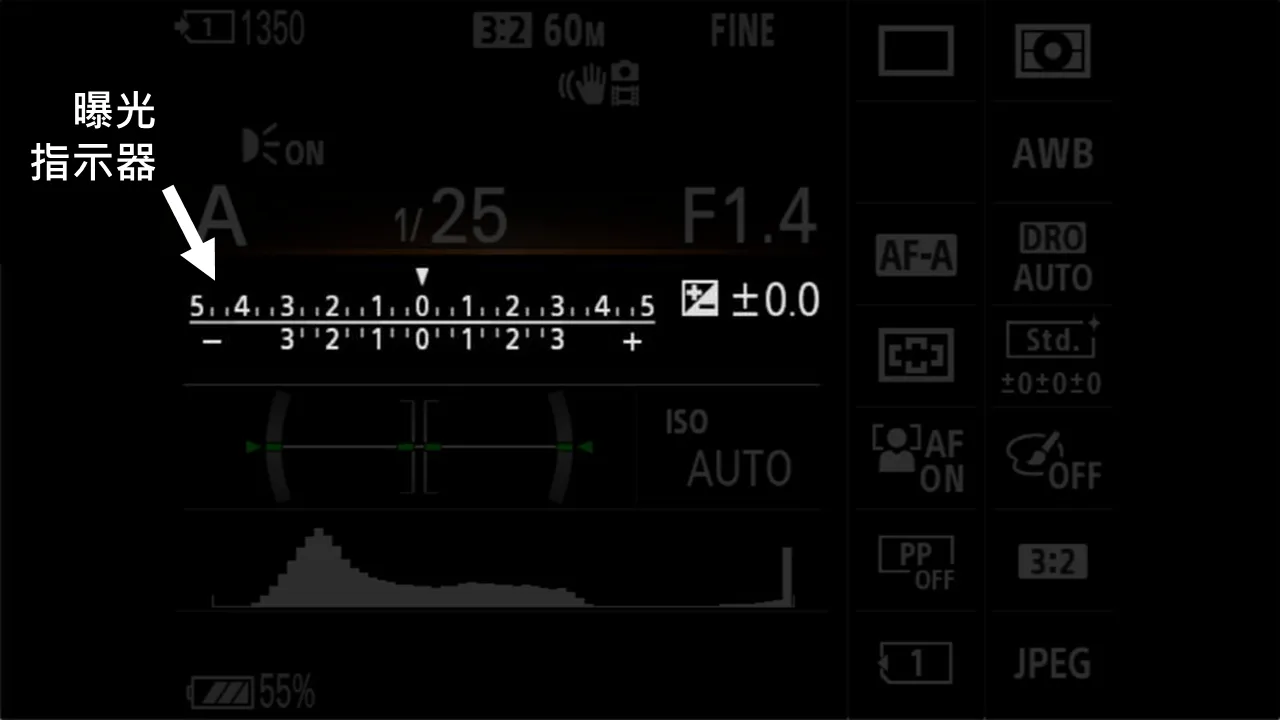
▲ Figure 25: Exposure indicator (light meter) on the camera/from Have Camera Will Travel
Regarding the method of camera metering, which is a bit more complicated, I wrote another article to supplement the content. You can read this article first.
You can look for the exposure indicator as shown below in the electronic viewfinder or the camera’s LCD screen. After finding it, try to adjust the aperture or shutter speed in M mode. You will find that the slider above will move left and right. The left side means that the underexposed picture is too dark, and the right side means that the overexposed picture is too bright. It is more appropriate to keep the slider in the middle as much as possible.
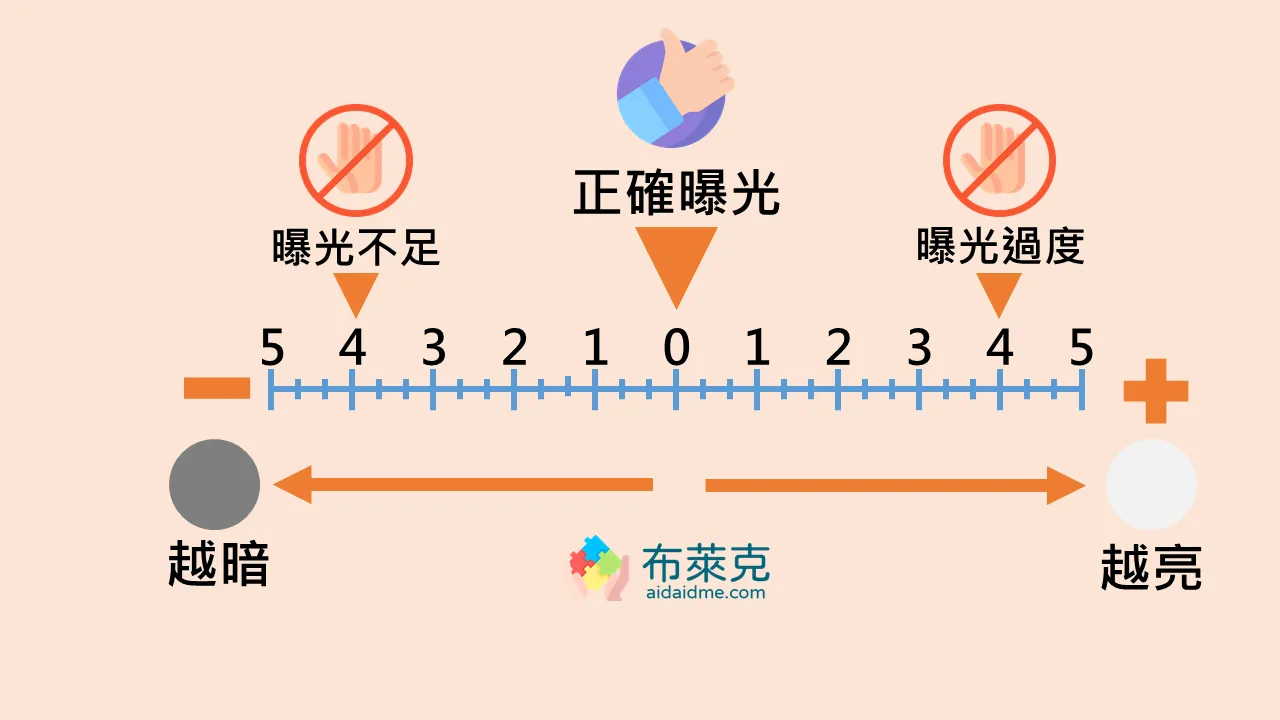
▲ Figure 26: How to interpret the exposure indicator
Because any parameter can be adjusted freely, you can take any very creative photos, but try to avoid the following situations! Unless that’s an intentional effect you want, that’s another matter.
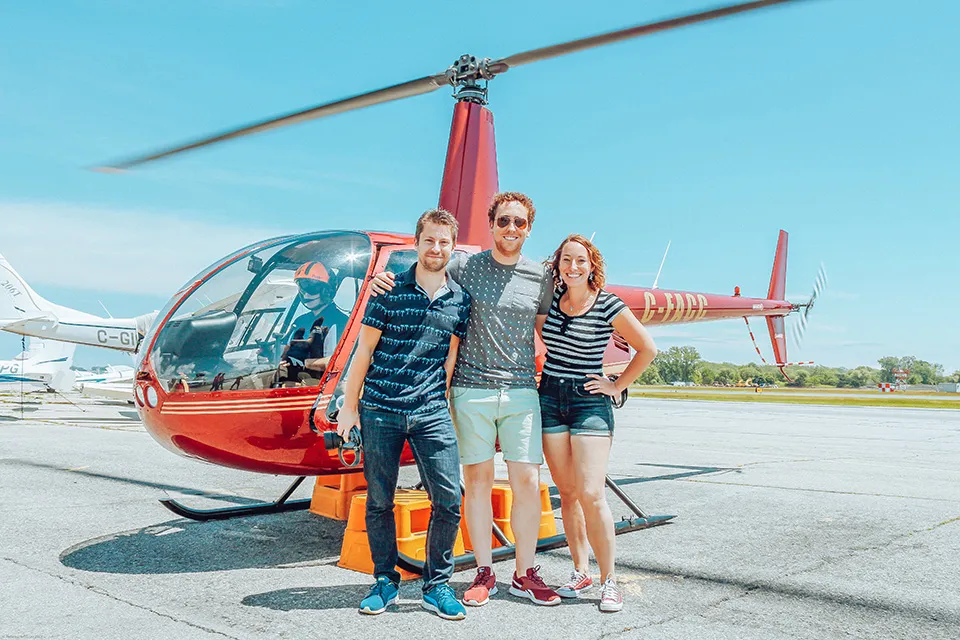
▲ Figure 27: Group photo with friends/from Pexels
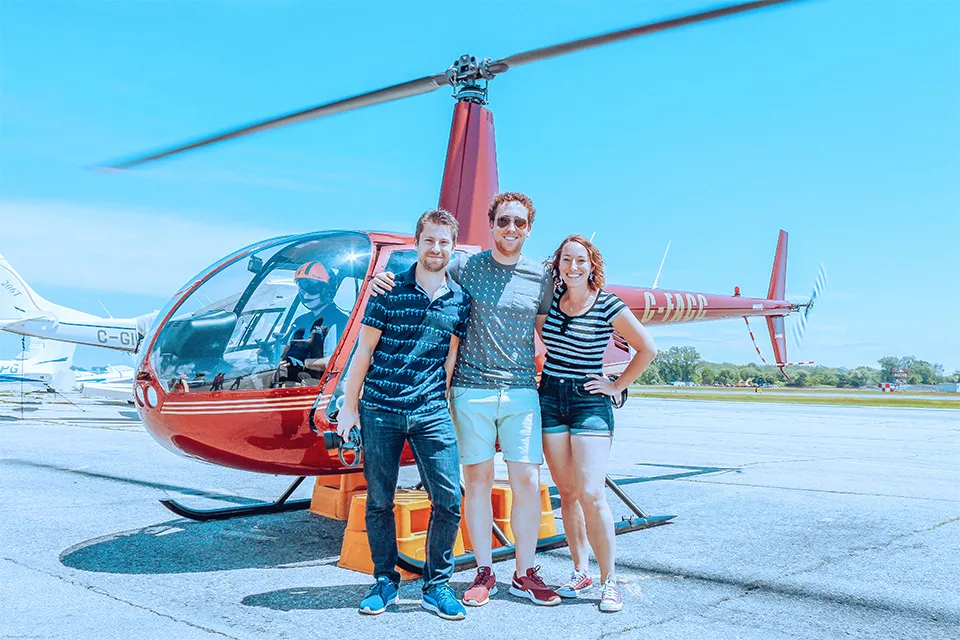
▲ Figure 28: Adjust to cold color/schematic diagram
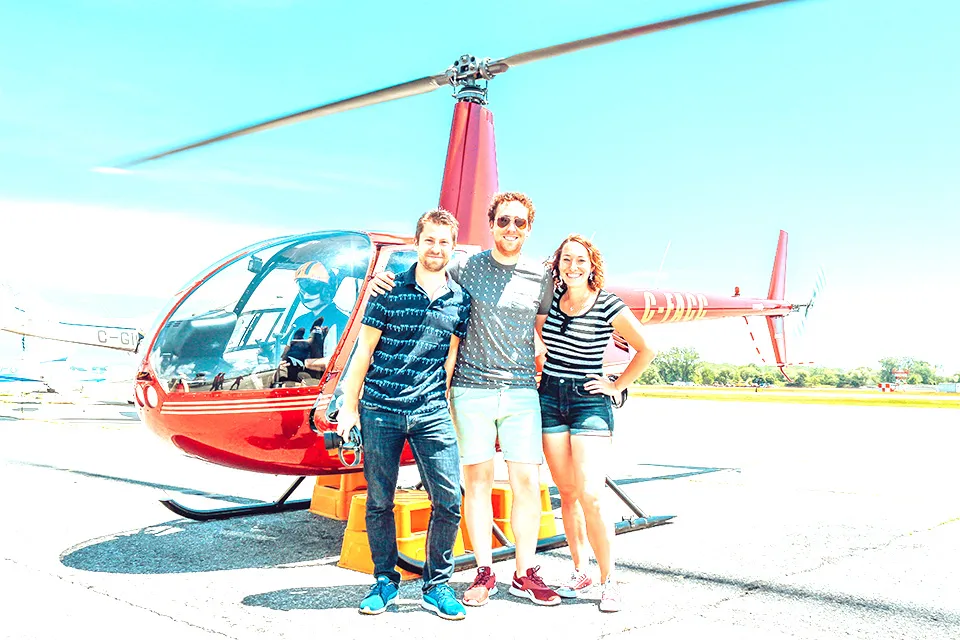
▲ Figure 29: Overexposure/schematic diagram
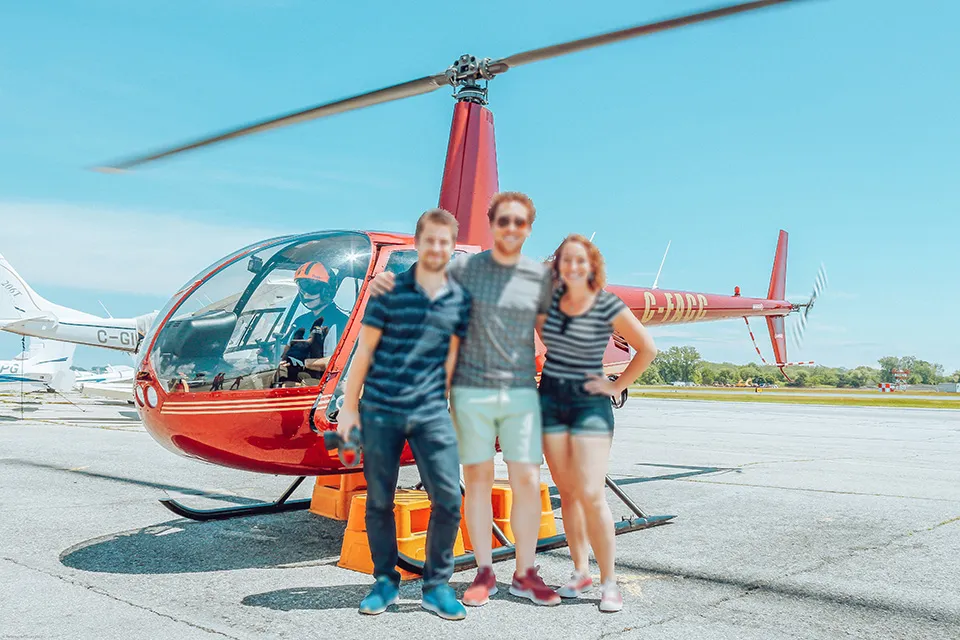
▲ Figure 30: Adjusting manual focus and blurring people/schematic diagram
M mode is only used by “professional” photographers! crack lost
Many people think that using M mode is more powerful. After all, you can adjust any parameters yourself and talk to others, and then criticize other modes for being unprofessional.
World-famous landscape photographer Ansel Adams (1902-1984), shot in M mode.
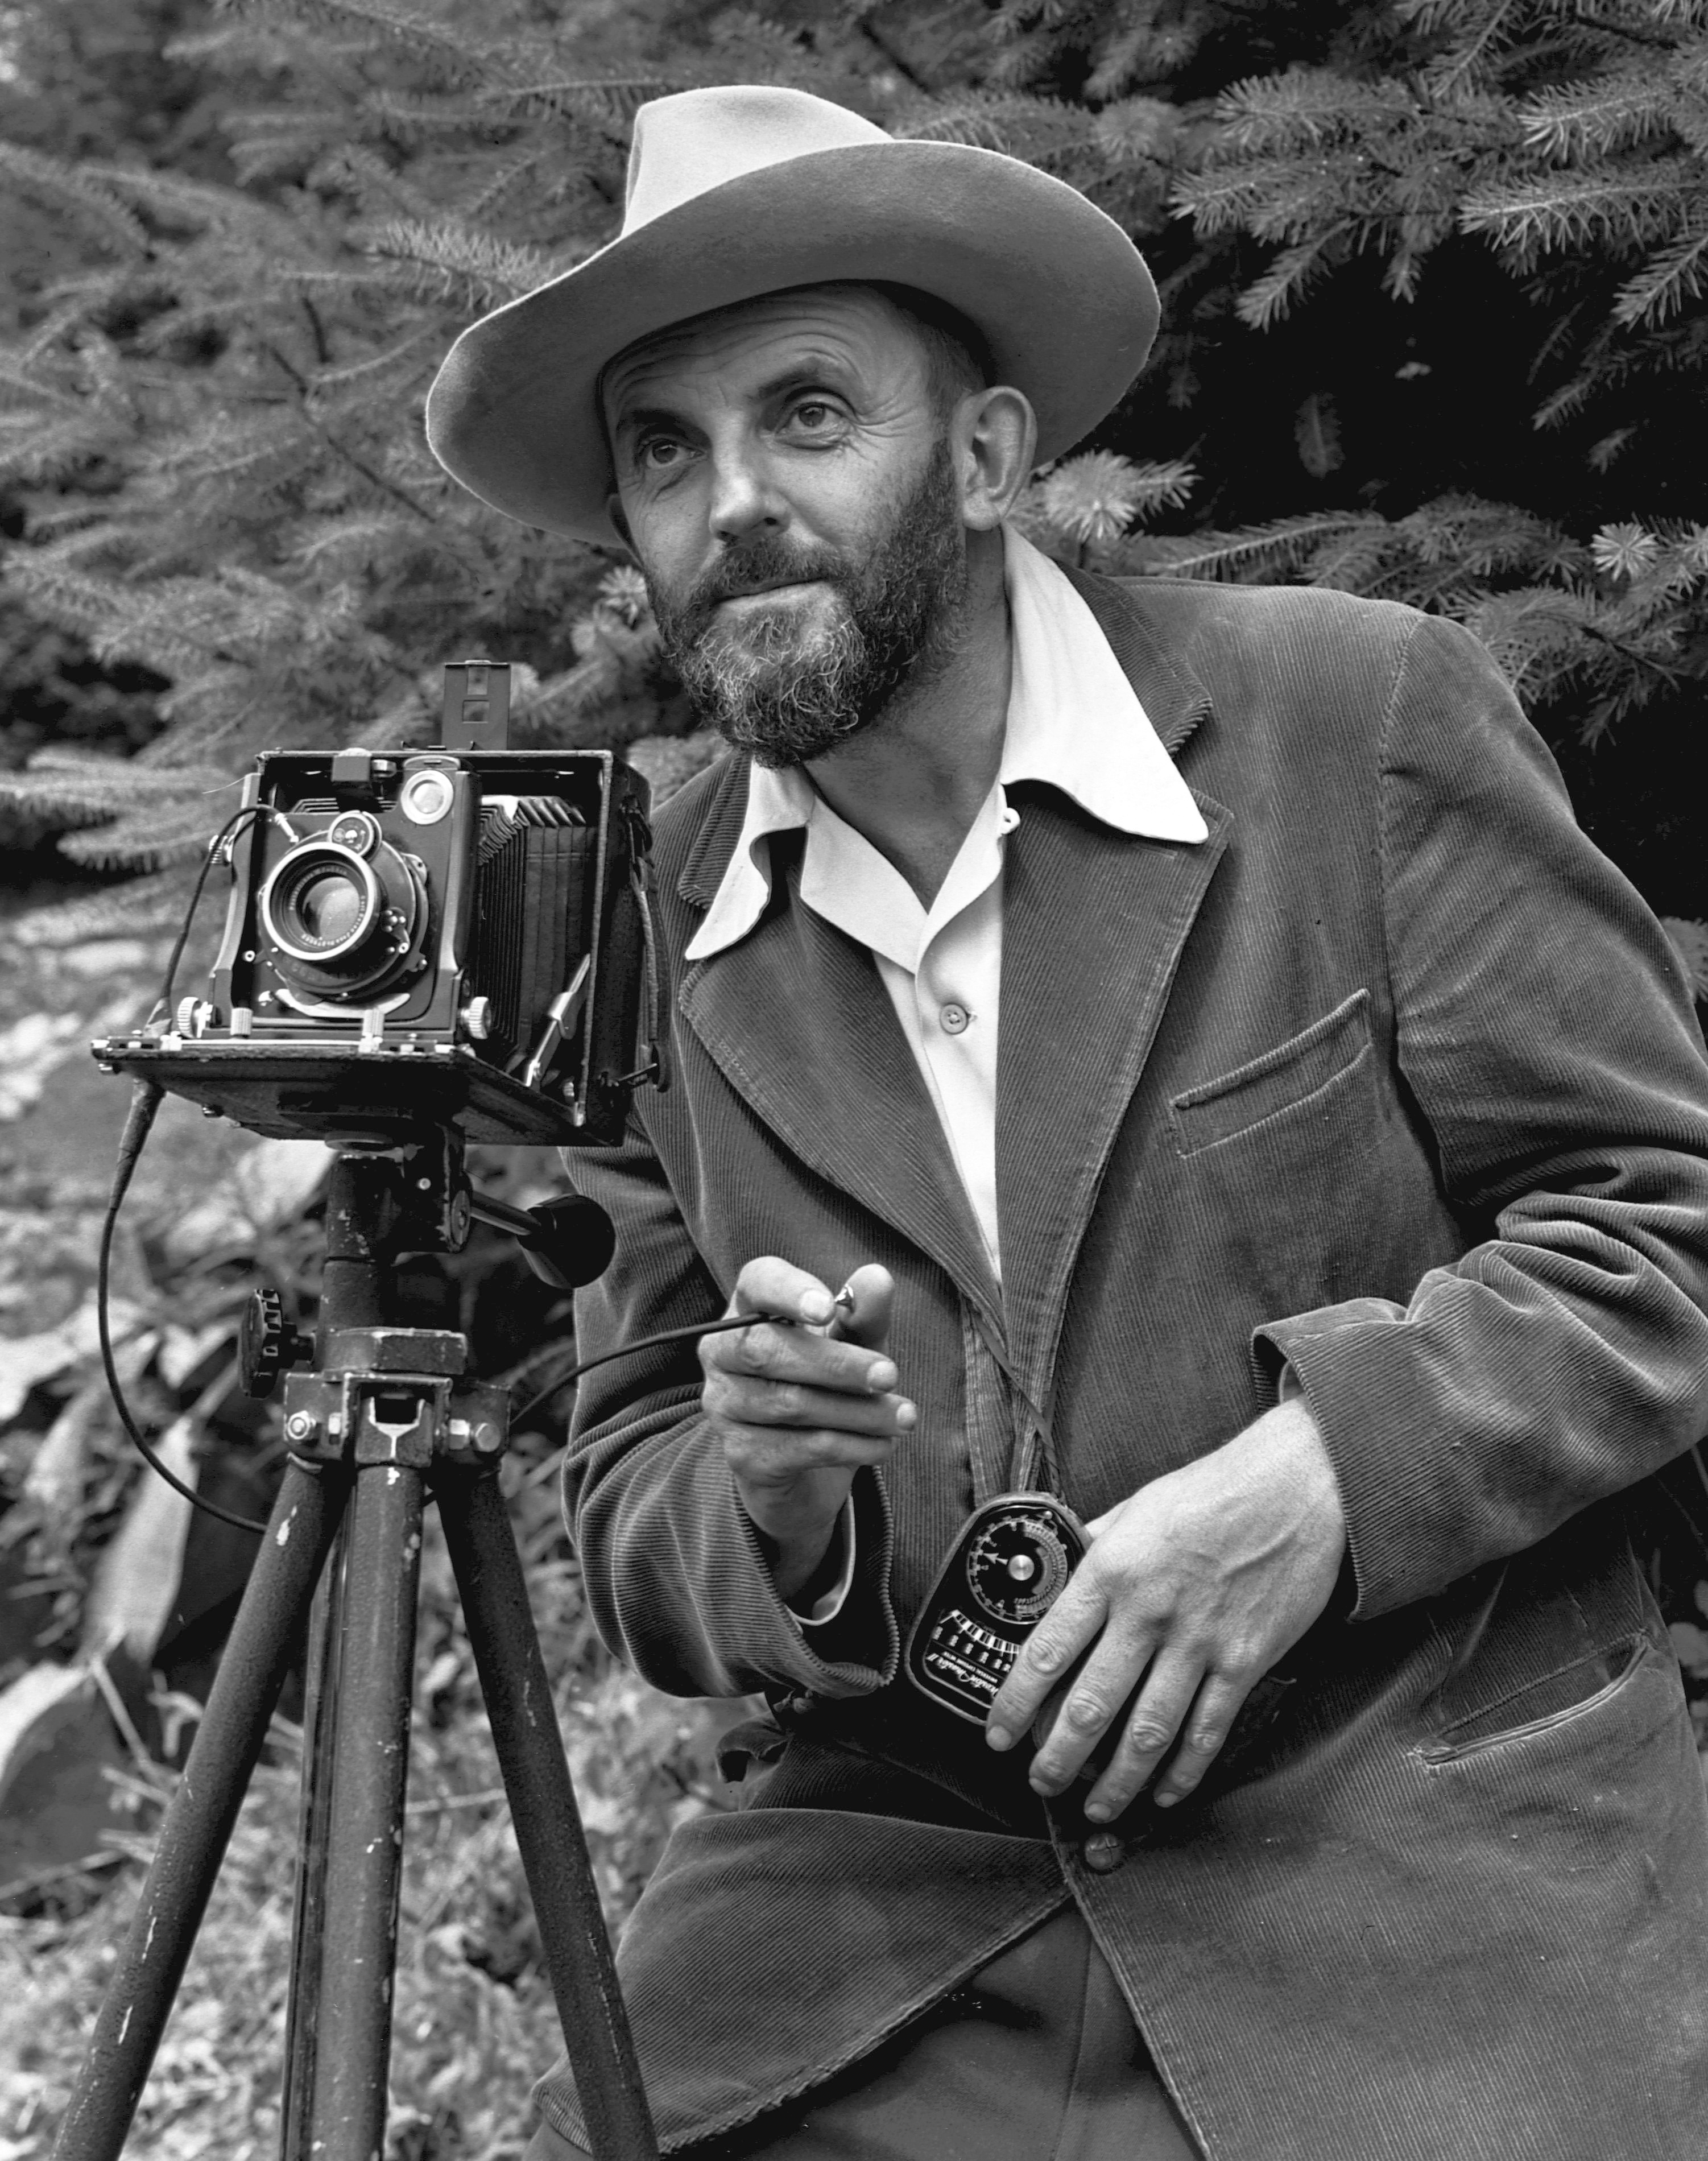
▲ Figure 31: Ansel Adams/from Wikipedia
In fact, the statement “M mode is only used by professional photographers” is only half correct. In the early days, there were only film machines. The built-in light meter in the camera at that time could not automatically measure the light, so the exposure parameters could only be measured by yourself or adjusted based on experience.
Later cameras became better and better. The camera could adjust according to the light it received, and could automatically meter and focus, making it easier for photographers to take a photo quickly. If the photography masters at that time had these excellent functions to use, I think everyone would be able to use them.
Therefore, the statement that “M mode is only used by photography masters” is self-defeating.
The M mode is more suitable for novices to practice photography. Although they have little photography experience in the early stage, they often encounter overexposure or underexposure. butIn the final analysis, this is still the old saying: “The more you shoot, the better it will be.”, this may sound like an irresponsible statement, but the fact is that it is really caused by not taking enough photos and the skills are not mature enough.
Pay more attention every time you press the shutter button, and carefully look at the relationship between aperture, shutter speed and sensitivity ISO on the camera screen. With more practice, you will be able to make correct judgments in different scenarios.
Because I like photos with shallow depth of field, I always use the large aperture of this lens to take photos in M mode. In broad daylight, you will definitely lower the sensitivity and ISO as much as possible to obtain the cleanest and noise-free photos. Then you can guess the shutter speed based on your previous shooting experience.
If you still don’t know what shutter speed to use, aside from referring to the exposure indicator, all you really have to do is take more photos, after all, practice makes perfect. Like many things, there is no shortcut to learning photography. Don’t get discouraged when you take one or two too dark photos. Practice more and more is the way to go!
Conclusion
Among the four shooting modes introduced today, I often use the aperture priority mode (A mode) during the day and let the camera decide the shutter speed for me. At night, due to insufficient light, I will switch to shutter priority mode (S mode) to maintain the shutter speed above a baseline to avoid hand shake.
Manual mode (M mode) was specially used when clarifying some concepts in the past, while program automatic mode (P mode) was rarely used.
You can refer to my usage mode, and I am not saying that my approach is necessarily correct. After all, each shooting mode is necessary. Make good use of the benefits that each shooting mode brings to us. The rest depends on your own shooting skills.Use your favorite composition to create and convey the image to your audience through the photos. This is also an important part of good photos that win people’s hearts.
If you like the above article, welcomeSubscribe to newsletter, and you will receive photography-related teaching articles!
by Engineer Blake
Source: KOCPC Chinese