


Although there are quite a few free Stable Diffusion AI image generation tools available online now, such as:Fast Stable Diffusion XL、Stable Diffusion Online、Tensor Art Wait, but since it’s a free model, I’m sure many people also want to try whether they can run it directly on their computer. In the past, the installation steps all required Python, which is genuinely a bit difficult for regular users. So this article is going to recommend another, simpler method: “ComfyUI,” for easily running Stable Diffusion AI drawing locally.
Besides Windows, ComfyUI also has a Mac version. Those who need it can refer to GitHub for installation instructions. This tutorial focuses on Windows.
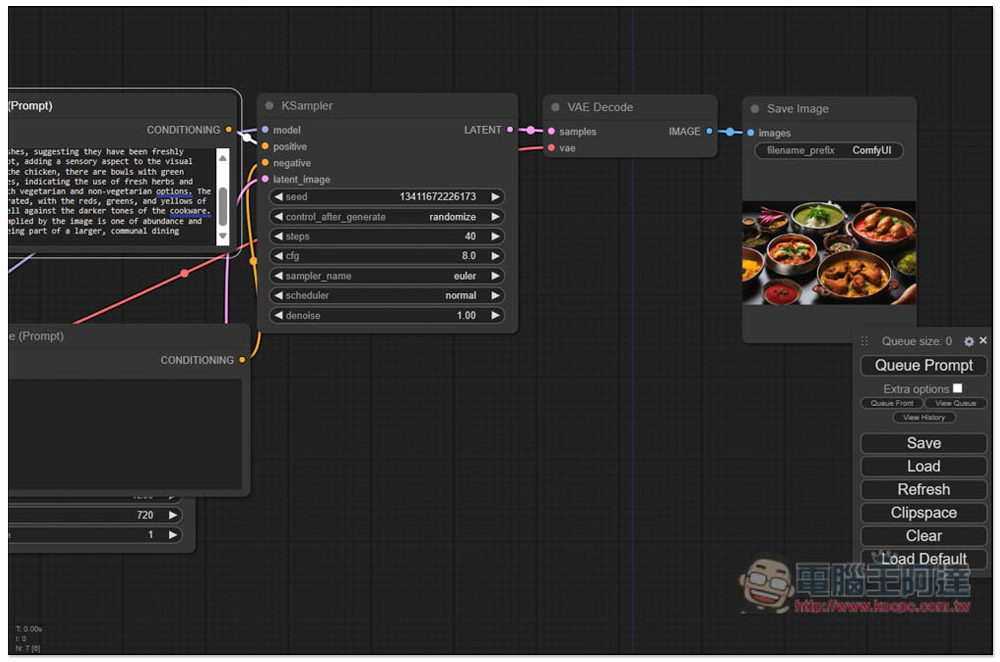
Teach you how to install Stable Diffusion on Windows, currently the simplest way to run it.
To run Stable Diffusion on Windows, you only need 4 steps—no technical background required.
- Download ComfyUI
- Download the specified Stable Diffusion file.
- Put the file into the ComfyUI folder.
- Start AI drawing
However, note that when creating images, the Prompt only accepts English input; Chinese is not supported. Additionally, through the ComfyUI used in this article, you can also install more. ComfyUI Manager Use management tools to get more nodes for higher-quality, more controllable AI drawing. Those who need it can research it on their own later.
1. Download ComfyUI
After clicking the link above to enter the GitHub project, scroll down to find the Installing section, click Direct link to download and it will start downloading. The file is about 1.34GB, and the format is 7-Zip:
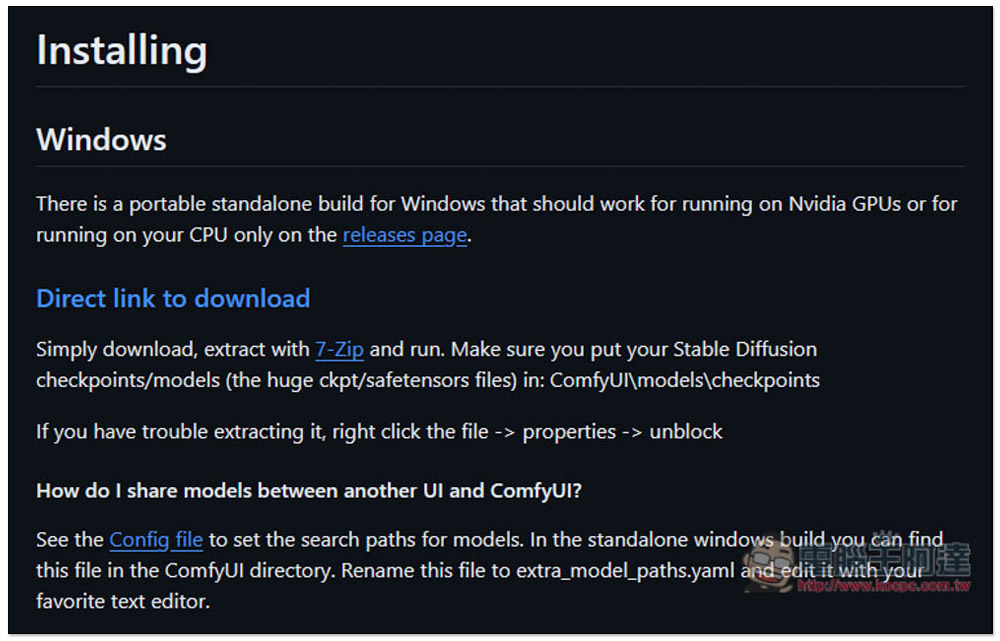
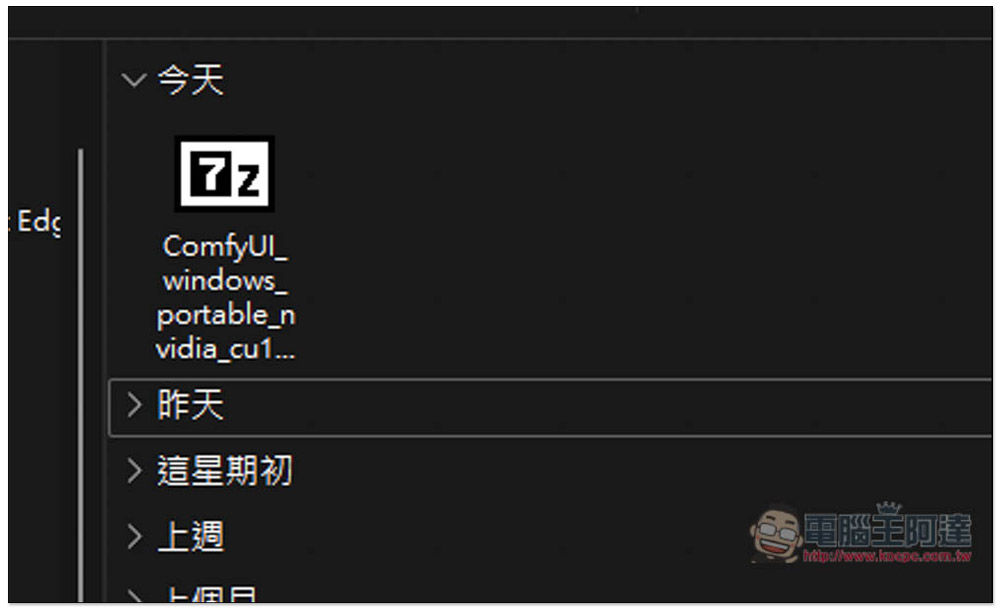
After downloading, please unzip:
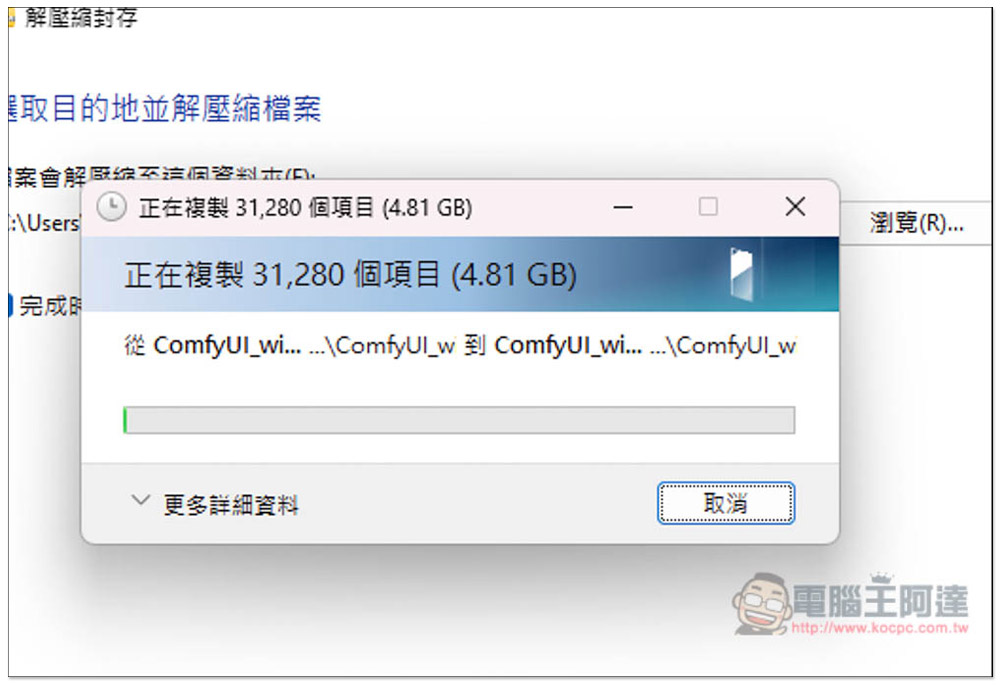
The uncompressed file is 4.81GB, which is quite large. With the model included, it is recommended to keep at least 50GB of storage space:
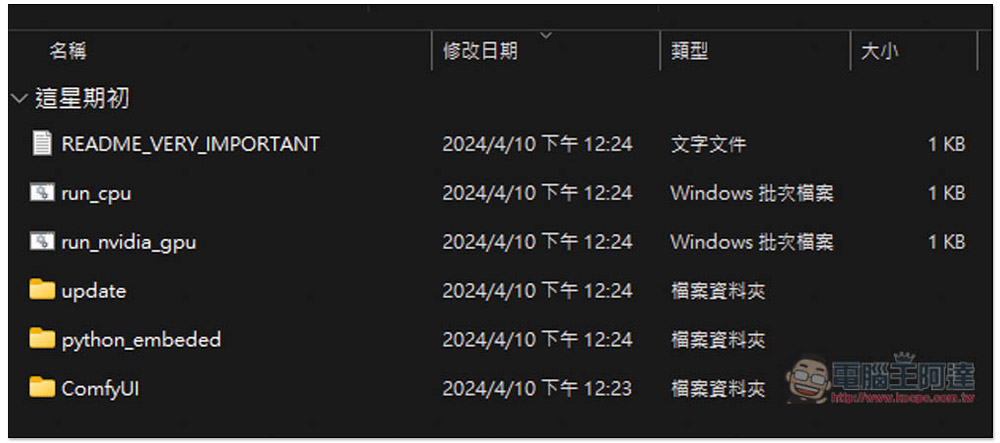
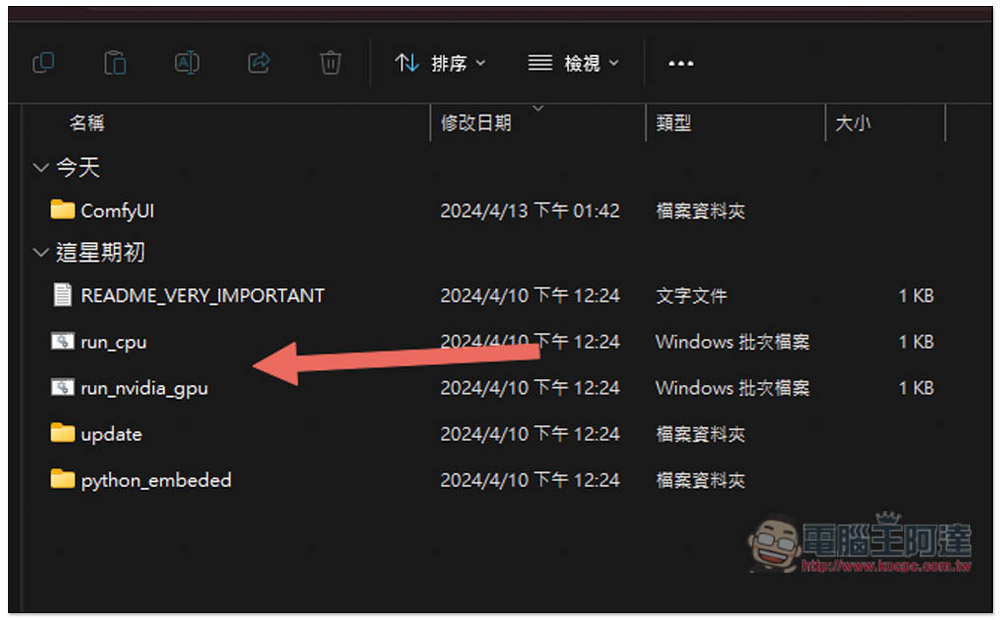
After decompressing, you will see these files. There are two executables, “run_cpu” and “run_nvidia_gpu”. As the file names suggest, if you have an NVIDIA graphics card with over 8GB VRAM, use run_vidia_gpu. It will be much faster than CPU rendering:
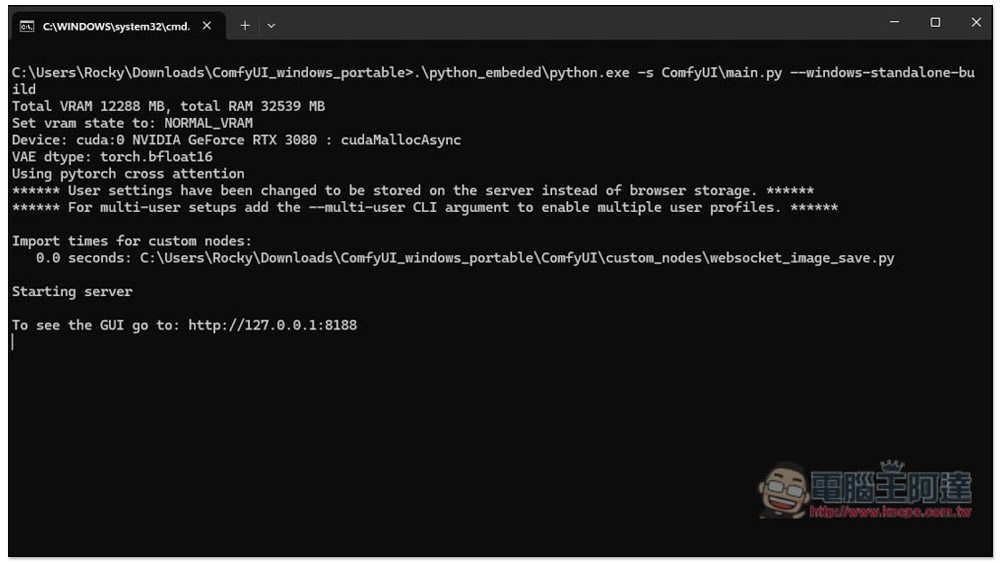
After double-clicking to run, a command prompt window will pop up. Wait for it to finish:
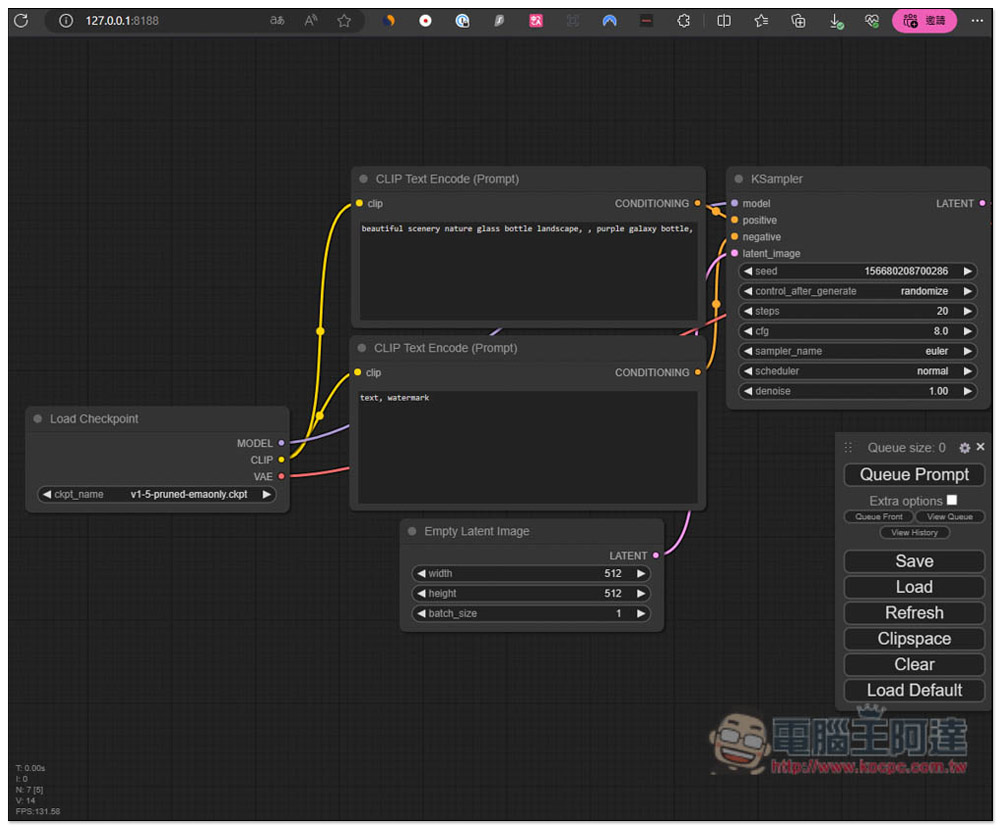
Then you’ll see the browser open a tab like this—this is the ComfyUI interface. It looks complicated, but it’s actually very simple. I’ll explain how to use it later:
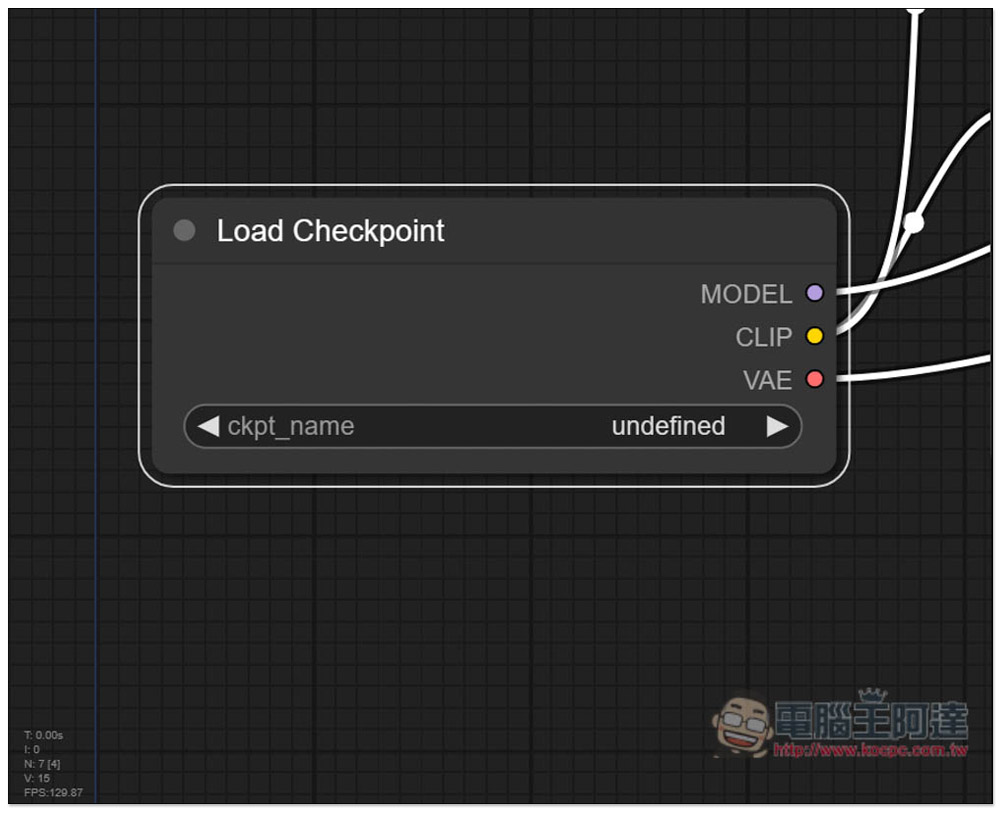
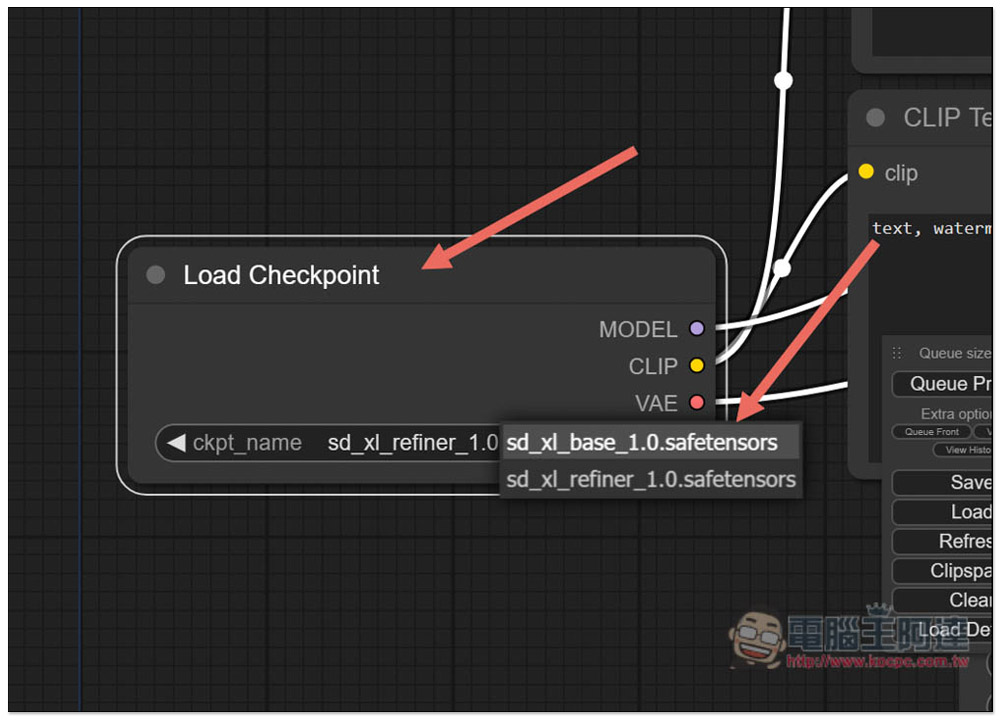
Currently, there are no models at the start, so the Load Checkpoint on the far left has nothing to select:
2. Download the specified Stable Diffusion file
There are a total of 3 files to download:
First, click the link above to go to the Base 1.0 page, then scroll down:
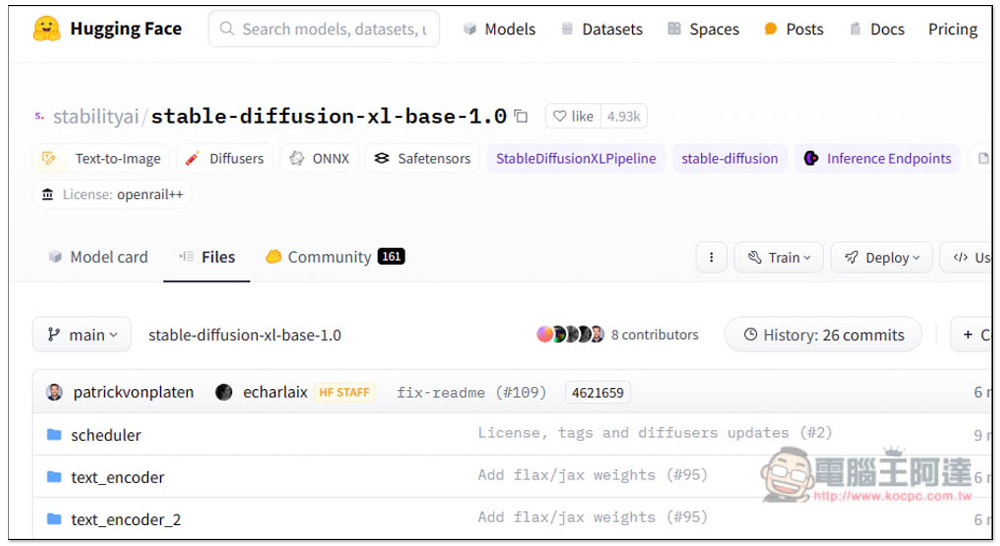
Download the file that ends with safetensors; this is the base model for Stable Diffusion XL:
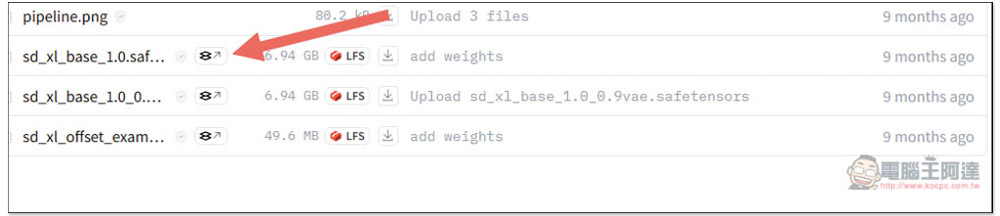
Next is Stable Diffusion XL Refiner 1.0:
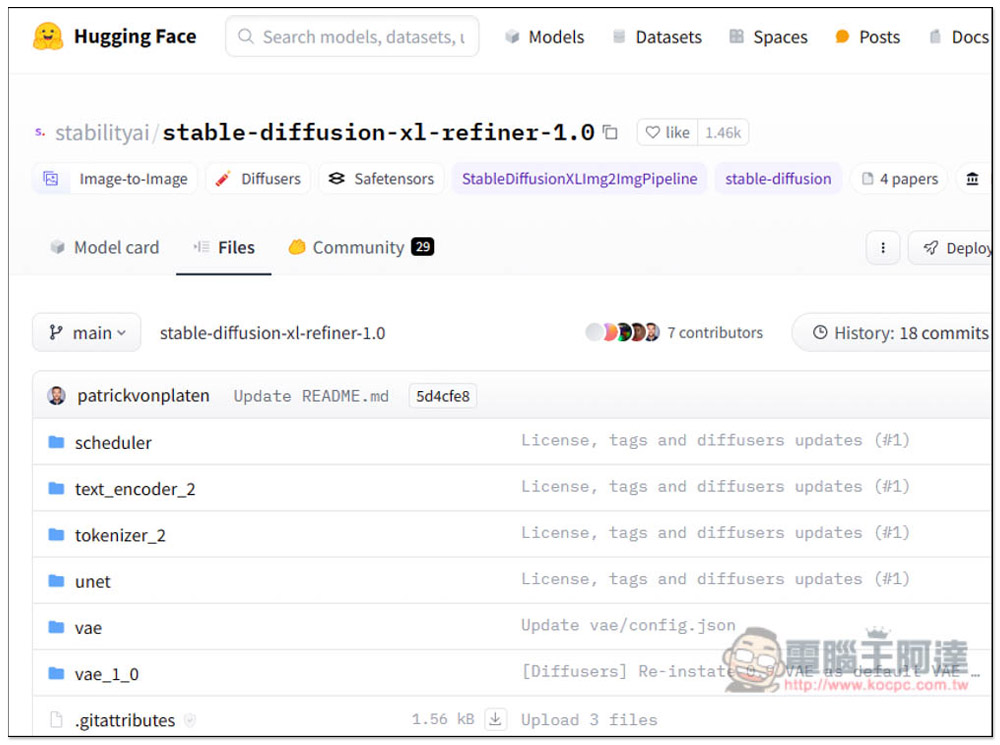
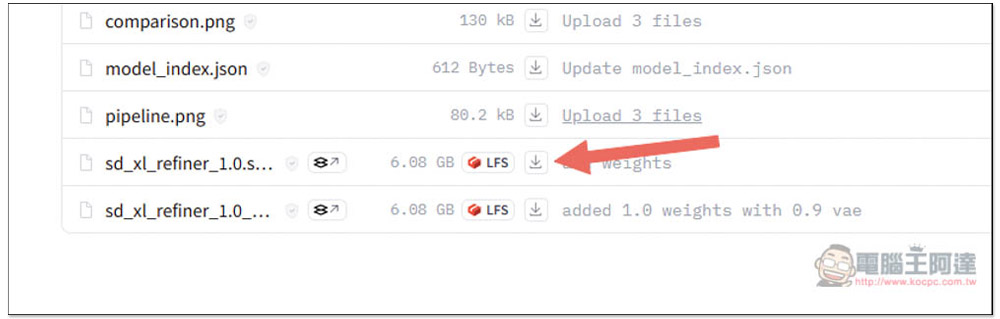
Likewise, download files ending in safetensors:
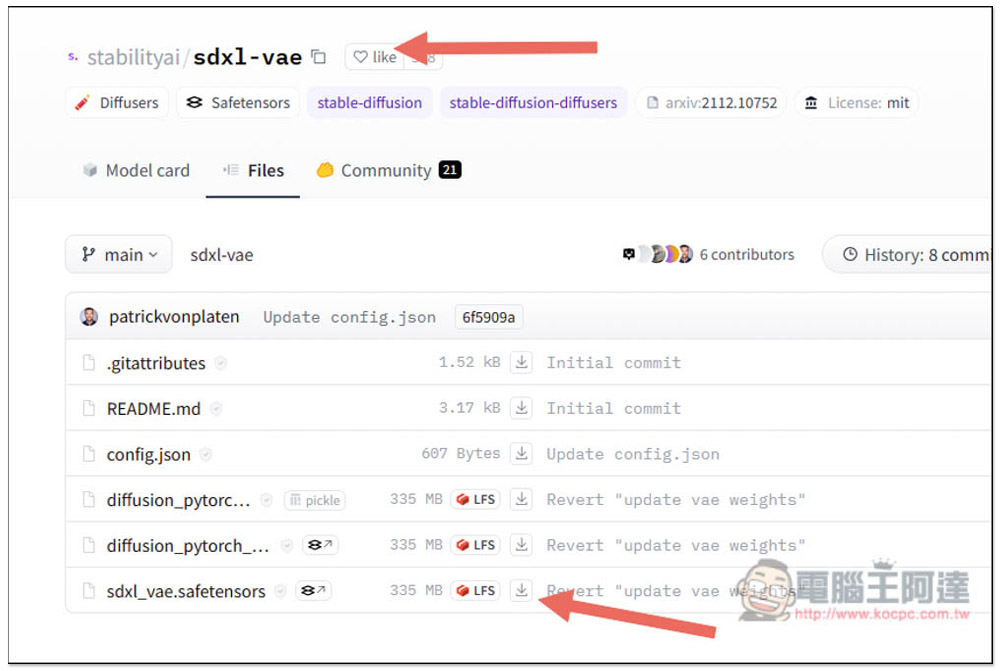
Lastly, it’s SDXL-VAE, also download the file that ends with safetensors:
3. Put the file into the ComfyUI folder.
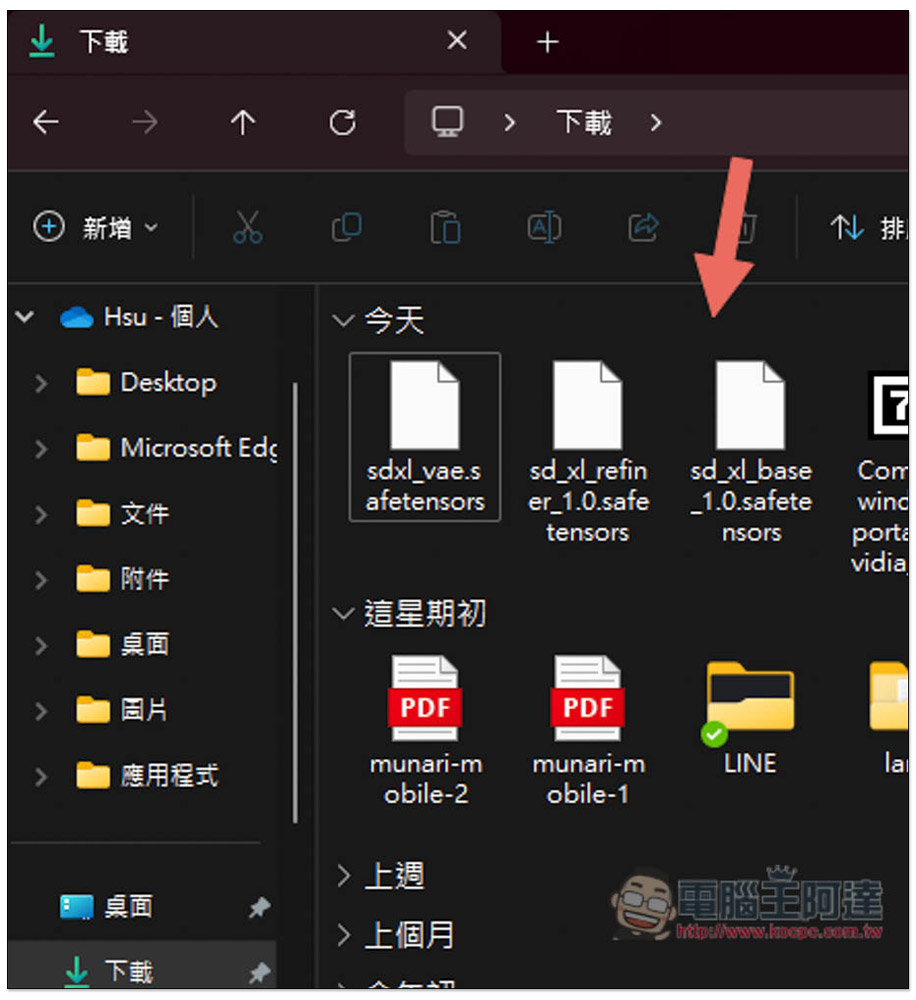
After downloading, there are these three files. Put base and refiner in the same folder, and vae in another:
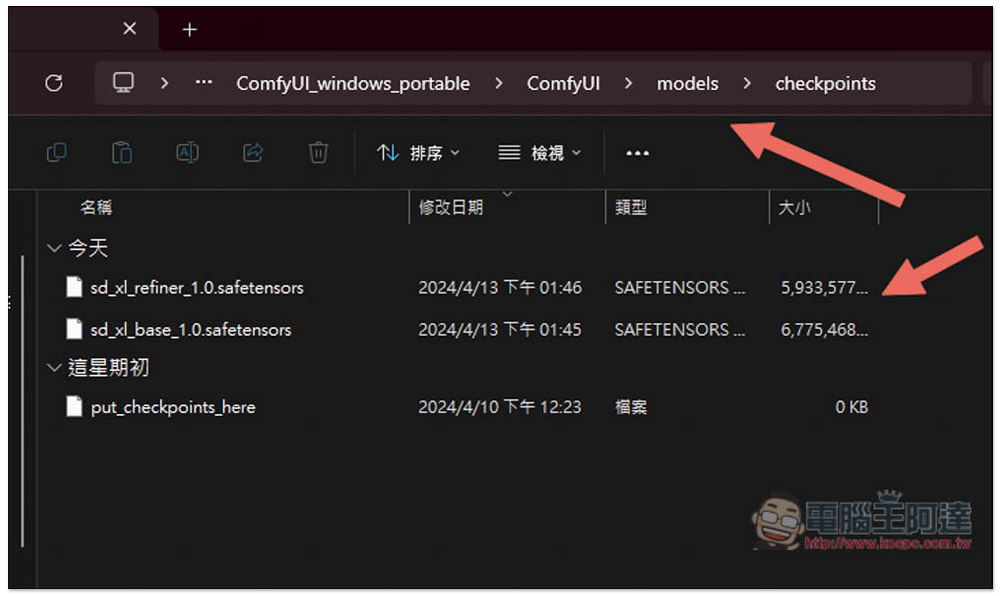
Place the base and refiner under the “…\ComfyUI_windows_portable\ComfyUI\models\checkpoints” folder. In the future, if you download other models optimized by others, also put them here:
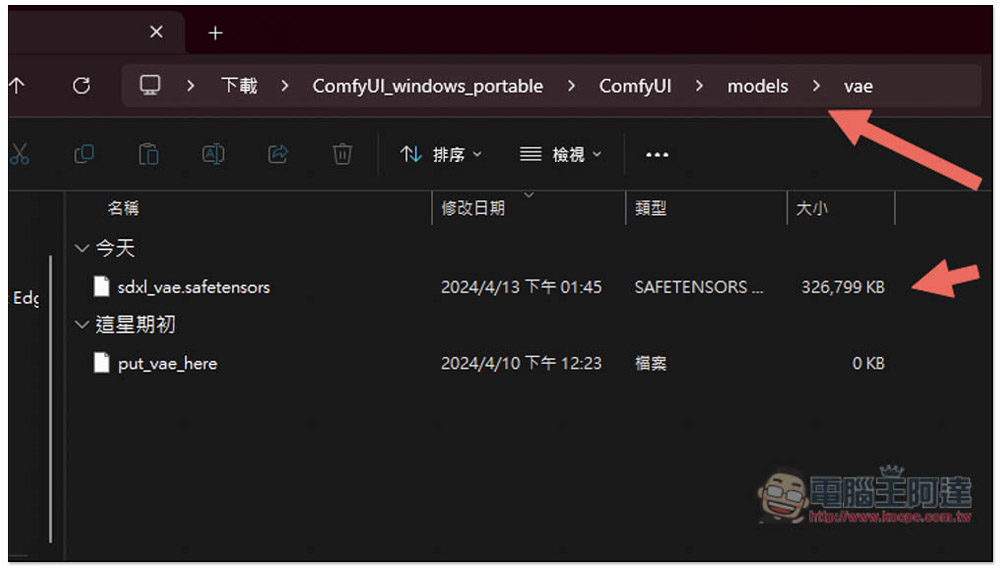
As for VAE, it is placed in the folder ‘…\ComfyUI_windows_portable\ComfyUI\models\vae’:
After completion, run ComfyUI again:
4. Start AI drawing
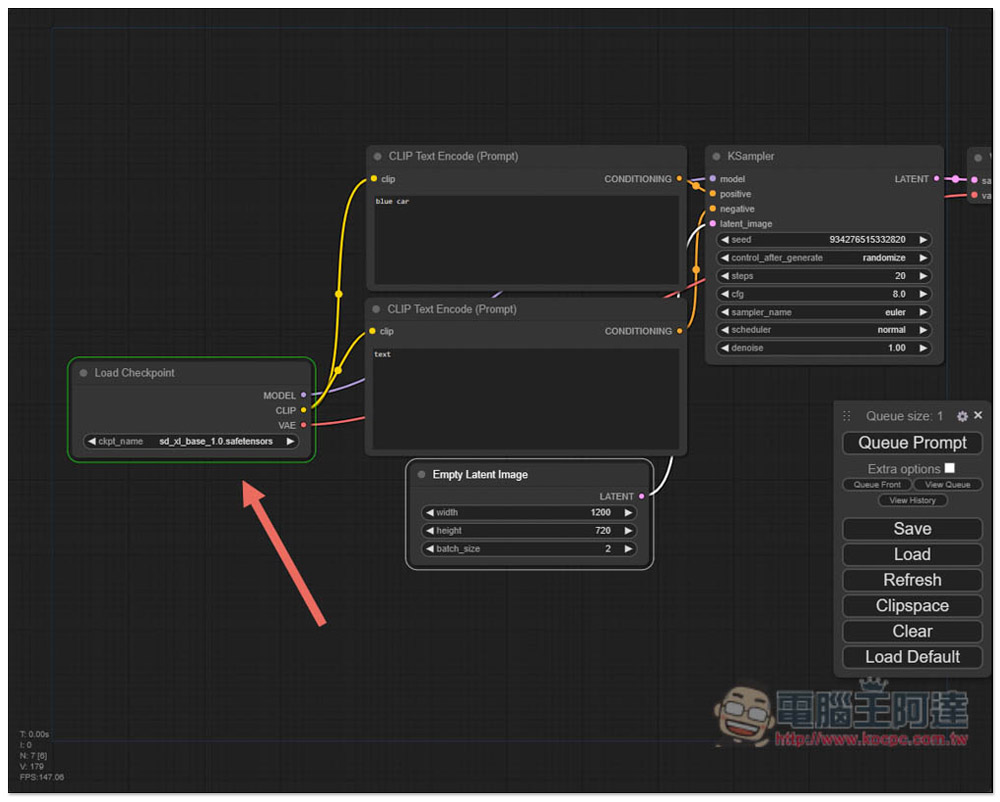
After returning to the Load Checkpoint interface, you can select the SDXL model you just added. I’ll use Base as an example. In simple terms, Load Checkpoint is for selecting the model you want to use:
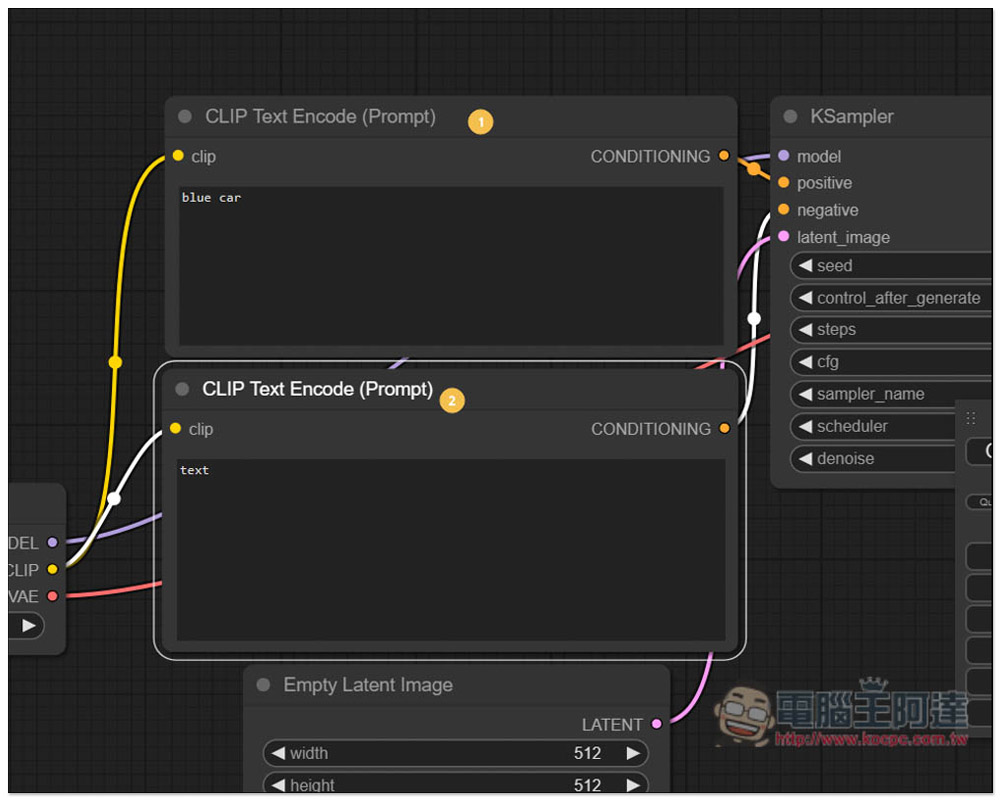
For the CLIP Text Encode part, the upper Prompt field is where you enter the description and adjectives for the image you want, while the lower one is for descriptions you don’t want in the image. Refer to the nodes: the upper Prompt connects to the positive input of the next KSampler, and the lower Prompt connects to the negative. In my example, I entered “blue Car” above to generate a blue car, and below I entered “text” to avoid having text appear:
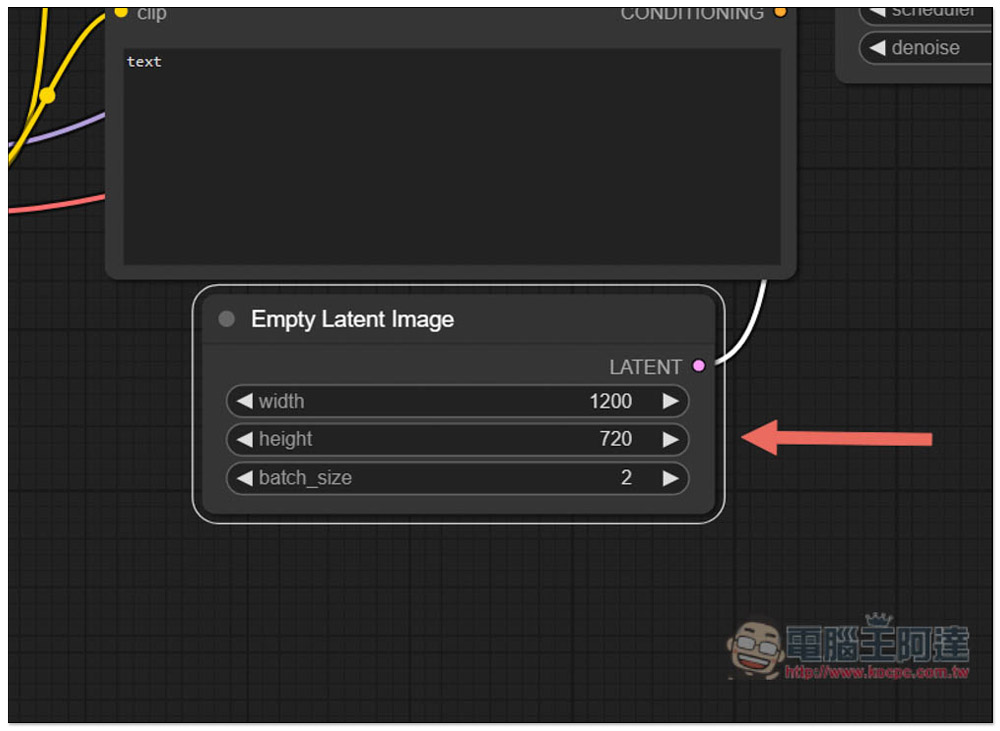
Empty Latent Image is the setting for image resolution and how many images are generated at once. I set it to 1200×720, generating 2 images at a time:
KSampler is a setting for finer image details. You can leave all of this at the defaults, generate first, then slowly adjust to see how each setting differs.
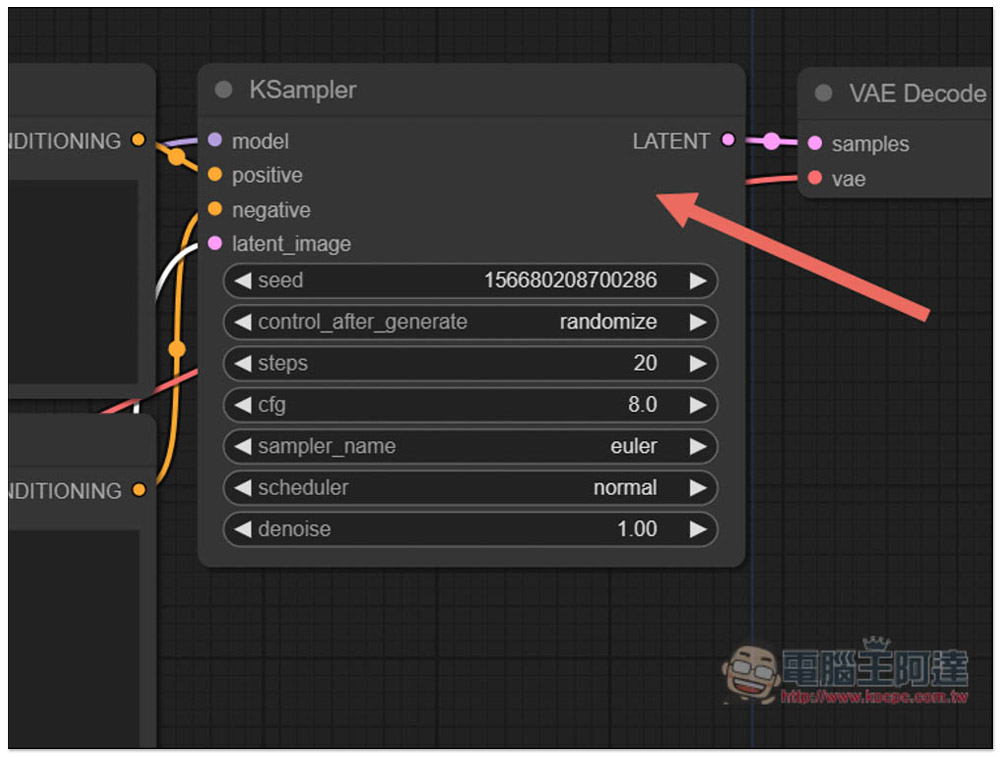
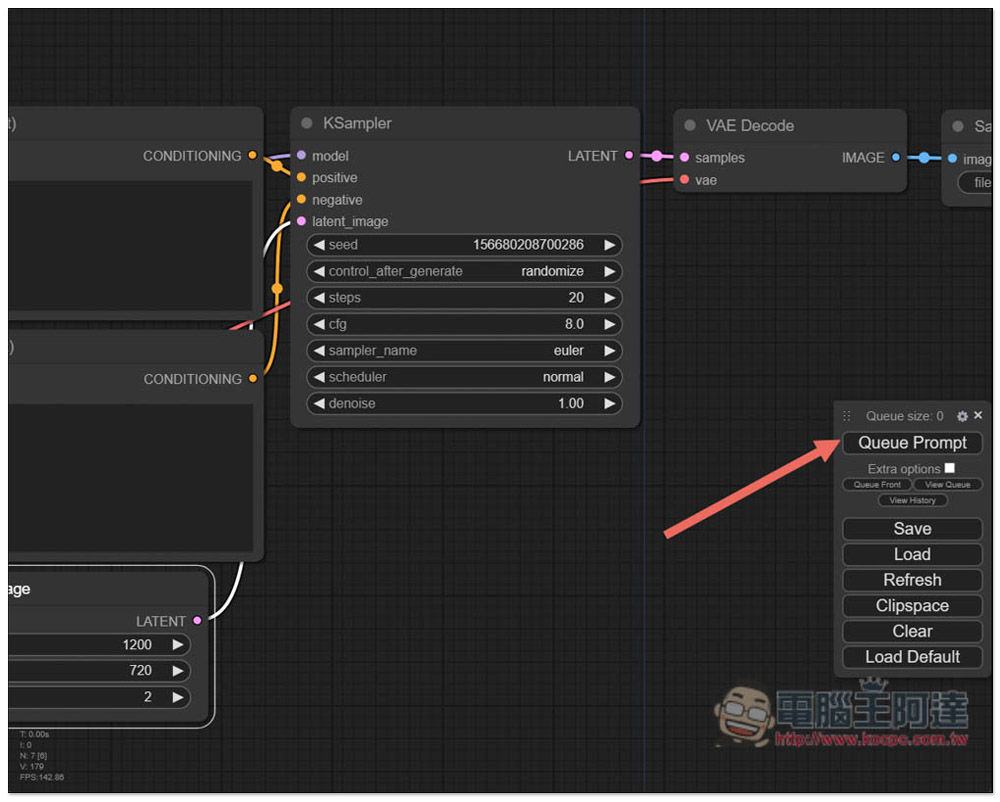
After everything above is set up, clicking the Queue Prompt button on the right will start execution:
The place where the green box appears on the screen is where it is currently running:
When complete, the generated AI images will appear in the Save Image section on the far right:
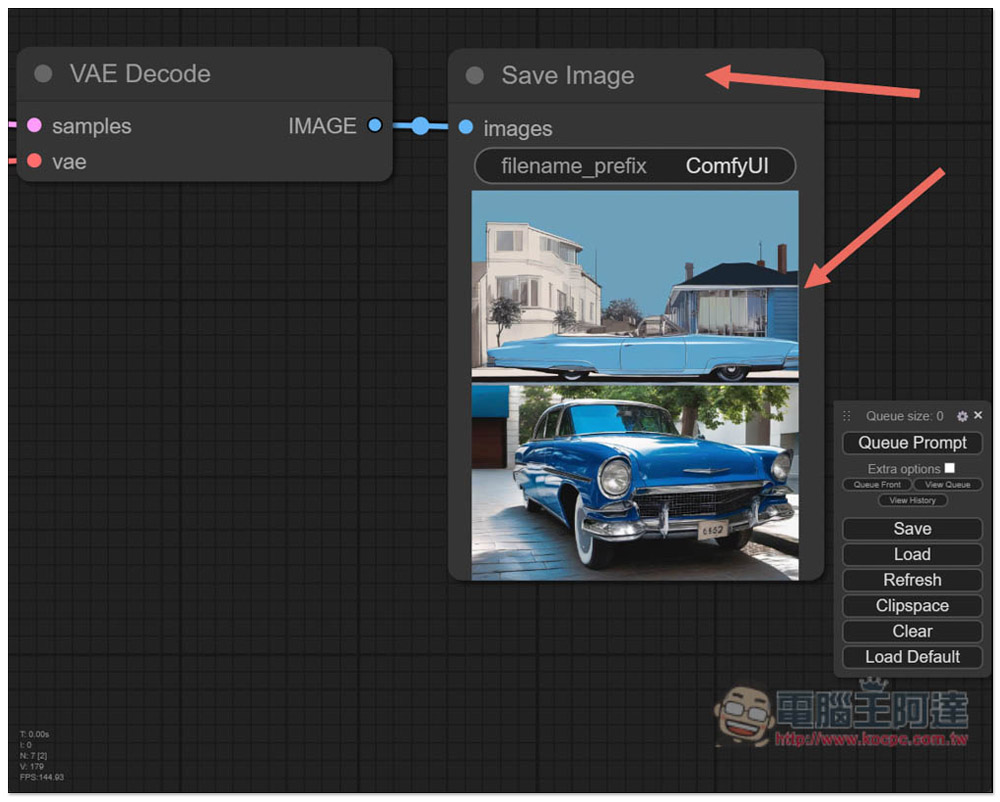
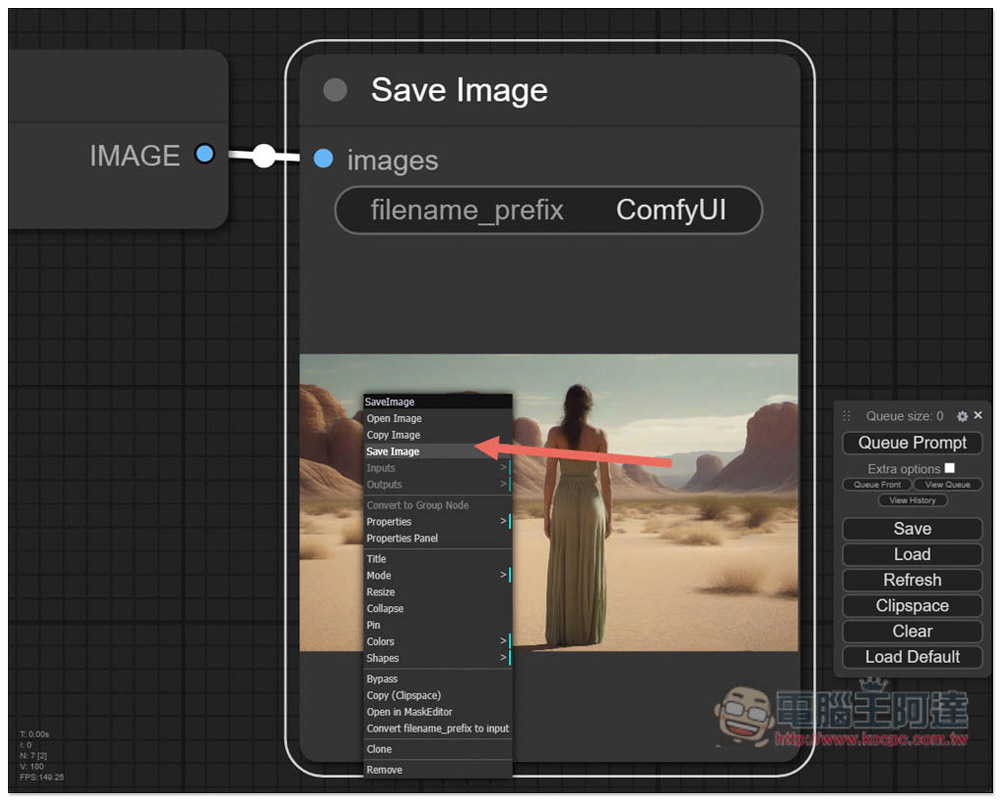
If you’re satisfied, open the menu on the right, click Save Image to save it to your computer:
5. Download more optimized models
If you want to try out other people’s optimized models, you can go to CIVITAI This website has tons of Stable Diffusion models available for free download:
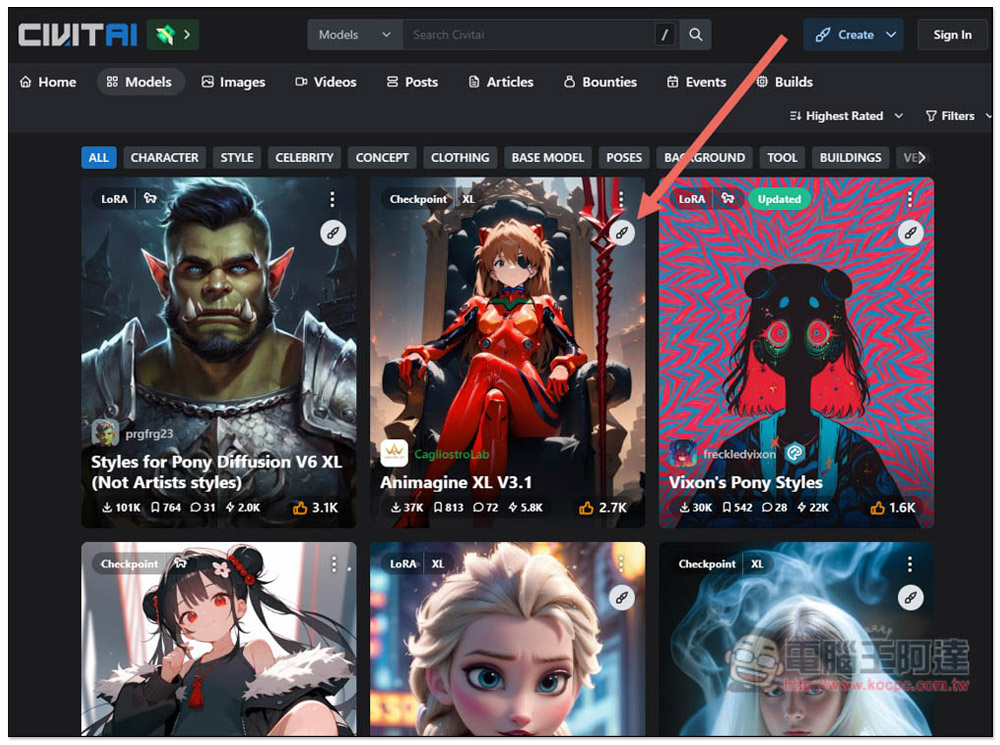
The download method is also very simple: you need to register for an account, then open the page of the model you like, and you’ll see the download icon on the right side. Additionally, CIVITAI also offers an online testing feature. I’d recommend trying it out first to see if the model is what you expect, because each model file is very large and will take a lot of download time and take up computer space.
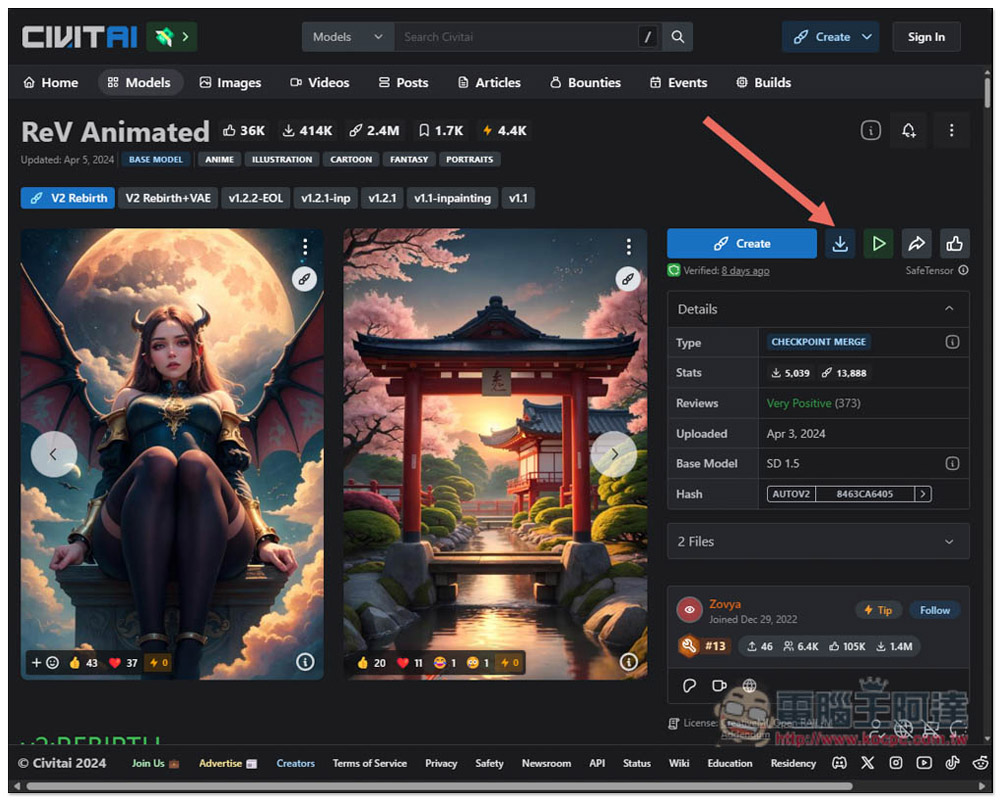
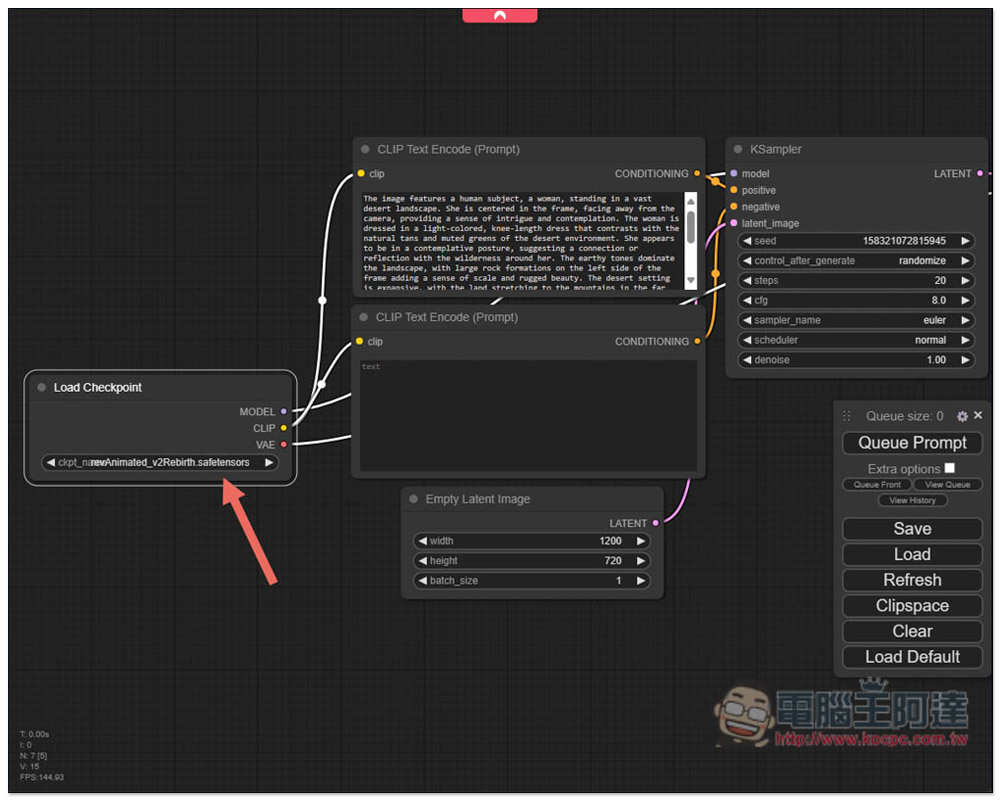
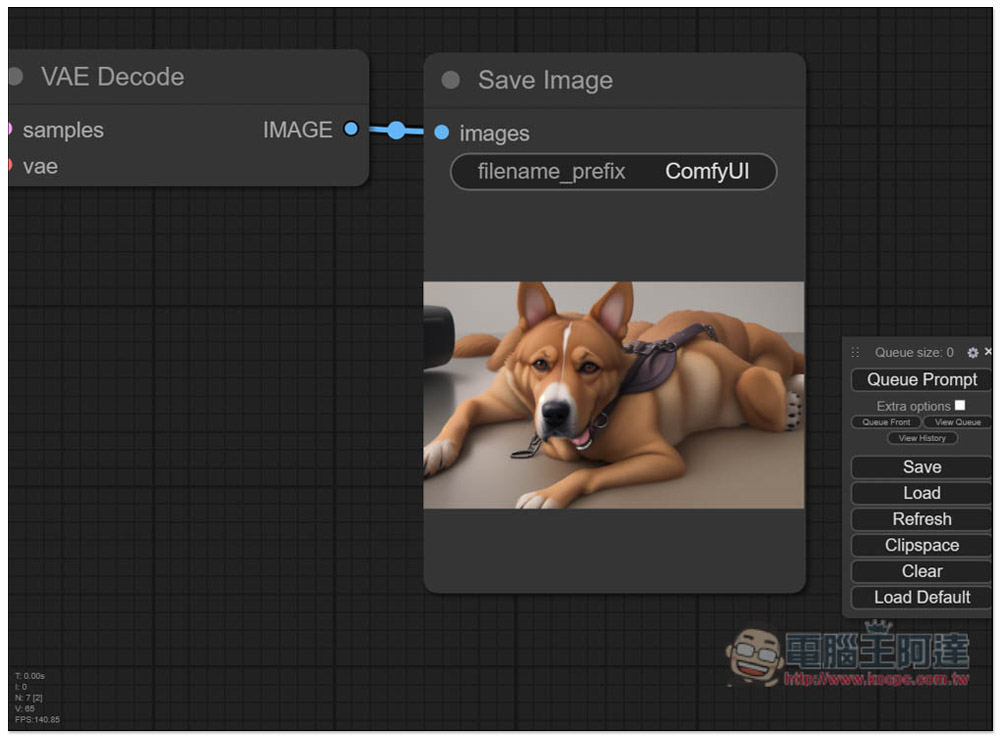
I downloaded the ReV Animated model, placed it in the \models\checkpoints folder as well, and when I open ComfyUI again, I can use this model:
The image below is a dog generated using the Stable Diffusion XL Base model:
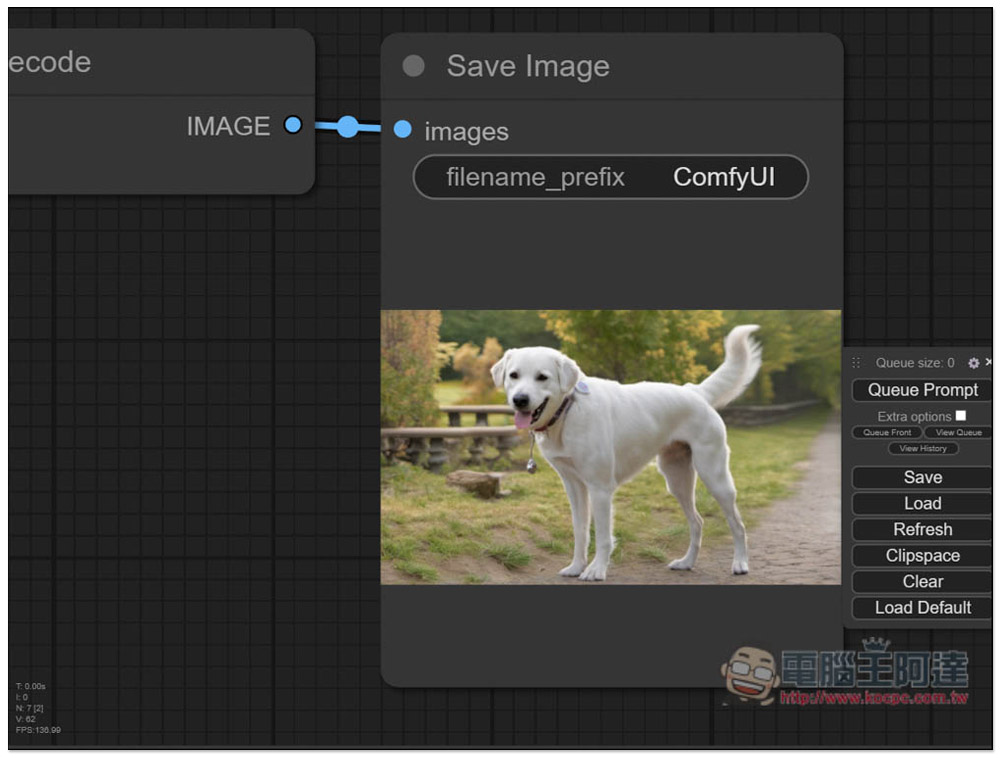
The prompt is exactly the same, but after switching to the ReV Animated model, it indeed started generating an animated dog:
Source: KOCPC Chinese