


When using images or photos, sometimes you’ll run into situations where the aspect ratio doesn’t match your needs. If you have Photoshop, you can use the latest AI features to adjust the image to the required ratio. But if you don’t have it, or don’t know how to use it, the free tool Image Magic introduced in this article is a great option. It can change images to 9:16, 16:9, 1:1, or custom width and height, and the AI will automatically fill in the extra blank areas. Based on my testing, the results are pretty decent.
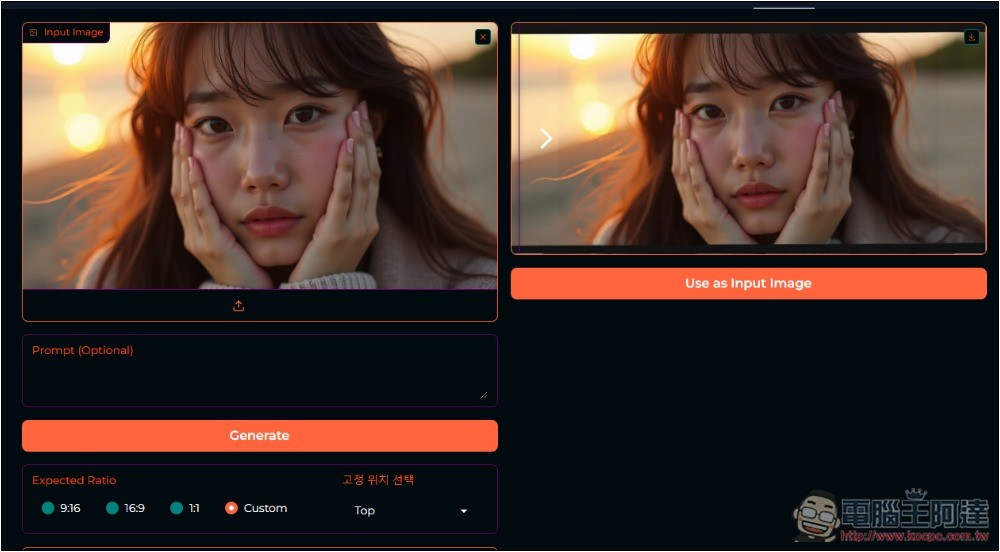
Image Magic: An Introduction to a Free Tool That Uses AI to Easily Change Image Aspect Ratios
Image Magic is an AI tool hosted on the Hugging Face website, so it’s completely free to use. The interface is also very simple, making it easy for even those who have never used AI to pick up.
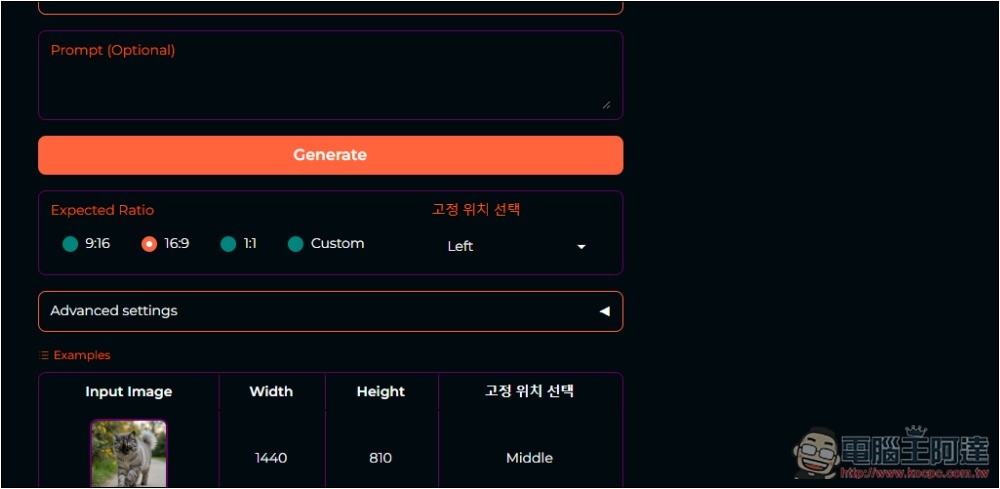
After clicking the link above to enter Image Magic, you can upload the image whose aspect ratio you want to change, or use the sample images below; there are three in total:
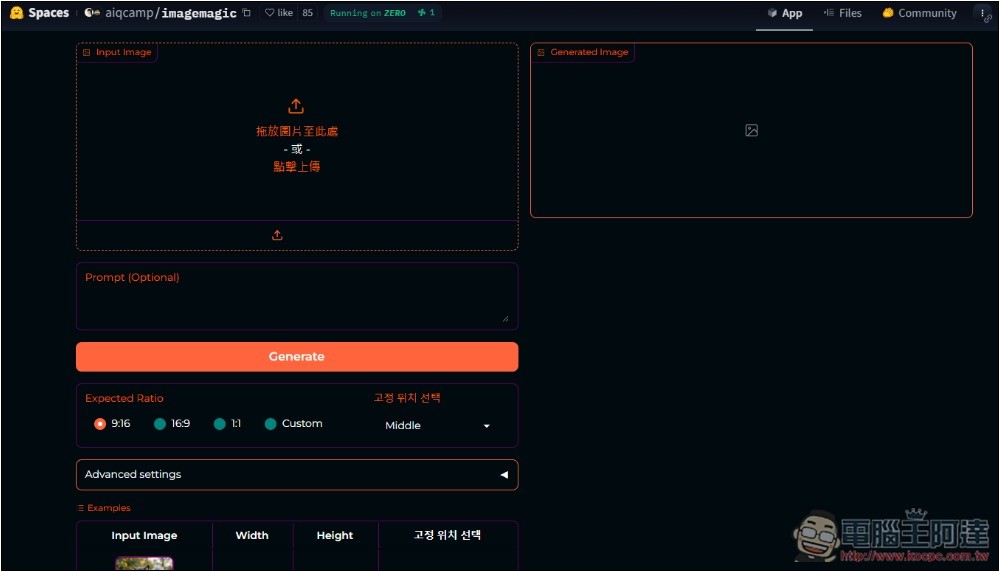
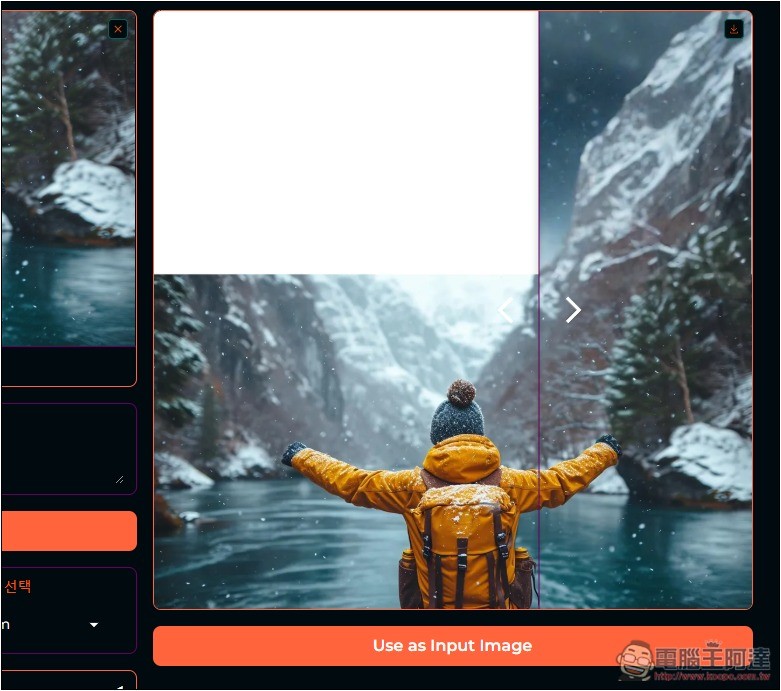
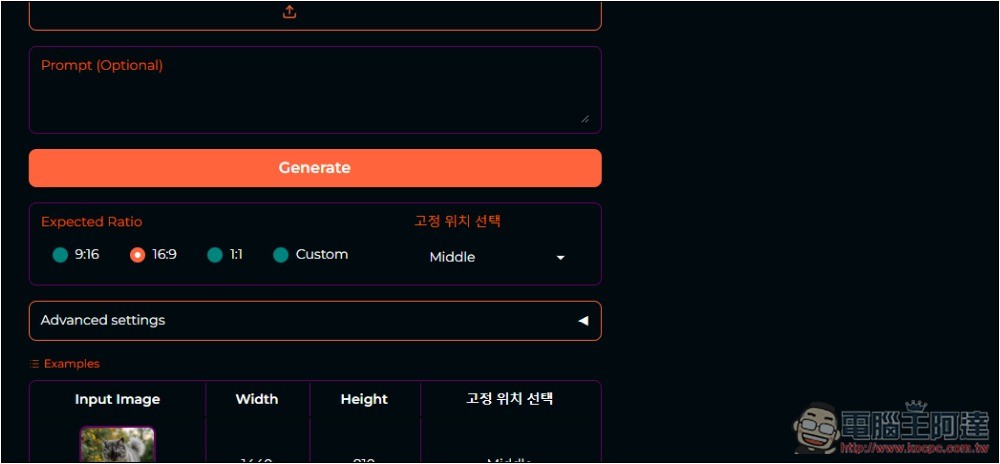
I’ll first use a sample image to change this to a 1:1 size. You can also change it to 9:16 or 16:9. If you have other special size requirements, you can click Custom to manually enter the length and width. Also, the option below the Korean text on the right is for setting where this photo is positioned. For example, if I set it to Bottom, the AI will place the image at the bottom and then fill upward to make it 1:1:
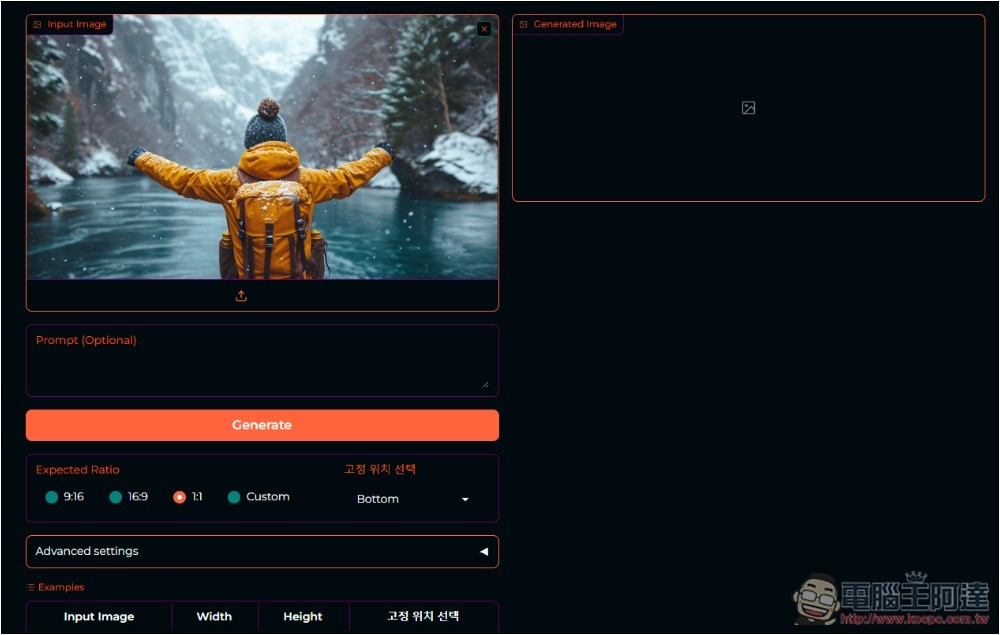
Waiting a few seconds and it’s done—very fast. Unsurprisingly, the inpainting on the sample image is excellent; after changing the image to 1:1 size, you can’t see any flaws at all:
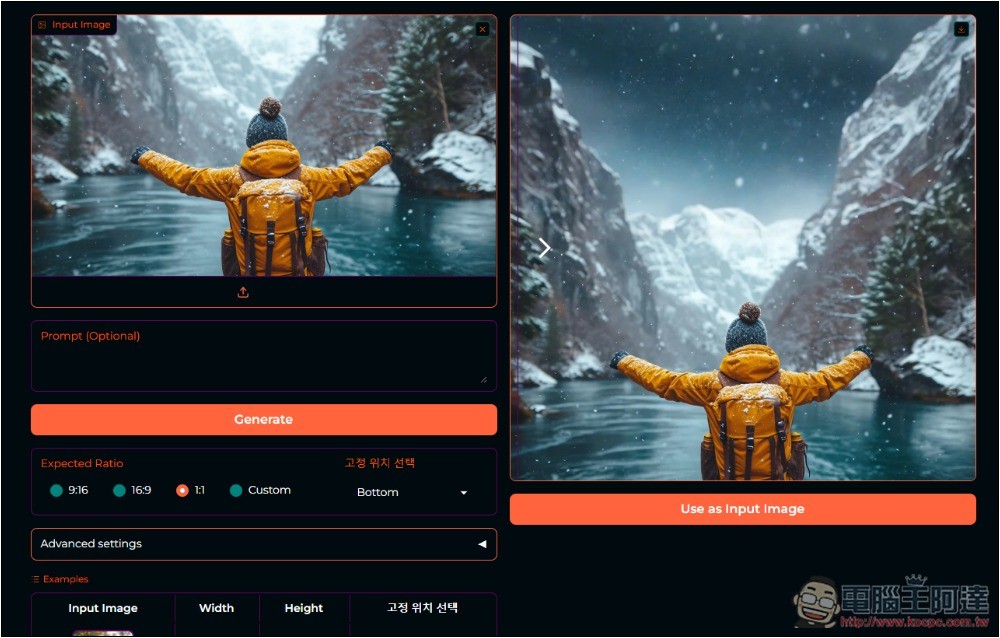
There’s also a slider provided to make it convenient for us to view the before-and-after comparison of the images:
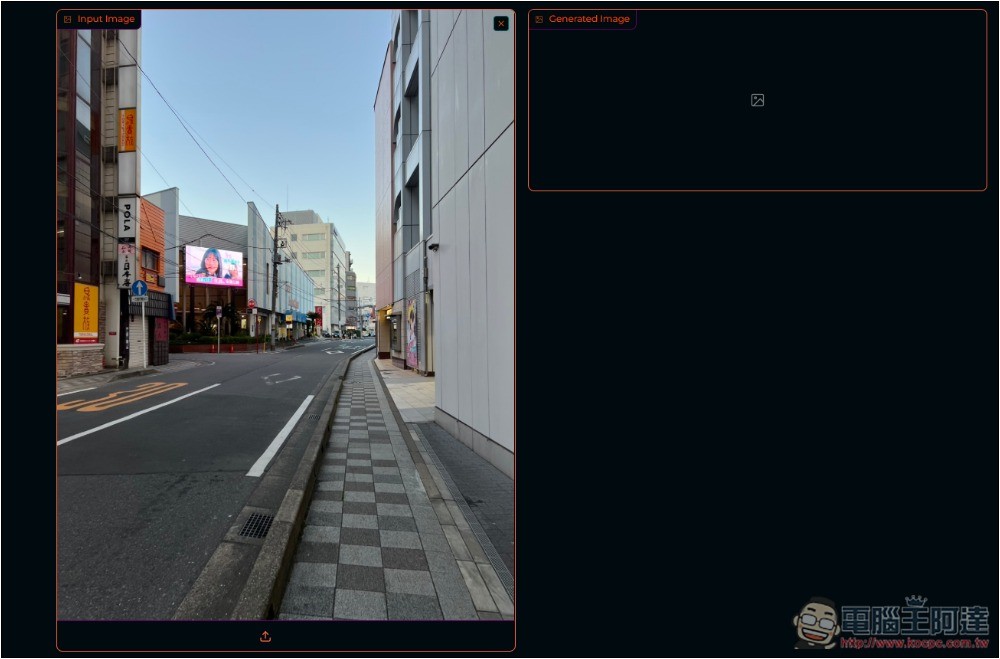
Next, I tested a random street view photo I took. This one is 4:3, and I changed it to 16:9:
The photo position is set to the center, meaning the AI will fill in from both sides to make it 16:9:
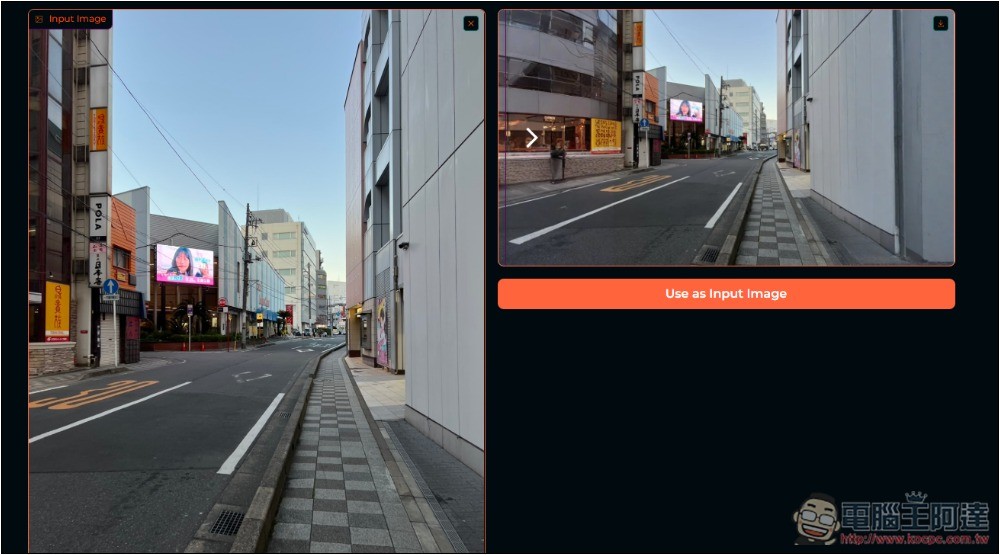
As shown in the figure below, it looks pretty good when viewed as a small image, but if you look closely at the left side, there’s something a bit odd—it looks like a human figure, but it isn’t:
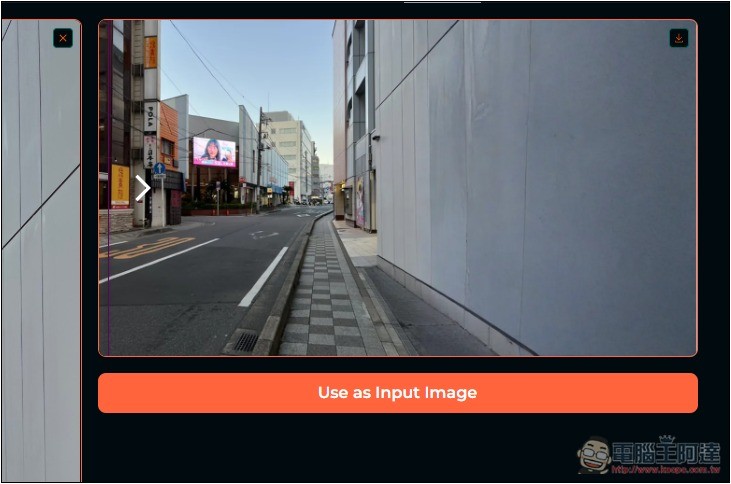
I think it’s possible that the left side is harder for AI to handle, so I changed it to put the original image on the left and fill in from the right to make it 16:9:
In the end, this is the photo we got—it looks more natural than the previous ones, but it’s a bit plain:
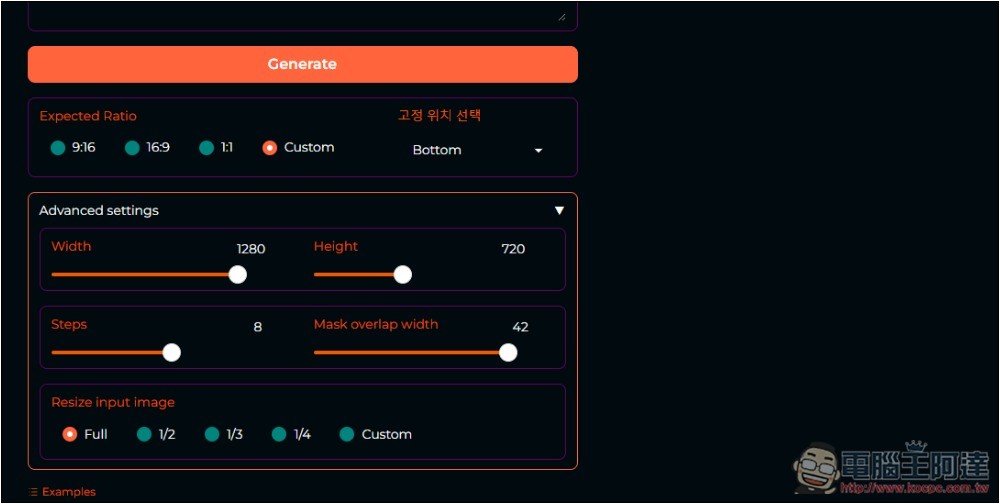
Besides adjusting the slice width and height, the manual settings section also lets you set the number of steps to use (Steps), mask overlap width (Mask overlap width), and resize the imported image (Resize input image):
If you are satisfied with the resized image, tap the function icon in the top right corner to download it.
Of course, for those who have Photoshop, using the built-in content-aware fill feature will definitely produce better results than this Image Magic, so it’s best to learn how to use Photoshop.
For the filled-in image, if you think the size is too small and want to enlarge it, you can try AI image upscaling tools. We’ve also introduced several before, such as:Aiarty Image Matting、Upscale.media、Inpaint-web Wait.
Source: KOCPC Chinese