


Since the advent of smart phones, some APPs that can make selfies look more beautiful and softer have become very popular among girls. Pick up the phone → open the APP and take pictures → beautiful pictures are born. In the eyes of those who play with cameras, all this is really fast and convenient. There is no need to work so hard on post-production software. Maybe after a long time of repairing, no girl can take pictures quickly with her mobile phone. However, in order to adapt to the trend, there are now many plug-ins that can quickly retouch photos, allowing users to save a lot of post-production time. Among them, Portraiture, which I will introduce today, is a plug-in in Photoshop that allows you to quickly smoothen the skin of photos. It can be applied quickly with just a few clicks:
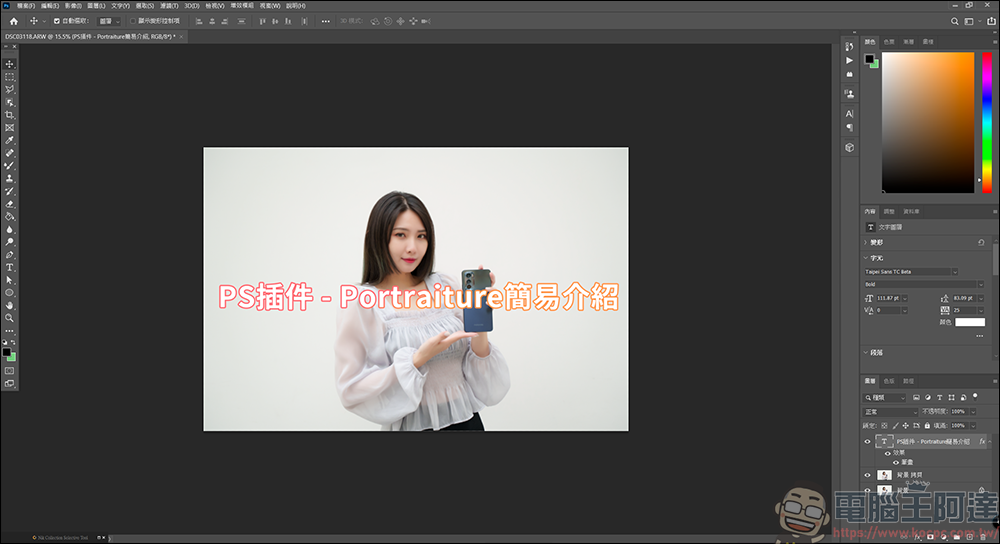
PS microdermabrasion plug-in – Portraiture
This set of Portraiture needs to be purchased separately. After installation, you can find it in the PS filter:
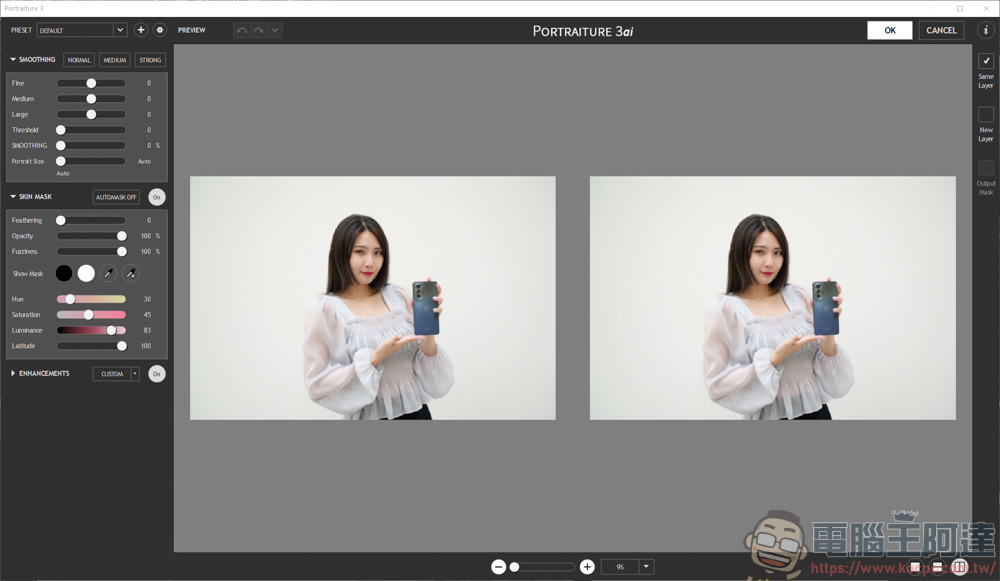
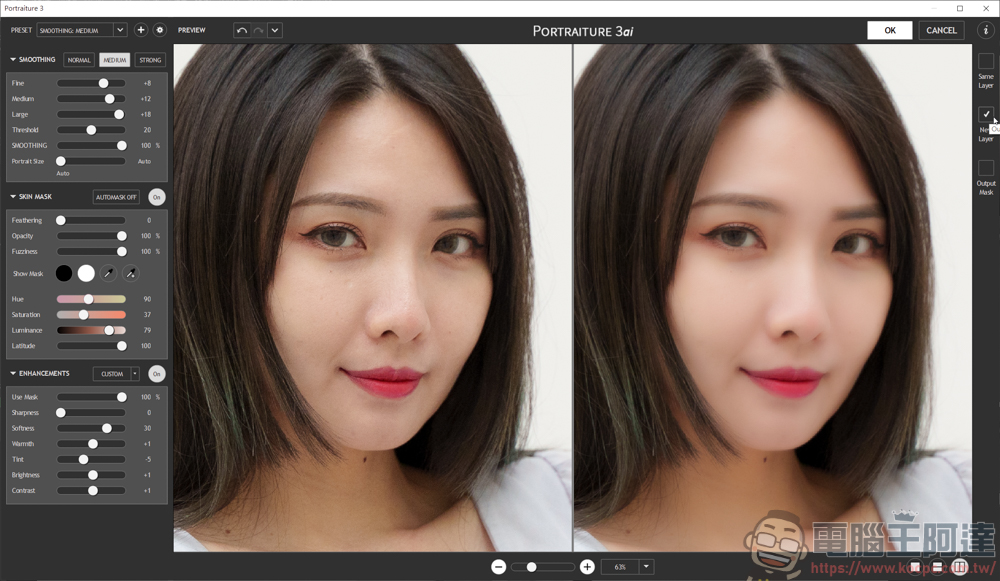
Although the plug-in has the function of automatic skin resurfacing, before starting the skin resurfacing, it is recommended to check the position of the skin to be resurfaced. You can first click on the black circle and white circle in the SKIN MASK:
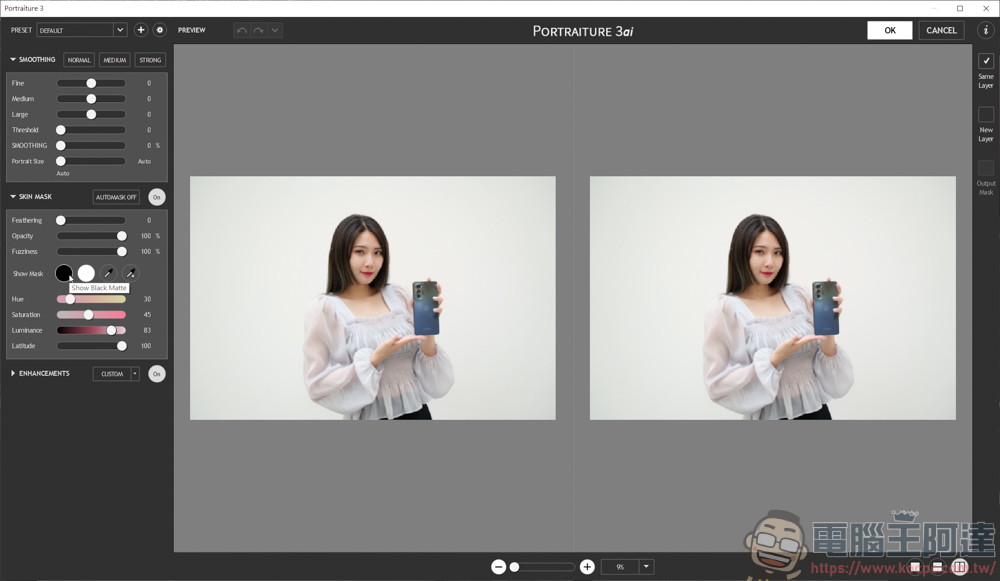
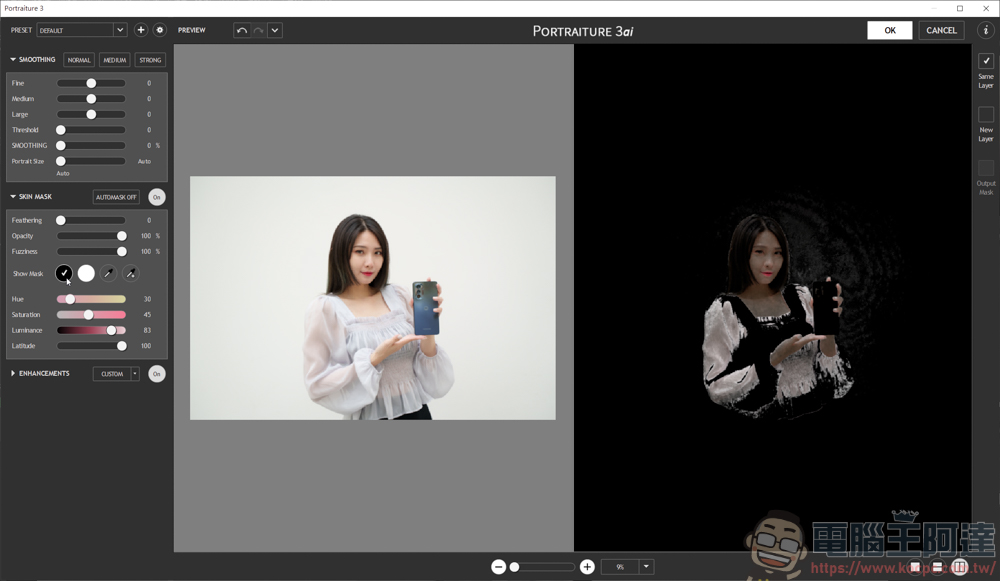
After clicking, you can see the skin area currently being processed. Both black and white can be identified. It depends on the user which one is easier to distinguish:
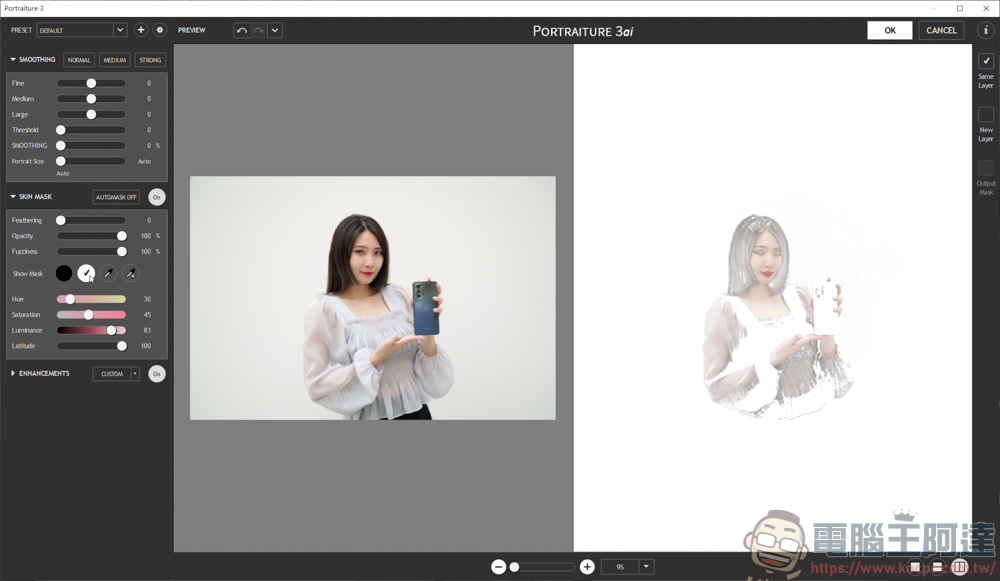
Then select the straw with +:
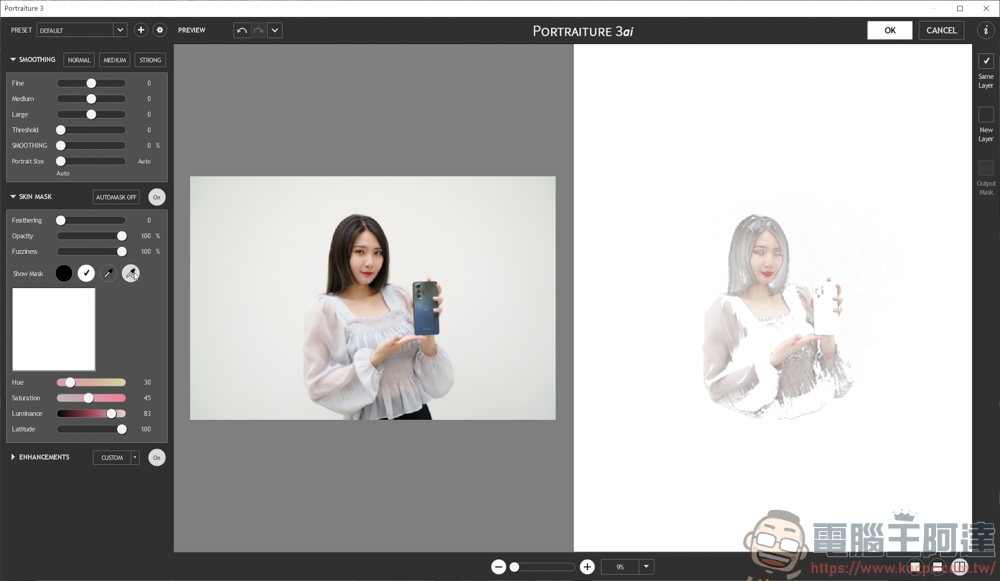
Tap on the face you want to post-process, and the system will determine the skin color range you selected:
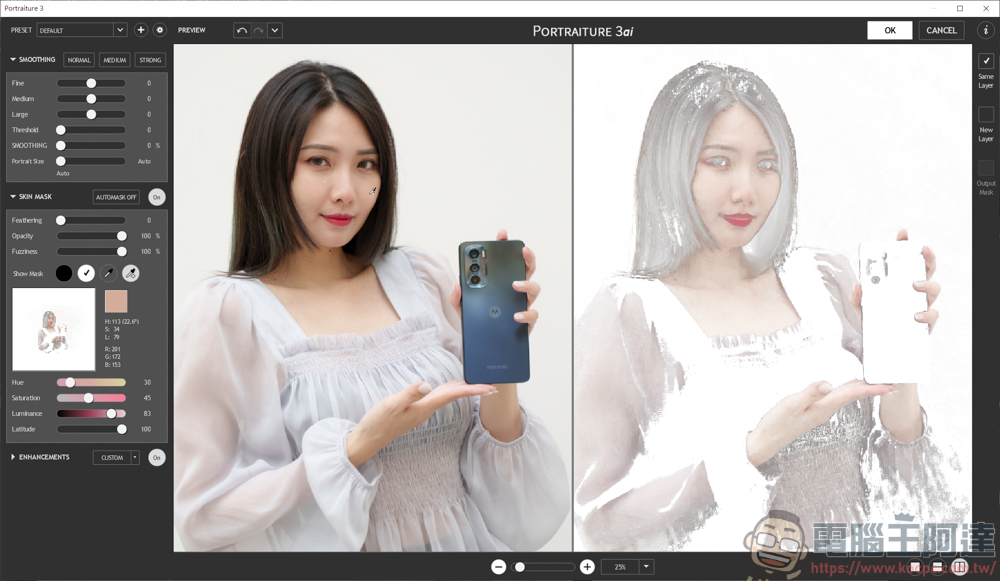
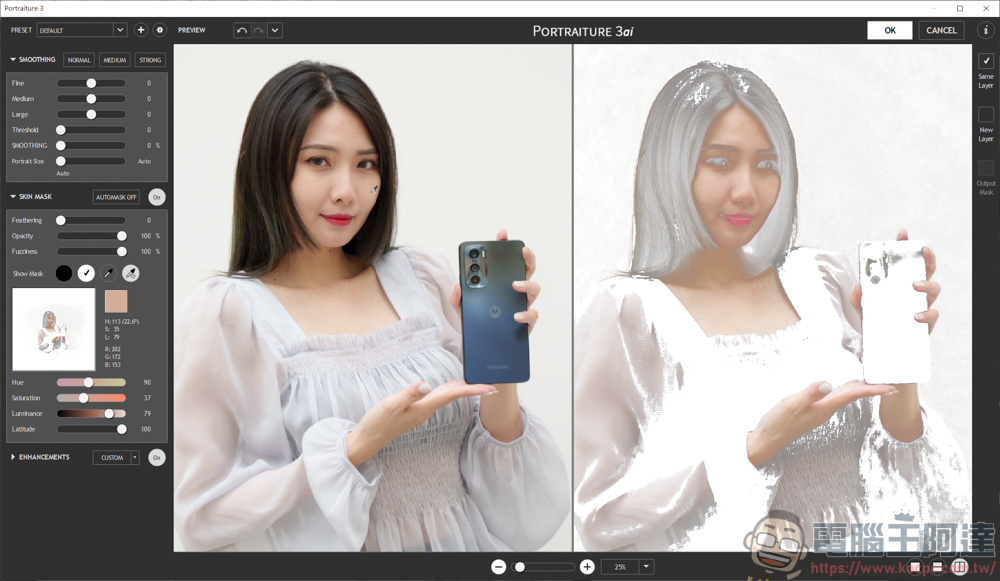
If you feel that the range selected by the system is not what you want, you can also adjust the skin color through the value bar below. If the light is not too complicated, I personally think that a straw is more convenient:
After setting the skin mask to be adjusted, you will then go to the skin grinding value at the top. The first three are fine, medium and coarse details. If you want to grind away more and more subtle rough surfaces, the first value should be increased. The same is true for medium and coarse. It depends on the details you want to retain. The fourth parameter is how much contour can be retained. Increasing this value will make the range of wrinkles and crow’s feet smoother. The fifth item is the most important “dermabrasion”. The value here will affect the smoothness of the entire mask. The higher the value, the smoother the skin will look. I usually ignore the last one and leave it on automatic:
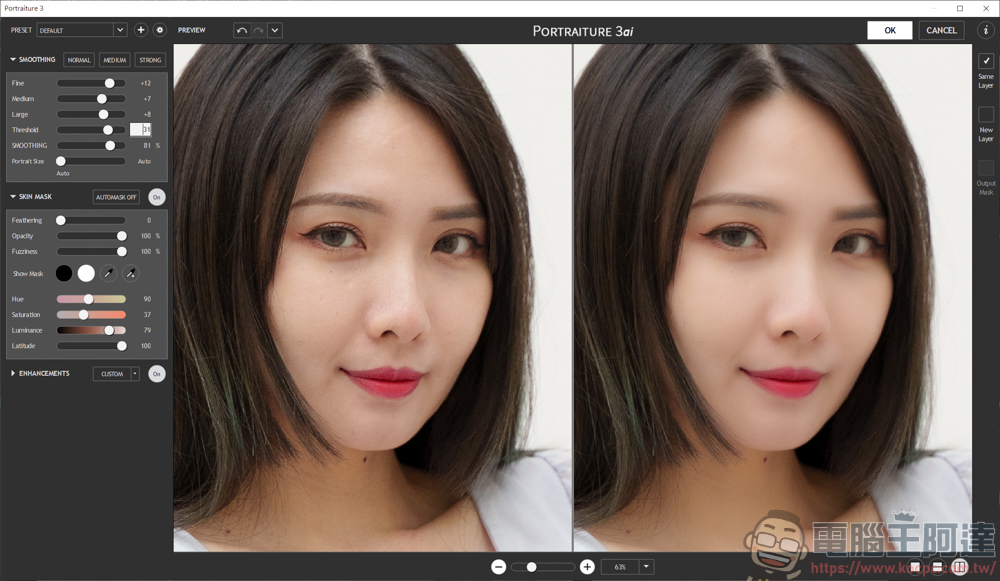
As I just said, post-production using computers is not as fast as using mobile phones. If you want to be lazy when it comes to microdermabrasion, you can actually do it. Next to SMOOTHING, there are low, medium and strong microdermabrasion levels. Click on it and the system will automatically process the microdermabrasion according to the intensity:
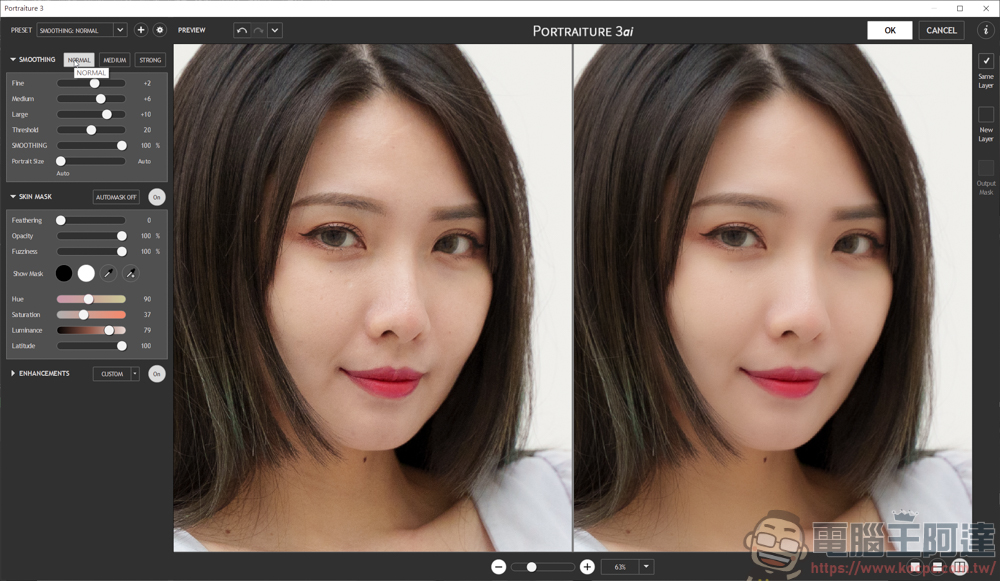
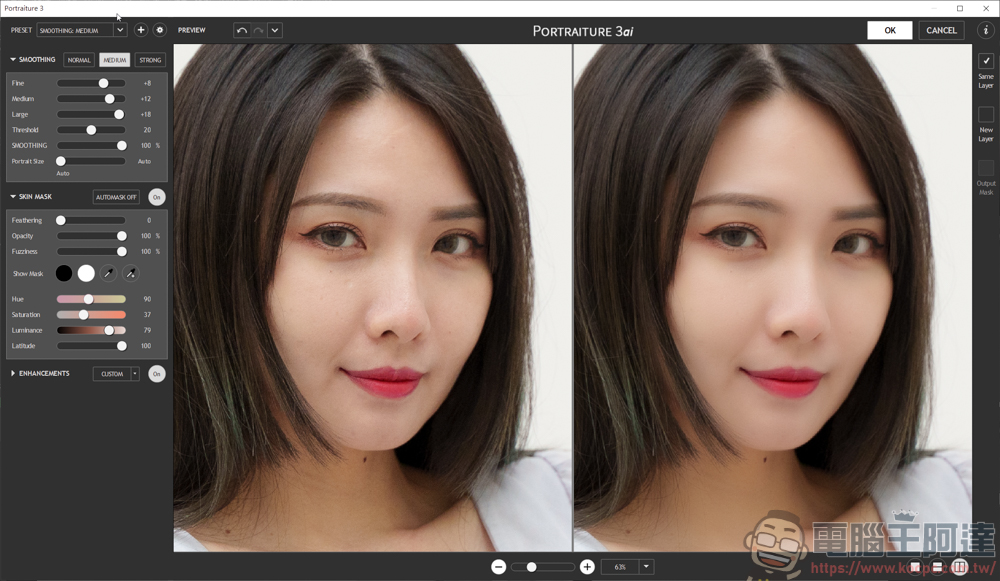
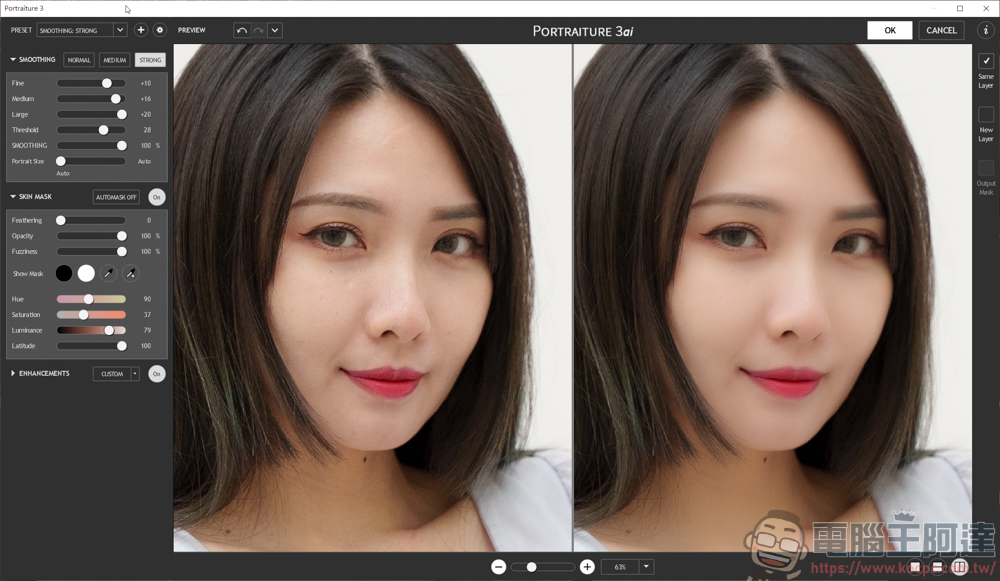
No idea? There are also some presets above that can be applied directly:
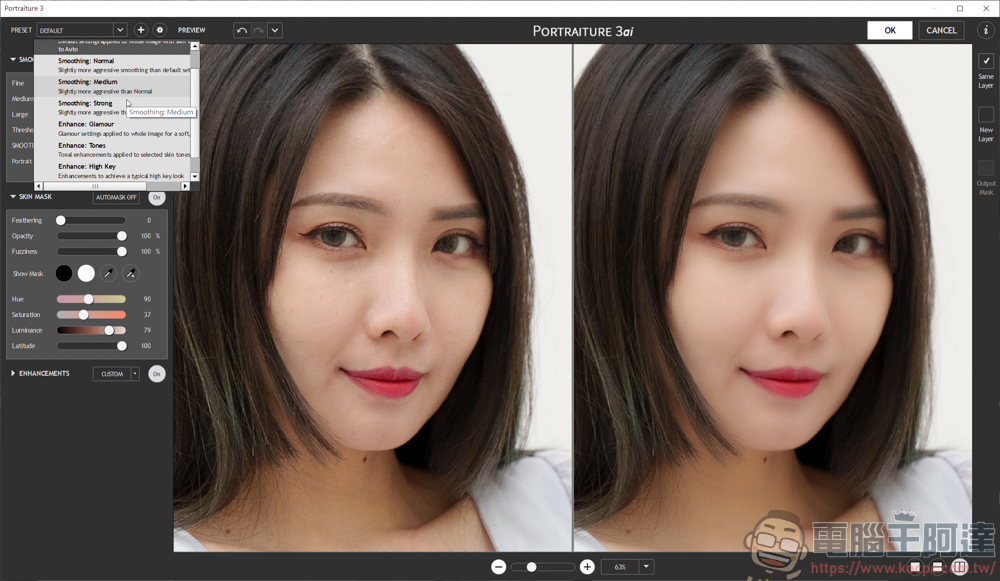
If you want to adjust the color temperature, brightness, and contrast of the skin tone mask, you can adjust it by opening ENHANCEMENTS below:
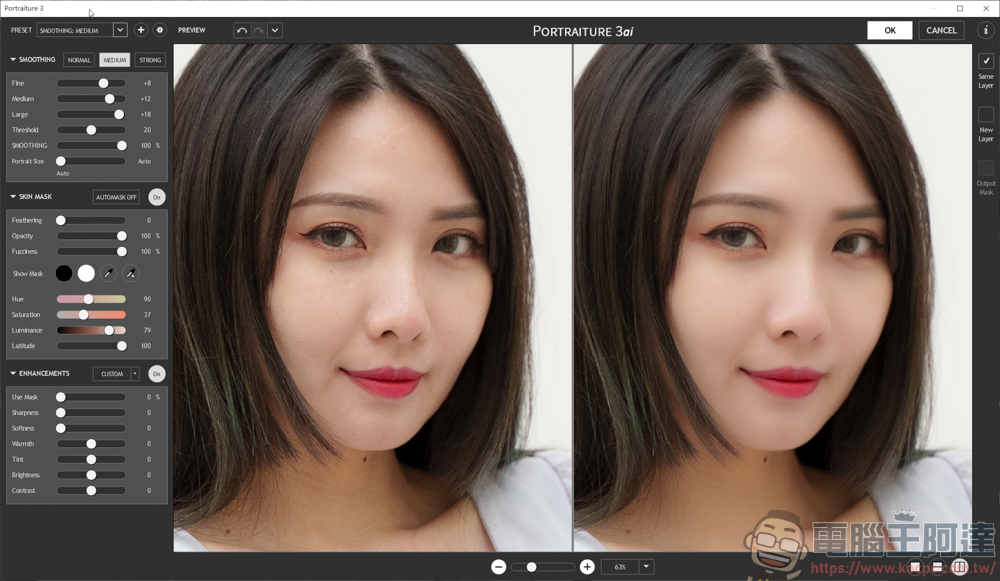
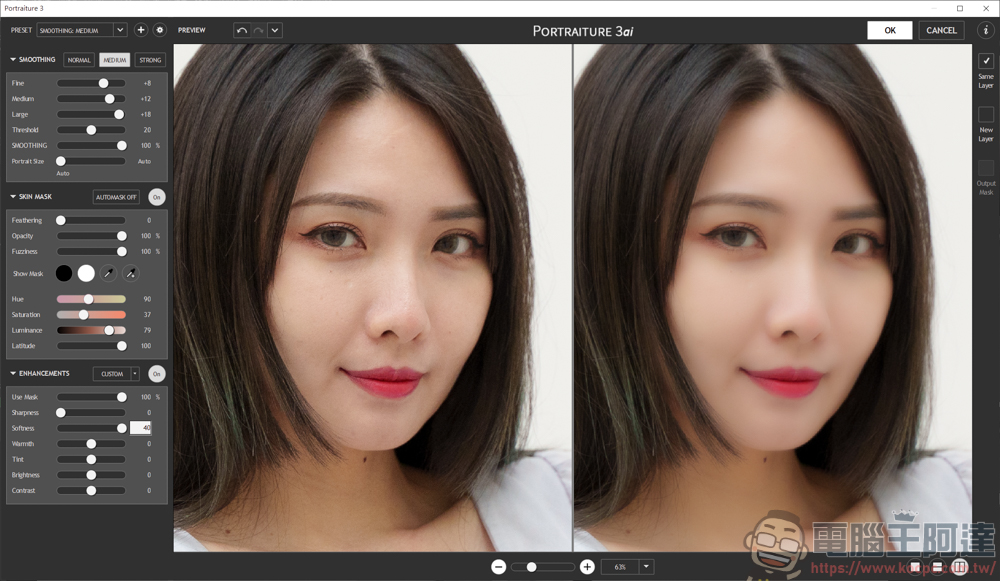
The first is how many skin templates to use. Generally, if you want to adjust everything, choose 100%. The second is to sharpen, and the third is to soften the skin, which can make the skin look fairy-like:
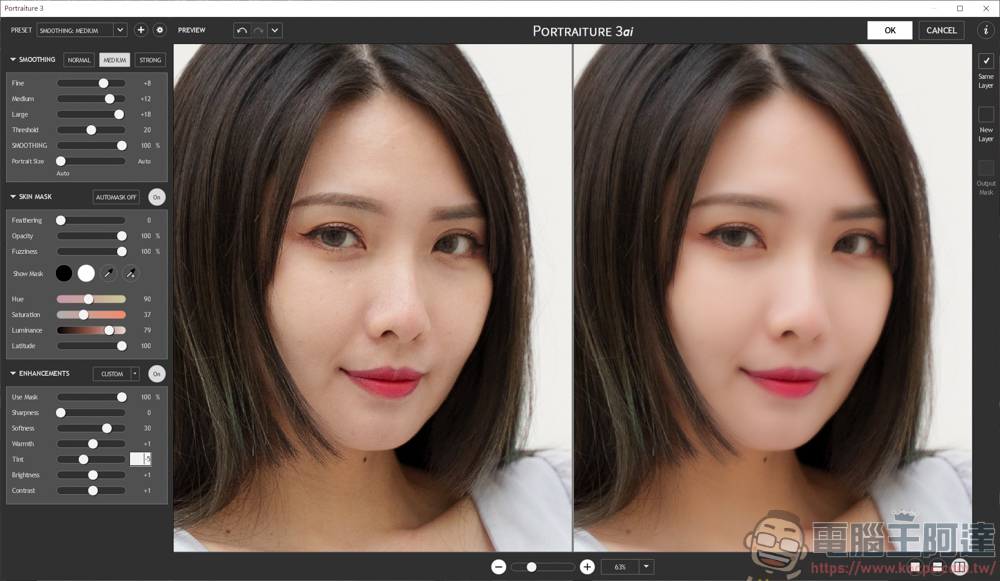
The fourth step is to adjust the warm tone. The fifth item is hue. Here I will pull the value slightly to the left to make the skin color a little pink. Number six is brightness. The seventh item is comparison. All adjustments here will only be adjusted for the selected skin tone range, and will not be set for the entire photo, so you don’t have to worry about the effects on other parts of the photo (of course, if there are other skin-like things in the photo, it will also be affected):
After completion, it is recommended to select NEW LAYER on the right and then press OK above:
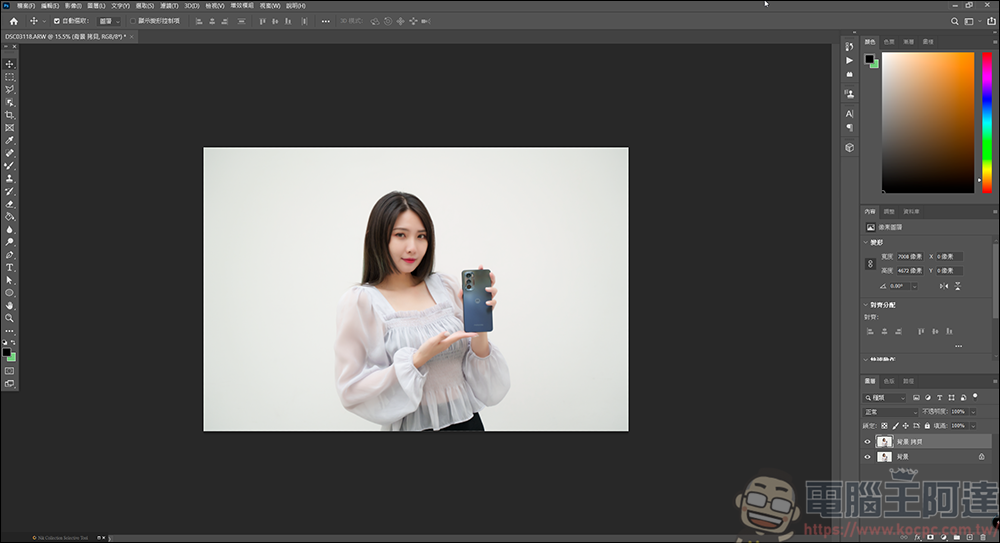
When you close this window, the plug-in will automatically create a new layer of Portraiture in PS:
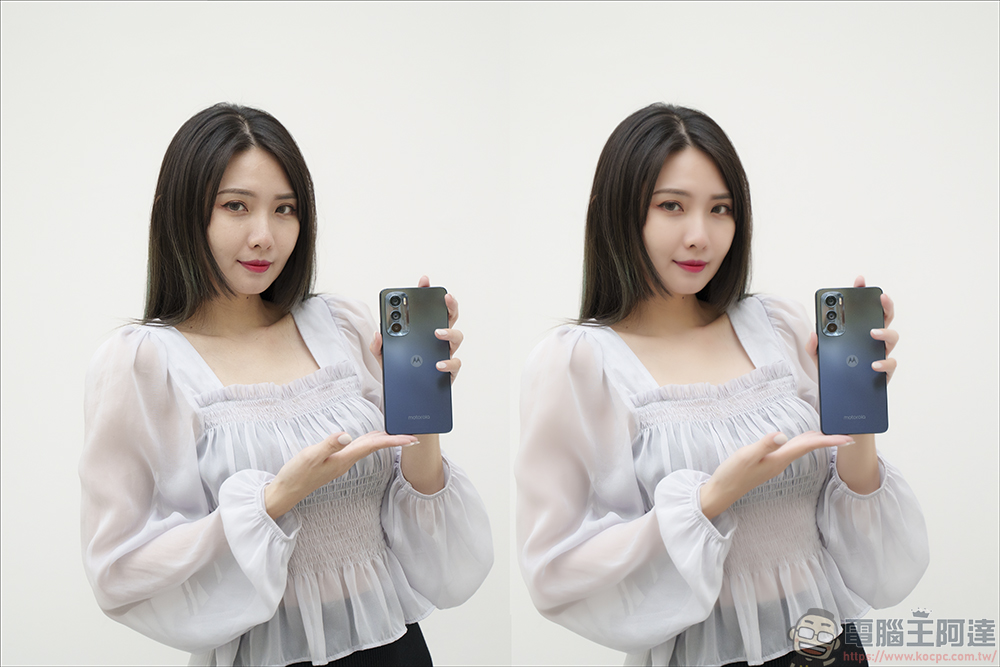
After the adjustment, the comparison image is much more convenient with this Portraiture plug-in, but it only provides a quick way to use it. If you want to make it beautiful, you still have to rely on other tools in PS for refinement:
Source: KOCPC Chinese