


Although Windows has a built-in screenshot function (clipping tool), everyone who has had it knows that it is difficult to use and its functions are not very good. In fact, the ShareX that I want to recommend in this article was actually used by us a few years ago.introduceHowever, as time goes by, the functions are becoming more and more powerful. It not only has rich screenshot functions, but also provides many additional practical tools, such as OCR, color checker, image merging, video conversion, automatic upload of screenshots to designated cloud space, etc. It also supports Traditional Chinese. It can be said to be the most powerful Windows screenshot software among the free versions.
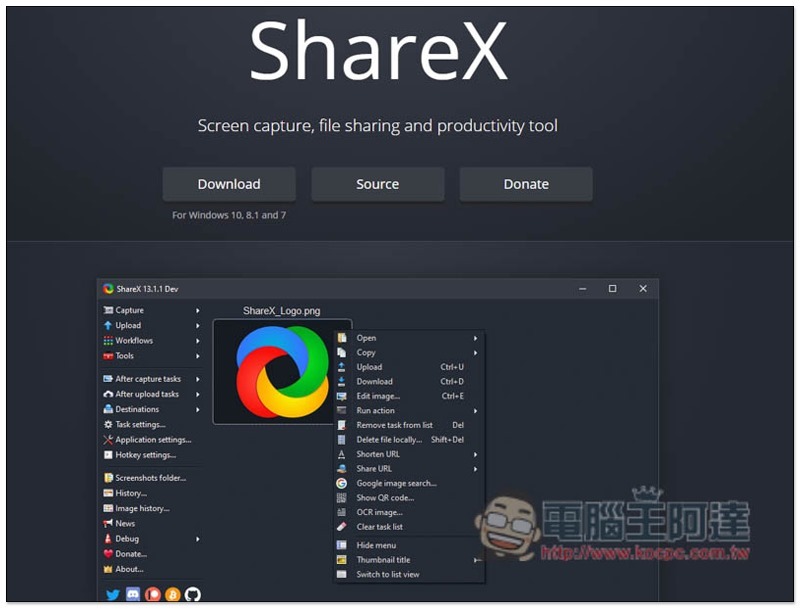
ShareX Free Screenshot Software Introduction
ShareX supports Windows 10, 8.1 and 7 operating systems. After downloading the installation file from the official website, just click Next during the installation process.
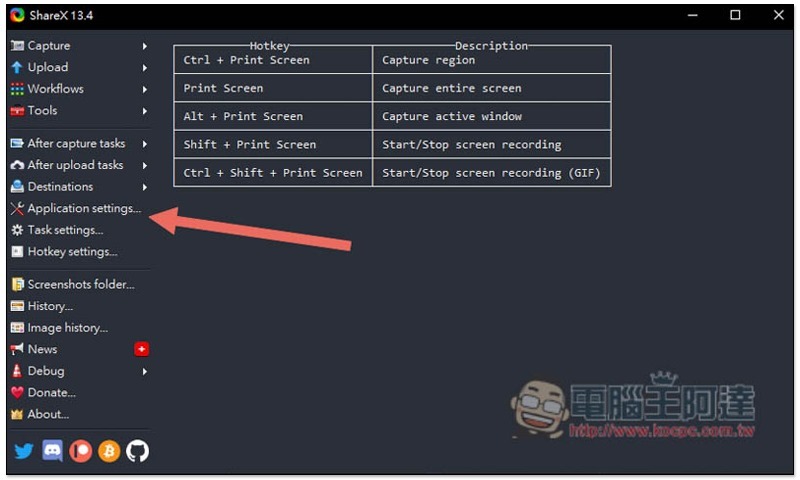
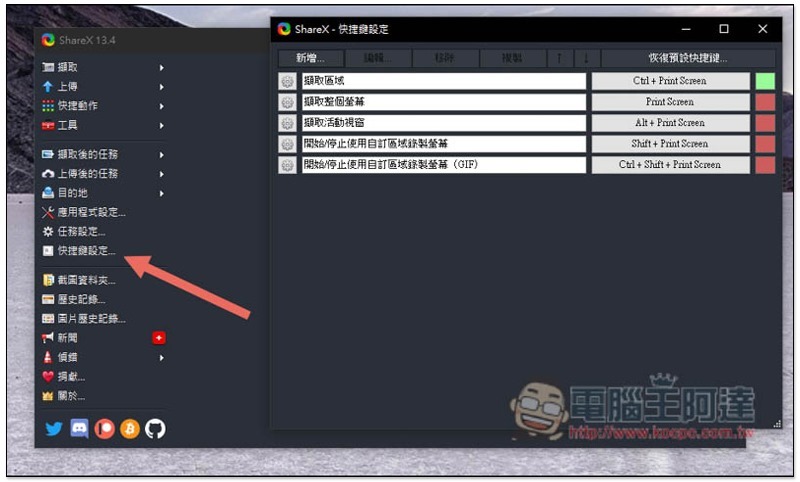
The default language is English. If you want to change it to Chinese, please click Application settings… on the left:
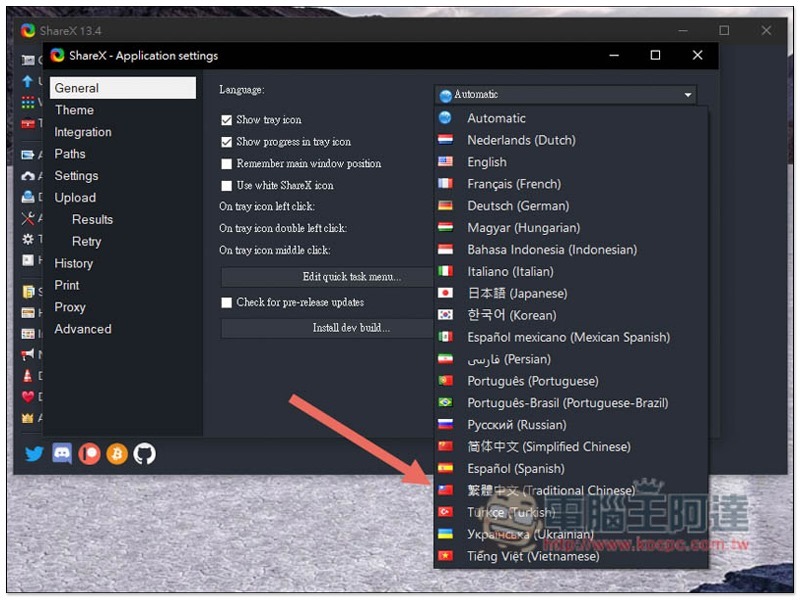
Then in the Language menu, find and select Traditional Chinese:
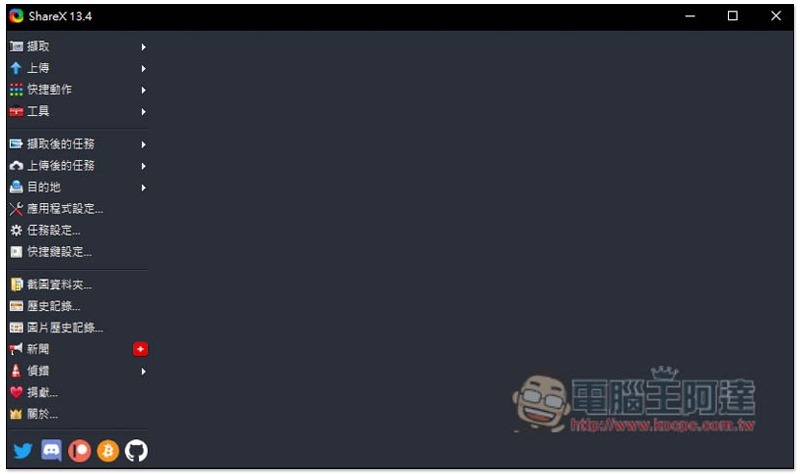
It will be in Chinese after reopening! There are four main functions, “capture, upload, shortcut actions, tools”:
At the beginning, it is recommended to memorize the shortcut keys first, so that it will be easier to take screenshots in the future. In the “Shortcut Key Settings” on the left, you can also specify the keys you are accustomed to:
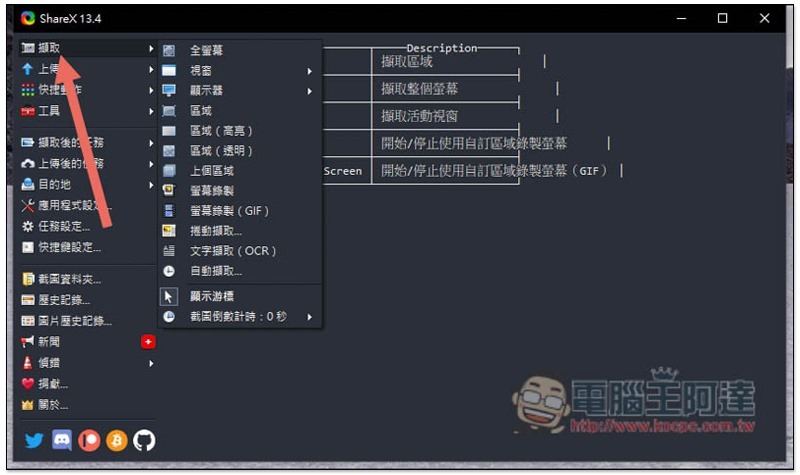
People who are too lazy to memorize can also directly use the functions in the capture menu, which have more functions than shortcut keys. They can capture “full screen,” “specified window,” “specified monitor,” “region,” screen recording, scroll capture, and even support for OCR functions:
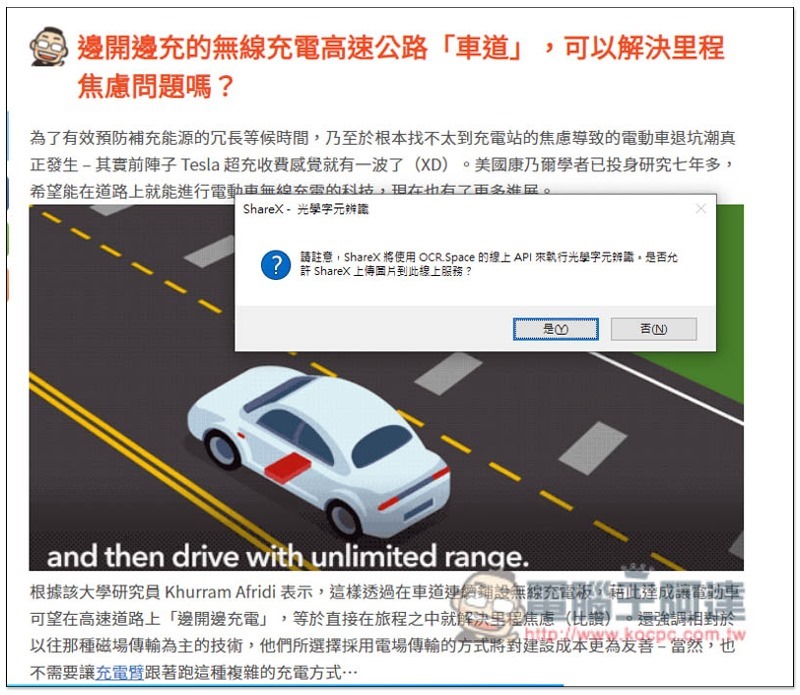
Let’s look at the OCR function first. After capturing or selecting the image you want to convert to text, this message will pop up. You must upload the image to the server before it can be used. Therefore, if it is an important document, I do not recommend using it:
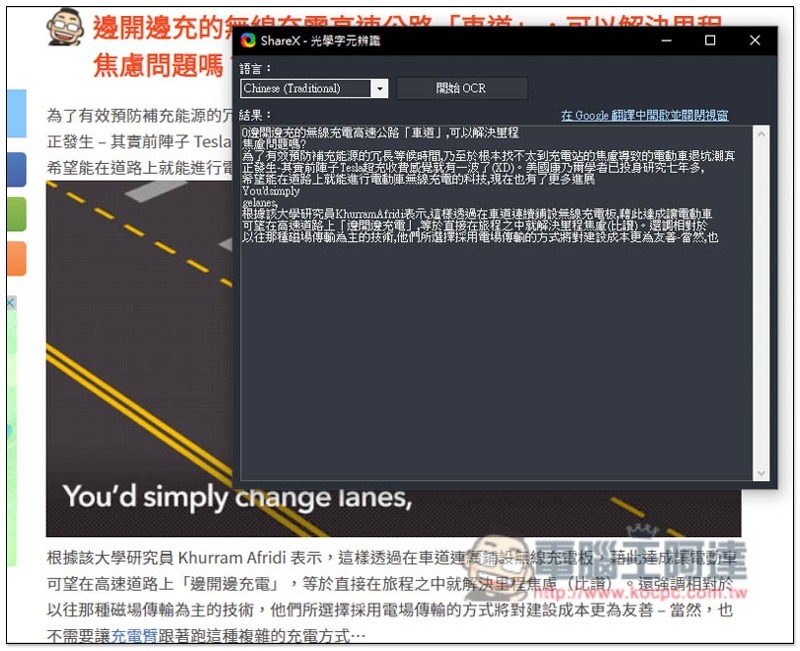
After selecting the right language in the upper left corner, the OCR results will be displayed below. The recognition accuracy is okay, but it is not 100% correct:
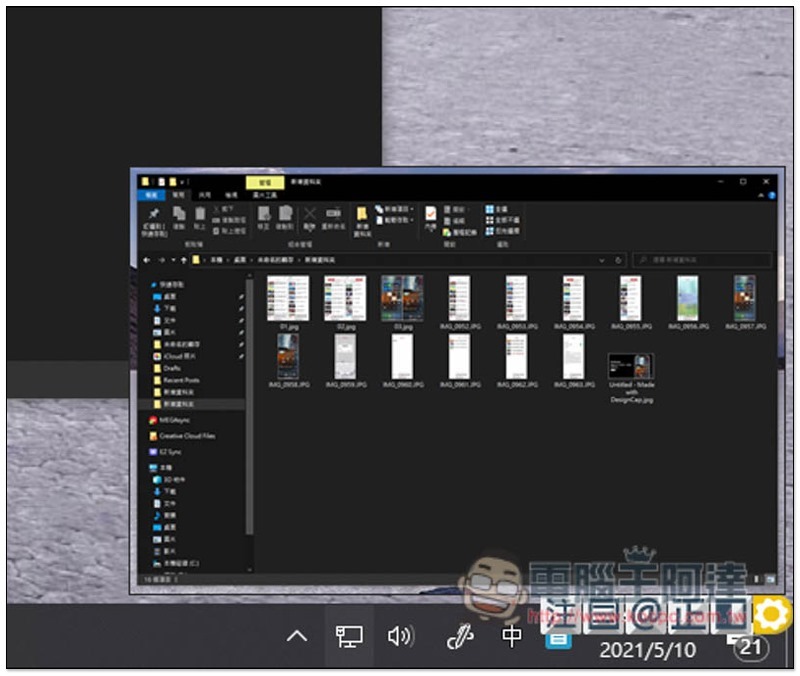
As for the screenshot part, a small picture prompt will be displayed in the lower right corner after each screenshot. You can directly click to expand and view:
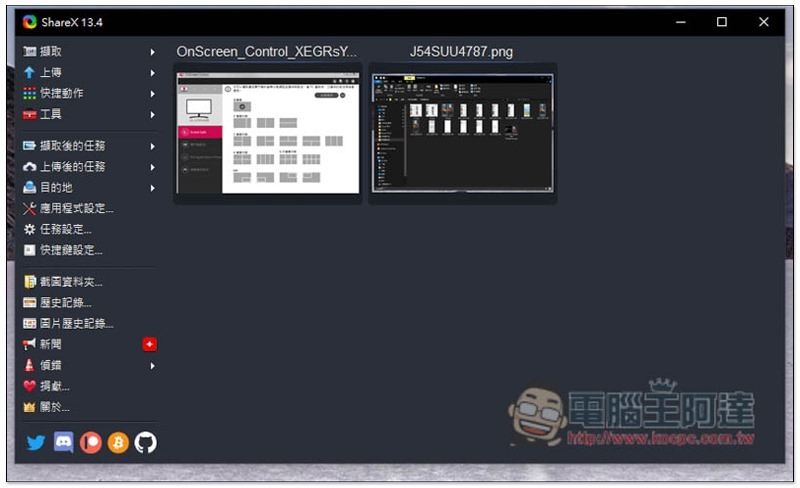
The screenshot history will also be saved in the SharkeX window, allowing us to quickly browse and find files:
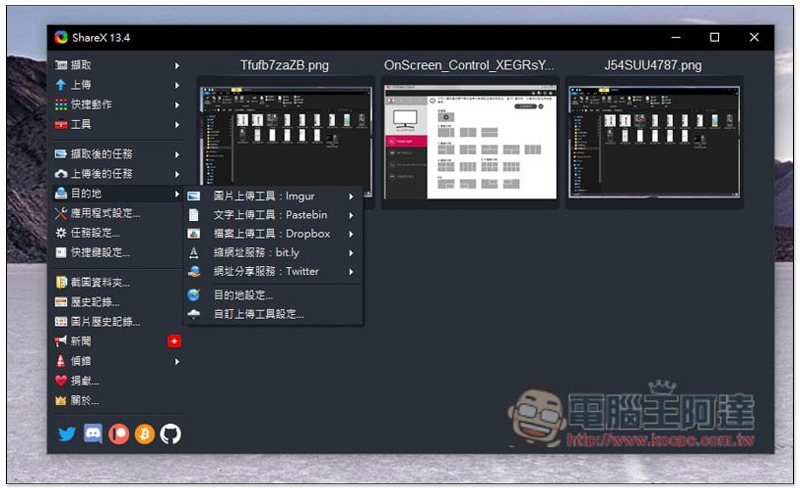
This model also supports uploading pictures directly to the cloud space after taking screenshots. Those who need it remember to set the destination on the left first. Most well-known cloud spaces support:
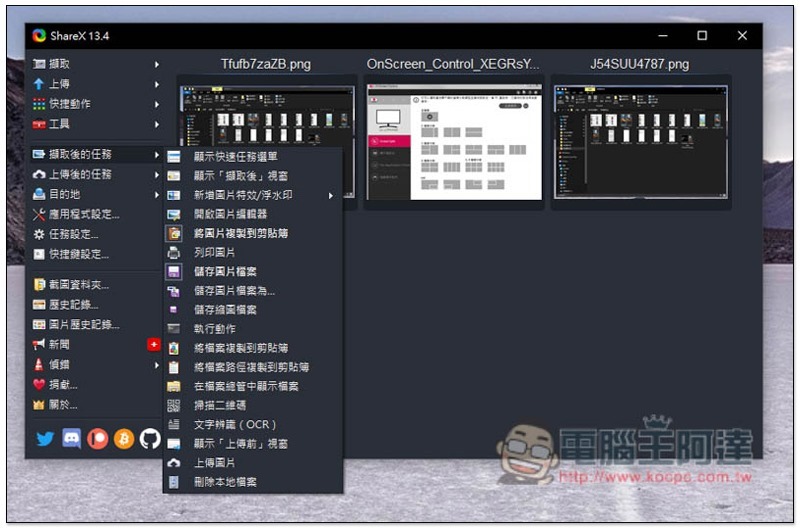
You can also set whether to automatically perform a certain task after capturing, such as opening an image editor, adding watermarks/special effects, and printing images:
There are also many practical functions in the tool menu, such as the color detector, image merging tools, image effects, and Video converter that are often used by designers, and video converter, which requires ffmpeg:
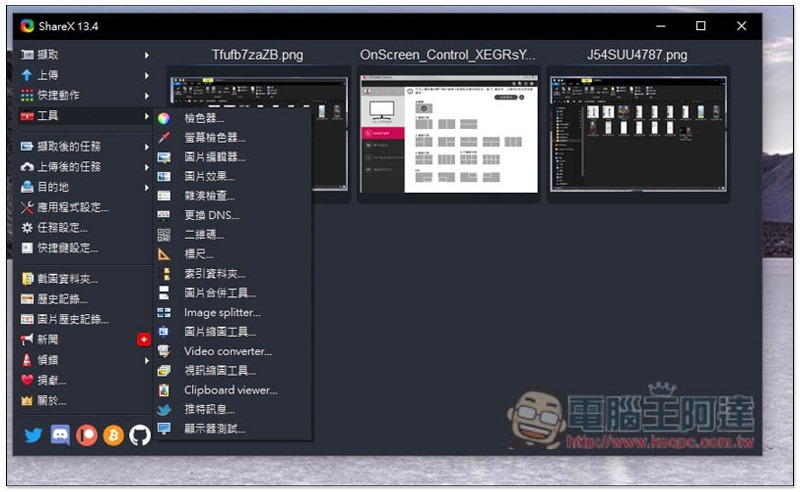
This set of functions is not limited to these. The rest is for readers to play with and see on their own. If you haven’t found a software that likes screenshots yet, I highly recommend giving it a try.
Source: KOCPC Chinese