


When I recently opened the YouTube app, I wonder if you have noticed the brand-new video quality setting page. The first time I opened it, it gave me the impression of super multi-line text. I was even confused because I couldn’t find the previous 480p / 720p / 1080p and other options. In fact, the editor also found it very disturbing, not to mention the sudden blurry picture. What kind of ancient camera did this YouTuber use to shoot the video? Fortunately, there is now a way to directly adjust the image quality preset once and for all. Follow us and set it up! Continue reading YouTube’s new viewing quality options are too confusing? This article teaches you how to change your settings once and for all.
YouTube’s new viewing quality options are too confusing? This article teaches you how to change settings once and for all
In fact, the intention of this function is good. After all, not everyone uses all-you-can-eat, and the network environment may not always remain stable. As an audio-visual service with a terrifying number of 2 billion monthly logins, YouTube obviously wants to help users adapt to network conditions and provide a better user experience – although they seem to have made the options a bit complicated.
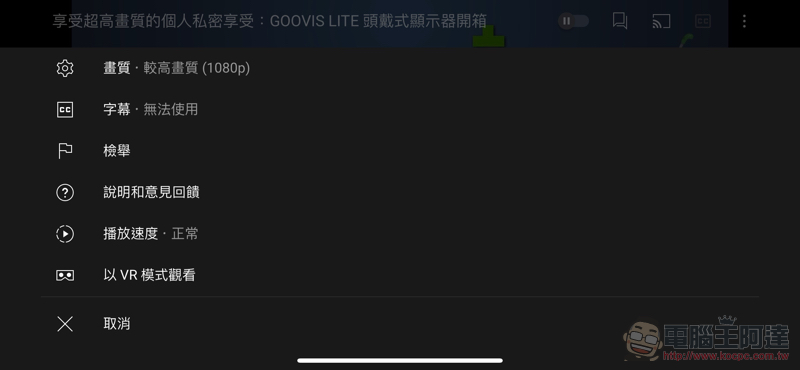
Today’s mobile phone screens are basically Full HD. In addition, ultra-wide screens may be cropped for viewing by enlarging the full screen. It is no wonder that YouTube has recently chosenRedefining “HD”Excludes 720p from this range as well. However, they have not stopped improving the image quality. Recently, they have chosen to adjust the “image quality” function of the Android and iOS mobile versions. Changing the original simple image quality options to “Auto/Higher Image Quality/Data Saving Mode/Advanced” seems to be an item to make everyone understand it better.
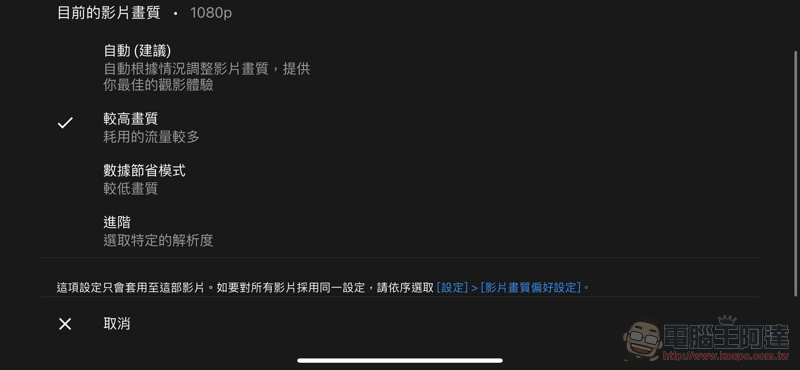
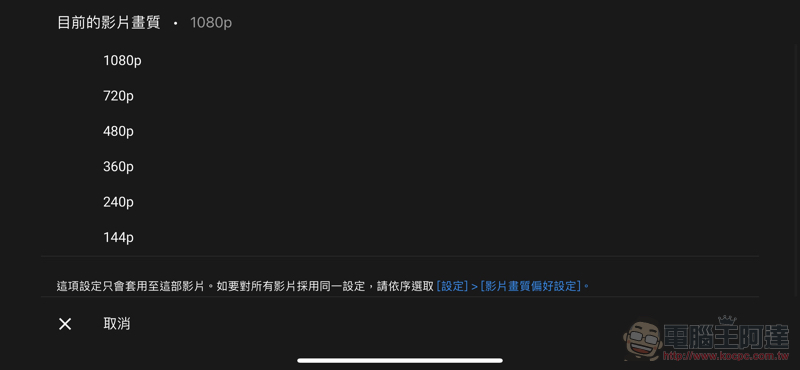
This setting is the same as the previous “Quality” and can also be found in the “…” more options in the upper right corner of the YouTube app after the video is played. And although the description text and options feel a bit too wordy, basically anyone who can read Chinese should understand the purpose of each option – in short, if you are willing to consume more data or wait time, choose “higher image quality”. As for how high the image quality will be adjusted to by this option, or how low the image quality will be reduced by the data saving mode, you have to press “…” again to see.
So I would personally suggest that if you want to make sure you change to the resolution you are used to, it is more practical to choose “Image Quality > Advanced” – just like before, just with one more step…
After roughly trying out the image quality options this time, the “higher image quality” option is actually quite smart. For example, when playing on an iPhone with a wider screen, the 16:9 non-full screen will be played at 1080p by default; switching to full-screen cropping will automatically cut to a higher 2160p. So in theory, friends who value image quality should have no problem choosing a higher image quality when watching.
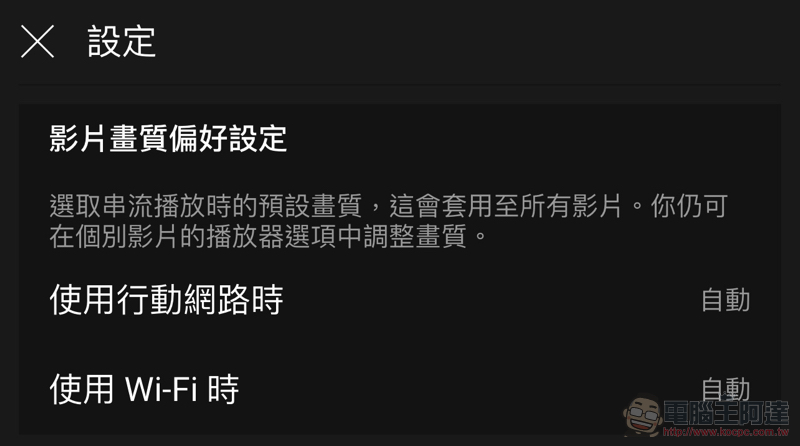
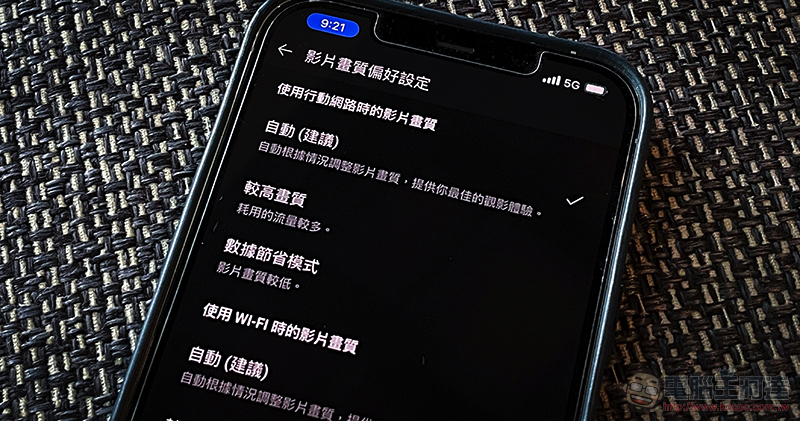
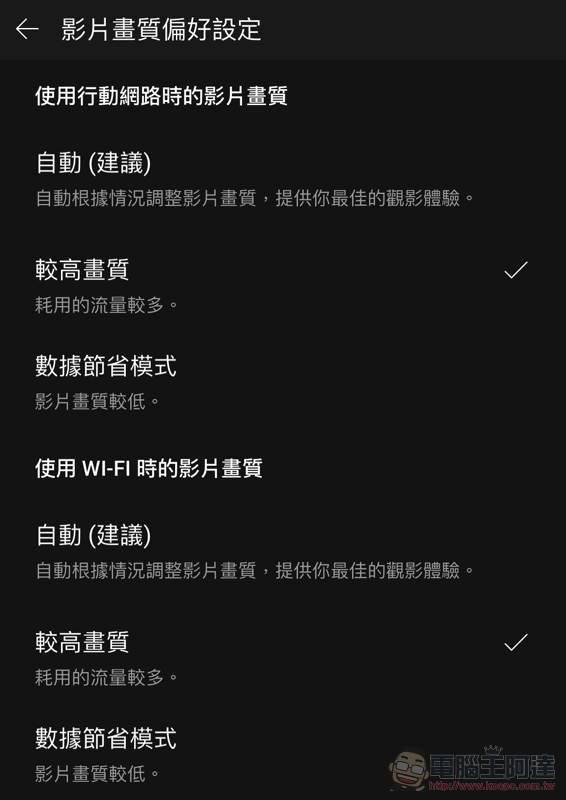
Then the YouTube app actually has a page that provides default option switching in the settings. Just click the account icon in the upper right corner of the homepage and go to “Settings > Image Quality Preferences” to set the image quality required when connecting to mobile networks and Wi-Fi. Although the options are only Auto/Higher Quality/Data Saving Mode, at least compared to the default option Auto, it always makes people wonder if YouTubers are popularizing the nostalgic camera theme.
Set it up quickly!
Further reading:
Source: KOCPC Chinese