


Most of the screen recording tools only have the function of recording the screen. Therefore, for those who make instructional videos or want to have marking tools during the recording process, they can only use post-production to make up for it, but this is another process and takes more time. The loom screen recording tool we are going to introduce in this article has a brush function, which you can open and use at any time during recording to let the viewer know better which area of the screen you are talking about. After recording, the video will be automatically uploaded to the cloud and shared directly with others. This is quite convenient, and both Windows and Mac versions are available.
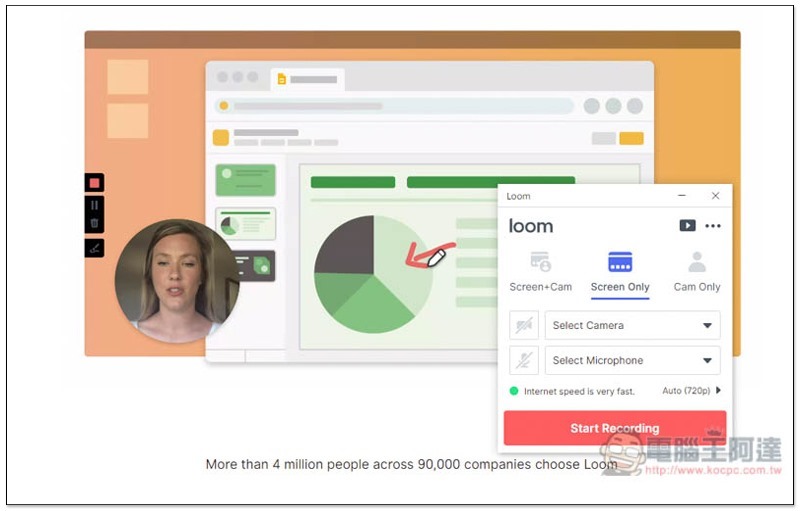
Introduction to loom screen recording tool
Click here to enter the loom official website, click Download on the screen to download. If the version displayed on the screen is incorrect, please click See more options to switch to other operating system versions:
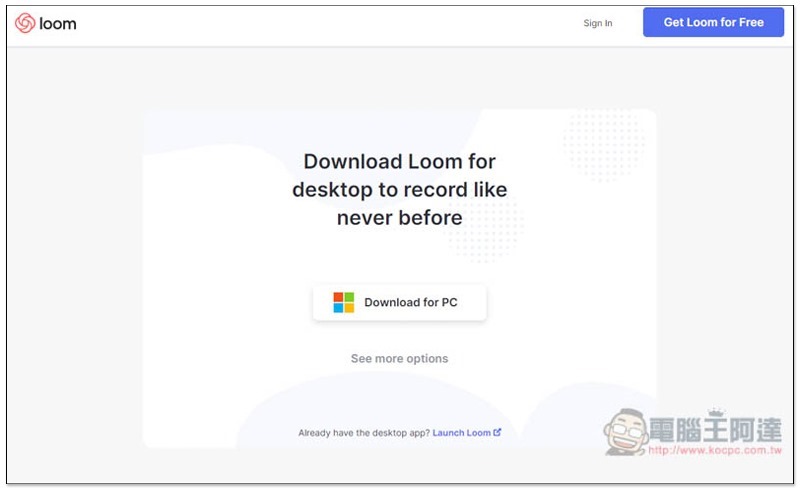
Then the download will start:
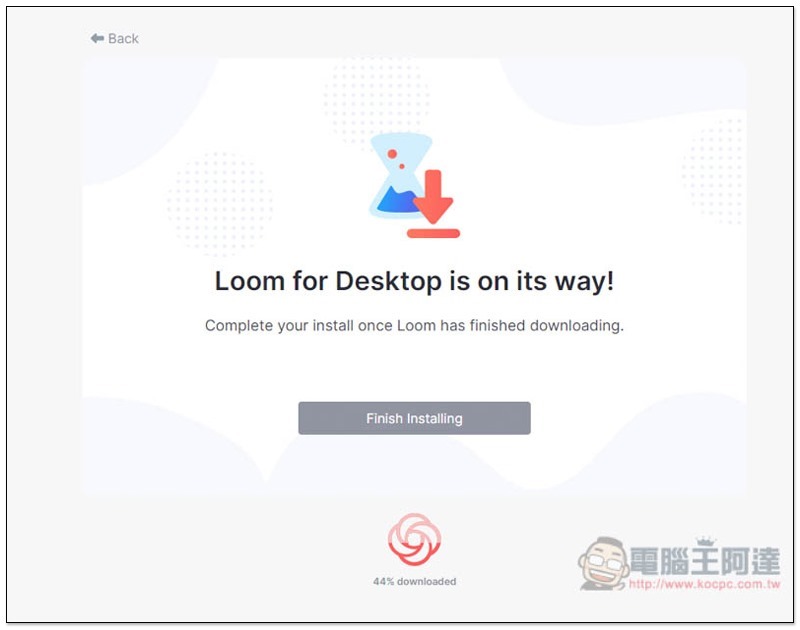
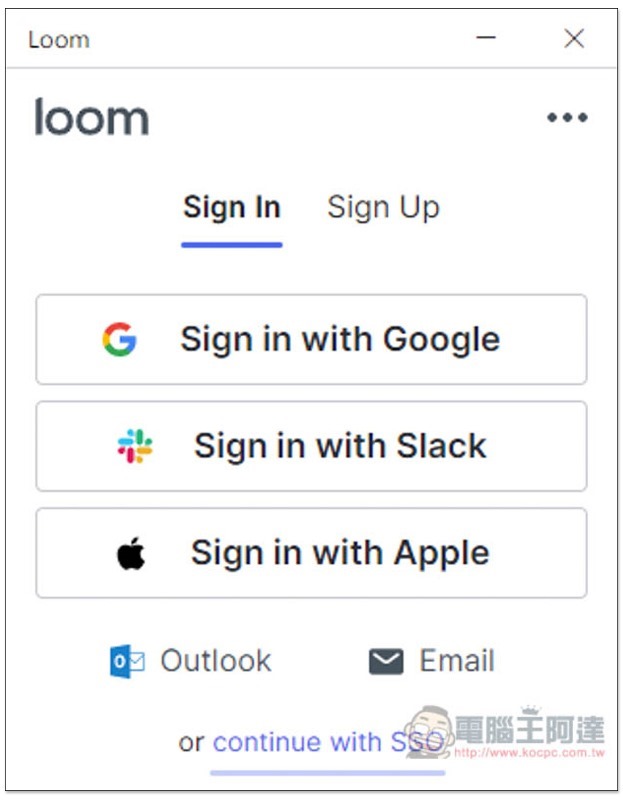
After downloading, open it and the installation will be completed automatically. You need to register an account to use it, and provide quick login with Google, Slack and Apple:
Click below to agree to the privacy statement:

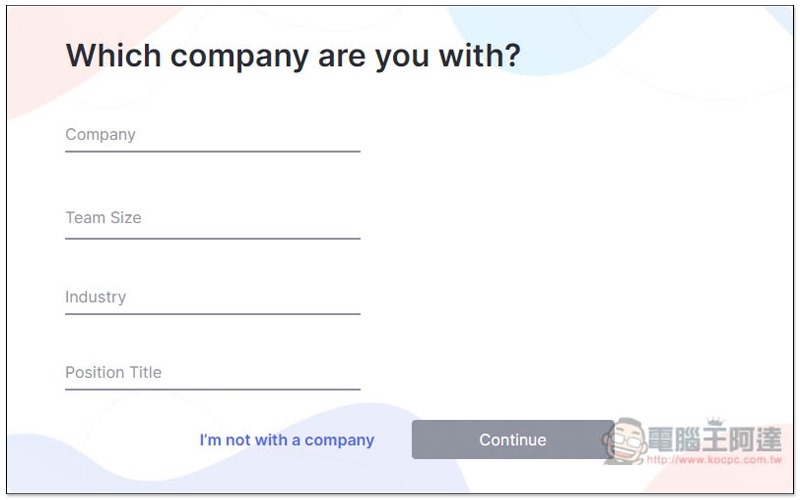
Then a series of questions will pop up, like the company information in the picture below. If you are too lazy to fill in or use it for personal use, you can just click “I’m not with a company” below to skip:
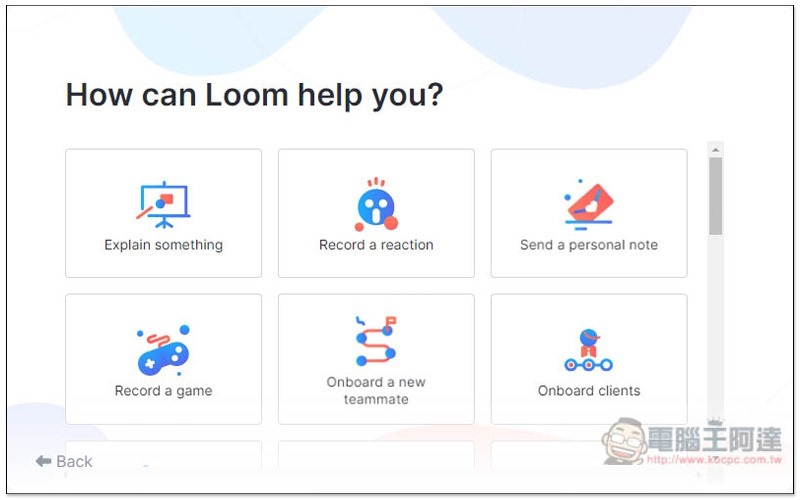
Select what content you want to record with Loom. You can check the boxes, which will not affect subsequent functions:
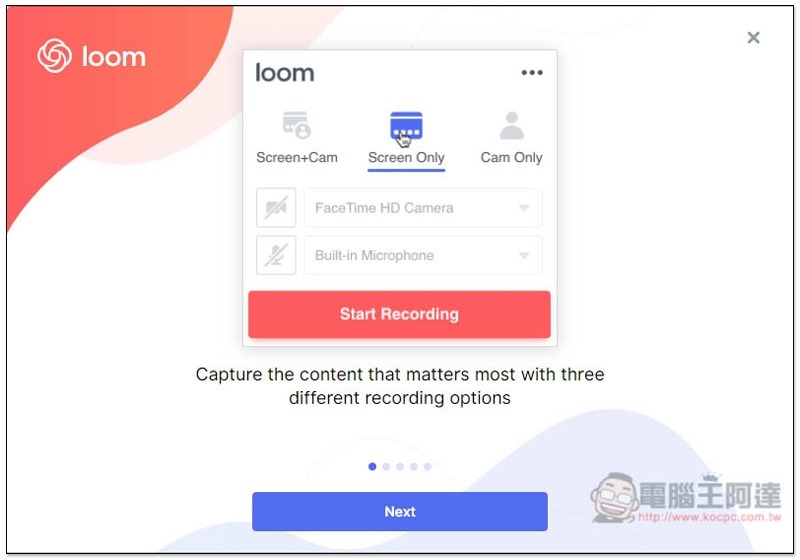
This set provides three recording modes, “Screen + Cam”, “Screen Only” and “Cam Only”. You can also specify the lens and microphone to be used below:
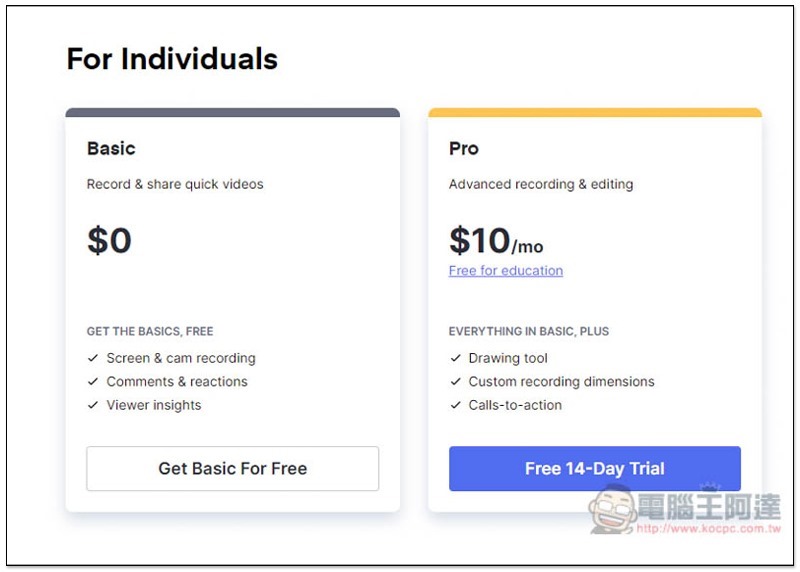
This set has two versions: free version and paid version. The first time you use it, you will get 14 days of paid version permissions. All functions can be used, and there is no need to fill in any payment information, so you don’t have to worry about being charged:

The picture below shows the difference between the free version and the paid version:
Then you will enter the software interface and select the mode you want to record. My computer does not have a camera or microphone installed, so I can only select Screen Only:
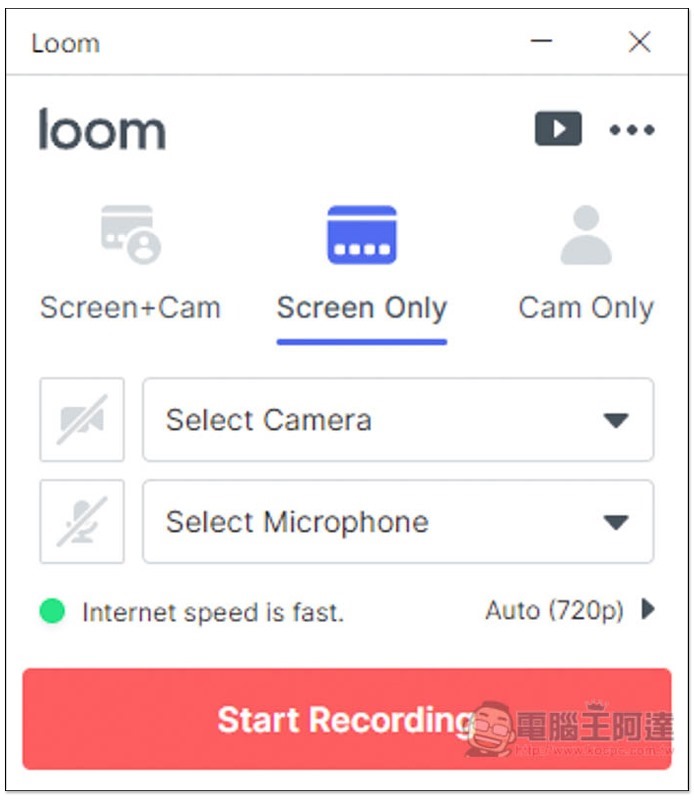
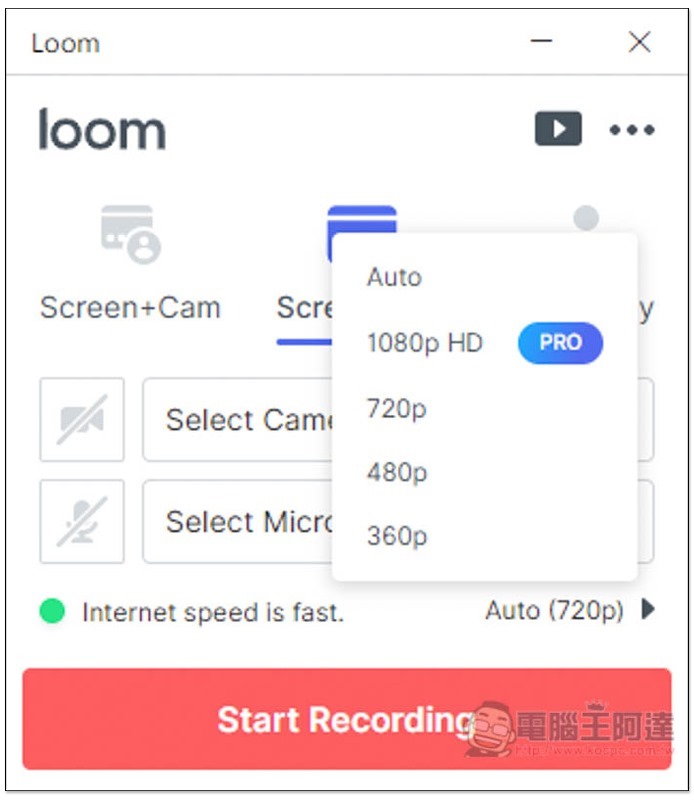
There are four options in the quality section, 1080p HD is only available on the paid version, but you can use it for free for the first 14 days. Afterwards, the free version can only record up to 720p resolution. Click Start Recording below to start recording:
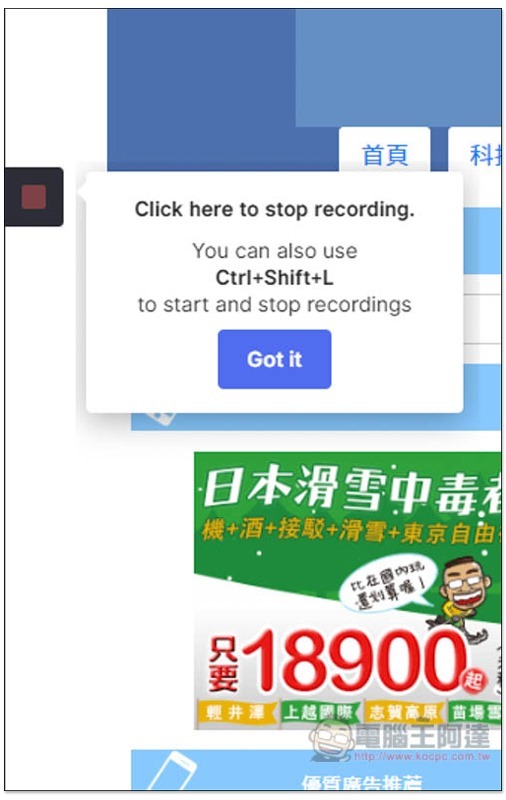
When recording, there will be a control center on the left side of the screen. Click the square or press Ctrl+Shift+L to stop recording:
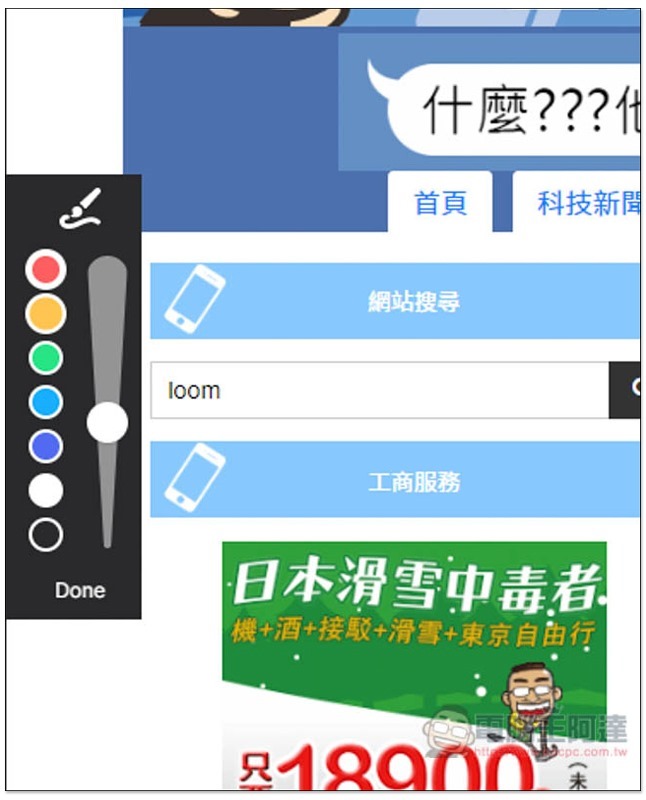
Move the mouse over and the brush function will be displayed below:
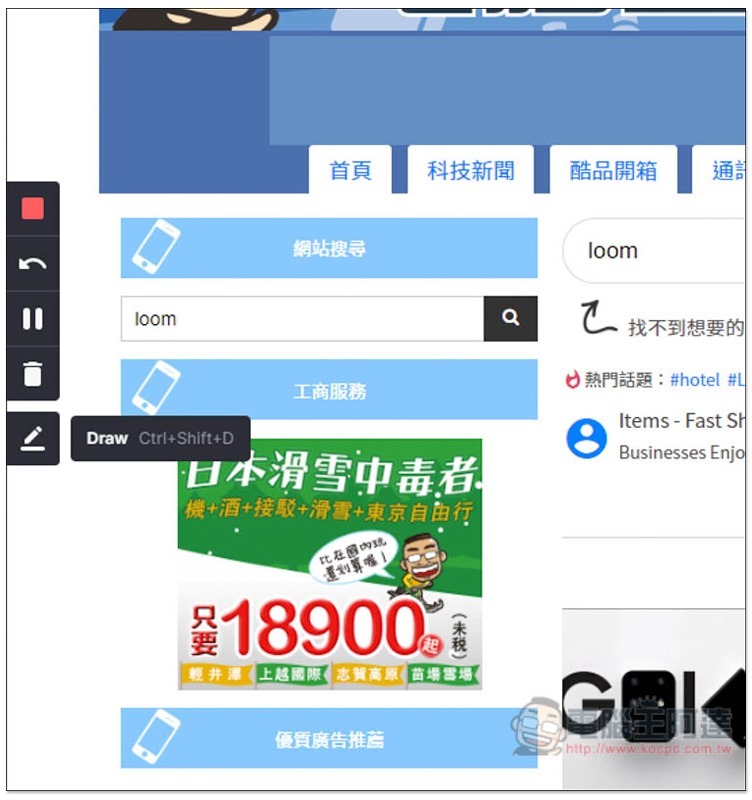
Color and thickness can be adjusted:
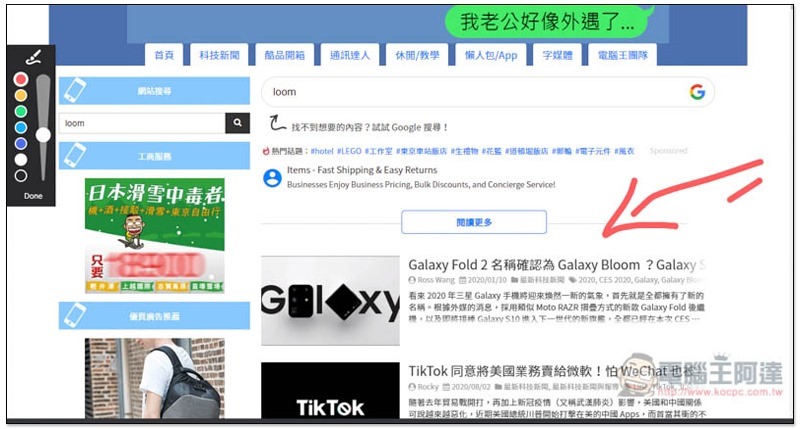
As shown below, when you talk about a certain point during the recording process, you can use this function to let the viewer know more clearly which place you are referring to:
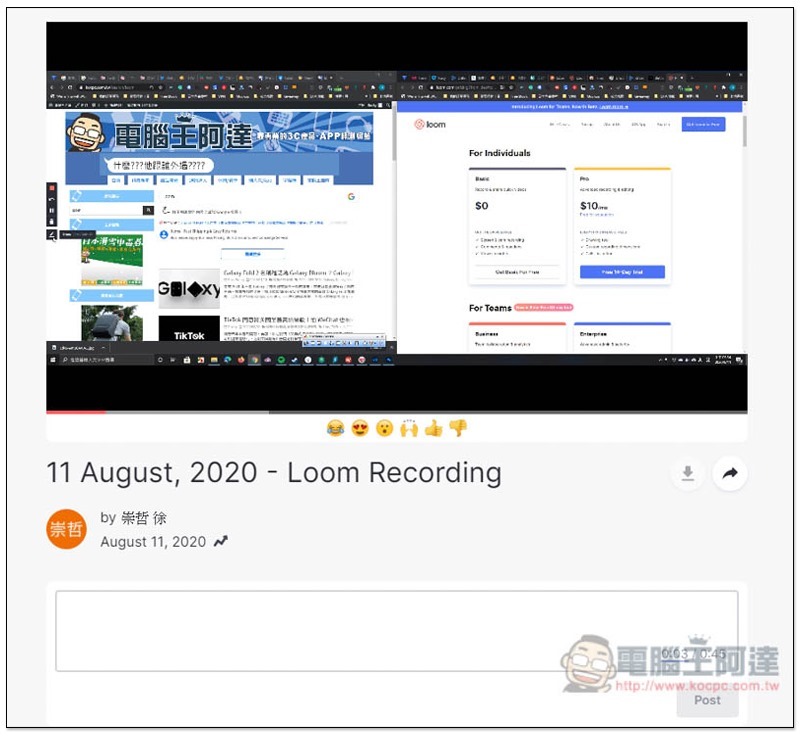
After stopping recording, the video will be automatically uploaded to loom’s cloud space:
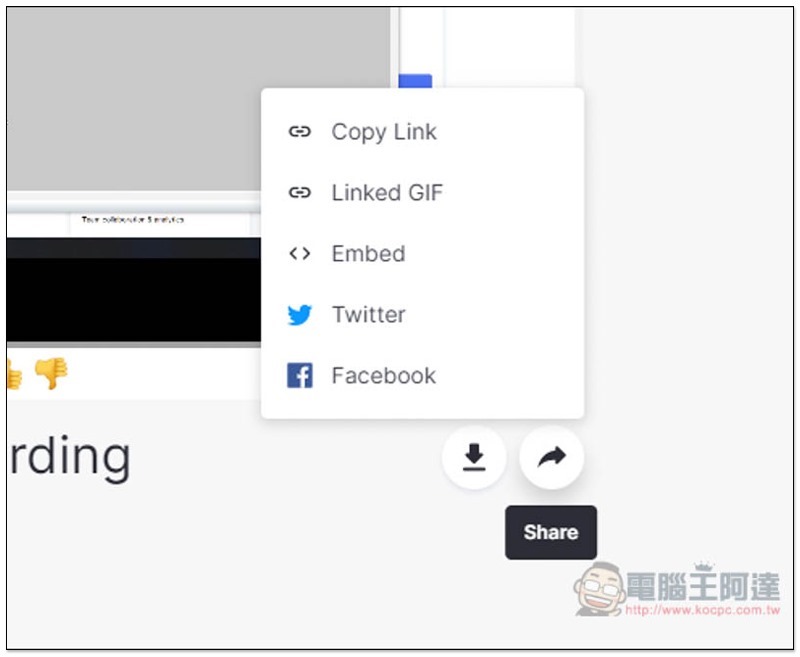
Click the share icon in the lower right corner to find video links, embedded code, and sharing to Twitter, Facebook, etc.:
Below is the test video demonstrated in this article:
Supplementary information
- Tool name: loom screen recording
- Nature: free, paid
- Official website:Click here to go
Source: KOCPC Chinese