


Foreword
This one is from my…My little brother is really good at making paper models.Published in Articles in the Mobile 01 Space Design and Decoration Section, because there was also a previous post about building your own home on your own landPost it here…It got nearly 600,000 views back then, so he asked me to repost it—maybe more people will see his beautiful new house. I also filmed a video of it.On-site promotional video…If you’re interested, you can also watch the video directly. Also, if you’d like to find the contractors featured in his articles, you can visit the official website (Click here; Use Manus (The website he built) Leave him a message—you can chat with my younger brother or take a tour of his new house. He’s now started his own company, and this project is currently for sale. If you’re interested, feel free to contact him.
(End of Preface)
Given the recent slump in the real estate market… this post certainly won’t generate as much traffic as the last one… but I’m still very grateful for the assistance provided by the design firm and the construction company. So, this post is my way of expressing my gratitude to the design firm and construction company that stood by me.
Architectural and Interior Design: Tuo Tui Design (Tainan)
Construction: Shixing Construction
After seeing this photo of the building at the beginning and my username… my longtime “Little Devil” friends have probably guessed it’s me again 🤣 I posted my first self-designed, self-built project at the end of 2017, and it generated quite a buzz~(Here) Eight years later, I managed to squeeze out a second one that I built on my own land 🤣. (Actually, it’s my third one…)Actually, the reason I keep creating new works is that I just want to keep building—so I finally started my own business!But just as I was brimming with confidence and about to take my first step toward starting my own business… fate dealt me a harsh blow…🙃
That’s right, the second project fell through for some reason (it was put on hold temporarily because the foundation excavation caused damage to a neighboring house 🥲, and in the end, we had to pay three times the compensation 🙃). After dealing with damage to the neighboring unit, being sued, having a design project fall through, and paying compensation… I started my third construction project 🥲, and once again hired the same contractor from my first project to help me. (I parted ways amicably with the contractor from the second project that went wrong—there were no harsh words or accusations.)Maybe God wants me to slow down and take a closer look at my shortcomings…🥲 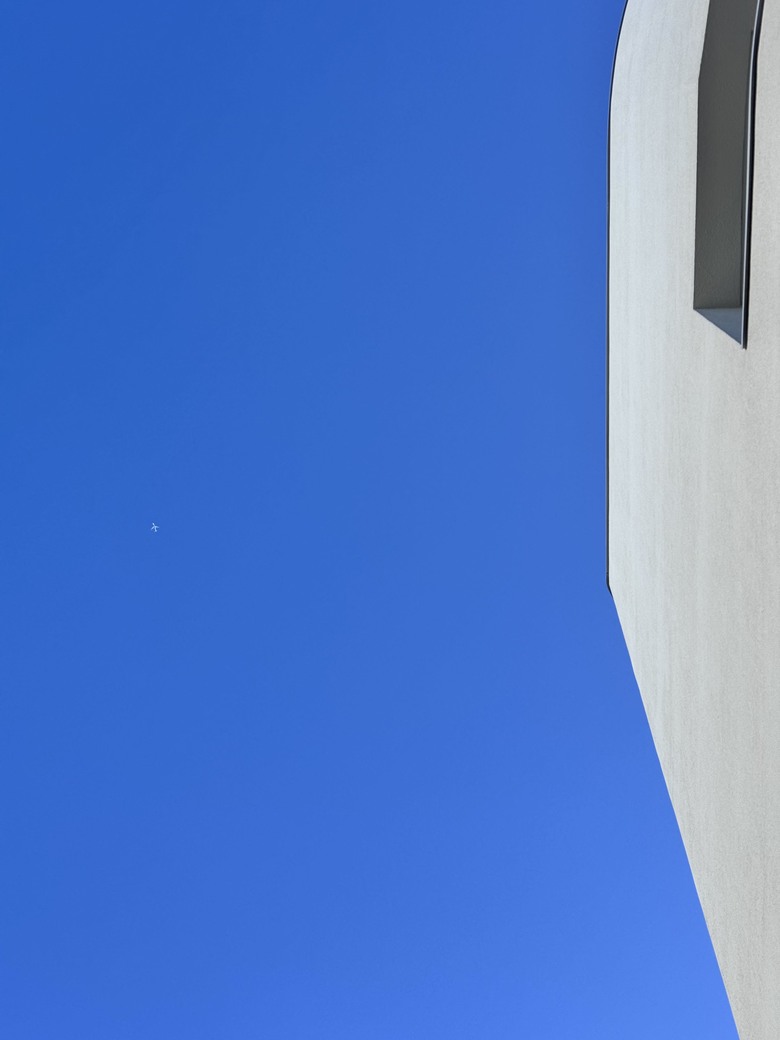
Case Overview~
Floor Area: 41 ping
Floor Area: Approximately 95 ping
Duration: A total of four years and five months for planning, construction, and interior design. (This time it took even longer…
Special Ingredients:
1. We successfully applied “Le Tu,” developed by National Cheng Kung University, to the interior walls this time as well. The interior will feel even drier and fresher 😁
2. Since there are quite a few floors, we added an elevator. (To me, that’s a special feature 🤣)
3. Exposed Concrete
4. Exposed Concrete Columns
Portions Contracted Out Independently:
1. Metalwork throughout the building: drip edges, railings, indoor and outdoor metal stairs, metal roll-up doors, steel-and-wood doors,
2. Landscaping: Gravel installation (with the kind assistance of the construction company in laying it…) Planting…
3. Drainage mat + Baiji mesh (purchase and install on your own)
4. Wood Flooring
5. Building Lighting (I installed everything myself—except for the recessed lights in the interior design!)
6. Kitchen and Bathrooms
7. Low-Voltage Systems, Security Systems, and Audio-Visual Equipment
8. Building-wide air conditioning
9. Storage-Type Water Heater System
10. Curtains
11. Elevator Window Film Installation
12. Cleaning it myself again! (Saved at least 40,000, but once again I’m exhausted… 🤣)
Just to clarify again! I hired the same design firm that worked on my first project to design the building’s exterior, structure, and interior design all as part of a single plan.
Since this property is located within a legally designated bed-and-breakfast zone in Anping, Tainan, it has been designed to be suitable for both owner-occupancy and operation as a bed-and-breakfast. This will also provide greater flexibility when it comes time to sell the property in the future.
Let’s get started
Dreams Take Flight Again! Let’s Get Started! 😁Since I lost three times my investment on my last real estate deal… this time I specifically bought a corner lot with no houses on either side… I can’t wait to see who I’ll be making up for this time 🤣🤣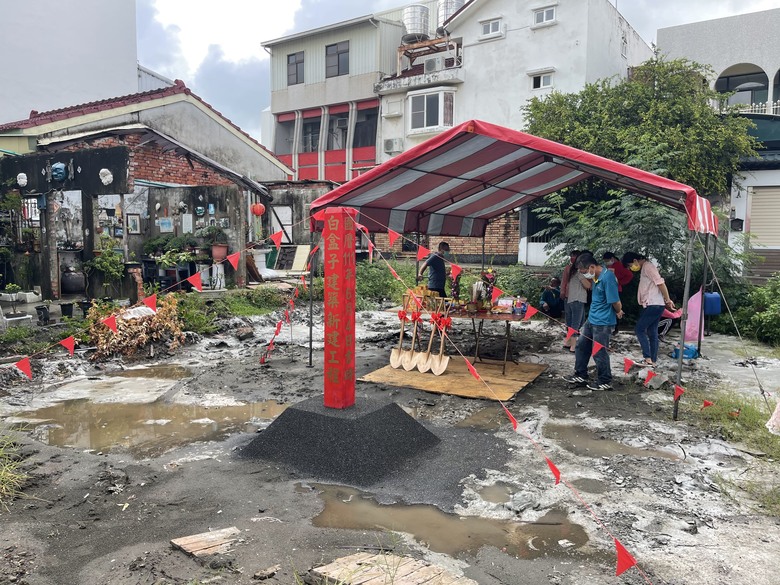
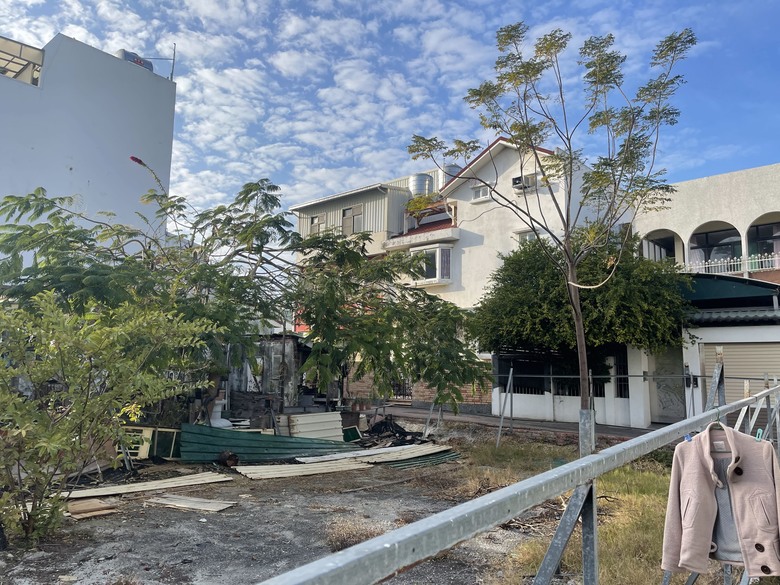
I don’t know why… but when I saw this plot of land back then, it just felt really comfortable (probably because of that tree in the background… (Eagle-eyed readers might also notice the unusual shape of the house on the right—it was unique in the country at the timeWorks by Ms. Wang Xiulian, the First Female Architect 👍)
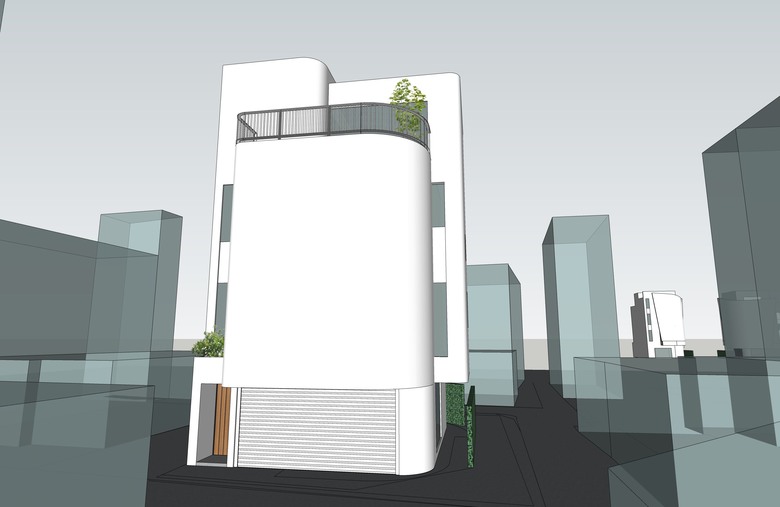
Here are a few renderings of the exterior and interior designs that were being discussed at the time 🤣
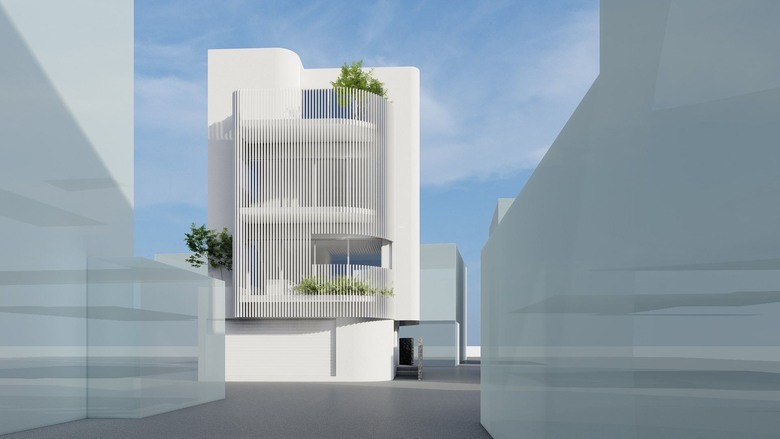
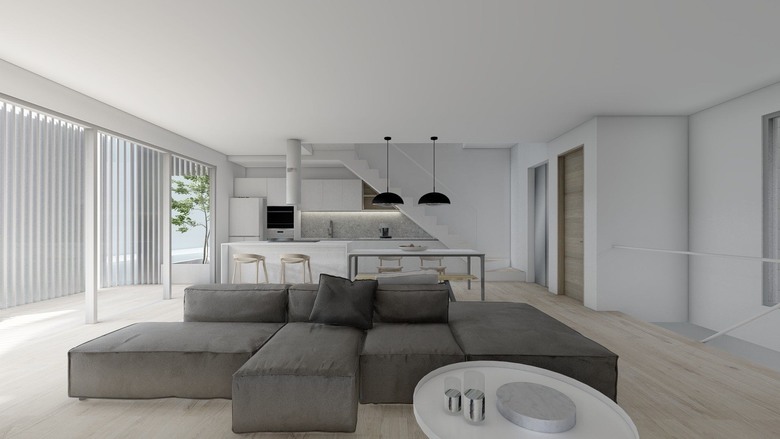
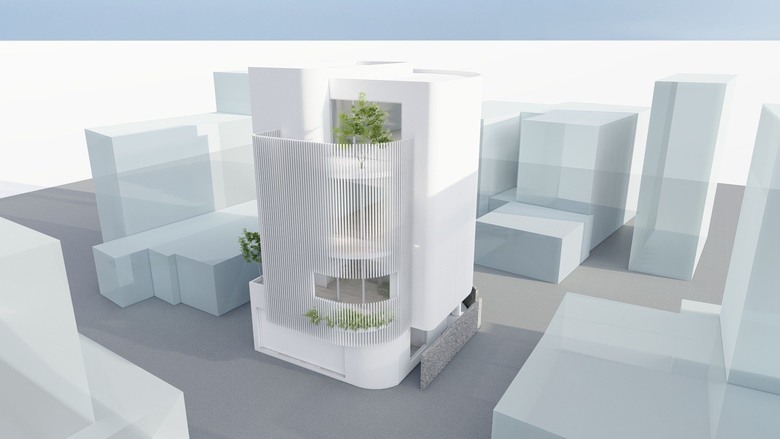
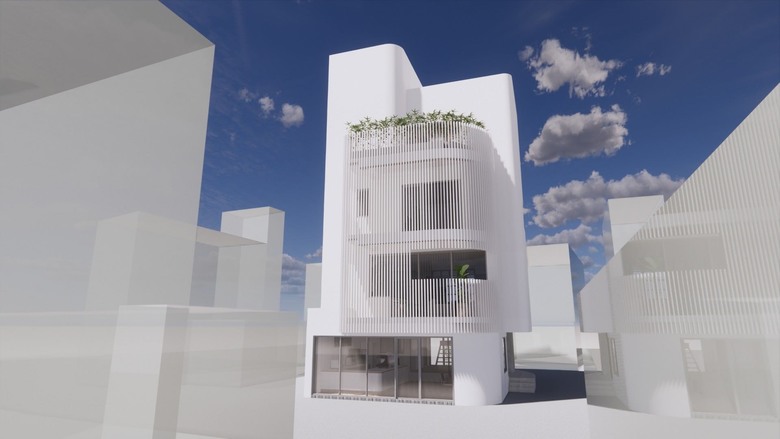
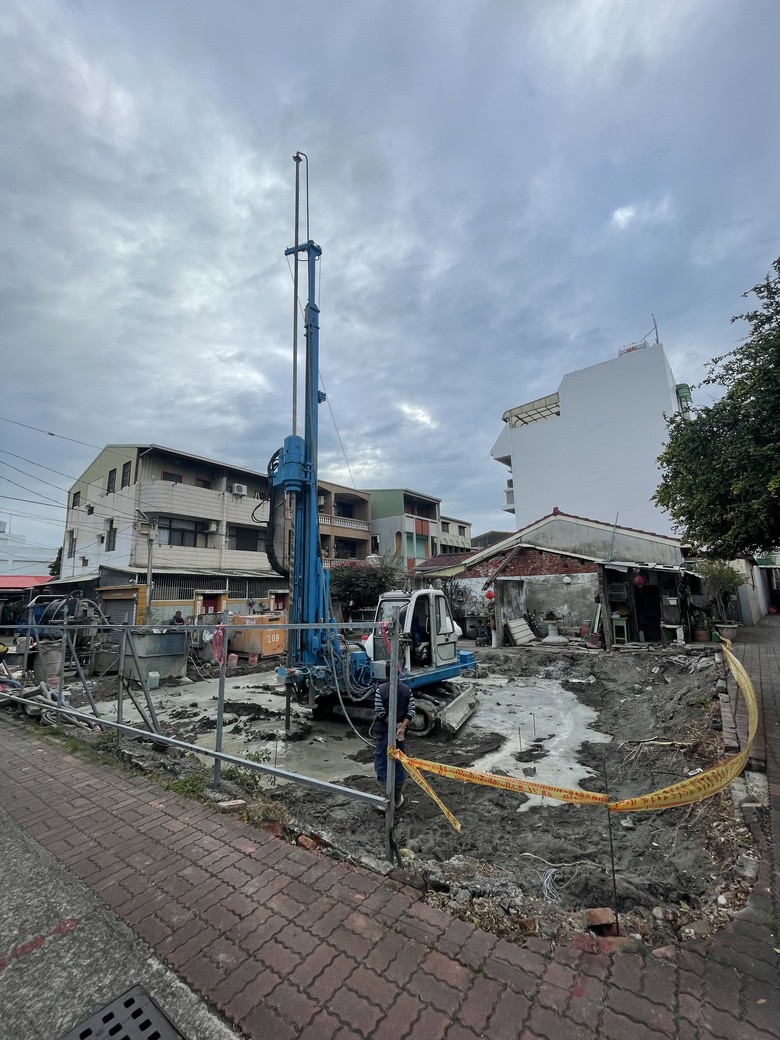
Since the soil conditions in Anping aren’t very stable… we can’t skip the CCP piles 🥲
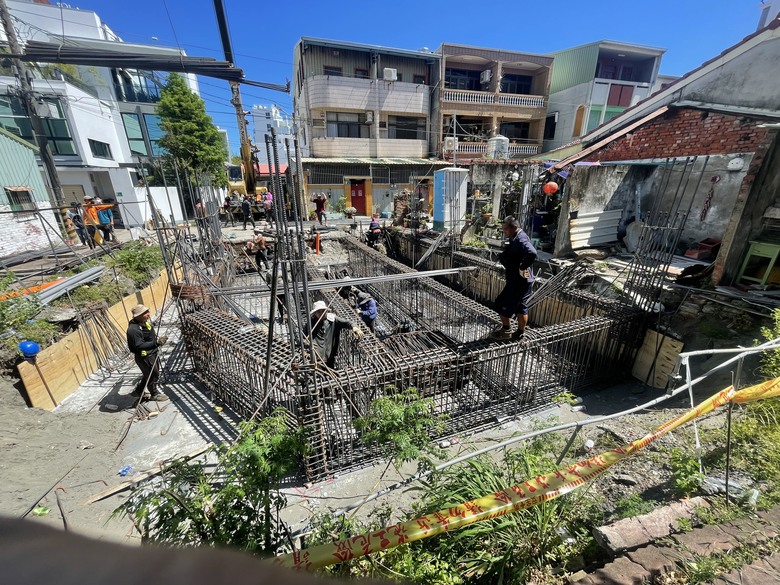
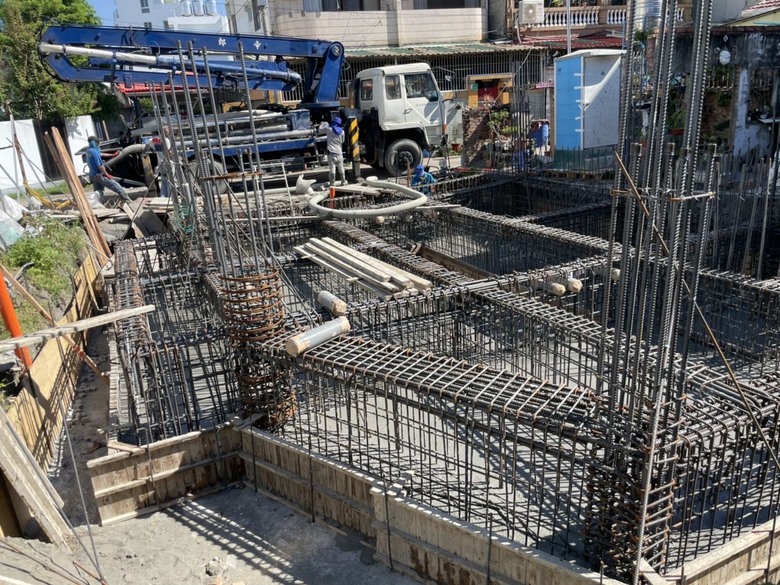
The bottom is in! 🎉🎉
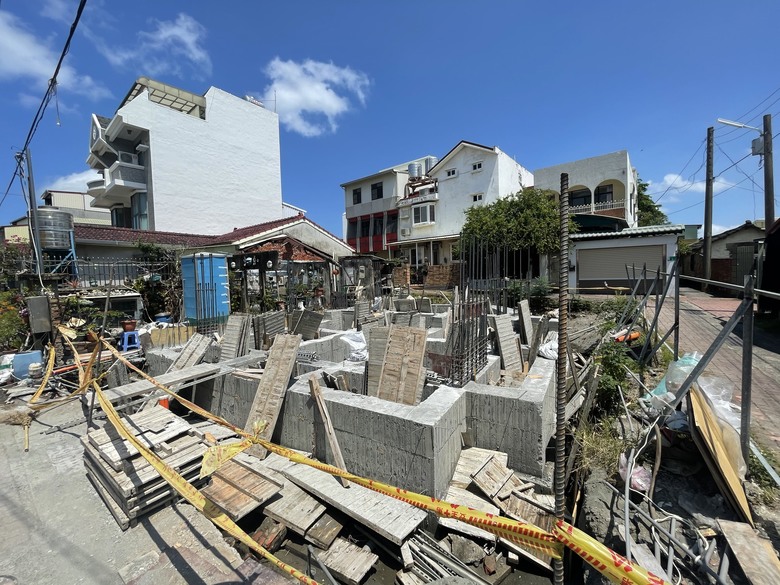
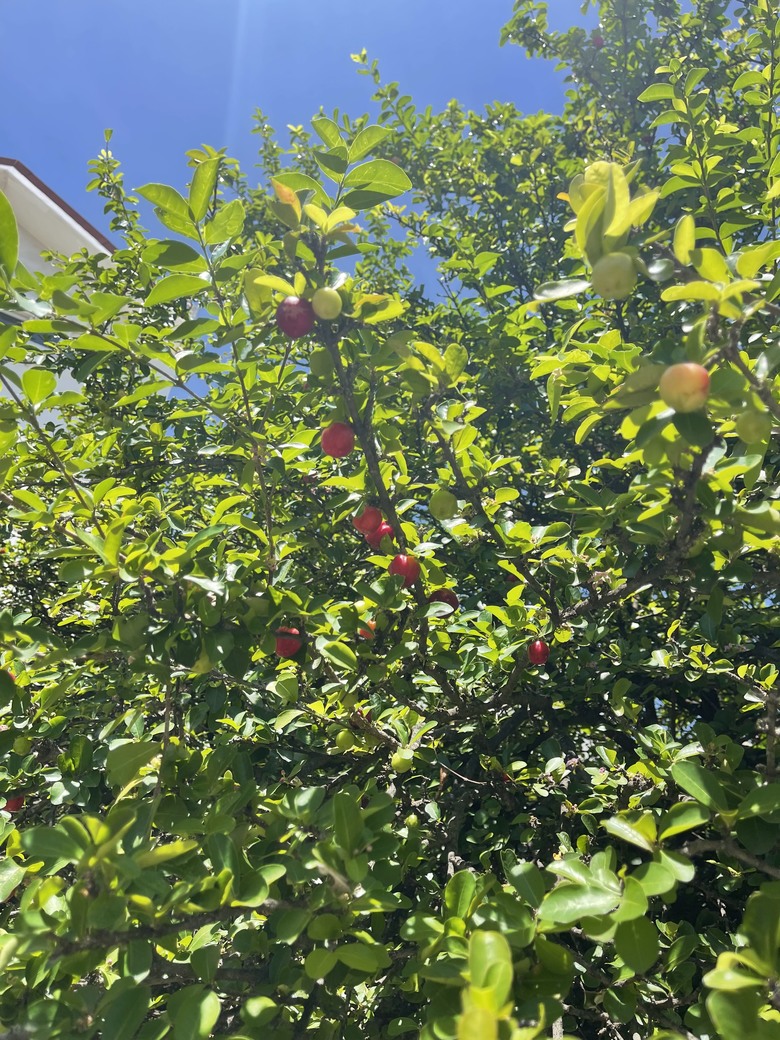
Speaking of my neighbor’s West Indian cherry tree—it’s amazing! It’s probably the only cherry tree of its size left that you can actually see and pick right by the roadside 😁😁 We even had the balcony opening on the second floor specially modified just so we could see this cherry tree 😁

First-floor flooring completed

Since I’m at the construction site every day, I have to point out any issues right away—because fixing them later would be a hundred times more trouble 🙃

Here comes the main event: the paper model of the exposed-concrete column (it’s expensive 😅)—I insisted on using it myself… so I’ll have to take full responsibility for its success or failure 😅

Since this was the first time the construction and formwork companies had used paper forms… everyone was just figuring it out as they went along 🤣

This is how the paper model fits together…
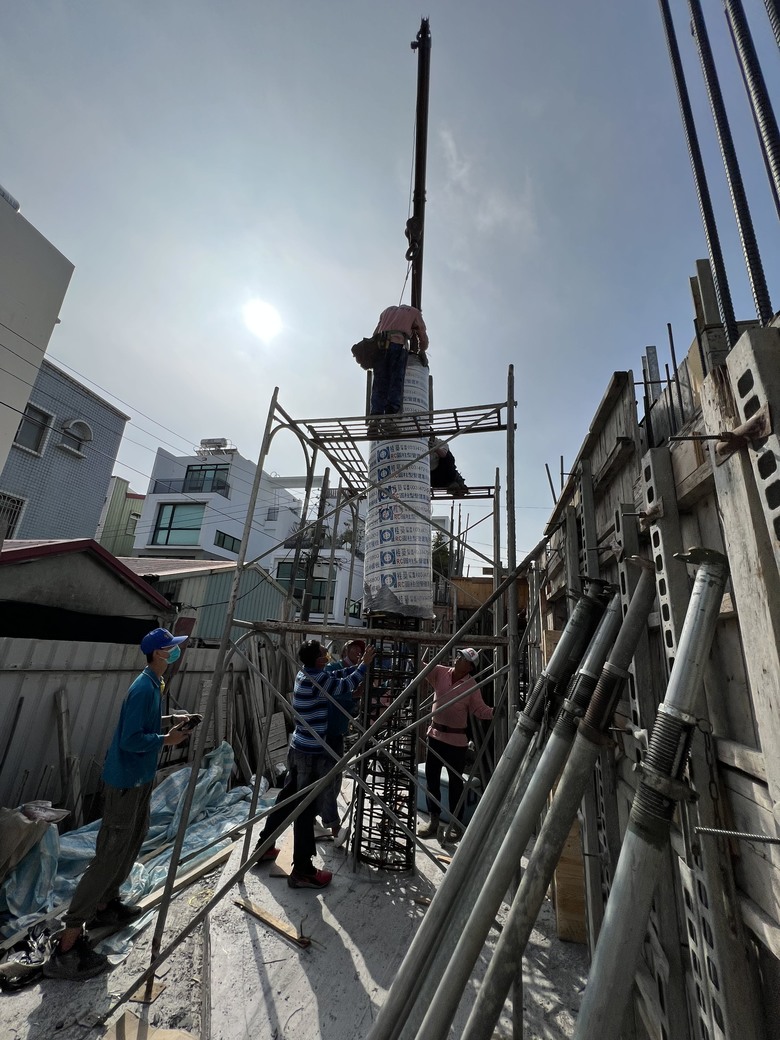
Grouting!

The first-floor ceiling is complete! 🎉


I have to say, the plumber and electrician we hired this time were really great 👍 (I love people with OCD like that 🤣)

Here’s what the exposed concrete columns on the first floor look like before the formwork is removed (once it’s taken down, it’ll either be a pleasant surprise or a big shock 🤣)

There’s also a exposed-concrete column on the second floor.


I’m really grateful to these construction crews for their help (small vibrator in use).

Second-floor ceiling completed

Let’s keep going up to the third floor!

The first time I installed a floor-mounted bathroom faucet—I planned for it in advance 😁 (It turned out so beautiful!)

This area was originally a row of drywall panels… but since there was no place to run the pipes 😩, we had to build a utility shaft that sticks out 🥲

It’s starting to come together 🥹


The third-floor ceiling is done.

This surface is curved all the way around (I was really worried back then that the plasterers wouldn’t be able to handle it 🤔
Let’s keep going to the fourth floor!


I also planned the air conditioning ductwork for the entire building myself… That’s the only way to ensure a cohesive look once it’s finished.

I also laid out the skylight myself and planned the dimensions.


Formwork Removal

The much-anticipated sunroof 😍


The aluminum windows have arrived.

Custom-made arched window (the price is pretty outrageous, too 🤣)


Door frame installed by the homeowner (galvanized steel)


It seems like every construction site has a cat 😍😍

After waiting a full nine months, the plasterer has finally arrived 🤣

Check this out… This masonry work is on a whole new level—it’s practically OCD-level 🤣

Just look at this angle—you can tell how insane this masonry work is 🤣


Paint Delivery (STO K1.5)


When this place was finished, I just stood there in a daze for three minutes 🤣

Metal Ladder Delivered (Expensive 🙃)
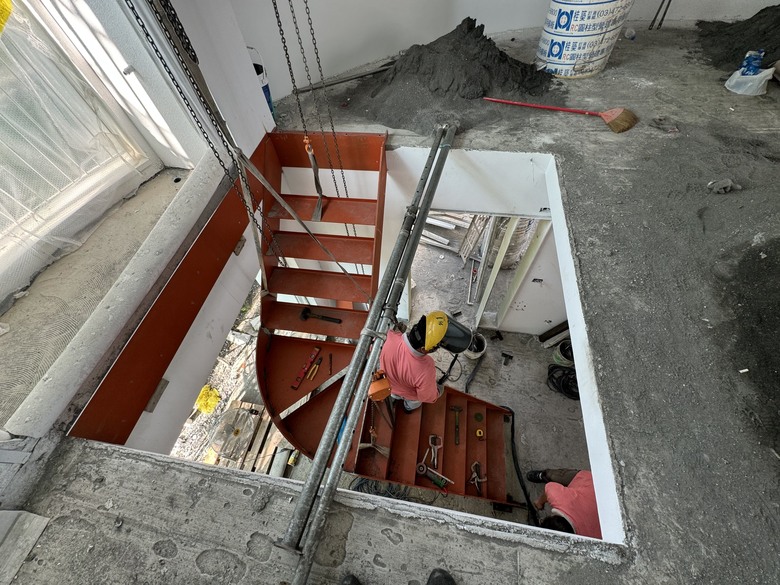

Speaking of this staircase—I actually designed both the shape and the handrails myself!

Take down the scaffolding!!


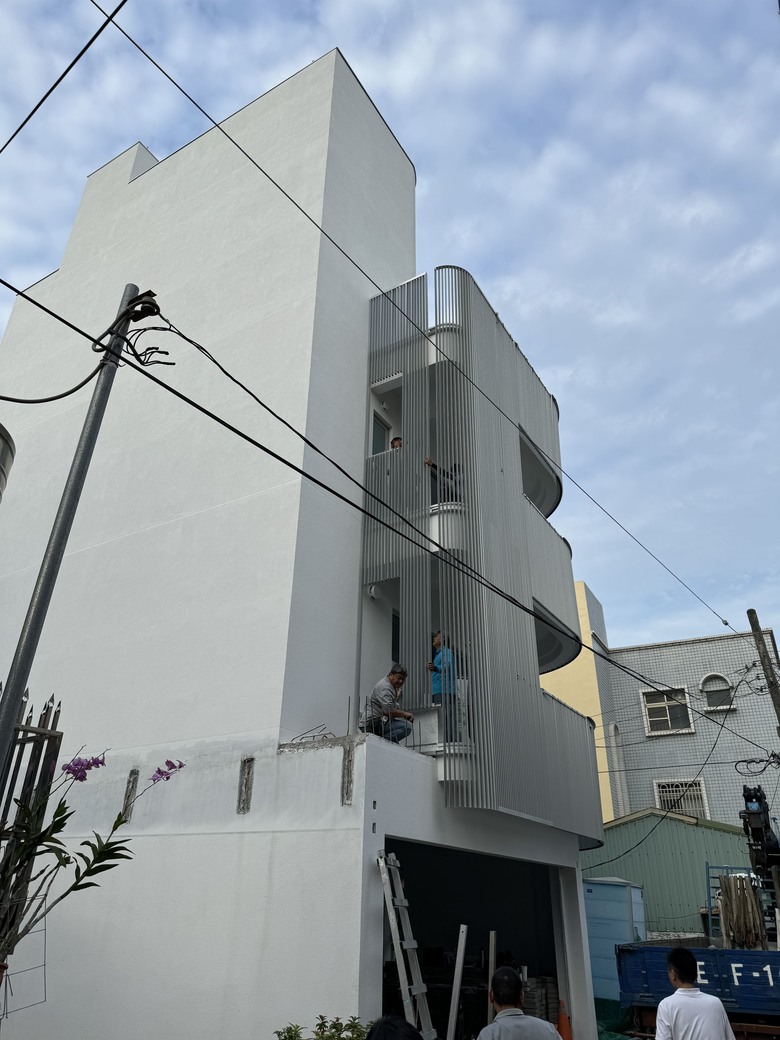
Here comes the trickiest grille yet (just how tricky? It took a total of six trips back and forth, and the laser cutting was messed up twice—the handsome boss was at his wits’ end 🙃

It turned out absolutely stunning! 😍😍

Paint job done! 👍


All the grout in the room is epoxy grout. The advantage is that it’s stain-resistant and can be easily wiped clean with just water 😁


The staircase joints are finished with a 45-degree back cut and decorative stone grouting (it’s expensive 🙃, so protection is a must).

Curved Glass Arrives on Site

Here comes the highlight! The spiral staircase at the observation deck!!


Spiral staircases have a base that reduces sway while walking.

Wow, that’s amazing!

From the observation deck, you can see Anping Harbor right away.

I shed a few manly tears again last night while testing the lights 🥲

The exposed concrete crew is here! I have to give this exposed concrete crew a big shout-out! They’ve probably worked on some of the most well-known exposed concrete projects in Tainan! (We even ended up becoming good friends 🤣)


Exposed concrete that has just been stripped of its formwork tends to be darker in color.

Done!

Take another look! I even applied a weather-resistant protective film to the spiral staircase for him! (I made the sample, cut it to size, and applied it myself.)

Done

The carpenters have arrived, too!

Next up is the outdoor nighttime lighting test (it was absolutely stunning)

Money down the drain… This stone looked really nice once it was installed, but it didn’t match the surrounding materials… so I had to spend more money to tear it out 🥲


Again, I laid the drainage mat and geogrid myself.


I really have to thank the construction crew for mobilizing everyone to help lay the gravel (because I’m really getting old… I’d have died if I’d kept at it 🤣).


Custom-designed outdoor planters


Since different materials are being joined, a gap is necessary.

The owner of the plant shop is really funny 😁


That’s right! I bought this festive watering can at IKEA 🤣

Since I already have a very beautiful cherry tree in the background, I didn’t include any other trees in my design to avoid distracting from the view. 👍


Extending the same material from the interior outward makes the space feel even larger 😁

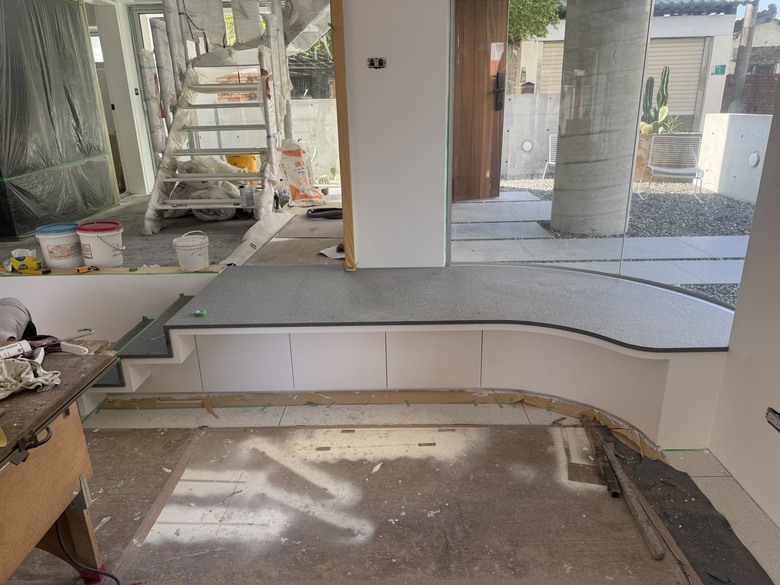
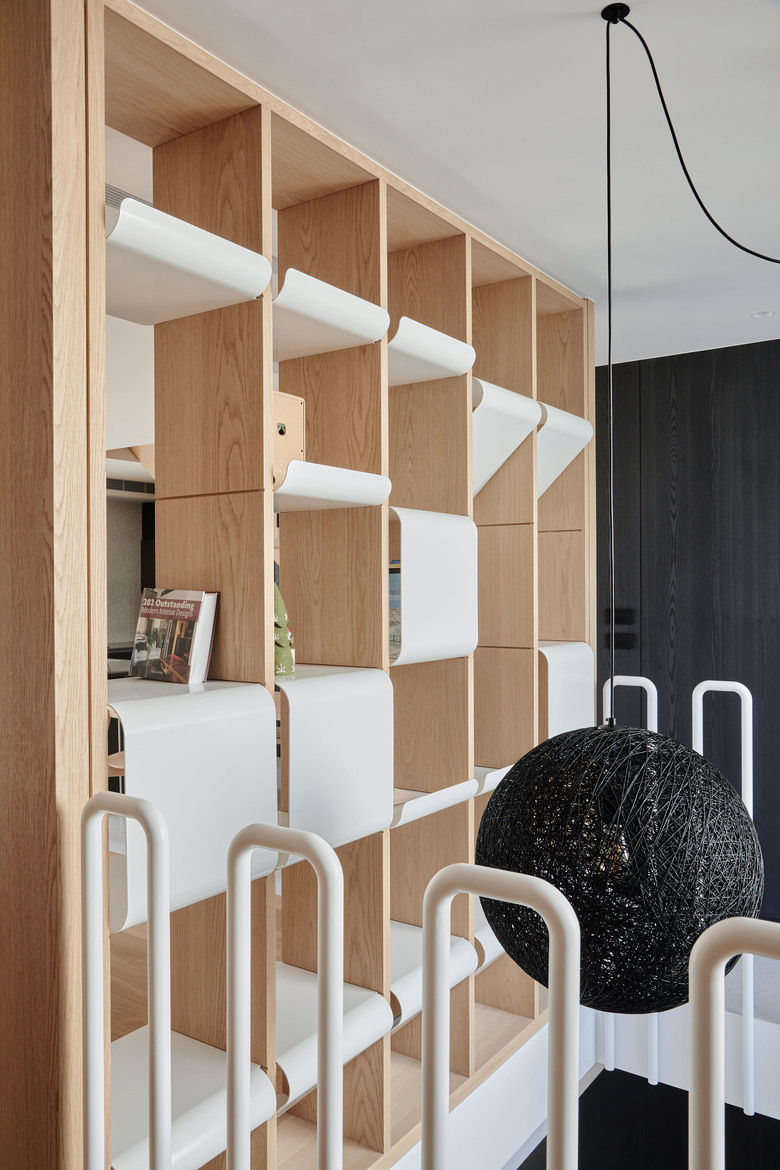
A metal bookshelf I designed and had custom-made (I suddenly got the idea at 2 a.m. while taking a bathroom break 🤣🤣 (Take a closer look! The metal parts are all suspended!)


Next up, the hardwood flooring is being delivered! I have to say, the flooring supplier did an amazing job this time!


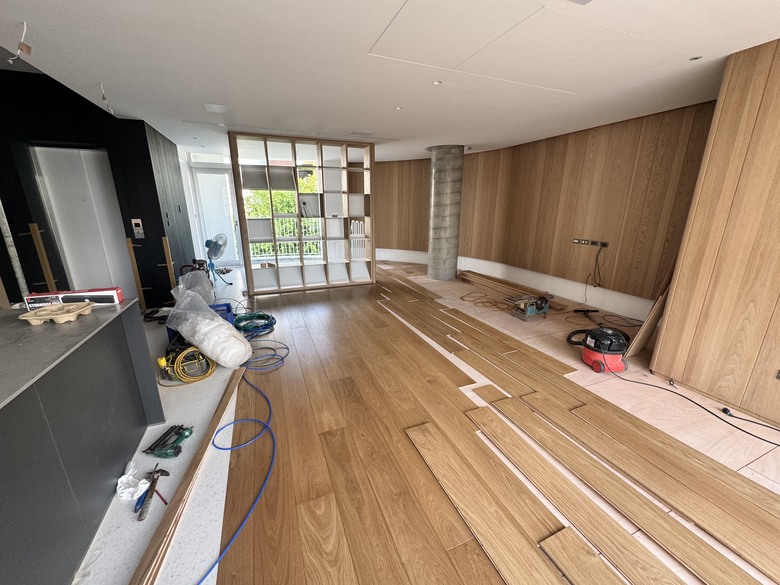
Don’t doubt it—I installed the lights here myself, too…

After installing it, I actually felt a bit scared 😂


A light box, mailbox, small door frame, and house number sign I designed myself 🤣


There’s also a service hatch in the back!


It’s really gorgeous at night 😍

The very last dragon’s blood tree is finally finished!


A nightstand I designed myself, which the metal fabrication company laser-cut directly and then powder-coated 😍

When I see people coming to take pictures… I know it’s time for a studio photo shoot.


Here are the salon photos! 🤣
Editor’s note: You can watch the video for an introduction to the following updates:


It’s amazing… the wires are actually all gone 🤣🤣🤣


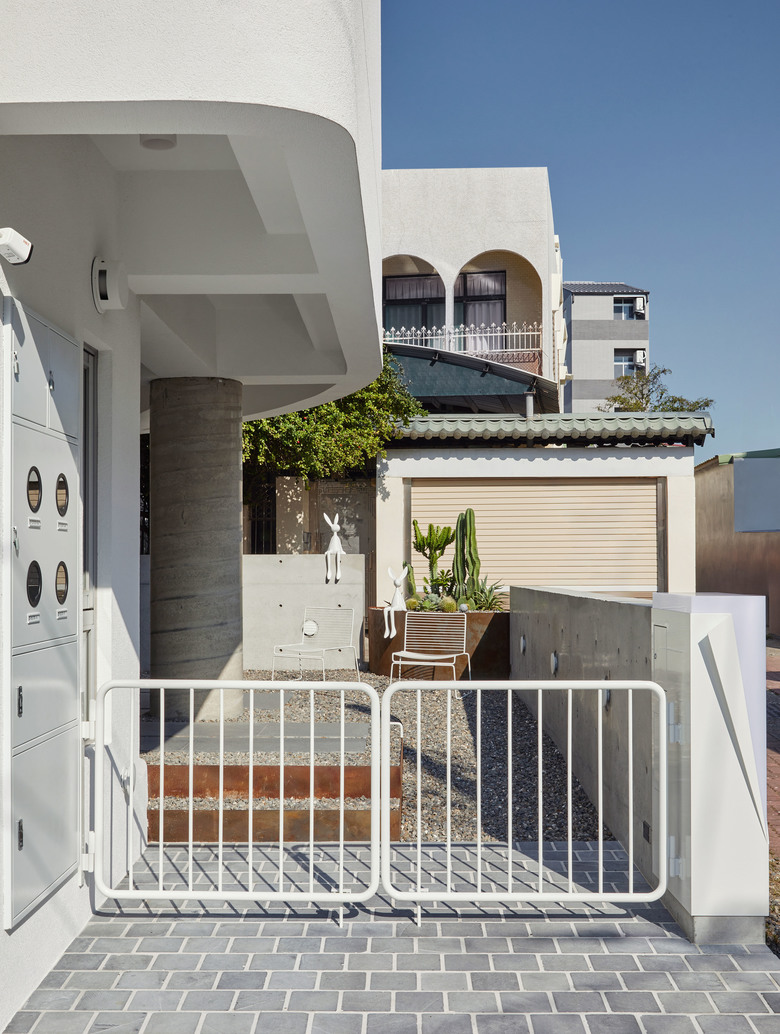
Personally, I’m really happy with how the exposed concrete columns turned out 😁


This really shows how the exposed concrete columns inside add the perfect finishing touch 🤣


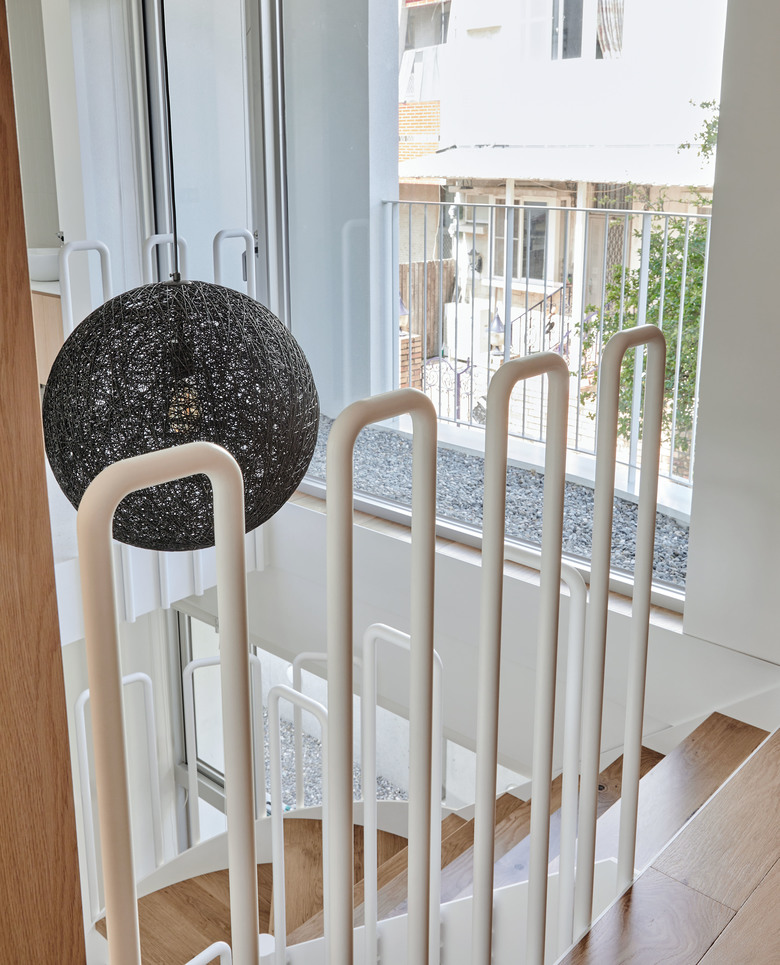
A stair railing that came at quite a cost 😅


I really, really love the wall tiles in the bathroom! They look so beautiful in person! (They’re from a supplier in Tainan, and we ended up becoming good friends 🤣)



I have a few tips I’d like to share with anyone planning to build their own house…
Building a house is hard work, and it requires hands-on involvement. If you just let the architect (or designer) and the contractor take the lead… without putting in the effort to research materials, the house will still get built, but it will lack your personal touch—and the end result often won’t be particularly outstanding or the home of your dreams 🙃.
Designers (architects) generally won’t specify materials (patterns, origins, brands) for you in drawings or during discussions, but if you specifically ask them to, it’s usually not a problem. However! Quality and price go hand in hand. If you let them specify everything for you… the total cost will definitely take you by surprise! That’s why they usually only list the material names and provide a general classification.
Afterword
Since this is my first business venture and the first project I’ll actually be selling, and since it’s located in a bed-and-breakfast area, the surroundings are quite quiet and laid-back—if I really can’t sell it 🤣, my wife and I might just end up running a bed-and-breakfast ourselves. 😁
Source: KOCPC Chinese