


In modern digital life, large file transfers are often a challenge, especially when you need to quickly and securely transfer gigabytes of files to friends, colleagues or clients. Although many cloud services can transfer files, they either have capacity limits, require registration, and some even have privacy risks.
Today we will introduce GrosFichiers, an online transfer tool that is completely free, requires no registration, supports file transfers of up to 10 GB, and ensures privacy and security. File transfers can be easily completed in just a few simple steps, and recipients can be notified directly via email. Now, let us take a look at the specific operation process so that you can easily master this super practical file transfer tool!
GrosFichiers: Free 10 GB file transfer, no registration, security and privacy protection
When you urgently need to transfer large-capacity files, but are limited by the size of email attachments, insufficient cloud service space, or are worried about privacy and security issues, GrosFichiers provides a simple, fast and secure free solution that allows you to easily transfer files up to 10 GB without registration. You can also notify the other party via email to ensure that the file is delivered on time.
Why choose GrosFichiers?
- Totally Free: No need to pay to use, no hidden fees.
- Registration-free: No need to register an account, upload and transmit directly.
- Up to 10 GB per file: Even large files can be easily transferred.
- Security and privacy protection: The file will not be accessed by third parties and can only be downloaded by the recipient.
- Email notification: Let the other party receive the file download link immediately.
Whether you’re sharing work documents, videos, images or other large files, GrosFichiers is a convenient and secure choice. Give it a try now and make file transfer easier!
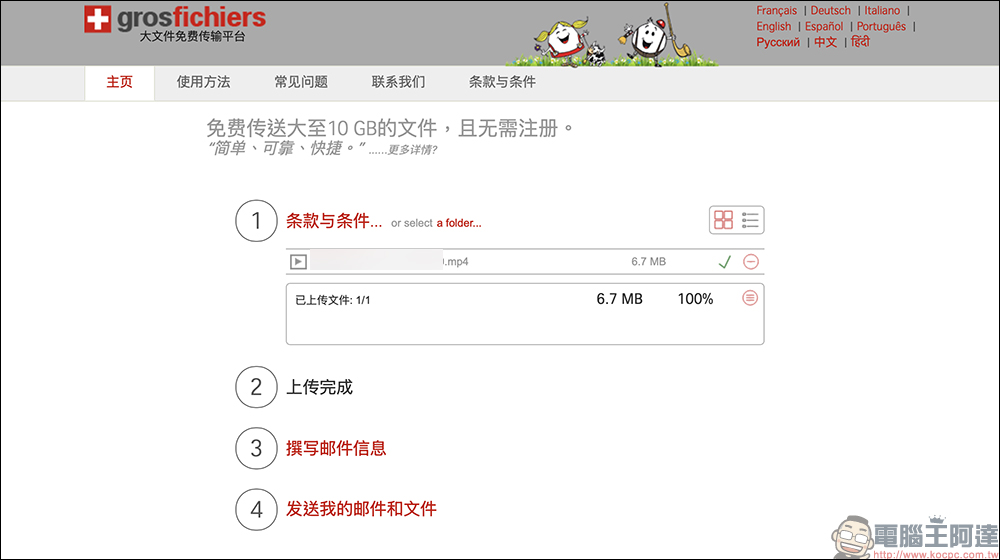
Step 1. Select the files to transfer
First, you need to select the files you want to transfer.
- Open the file selection window: Click the red “Select My File” button, and the system will automatically open a window allowing you to select the file to be sent.
- Select multiple files at once:
- Windows users: Hold down the Ctrl key to select multiple files.
- Mac users: Hold down the Cmd key to select multiple files.
- Confirm the file list: After selecting, the window will automatically close and the file you selected will appear in the list in Step 1.
- Manage files:
- If you want to delete a file, click the red delete icon next to the file.
- If you want to delete all files at once, click the red delete all icon in the summary box.
- Repeat selection: If you need to add more files, just repeat the above steps.
Step 2: Start uploading files
Once you’ve selected your file, you can start uploading!
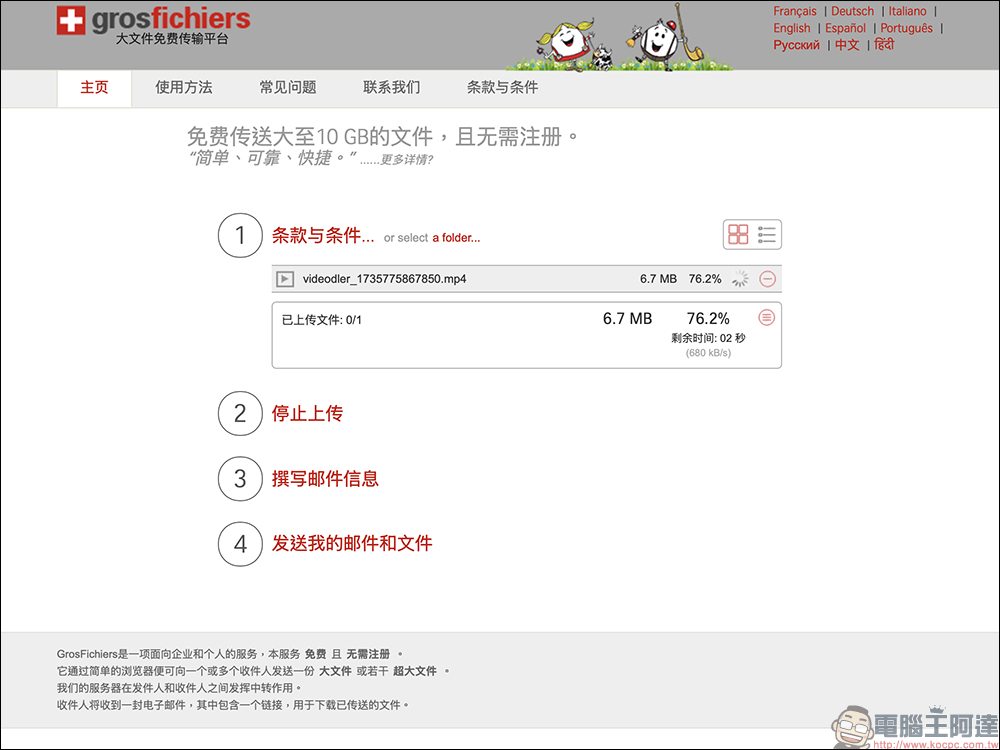
- Click “Start Upload”: When there is at least one file in the “Step 1” list, click the red “Start Upload” button, and the system will start uploading the file.
- Upload progress display: During the upload process, you can see the file transfer progress.
- Interrupt upload: If you change your mind temporarily and want to interrupt the upload, you can click the red “Stop Upload” icon.
- Upload in batches: If you have a lot of files, you can upload part of them first, then go back to “Step 1” to select other files and continue uploading.
- Do the next step at the same time: You can upload the file and prepare the email content (step 3) at the same time, saving time.
Step 3: Compose the email content and notify the recipients
While the file is being uploaded, you can start preparing to send the notification email.
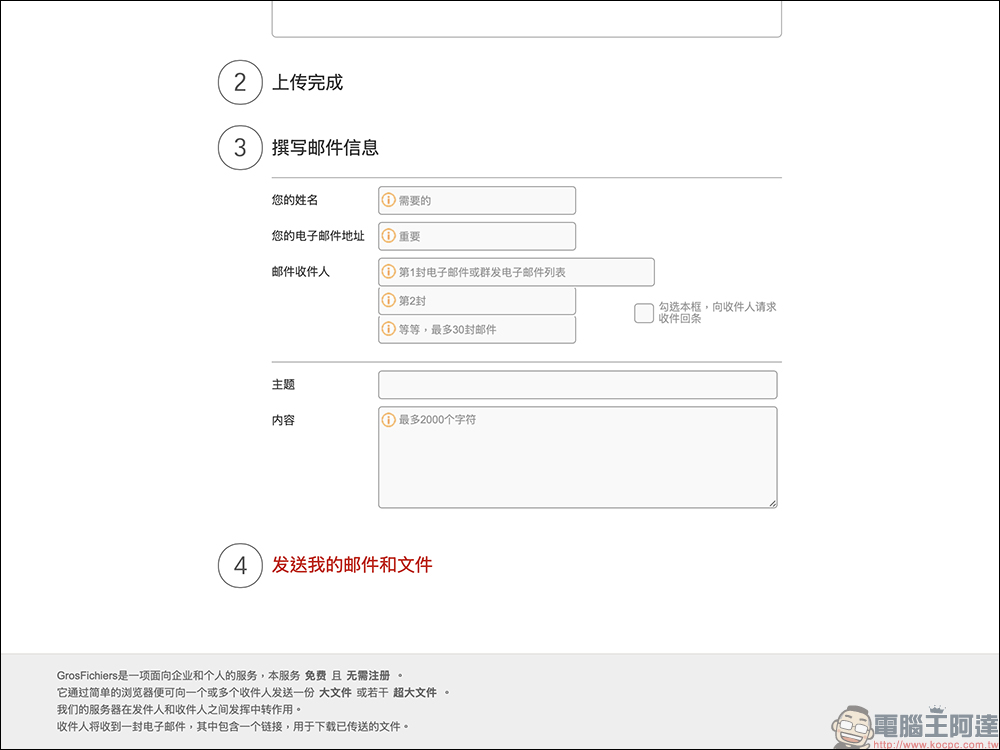
- Fill in the sender information:
- Your name: This will appear in the recipient’s email, letting them know who sent the file.
- Your email address: Very important! The system will send a confirmation letter to this address to ensure that the email is sent successfully.
- Enter recipient information:
- Recipient’s email: Enter the other party’s email, and the system will automatically organize the format to ensure that the email is sent correctly.
- Multiple recipients: You can add up to .RECIP_MAX. recipients. After entering an Email, the system will automatically open the next input field.
- Write email content:
- Email subject: Briefly describe the content of this email, such as “Your file download link.”
- Email content: You can write some additional instructions to let the recipient know the purpose of these files, for example: “This is the PPT and report from the last meeting, please check it!”
- Required information marked: Fields marked with an asterisk (*) are required to ensure that all information is complete.
- Auto-send options:
- If you don’t want to wait for the upload to complete before sending the email manually, you can select “Automatically send” and the system will send the email immediately after the upload is completed.
Step 4. Send email and file download link
When the file is uploaded and the email information is filled in, you can send the email!
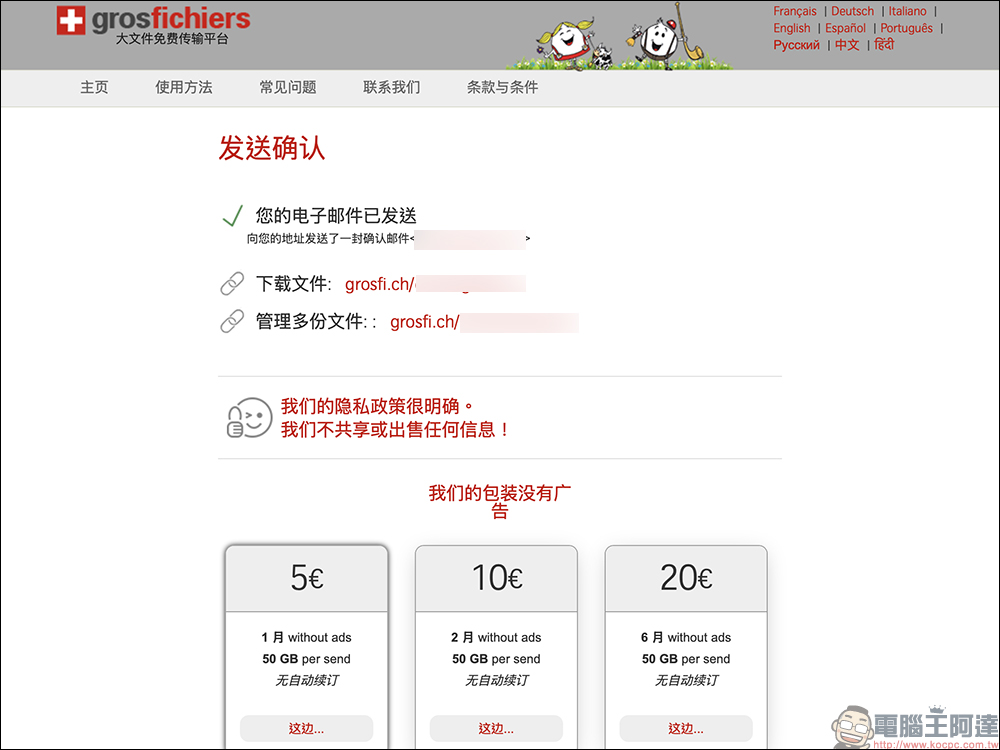
- Click “Send my emails and files”:
- Click the red “Send my emails and files” button, and the system will generate a confirmation page.
- Wait for the file upload to complete:
- If the upload is not completely completed, the system will provide an option “Click here to automatically send it after the upload is completed.” After selecting this option, you can leave the computer and the system will automatically send the email after the upload is completed.
- Note: Do not close the browser window! Otherwise the upload progress may be interrupted.
- The recipient receives the email:
- The recipient will receive an email containing a download link.
- After clicking the link, they can download the file you sent.
About GrosFichiers
GrosFichiers, from Valais, Switzerland, is a small independent company specializing in file transfer services. It provides free online space so that users can“No registration required” to directly upload files up to 10 GB. If you have higher needs, you can expand the upload capacity to 50 GB through a paid plan.
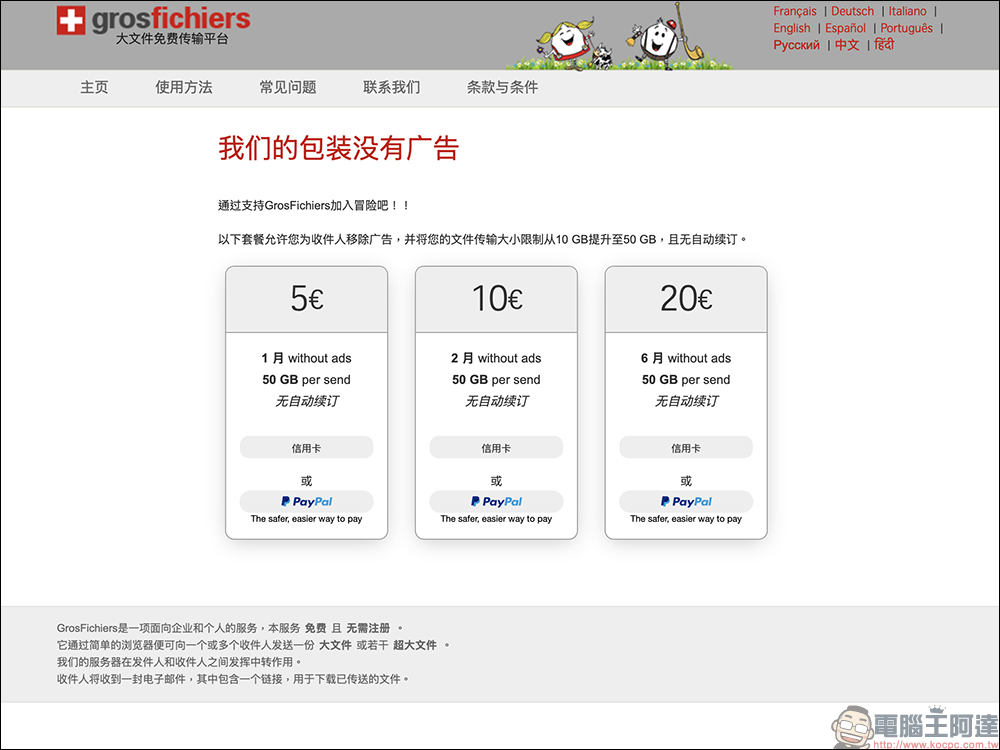
The core advantage of this service is privacy and security, because GrosFichiers’ servers are set up in Switzerland and France, all data are protected by Swiss law and strictly comply with EU privacy regulations. In addition, they do not share information or records with any third parties, ensuring that every transmission complies with international standards.
Although the default language is French, GrosFichiers provides a multi-language interface (including Chinese) so that users in different regions can operate it easily.All uploaded files will be stored for 14 days and will be automatically deleted after expiration. The validity cannot be extended.. However, if there is an administrative link, users can manually delete the file at any time. In addition, there are no download times or traffic limits, and recipients do not need to register to download.
If you are worried about privacy issues such as “Where are my files stored?” or “Will the data be accessed?”, GrosFichiers is undoubtedly a more secure choice, allowing you to share files in a highly protected environment.
GrosFichiers:
https://www.grosfichiers.com/zh/
Further reading:
LINE launches the free font “Coriander”, how to apply it please read this article
Source: KOCPC Chinese