


For modern people, losing an iPhone can be extremely scary, especially if your phone has been stolen. While there are steps you can take to recover a lost Apple device, each thief’s goal is different. It may be to resell it, or it may be to steal the data inside, but sometimes all you can do is make it more difficult for potential thieves to access or change your account details and read the contents of your phone.
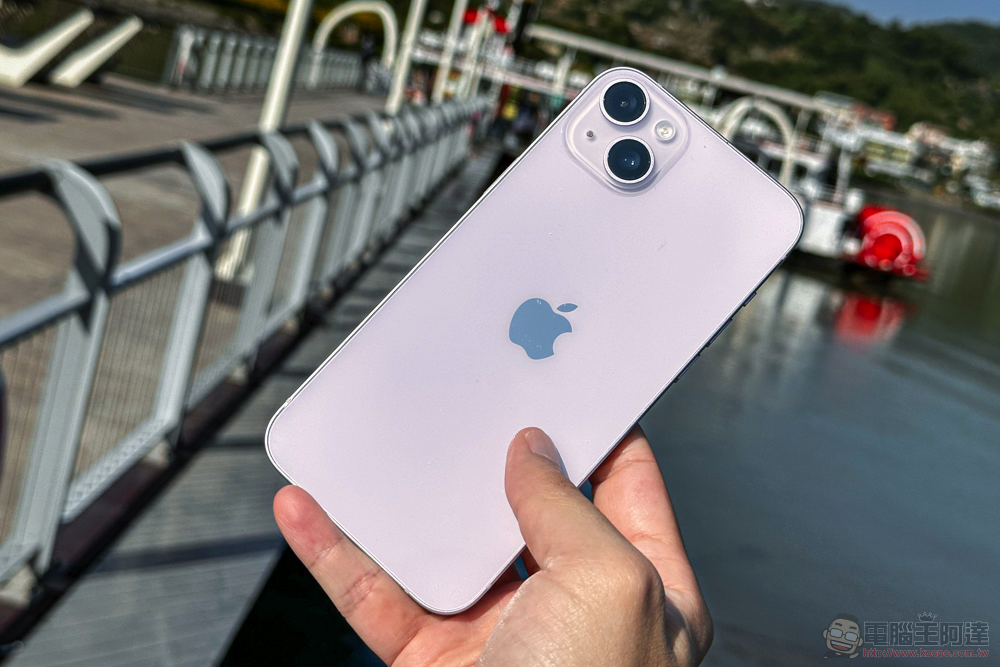
Worried about losing data on your phone and leaking it? Teach you to set up automatic erasure for iPhone
Setting automatic erasure in the iPhone sounds a lot like the plot in a spy movie, but it does not automatically destroy the phone itself. What it does is to completely erase all data in the phone after someone tries to crack the password and fails to enter it 10 times. This measure is to ensure that when your phone is lost, no one can enter your phone to read relevant information, use Apple ID or other sensitive applications (such as finance, etc.) and perform any operations with the information, but there are some things to pay attention to before doing so.
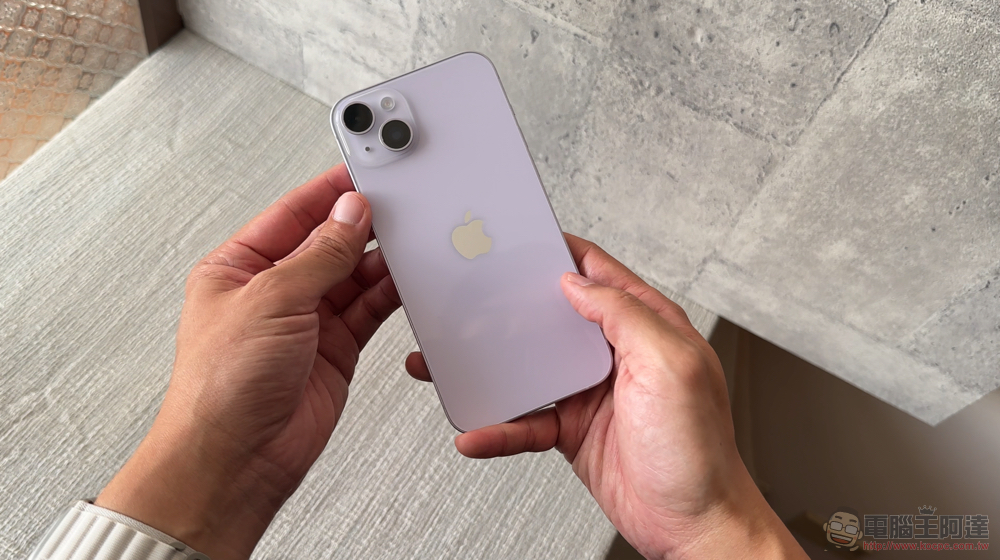
Deleting all the data on your iPhone will reset the phone to its factory settings, which protects your information, but is a bit risky because it basically restores it to a clean slate like when you first took it out of the box, so it increases the chance of the phone being pawned or sold. This setting also only applies to password entry, not biometric technologies such as Face ID or Touch ID. If you often forget or enter the wrong password, or you may even live with a child who likes to play with screens, you may be in danger of accidentally being triggered to clear your data.
Steps to set up automatic purge
If you decide to set up automatic erasure for your iPhone after careful evaluation, you can follow the steps below:
- Open the Settings app and select “Face ID & Passcode” (or “Touch ID & Passcode”).
- Enter your iPhone’s passcode to verify.
- Scroll to the bottom to see the “Clear Data” option, just turn it on (you can see the switch color changes from gray to green). If you want to turn off this function, just click it again until the switch color turns gray.
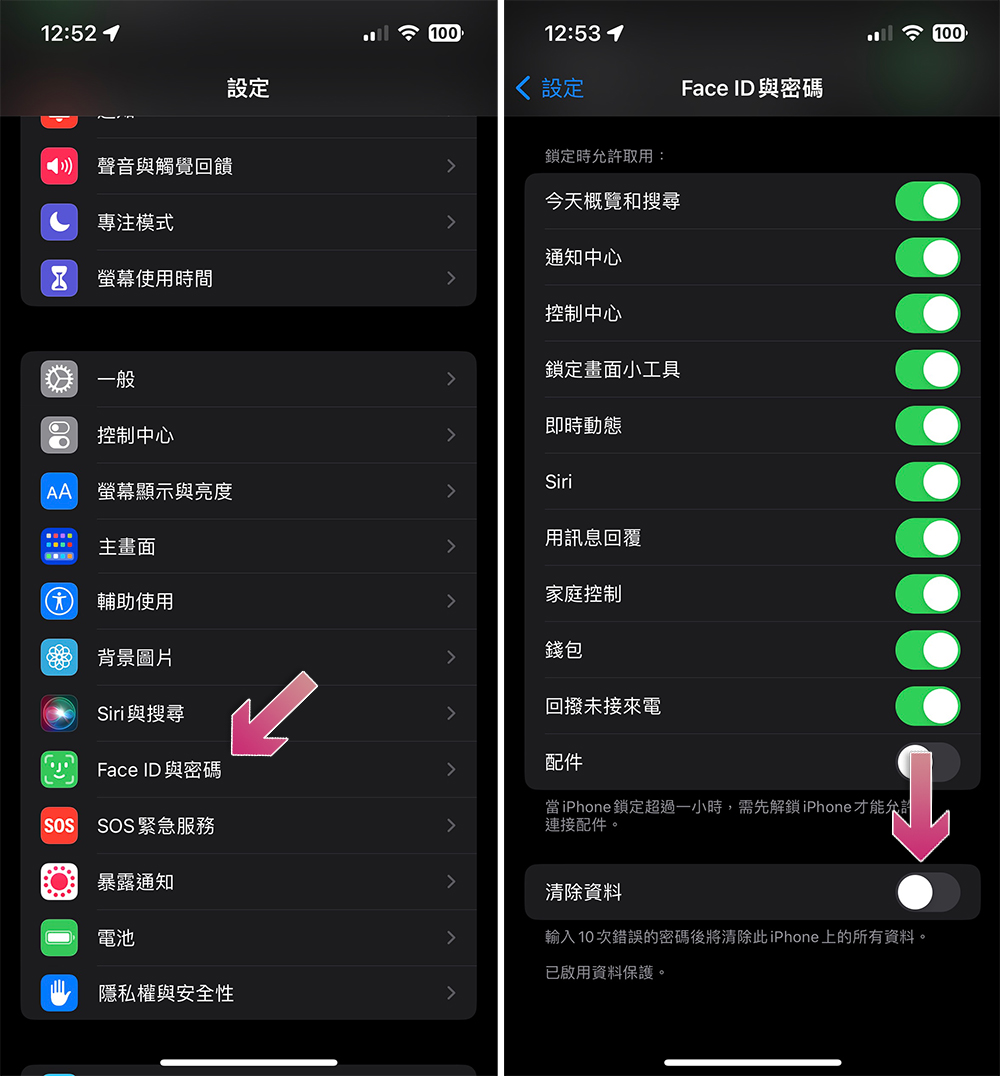
Keep in mind that when this setting is turned on, your iPhone will completely erase its internal data after 10 failed passcode attempts. So if your iPhone does receive enough failed inputs and wipes everything, you’ll need to set it up again with a new phone, or use a backup restore to restore it.
Source: KOCPC Chinese