


In the past, when taking screenshots on iPhone, in addition to saving each page of the web page one by one, another way was to select “Full Page” to take screenshots. However, the previous built-in screenshot function of iOS could only be saved as PDF files. If users wanted to save long screenshots, they could only choose a third-party app. However, with the recent opening of the iOS 17 public beta, the iOS 17 screenshot experience has become even better, and you can finally save the entire night as a picture file!
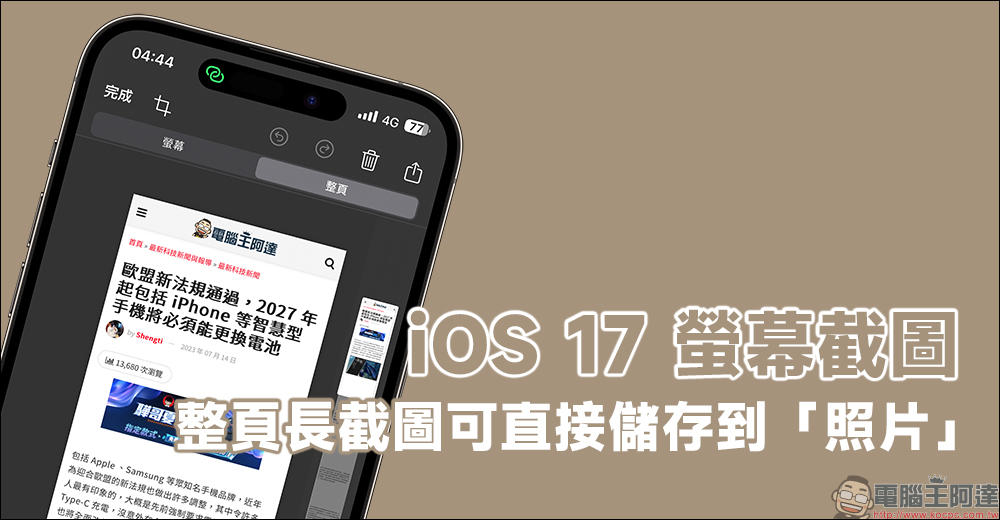
iOS 17 screenshot, supports saving the entire page directly to “Photos” (tutorial)
The recent release of the public beta version of iOS 17 gives those who want to experience iOS 17 a chance to try it out. However, it is recommended that if not, you might as well wait for the official version of iOS 17 to be released in the fall before upgrading! iOS 17 also finally brings a feature that many iOS users really need—long screenshots.
Some people may say that in the past, the iPhone could also store long screenshots of “full page”? However, in the past, when we took long screenshots, we could only choose to save them as “PDF” to a file, and subsequent users would have to use other tools to convert the PDF into an image file.
Today we want to share with you how to use iOS 17 to successfully complete a long screenshot. This time, the long screenshot does not need to be converted to another file format. The image file of the long screenshot can be directly saved to the Photos App. Before we begin, I would like to remind everyone that the built-in long screen capture function of iOS is currently only available for web pages in the Safari browser. At this stage, its apps and browsers do not support the long screenshot function of iOS 17.
So how to take screenshots in iOS 17? First, take a screenshot the way everyone used to take screenshots (Click here to see the official tutorial), then click the screenshot preview in the lower left corner of the screen. On the screenshot preview page, the default is “Screen” screenshot. In this case, please click “Full Page” on the right:
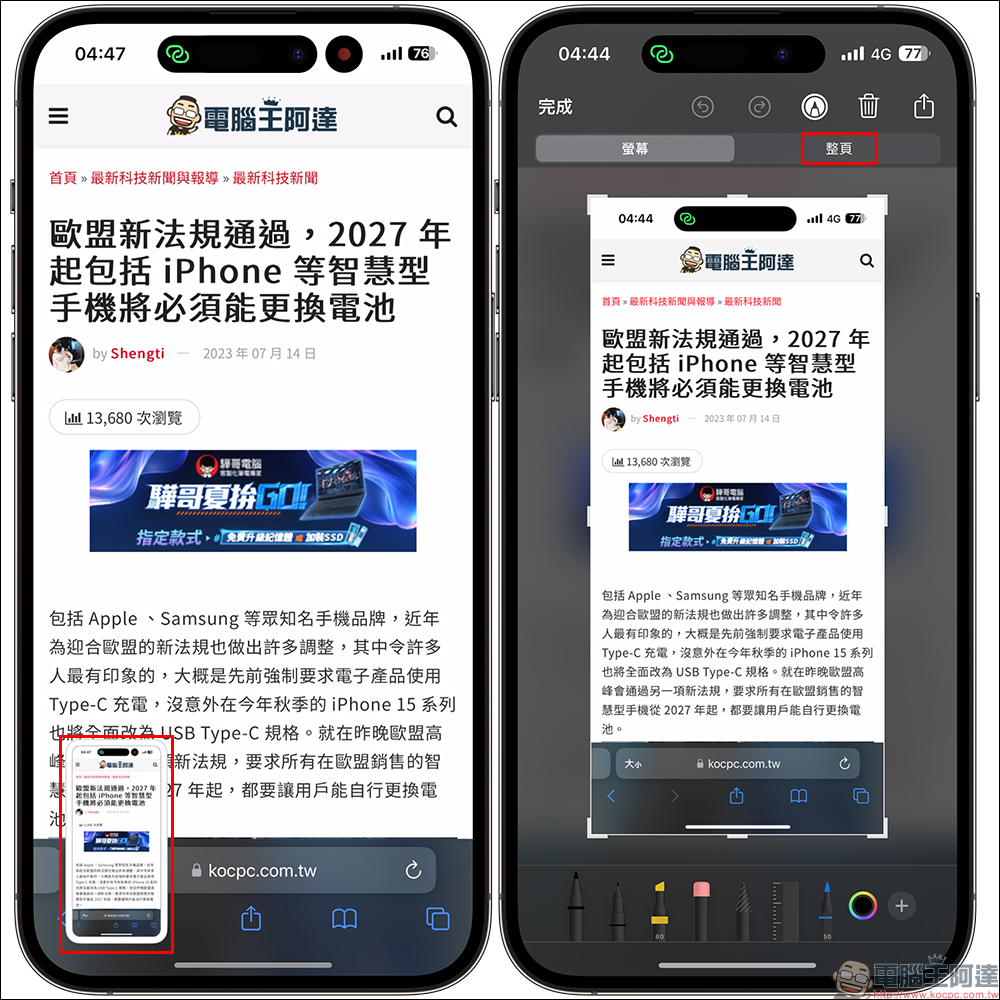
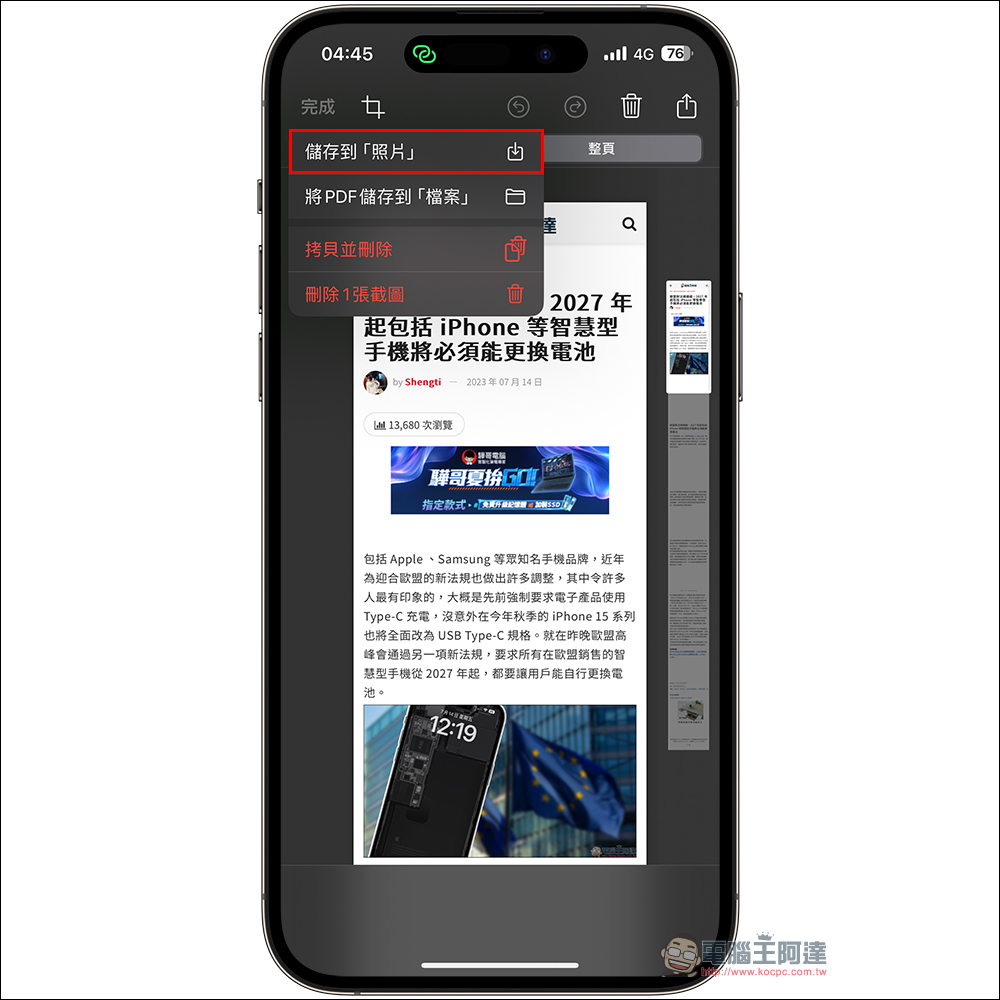
When we switch to “Full Page” screenshot, a preview of the entire web page will be displayed on the right side of the preview page. Then we only need to click Done on the left to expand the function list:

At this time, you will see screenshot options such as save to photos, save PDF to file, copy and delete, delete 1 screenshot, etc. If you want to save the long screenshot in PDF format like iOS 16, please click “, Save PDF to File”. If you are an iOS 17 user and want to save the entire page as a long screenshot, please click “Save to Photos”.
Then this long screenshot will be saved directly into the Photos App!
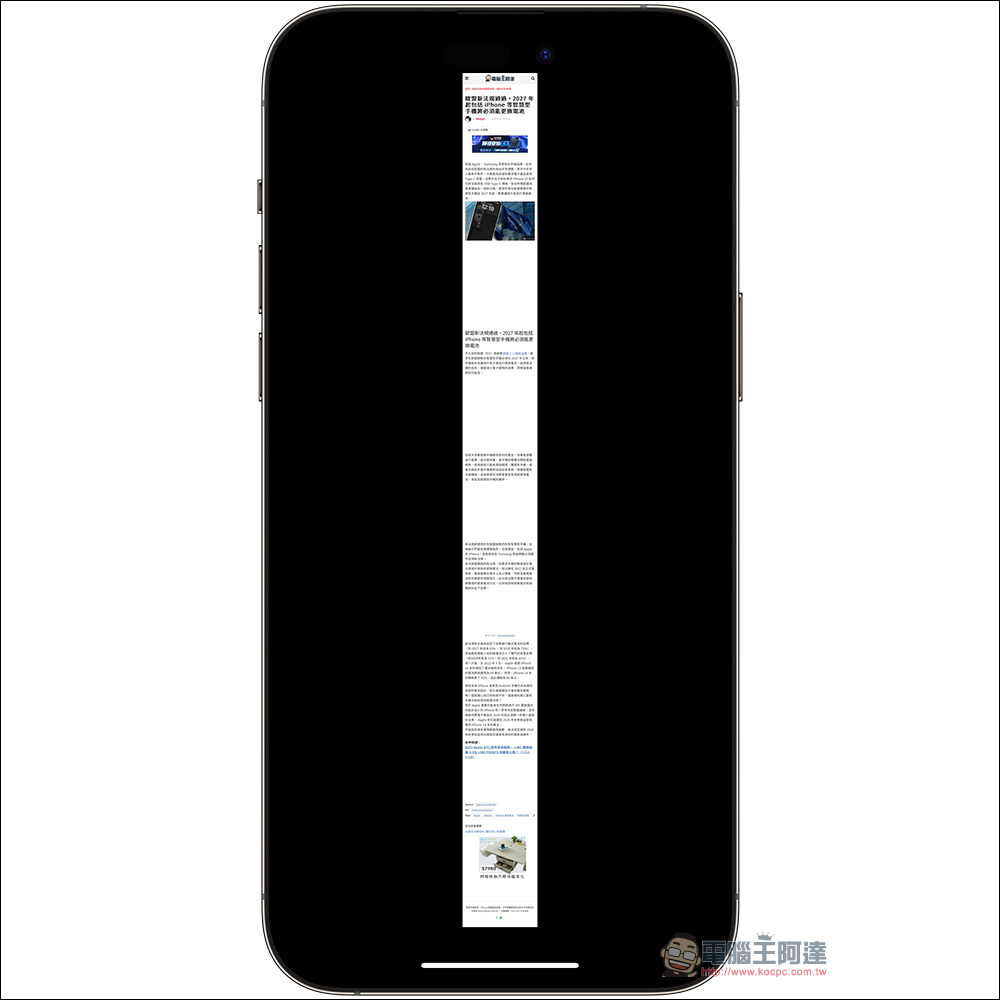
Although the long screenshot function is not used frequently by every user, occasionally we want to save the entire web page and back it up to the device so that we can open it and browse it at any time without being connected to the Internet. So saving the web page as a long screenshot image file is indeed useful.
In the past, we used the built-in screenshot function to take long screenshots in iOS 16. Saving it as a PDF and browsing it was still more troublesome than an image file. In contrast, iOS 17 has improved the screenshot function, allowing users to choose to save long screenshots as image files or PDF files, which is still a very convenient feature for various groups.
Further reading:
New EU regulations pass, smartphones including iPhones will have to have replaceable batteries from 2027
Source: KOCPC Chinese