


Office 365 launched by Microsoft includes the well-known clerical tools such as Word, Excel, and PowerPoint, but there are also less famous and useful tools that are waiting for you. What I want to introduce this time is the “Publisher” that is obviously among them but is covered in dust, so that you don’t know that you can use it to create beautiful and professional layouts. The simple design requires no help, so come and learn it now!
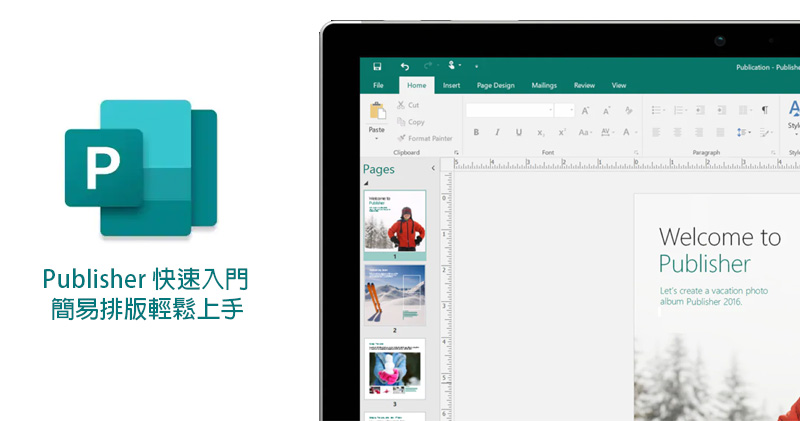
Get started quickly with Publisher in Office 365, just use it to create beautiful layouts!
When suddenly they need to make some publications that need to be printed, such as cards, introductions, invitations, etc., if they don’t understand design-related software or printing concepts, most people will choose to use Word for typesetting. Even if the style is more elegant, there is no choice, so they have to sacrifice aesthetics and focus on communicating content. Did you know? There is no need to learn layout design software. Publisher in Office 365 can help you create beautiful flyers, cards, and brochures in the simplest way.
Make good use of templates
There are a lot of templates for you to choose from in Publisher, whether it is invitation cards, calendars, address books, or even press releases and e-newsletters. After selecting, you can adjust and enter text for each section of the template to turn it into the content and appearance you need.
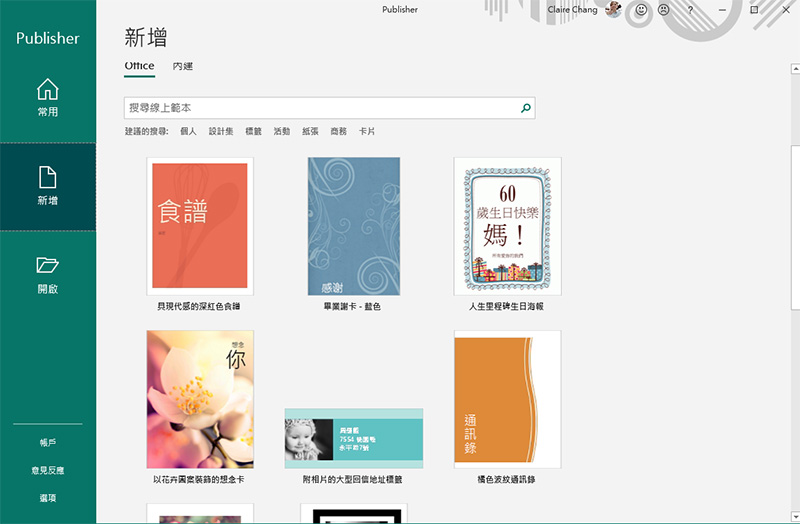
From 0 to something, you can do it yourself without a template! Learn practical functions
If you don’t see a sample you like and want to start with a blank piece of paper, let’s teach you how to use the basic and practical functions.
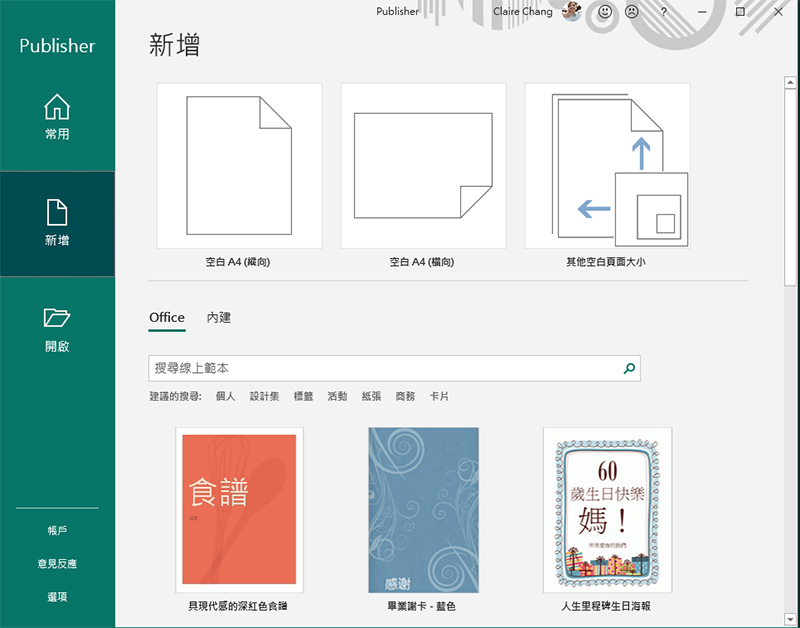
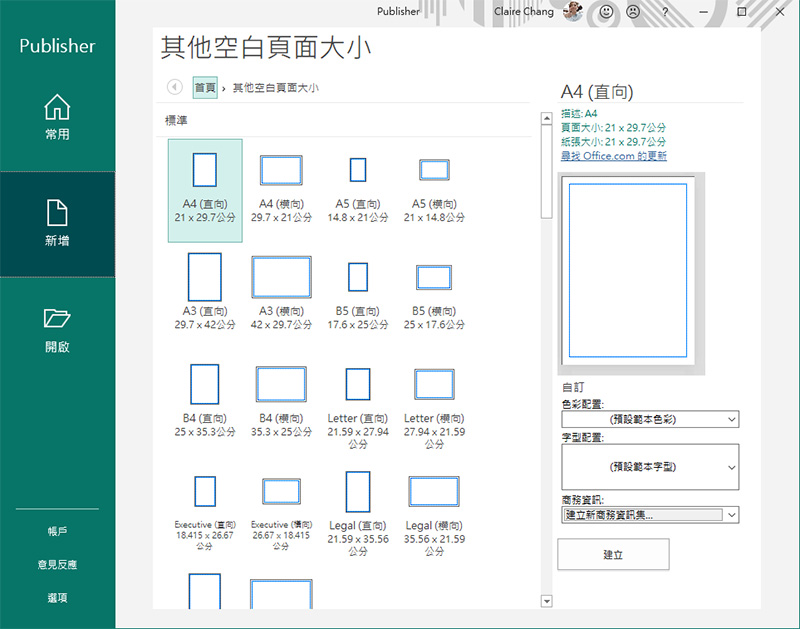
First, select the paper size you want. At the beginning, there will be a blank A4 horizontal and vertical options. If you want other sizes, please click the “Other Blank Page Sizes” option and choose from the various built-in international standard layouts that appear; if you want to set a special custom size, just scroll to the bottom to see the custom options.
After entering the editor, you can see that the overall presentation is similar to PowerPoint, divided into two columns. If you are working on a document with more than one page, such as a publication, all paginations will be displayed on the left, making it easier for you to find specific pages; the right column is the editing area, and you can adjust it for a single page.
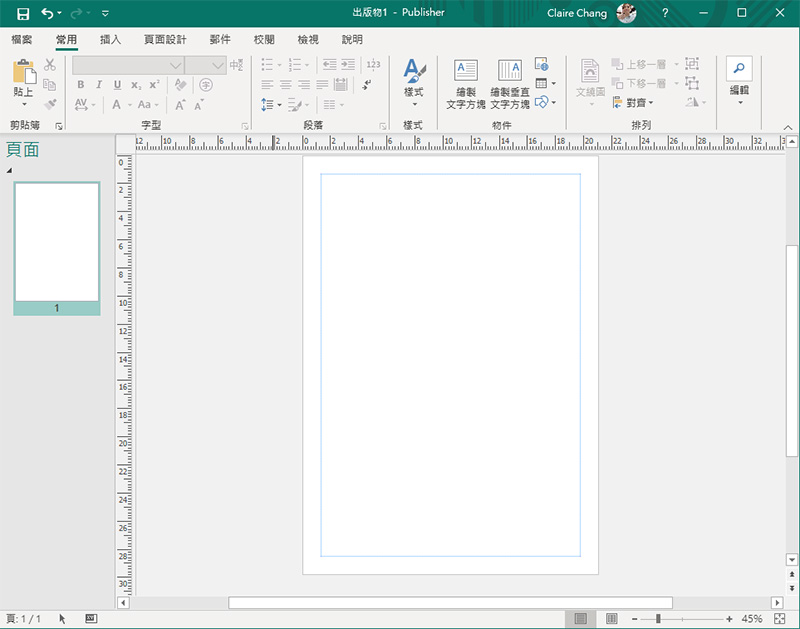
The general common functions are actually similar to those of Word and PowerPoint, so the author has selected the most practical and distinctive one “Insert >> Build Blocks” to share with you. It can be said that as long as you make full use of this part, you will master the essence of Publisher.
1. Page components
Path: Insert>>Build Block – Page Component
If you have no idea how to configure the layout and where to put pictures and text, you can make good use of this page component function. To put it bluntly, page components provide you with various components required for layout that you may use in a modular way. For example, in a newsletter, you will need blocks such as title, image, content, etc.
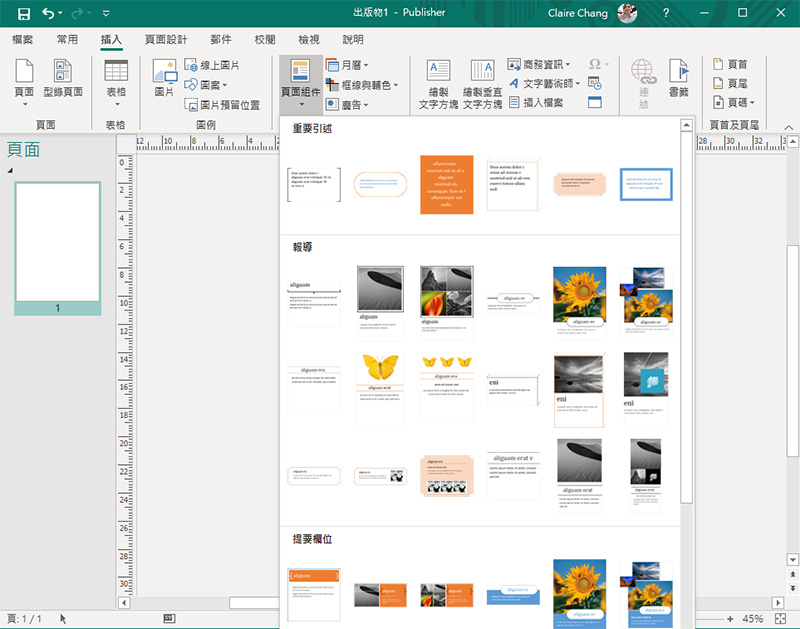
After selecting the component you want, you can freely move the location of the component, adjust the size of the component, change the pictures in the component, edit text, and other operations.
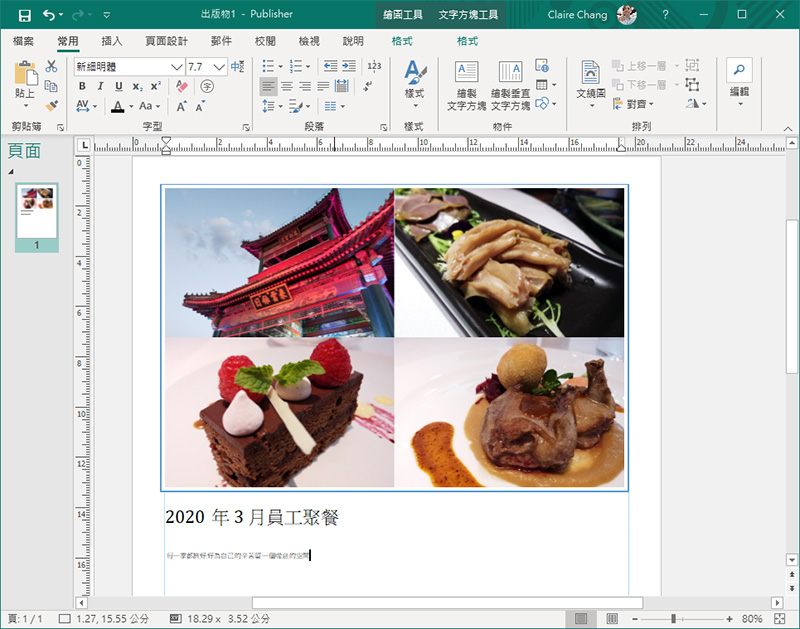
2. Monthly calendar
Path: Insert >> Build Block – Monthly Calendar
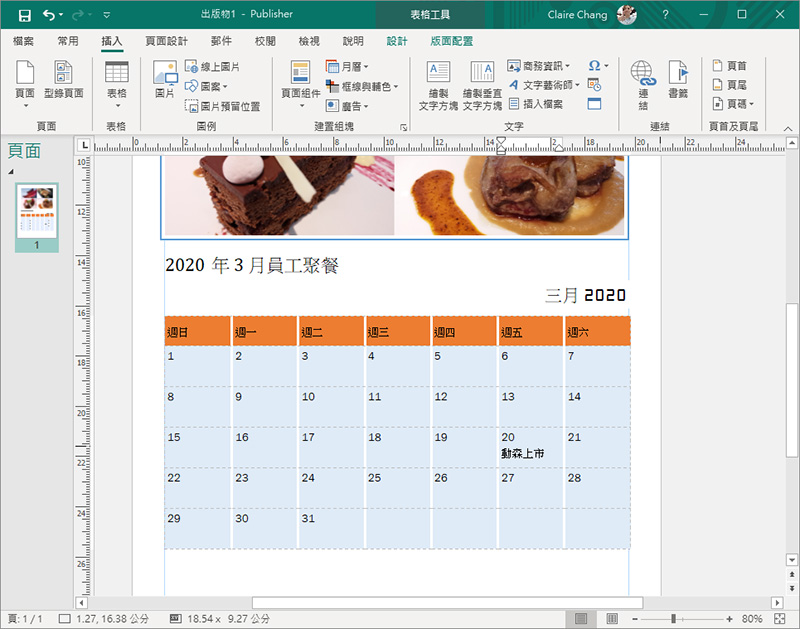
If you want to add a monthly calendar to this document, you can also click “Calendar” from the building block to select a style and insert it. You can also adjust the size and enter notes in the calendar grid.
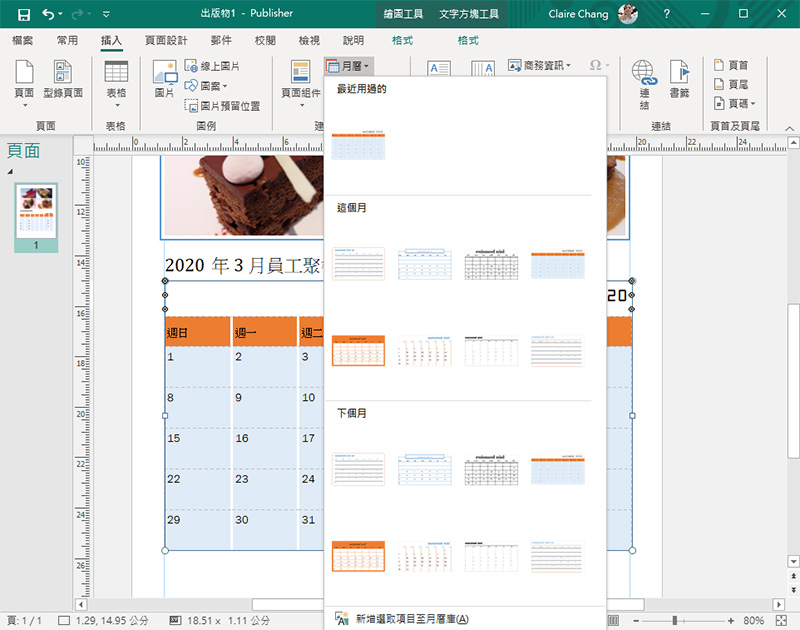
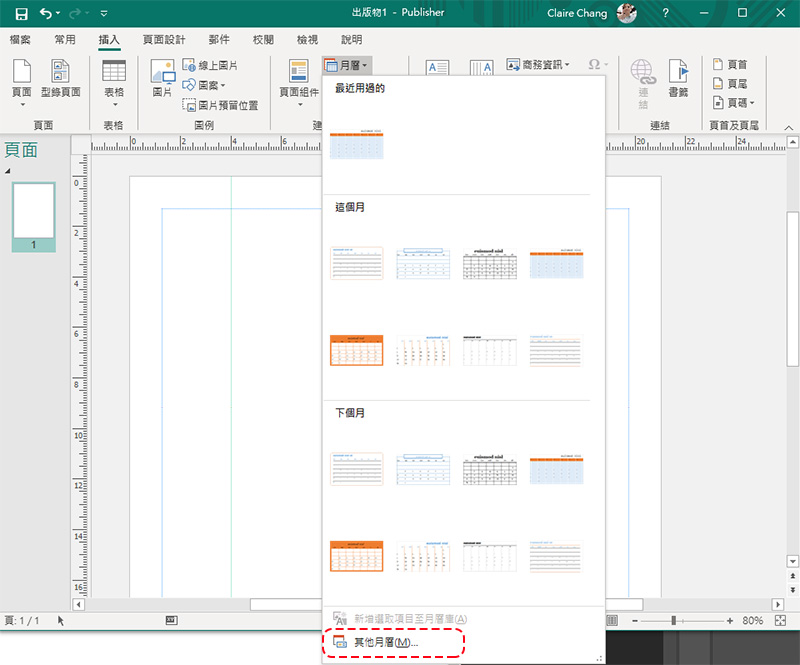
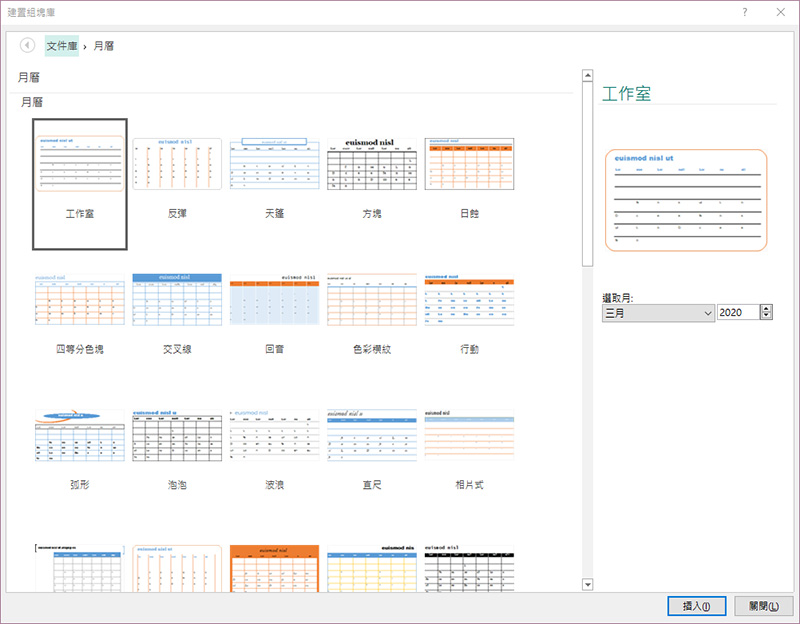
If the calendar you want to display is not this month or the next month provided by default, you can click “Other Calendars” at the bottom to choose different styles and set the year and month you want.
3. Frame lines and auxiliary colors
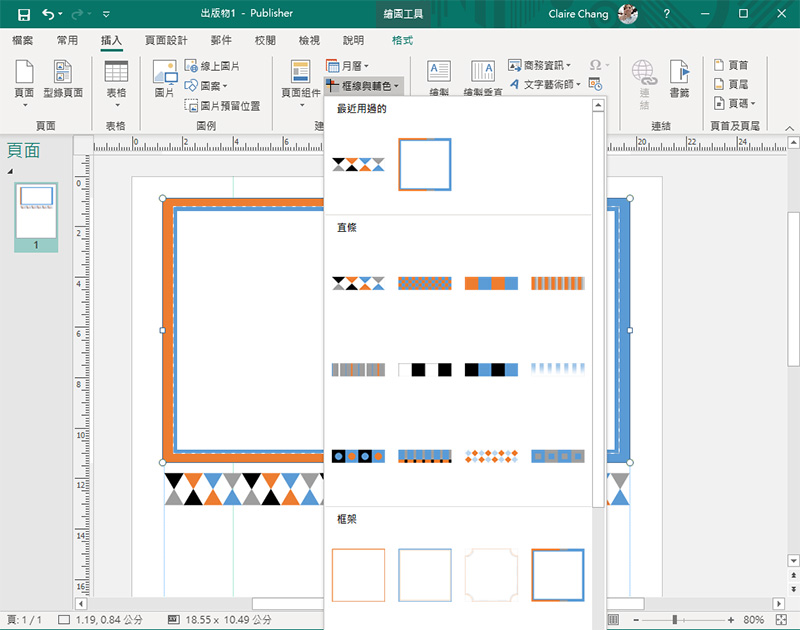
Path: Insert >> Build Blocks – Borders and Secondary Colors
You may want to add a frame to the page, or a special pattern to embellish the layout, then you can use the frame and auxiliary color functions. There are borders, emphasis marks, patterns, frames, etc. used in different states. It depends on how you use them on the page.
4. Advertising
Path: Insert >> Build Block – Advertisement
If you want to place some advertising elements in the promotional materials you design, such as coupons, discount coupons, etc., you can directly insert modules from this function to make modifications. You can further make more detailed adjustments in the “Other Ads” option, such as cropping dotted lines, etc.
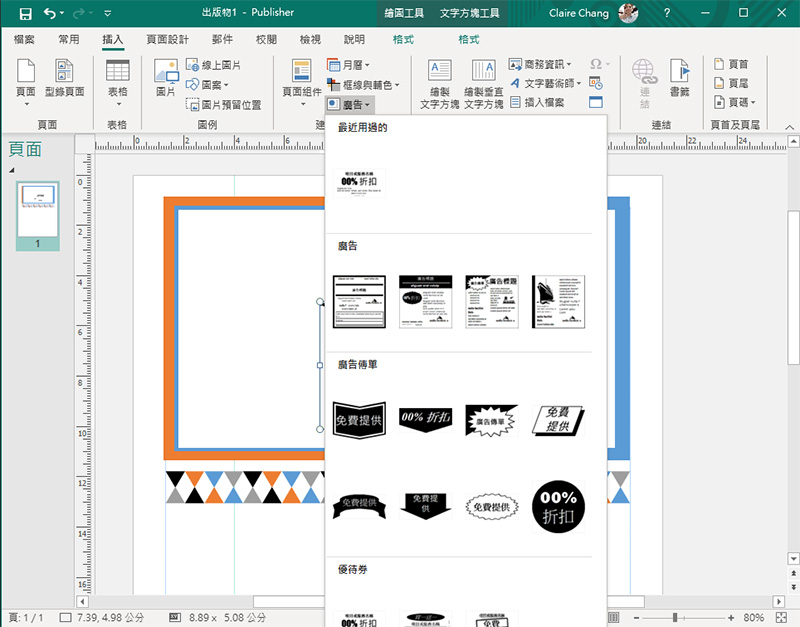
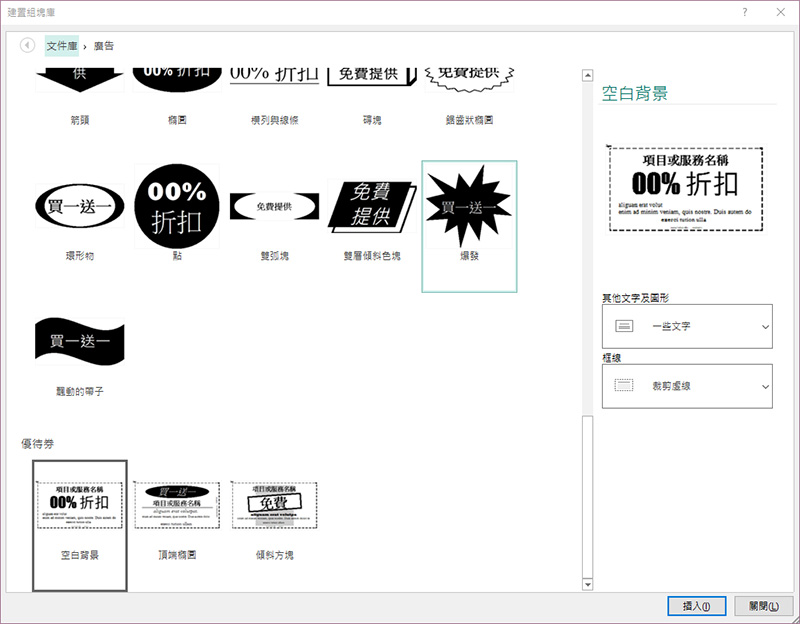
In addition to building blocks, auxiliary lines are also very useful!
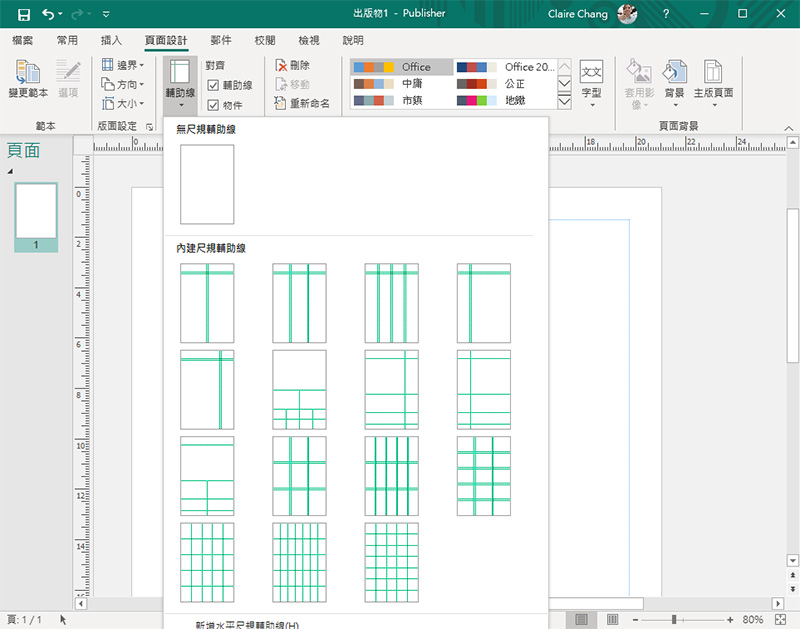
Path: Page Design>>Layout – Auxiliary Lines
For many people, the most difficult thing in typesetting is “alignment”. However, every time they get it right, they may get the previous one right and the next one right, but visually there seems to be a slight gap. Publisher has a variety of built-in auxiliary line modes that you can choose to arrange each section according to the line. Of course, you can also pull the auxiliary lines yourself. Hold down the left mouse button on the left and upper rulers and drag on the page to pull out horizontal and vertical auxiliary lines for easy alignment. If you want to remove the auxiliary lines, just hold down the auxiliary lines and drag them back to the rulers, or directly right-click on the auxiliary lines and select Delete. That’s right! The auxiliary lines will not be printed, so you can use them with confidence.
If you subscribe to Office 365, of course you must use the various software in it well so as not to waste its existence value. Have you learned this? Next time you go out and make flyers, you don’t have to rely on Word anymore, just let Publisher do it!
Source: KOCPC Chinese