


Over the past year, Microsoft has been continuously blocking methods for creating a local account when installing Windows 11. From the well-known bypassnro command to registry modifications and later ms-cxh:localonly, all have been gradually removed or blocked in new Windows 11 builds. Although not long after each block, some expert finds a new workaround, it almost always requires opening Command Prompt, typing commands, and editing the registry, which is a fairly high barrier for people who don’t know much about computers.
The good news is that users overseas recently discovered a completely effortless, super simple method: you don’t need to unplug the network or type any commands. Just click the “Learn more” link on the installation page, and the screen will go straight to creating a local account.
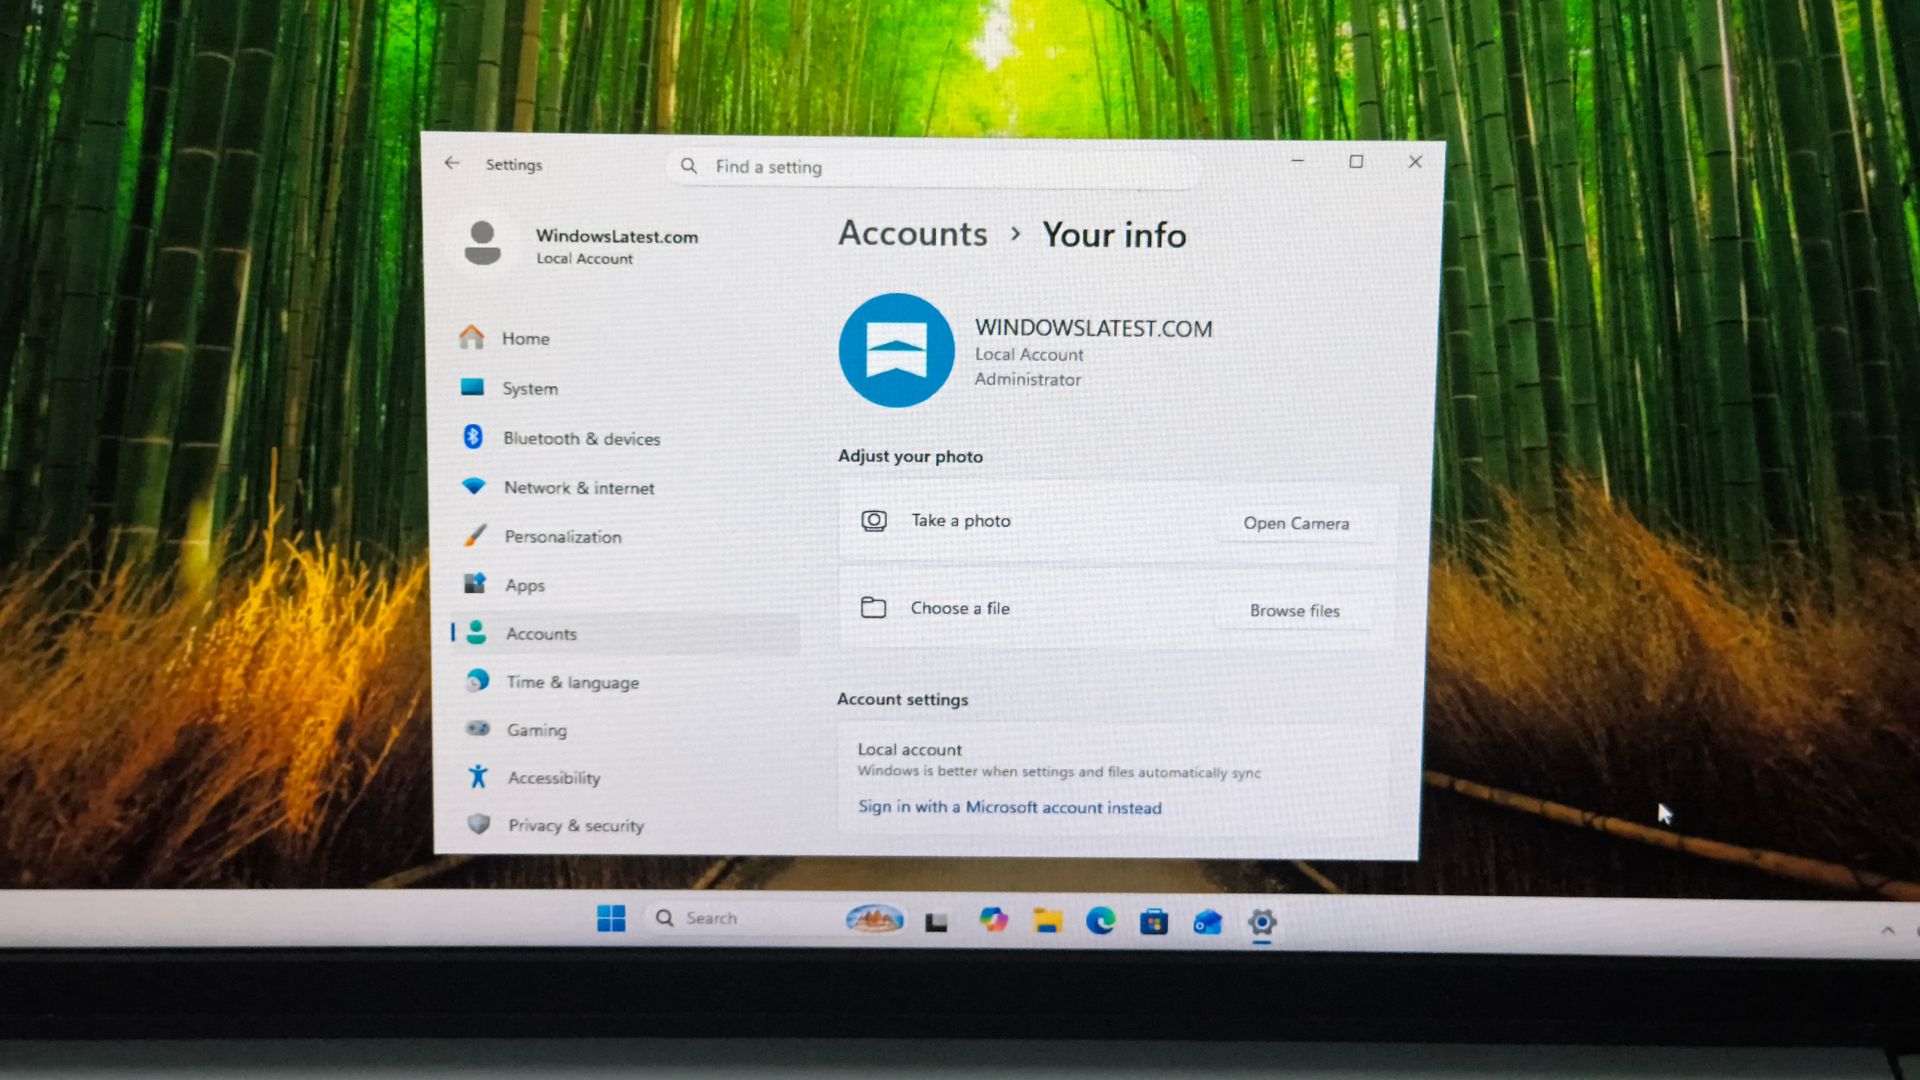
Image source: Windows Latest
There’s a new trick to skip Microsoft account sign-in when installing Windows 11! Just click “Learn more” to create a local account—no Command Prompt required.
This method was first discovered by Windows enthusiast Bob Pony (@TheBobPony) on X. In his post, he pointed out that when installing Windows 11 Home, you can skip the forced Microsoft account sign-in step simply by clicking the small “Learn more” hyperlink on the Microsoft account sign-in page:
foreign media Windows Latest It was then also tested on a clean virtual machine, confirming that the latest Windows 11 Home ISO does indeed work. Bob Pony further confirmed that this method also works on the latest Experimental Insider Build 29677. The process requires no Command Prompt, no Registry Editor, and no fake account, and you don’t even need to disconnect Wi-Fi.
The actual process is as follows: Boot normally with Windows 11 Home installation media, select the language, select the partition, and proceed all the way to the OOBE setup screen. You don’t need to worry about the network either; choose the region and keyboard as usual, until the “Let’s add your Microsoft account” page appears.
At the very bottom of this page there’s an obvious “Learn more” button, but don’t click that one; instead, under “Sign-in options” in the middle, in the explanatory text below it, there’s a small “Learn more” text link embedded in the middle of the text:
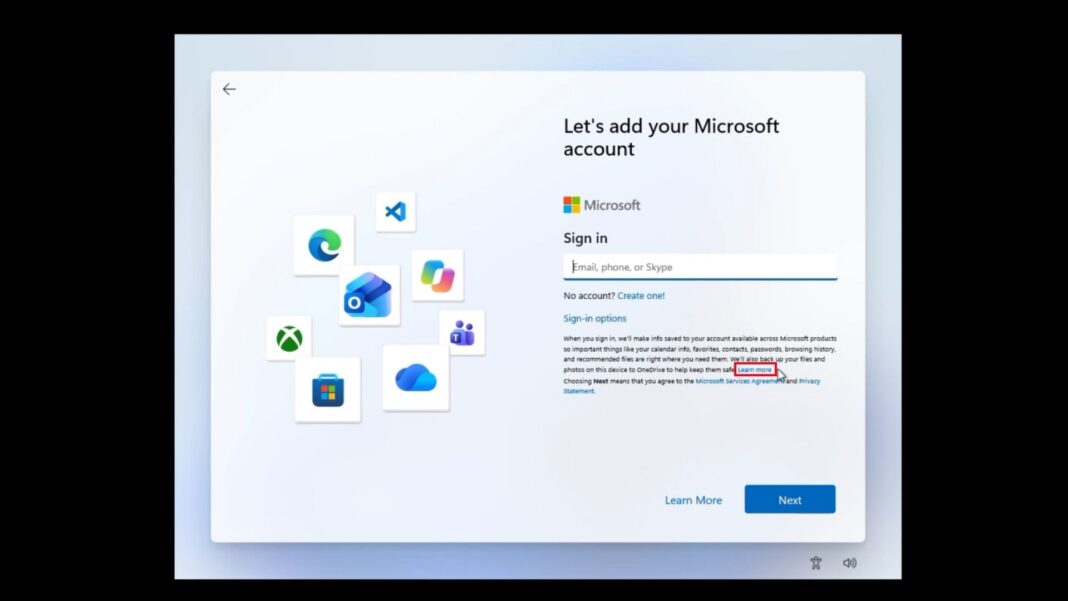
Image source: Windows Latest
Once you click it, the screen pauses for a moment, then goes straight to the “Who’s going to use this device?” screen. This is exactly the local account creation page. After you enter a username, set a password, and answer three security questions, the installation is complete.
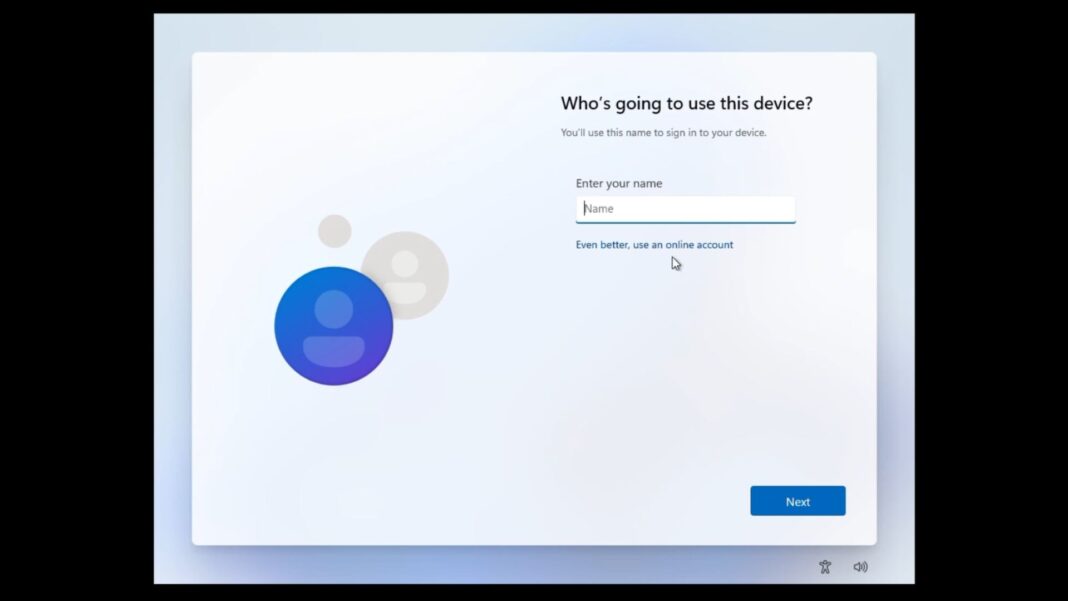
Image source: Windows Latest
Windows Latest specifically warns that these two “Learn more” links are easy to confuse: clicking the large button only opens a generic help page, while the actually useful one is the inline link in the paragraph. As for why this happens, no one knows at present; it is suspected to be more like an undiscovered bug than a backdoor Microsoft intentionally left, since Microsoft has been blocking other methods over the past year and is unlikely to have deliberately left such a simple entry point.
So does this trick only work on Windows 11 Home? Not sure—all the tests I’ve seen so far are on Windows 11 Home, and the foreign outlet Neowin noted that this method seems to work only on the Home edition.
However, this is not really a problem for Windows 11 Pro users, because the Pro version already has a legitimate route approved by Microsoft: on the “How would you like to set up this device?” screen, choose “Set up for work or school,” then under “Sign-in options” choose “Domain join instead,” and you will go directly to the screen for entering a local username and password.
Besides these two, there are currently several other methods that are confirmed to be feasible.
The first is using Rufus to create an installation USB drive. When writing a Windows 11 ISO, Rufus offers options such as “Remove the requirement for an online Microsoft account” and “Create a local account with a specified name,” and it can also bypass hardware requirements such as TPM 2.0, Secure Boot, and 4GB of RAM.
The second option is to prepare your own autounattend.xml answer file and place it in the root directory of the installation USB drive. When the installer reads it, it will automatically create a local account according to the settings in it. There are online generators like Schneegans on the internet where you can select options step by step, so you don’t have to write the XML yourself.
The third one is the most brute-force approach: first just install it with a Microsoft account, then once you’re in the system, go to “Settings → Accounts → Your info” and click “Sign in with a local account instead” to switch it back to a local account.
Source: KOCPC Chinese