


After seeing the Xiaomi 12S series released by Xiaomi a few days ago, can photos taken with iPhone also show the unique Leica tone of “Leica”? Today I’m going to share with you how to use the system’s built-in photo retouching function to bring out the “Leica flavor” from the photos taken by the iPhone’s native camera. At the same time, let me share a shortcut script for Leica watermark!
Preface
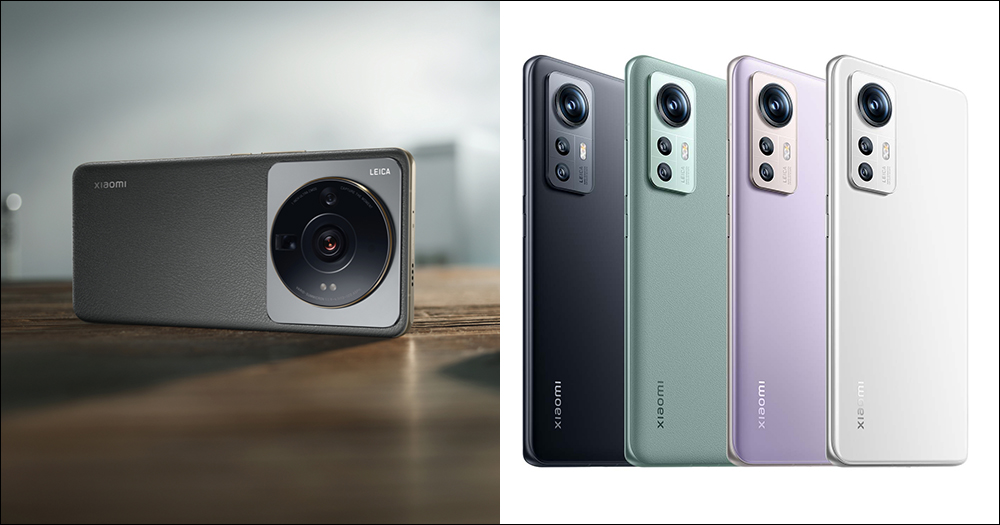
Leica, the legendary German photography equipment manufacturer, recently jointly developed Leica professional optical lenses with Xiaomi and launched the Xiaomi 12S series of three imaging flagship phones, the first joint product of both parties. They fully support Leica’s native dual styles, use multiple image quality adjustment directions to provide each creator with more creative freedom, and are committed to creating an imaging aesthetic that is most dedicated to Leica.
Although, it is a pity that Xiaomi Taiwan has stated that it currently has no plans to introduce the Xiaomi 12S series., but in the era of mobile photography, technology in terms of optics, image processing, image quality, or mobile computing photography has been constantly improving in recent years. Coupled with the advantage of being lightweight, mobile phones have become a tool for many people to capture their lives. Even the Xiaomi 12S Ultra, which is equipped with the SONY IMX989 1-inch large sensor, is still far behind the finished products shot by Leica’s own professional cameras. However, the cooperation between Xiaomi and Leica has also brought new possibilities to mobile photography and an extremely familiar experience for Leica users.
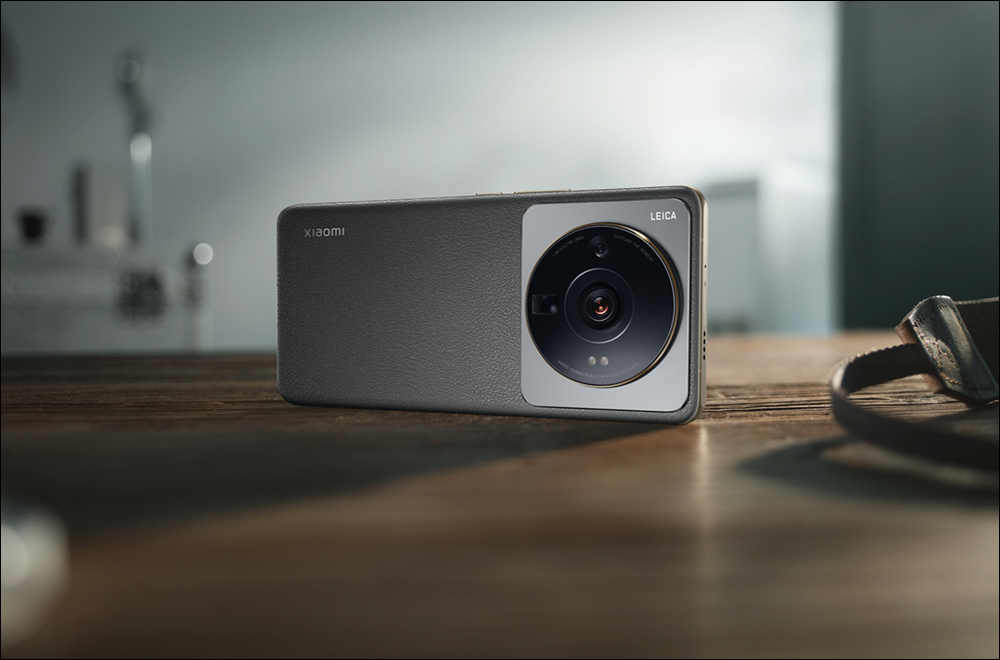
Xiaomi Xiaomi 12S series brings unprecedented picture quality to smartphones and highly restores the color philosophy of Leica camera images. In order to take the road of mobile imaging to the extreme, Xiaomi 12S series teamed up with Leica to develop professional optical lenses and passed Leica Summicron certification. The Xiaomi 12S Ultra lens system combines Leica’s world-class optical design capabilities, stringent optical quality testing standards and Xiaomi’s miniaturization design capabilities to ensure that the lens has ultra-high resolution, ultra-high light transmittance, low dispersion and low glare performance.
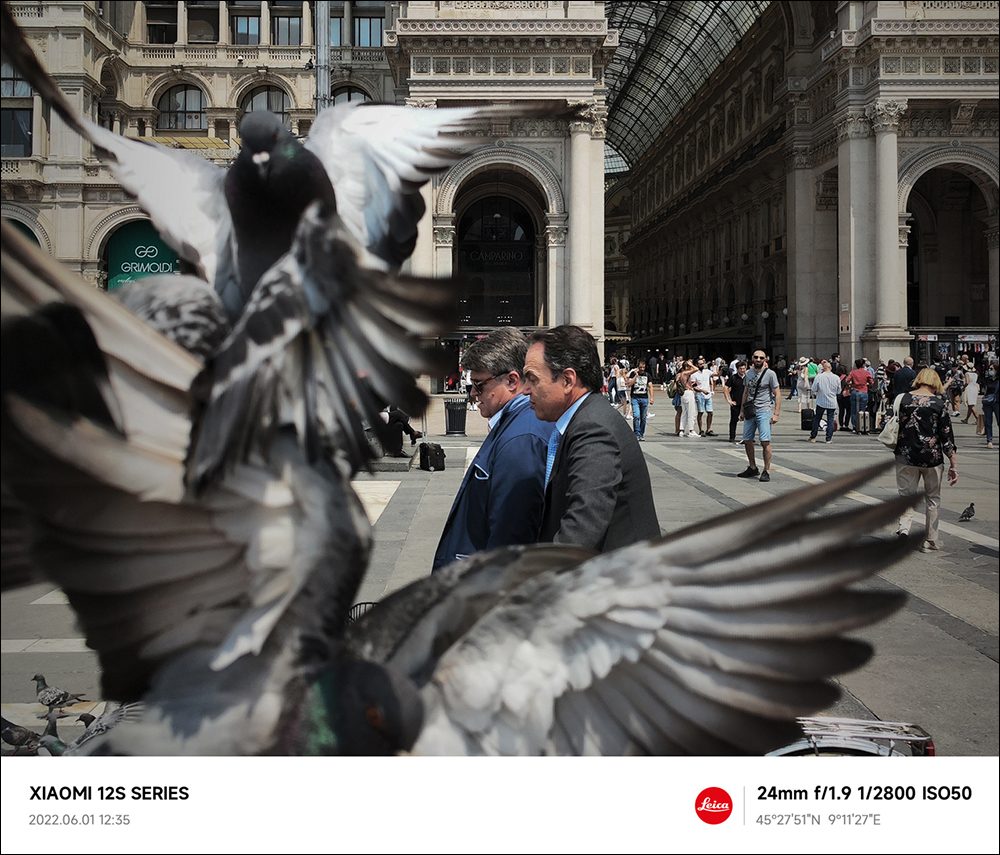
▲Image source: Xiaomi
At the beginning of last year, Leica launched an international advertisement with the main theme “The World Deserves Witnesses.” (The World Needs Witnesses), focusing on photographers who witness the world, and paying tribute to all those who use Leica cameras to record the beauty and poetry of the world. Celebrating those who captured key moments in history, and those who capture the fragility of the human condition through their own sensitive and unique lenses.
Having said all that, Xiaomi Taiwan currently has no plans to introduce the Xioami 12S series, and it is difficult for Taiwanese consumers to experience the charm of Leica’s latest mobile photography. So if you are an iPhone user, is there any way to bring a “Leica-flavored” tone to the photos taken with the iPhone? Next, I will give you step-by-step color mixing instructions.
How to use the built-in photo editing function on iPhone to bring out the “Leica flavor”? Color correction tutorial is now open!
The Leica Hue color correction shared with you this time is based on what foreign media shared and made some adjustments, so that everyone can easily complete the photo retouching. We don’t need to download other image processing apps this time. We directly use the built-in “Photos” of iOS/iPadOS to help you bring out your own Leica flavor.
First, let’s take this photo taken by the iPhone 13 Pro’s native camera as an example:

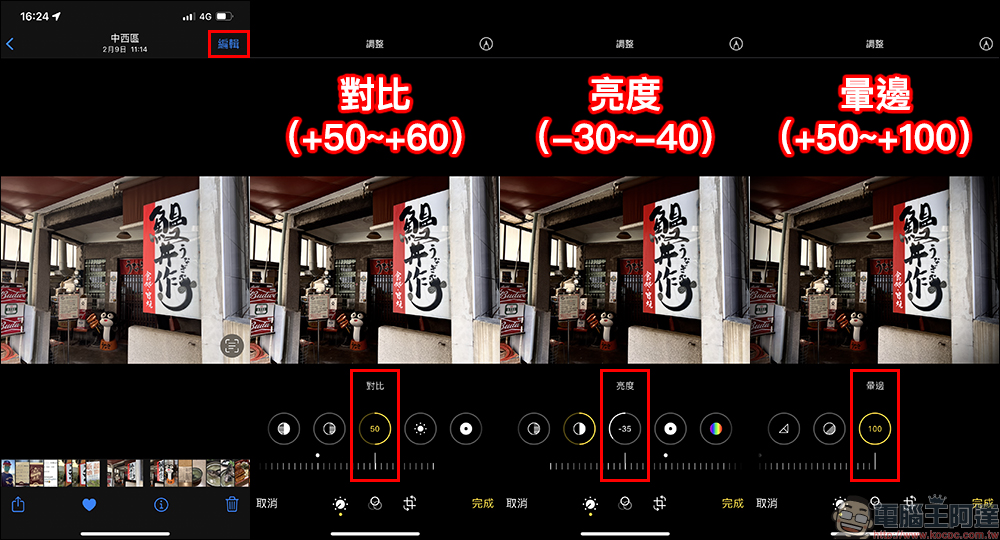
In the first stage of color grading, the main purpose is to simulate the special “darker tone” of Leica. In order to ensure that the picture has more details, the “exposure” value will not be adjusted. Just open the “Photos” app and click “Edit” in the upper right corner of the photo browsing page to enter the iPhone’s built-in color correction function.
First, we first increase the “Contrast” and adjust the value to about “+50~+60”, and then adjust the “Brightness” value down to “-30~-40” to create an overall atmosphere. Next, slide the last item on the editing toolbar, “Vignetting,” and raise it to “+50~+100” to create vignetting at the edges of the screen. As the vignetting value increases, the range of vignetting will increase.
The author personally recommends that you just adjust “enough is enough” in the early stages. You can go back and fine-tune after all the color adjustments are completed. Don’t max out all the values at once.
Entering the second stage, we need to officially start adjusting the “color” of the picture. We adjust the value of “Brightness” (highlight) to “-50~-90”. At this time, we will find that as the “Brightness” is adjusted lower, the overall color of the photo will tend to be brighter and more saturated, which is different from our impression of Lai There are some differences in the low saturation, cold, and soft tone of the card tone, so the next step is to fine-tune the “saturation” and “natural saturation”, reduce the “saturation” to “-20~-20”, and then adjust the “natural saturation” to “-20~-30)”.
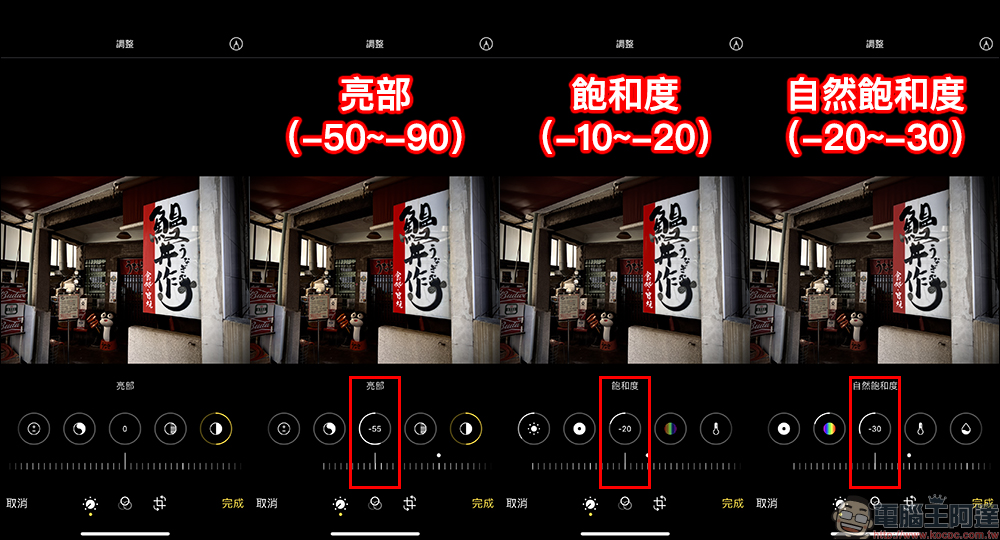
Let’s move on to the third stage of color grading. Since the color tone of the Leica is relatively cold, here we first lower the “Color Temperature” to “-10~-20”, and the “Hue” is reduced to “-10~-20” without causing a large area of color cast to make the picture greener. In this way, the Leica tone in everyone’s impression will begin to appear.
*Tips: Since the situation of each photo is different, these values can be adjusted according to your own judgment. As long as it is within this range, basically the style will not differ too much.
If you find that the picture is too dark and loses a lot of details at this stage, it is recommended to increase the “Shadows” to “+20~+30” and the “Black Point” to “-20~-30” to give the picture more of a negative film texture.
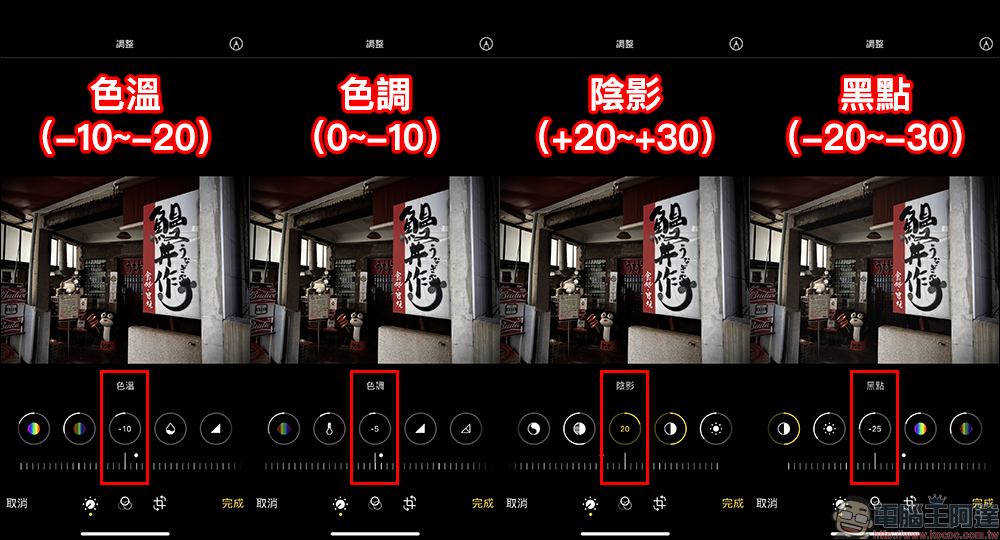
The final product after coloring in this direction is as follows:

Refer to the comparison before and after retouching:

iPhone “Leica Watermark” shortcut script
The Xiaomi 12S series jointly developed by Xiaomi and Leica this time still does not have Leica’s classic Coke logo on the fuselage, but the Xiaomi 12S series has the Leica watermark of the Coke logo. After we adjust the photos taken with the iPhone to Leica colors, of course we also need to pay tribute to Leica in the watermark!
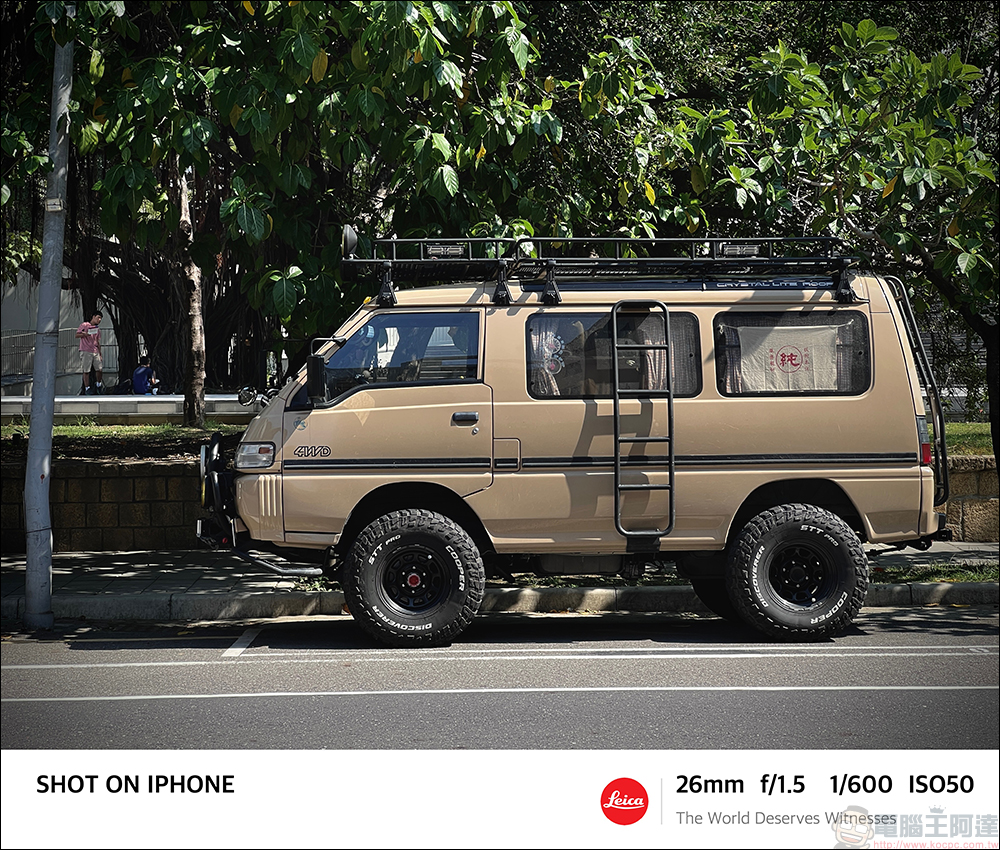
The author also found a Leica watermark shortcut script produced by foreign media to convert it into Traditional Chinese, so that everyone can use it more easily. Just install the “Shortcut” App on your iPhone first, and then add this“Leica Watermark” can be used by adding a shortcut (please click me or the link below)。
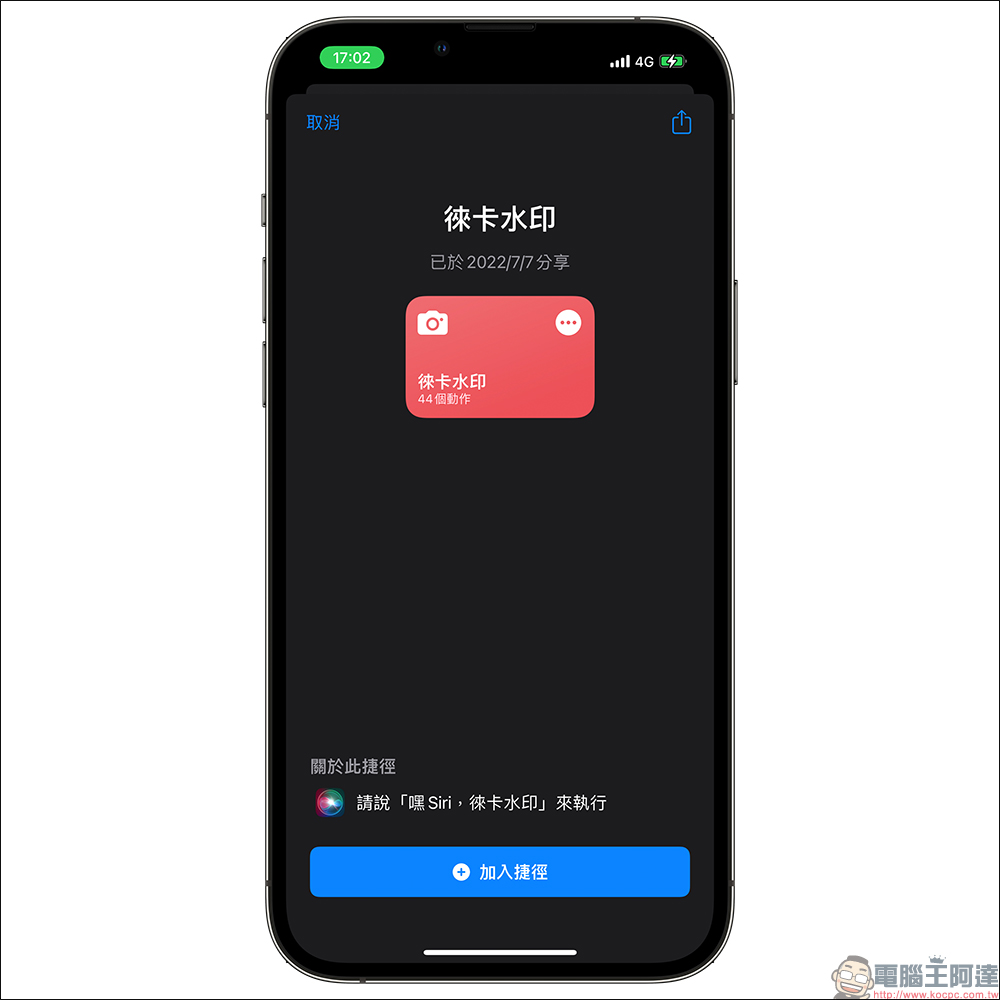
“Leica Watermark” shortcut script download:please click me
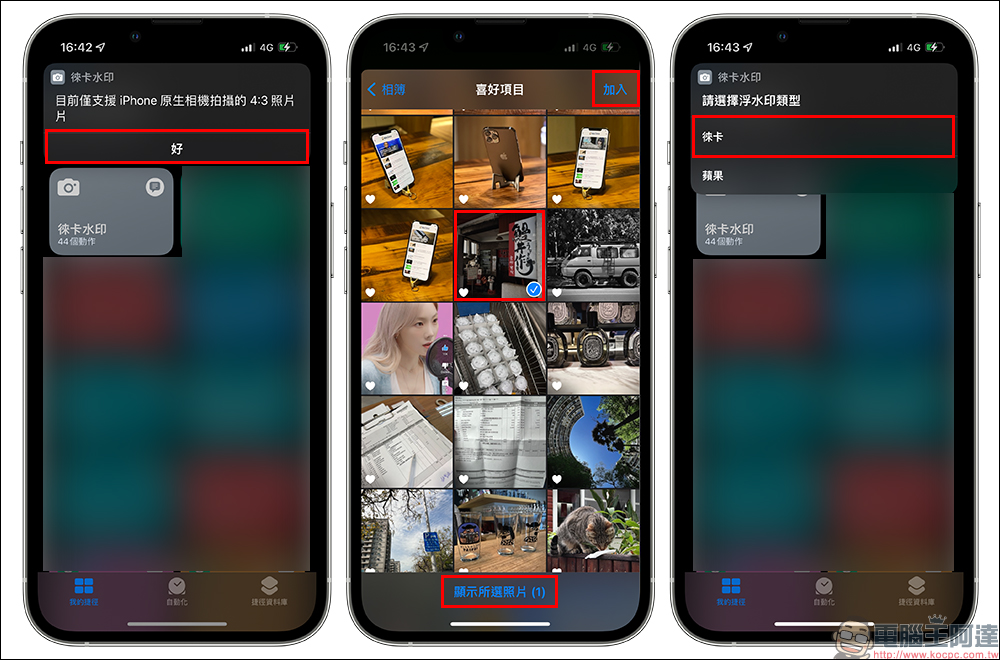
After successfully adding it to the shortcut, open the “Leica Watermark” shortcut script in the Shortcut App. At this time, a reminder will appear “Currently only supports 4:3 photos taken by the iPhone’s native camera.” Click “OK” to proceed to the next step. When selecting photos to add watermarks, you can select single or multiple photos at a time, check the box and click “Add” to proceed to the next step. Then you can select the watermark type. This shortcut actually provides two watermark logos: “Leica” and “Apple”. If you don’t like Leica, you can also choose Apple’s logo as the watermark.
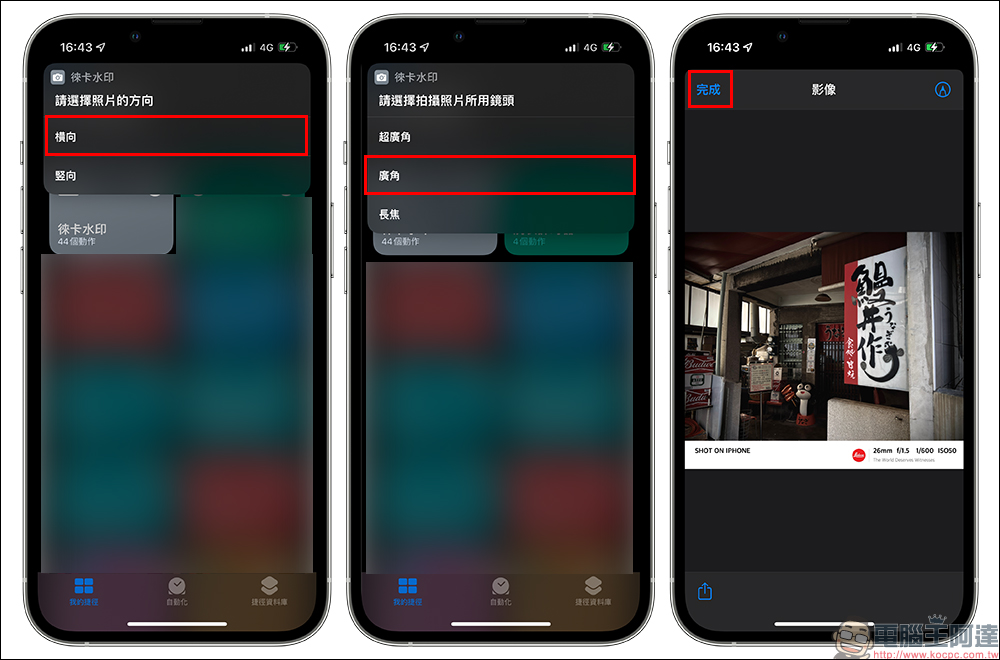
Then select the photo orientation (horizontal/vertical) and the lens used to take the photo (ultra wide angle/wide angle/telephoto). After the selection is completed, a preview of the finished product will be generated immediately. Click “Finish” to save it directly in the photo app.
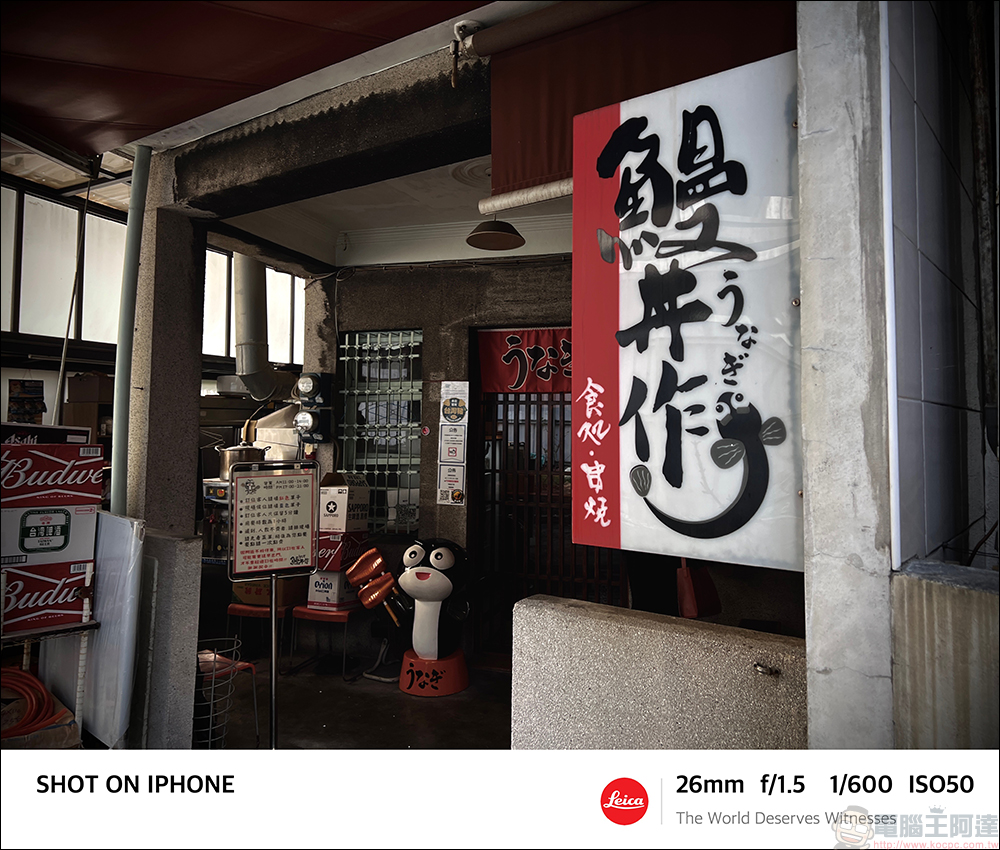
The finished product after adding the Leica watermark is as follows:
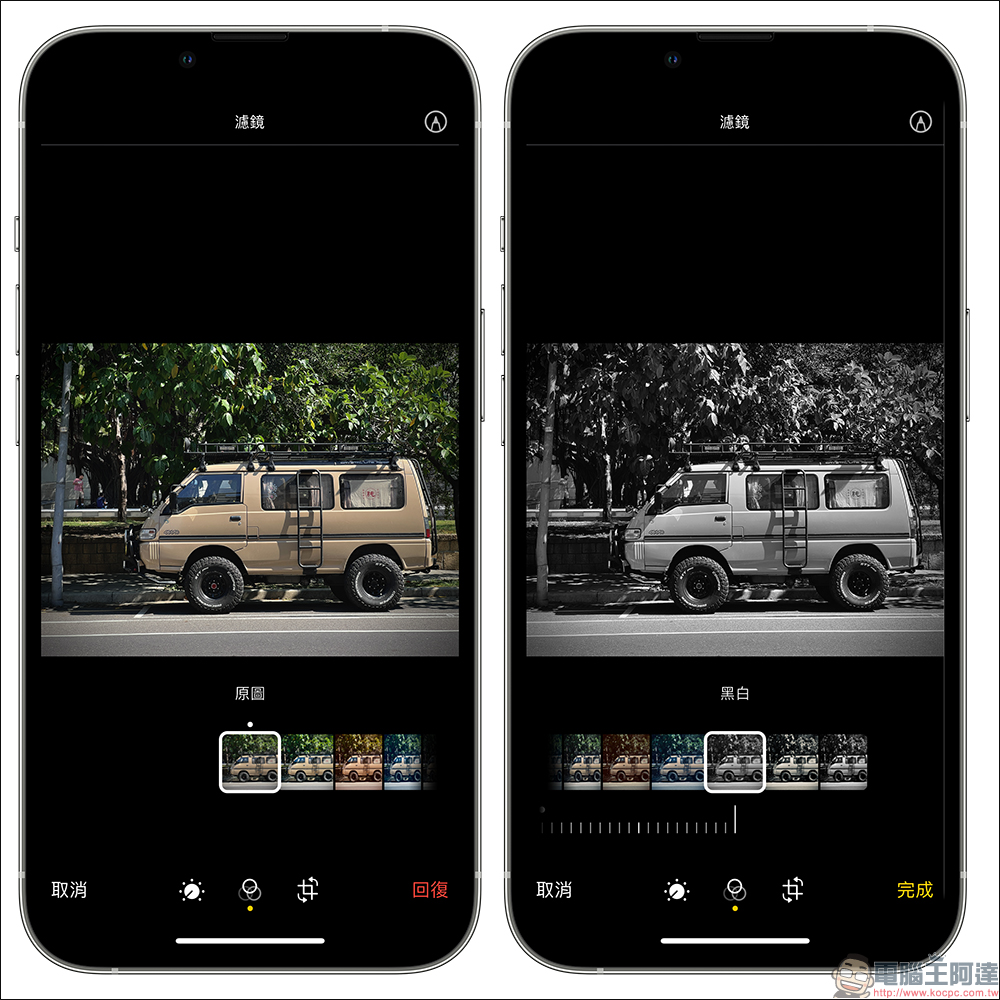
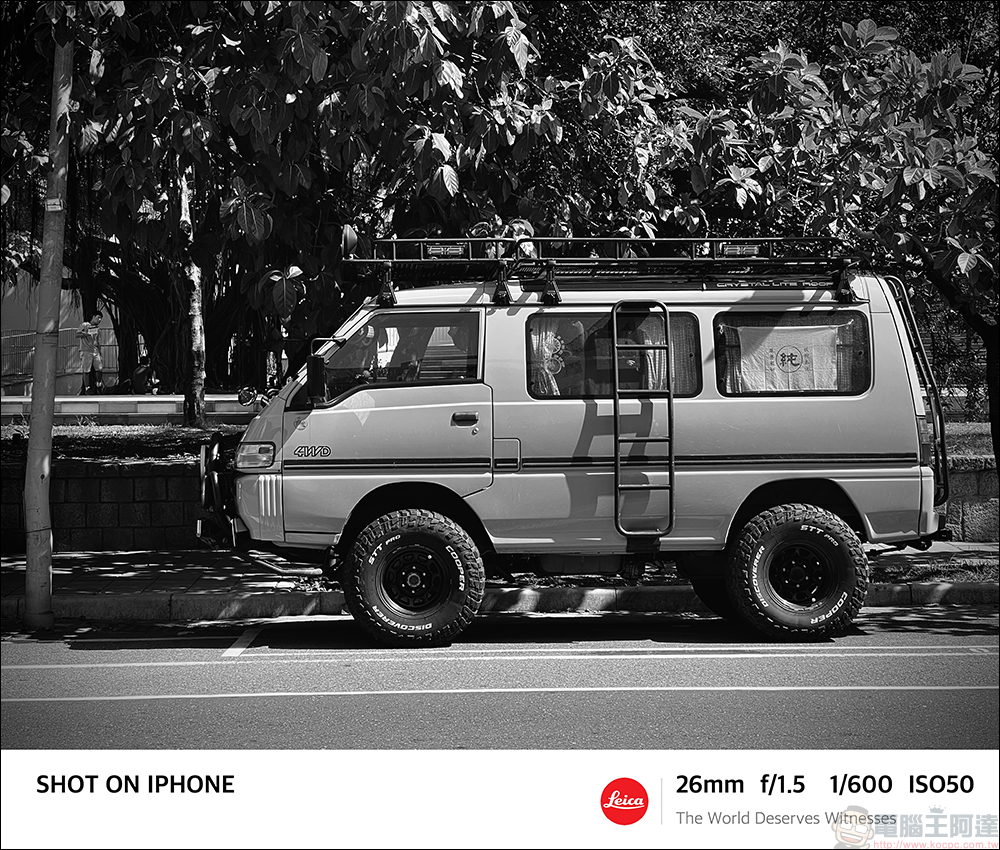
If you want to create a black and white Leica tone, you only need to apply the built-in “Black and White” filter after completing the color correction.
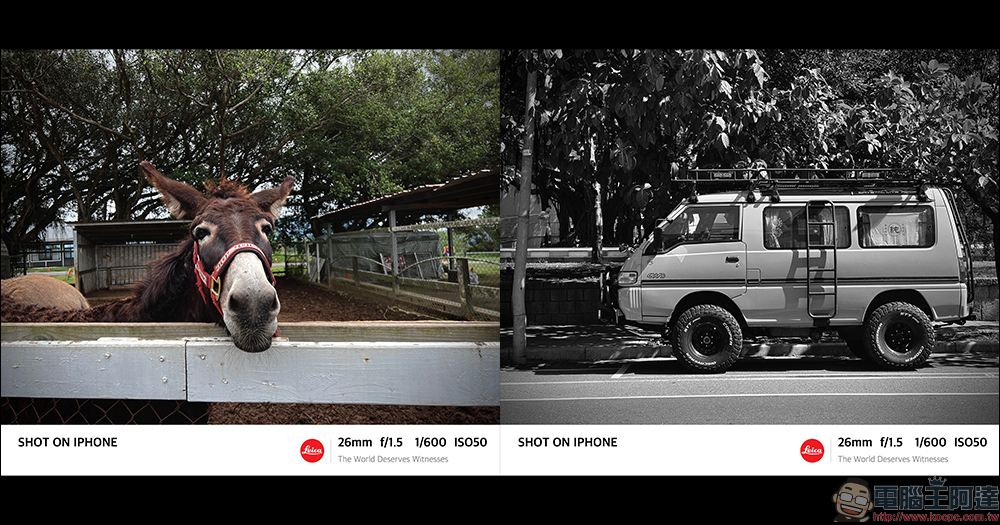
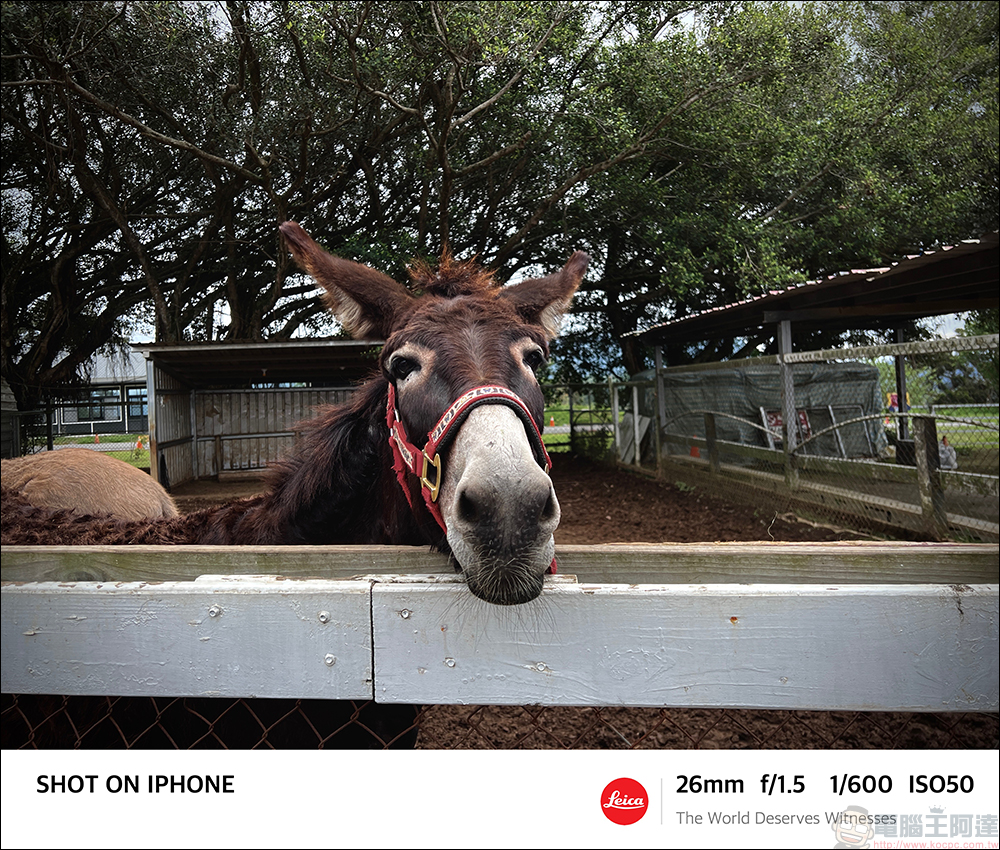
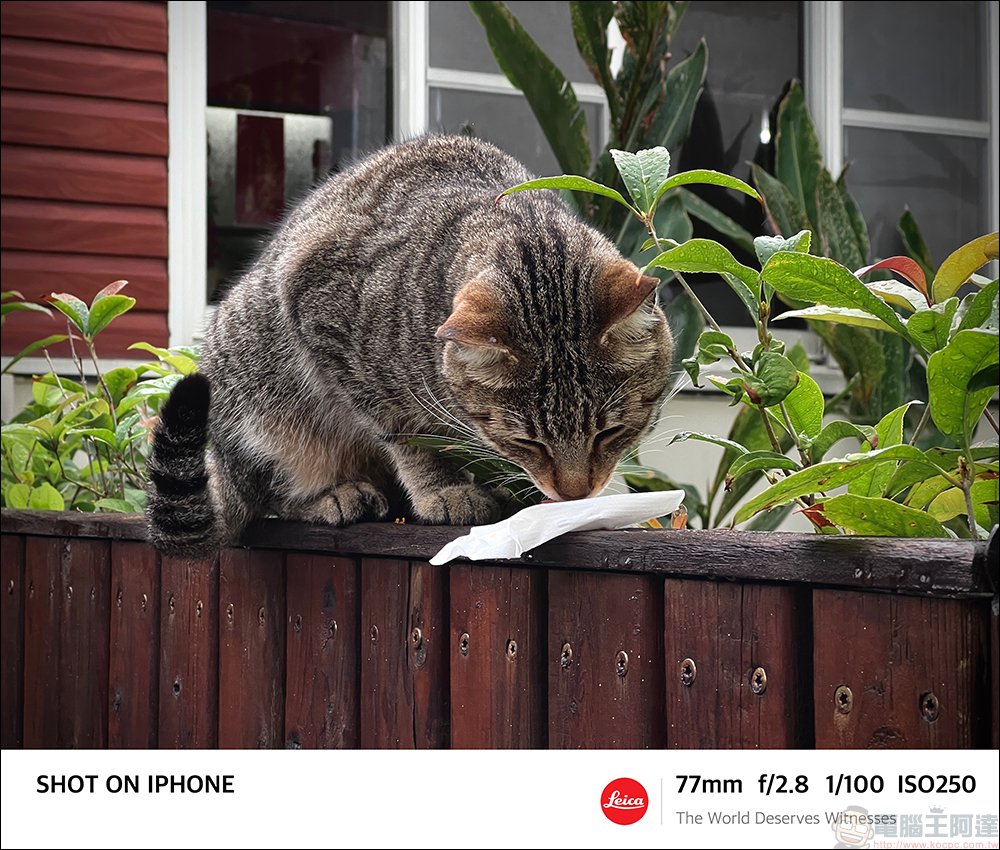
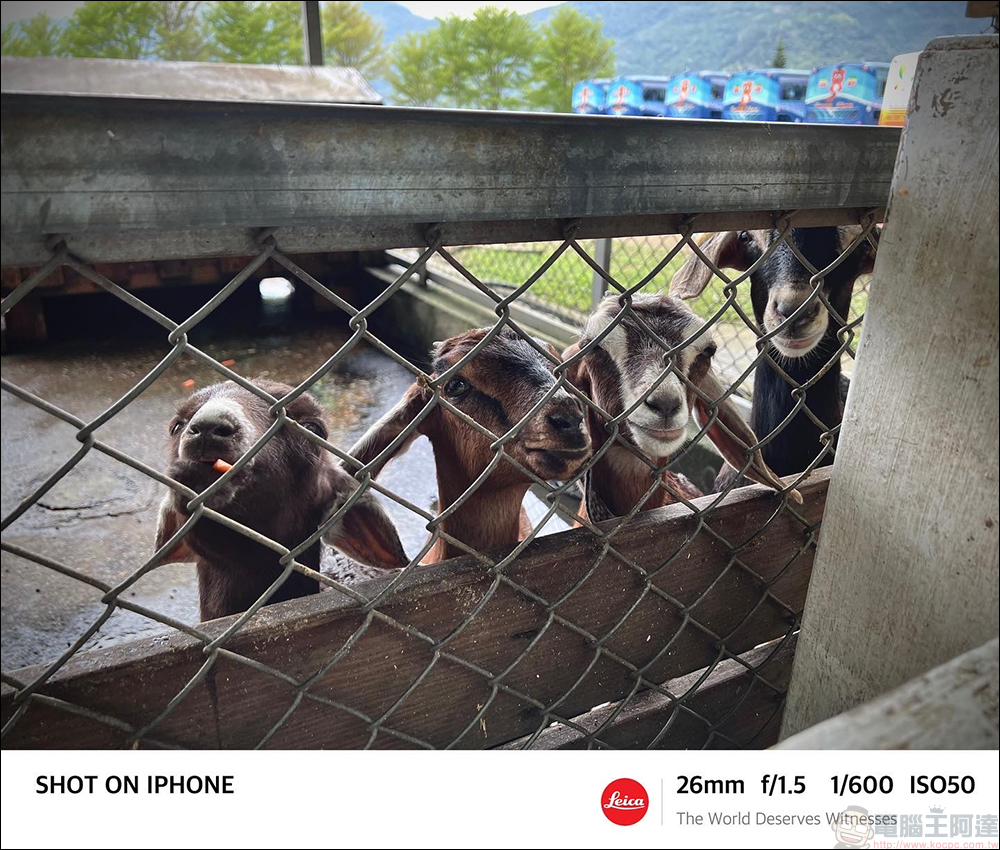
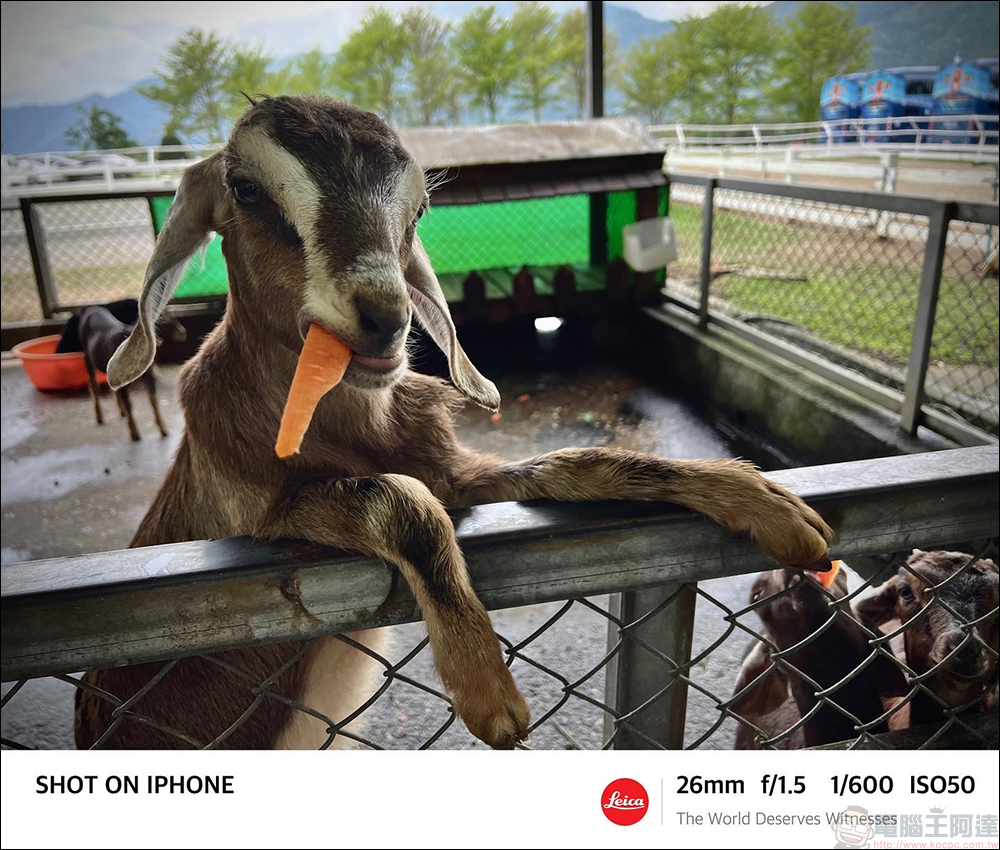
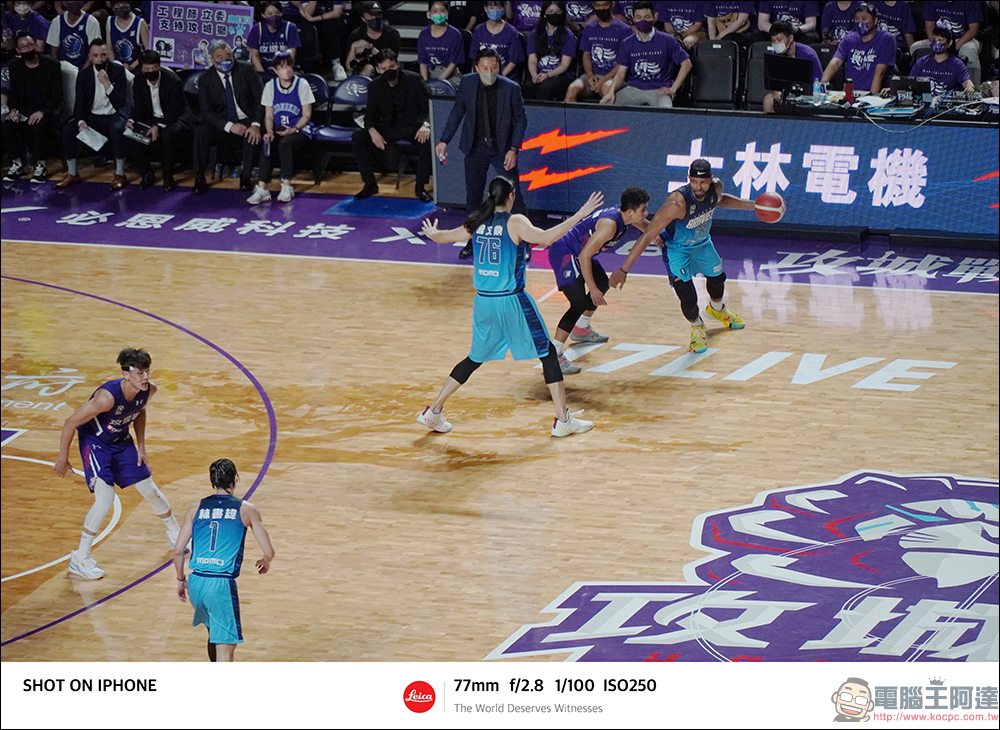
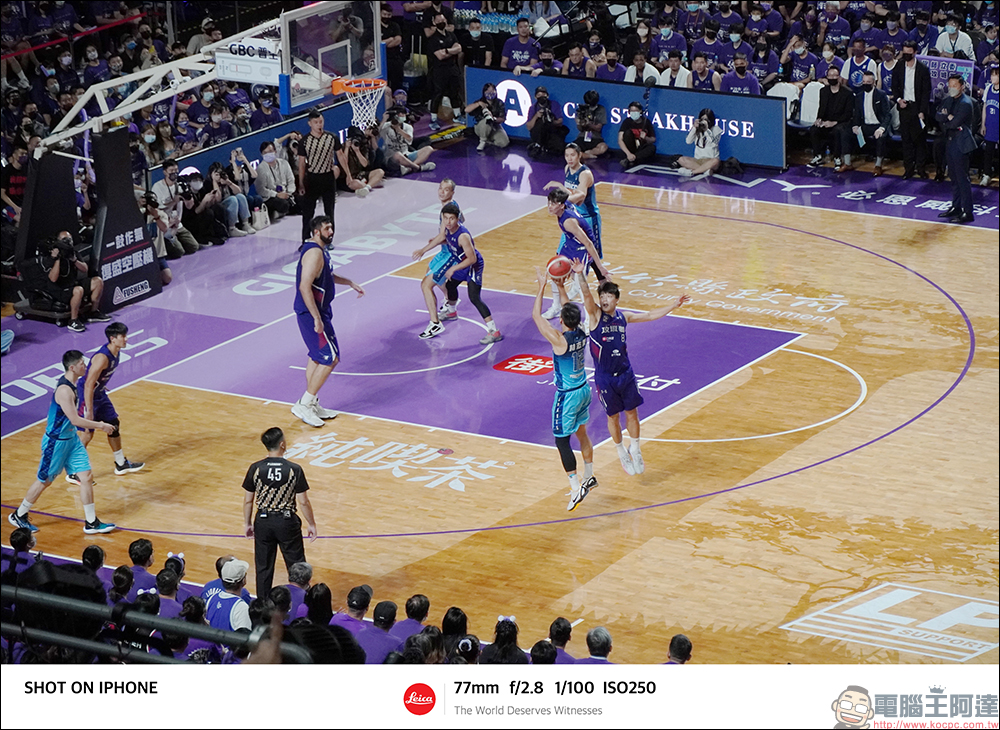
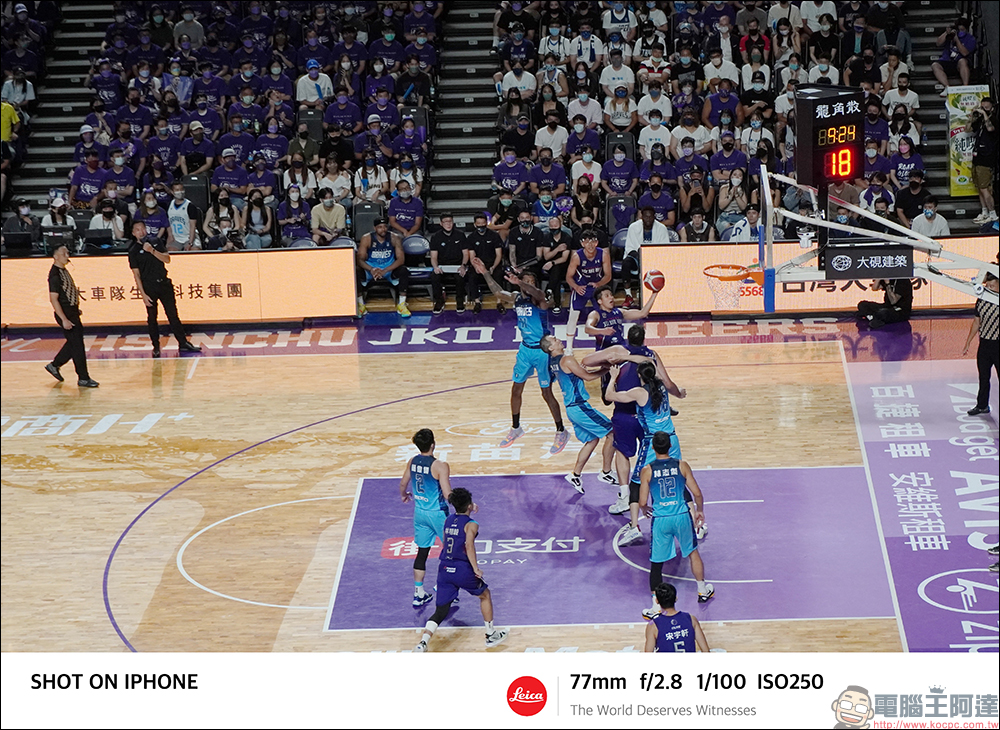
Below are more photos taken using the iPhone 13 Pro’s native camera, then color graded using this tutorial, and finally applied with a Leica watermark:
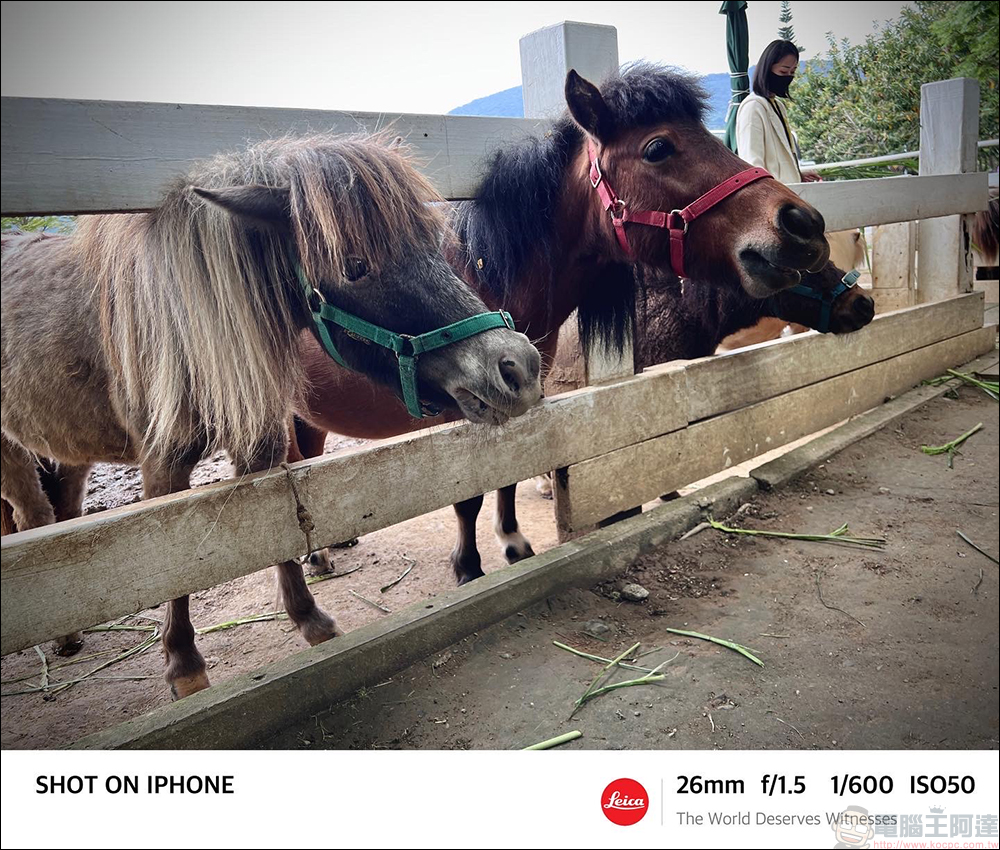
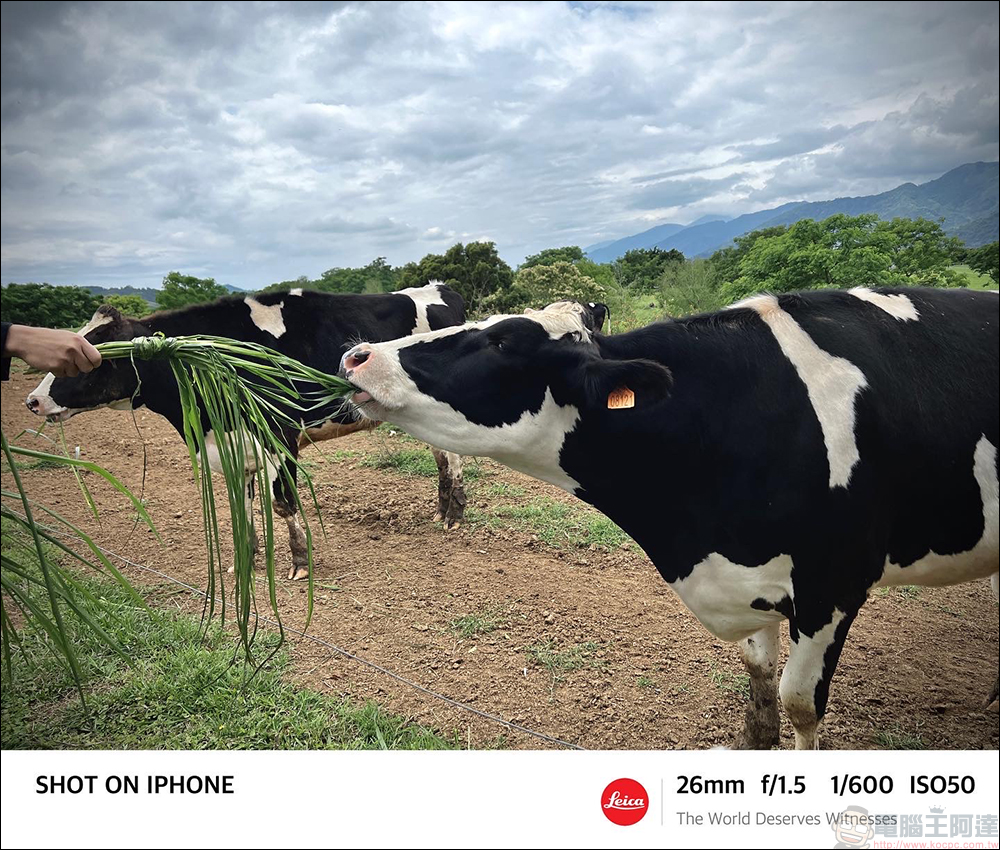
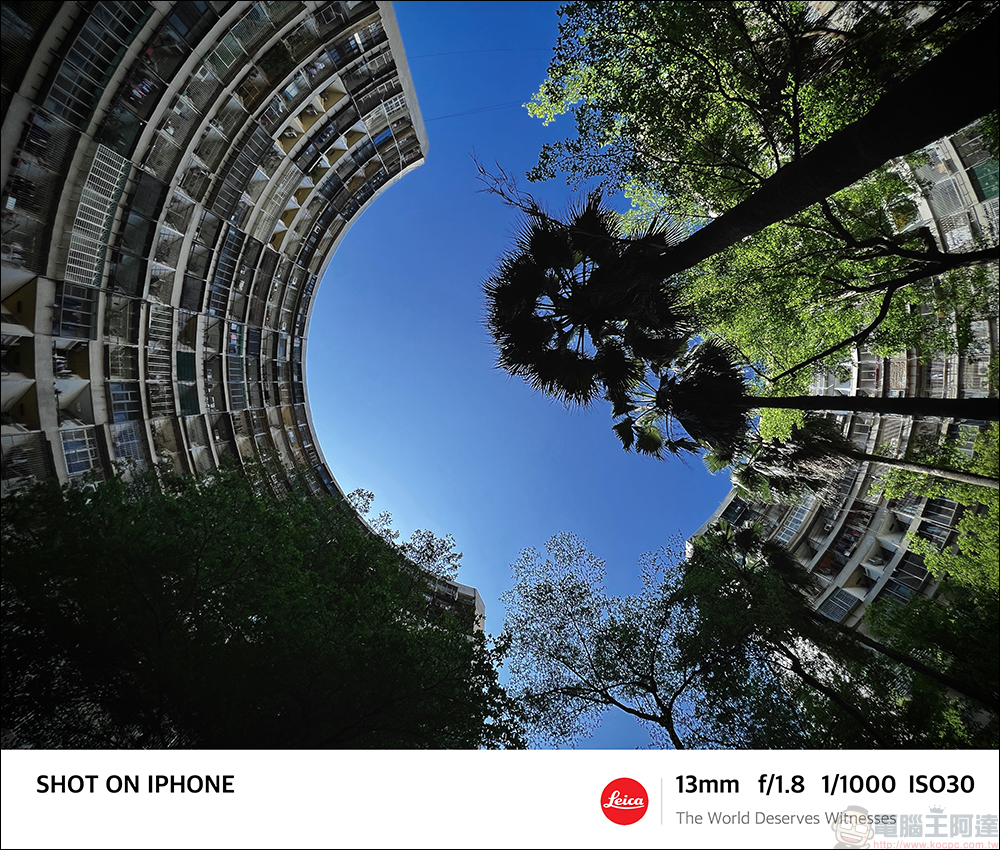
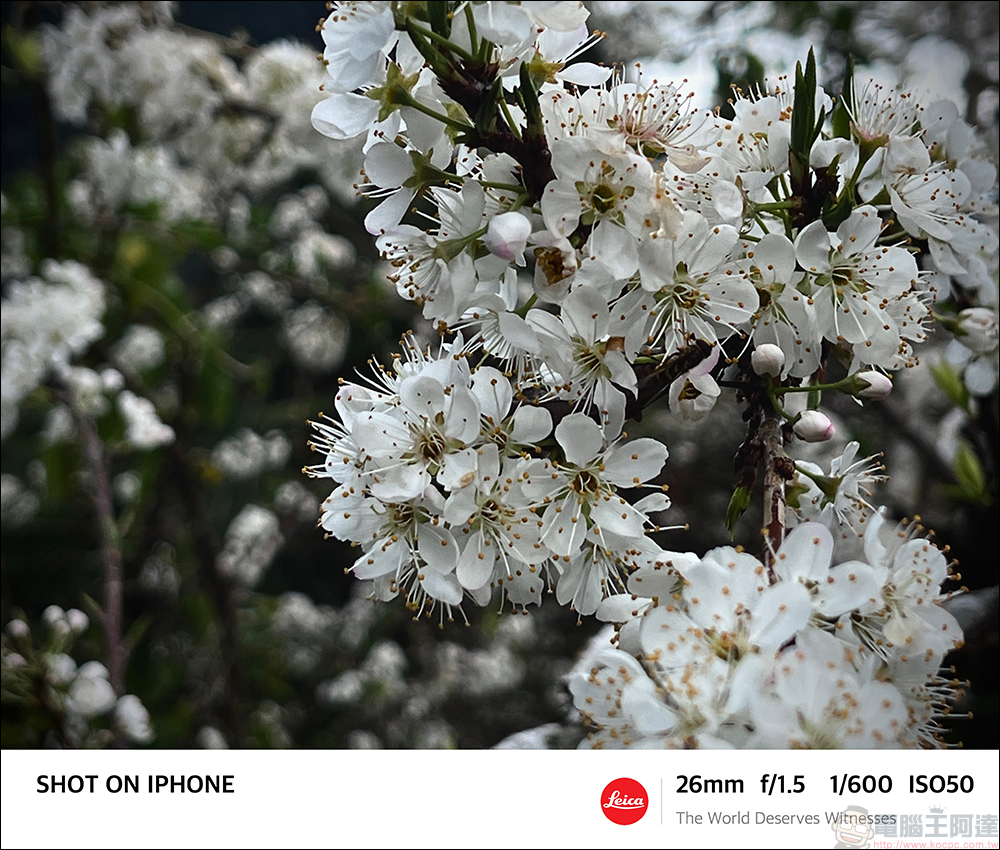
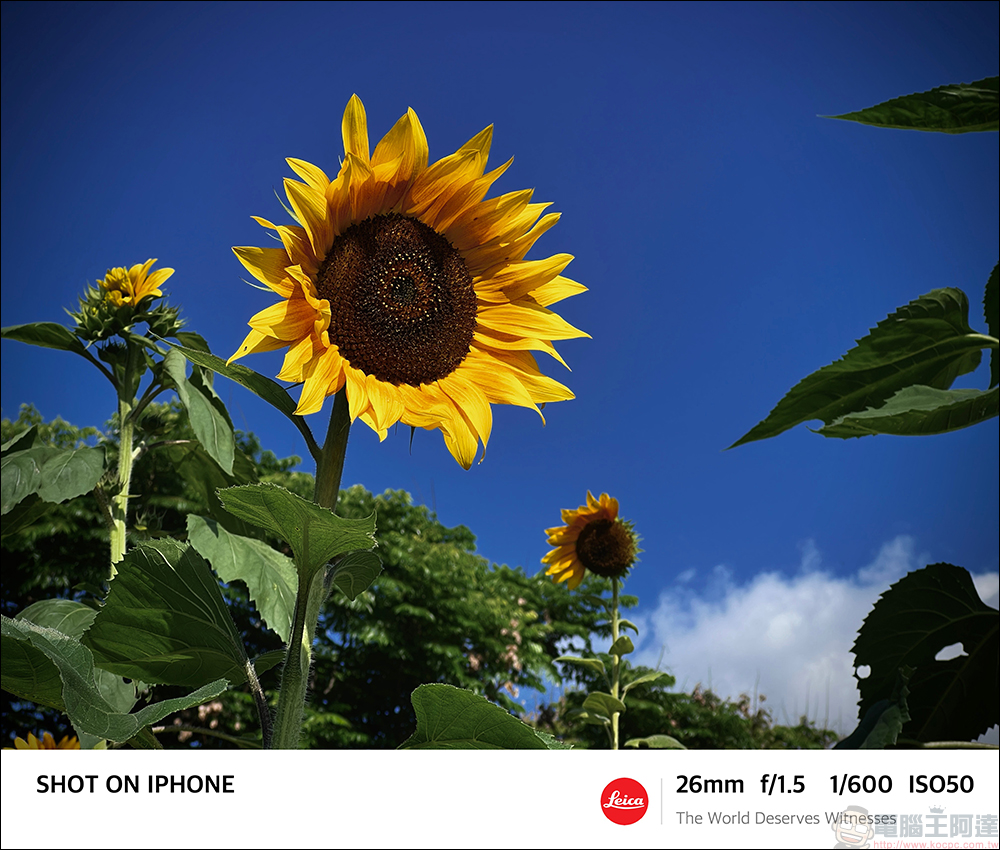
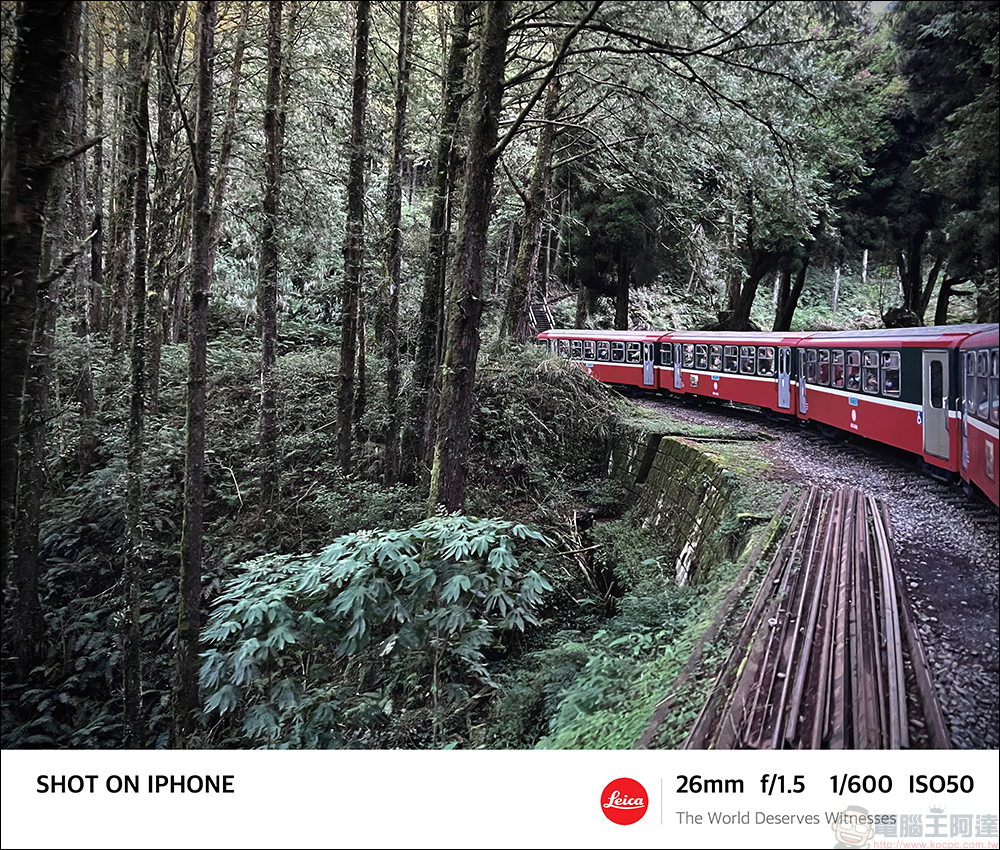
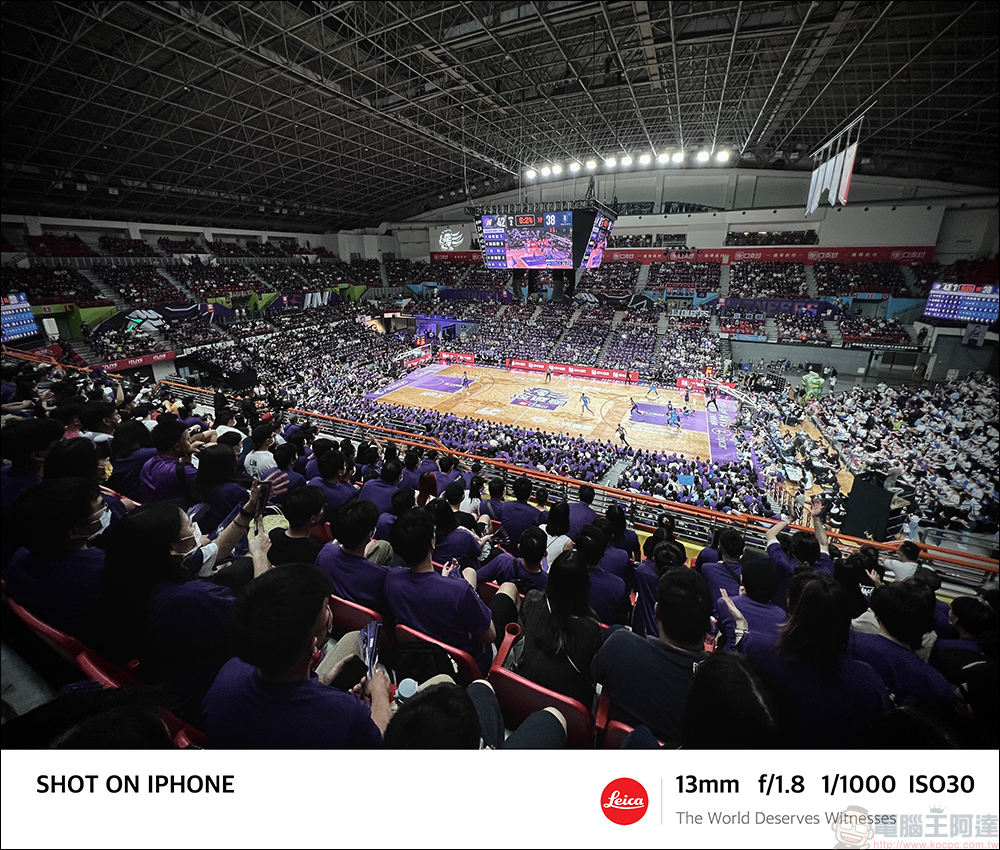
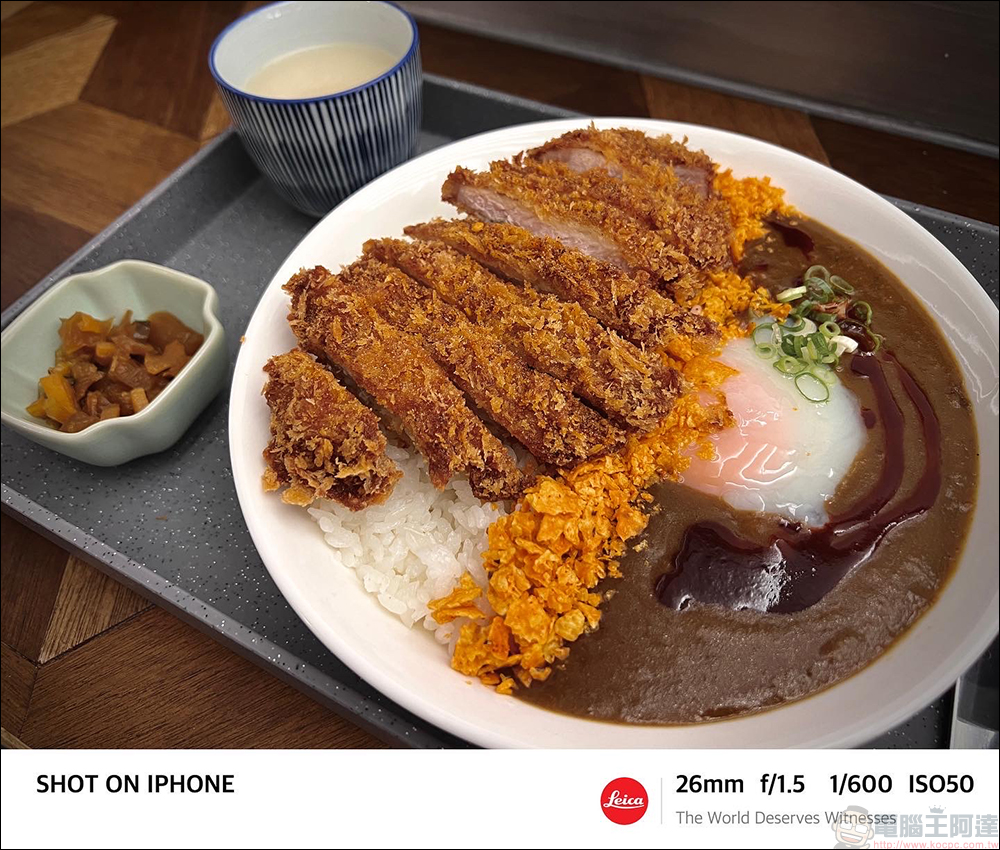
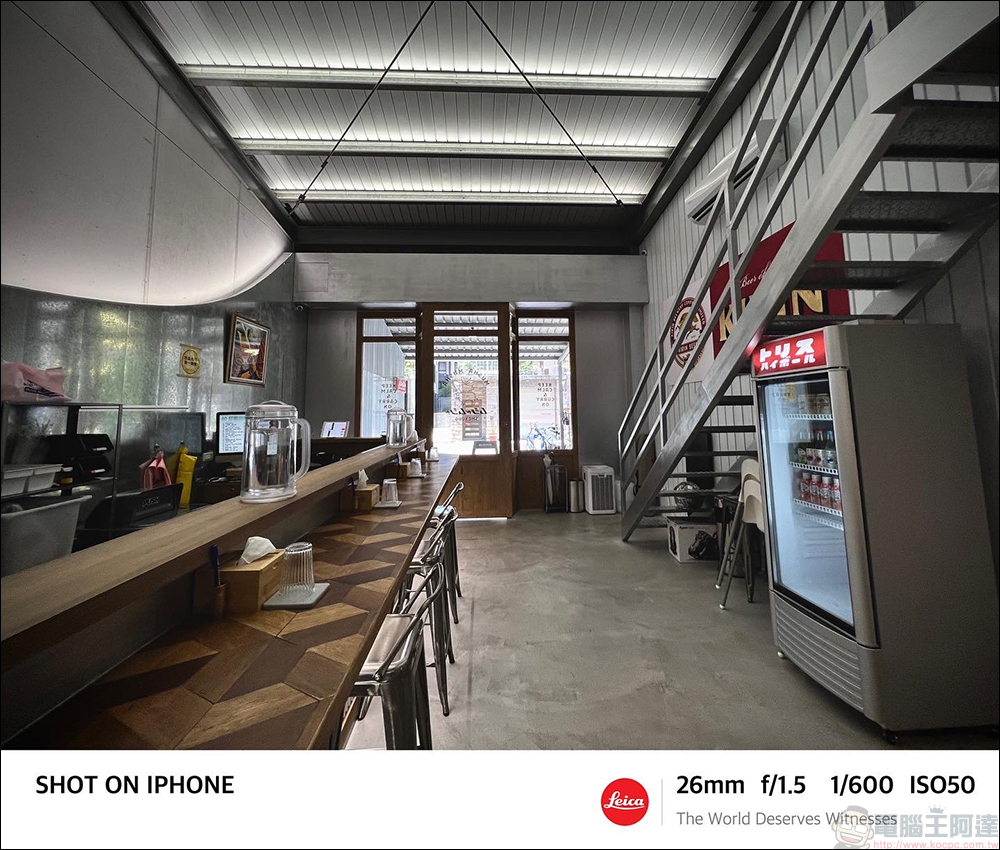
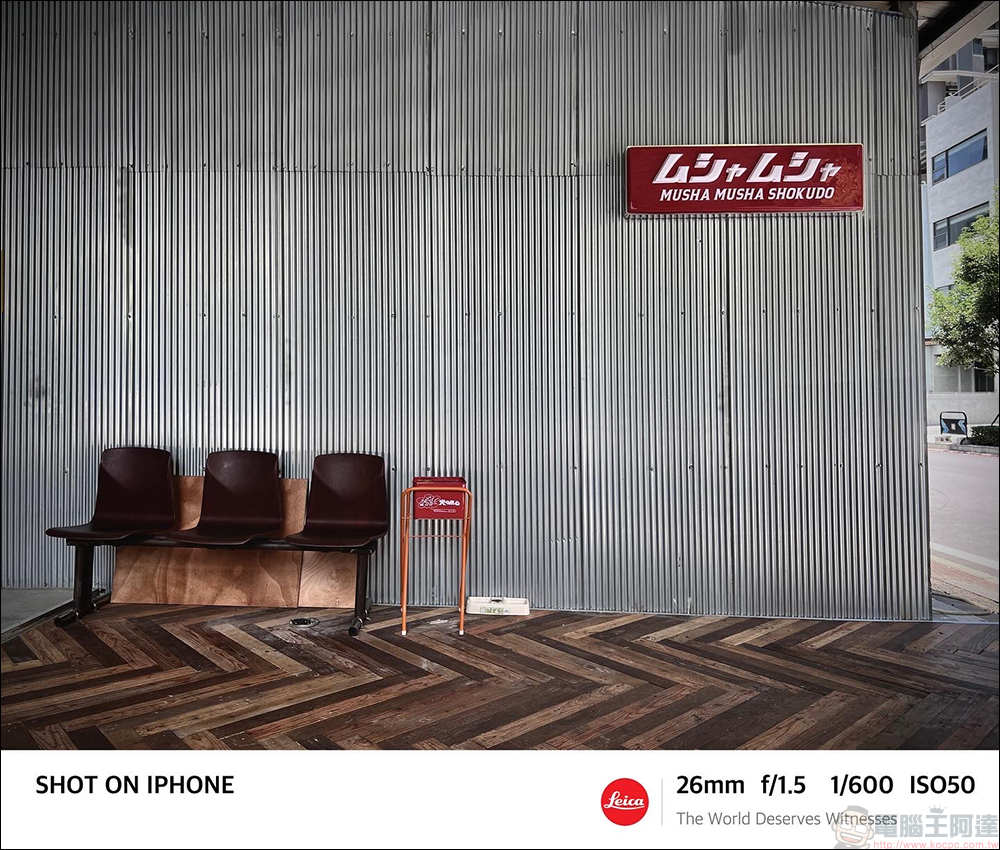
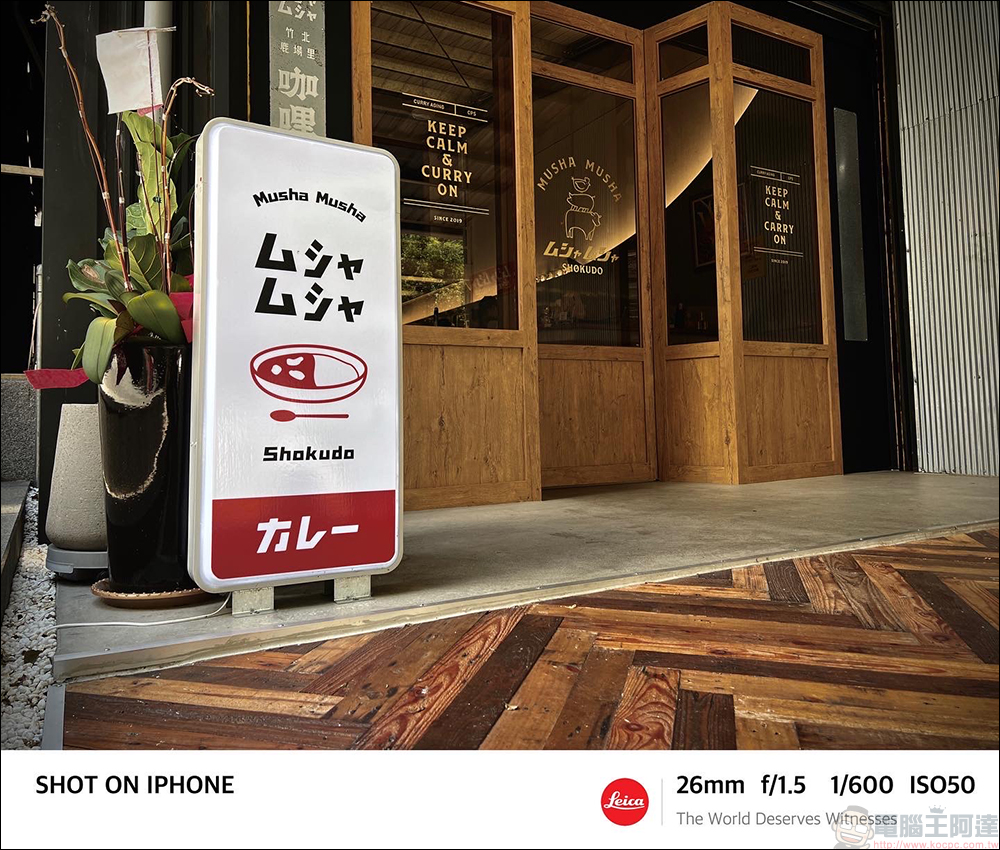
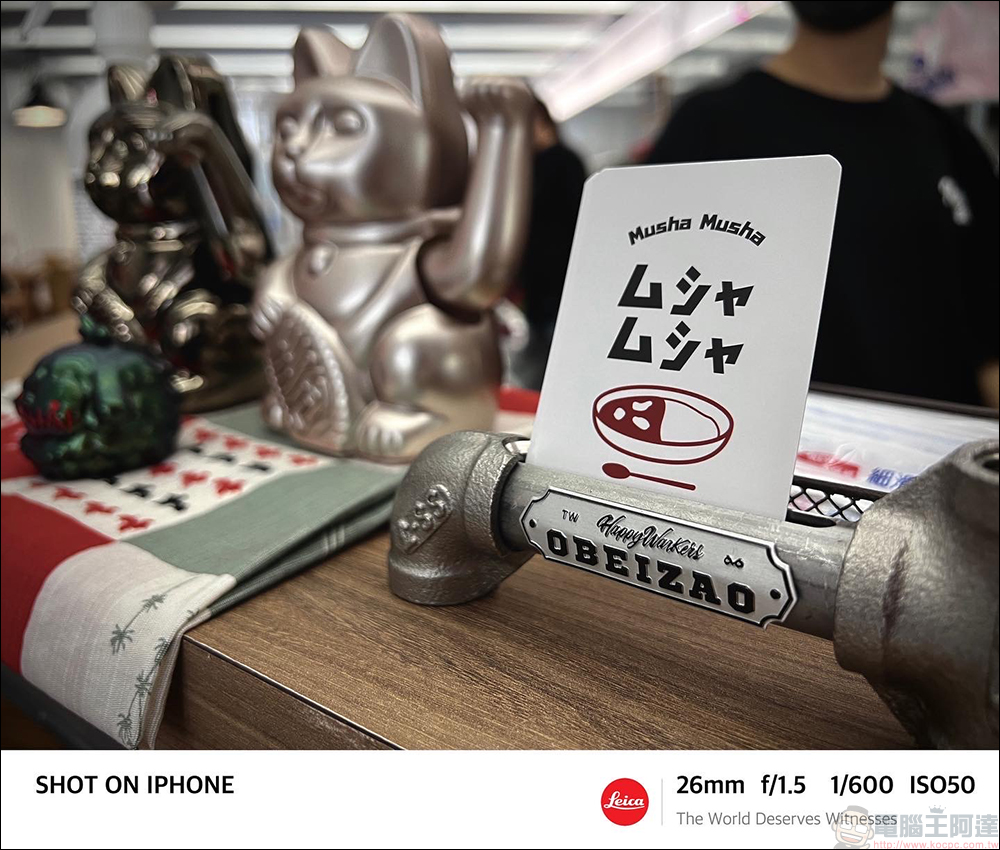
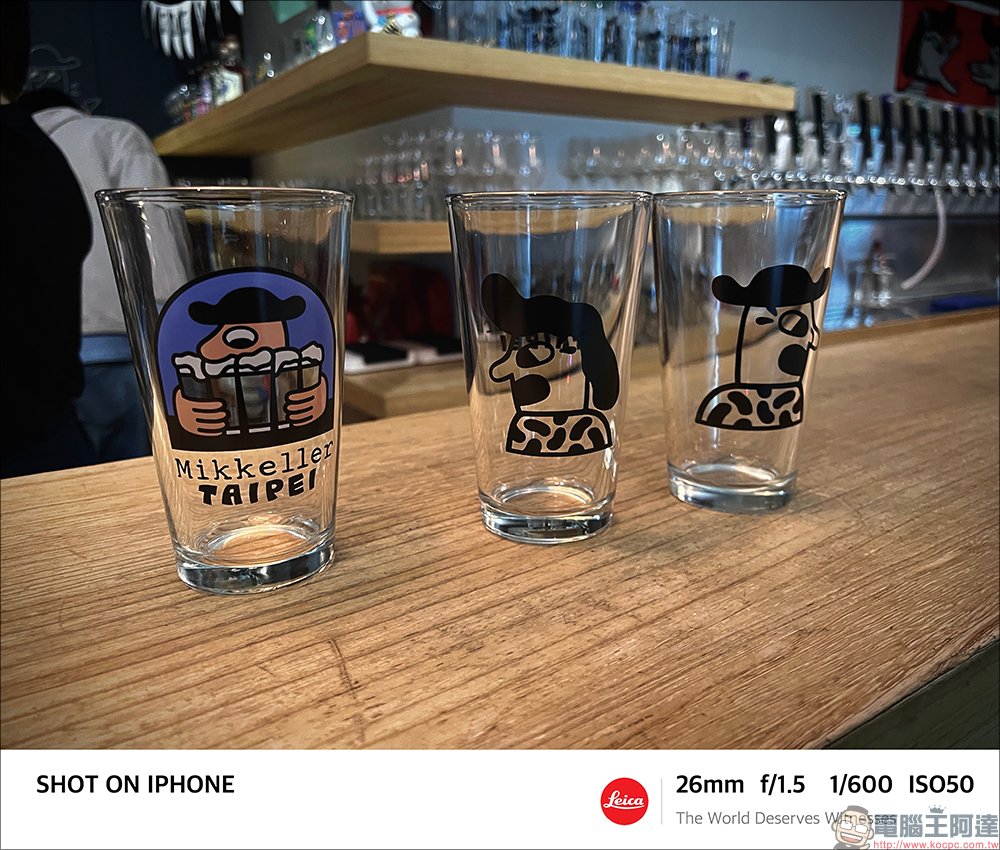
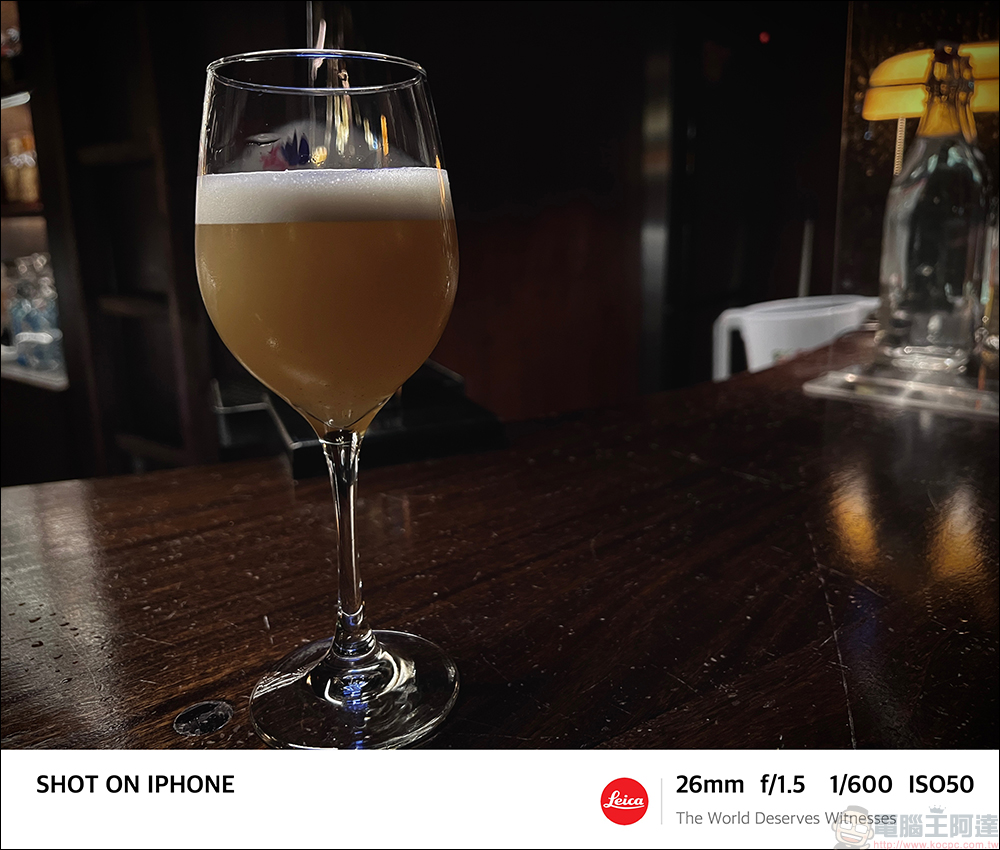
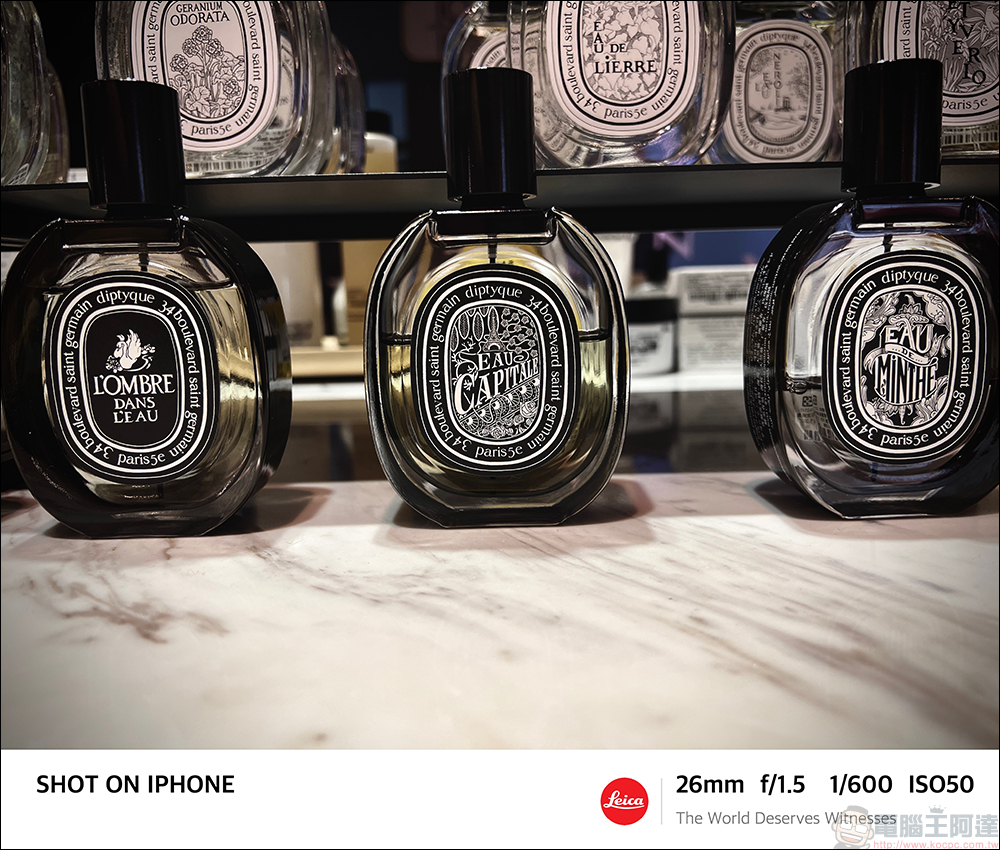
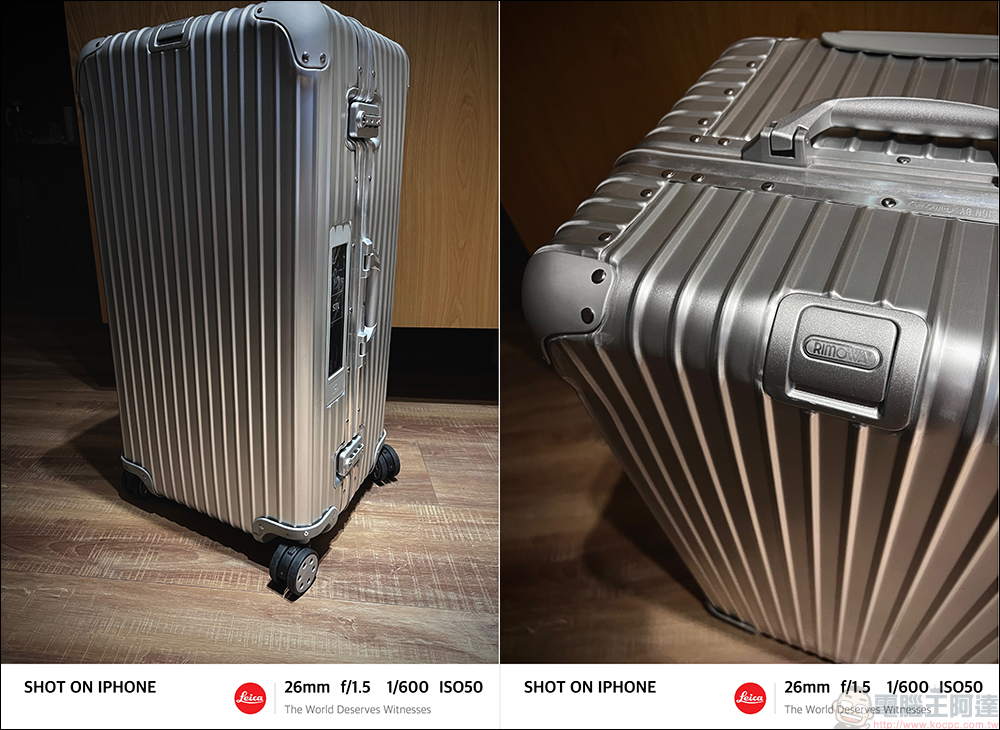
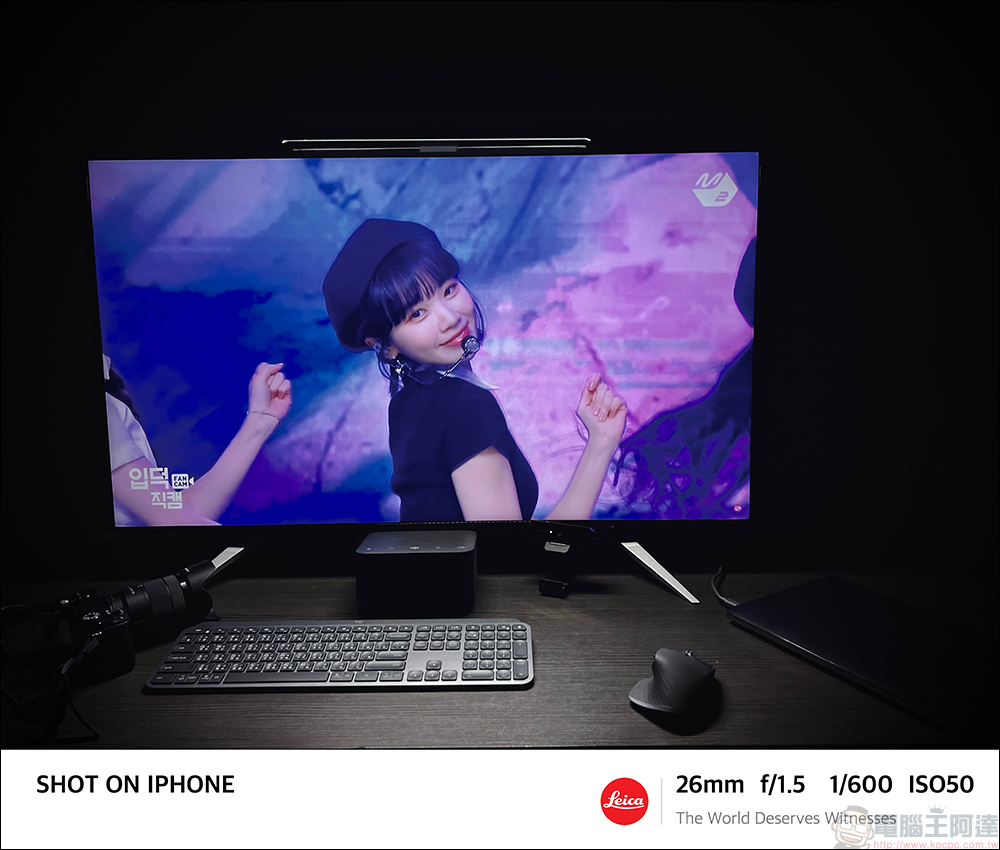
Apple version watermark comparison:
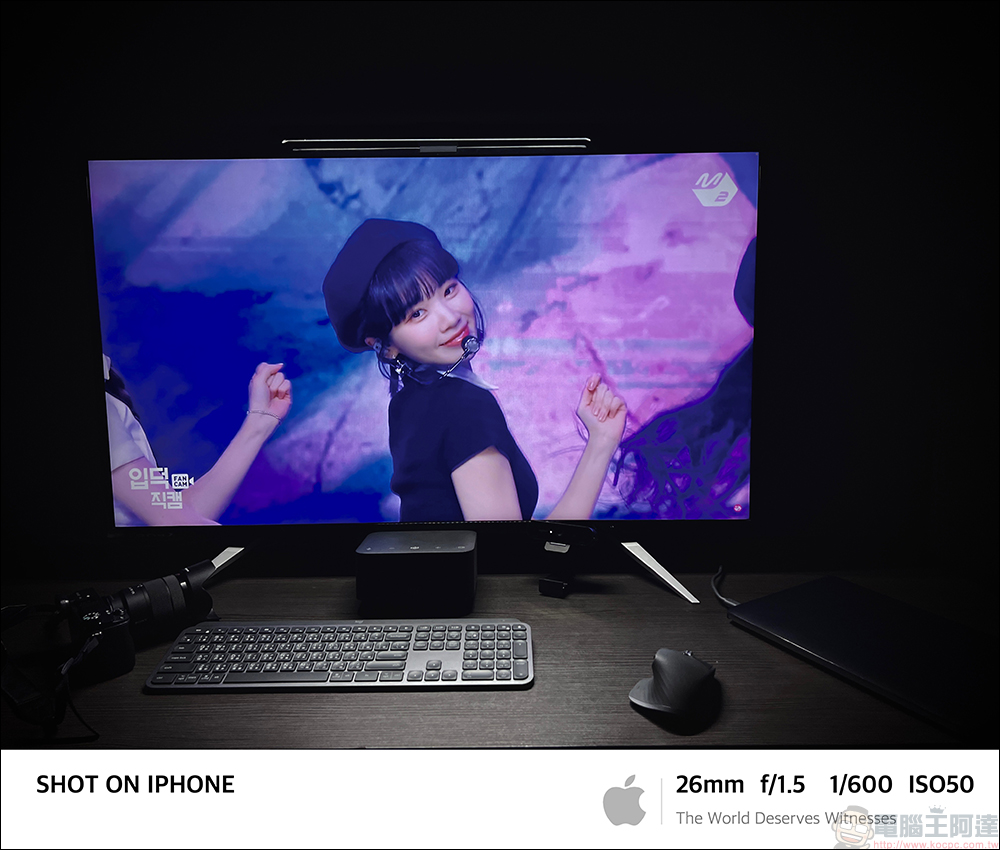
After looking at the photos in the previous section, all of you with sharp eyes must have noticed that the EXIF information of the watermark is a bit “weird” (this picture below is more obvious). Since this Leica watermark shortcut script presets the three lenses “ultra wide angle”, “wide angle” and “telephoto” with fixed EXIF parameters, the watermark can be treated as an interesting and fun effect!
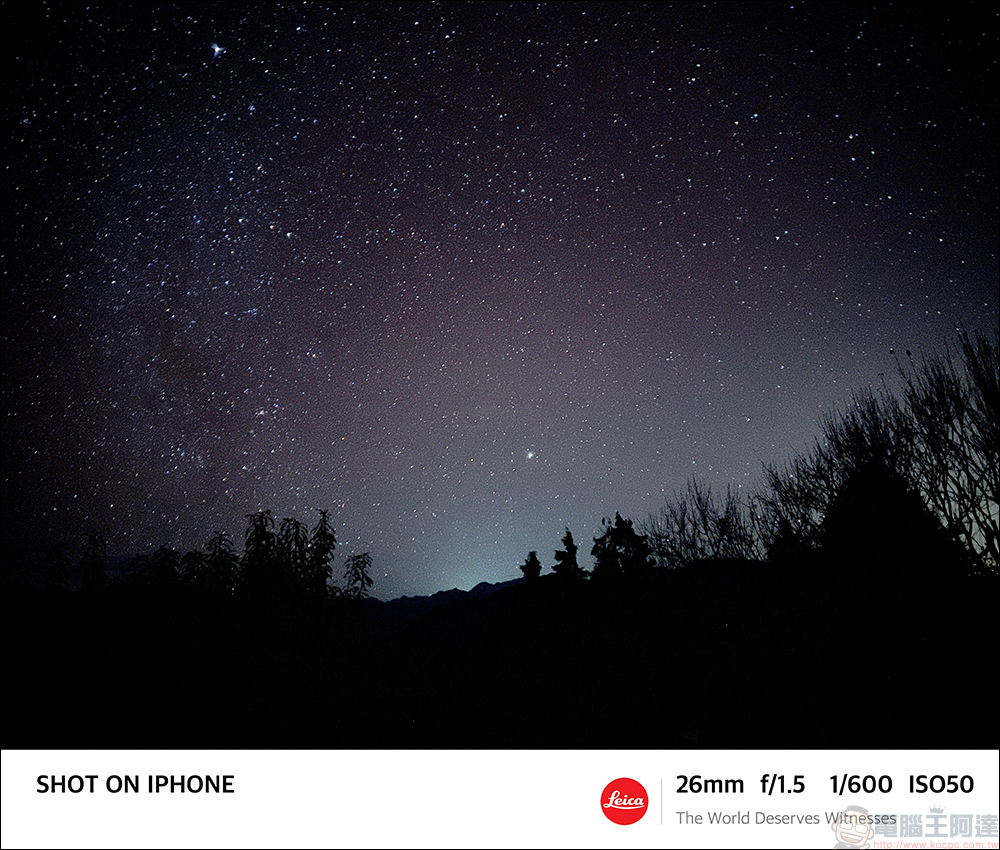
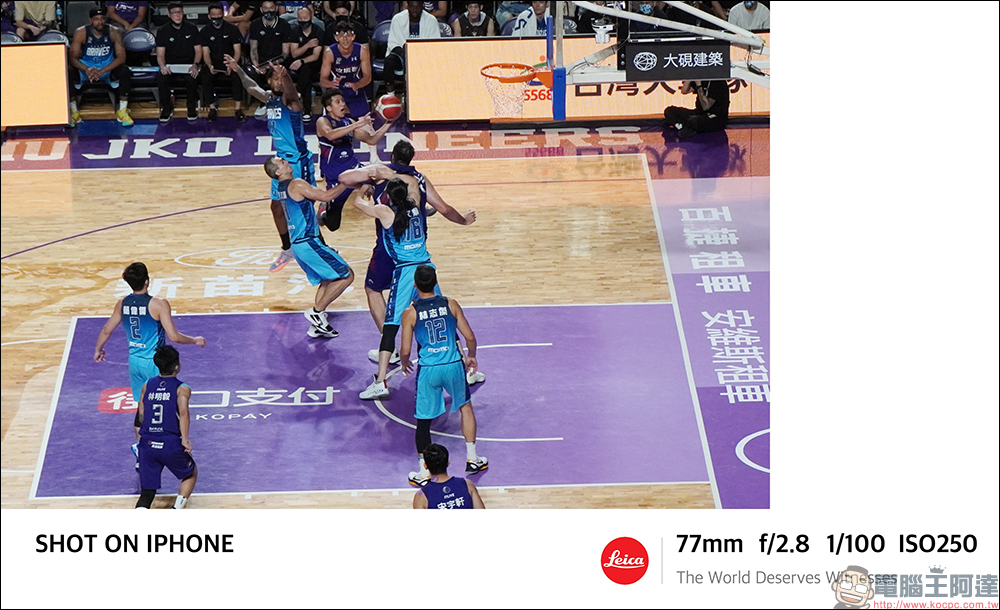
If the aspect ratio is not 4:3 as per the standard, there may be a watermark with a white border below, but it actually has a different flavor!

Also because the pictures taken by the shortcut are not limited to being taken with an iPhone, if this watermark is applied to a picture taken by a single-lens camera on a mobile phone, it will still read “SHOT ON IPHONE”.


“Leica Watermark” shortcut script download:please click me
Source: KOCPC Chinese