


For Mac users who want to try AI image generation, there have already been many ways to get an early hands-on experience. However, recently there is Mochi Diffusion, an open-source project on GitHub, which boasts the ability to use various large models like Stable Diffusion more natively on macOS. Moreover, it not only supports text-to-image generation, but also features Image2Image functionality that transforms images using other images. Continue reading the in-depth report on Mochi Diffusion, which lets Mac systems natively generate images from text with Stable Diffusion.
Mochi Diffusion Tutorial: Native Stable Diffusion Text-to-Image on Mac Systems
For Mac users who want to try AI image generation, there have already been quite a few ways to get an early hands-on. However, there’s recently an open-source Mochi Diffusion on Github that boasts a more native way to use Stable Diffusion and other large models on macOS. Not only does it support text-to-image, it also supports the Image2Image feature for converting images via images.
They even mentioned that it requires extremely low memory and can fully leverage the efficiency of the Neural Engine on all Macs with Apple silicon – plus, they offer over 140 converted models for download. With such a complete AI image generation solution for the Mac, we naturally couldn’t pass up the chance to try it out!
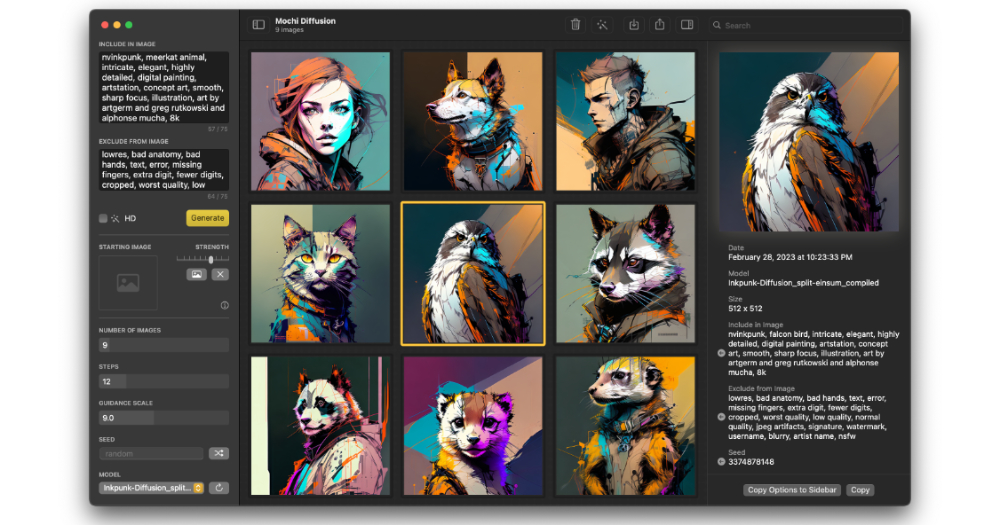
▲Image source: Joshua Park
Basically, Mochi Diffusion supports all Mac models with Apple Silicon chips, including the M1. The system requirement is macOS Sonoma 14.0 or later. The official features listed by Mochi Diffusion are as follows:
・極致性能和極低記憶體佔用 (使用神經網絡引擎時 ~150MB)
・在所有搭載 Apple 芯片的 Mac 上充分發揮神經網絡引擎的優勢
・生成圖像時無需聯網
・圖像轉圖像(Image2Image)
・使用 ControlNet 生成圖像
・在圖像的 EXIF 信息中存儲所有的關鍵詞(在訪達的“顯示簡介”窗口中查看)
・使用 RealESRGAN 放大生成的圖像
・自動保存 & 恢復圖像
・自定義 Stable Diffusion Core ML 模型
・無需擔心損壞的模型
・使用 macOS 原生框架 SwiftUI 開發
How to install and use Mochi Diffusion
Mochi Diffusion is very easy to install. The app can be Github Find, andThere is a Chinese introduction page. – At the time of testing in this article, the latest version was v5.2, and the file size was only 6x MB. Basically, you just download the DMG file and drag it into the Applications folder to complete the installation – it’s really that simple!
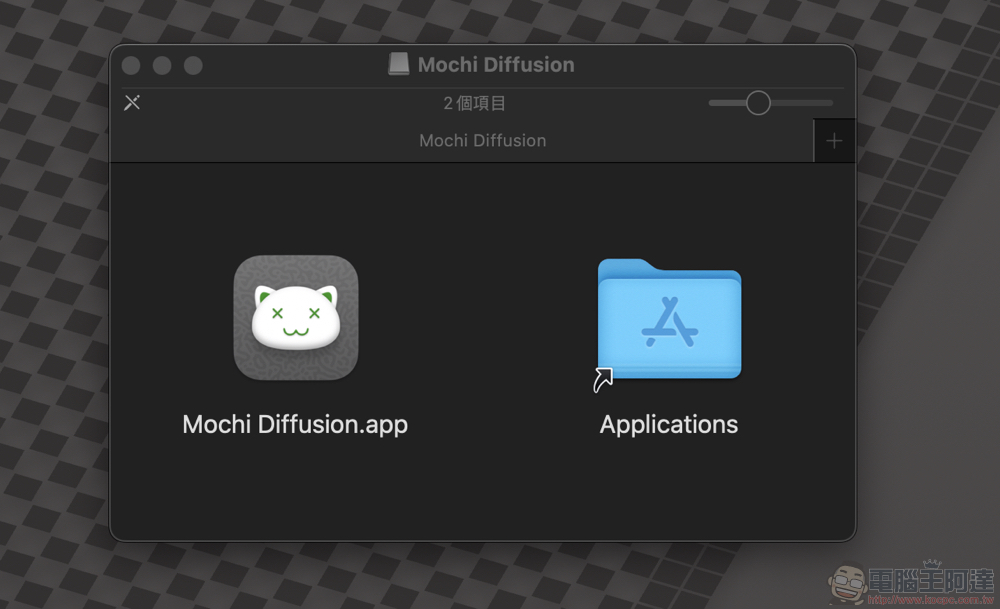
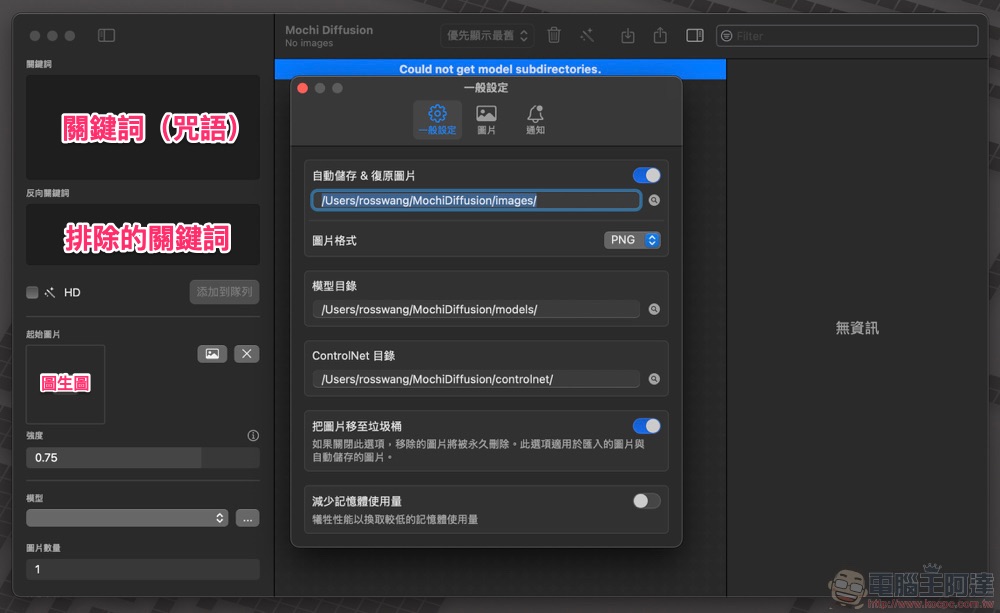
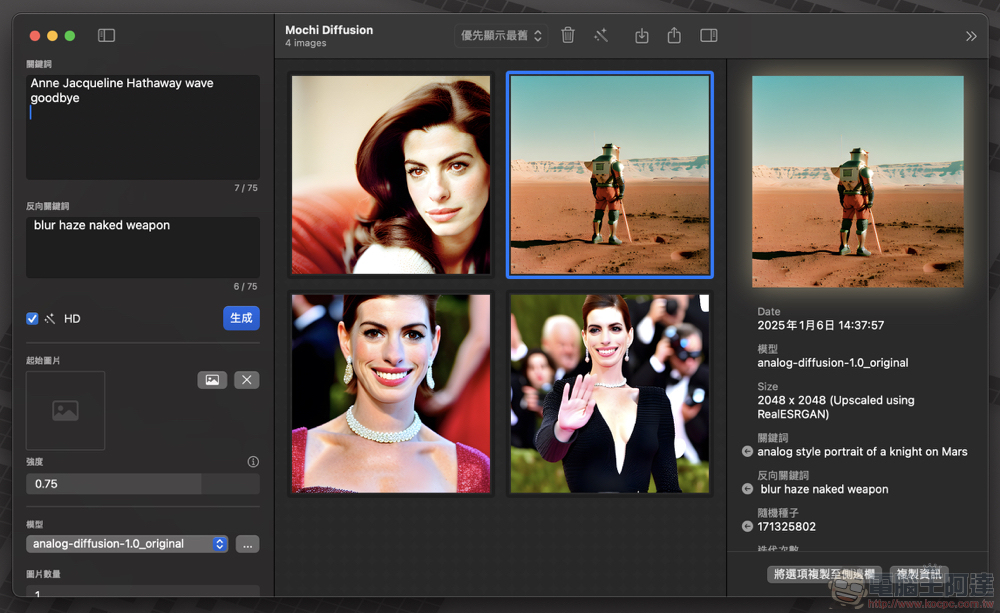
After installation, you can launch the Mochi Diffusion app directly from the Applications folder and use it. The interface is quite easy to understand – and it supports Chinese. As for the model directory, you’ll need to create a “models” folder inside the “Users/使用者/MochiDiffusion” folder to place the downloaded models in it – or specify a download folder yourself, and they can then be found in the “Models” option.
Before starting work, everyone can first go to the Core ML Models page to search for the Models they want to download and use. Basically, you can simply browse by category to find the highest-rated models.
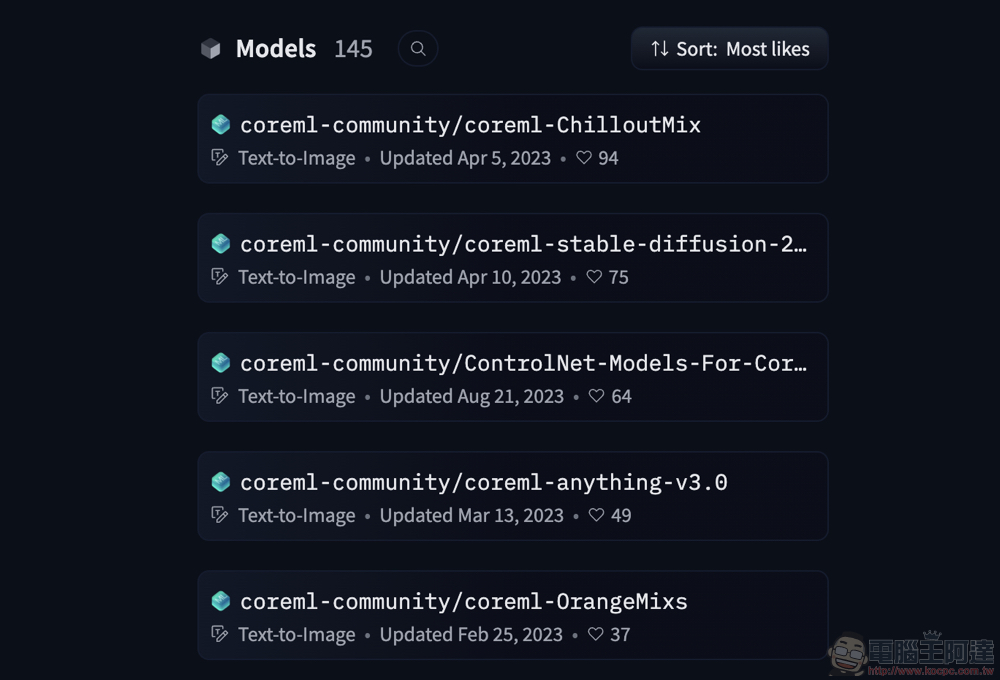
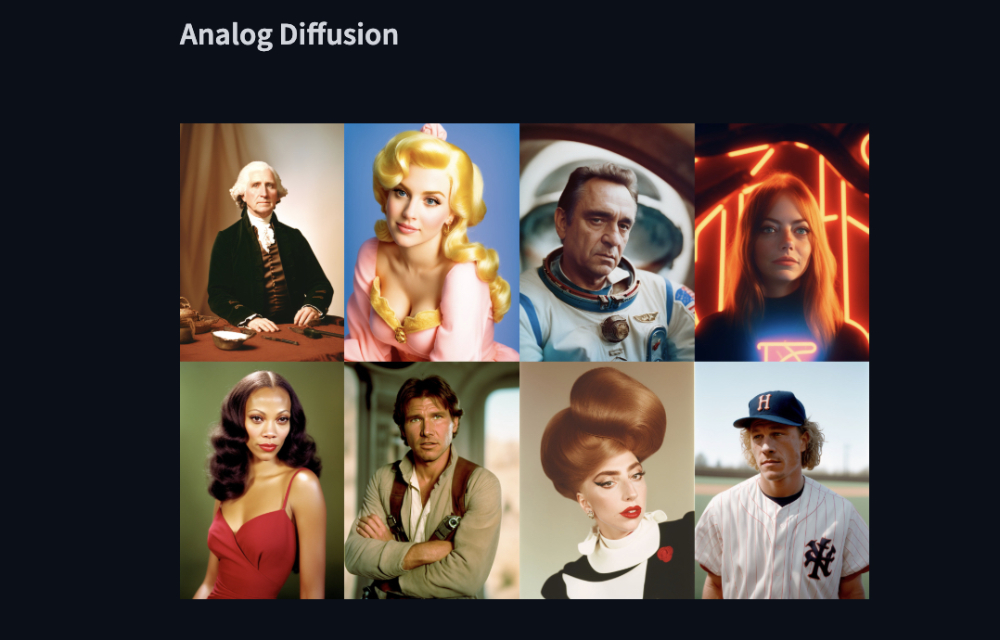
This part is for everyone to discover on their own, and I also recommend that everyone can…Our previous prompt spell lessonExplore different AI image generation possibilities.
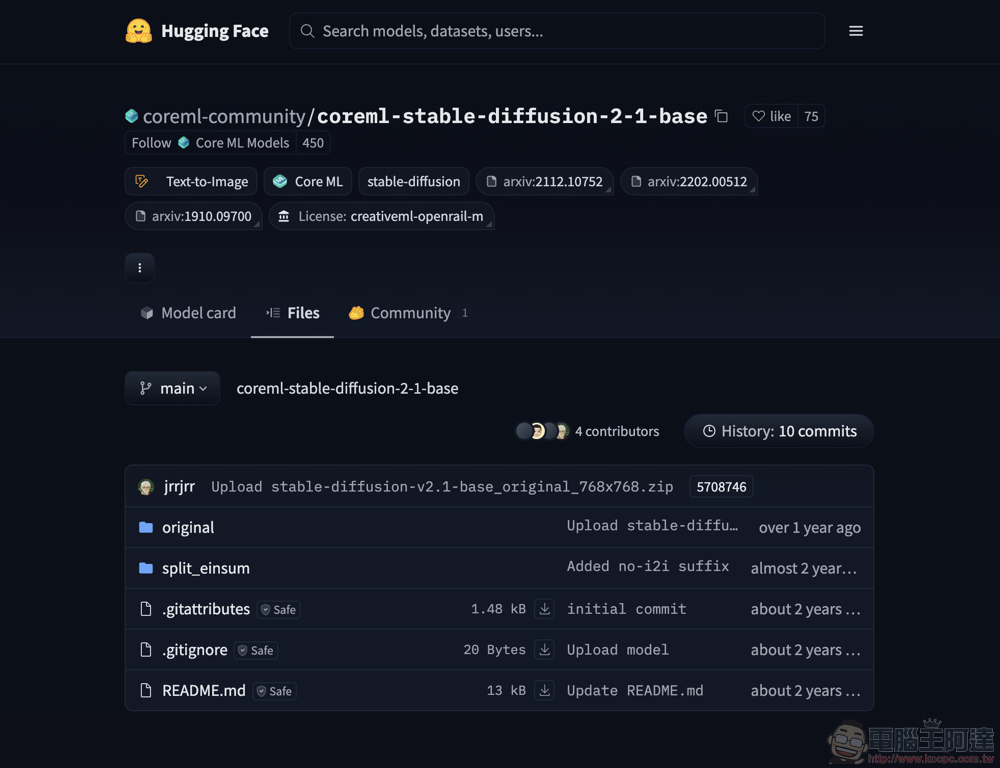
It should be noted that, in addition to being able to configure “ML compute units” in Mochi Diffusion’s settings based on your Mac’s hardware performance, if you have a lower-spec Mac, it is also recommended to download the “split_einsum” model version.
Mochi Diffusion is an app that makes it really easy to get started with various image generation models on Mac. I’d recommend giving it a try!
Further Reading:

Source: KOCPC Chinese