


Whenever you open your Mac and look for any type of file, whether it’s an application, a photo, or a document, Finder will sift through the data on your computer and help you find the file you need immediately. But in order to take full advantage of Finder’s powerful search and built-in features, use it as effectively as possible. Today we have compiled 15 tips for using Finder, including how to use keyboard shortcuts to open specific folders, quickly delete unimportant files, hide annoying sidebars, etc.
You didn’t even know it was so useful! 15 Mac Finder Tips
Set the default folder to appear every time you open the Finder
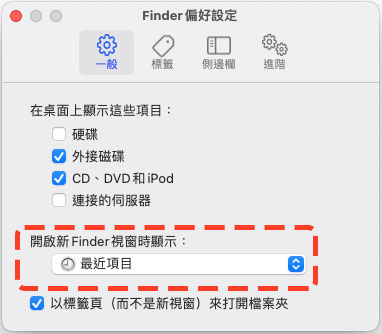
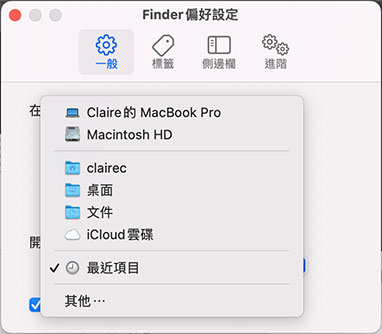
If you have to open a specific folder frequently due to work needs, you can set it as a “default folder” so that it will open the specified default folder for you every time you open Finder. After opening Finder, click Preferences in the upper right corner of the screen, and select the specified data box from the drop-down menu of “Show when opening new Finder windows” in the “General” tab.
Automatically empty trash can
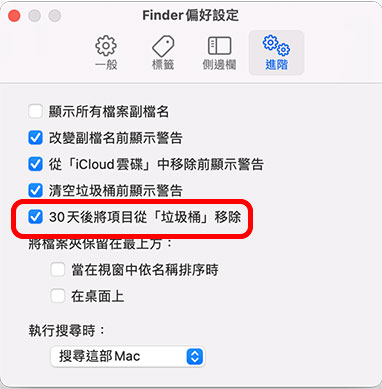
If you think that just throwing the document or file into the trash can is the end, you are wrong! If you don’t take another action to empty the trash, those files that are no longer needed will continue to occupy the storage space in your computer. You can open Finder, click Preferences in the upper right corner of the screen, and check the checkbox in front of “Remove items from Trash after 30 days” in the “Advanced” tab. After this setting is completed, as long as you throw the files into the trash in the future, these files will be automatically cleaned up after 30 days.
Use shortcut keys to open new Finder windows or tabs
If you need to open a new Finder window or tab, you might previously right-click the Finder icon to add a new window, but as you get more advanced you can use more advanced methods. When you want to open a new Finder window, you can press “Command + N”; if you want to open a new tab in the same Finder window, you can press “Command + T”.
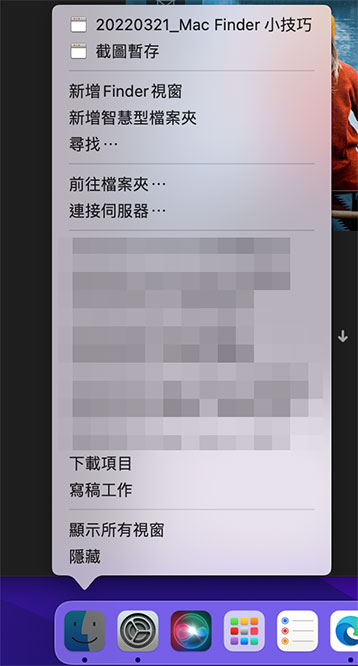
Use shortcut keys to open specific folders directly in Finder
In the past, if you wanted to open a specific data box, you had to slowly click in it layer by layer. However, as an experienced user with a different approach, you can use a faster method to open a specific data box after opening the Finder. I will sort out the shortcut key combinations below. (Remember to open a Finder folder first)
| Shortcut key combination | effect |
| Command + Shift + C | Open the top-level computer folder |
| Command + Shift + D | Go to the Desktop folder |
| Command + Shift + F | Open the Recent Projects folder |
| Command + Shift + G | Open the “Go to Box” window |
| Command + Shift + H | Open the login account’s main data box |
| Command + Shift + I | Open iCloud Drive folder |
| Command + Shift + O | Open the Documents folder |
| Command + Shift + R | Open the AirDrop folder |
| Command + Shift + U | Open the Utilities data box |
| Command + Option + L | Open the Download Items box |
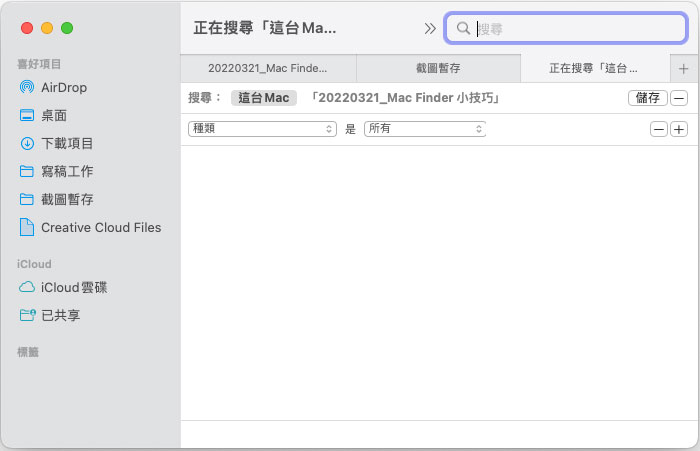
Quick search in Finder
Although you can directly click the magnifying glass icon in the upper right corner of any Finder window to search for files in a folder, you can also use the keyboard shortcut Command + F to search directly in an open Finder folder.
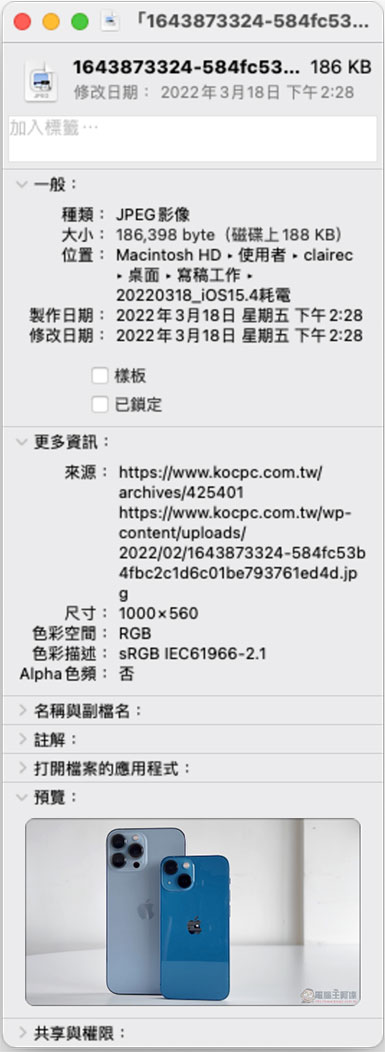
Get file or folder information in Finder
If you need to check more information about a file or folder, such as file type, folder size, creation date or last modification time, you can press “Command + I” in Finder to open the information panel of any specified file in Finder.
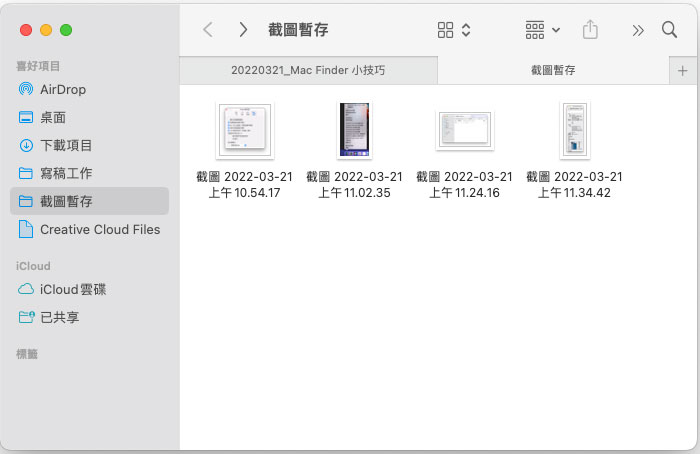
Show or hide the sidebar in Finder
If you want to make full use of the Finder window to view information more clearly, you can use “Command + Option + S” to show or hide the sidebar after opening the Finder. In addition, if you want to add a data box or specific file to the sidebar for easy access, just use “Command + Control + T”.
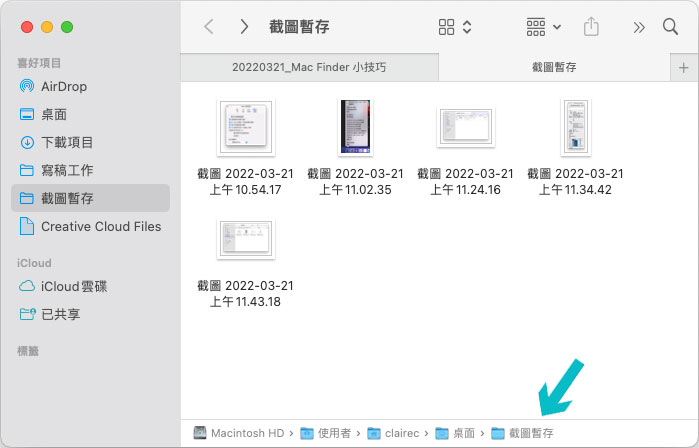
Show or hide archive paths in Finder
In addition to the sidebar, there is another information field in the Finder that you may or may not need at all, and that is the path bar. It is located at the bottom edge of the Finder window. When you point to a file or folder, it shows you the path to the file. If you want to hide or show it, you can press “Command + Option + P” to quickly switch.
Change the Finder’s view
Although you can use your mouse to click on the four buttons in the menu at the top of the Finder window to switch the view display mode of documents and files in the folder, you can also use shortcut keys to handle it without taking your hands off the keyboard:
| Key combination | view type |
| Command + 1 | image |
| Command + 2 | list |
| Command + 3 | straight column |
| Command + 4 | Gallery |
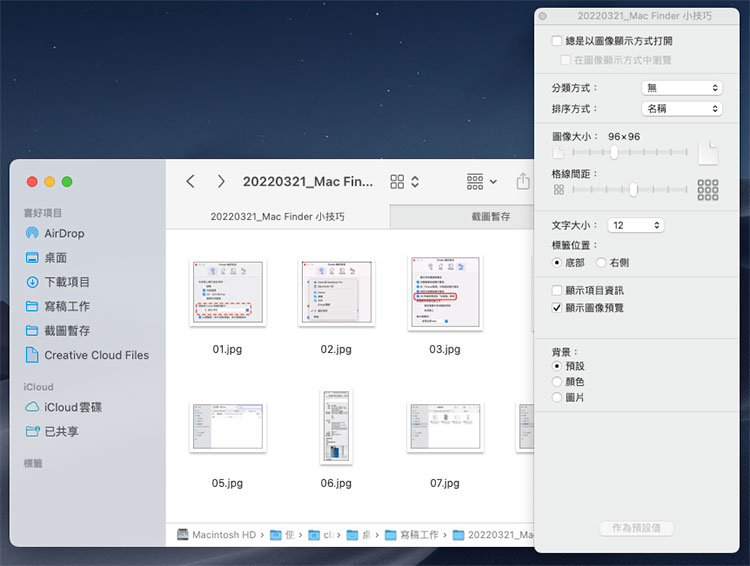
Open the view options panel
If you want to quickly call up the view options panel to make personalized settings for the Finder view, such as larger icon size, arrangement, labeling and other default items, you can press “Command + J” to quickly open the panel.
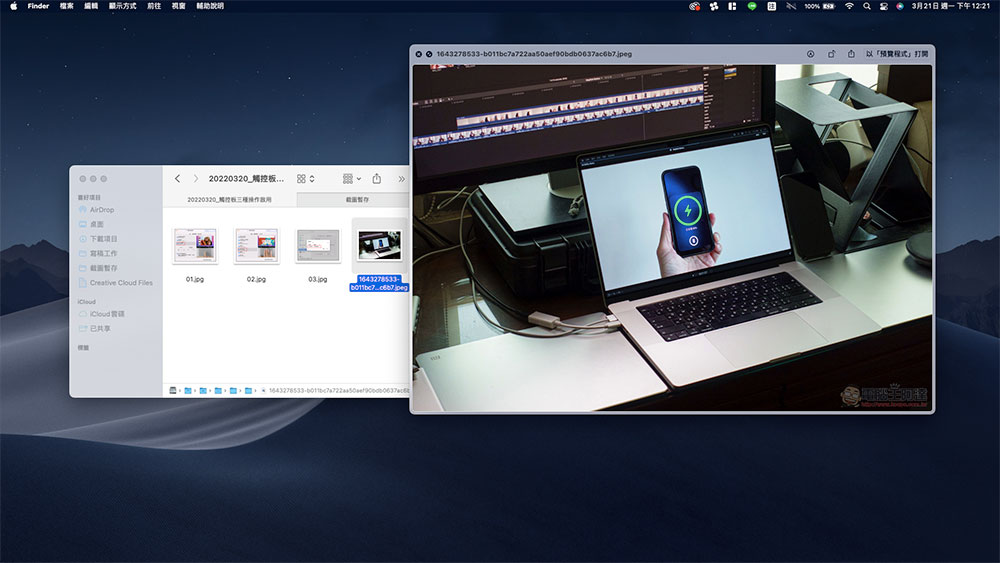
Quickly view files before opening them
Of course, you can double-click the file to view its contents, but you’ll probably want to preview it to make sure it’s exactly what you want before opening it. First click on the file you want to preview, then press the space bar on your keyboard to view the file preview: If you want to view the file in a full-screen slideshow, you can press “Option + Space bar”.
Create new data box
Just like you do on the desktop, you can create a new folder in the Finder by pressing Command + Shift + N.
Quickly recycle files or folders
In the past, when you wanted to delete a file, you would drag the file to the trash can, but you can directly select the file or folder you want to delete in the Finder, and then press the key combination “Command + Delete”; if you want to empty the trash can, you can press “Command + Shift + Delete” in the Finder window of the trash can.
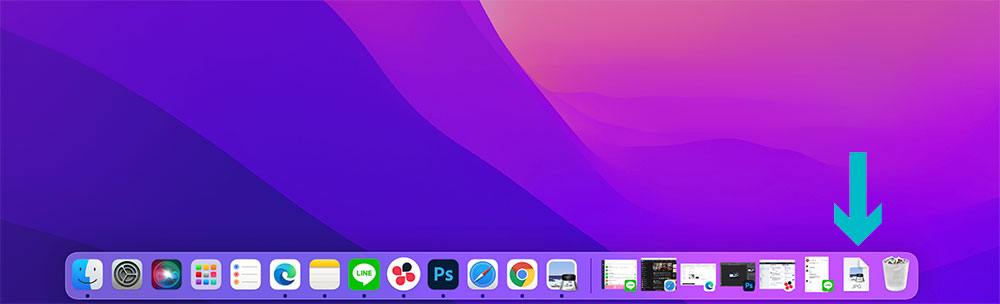
Add files or folders to the Dock
If you want to add a file or data box to the Dock for quick access, you can press “Command + Control + Shift + T” to put the file on the rightmost position of the Dock.
Customize the Finder toolbar
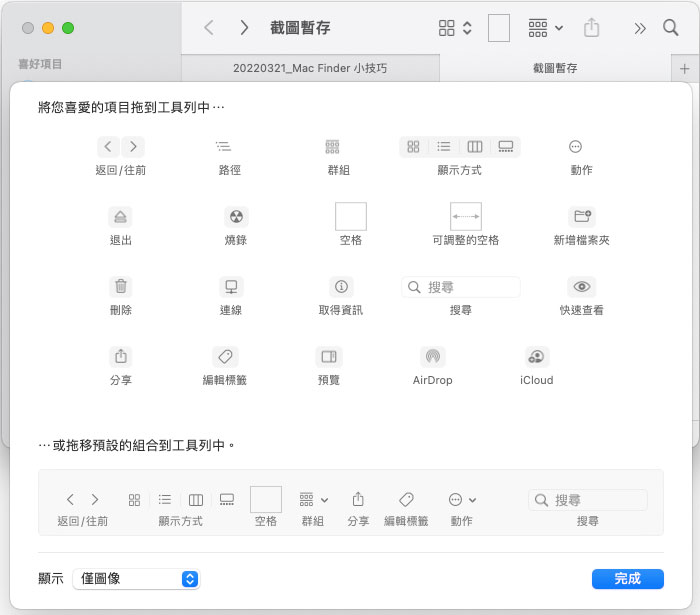
You can open Finder, then click “Display as” from the menu at the top of the screen to enter “Customize Toolbar”, drag buttons to the toolbar at the top of Finder, or drag buttons from there to adjust the order. If you find you don’t like the changes you’ve made, just drag the default settings back into the Finder to start over from scratch.
Source: KOCPC Chinese