


Although Chromebooks are also available in Taiwan, they are still not as popular abroad. However, I believe that many people are still interested in Chrome OS, but they are just afraid that buying one will not meet their needs. If this is you, or you want to try it out and see how it works, you can actually install a Chrome OS virtual machine in Windows 10, and the method is super simple. Even people who are not familiar with computers can easily play Chrome OS for free as long as they follow this step-by-step tutorial.
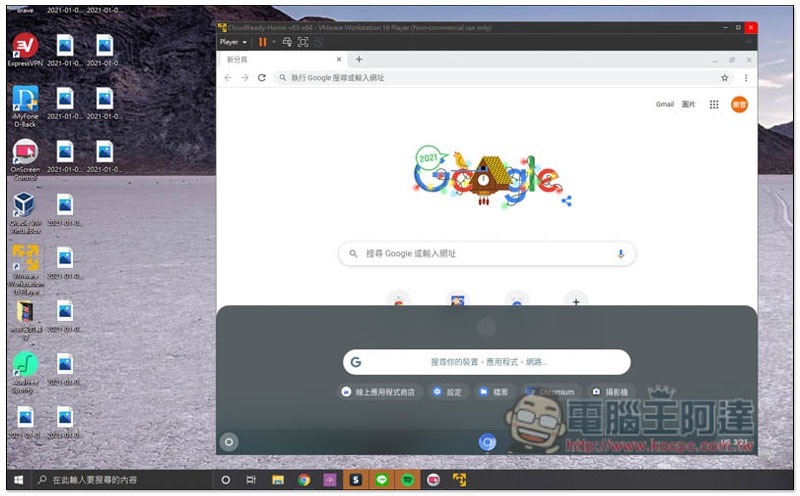
How to install a Chrome OS virtual machine in Windows 10?
To install a Chrome OS virtual machine on Windows 10, you need two files, namely:
- VMware Workstation 16 Player
- CloudReady Image For VMware
Both are completely free, so there are no fees to pay. In addition, you can also choose VirtualBox for the virtual machine part. It depends on which one you are used to. However, I have not tested VirtualBox. I am not sure whether there will be any problems in running it. The following will use VMware as a teaching example.
Download files and install virtual machine software
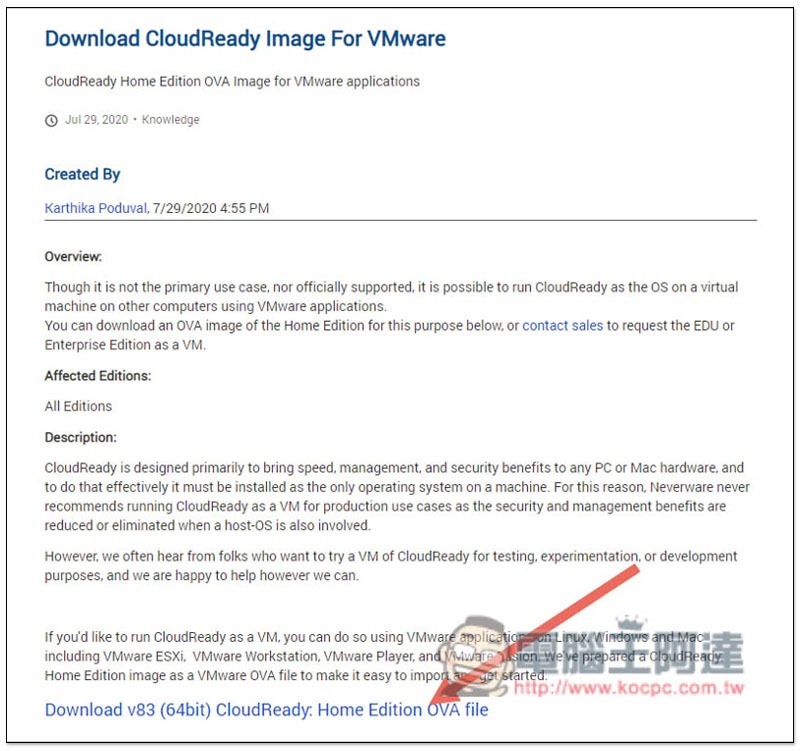
first to CloudReady website download CloudReady Image For VMware, this is the file of the Chrome OS virtual machine, the current version is v83, click Download v83 (64bit) CloudReady: Home Edition OVA file below, it is about 2.x GB, the file is quite large:
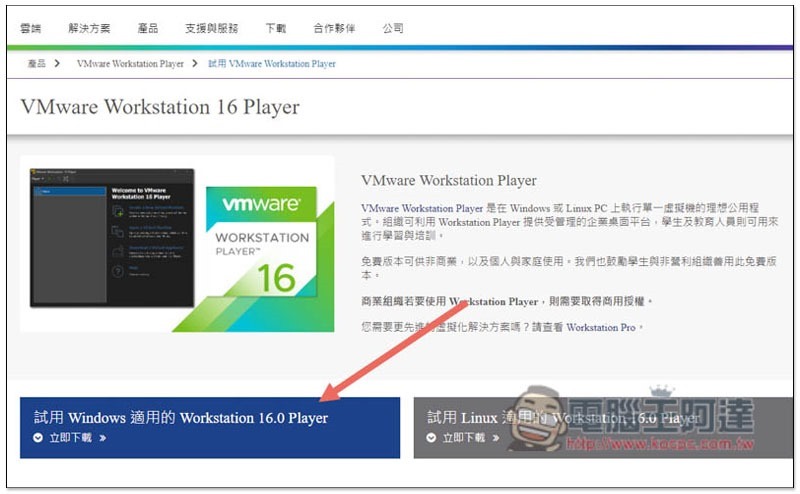
Then come VMware Download VMware Workstation 16 Player, completely free for personal use:
During the VMware installation process, just keep pressing Next. There is no need to change any settings unless there is any special need.
Import Chrome OS virtual machine files
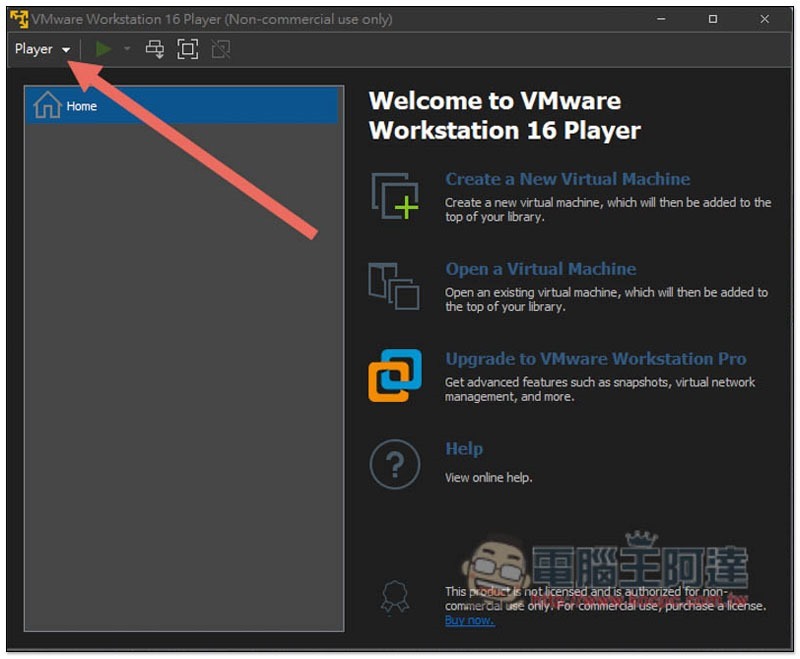
After VMware is installed, open it and click the Player option in the upper left corner:
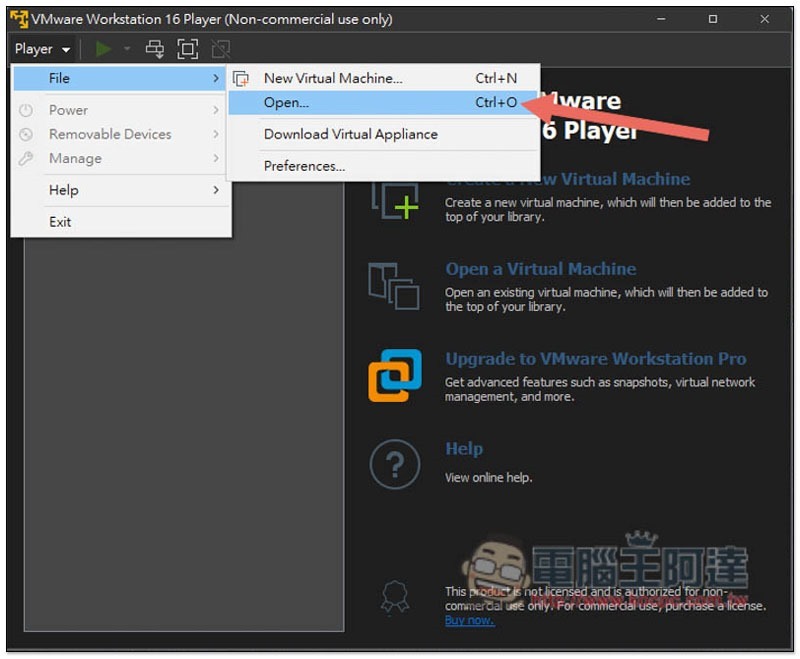
Select File –> Open to open the file. You can also press the Ctrl+O shortcut key directly:
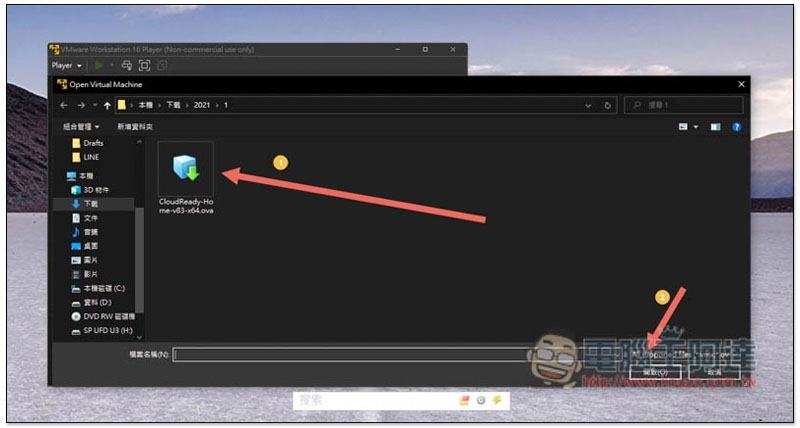
Find the CloudReady Image For VMware file you just downloaded. The attachment is named ova, and then click on the lower right corner to open it:
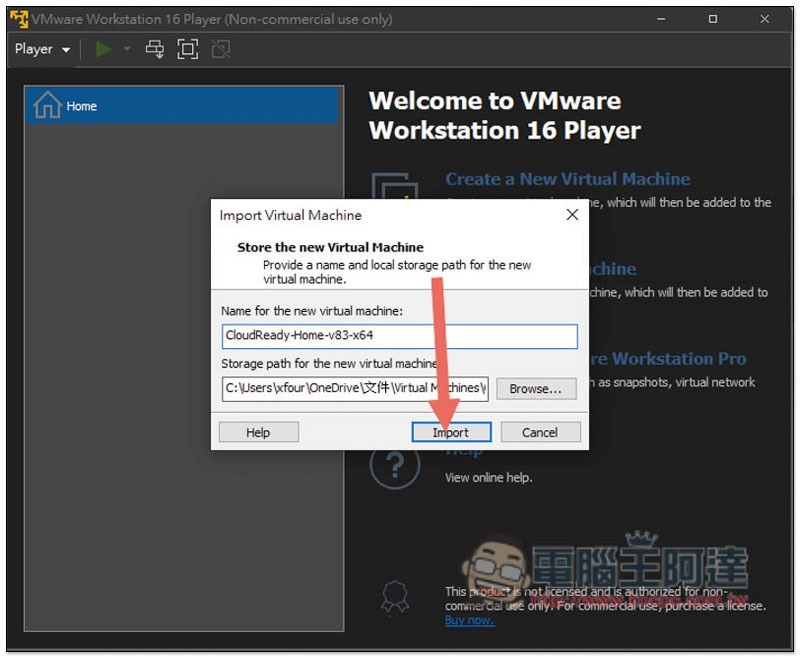
Click “Import” to import:
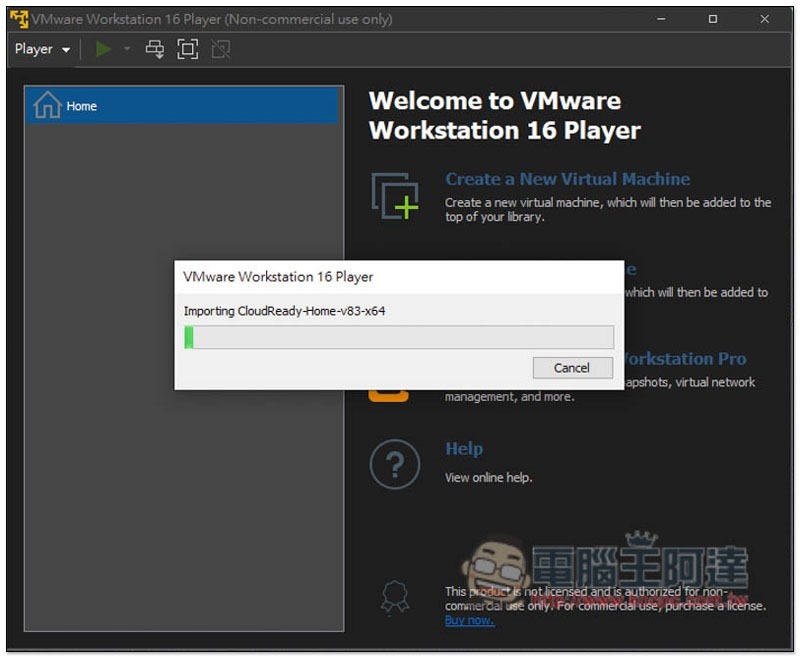
Wait about 1 minute for the import to complete:
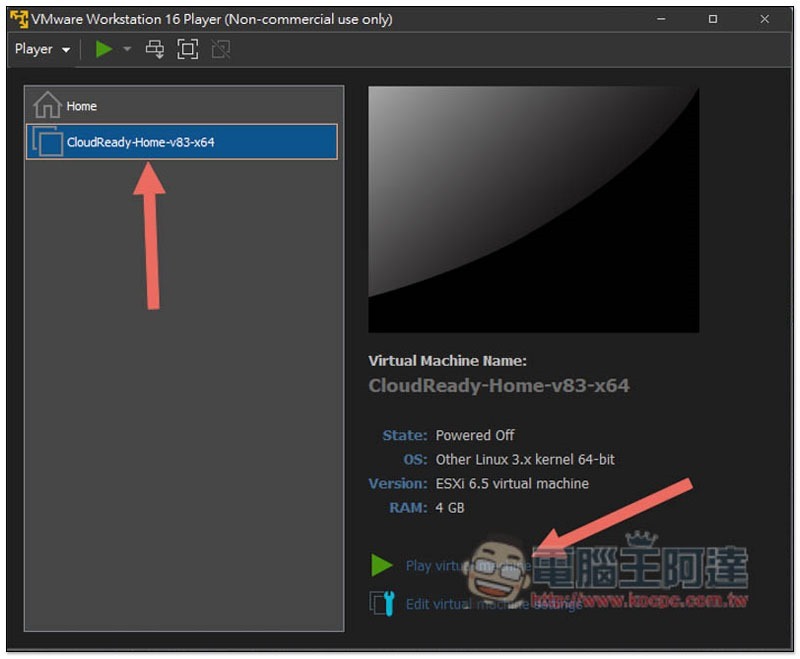
Then in the list on the left, you will see the Chrome OS virtual machine (CloudReady-Home-v83-x64). Click the play icon above or Play virtual machine on the lower right to start:
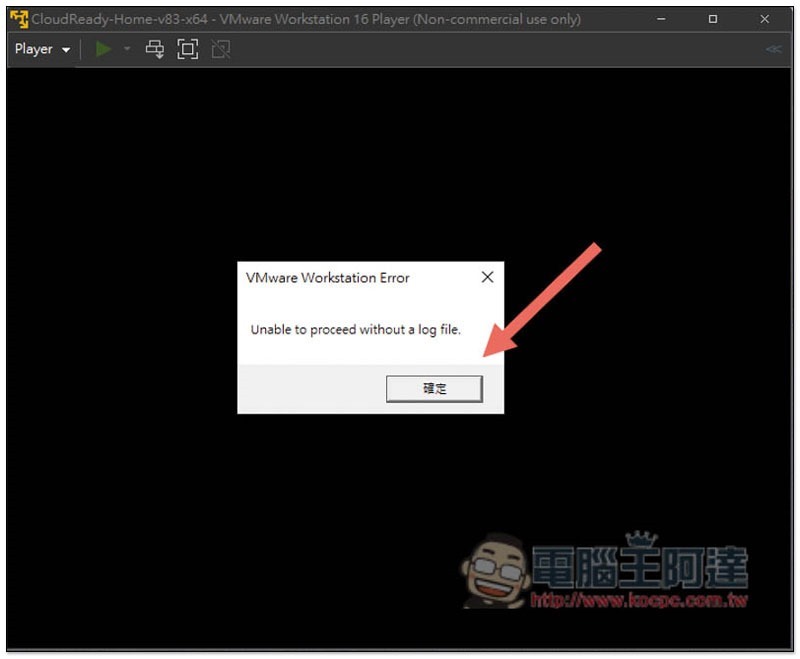
This error message will pop up, but it will not affect subsequent use. Click OK:
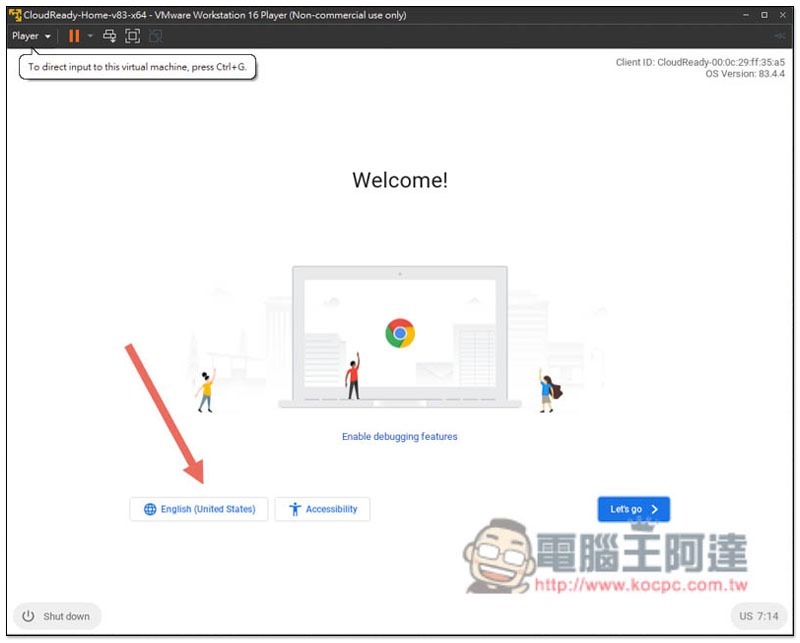
You will then enter the Chrome OS settings screen. The default setting is English. If you want to change it to Chinese, please click English below:
Set up Chrome OS
After clicking on the language, you can find Chinese (Traditional), and then press OK:
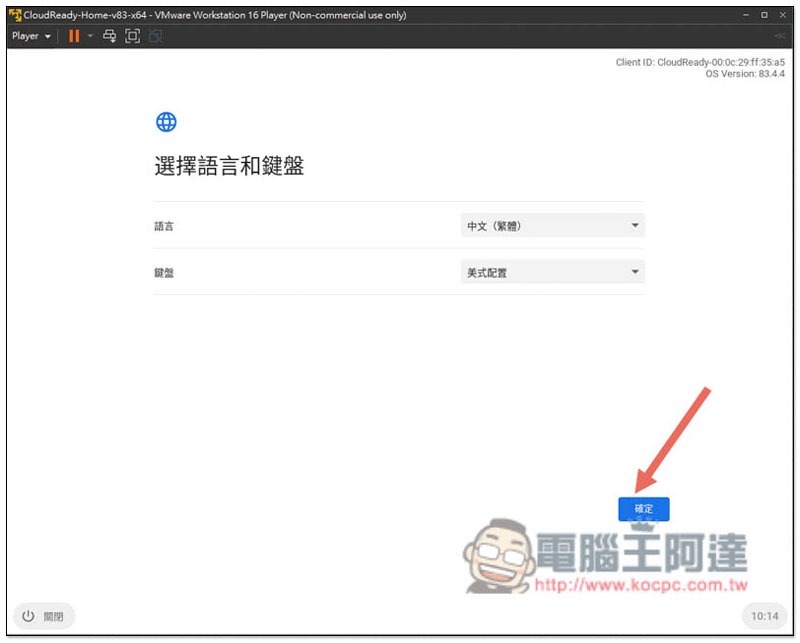
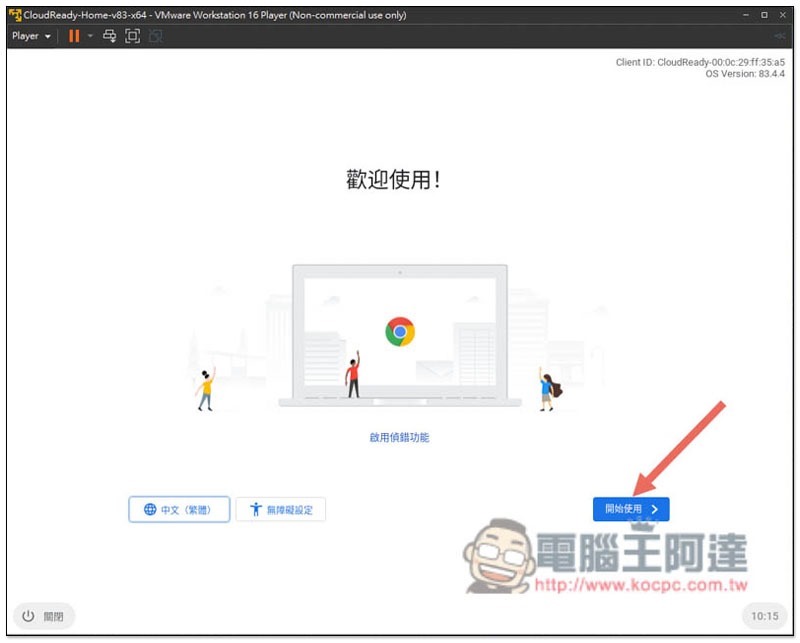
The interface will become Chinese! Click to get started:
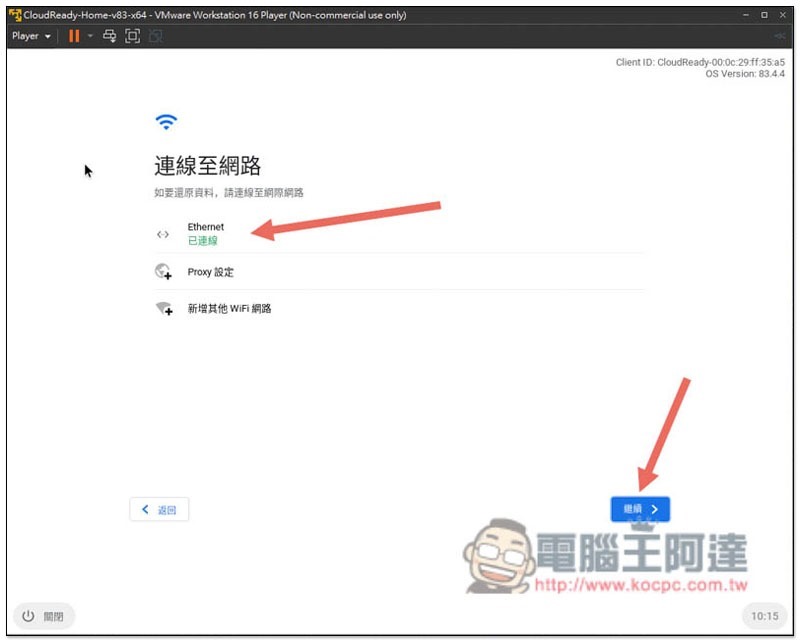
Connect to the network settings section. Basically, wait for a few seconds and it should turn into green “Connected”. If it still displays gray after waiting for a long time, it means there may be a problem with the network settings section:
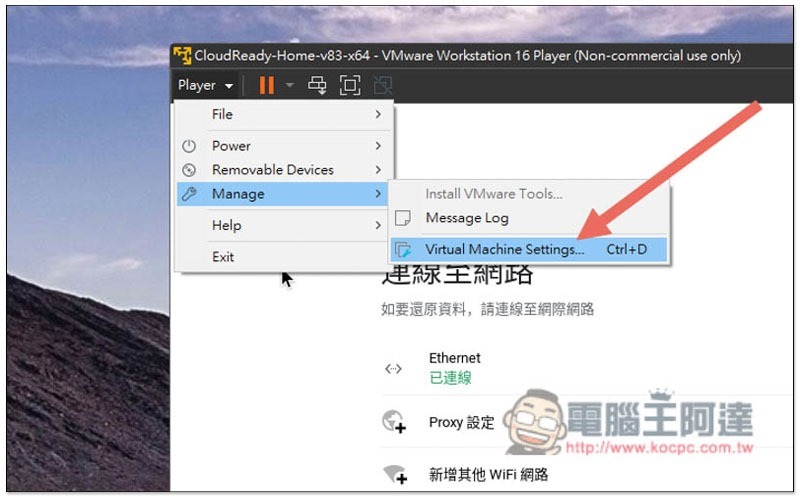
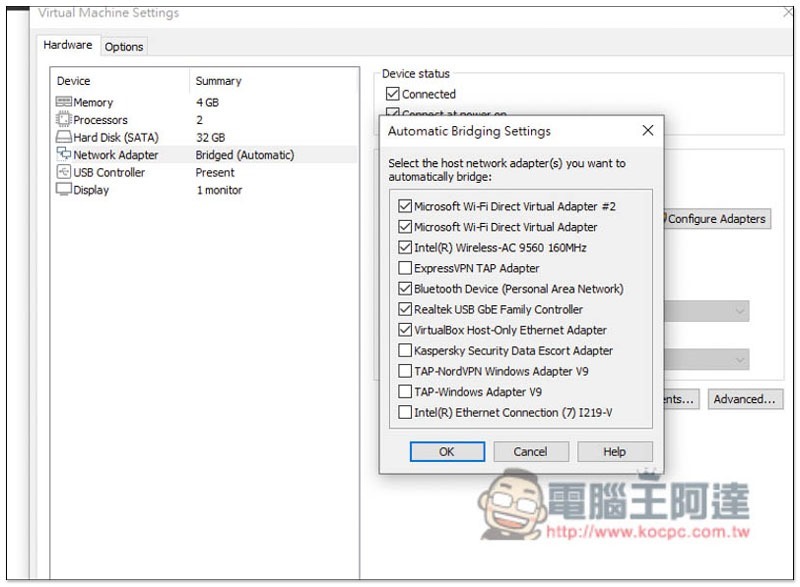
At this time, please open the Player menu in the upper left corner and go to Manage –> Virtual Machine Settings:
Click Configure Adapters in Network, Adapter:
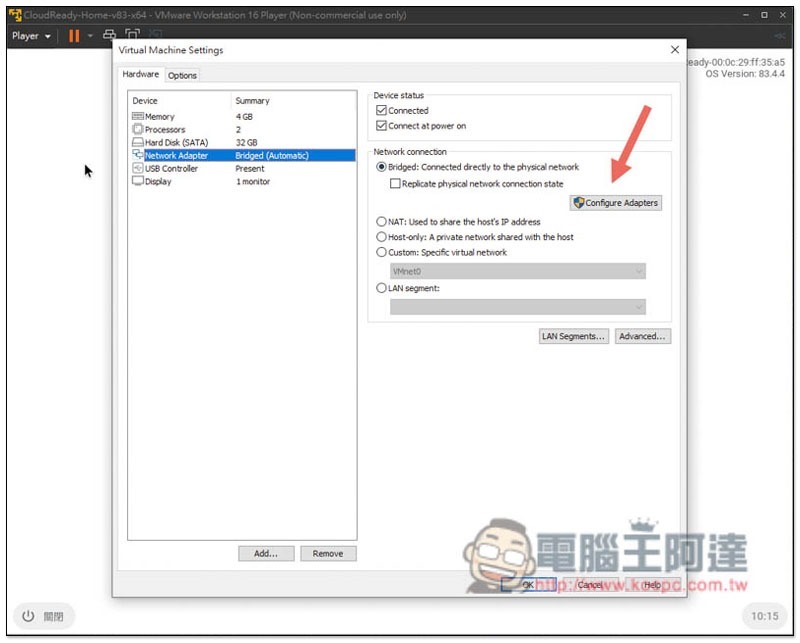
Try unchecking the ones you think are useless, and then go back and test to see if the network is connected:
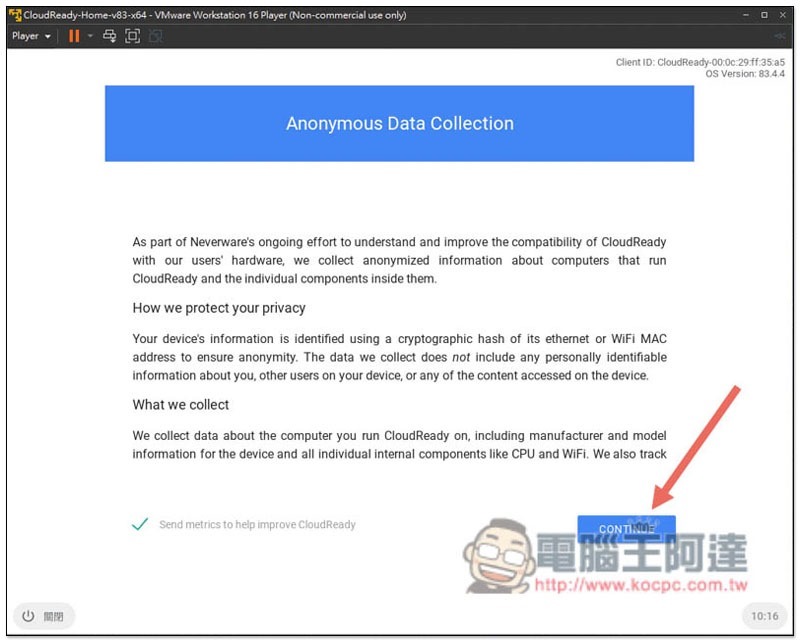
After the network is set up, in the next step, some instructions for data collection will be displayed. If there is no problem, press CONTINUE:
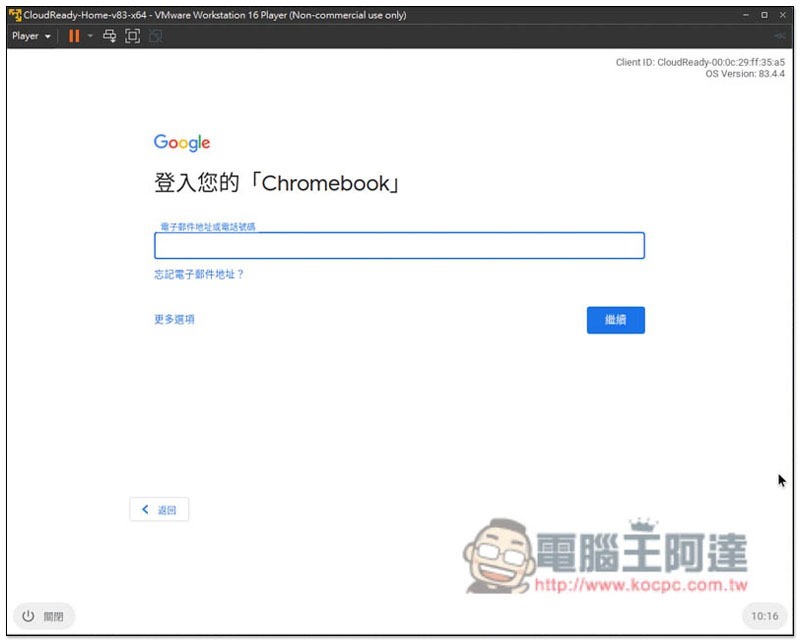
Enter your Google Account:
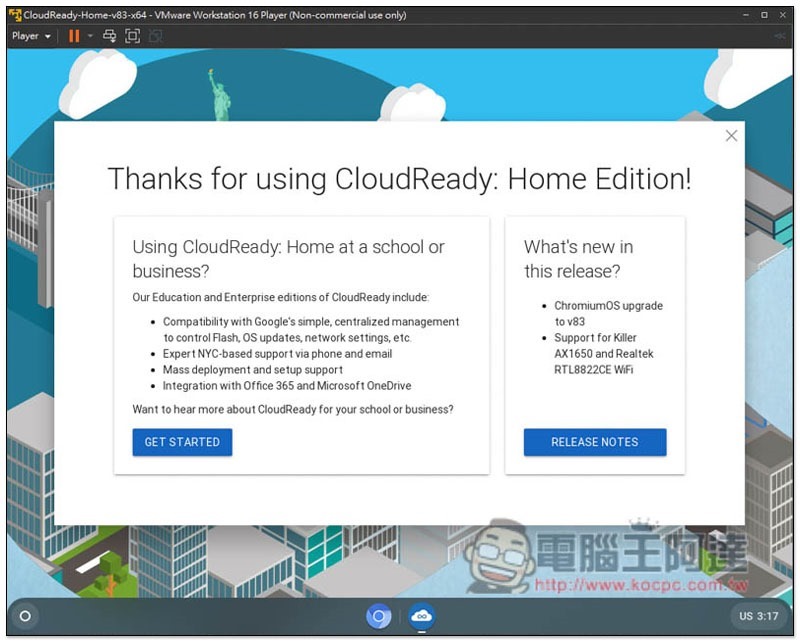
You will enter the Chrome OS screen! You are ready to start using it. However, one thing to note is that because it is a virtual machine version, Android App cannot be installed, and there is no Google Play, but plug-ins from the Chrome extension store are fine:
Summarize
For those who are interested in Chromebooks, it is highly recommended to try this virtual machine first and see if you are used to the operation before making a decision. I think it is quite different from Windows, but the speed is really smooth.
Source: KOCPC Chinese