


Presumably many video creators will inevitably accidentally capture other passers-by in the frame when shooting Vlog and other life documentary videos. In order to ensure the privacy of others and allow the audience to focus more on the protagonist, it is a good method to code the face during film editing. However, for many editing beginners, it is much more difficult to code dynamic faces than static photos. This time I will share how to quickly complete the work directly using the YouTube Studio backend without using professional editing software.
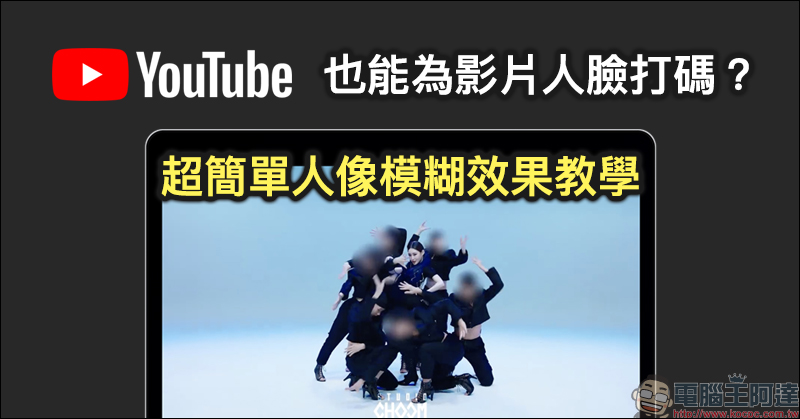
Can YouTube also code faces in videos? Super simple portrait blur effect tutorial
In addition to the rich sound effects library available in the YouTube Studio backend. In fact, the built-in blur effect editing function allows creators who need to blur faces to quickly complete the face coding work. If there is other video editing work to be done later, it is recommended to upload the video to YouTube first and select “Private” permission, then complete the face coding and then download the video to the computer to complete further video editing.
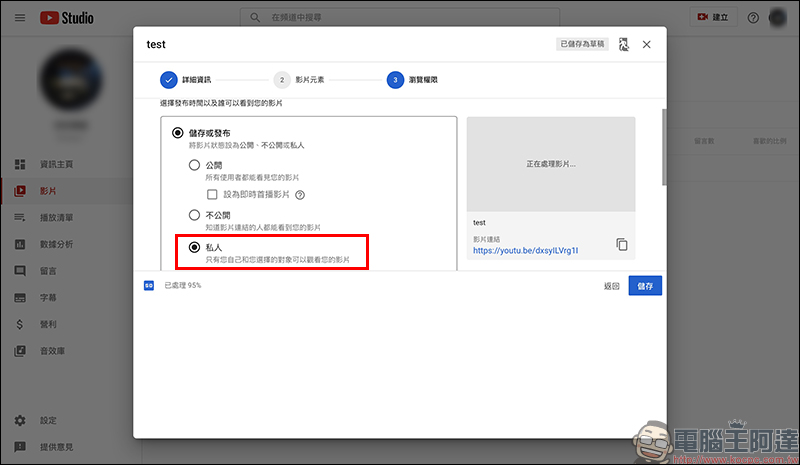
After uploading the video, click on the video from the YouTube Studio backend to enter the video details page, and then select “Editor” on the left side of the screen: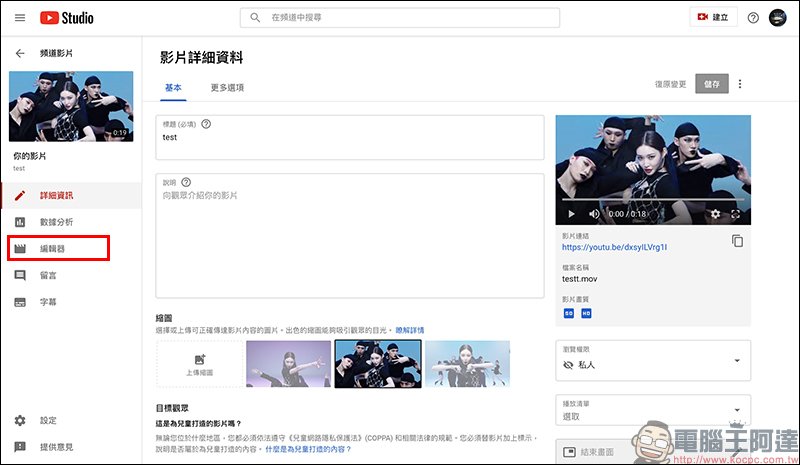
After entering the editor page, in addition to a simple video editing tool displayed on the screen, you can click “Add Blur Effect” at the bottom of the screen. This is the face blur function to be introduced in this article:
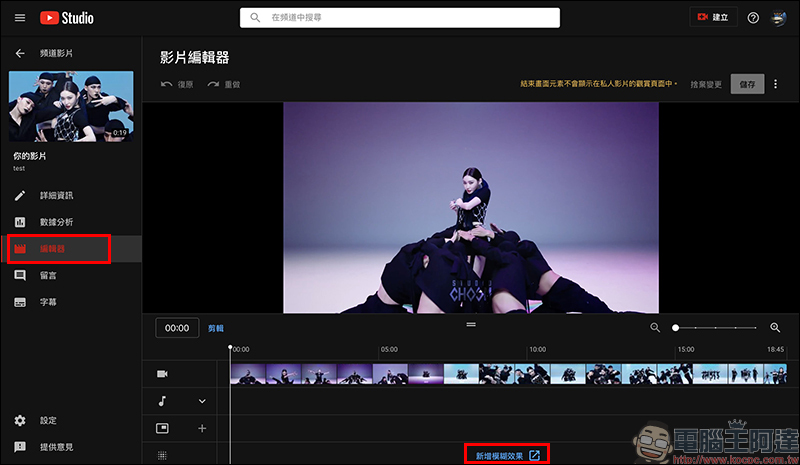
Currently, YouTube supports two blur functions: “Face Blur” and “Custom Blur”. Facial blur processing will first use AI facial recognition to detect the faces appearing in the video for recognition. The custom blur processing allows users to select the area of the screen they want to blur according to the video timeline. Since what we want to share this time is face coding, here we first select “Edit” for face blur processing:
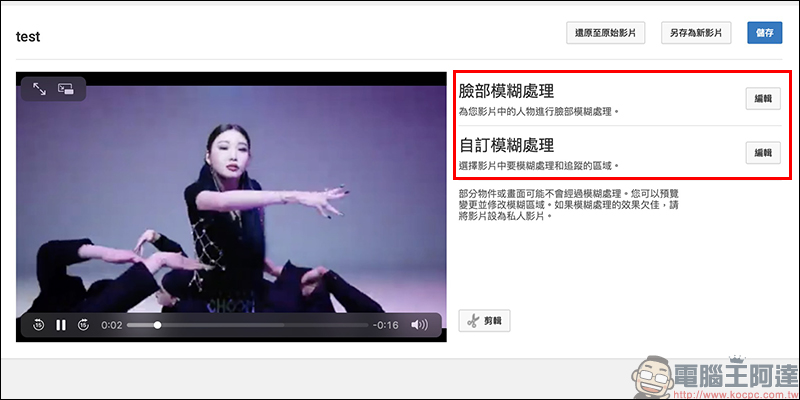
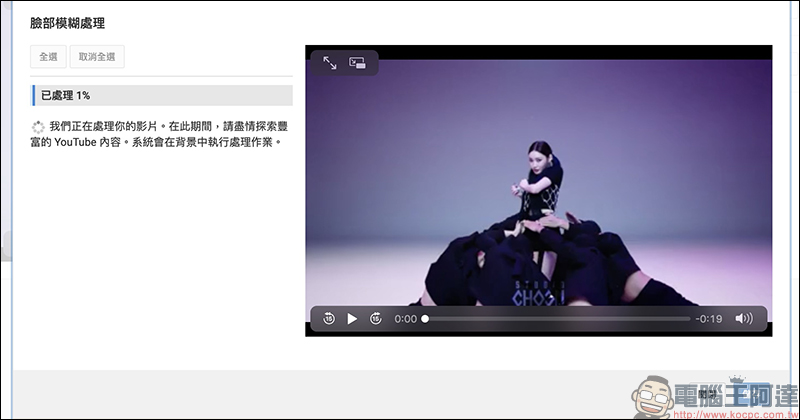
At this time, the system will take some time to analyze the faces appearing in the video. The processing time is also directly related to the length of the video uploaded by the user:
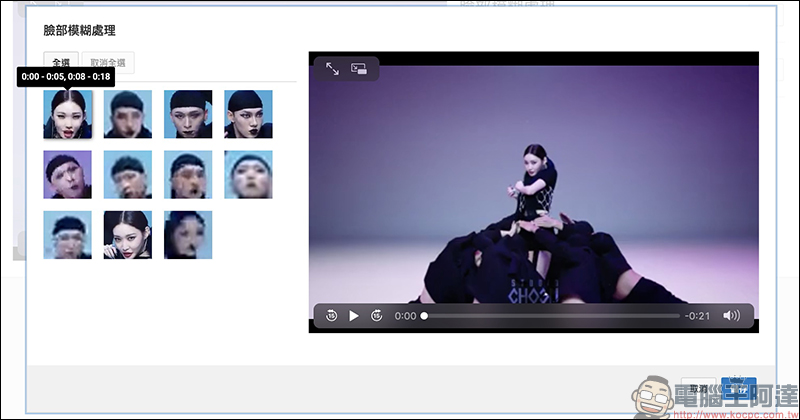
After facial recognition is completed, all the faces appearing in this video will be sorted out. Placing the cursor over the face will display the seconds in which the face appeared. Users can also play the preview video on the right:
To blur faces, just check it and press Save:
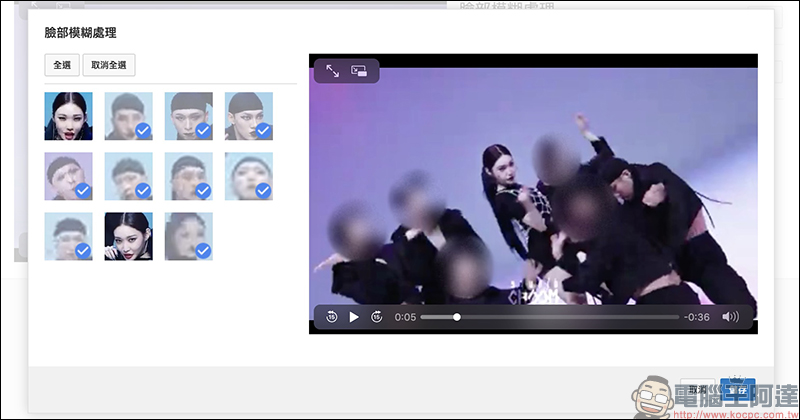
At this time, the screen will return to the main page of the blur effect again. The user can now play the preview screen to check whether there are any omissions in the current face blur processing. After all, the system will inevitably make mistakes:
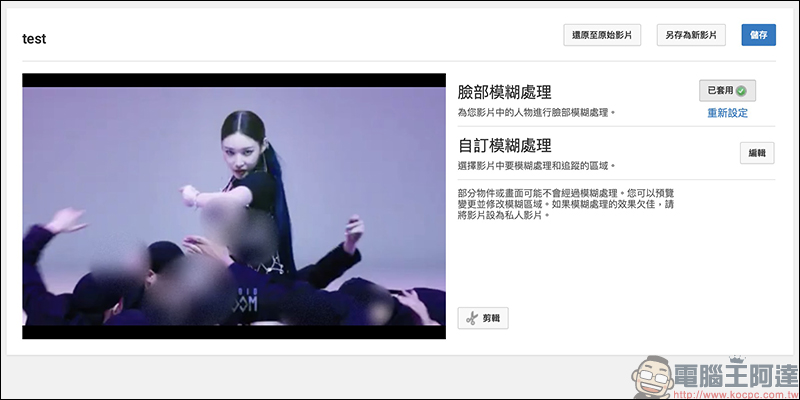
For example, when I previewed the video halfway through, I discovered that a section of faces to be coded had not been processed. At this time we can use “custom blur processing” for the second edit:
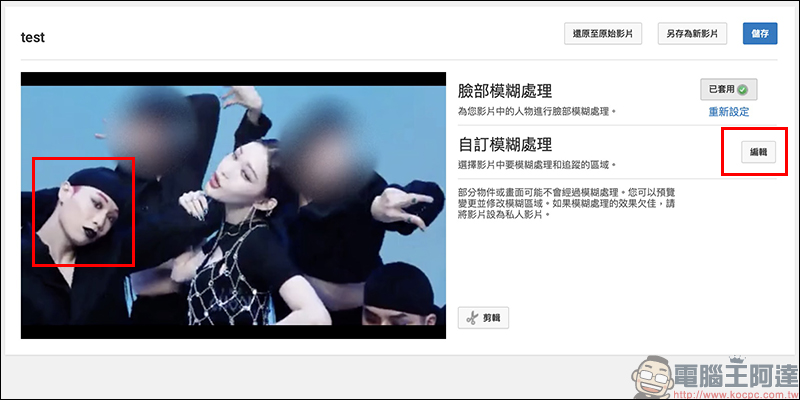
Customizing blur processing is actually quite easy to operate. Users can use the video preview to match the timeline below, and first freely select the area they want to code on the preview screen. Then adjust the time point when the blur processing effect starts below, and you can quickly complete the customized blur effect. Set the blurred area, and even if the face moves on the screen, the blur effect will adjust its position according to the face.
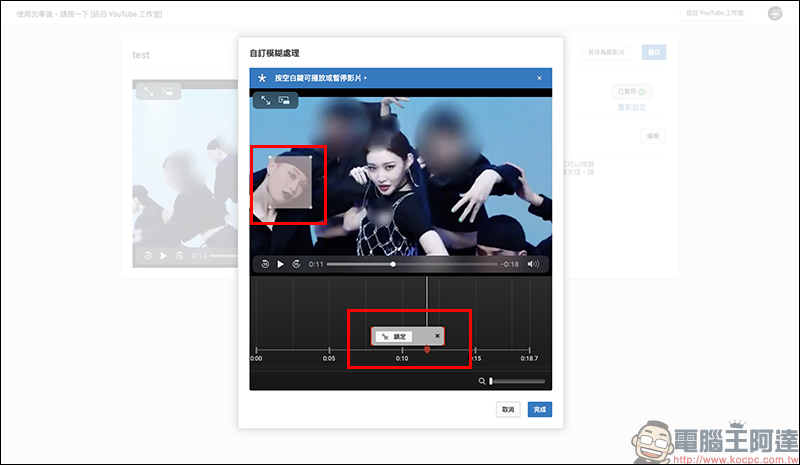
After saving, return to the blur effect main page to preview the video for final confirmation. If there is no problem, press save: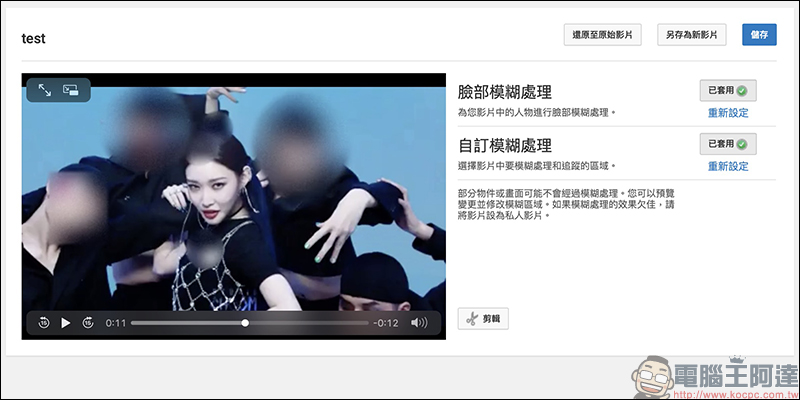
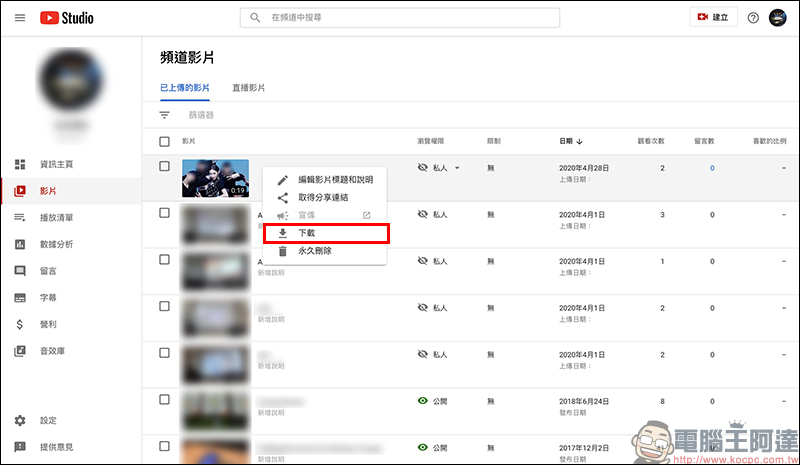
Then you need to wait for a period of time for the system to process the video. After the processing is completed, the user can see that the video preview has been updated in the background to have coding status. At this time, just click “Download” to save the video to the computer!
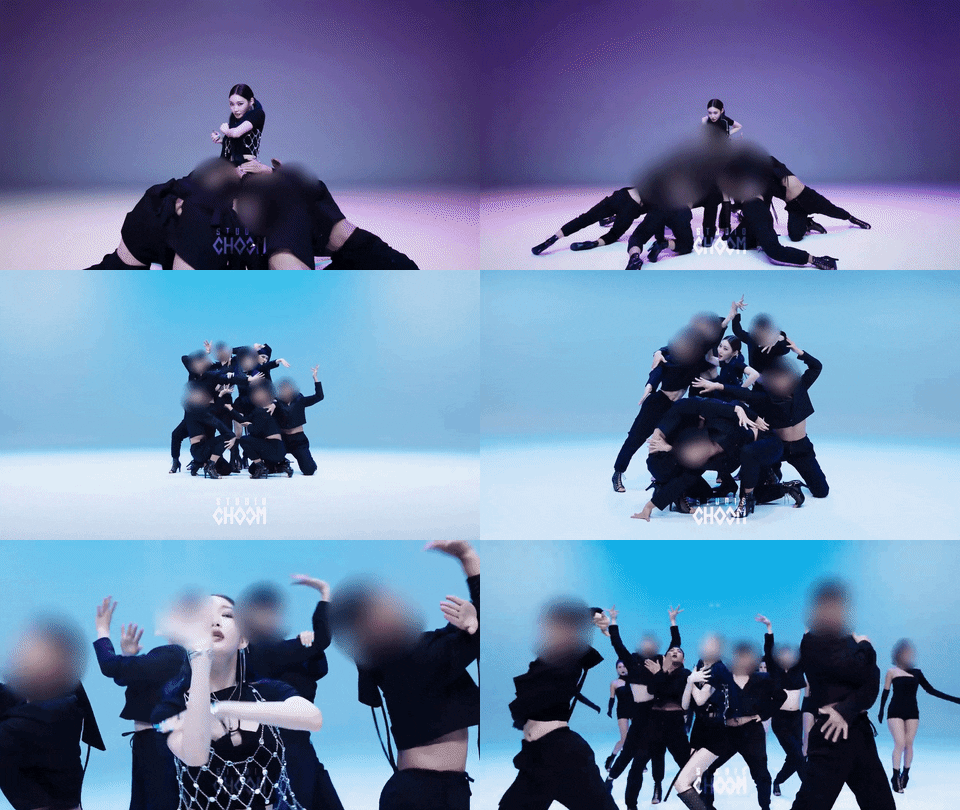
Finally, let’s take a look at the author’s results using YouTube to blur faces!
Further reading:
YouTube launches video chapter feature to help users quickly jump to important paragraphs to play videos
Source: KOCPC Chinese