


If you are filming, generally speaking, you either use PowerDirector or Adobe Premiere to edit. The former is more intuitive and simple and is mostly used by beginners. Premiere is more professional and used by many people, but Premiere It consumes more computer resources and has higher hardware requirements. If your computer level is relatively low, it will not work well when editing high-quality videos. Not to mention that more and more people are shooting in 4K quality, which will make the editing very uneven or the audio and video out of sync. This article will teach you a little trick so that you can edit the video smoothly without a high-end computer (but the output is still slow XDDD, you can only change the computer).
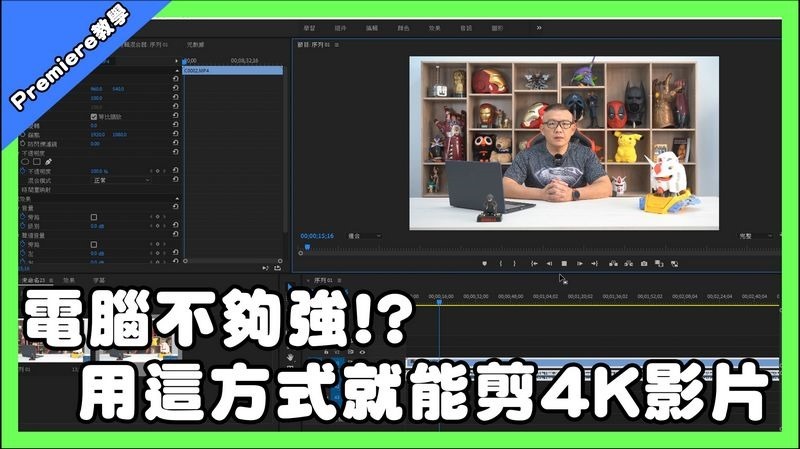
“Adobe Premiere Tutorial” allows mid- to low-end computers to smoothly cut 4K quality videos
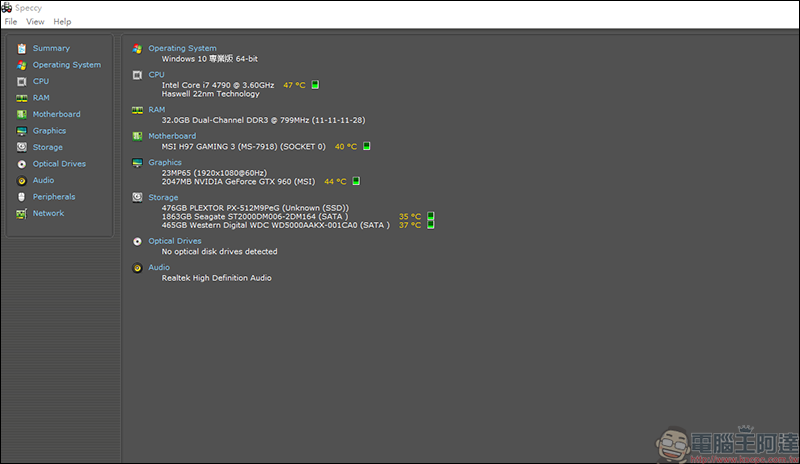
First of all, attach the configuration diagram. Before this, my CPU was still an i5-4460. I was watching slow-motion pictures. Although I accidentally picked up an i7-4790, such a CPU is still very difficult to edit 4k videos. Even if your memory and graphics card are the same, the most important thing when editing is the CPU:
Without further ado, first open your Premiere:
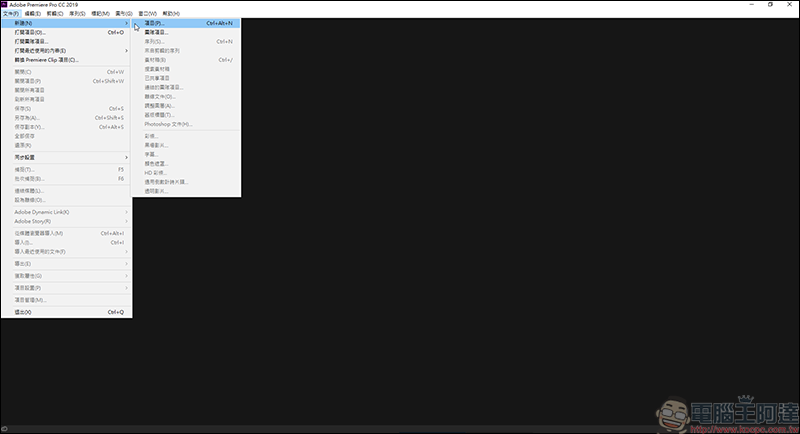
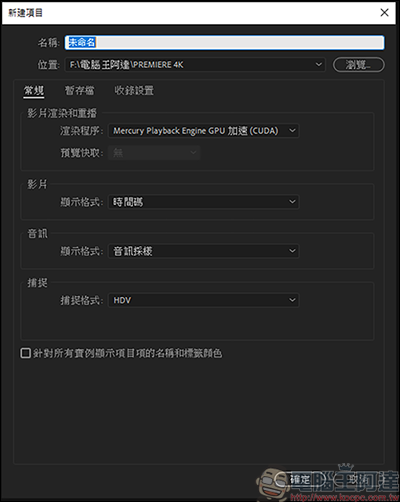
Then open a new project:
Don’t rush to confirm, click “Inclusion Settings” here first (Ps. The author has Pre Chinese culture):
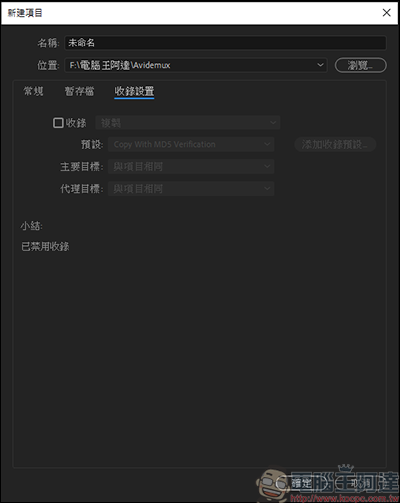
Then click on Include and change the option to Create Proxy, which means to convert the original video into a small file for editing:
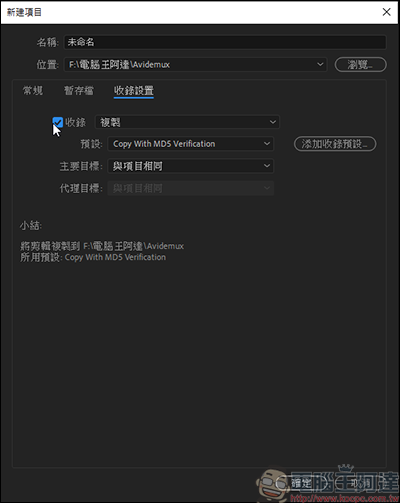
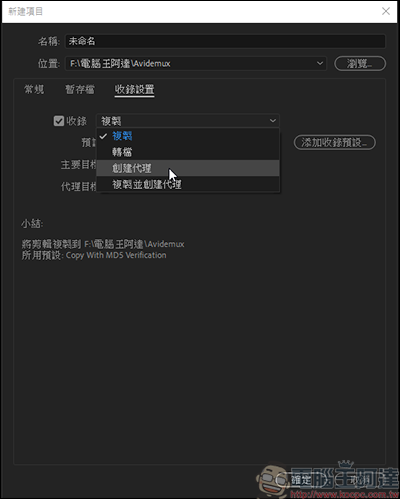
On the preset side, if it is a 4K video, it is recommended to convert it to 1280*720 size, because when making a 1080P video, a video of this size will just fit the screen you preview:
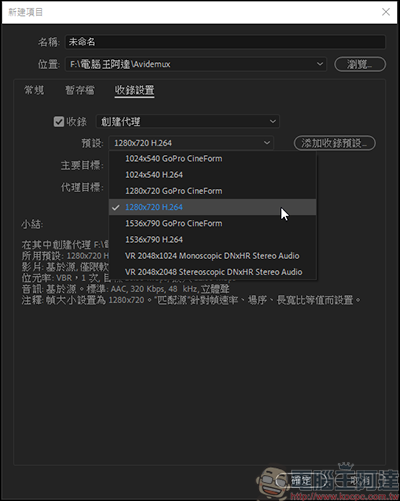
After everything is done, click OK to create the project and enter Pre:
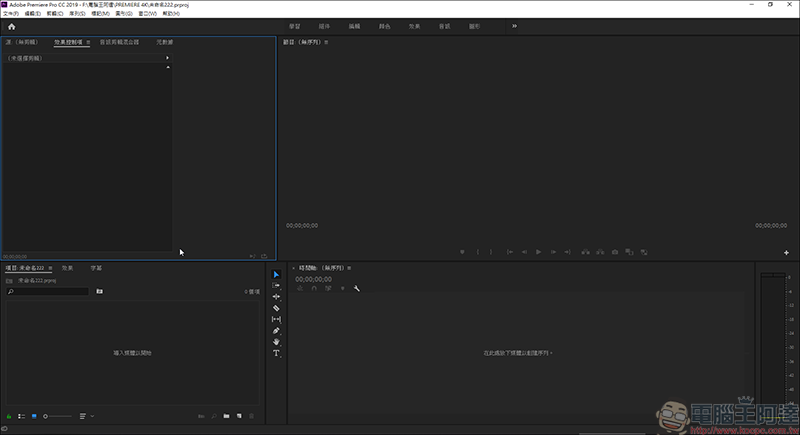
Then throw the 4K video you want to edit into the Pre, and you will see the Media Encoder software automatically run out:
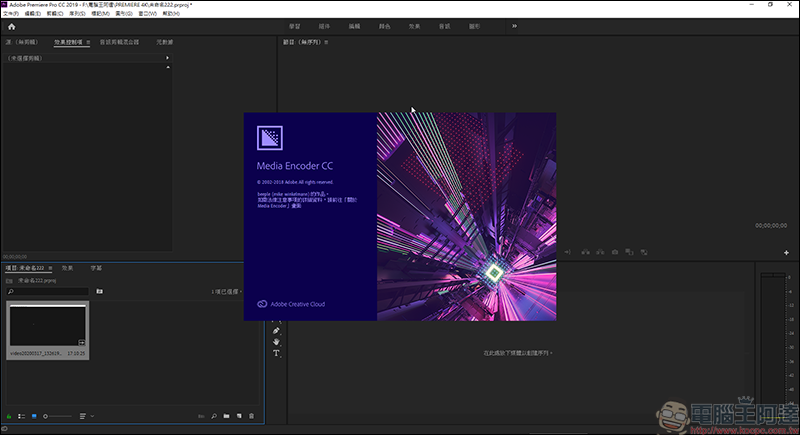
Media Encoder will convert movies according to the created proxy size you just set. You can drop a large number of videos into Pre at one time and let it convert them at once. Remember, as long as you open this Pre project for editing, Media Encoder will be opened once as long as you drop in a new video or gif:
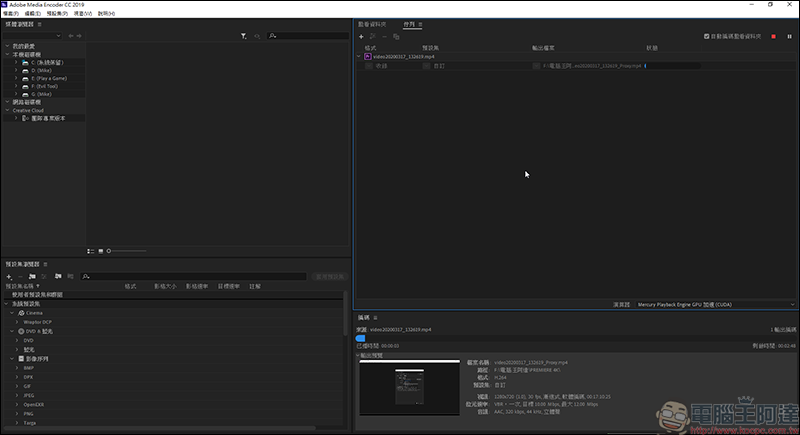
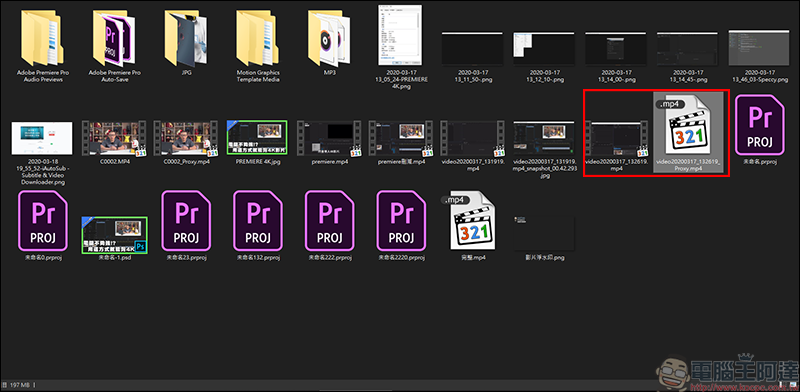
The converted file will appear in the original folder, with multiple Proxy words at the end:
Do you think this will work? Of course not yet, there is a “+” below the screen preview:
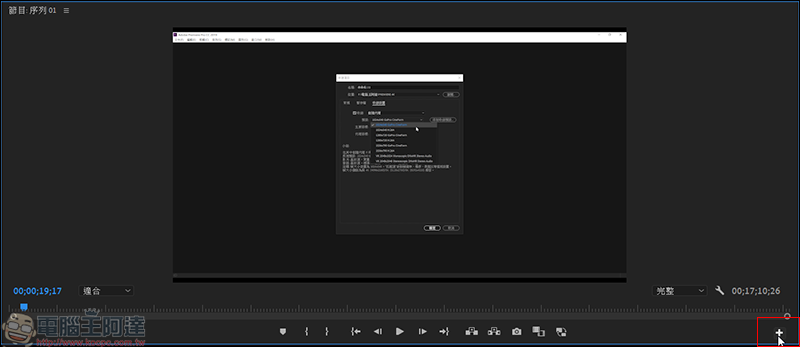
After clicking on it, there is a “Switch Proxy” function. You can drag it into the commonly used clean. The “Switch Proxy” function is that when you press it, you are editing the video using the video after you created the proxy. When you press Close, you are using the 4K video for editing, which is a quick switching function. After you finish the video, you don’t need to turn it off, because in the process of outputting the video, the original 4K video is used for transfer output: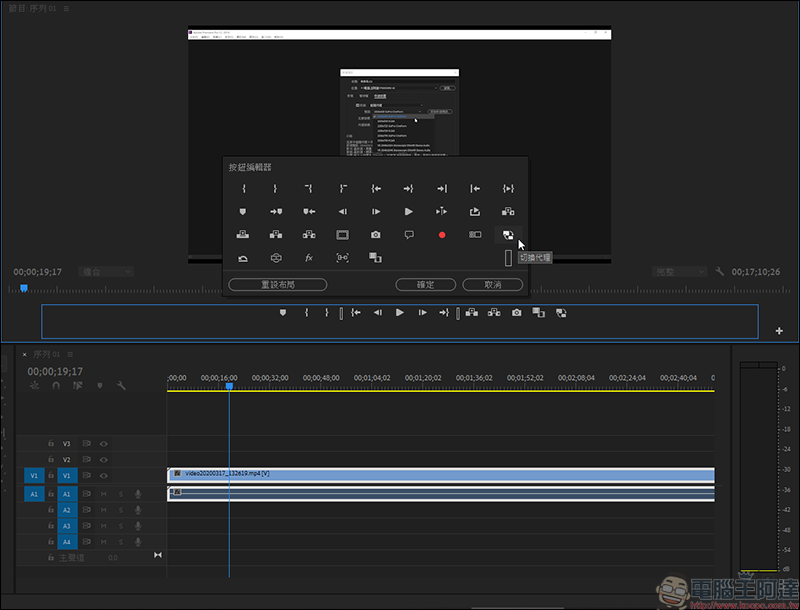
The picture and text teaching is over! If you are still a little unclear, we have a production video to explain it directly. Watch the teaching video directly:
If you have learned some new tricks after reading this article, welcomeSubscribe to Computer King Ada audio and video channel, absorb the latest unboxing and teaching information at any time.
Source: KOCPC Chinese