


Because of my work, I often need to test Windows and macOS software, and the computer I mainly use for work is Windows. Therefore, when I want to test macOS software in the past, I always use a MacBook Pro to run. To be honest, it is really troublesome. Recently, I wanted to say that the long-term pain is worse than the short-term pain. I studied how to install the macOS Catalina virtual system on Windows. Unexpectedly, it is quite simple. I have compiled it for you in this article. Both the virtual machine software and the macOS system are completely free, so there is no need to spend any money.
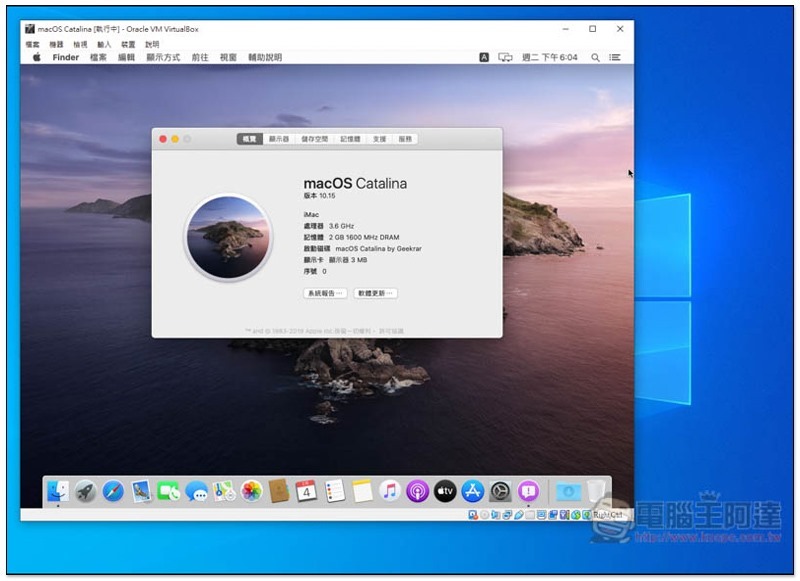
Currently, there are many virtual machine software that can install macOS systems on Windows, such as VMware, VirtualBox, etc. This article will teach you about VirtualBox. The macOS Catalina virtual machine image file used is produced and provided by the foreign Geekrar team.
How to install macOS Catalina virtual machine on Windows through VirtualBox?
1. Install VirtualBox software
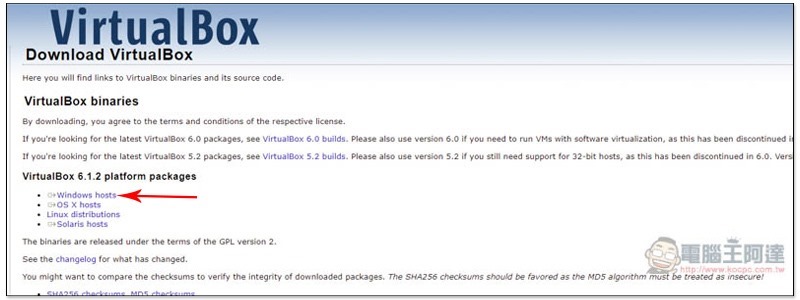
VirtualBox is a completely free virtual machine software, launched by the German InnoTek software company, but now developed by Oracle (so the previous company name is Oracle).After clicking me to enter the official website, download the latest version of the installation file, currently 6.1.2:
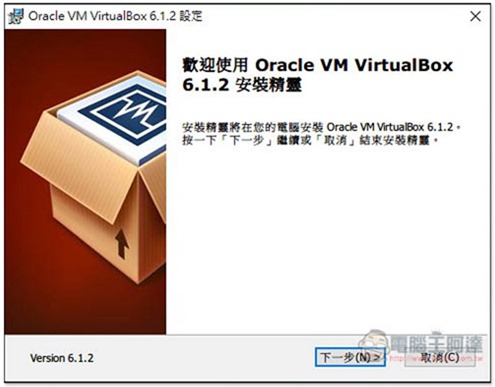
The installation process basically just keeps pressing Next:
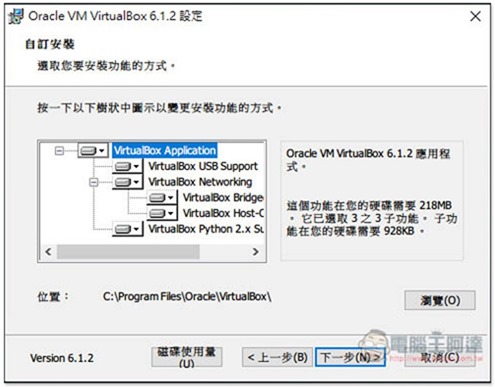
Check the storage location to see if you need to change it. You can click “Disk Usage” in the lower left corner to check the remaining space of each hard drive on your current computer. If there is no problem, click Next:
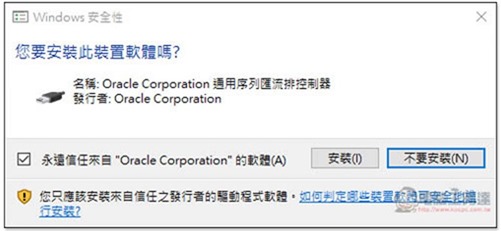
This screen will pop up during the process, click Install, and you’re done:
2. Set up macOS Catalina virtual machine image
Click meJump to the macOS Catalina virtual machine image file download point provided by Geekrar. The file is a bit large, about 8GB, so it will take a while to download (if it cannot be downloaded, there is a tutorial on how to solve it at the end of the article).
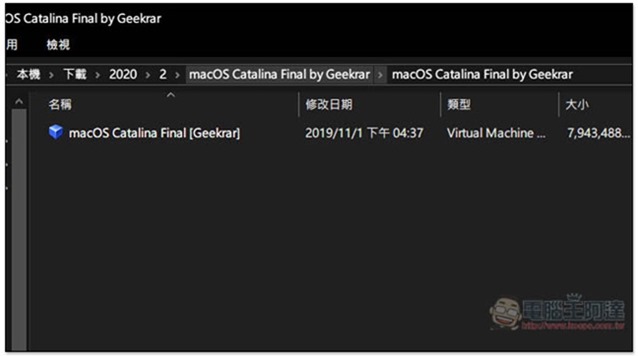
After downloading, unzip it with the password: Geekrar.com, and you will get the following file:
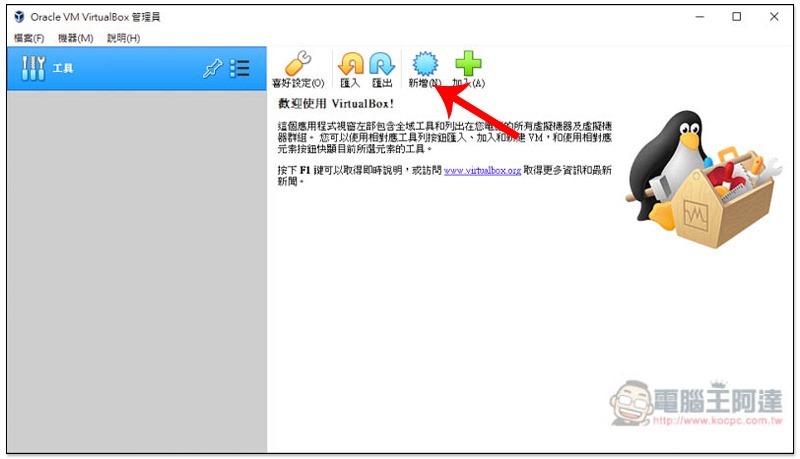
Open the VirtualBox software and click on the “New” function above:
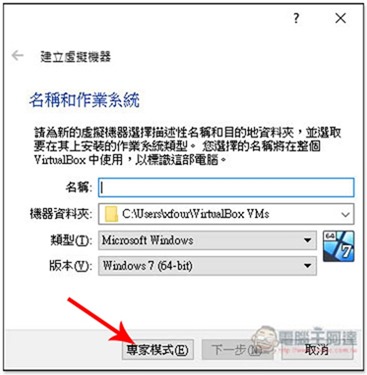
Use “Expert Mode”:
Click “Use existing virtual hard drive file” below and click the folder icon on the right:
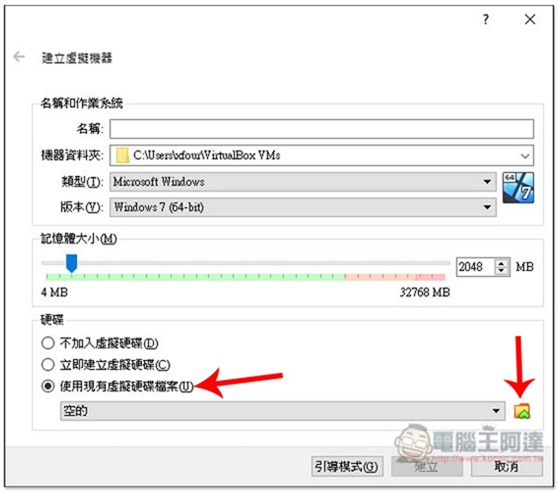
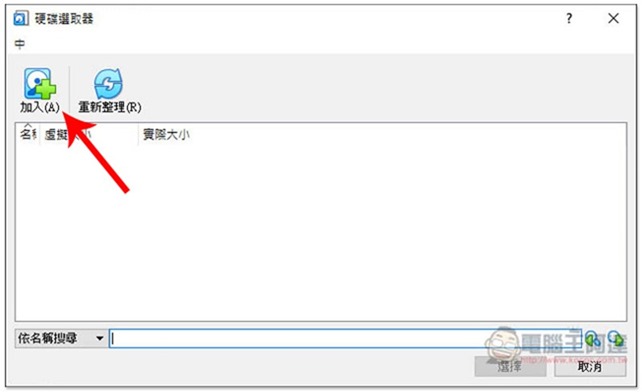
Press “Join” in the upper left corner:
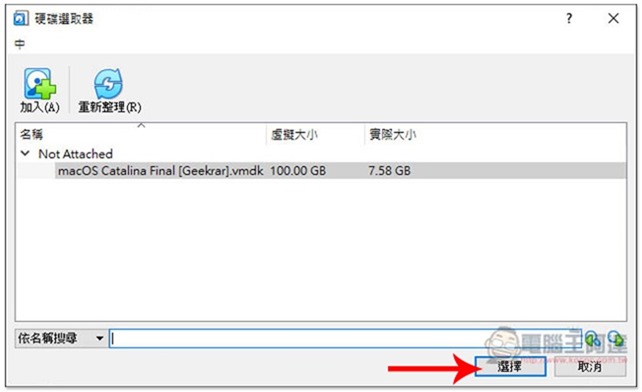
Select the macOS Catalina Final [Geekrar].vmdl file you just downloaded and press the lower right corner to select:
The last step is to choose a name. You can call it whatever you want. I entered macOS Catalina. The type and version under the name will be automatically changed to Mac OS X. There is no need to manually adjust it, which is more convenient:
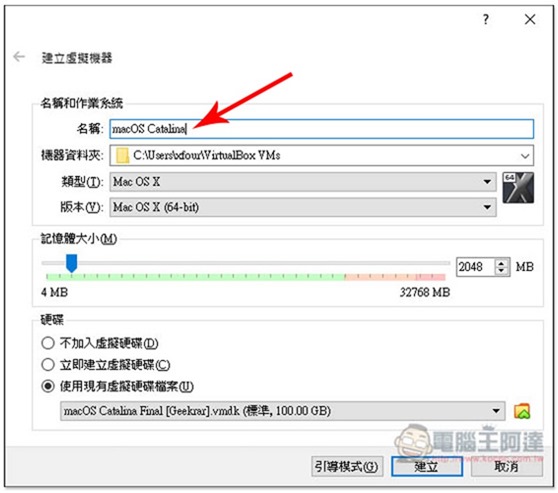
After pressing Create, the mounting is completed. But before you start using it, there are some settings that need to be adjusted.
3. Set up the macOS Catalina virtual machine environment
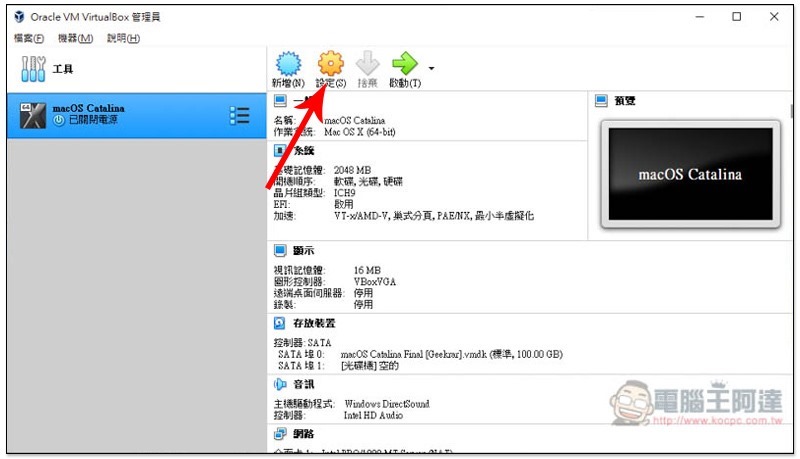
Open the settings function above:
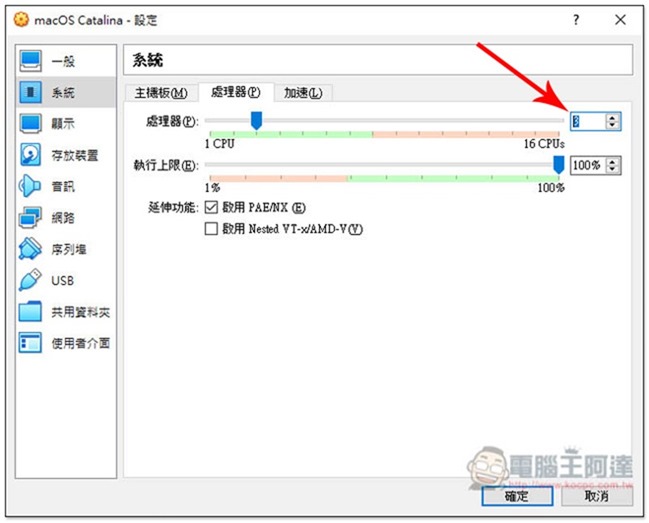
Increase the processor CPU number in the system menu to at least 2, the more the better, so that the virtual machine will run more smoothly. But it shouldn’t be too much, otherwise your Windows system may not be enough. It is recommended to set up to half the CPU:
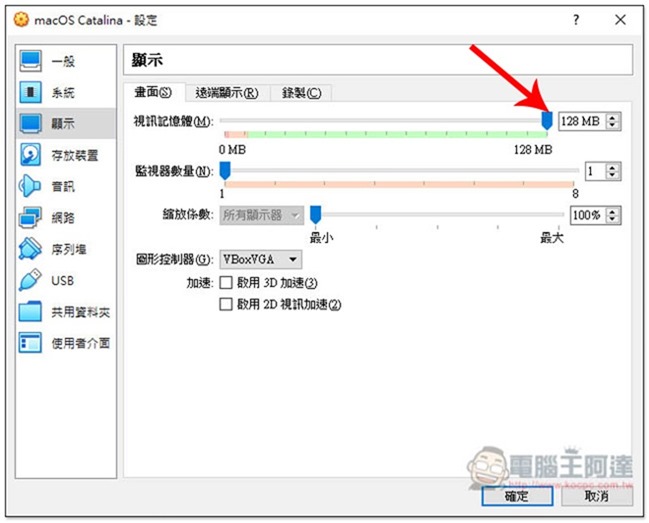
Next is the video memory in the display menu, adjusted to 128MB:
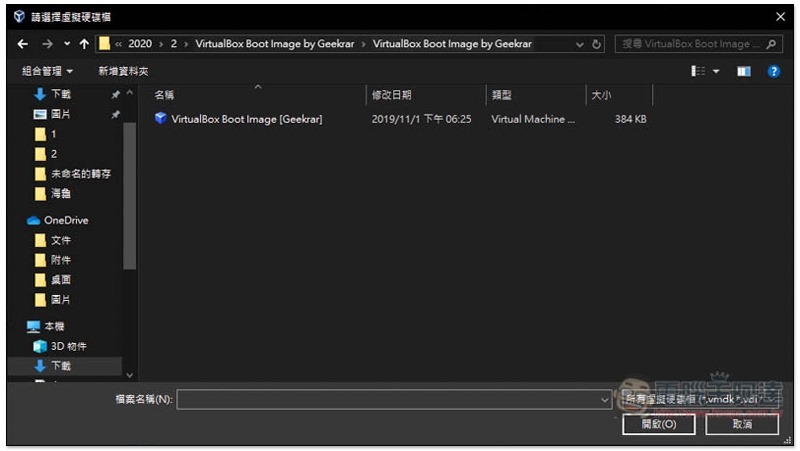
There is also a file you need to download (VirtualBox Boot Image) to install the macOS Catalina virtual machine normally.Click meJump to the download point provided by Geekrar / Alternate loading point。
The decompression password is also Geekrar.com. After decompression, you will get this file:
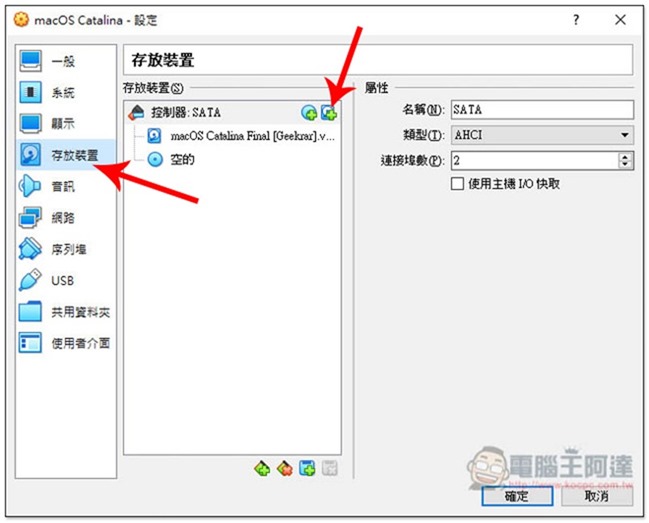
Click the device storage menu on the left and select the + function on the right:
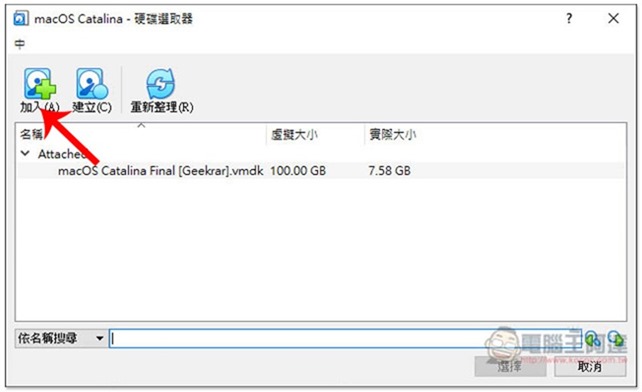
Click “Join” in the upper left corner:
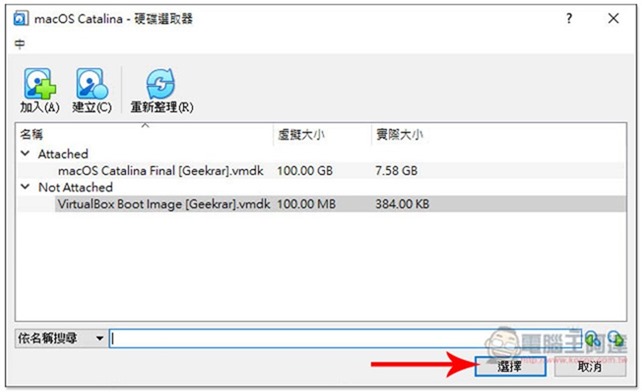
Add the VirtualBox Boot Image [Geekrar].vmdk you just downloaded and click to select:
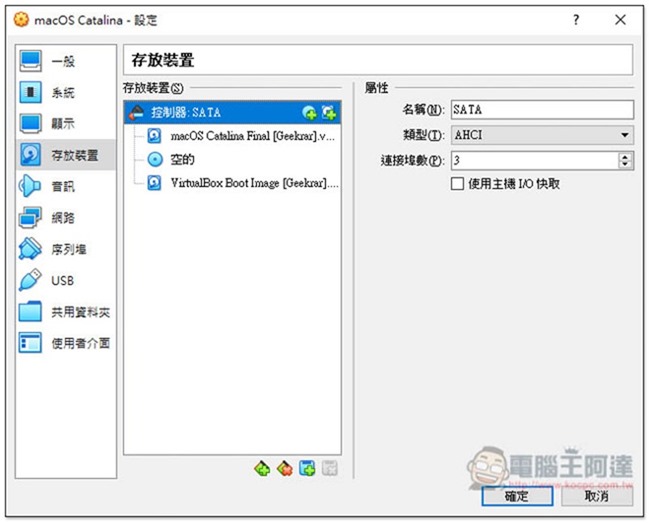
The Save Device menu will now have three files. This completes the environment settings. Click below to confirm:
4. Enter the VirtualBox specific command in the command prompt.
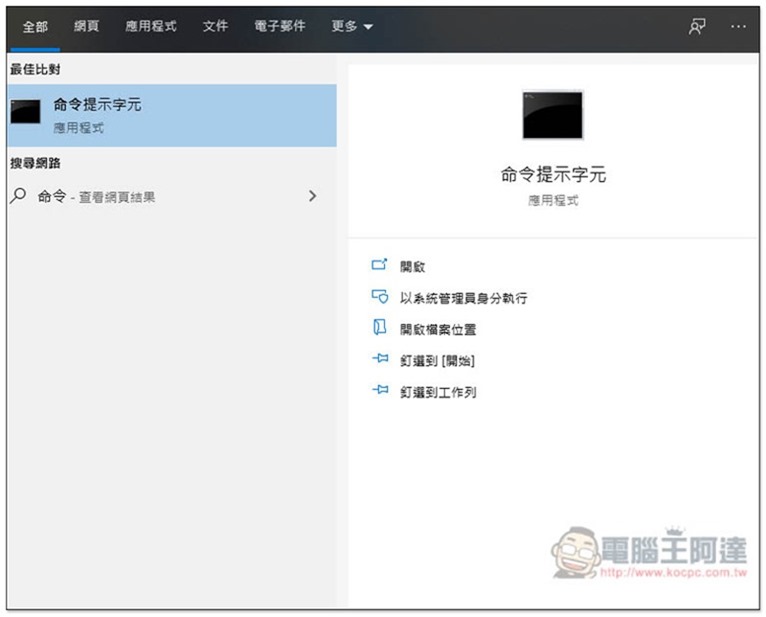
The last step is also very important. Open the command prompt (you can find it from the start menu, or enter keywords directly in the search):
INTEL processor instruction text file download / AMD processor instruction text file download, after opening it with Notepad, replace Your Virtual Machine Name with the virtual machine name you chose. For example, mine is macOS Catalina, so change it to “macOS Catalina”. You can use the target text replacement function of Ctrl+H.
After the command prompt is opened, copy and paste the first set of instructions cd “C:\Program Files\Oracle\VirtualBox\”:
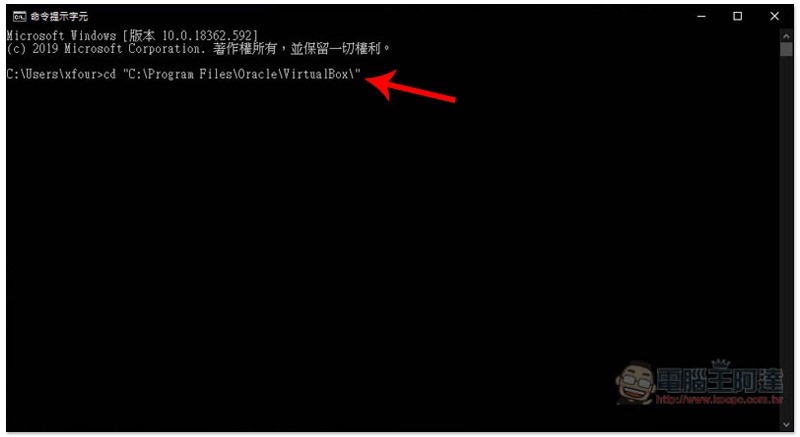
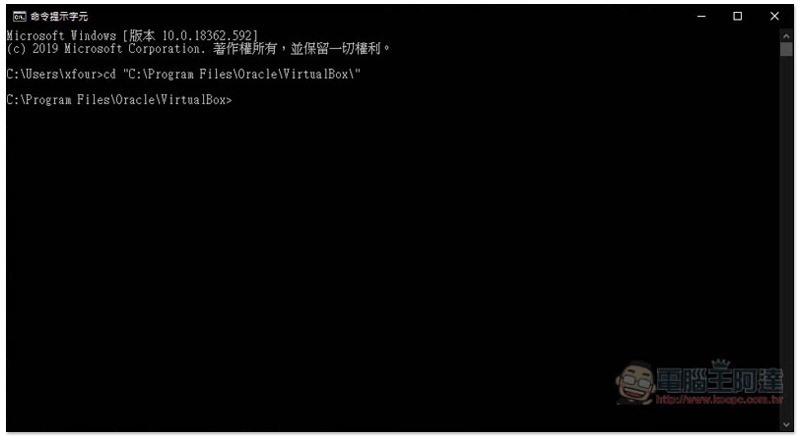
Point to the VirtualBox folder:
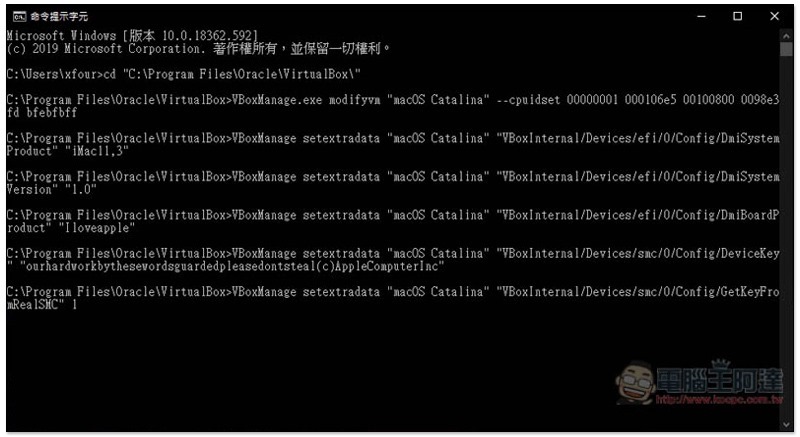
Then copy and paste all the remaining instructions (remember to replace it with your virtual machine name, if you don’t understand it, you can refer to the picture below), and press Enter when finished. The picture below shows that the instructions for INTEL and AMD processors will have one more line at the end:
5. Install and start using macOS Catalina virtual system
After the above steps are completed, you can start the installation. Press Start on the upper right:
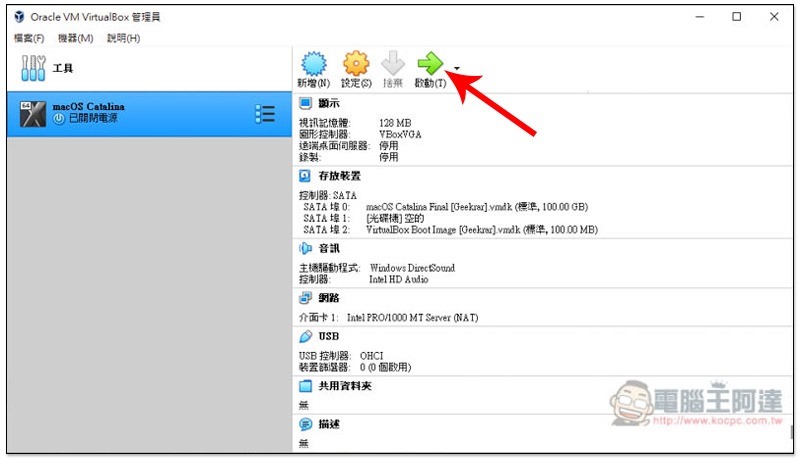
Wait for the screen to run out. If your screen is stuck, please press ESC and enter install.nsh to try:
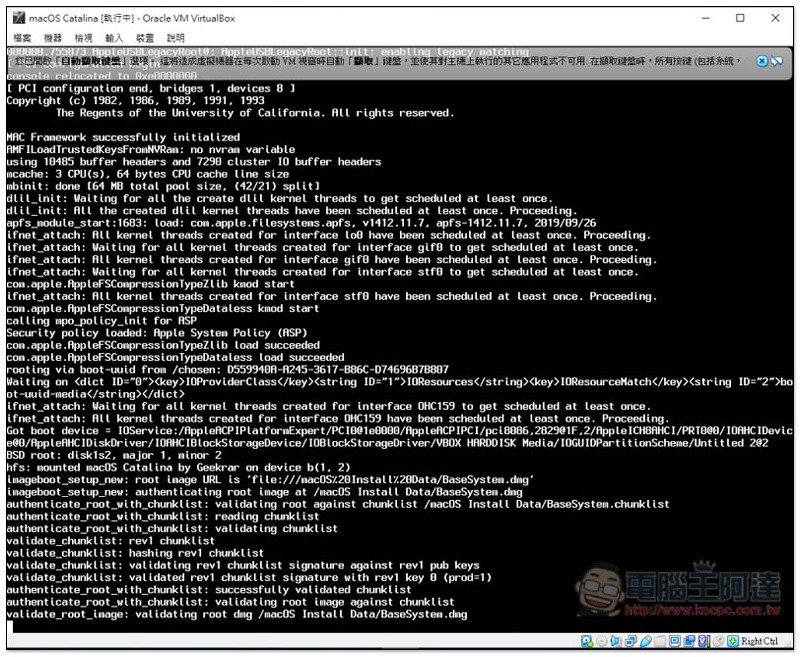
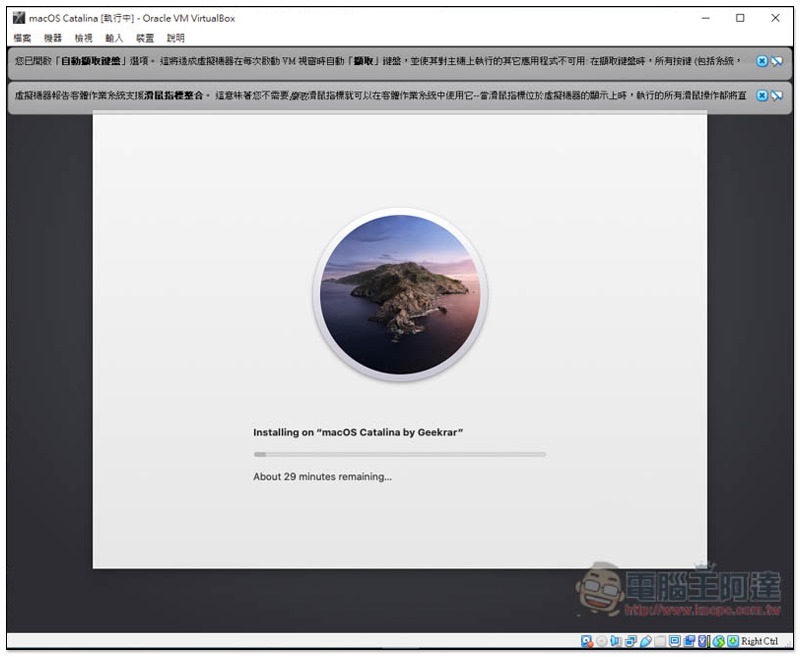
You will enter the installation screen, which will take about 20~30 minutes:
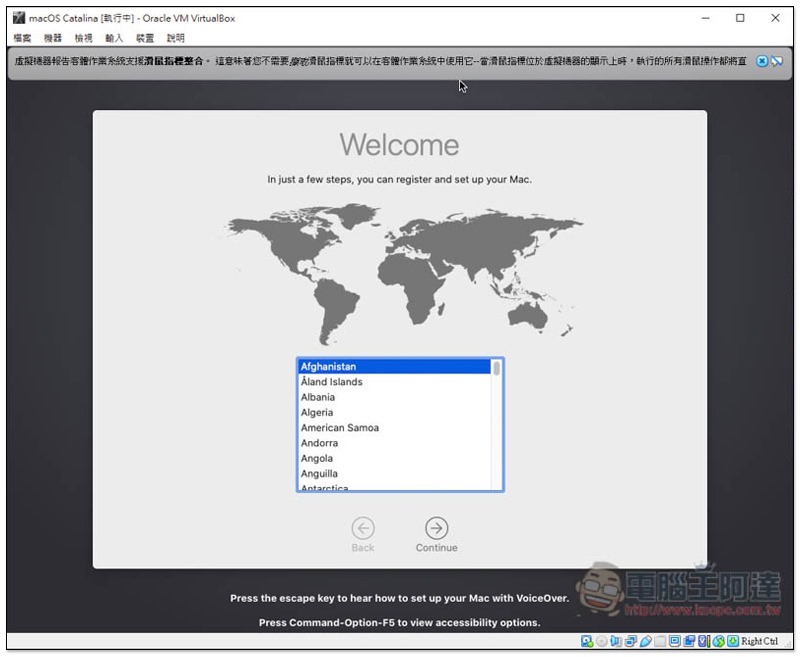
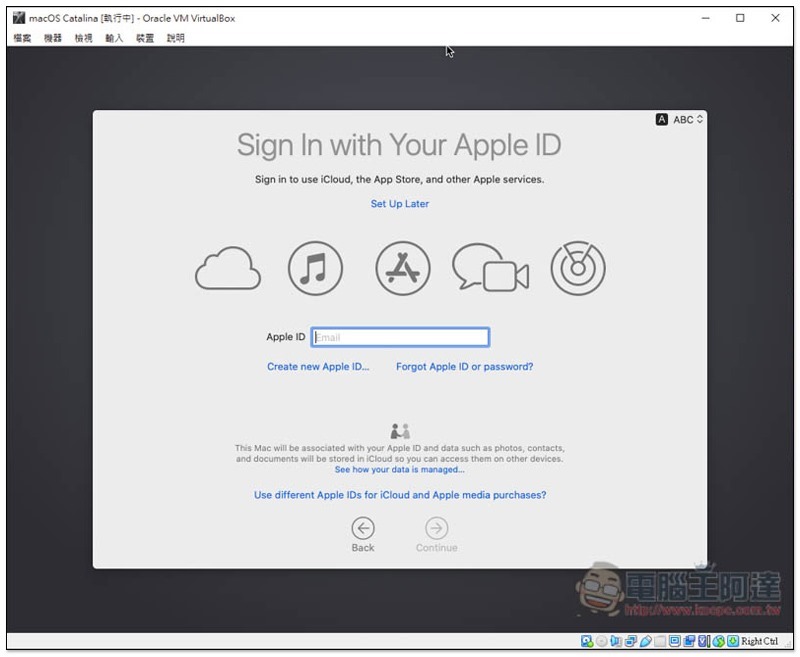
After running, you will see a familiar setting screen. Just follow the step-by-step setting process. The default interface is English, which can be changed later, so don’t worry:
If you don’t want to set up Apple ID, you can click Set up Later above to skip:
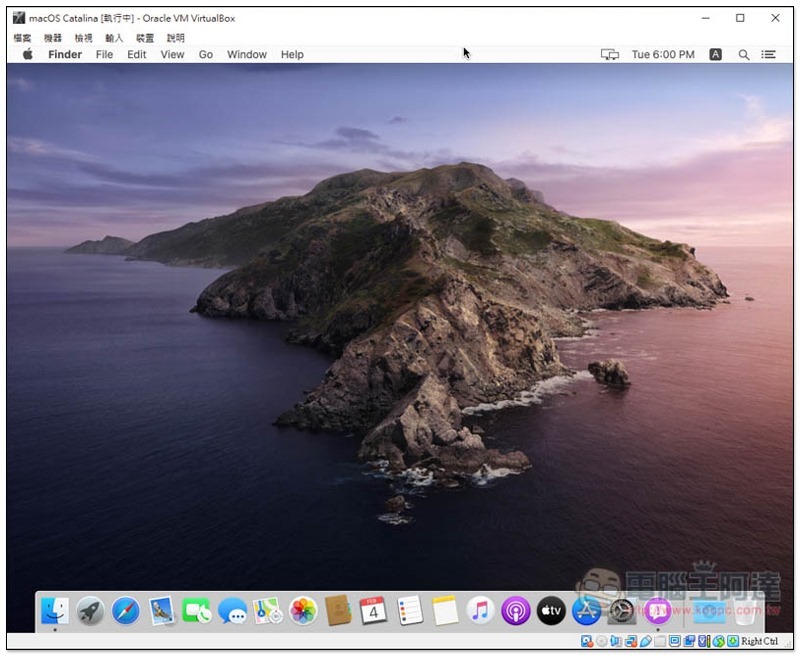
The macOS Catalina virtual machine is complete! The network will be set up automatically and you can start using it directly:
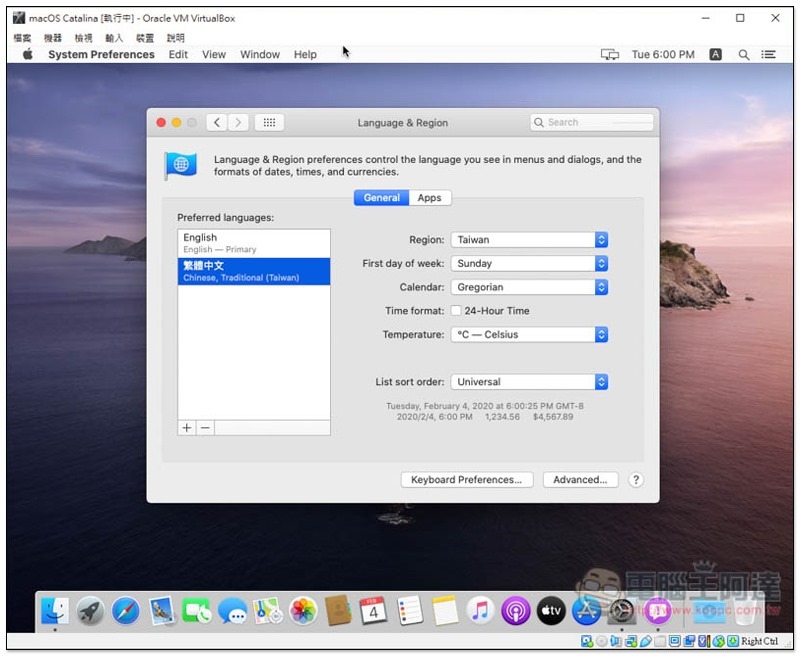
If you want to change to Traditional Chinese language, go to Settings –> Language & Region and move Traditional Chinese up (that is, above English):
As shown below, after closing the window, you will be asked to restart:
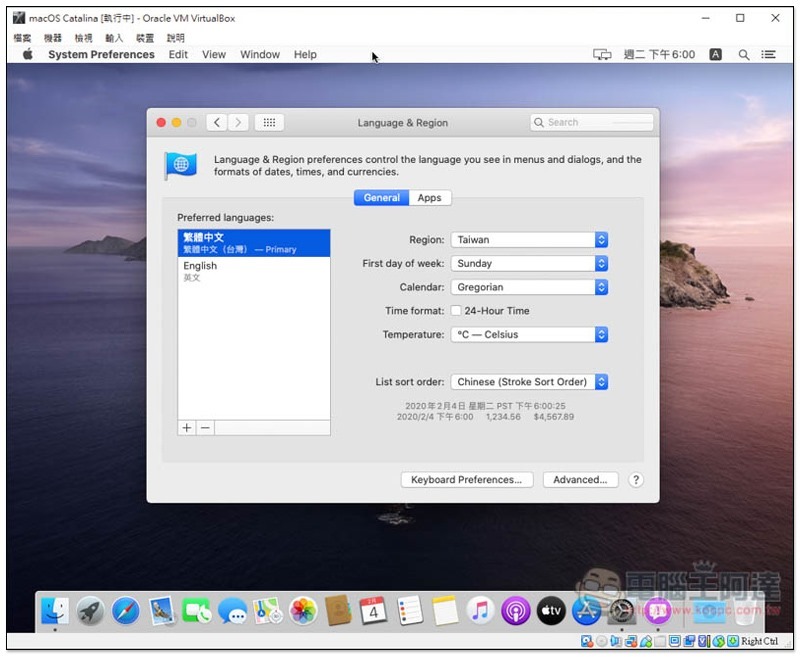
After the restart is completed, the interface will change to Traditional Chinese language:
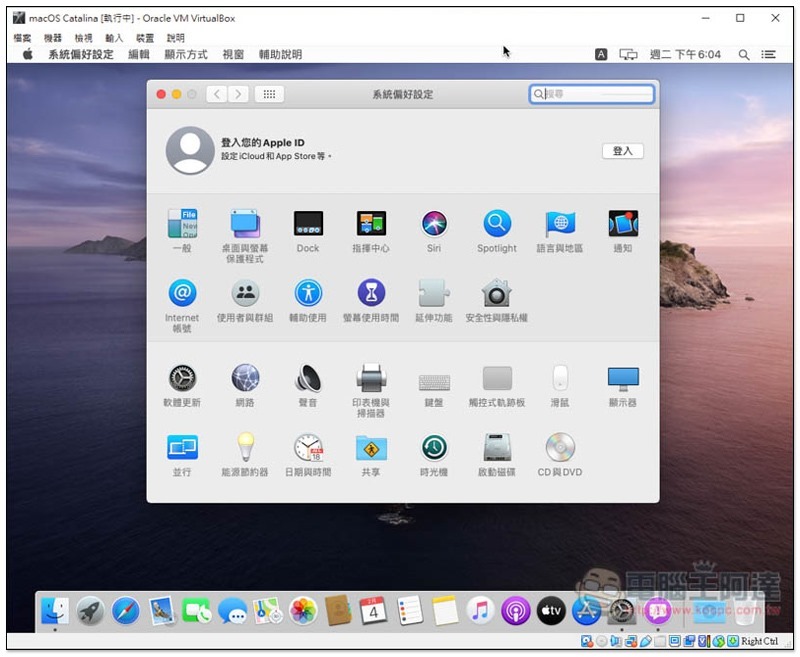
Also a reminder, because it is a macOS virtual system, its smoothness cannot be compared with real MacBooks and Macs, so it is only suitable for testing (playing games, let alone thinking about it, you will go crazy). If you want to change your main system to a Mac, it is recommended to buy one directly, orInstall black appleIt’s better. Finally, please note that if you don’t update it after installation, it will crash.
For detailed installation procedures, please refer to this video
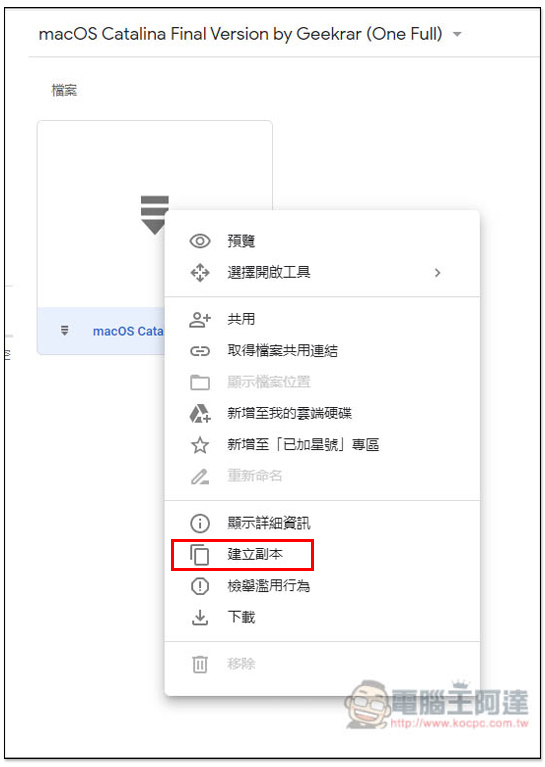
If the Google Drive image file cannot be downloaded, you can solve the problem by creating a copy. The steps are as follows
Open the right-click menu and click “Create Copy”:
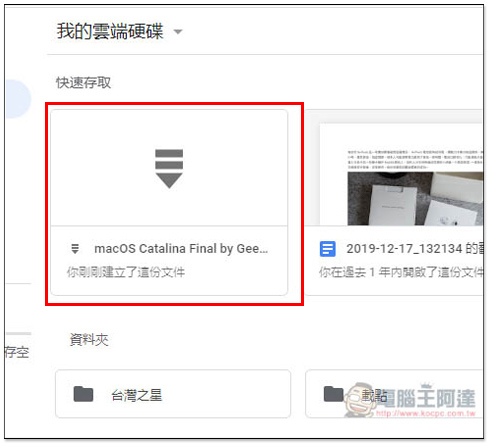
After a successful message appears below, click “Show file location” on the right:

You can find the copy you just created under Quick Access and double-click to open it:
Just press download:

Supplementary information
VirtualBox official website:Click here to go
macOS Catalina Final image download location:Geekrar
VirtualBox Boot Image image file download point:Geekrar / spare
Data reference source: geekrar
Source: KOCPC Chinese