


After Meta launched Muse, it quickly sparked a wave of discussion on social media. By now, many people have probably seen various real-world use cases for Muse, from automating work and organizing data to helping complete tasks that previously required doing everything step by step, and the reviews have been quite positive. However, it is still only available in a small number of countries, and cannot be used in Taiwan, which is sure to feel like a pity.
The good news is that not being available doesn’t mean you can’t use it. This article will teach you how to successfully register for and use Muse via VPN. Only registration requires a VPN; once you’ve registered, you can turn it off and still use it normally.
I should also remind you here that this method may stop working at any time.
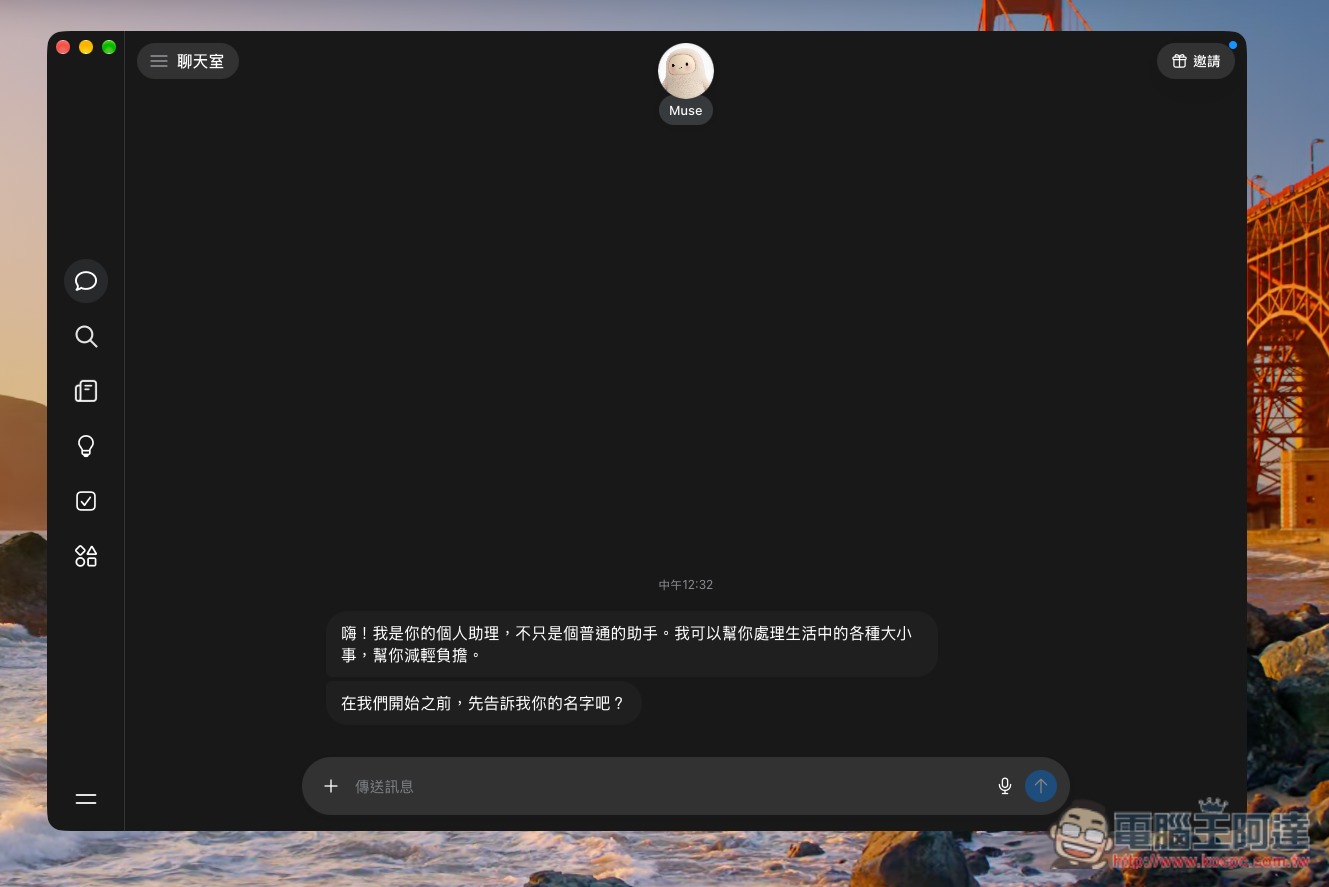
With a VPN, you can sign up for Meta Muse no matter where you are.
Before registering, you need to prepare three things:
- For the email used during registration, using Gmail is recommended (I registered with a backup Gmail, and it has never been used to sign up for an FB or IG account).
- Credit card (for age verification)
- VPNs with US servers (I use NordVPN). I haven’t tested the Canada part, so I’m not sure if it works.
Registration mainly involves just three steps, and there will be an illustrated demonstration below:
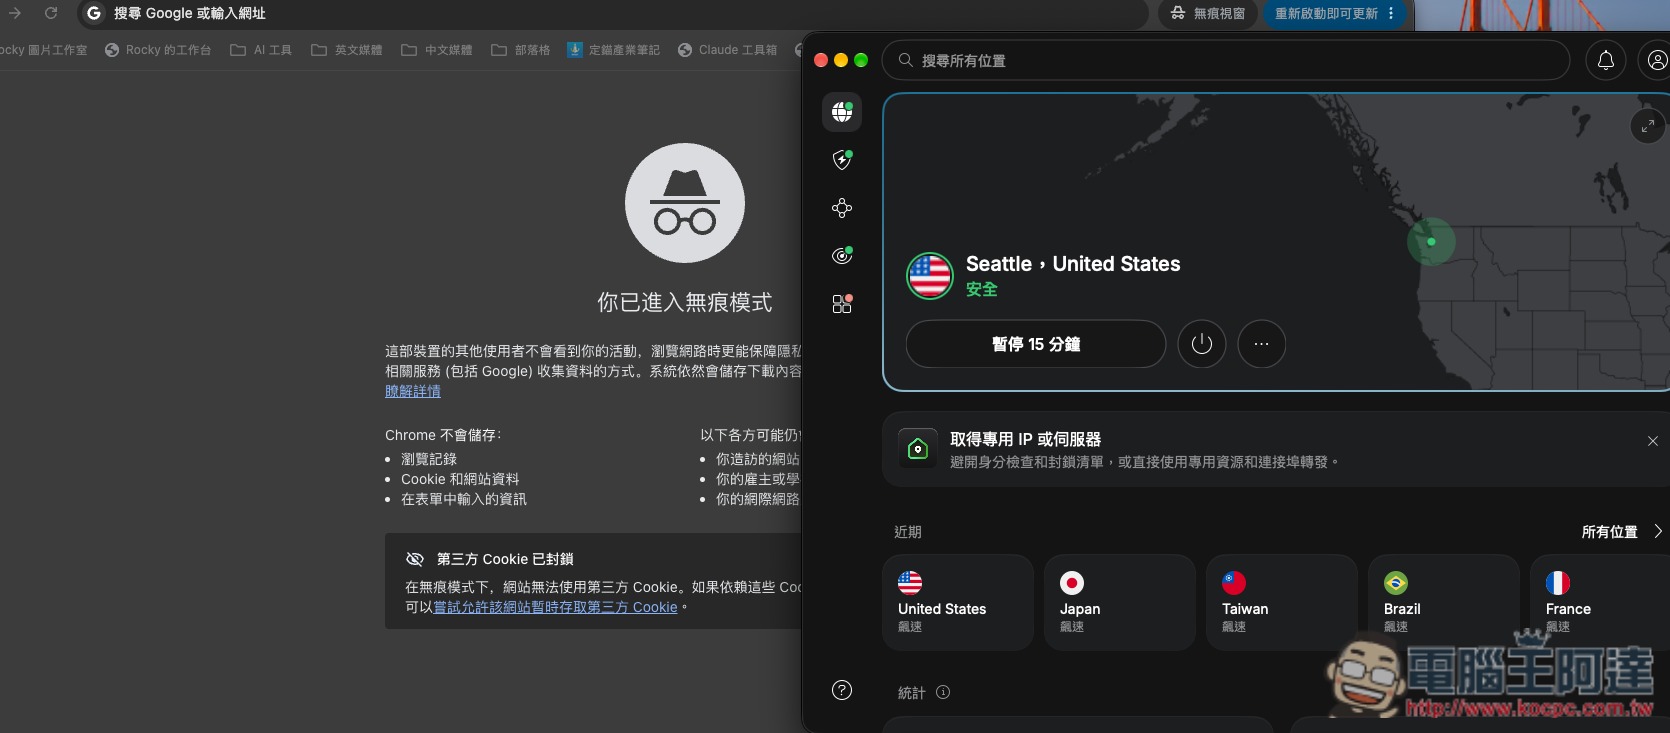
- VPN connection to a US server
- Open it in your browser’s incognito mode. https://muse.ai/join
- Complete the registration process.
In addition, I’ll also provide my invitation code here first:QMESC9
Enter within 48 hours, and both you and I can get 1 billion Muse tokens, up to 30 people.
After the VPN connected to a US server, I used Chrome’s Incognito mode:
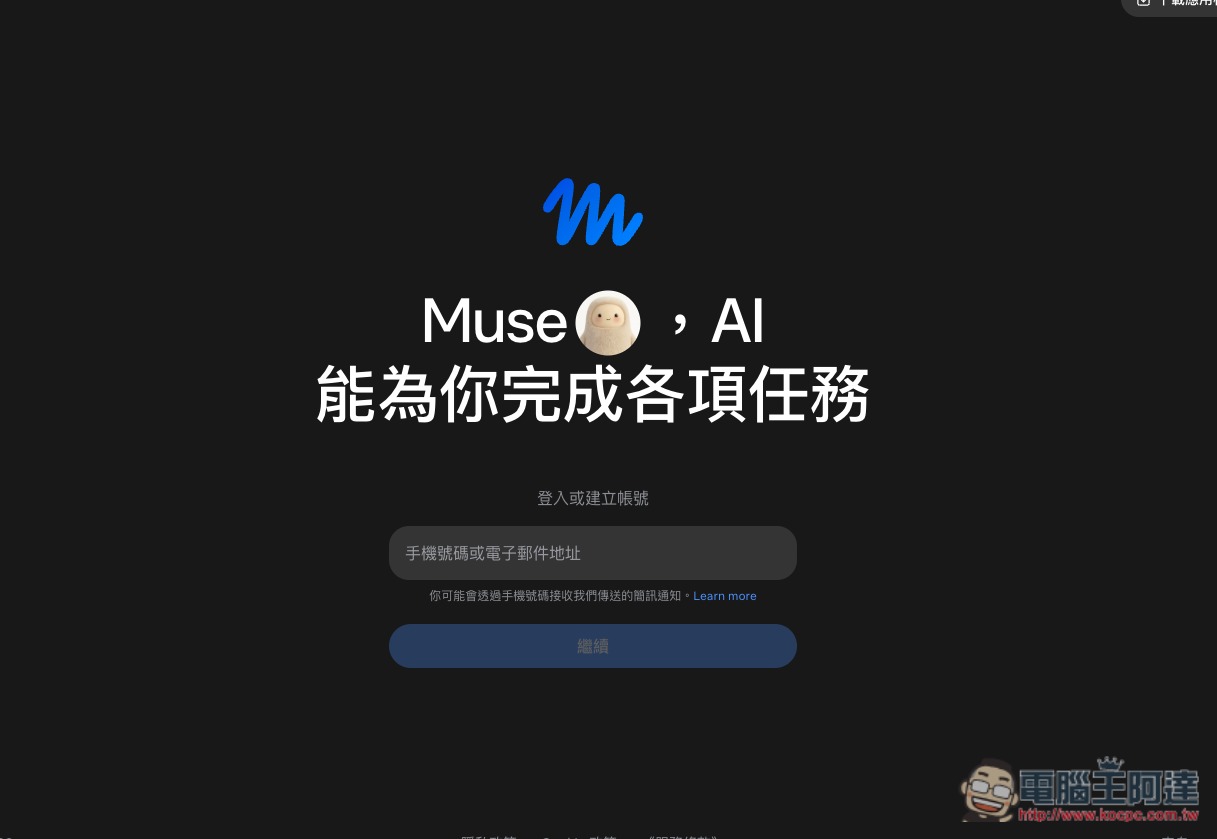
enter https://muse.ai/join, enter your Email to sign up:
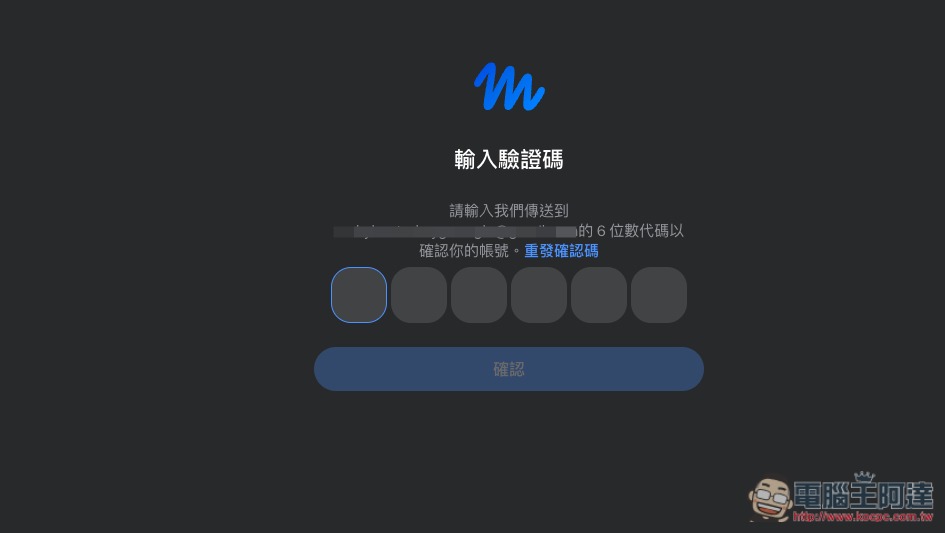
Check the inbox of the email address you just entered to receive the verification code:
Enter your date of birth:
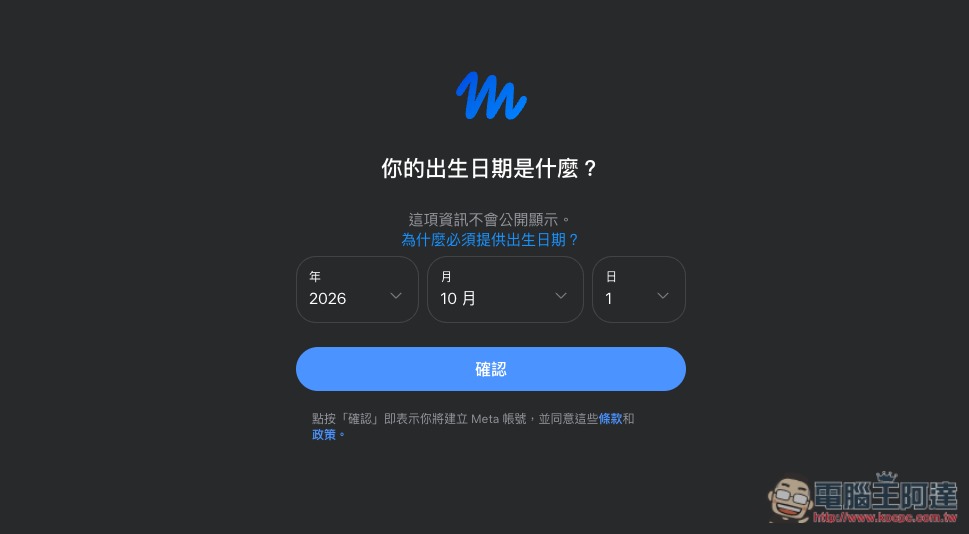
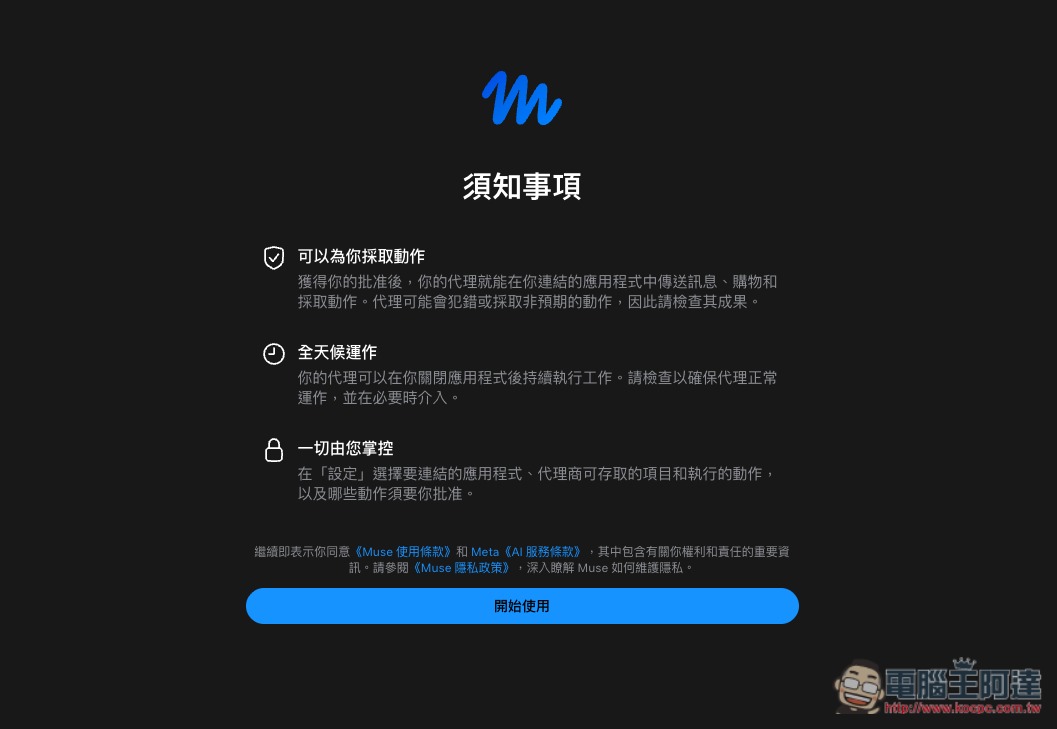
Then it will normally jump to the “Things to Know” page instead of showing as not available. Tap Get Started below (if it still shows as not available, there is a high chance the VPN you are using cannot successfully bypass the regional restriction):
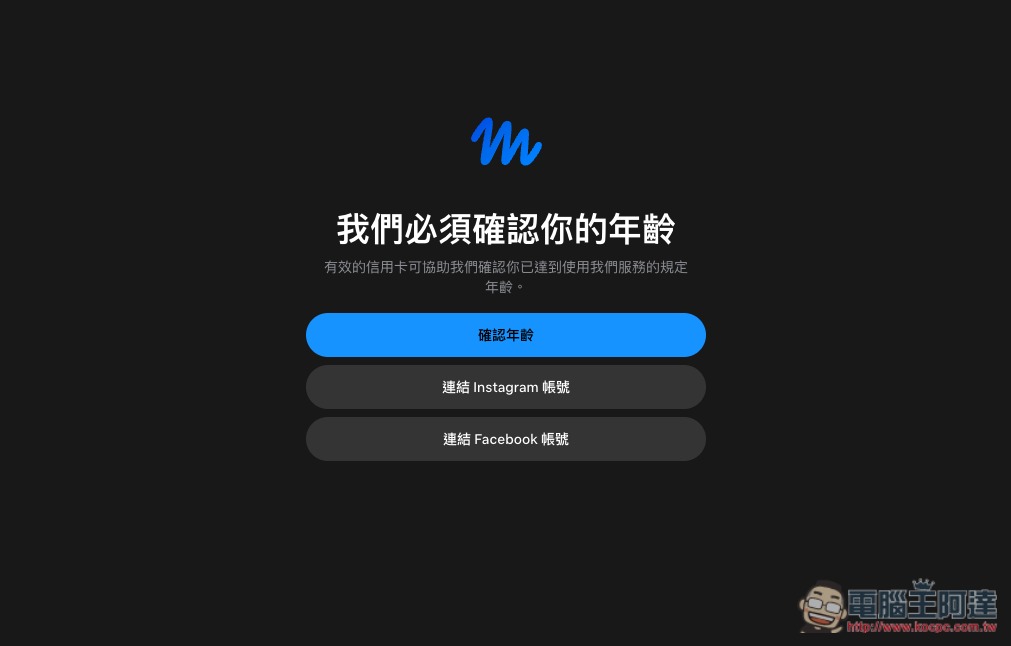
It will require age verification. There are three ways. I recommend choosing the first age verification option (via credit card). I haven’t tried IG and FB accounts, but I’ve heard they may fail:
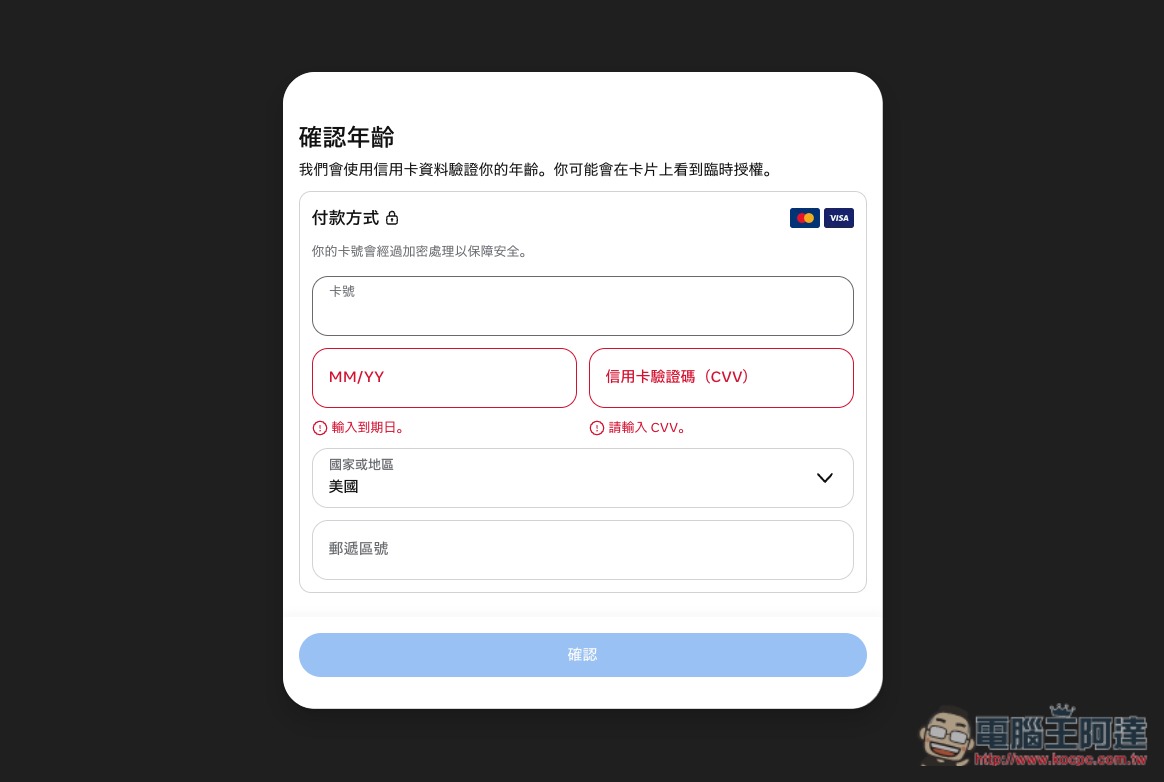
Fill in the credit card details; using a Taiwanese one is no problem—I tested it successfully:
Once age verification is complete, you’ll be taken to Muse’s chat interface. At that point, you can turn off the VPN; you’ve successfully registered a Muse account. You can download the application or App to use it:
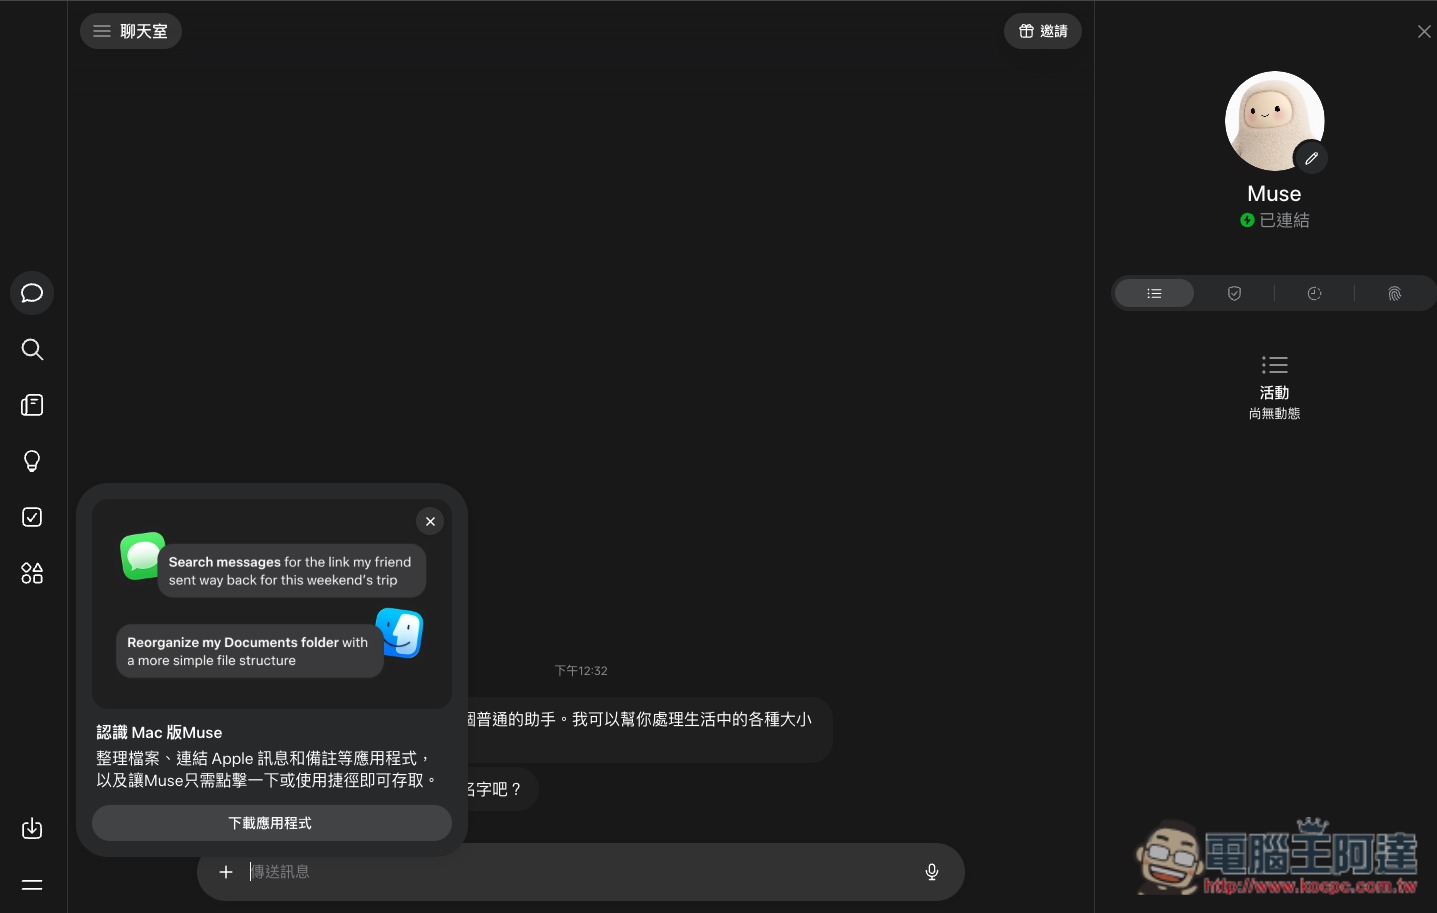
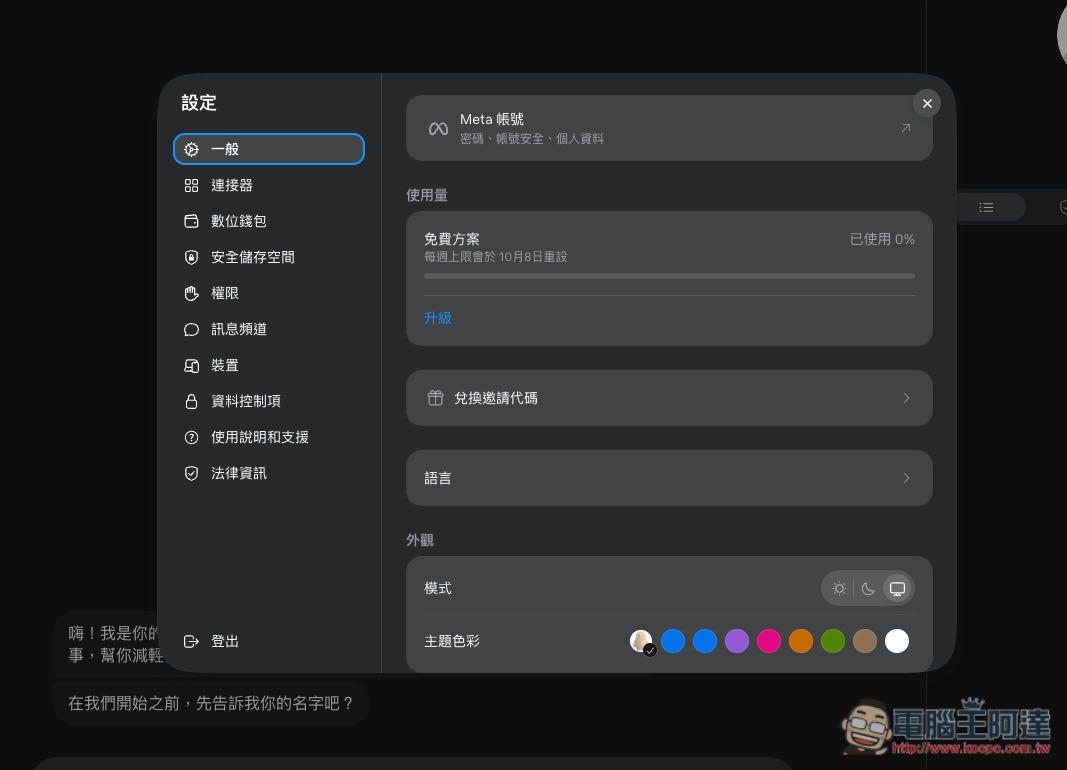
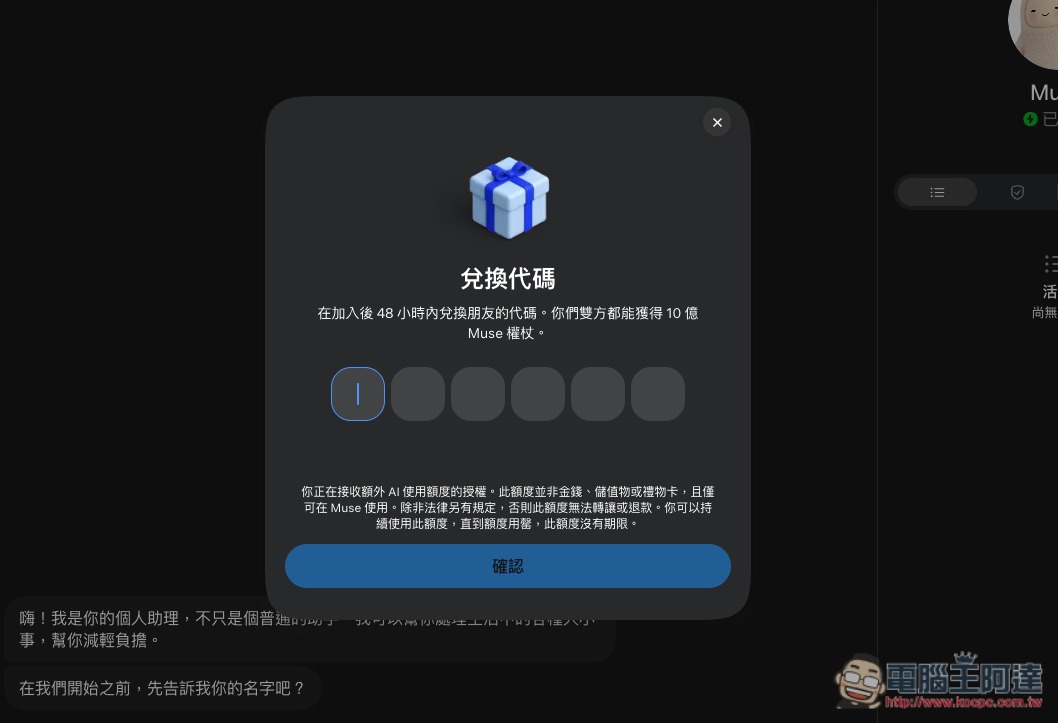
Meta Muse is free to use, and with the 1 billion Muse tokens included, that should be more than enough. On Mac, you can enter the invite code in Settings -> General under “Redeem Invitation Code”:
Redeemed Tokens do not expire (my invite code:QMESC9):
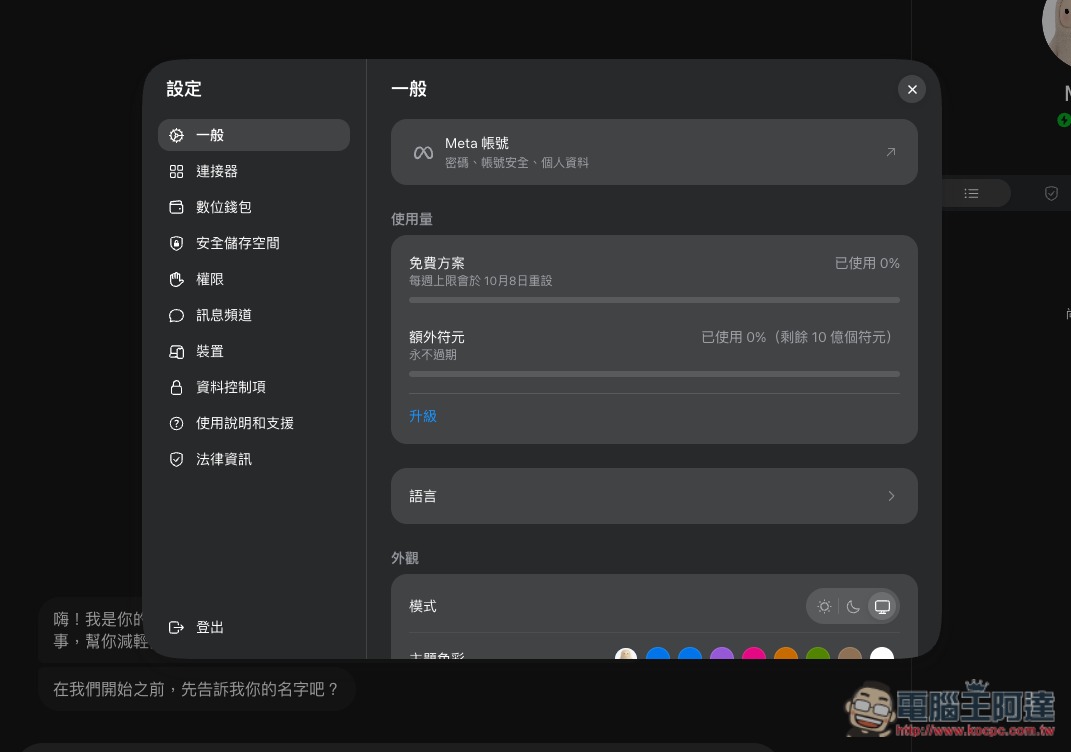
After redeeming, the extra token quota will appear below Usage:
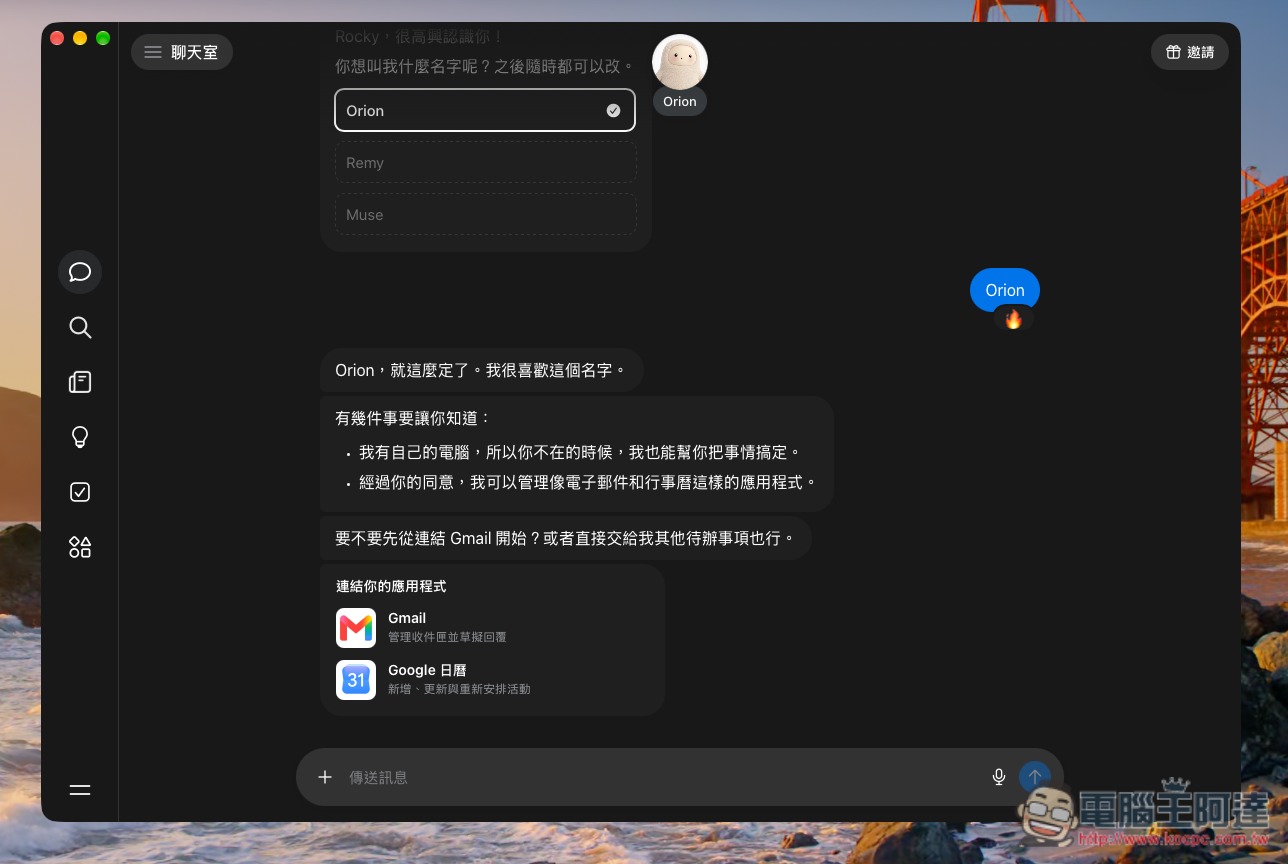
Once everything is okay, you can start setting it up and using it:
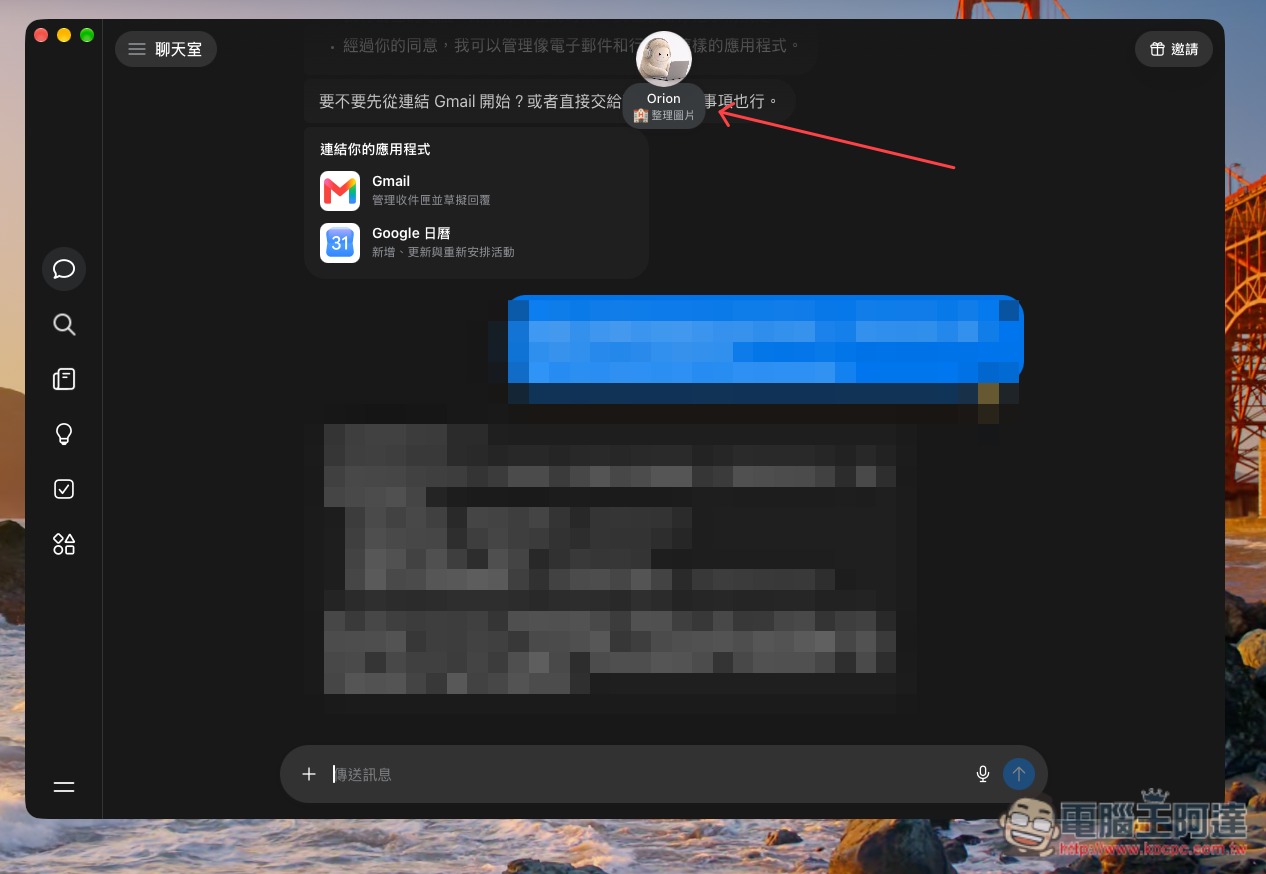
When Muse is processing, the real-time status is displayed below the icon at the top:
Also, there are online tutorials about using AI agents like Gemini Spark to register through a built-in browser, but I tested this method and it no longer works. As of the time of writing, VPN still works, so anyone who needs it should take advantage while they can; I’m not sure when it will be blocked.
Source: KOCPC Chinese