


When looking at photos you’ve taken before, sometimes you might not be completely satisfied with the angle at the time—maybe it should have been slightly to the right, or you should have shot the other side of your face. Now you just need to use this free Qwen Image Edit Angles. AI With the tool, you can easily make changes.PhotographThe shooting angle — whether you want to zoom in, turn your face, or switch to shooting from below — it can do it all. I tested it, and the results were really quite good.
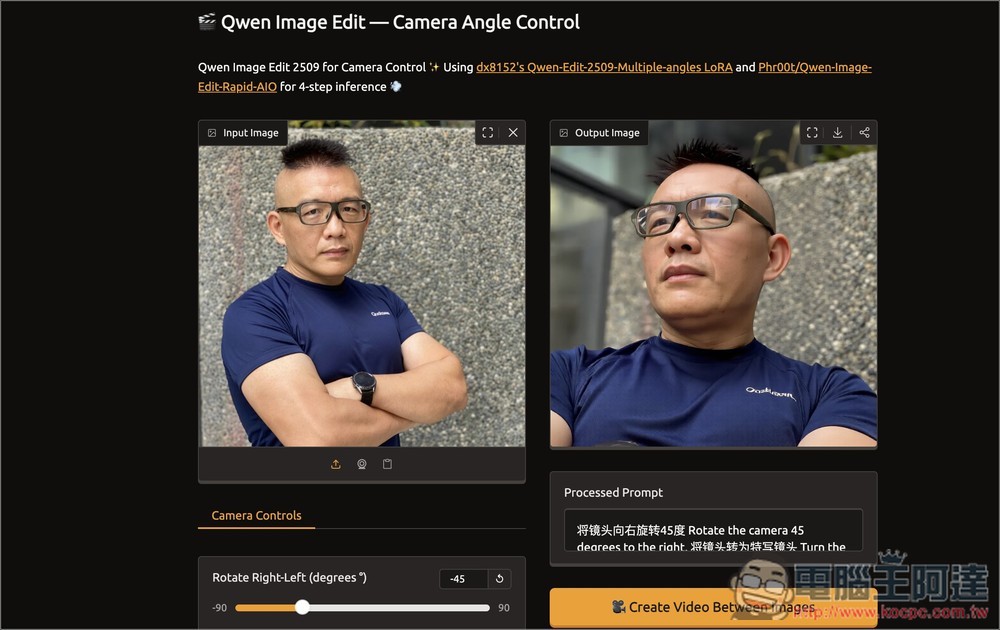
Qwen Image Edit Angles: Introduction to a Free Tool That Uses AI to Easily Change Image Photography Angles.
Qwen Image Edit Angle is an AI image redrawing tool created by developer linoyts, designed specifically to control the camera angle and composition of photos. By simply moving a slider, you can change the original photo’s shooting angle, distance, and tilt perspective. It is ideal for portraits, product display, or image creation that requires simulating different viewpoints.
Using dx8152’s Qwen-Edit-2509-Multiple-angles LoRA and Phro0f’s Qwen-Image-Edit-Rapid-AIO. These models have been specially trained to understand image spatial structure and perspective relationships, enabling precise multi-angle generation and ensuring visual consistency.
Main features
- Multi-angle image generation: simulates real camera perspective changes, from bird’s-eye view, low-angle shots, to panning and more.
- Real-time parameter adjustment: Designed with intuitive sliders that generate instantly, no waiting required.
- Custom prompts: Besides adjusting the slider, you can also enter prompts yourself.
- Free to use: hosted on the Hungging Face website, completely free to use.
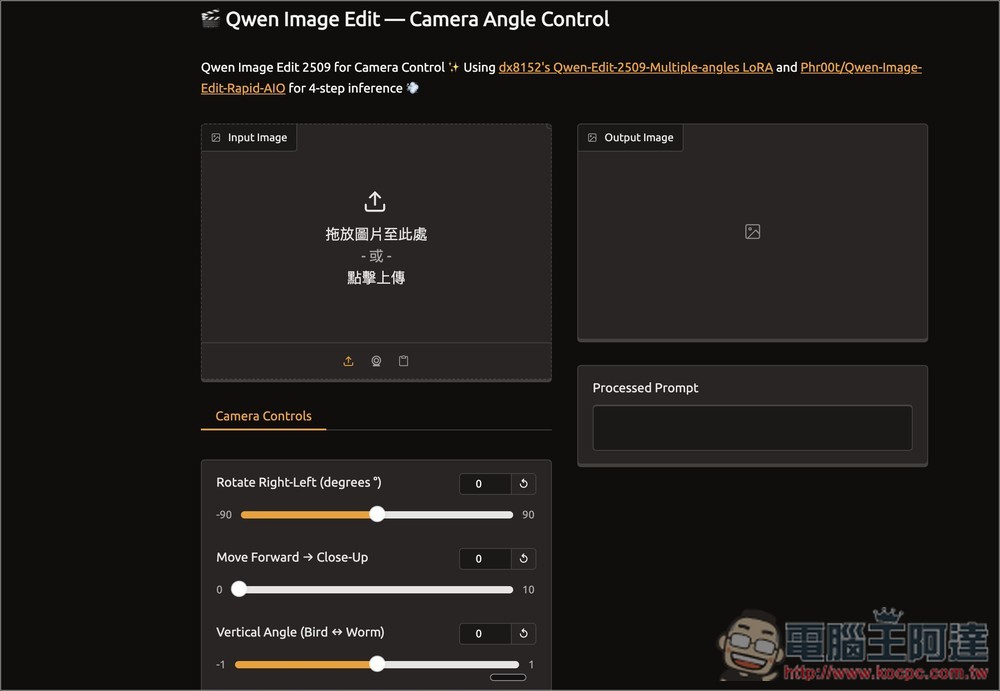
After clicking the link above to go to Qwen Image Edit Angle, drag the image you want to change the angle of to the left side, or click to upload:
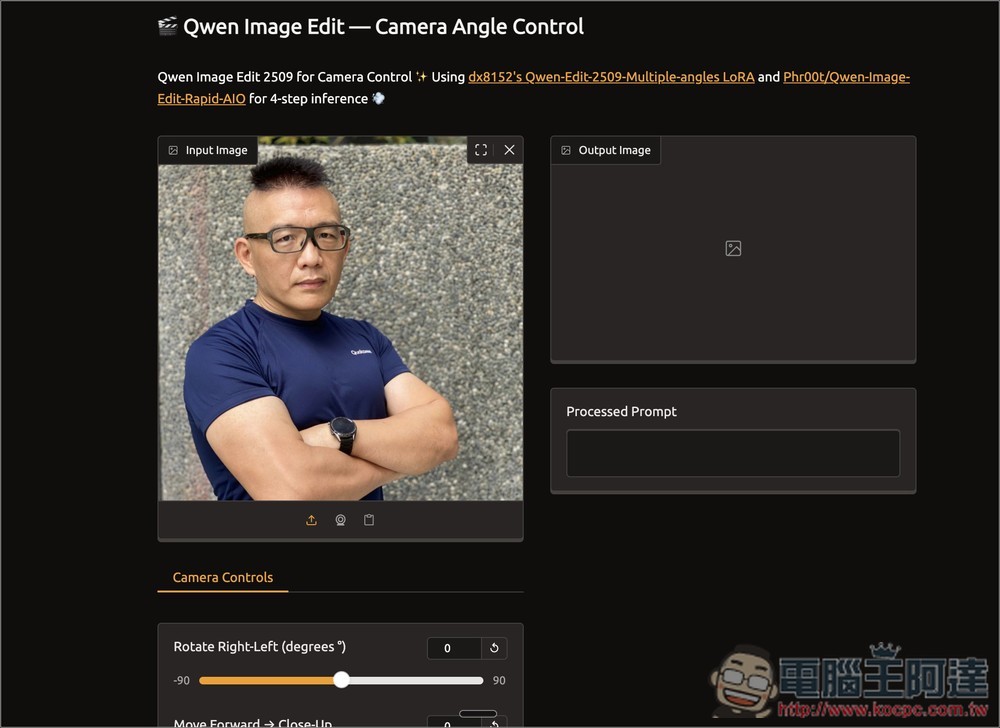
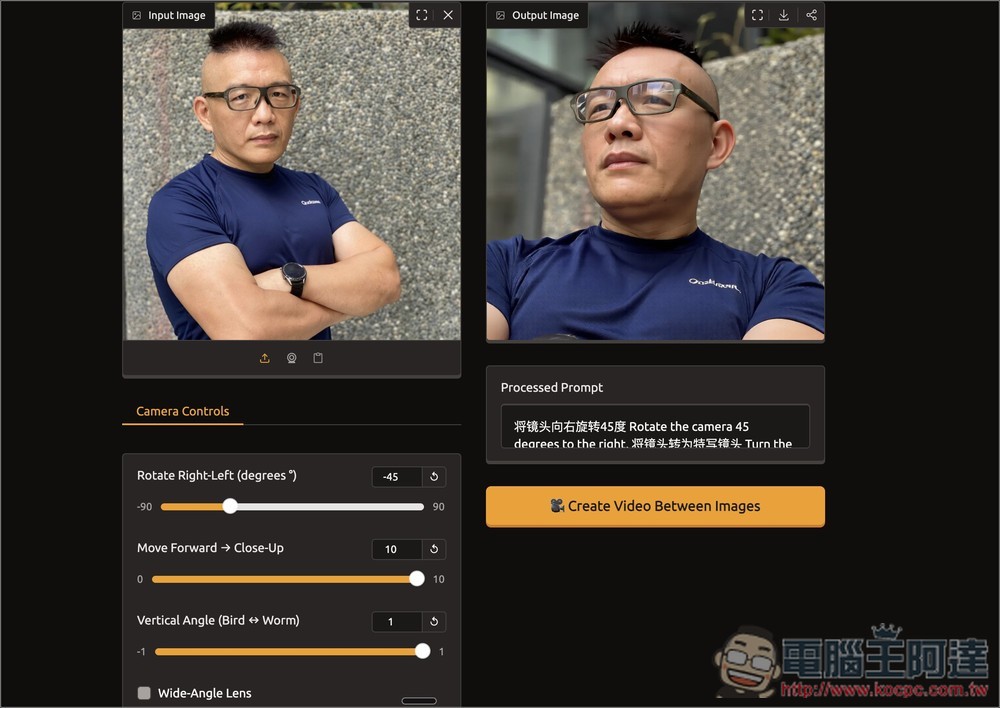
Using this profile picture of Ada as an example, after uploading, you can adjust the slider at the bottom left:
Rotate Right-Left is the left-right rotation angle, Move Forward → Close-Up is moving forward or zooming in, and Vertical Angle is for looking up/down:
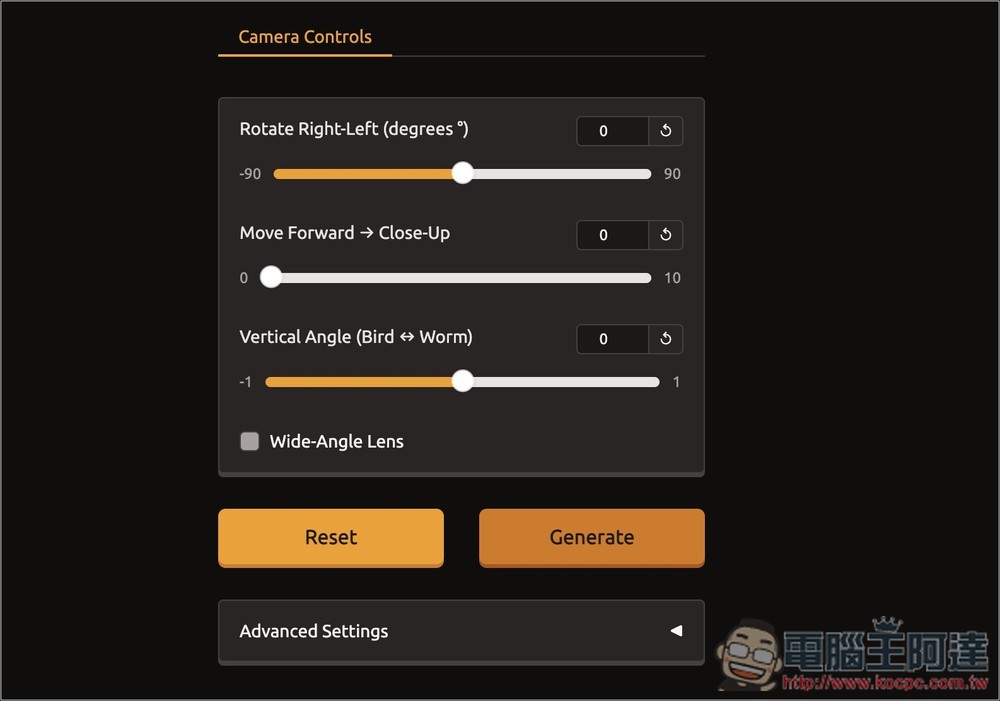
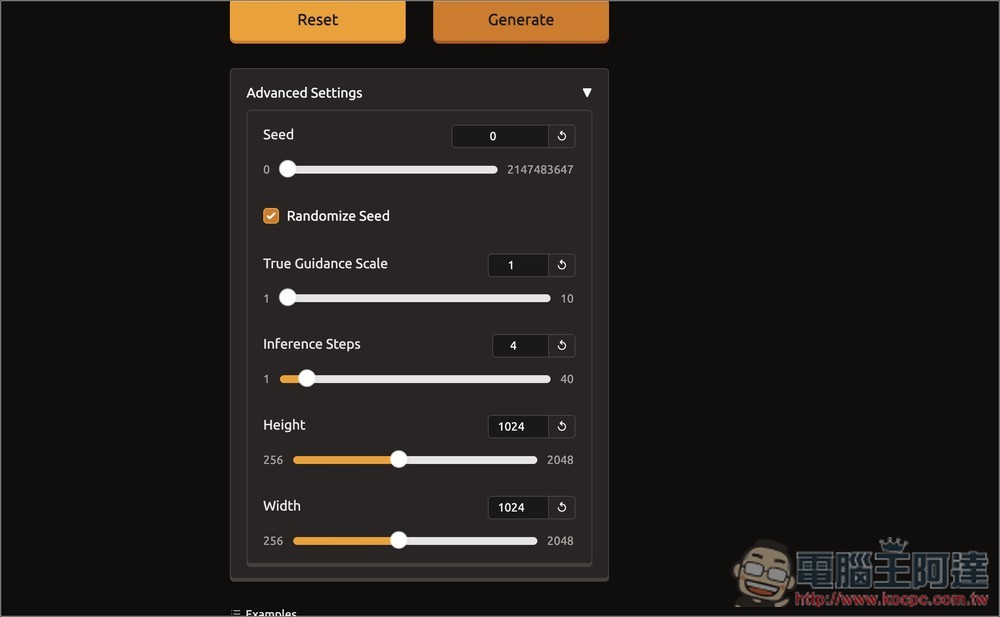
Below are some advanced settings. Normally you don’t need to adjust them, but you can play around with them if you like. The maximum supported image size is 2048×2048:
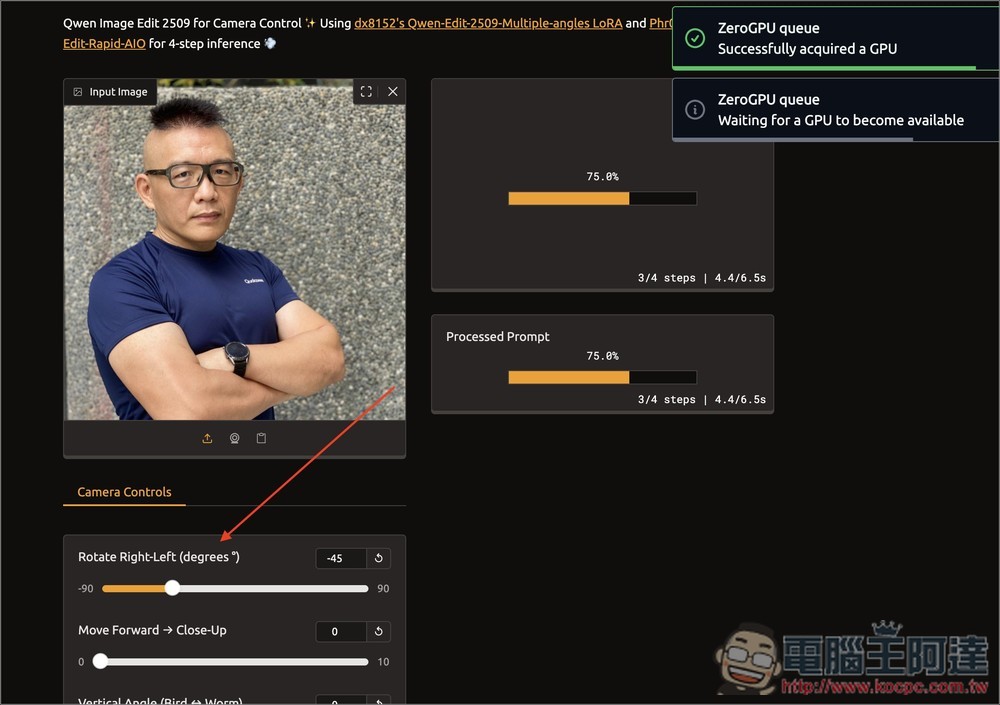
After I adjust the left-right rotation angle, the right side will start real-time calculation, without needing to press any confirm button:
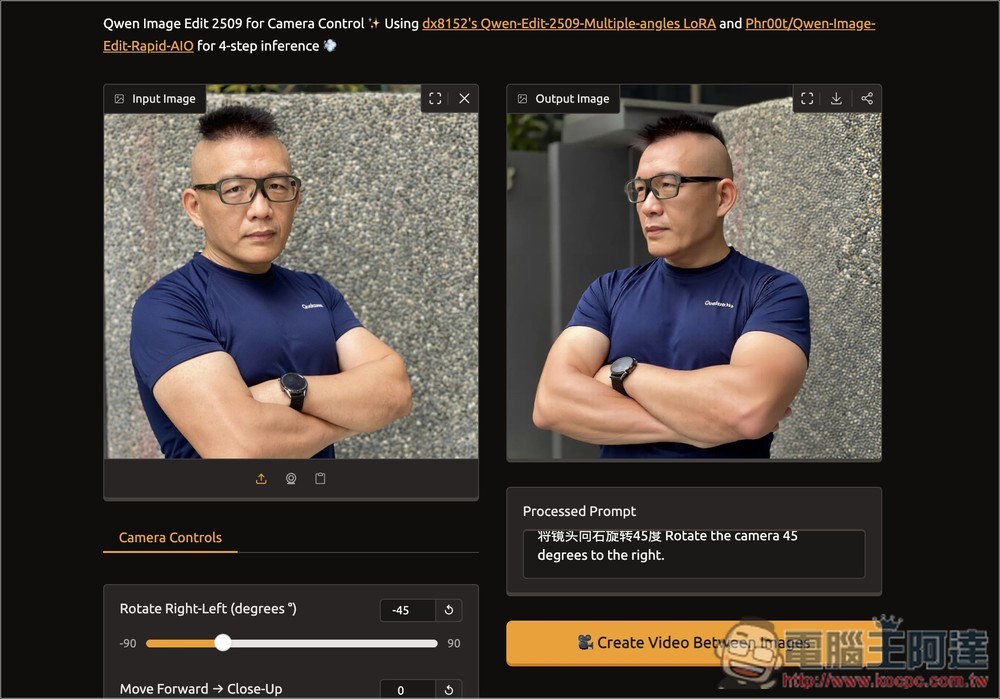
After waiting a few seconds, the image with the changed angle appears, now shot from the right side toward the left cheek, and Ada even looks more handsome (laughs). Also, notice the Processed Prompt below—that’s the prompt for modifying the image. When you adjust the slider, the system automatically generates the corresponding prompt, and of course you can also enter it manually:
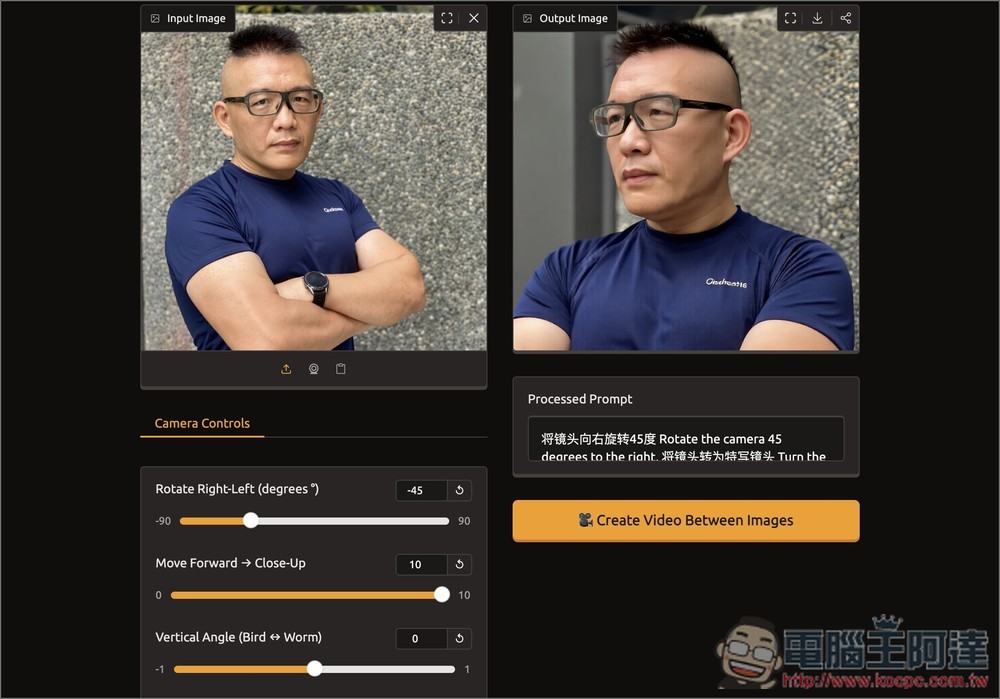
Then I turned Move Forward → Close-Up all the way up, and sure enough, it became a close-up shot:
Finally, setting Vertical Angle to a high-angle shot, the generated image is also very natural, with all details preserved, including the background behind:
Source: KOCPC Chinese