


Adobe Lightroom Classic released a new AI noise reduction technology in April this year. People who use Lightroom can find the “AI Noise Reduction” function in the “Details” option. I have used this function until now, forNoise reductionThis thing is really easy to use. In the past, the built-in noise reduction function of Lightroom was basically like X. If the value was too high, the whole photo would look like an oil painting. If the value was too low, the noise reduction effect would not be obvious. It is far less useful than other software.
This time I will show you how different the new AI noise reduction function is from the original built-in noise reduction function:
Introduction to Lightroom AI Noise Reduction
This is a photo I took at night with little light:
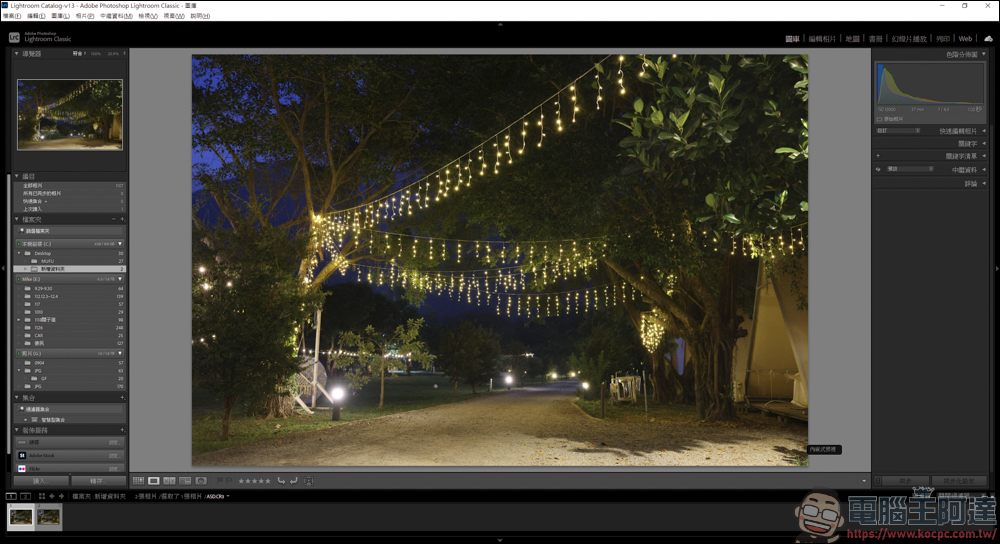
Because there is no light, I opened the ISO to 10,000. Thanks to the improvement of high-end camera specifications, even when shooting at high ISO, the noise is acceptable:
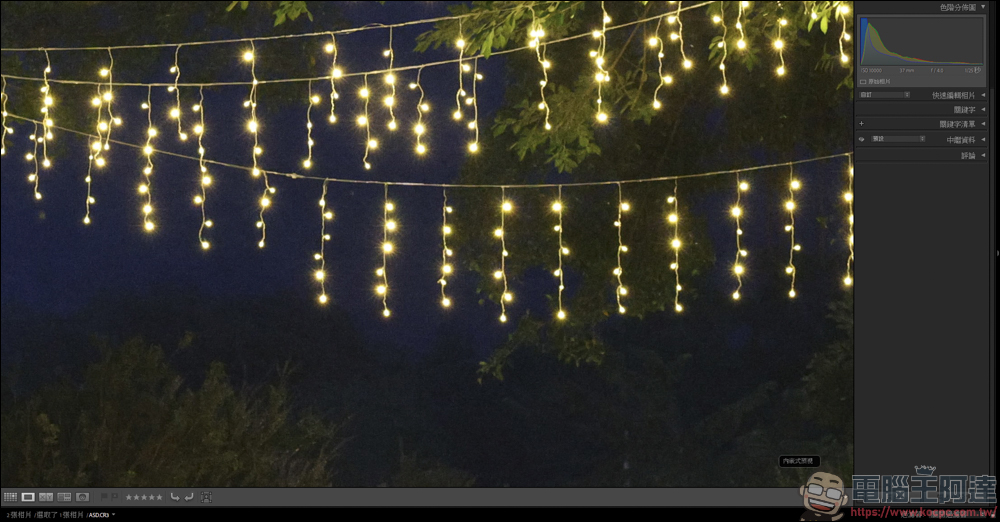
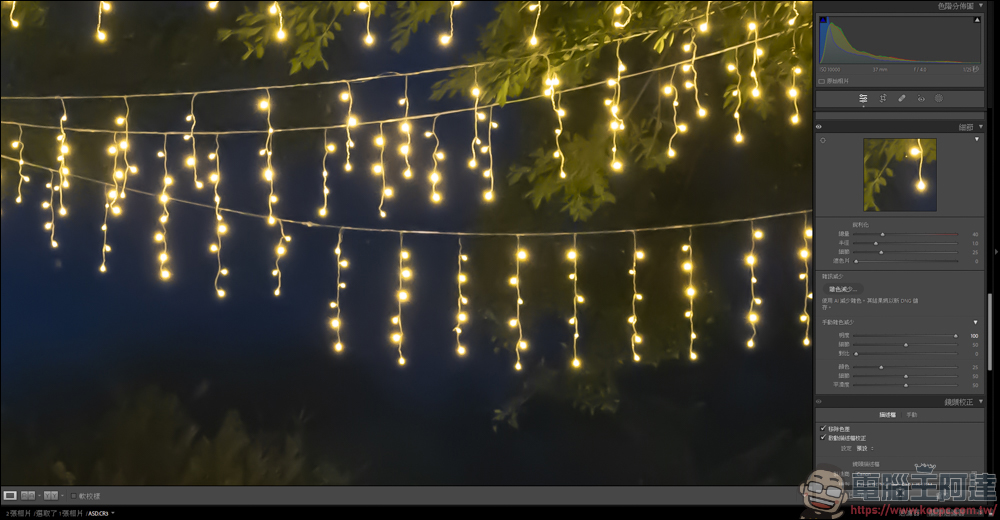
However, in order to make the photo look less noisy when enlarged, I will probably do some noise reduction processing. Here in the photo editing, we can find the noise reduction button, which is also the AI noise reduction function that I will introduce today:
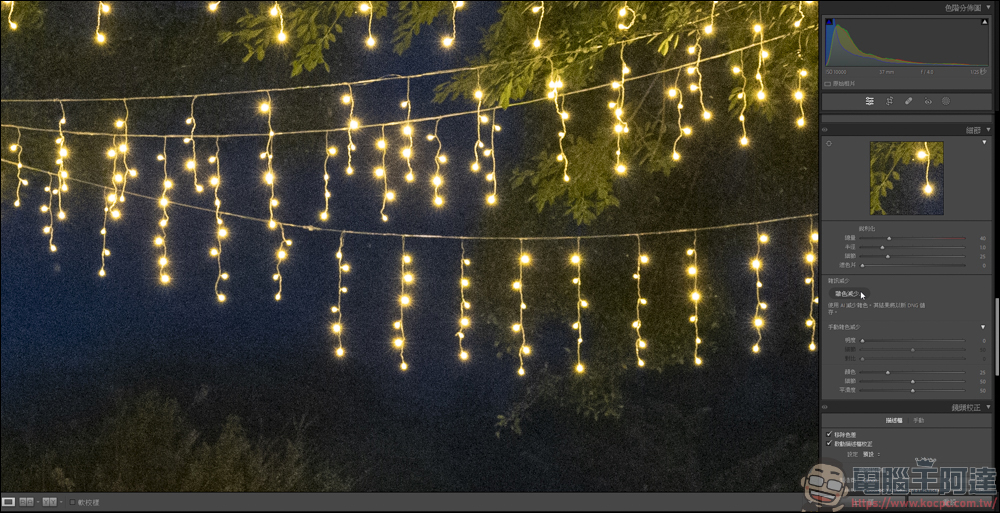
This new feature is a bit time-consuming and will take some time to process. The processing time depends on the performance of your computer:
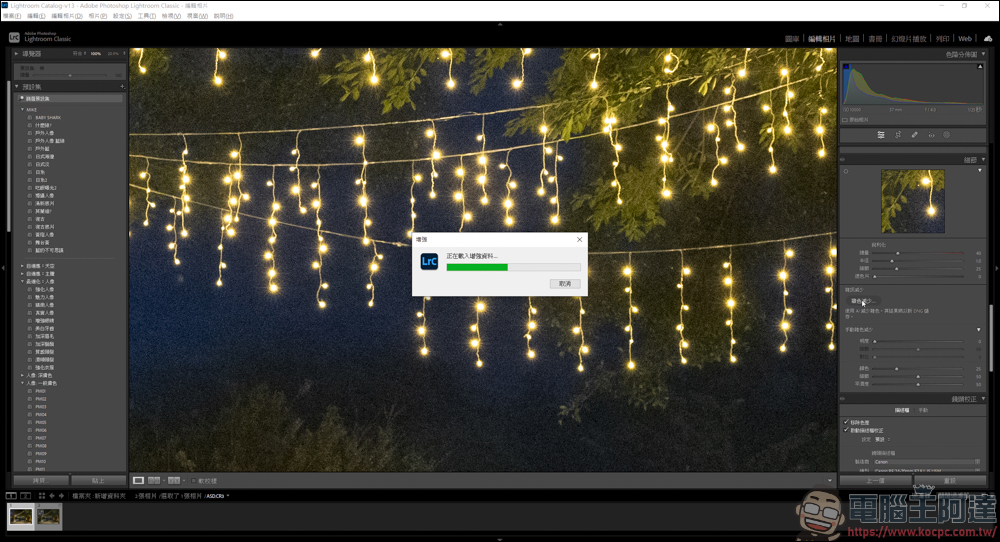
After entering the AI noise reduction function, you can see several options. If you want to use the noise reduction function, just check the first noise reduction option:
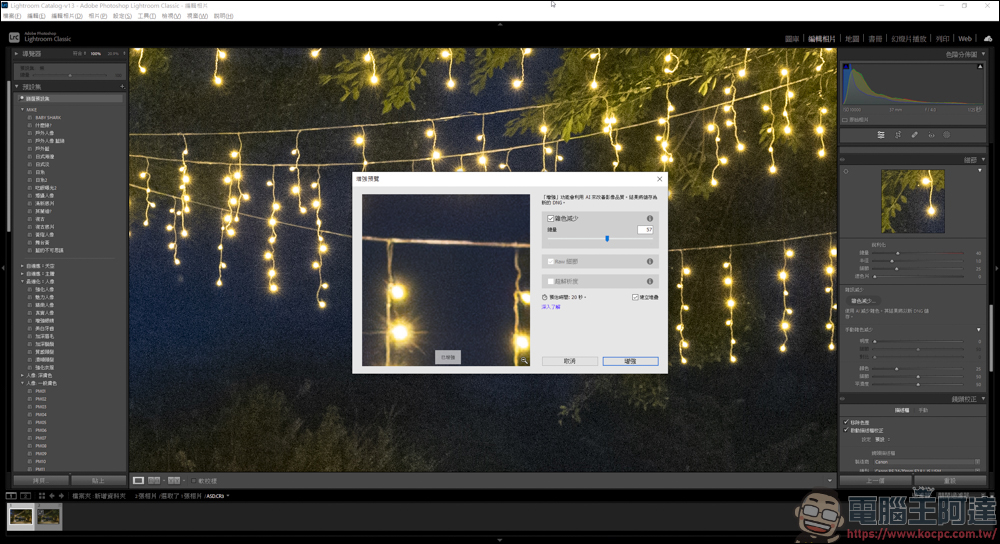
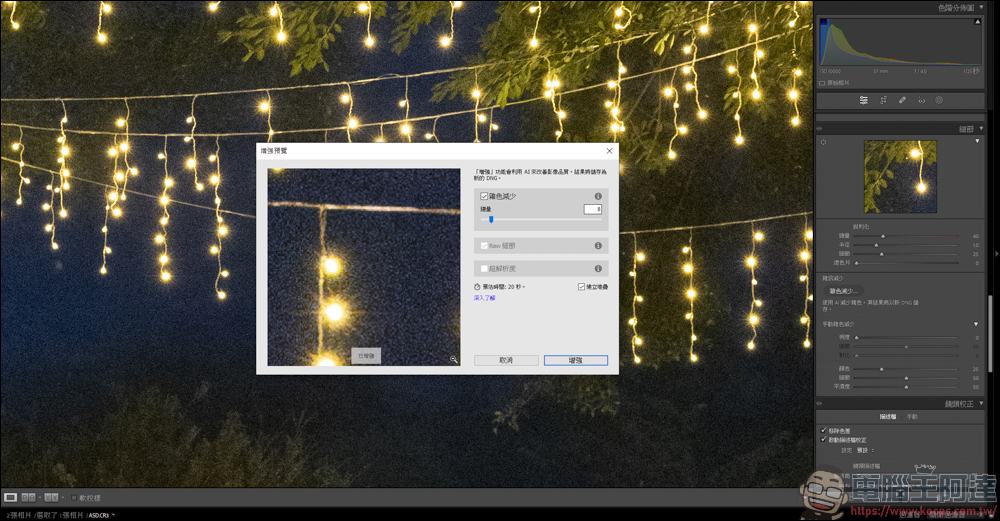
Let’s first lower the value so that everyone can see the effect. You can see that there is a lot of noise:
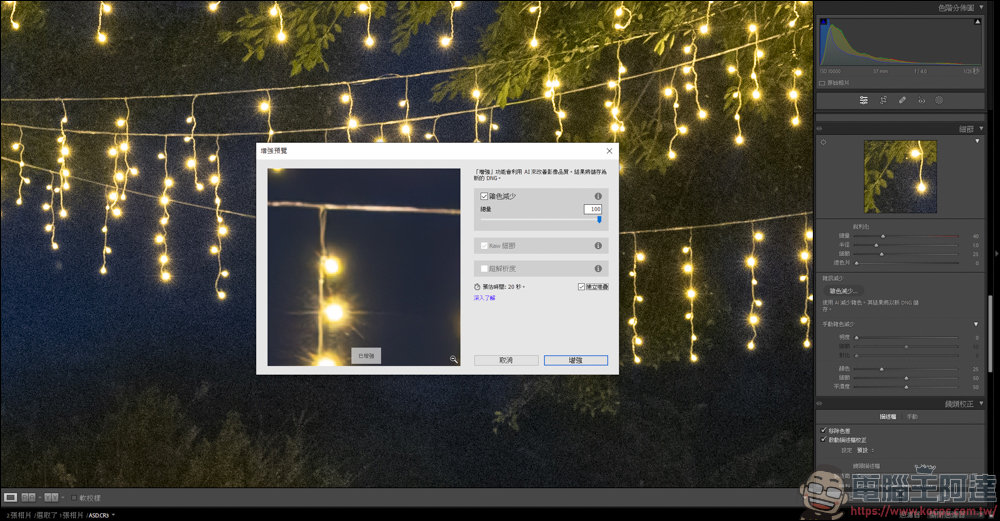
After raising the value to the highest value, the noise almost disappears, but the picture also has a relatively oil painting feel:
If you want to get rid of the noise and still retain some details like this photo, I personally estimate that about 80 is quite good. Here I use 80 for demonstration 😐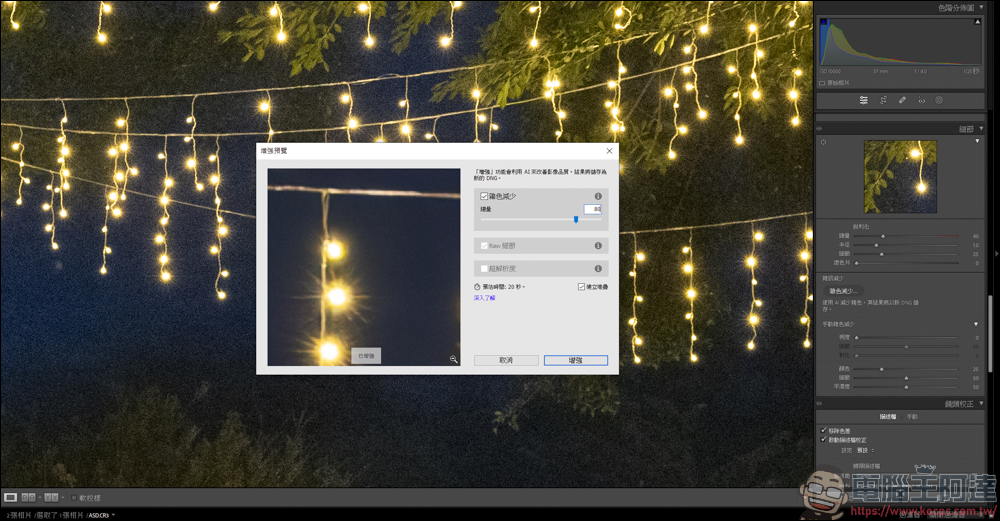
This is the effect of applying the AI noise reduction function. When you zoom in on the photo, do you feel that there is no noise anymore? In addition, after applying the AI noise reduction function, the system will automatically save it as another DNG for editing:
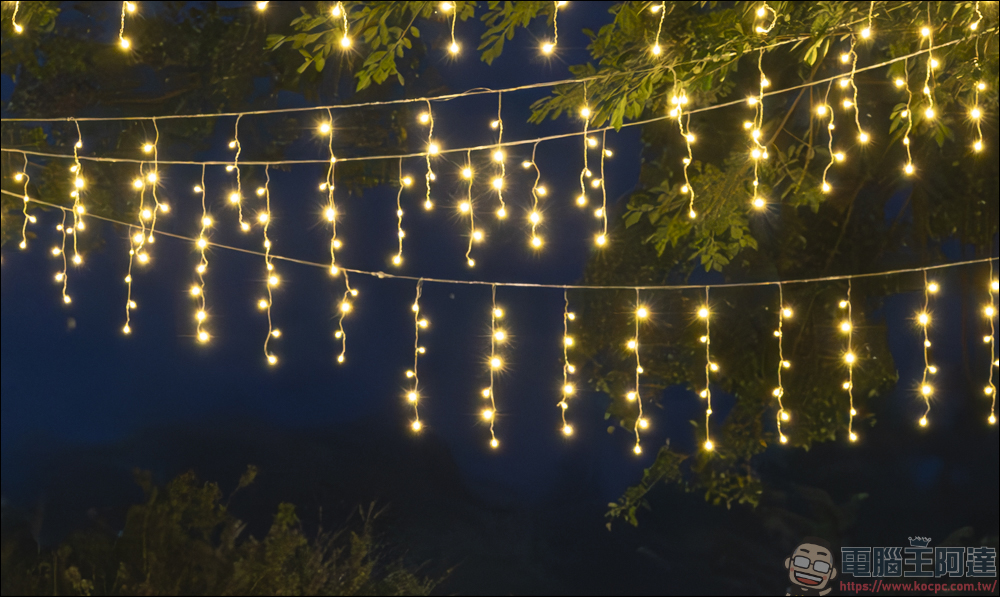
Then use the same photo to continue the demonstration. The noise reduction function used here is the original Lightroom preset. First of all, no noise reduction effect is applied:
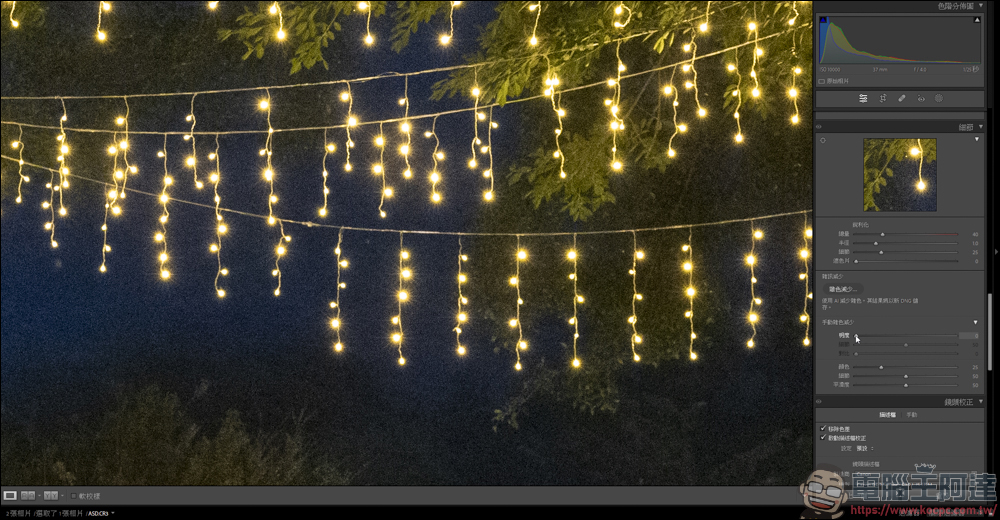
Pulling the brightness value to 50, you can see that the noise has been slightly reduced, but the screen has also started to look oily:
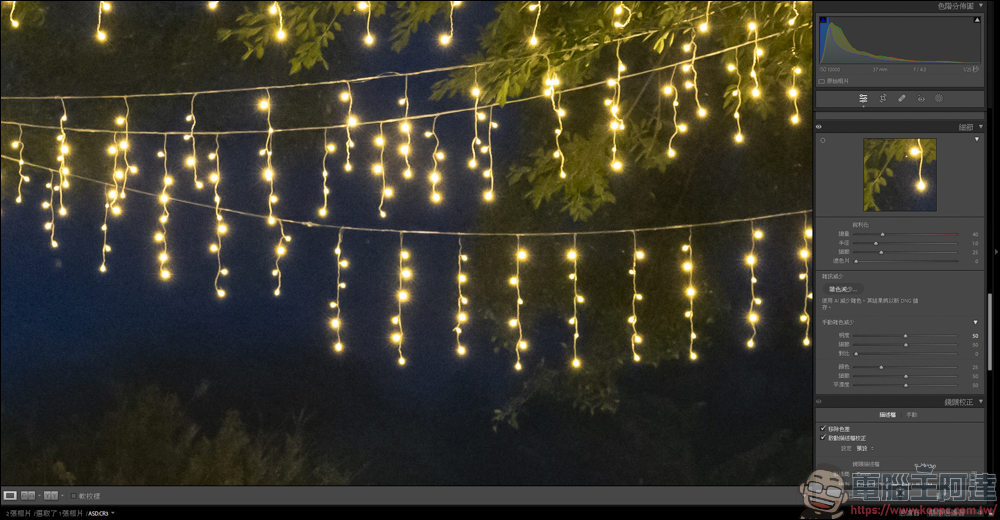
After raising the value to 100, you can see that the photo has no noise, but instead it looks like a cartoon XD
On the left is a photo corrected with the AI noise reduction function, with a value of 80. On the right is Lightroom’s original preset noise reduction function, with a value of 100. You can see that after denoising the photo on the left, it still retains most of the details, which is really impressive:
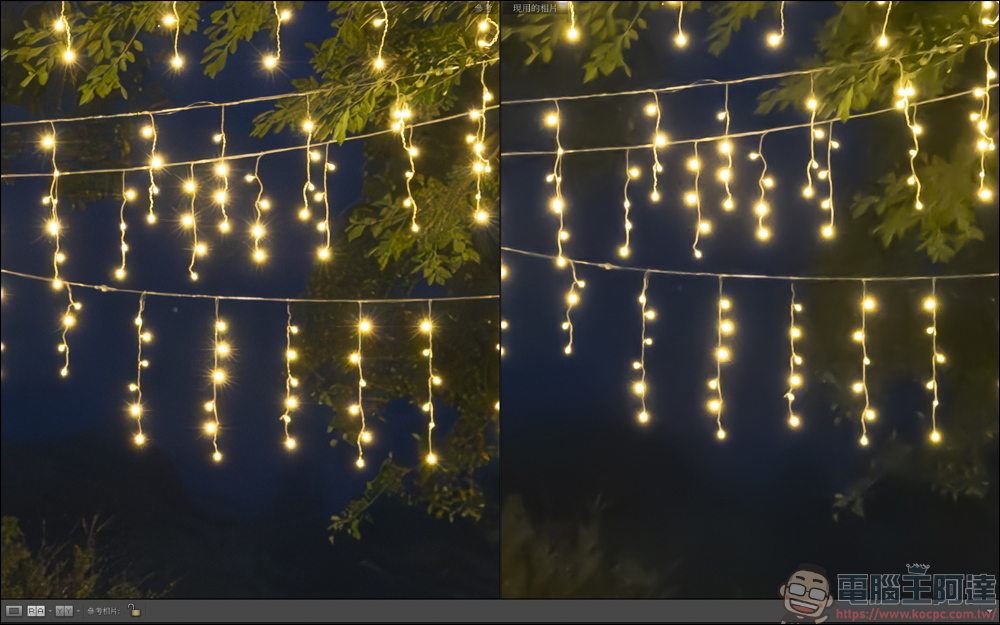
Change the values to 80 to see if the AI noise reduction function still produces the best effect:
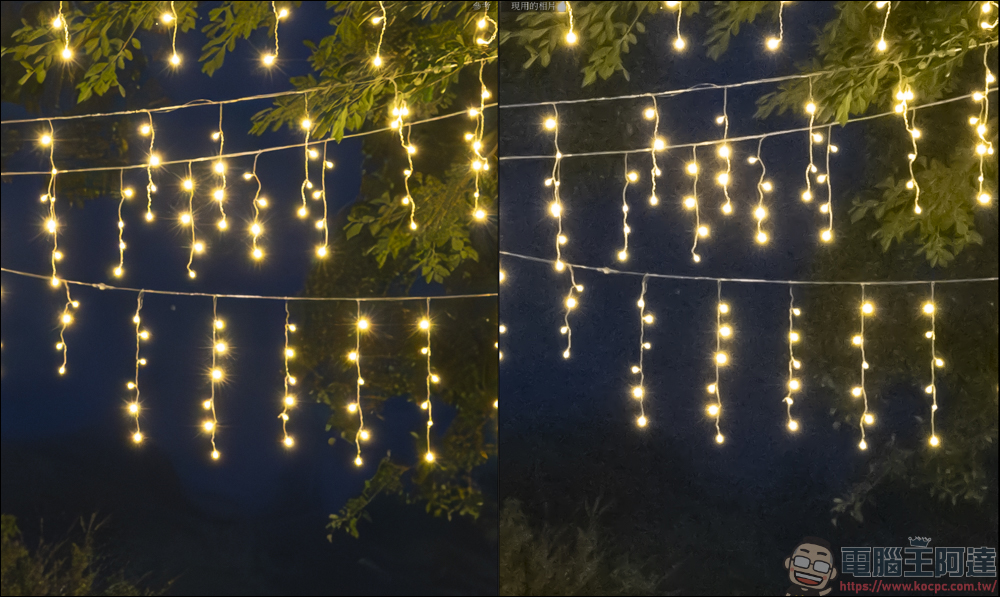
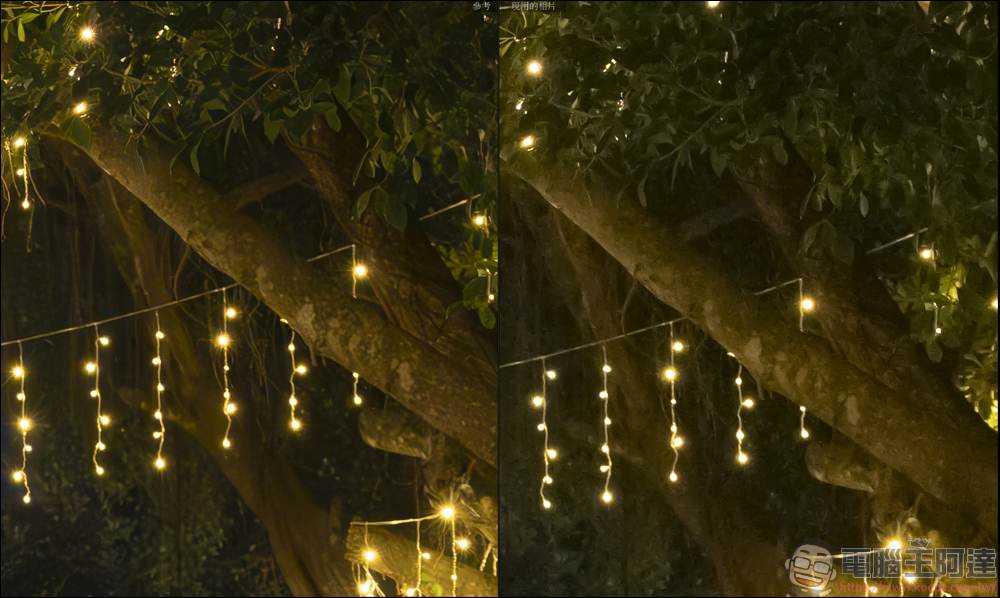
In comparison with other images, the performance of the AI noise reduction function will be better than the original preset, so if your photos appear to be noisy, you might as well try Lightroom’s latest AI noise reduction function. The processing should be very satisfactory:
Source: KOCPC Chinese