


HDR (High Dynamic Range) is a technology that extends the color and contrast range of digital displays, giving users a more immersive and realistic visual experience. But to take full advantage of HDR’s visual enhancement capabilities, you must calibrate your HDR settings correctly. This time, follow us to learn how to calibrate your HDR screen, and understand why calibration is so important.
How to calibrate HDR in Windows 11? Why calibrate?
Why is calibration important for HDR in Windows 11?
Calibrating an HDR monitor can significantly enhance your viewing experience. Proper calibration adjusts brightness, contrast, and color settings to optimize the monitor’s output. The most immediate result is more accurate color rendering, improved shadow detail, and a more immersive and realistic viewing experience. In other words, by calibrating your monitor, you can ensure that the money you spend on an HDR monitor is well spent.
When you first calibrate HDR in Windows 11, you might be disappointed with how HDR looks on your desktop, especially in HDR media like games and movies. Calibration might be a more literal representation of the difference between having great HDR or being completely unusable.
Why might calibration also not help?
Calibration is definitely something everyone must do before ditching HDR in Windows 11, but even with calibration, you may still find the results disappointing. In fact, the actual HDR on many screens and TVs has nothing to do with the HDR labeled on the product. While they may offer color and brightness that exceed SDR standards, they lack the specifications to render HDR content as intended. There are plenty of screens that fall well short of even the most basic HDR standards in terms of peak brightness or contrast. It’s lengthy to explain why this happens and why they can be marketed as HDR, but I suggest you should RTINGS Wait to look up your monitor model on a professional website to check whether this product passes the HDR test, otherwise no amount of calibration will be able to overcome the hardware limitations.
There’s also something to be said for Windows 11’s handling of HDR. Even on very advanced HDR displays, a way has not yet been found to make the standard desktop environment look acceptable in HDR mode. The new HDR keyboard shortcuts in Windows 11 are a godsend, just pressWin + ALT + B“You can quickly turn HDR on and off to switch display modes. This means you can use the desktop in SDR and quickly turn on the feature before launching a game or movie. Unless you’re editing HDR content, there’s little benefit to using HDR when working on your desktop. But with a little effort on the front and a quick switch between work and entertainment modes, you can get the most out of your HDR display.
How to calibrate HDR in Windows 11
Calibrating an HDR display in Windows 11 requires several steps, including installing the Microsoft Calibration app, enabling HDR on the display, and calibrating the display using the app.
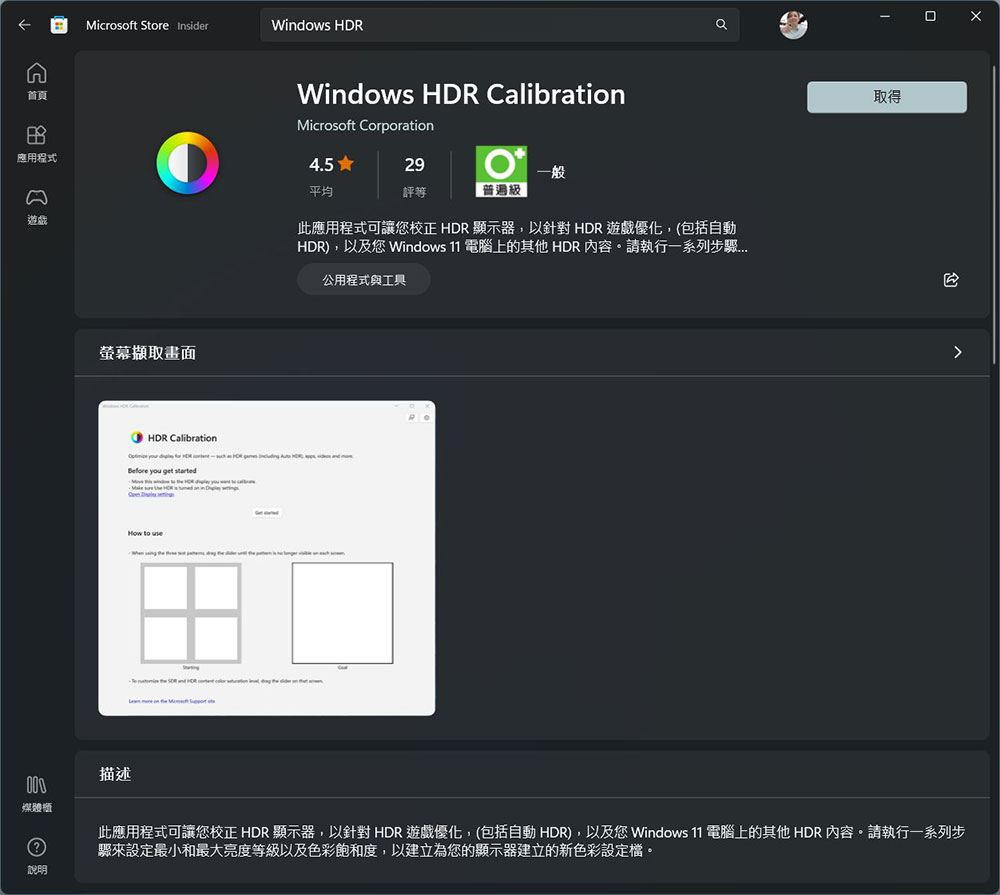
- first,Go to the Microsoft Store and download the app called “Windows HDR Calibration”, which is a tool developed by Microsoft itself. Press Get and install it.
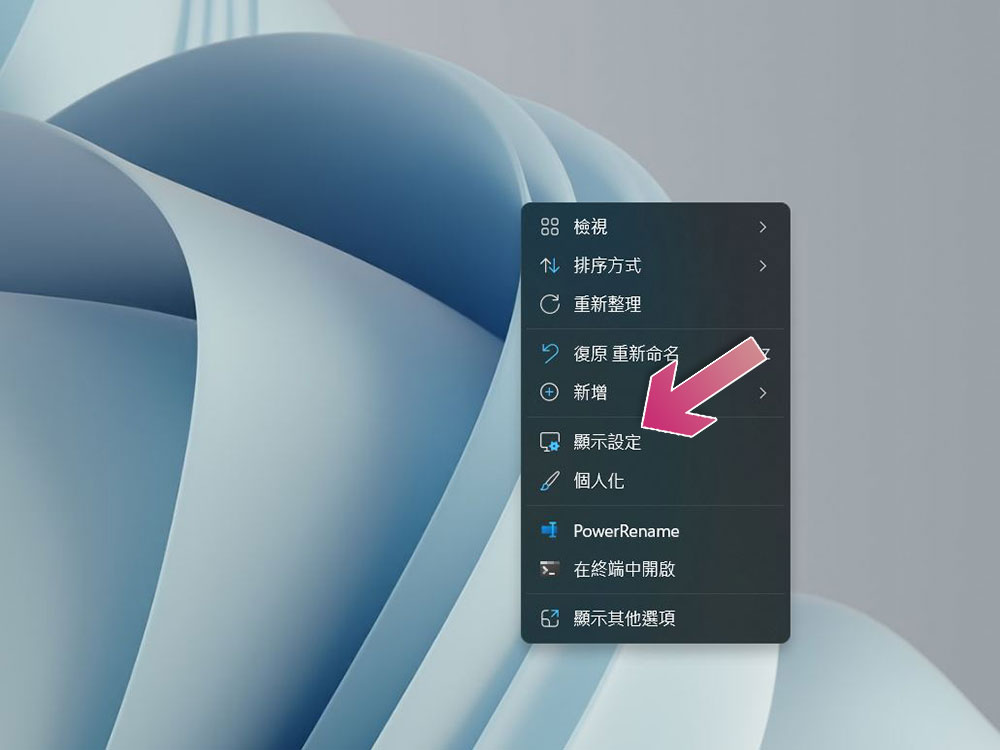
- Next, if you have a monitor that supports HDR, right-click anywhere on the desktop, select “Display Settings” from the menu, then select the monitor and turn on the HDR function below. Although you can click the small arrow behind HDR to make more settings, we won’t care about it since we are going to calibrate.
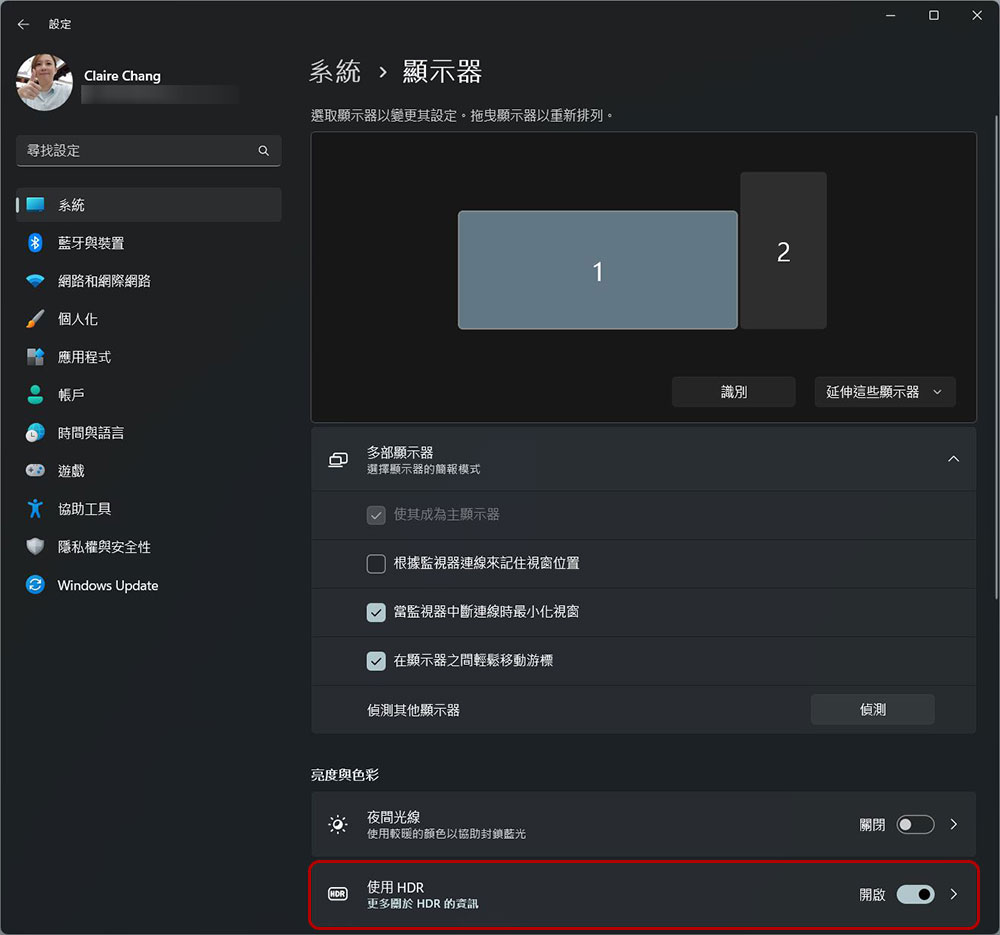
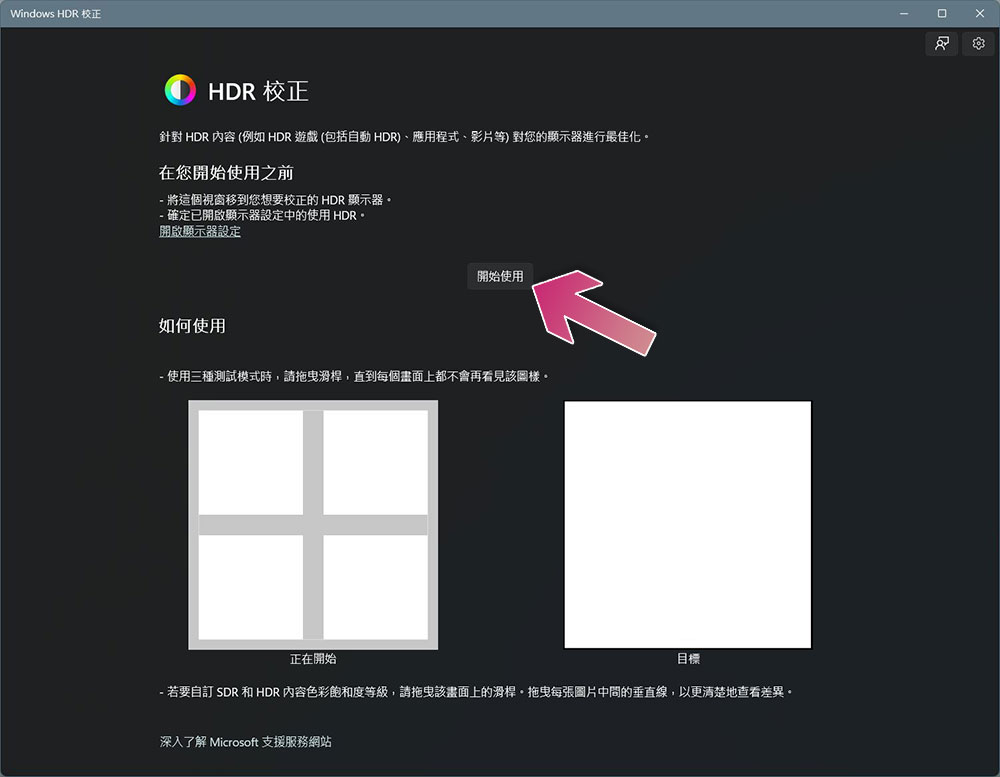
- Now, we’re going to start the calibration. Open the “Windows HDR Correction” application installed in the first step and click the “Get Started” button.
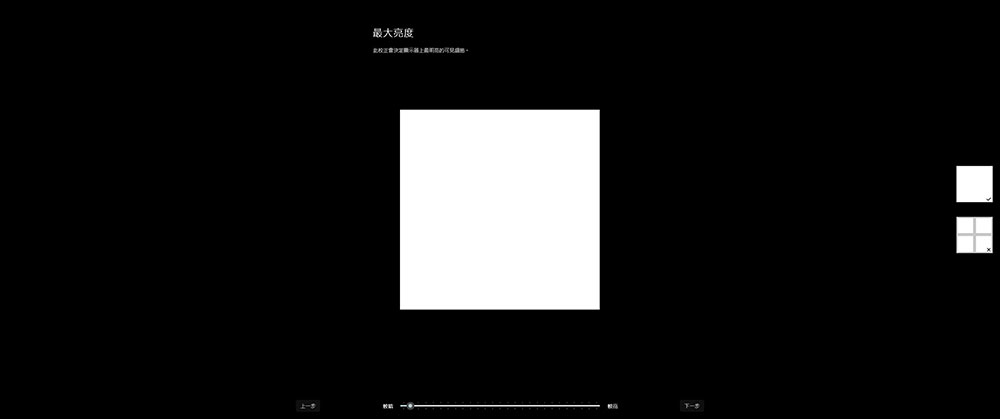
- Next, the system will prompt you to make three settings related to brightness and darkness. For each setting, drag the lower lever left or right until it is bright or dark enough so that the pattern is no longer visible to calibrate the screen, then press Next.
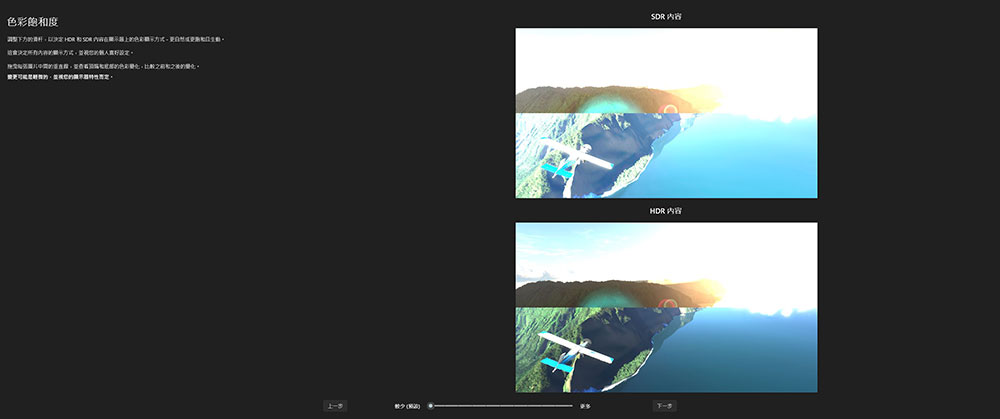
- Then there is the color saturation test. You can compare the SDR and HDR image displays with each other, and drag the slider below to adjust it to the way you want.
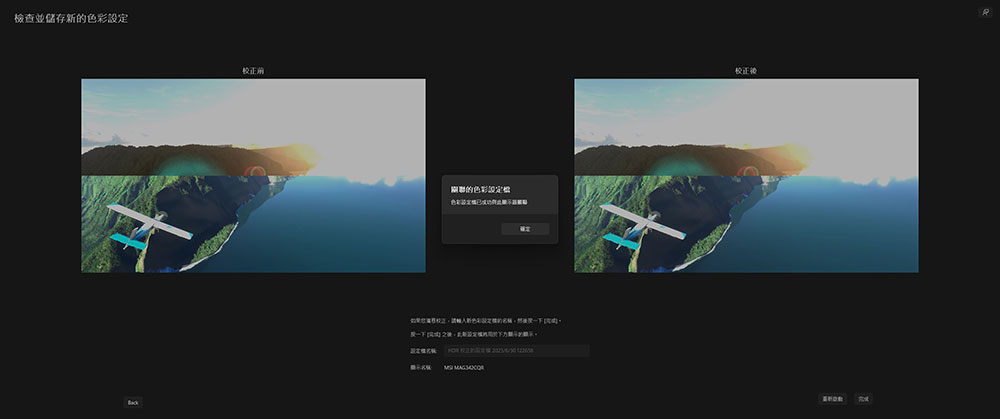
- Then make final confirmation and save the calibration file.
Source: KOCPC Chinese