


We all know that photography is the art of using light. Photos without light are often regarded as failed shots. Is this really the case? The theme I want to share this time is silhouettes. This kind of photo does not have any details of the characters. The all-black human figures rely solely on the movements and body outlines of the characters to convey ideas. This article teaches you how to take silhouettes. If you learn something, please share it with me!
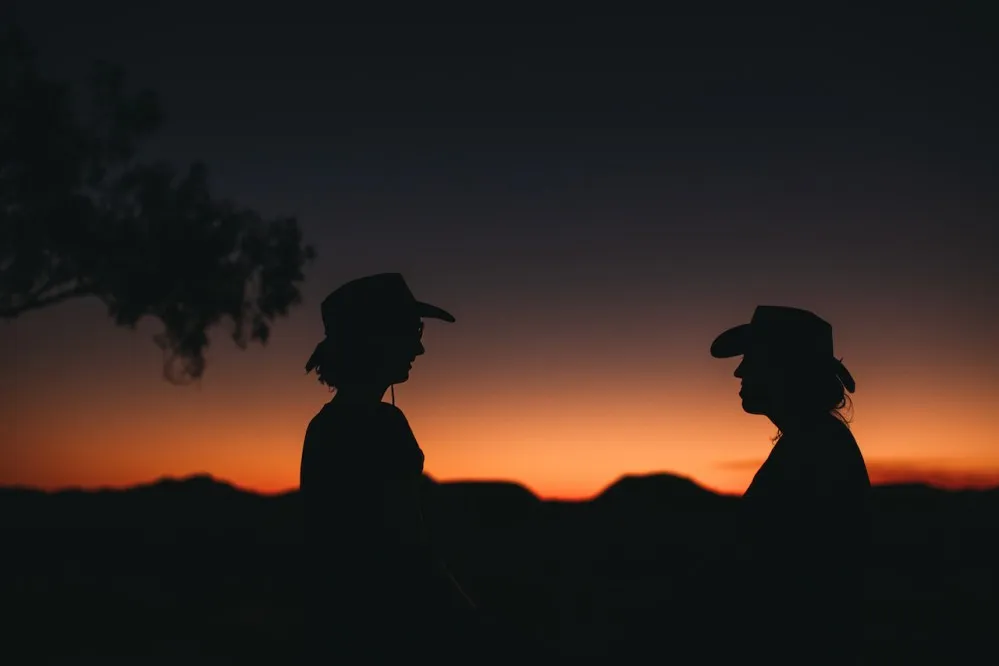
▲ Picture 1: Silhouettes of two people under the sunset/from Pexels
If you think the content of the article is helpful to you, thenSubscribe to my contentBar! It’s free! When I publish a new article, it will be pushed to your inbox immediately. This is the easiest and most convenient way to encourage me!
What is a silhouette?
Silhouette is a single-toned photo style, usually using black tones, showing the outline of an object or person. Because the subject being photographed is black, there is no way to identify the expression or emotion, so it also has a somewhat mysterious atmosphere.
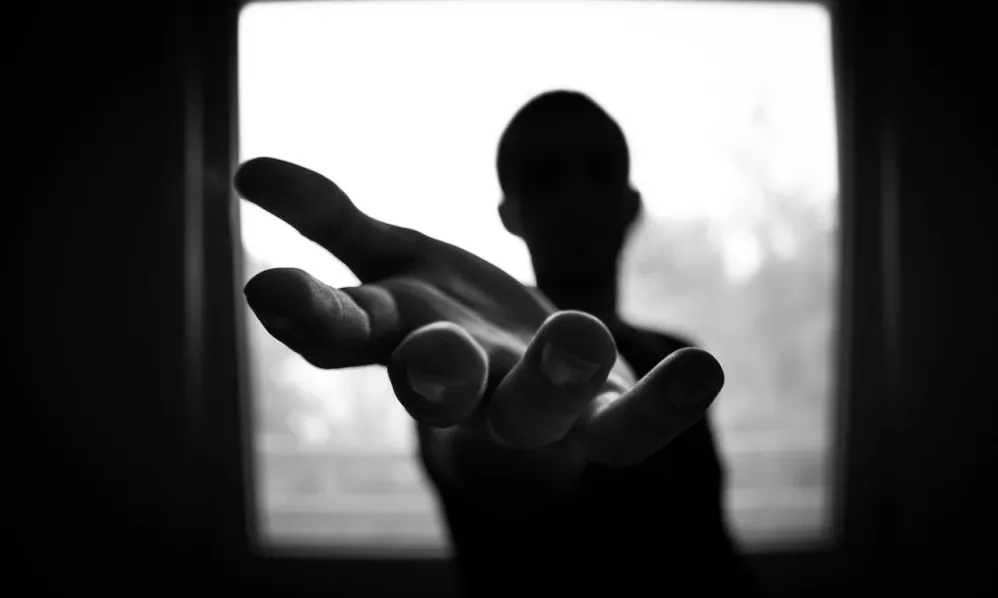
▲ Figure 2: The image of wanting something/from Pexels
The word Silhouette is a French word that can be traced back to the mid-18th century, when Étienne de Silhouette, the French Finance Minister at the time, was rumored to have been forced to come up with ways to save money during the economic crisis. He even wanted to save money on buying paintings, so he planned to cut them out of paper, which was also the most cost-effective way. It is said that cutting paper with scissors is also his personal hobby.
Later generations used the word Silhouette to describe the act of silhouette. It also had a derogatory connotation at the time, indicating a cheap feeling.
In the field of photography, we will try our best to make the brightness of the photo as high as possible, so that it can be considered a good photo. But in silhouette-style photos, we would rather put the metering pointOn the brightest sun, making the subject darker and even losing all details, so that you can have a good-looking silhouette photo.
The photographer needs to spend all his energy on the outline and body of the character, and the expression can be ignored.
How to take silhouette photos?
Since we want to capture the outline of a character, how should we capture the silhouette?
In fact, silhouettes are shot using backlighting. Scenes with large backlighting can be said to be the best environment for shooting silhouettes.
In addition to the backlight environment, the editor also has a few important points to remind you:
1. Find ambient light sources
First, you need to figure out where the light source is.
When outdoors, just look for the position of the sun. If it’s cloudy, look for the brightest point or area in the sky. If you are shooting indoors, look for the brightest area to shoot. Generally speaking, it should be the window.
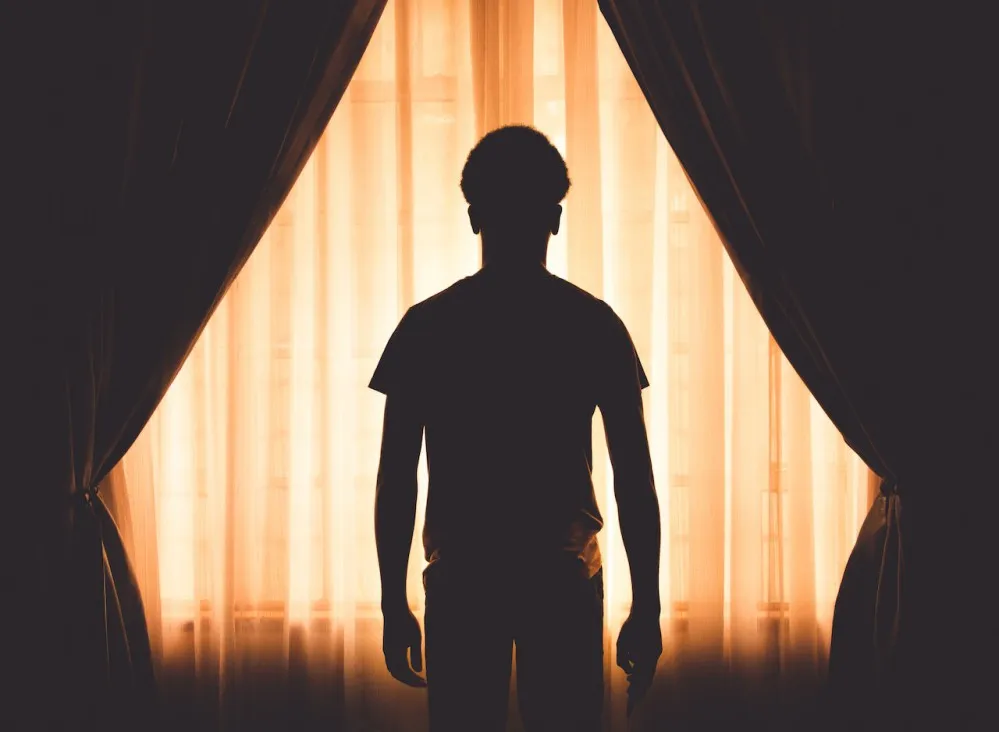
▲ Figure 3: A mysterious silhouette/from Pexels
2. Find the appropriate background
Even if the details of the characters are lost, a good background can naturally explain the environment. Common backgrounds include mountain views, seaside, riverside parks, embankments, etc. They are all very good.
Below are some case photos for your reference.
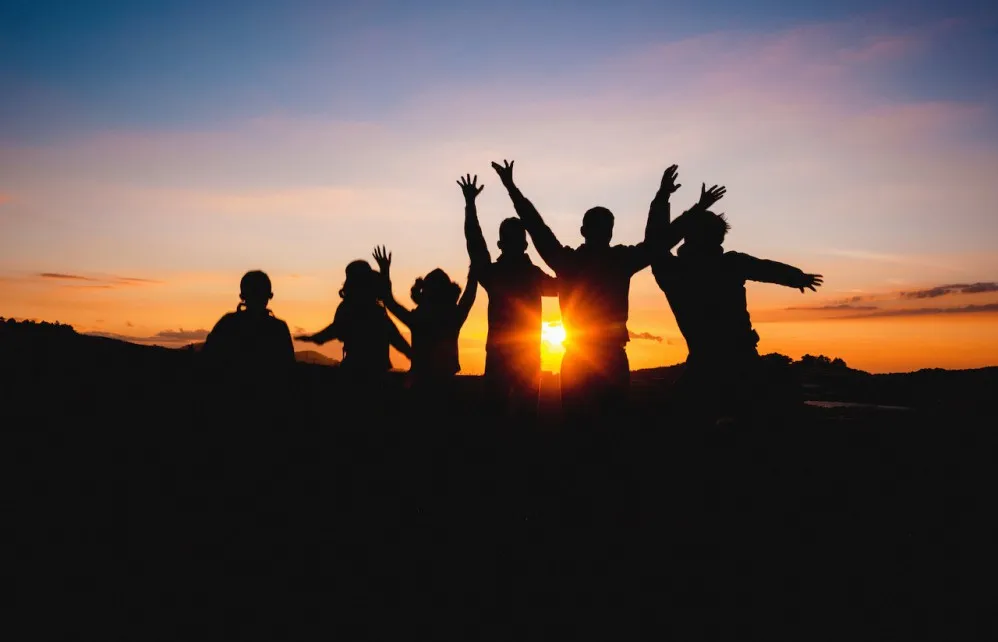
▲ Picture 4: Silhouette of friends traveling/from Pexels
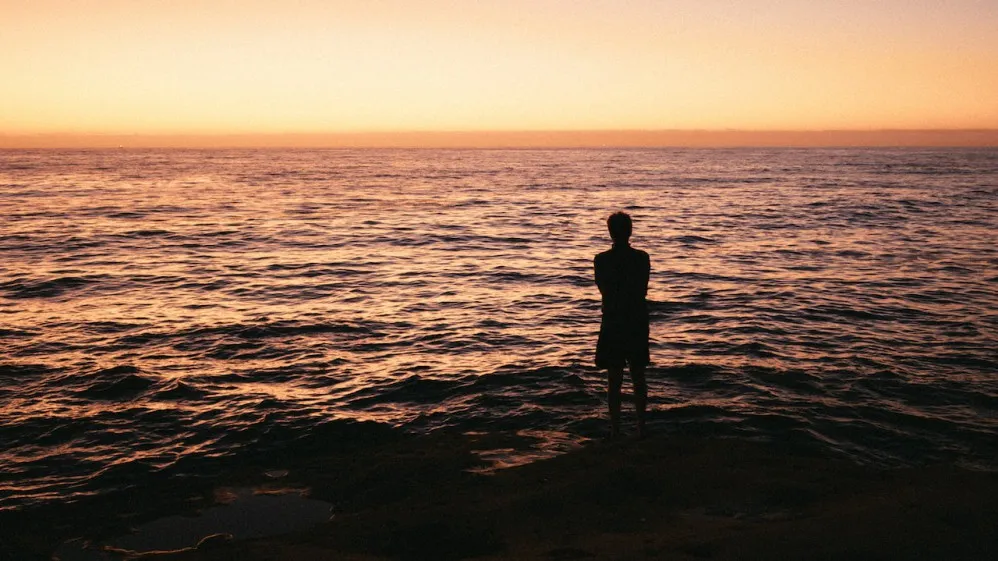
▲ Picture 5: Thinking at the beach/from Pexels
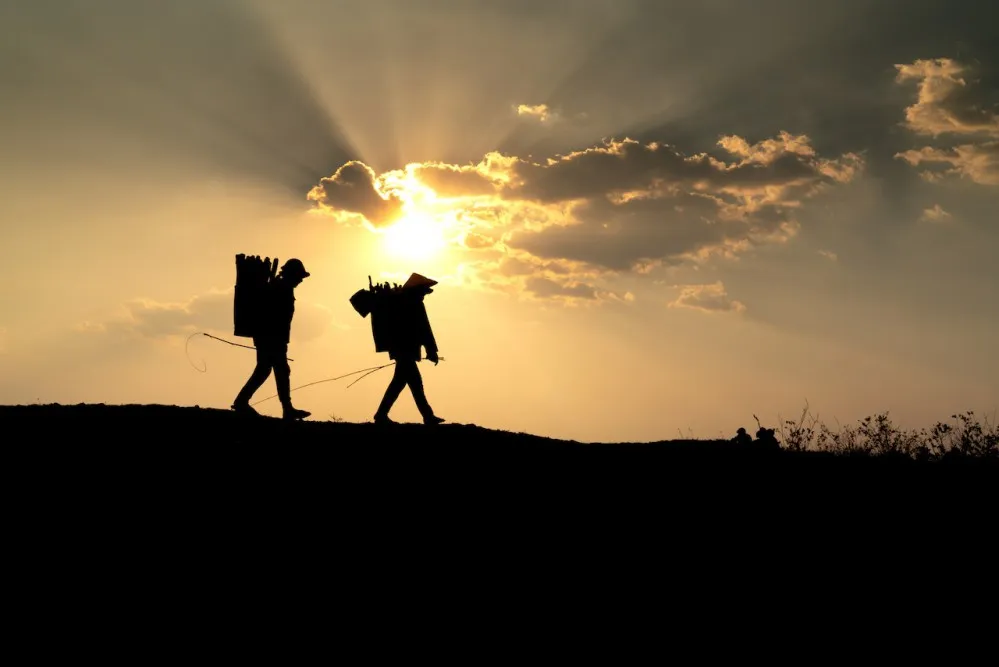
▲ Figure 6: Working hard until sunset/from Pexels
If you want to make the picture look more beautiful, the editor recommends taking it when the sun is about to set. Many silhouette works are also taken at dusk, so the tones are very similar. Next time you want to take a silhouette, why not pick up your camera at sunset? Your photos will also be more beautiful and beautiful!
3. Switch to spot metering
Today’s cameras are getting better and better, with many different built-in metering modes for us to choose from. The camera will vary according to the mode we choose, and the optimal exposure effect will also change. We often talk about the three elements of exposure: aperture, shutter, and sensitivity ISO. These three parameters are judged from the metering mode of the camera.
Common metering modes include the following categories:
- Average metering mode: Calculate the average brightness of the entire screen as the metering result
- Center metering mode: The center of the screen is used as the metering result.
- Fixed-point metering mode: Measure light in a small range of the screen as the metering result
- …etc
If you still don’t know what light metering is, you can read this article first. The editor has a very detailed introduction in it. After reading it, you will know what photometry is.
Now if we want to make the picture darker, we need to use spot metering to measure the brightest small area on the picture, so that the picture in that area is normally exposed (not overexposed or underexposed), and other areas containing the subject will become underexposed.
Therefore, when you are shooting outdoors, you can try to set the metering area on the sun, so that the foreground including the people will naturally become darker. Sometimes, the main area of the photo is still not dark enough, and there is a gap between the full black effect and the silhouette. What should I do?
It is recommended that you adjust the exposure compensation, adjust EV -0.3 or more to darken the picture. The following article introduces some concepts of exposure compensation. If you are interested, please read it!
4. Adjust focus position
The person in the foreground has become darker, so you can correct the focus position by pressing the shutter halfway. It can happen if the camera fails to focus on the person correctly, as it is more difficult to focus without detail.
At this time, you can switch to manual focus, manually turn the focus ring on the lens to adjust the focus position, and check whether the focus is correct by observing the viewfinder.
5. The character poses
At this step, even if you are almost ready, the next step is to take pictures.
As mentioned before, the silhouette does not have any details, just the movements and postures of the characters. At this time, you can pose the character however you want, but try to be as generous as possible. In addition to showing confidence, it is more important to be able to clearly distinguish where the head, hands, and feet are.
If you want to do a simple posture exercise, I would recommend observing the shadow under the sun, after all, this is also a silhouette effect.
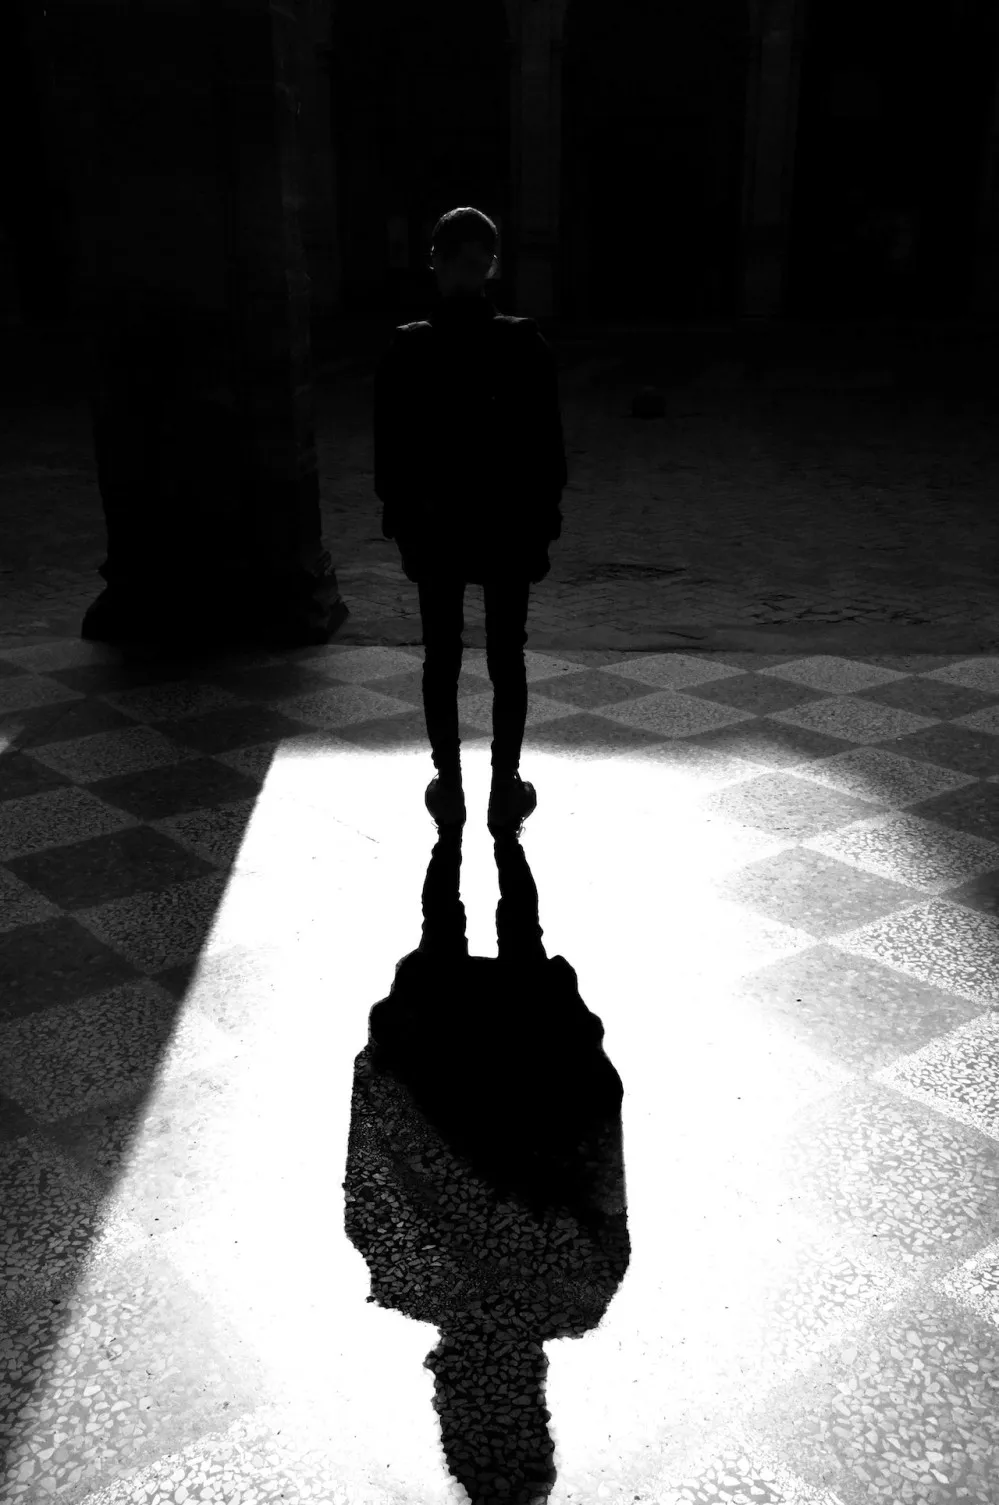
▲ Figure 7: Observe your own shadow/from Pexels
When the subject is no longer just one person, but when multiple people or pets intervene, thenPay special attention to the situation of silhouette overlay。
There must be a certain distance between multiple silhouettes, and everyone should not stand together, otherwise the photos taken may be unnatural.
Conclusion
It is not very difficult to take good-looking silhouette photos. It is a deformation of backlight photography. The key points of shooting are probably the following three:
- The subject needs to be between us and the light source
- Switch to spot metering mode
- Adjust the focus point
This is how to shoot silhouettes. If you want to make the picture look more beautiful, you can shoot at sunset. The yellow light of nature will make the picture look more beautiful and beautiful. You might as well give it a try next time!
If you like the above article, welcomeSubscribe to newsletter, and you will receive photography-related teaching articles!
by Engineer Blake
Source: KOCPC Chinese