


Recently on Google AI Studio and Gemini, there are more and more interesting applications, besides what we introduced a few days ago. PictureMe and Past ForwardEarlier, I also discovered another Nano Bananary. It has up to 28 built-in style modes. Upload an image and hit generate, and you’ll get the effect of that style. You no longer have to worry about how to write or tweak the prompt. I highly recommend giving it a try.
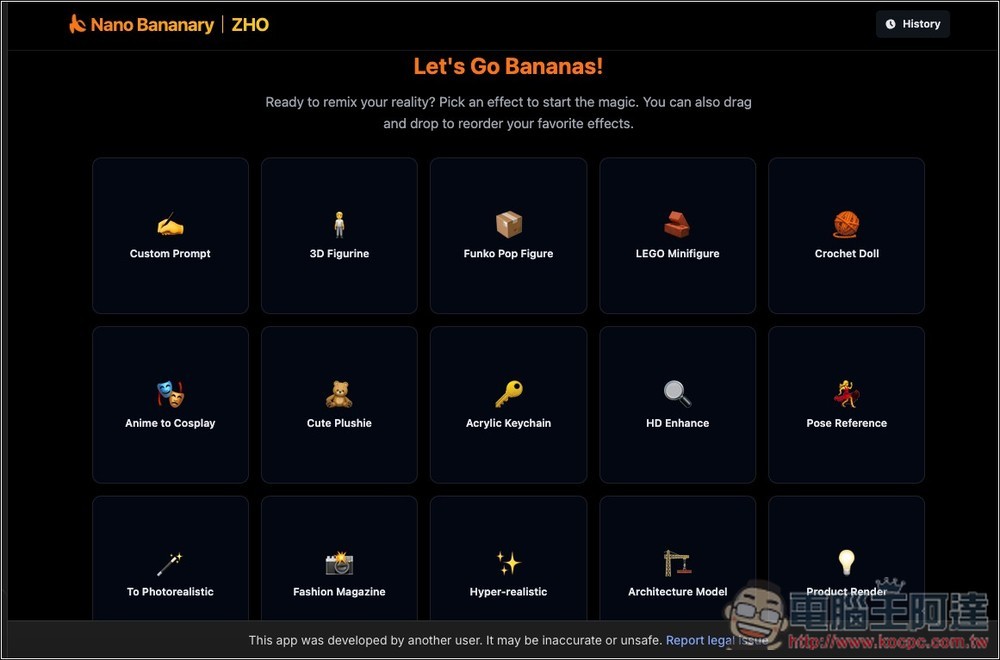
No more worrying about prompts! Nano Bananary converts images into 28 styles with one click, including 3D figurines, LEGO, pose changes, and more.
Nano Bananary is a free app hosted on Google AI Studio. You can use it by logging into your Google account, and its image generation is powered by Nano Banana.
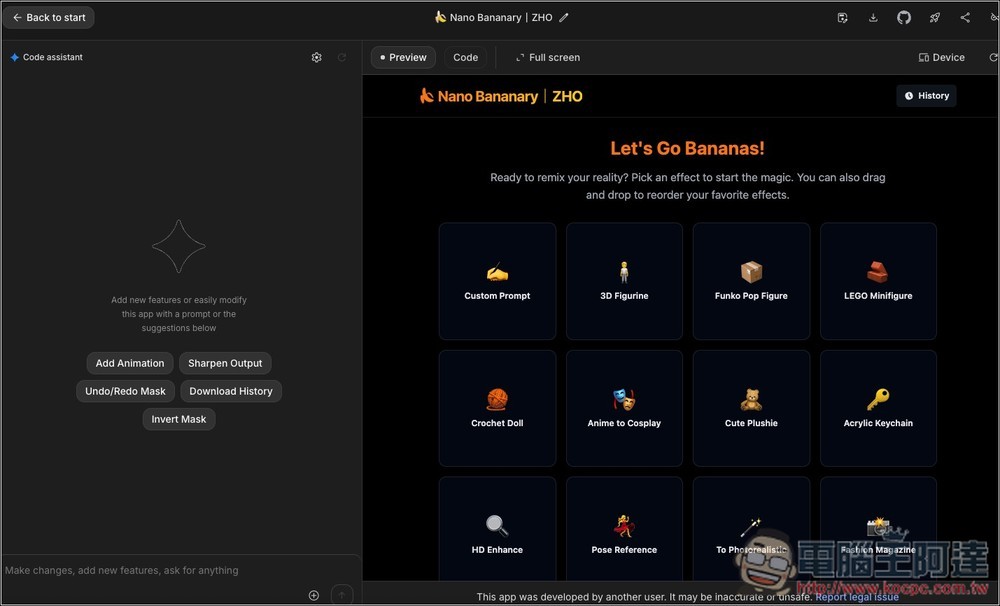
After clicking the link above to enter Nano Bananary, you can ignore the Code assistant on the left. If it’s too distracting, move the bar between the two windows to make the Code assistant window narrower:
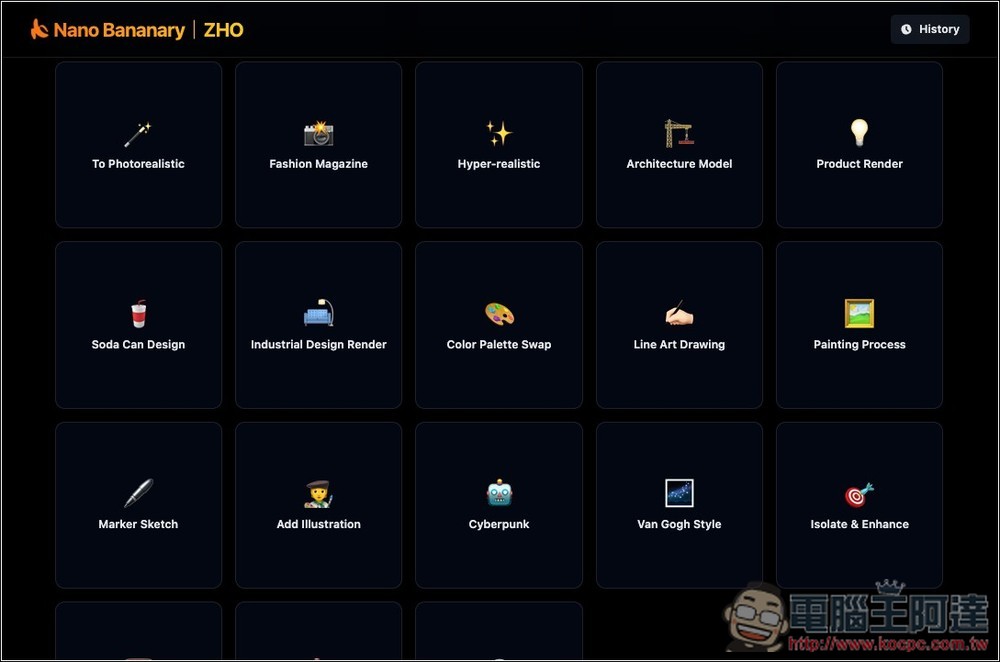
Then you can find the style mode you want to use. There are currently 28 types, which is a lot. If you’re worried about not understanding them, at the end of the article I’ll include a Chinese-English comparison of each mode, along with explanations and the Prompt it uses:
The usage of each style mode is roughly the same. After entering, upload your image on the left. If needed, you can use the Mask function; if not, you can directly click the generate button (there’s a button below, I didn’t screenshot it):
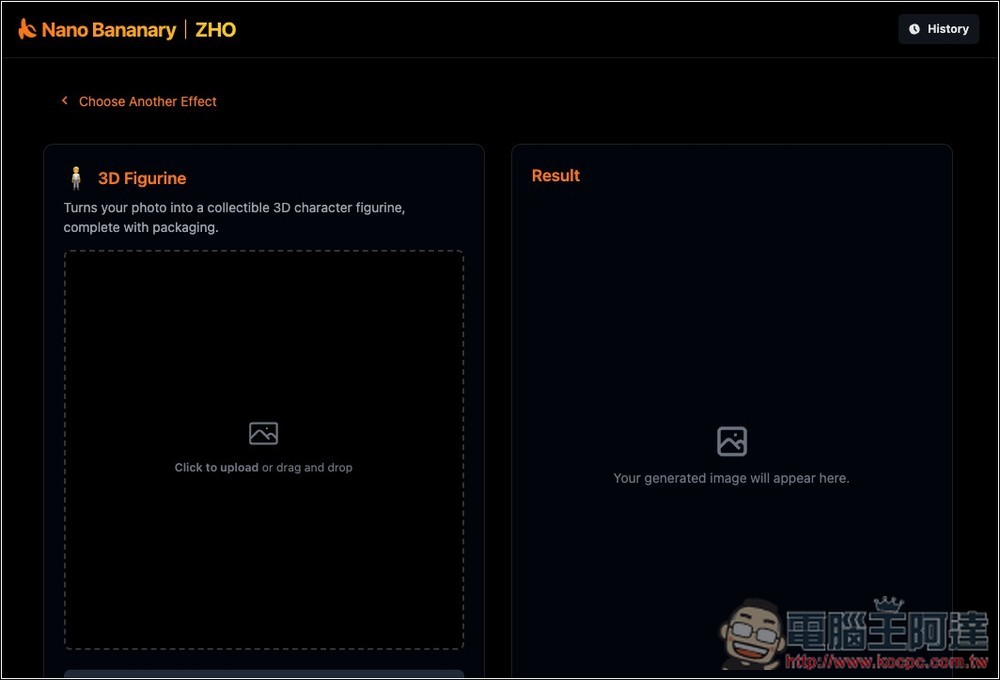
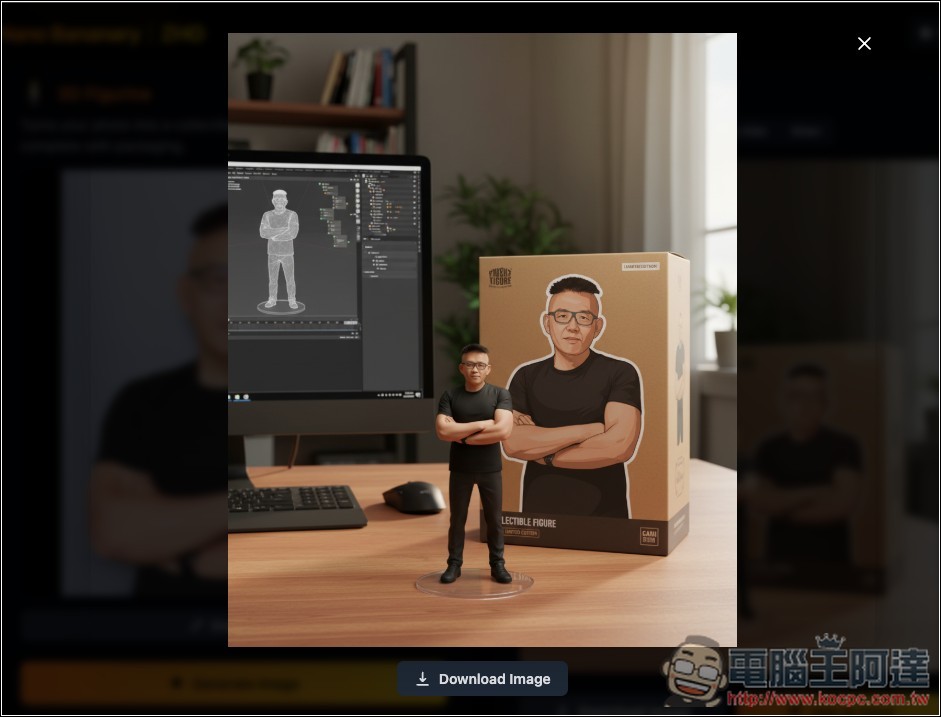
Like this, after uploading your image, click Generate Image below, wait a few seconds, and the result will appear on the right. These 3D figure images are really taking off recently—if you haven’t generated one yet, this mode makes it easy to get one without entering any prompts.
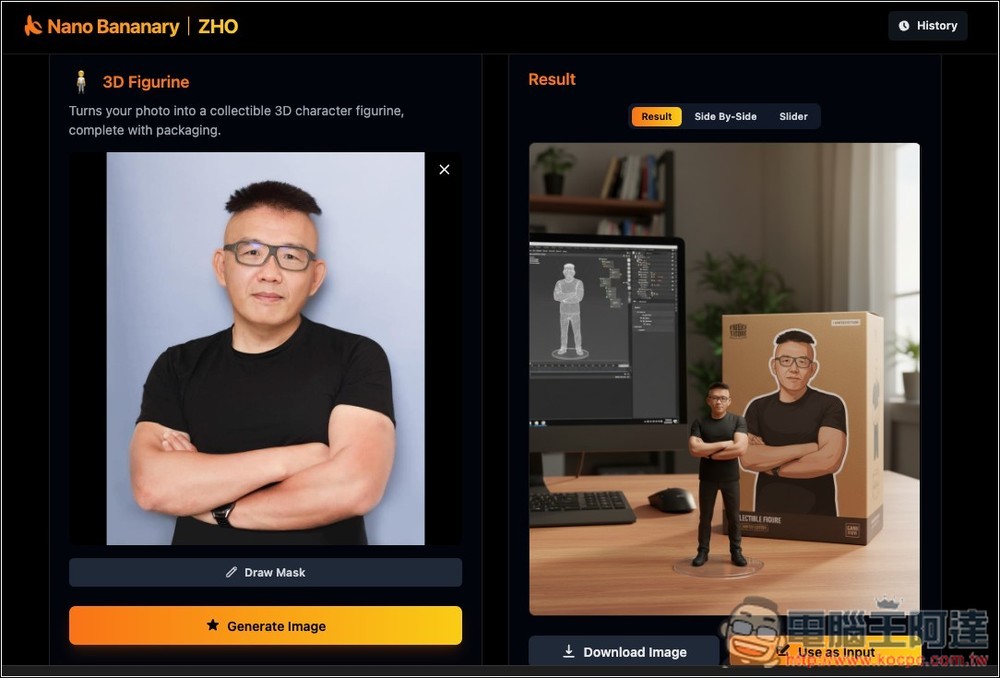
You can enlarge to preview, and if you’re satisfied, click Download Image to download it.
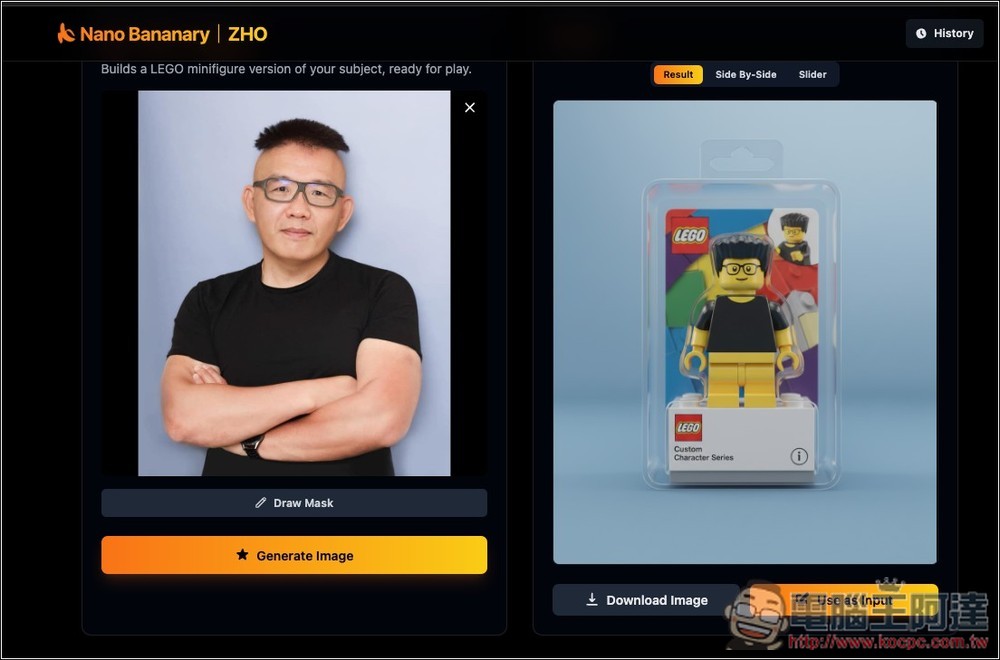
LEGO is also pretty fun, turning the main character in the photo into a LEGO character:
It’s also recommended to play around with changing poses. On the left, upload your image to Character; on the right is the pose reference image. Once done, press Generate:
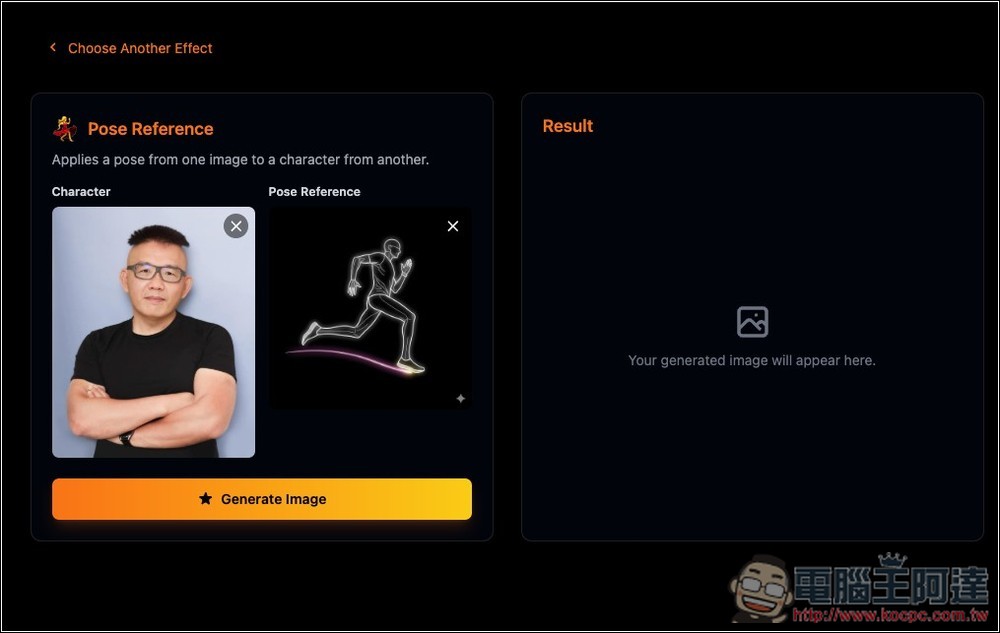
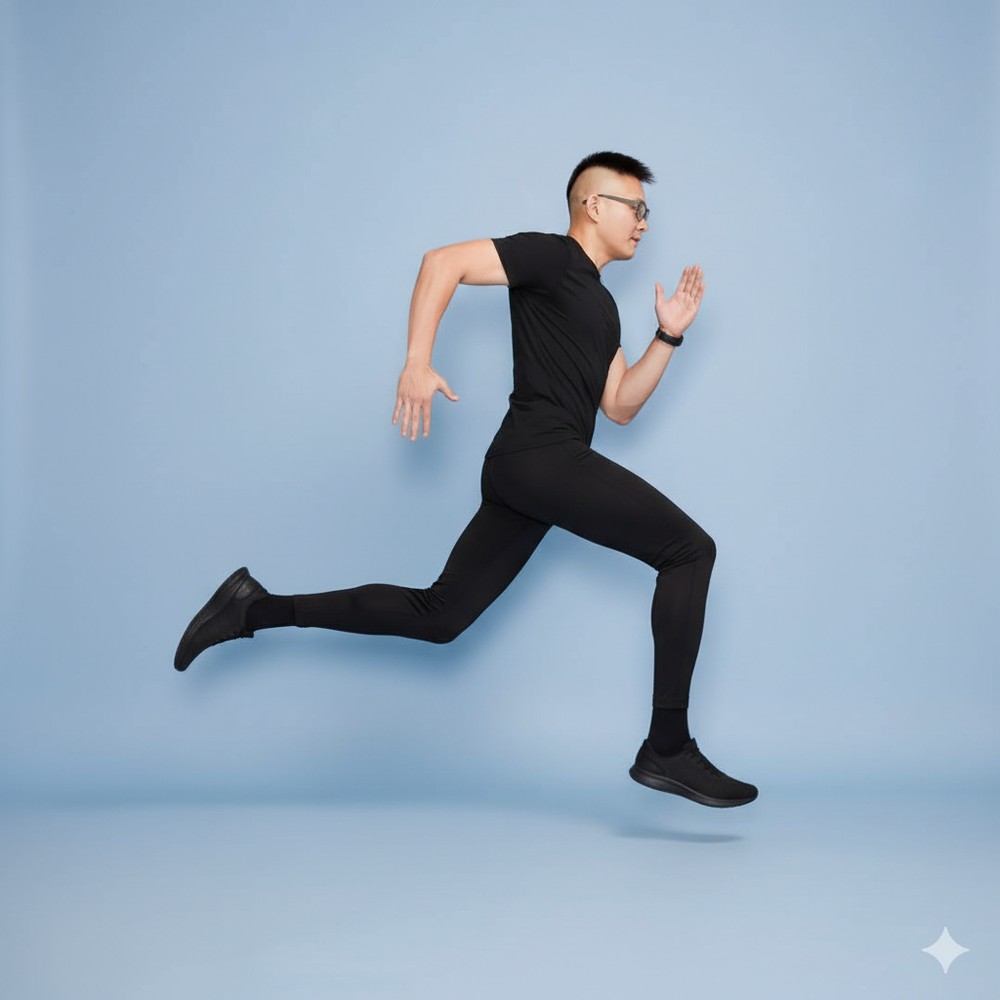
The image below is the result I generated. Although the side profile doesn’t look like Ada, the clothing and posture are correct:
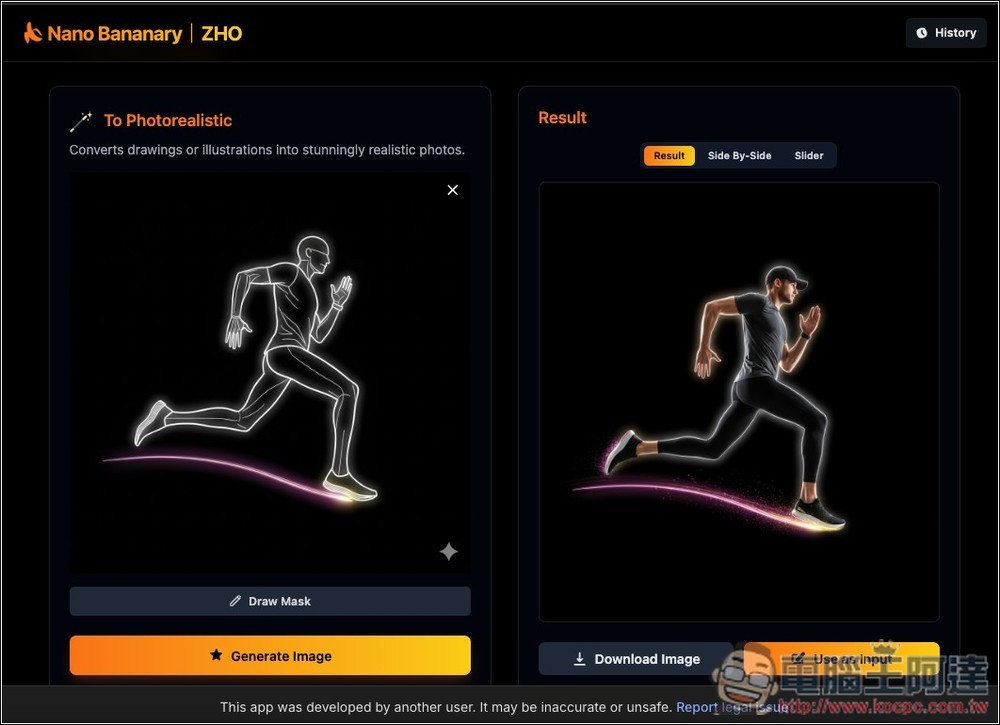
There is also a To Photorealistic (photorealistic) mode that converts line drawings into realistic images.
The following is the Chinese-English comparison, explanation, and the prompt used, sourced from the constants.ts file in this application’s code:
| Pattern name | Chinese explanation. | The prompt used |
|---|---|---|
| Custom Prompt | Freely input imaginary variations, with no scope limitations. | CUSTOM |
| 3D Figurine | Turn photos into character figurines, complete with packaging box, modeling visuals, and a base. | turn this photo into a character figure. Behind it, place a box with the character’s image printed on it, and a computer showing the Blender modeling process on its screen. In front of the box, add a round plastic base with the character figure standing on it. set the scene indoors if possible |
| Funko Pop Figure (Funko figure) | Generate a chibi-style Funko Pop figurine with a big head and small body, and display it both inside and outside the packaging. | Transform the person into a Funko Pop figure, shown inside and next to its packaging. |
| LEGO Minifigure | Turn the person into a LEGO minifigure and place them in the packaging box. | Transform the person into a LEGO minifigure, inside its packaging box. |
| Crochet Doll | Turn the character into a cute crochet yarn doll. | Transform the subject into a handmade crocheted yarn doll with a cute, chibi-style appearance. |
| Anime to Cosplay | Generate live-action cosplay photos of the character, including pose, facial expression, and composition. | Generate a highly detailed, realistic photo of a person cosplaying the character in this illustration. Replicate the pose, expression, and framing. |
| Cute Plushie | Turn the characters into soft plush dolls. | Turn the person in this photo into a cute, soft plushie doll. |
| Acrylic Keychain (Acrylic Charm) | Generate a character acrylic charm to hang on a bag. | Turn the subject into a cute acrylic keychain, shown attached to a bag. |
| HD Enhance (High-Definition Enhancement) | Enhance image clarity and details. | Enhance this image to high resolution, improving sharpness and clarity. |
| Pose Reference | Apply the pose from one image to another character. | Apply the pose from the second image to the character in the first image. Render as a professional studio photograph. |
| To Photorealistic | Convert the illustration into a photorealistic style. | Turn this illustration into a photorealistic version. |
| Fashion Magazine | Create a hyper-realistic, magazine cover style portrait. | Transform the photo into a stylized, ultra-realistic fashion magazine portrait with cinematic lighting. |
| Hyper-realistic (ultra-realistic) | Generate a realistic fashion photo with strong lighting and grain texture. | Generate a hyper-realistic, fashion-style photo with strong, direct flash lighting, grainy texture, and a cool, confident pose. |
| Architecture Model | Turn the building into a miniature model, with the modeling software interface shown alongside. | Convert this photo of a building into a miniature architecture model, placed on a cardstock in an indoor setting. Show a computer with modeling software in the background. |
| Product Render | Turn design drafts into professional 3D photorealistic renderings. | Turn this product sketch into a photorealistic 3D render with studio lighting. |
| Soda Can Design (Beverage Can Design) | Wrap the image onto an easy-open can and generate a product photo. | Design a soda can using this image as the main graphic, and show it in a professional product shot. |
| Industrial Design Rendering | Convert the industrial design sketch into a realistic product photo. | Turn this industrial design sketch into a realistic product photo, rendered with light brown leather and displayed in a minimalist museum setting. |
| Color Palette Swap | First convert it to line art, then use the color scheme from another image to color it. | Step 1:Turn this image into a clean, hand-drawn line art sketch. / Step 2:Color the line art using the colors from the second image. |
| Line Art Drawing (line drawing) | Convert the image into a clean, simple black-and-white line drawing. | Turn the image into a clean, hand-drawn line art sketch. |
| Painting Process | Generate a 4-panel display image showing the process from draft to finished artwork. | Generate a 4-panel grid showing the artistic process of creating this image, from sketch to final render. |
| Marker Sketch | Convert the image into a marker sketch style. | Redraw the image in the style of a Copic marker sketch, often used in design. |
| Add Illustration | Add cute hand-drawn characters to real photos. | Add a cute, cartoon-style illustrated couple into the real-world scene, sitting and talking. |
| Cyberpunk | Transform into a futuristic, neon-flickering sci-fi metropolis. | Transform the scene into a futuristic cyberpunk city. |
| Van Gogh Style | Transform the photo into the brushstroke style of The Starry Night. | Reimagine the photo in the style of Van Gogh’s ‘Starry Night’. |
| Isolate & Enhance (Subject Enhancement) | Extract the person separately and generate a high-definition clean-background portrait. | Isolate the person in the masked area and generate a high-definition photo of them against a neutral background. |
| 3D Screen Effect | Make the screen content like glasses-free 3D, popping out of the screen. | For an image with a screen, add content that appears to be glasses-free 3D, popping out of the screen. |
| Makeup Analysis | Review the makeup in the photo and mark improvement suggestions with a red pen. | Analyze the makeup in this photo and suggest improvements by drawing with a red pen. |
| Change Background (Background Replacement) | Replace the image background with a Y2K retro style. | Change the background to a Y2K aesthetic style. |
Source: KOCPC Chinese