


Since the Apple Silicon chip does not support the Boot Camp function, if M1 series Mac users need a Windows operating system, they will definitely ask whether they will only have paid virtual machine options such as Parallels and CrossOver, right? Of course not, there is now a free UTM tool that can also install the Windows 11 operating system on your M1 Mac. Although the performance may be a little worse than the paid software, it is no problem for general Internet use or paperwork and other tasks. You can even install Steam to play games. I will teach you how to use it below.
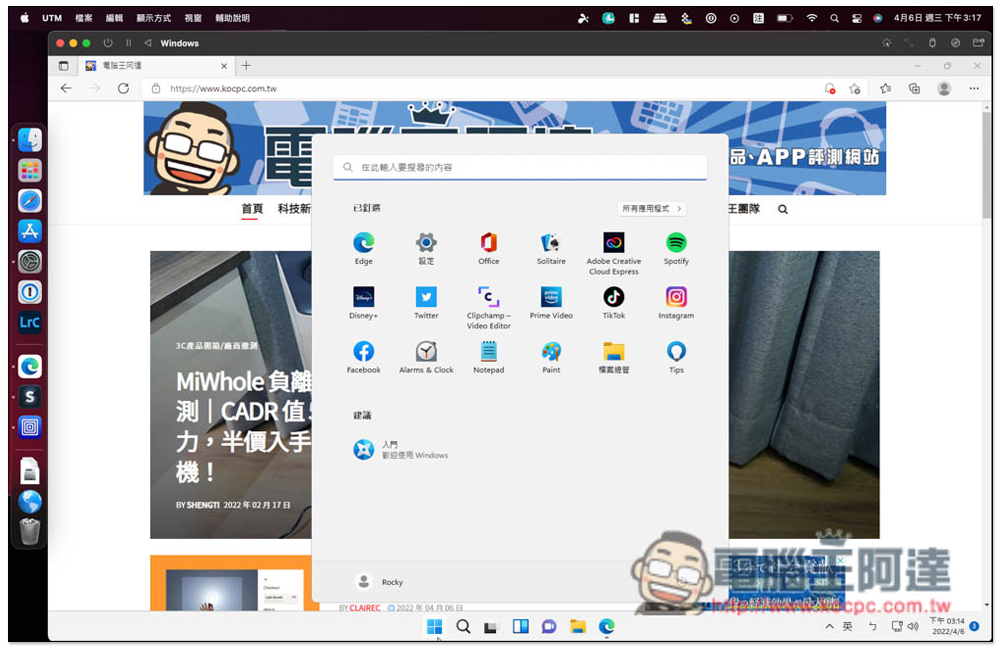
Install Windows 11 operating system on your M1 Mac with UTM free tool
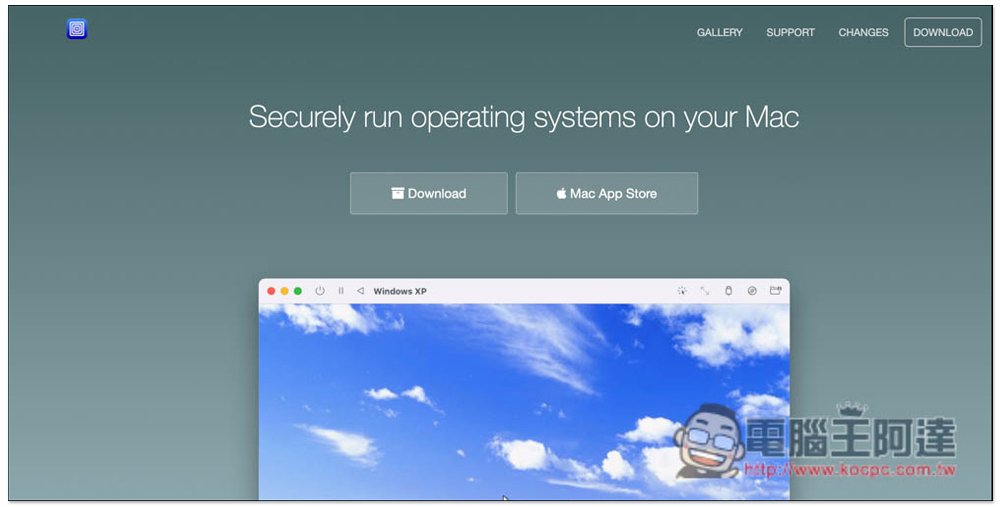
After entering the UTM official website, click Downlaod to download the installation file. The Mac App Store is a paid version. The version currently provided by the official website is temporarily free for everyone to use:
We also madeVideo version of teaching, friends who are interested can check it out:
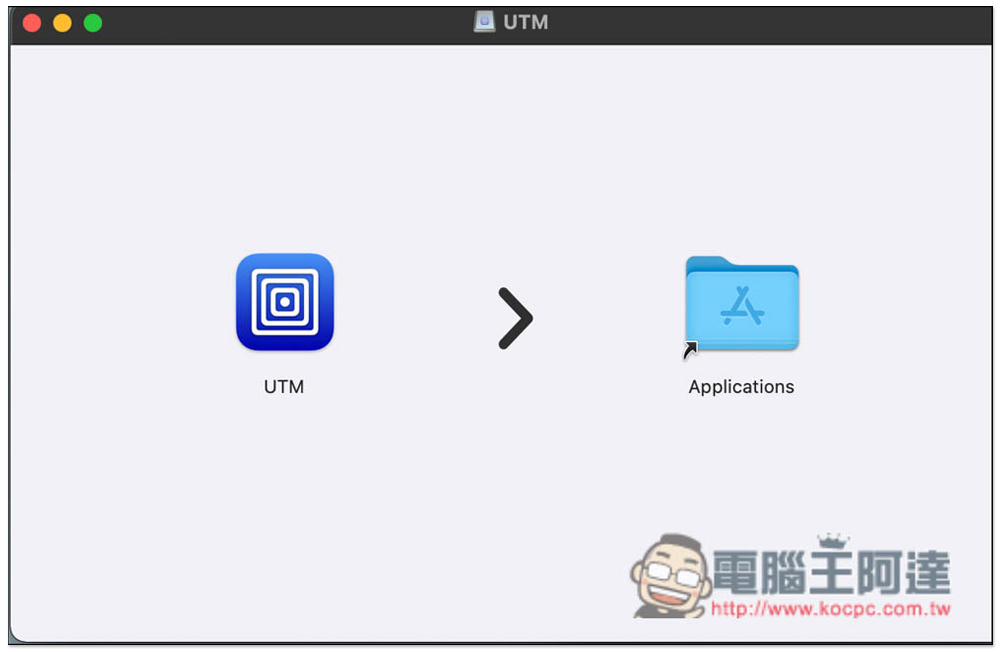
After downloading, double-click to open it, and then drag UTM to Applications on the right to install:
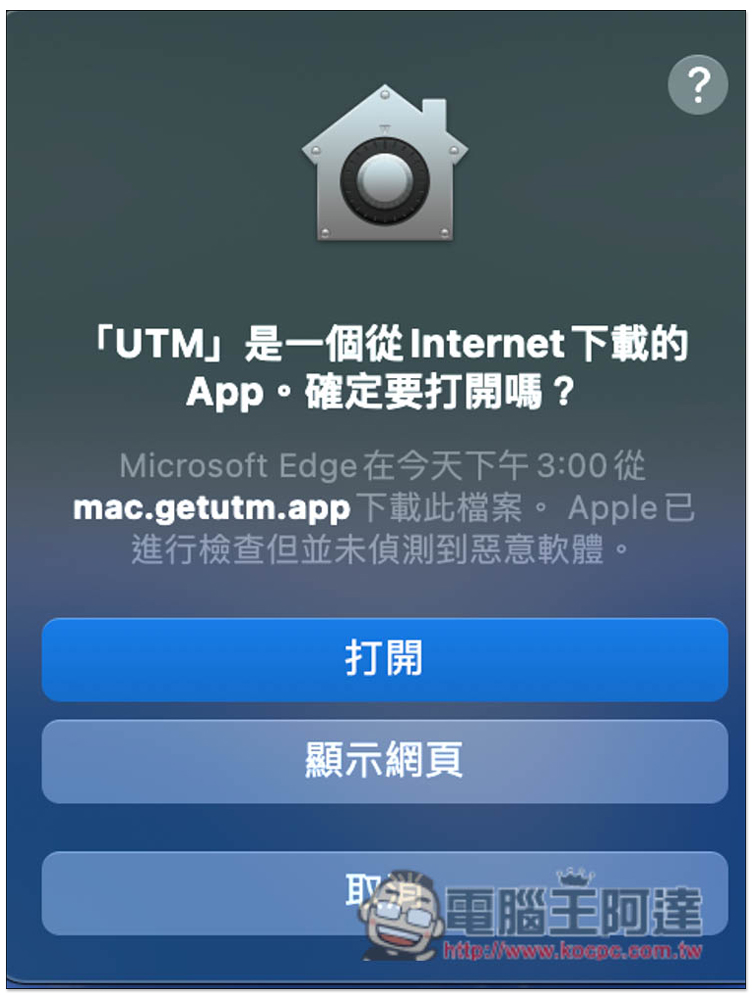
This message will pop up when you open it for the first time, just click to open it:
After entering the main page, click the “Create New Virtual Machine” function in the upper left corner:
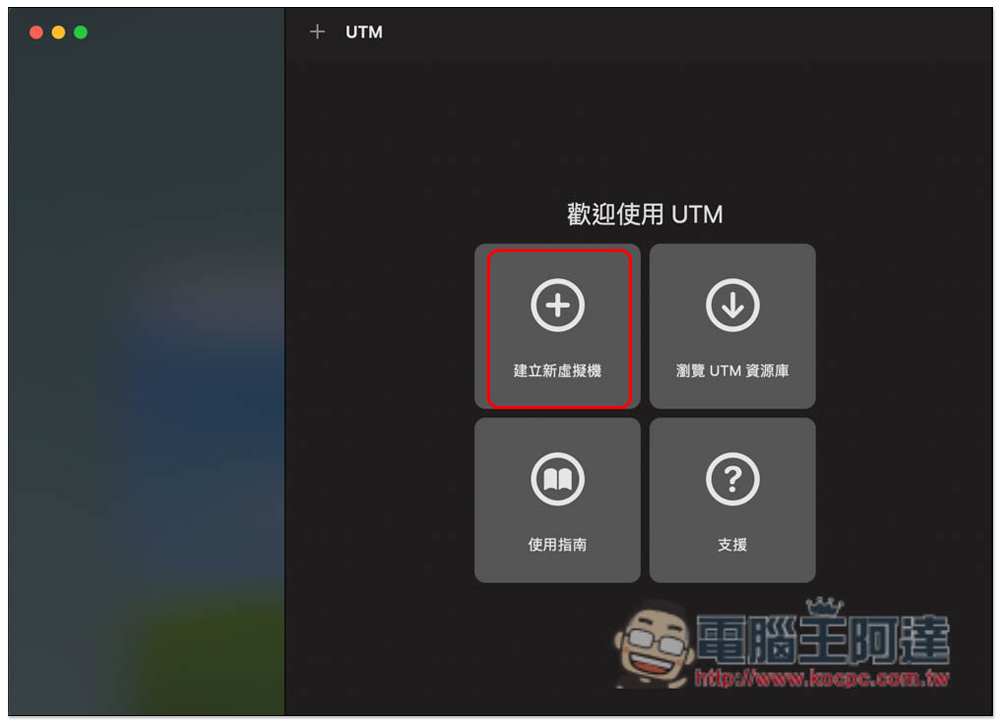
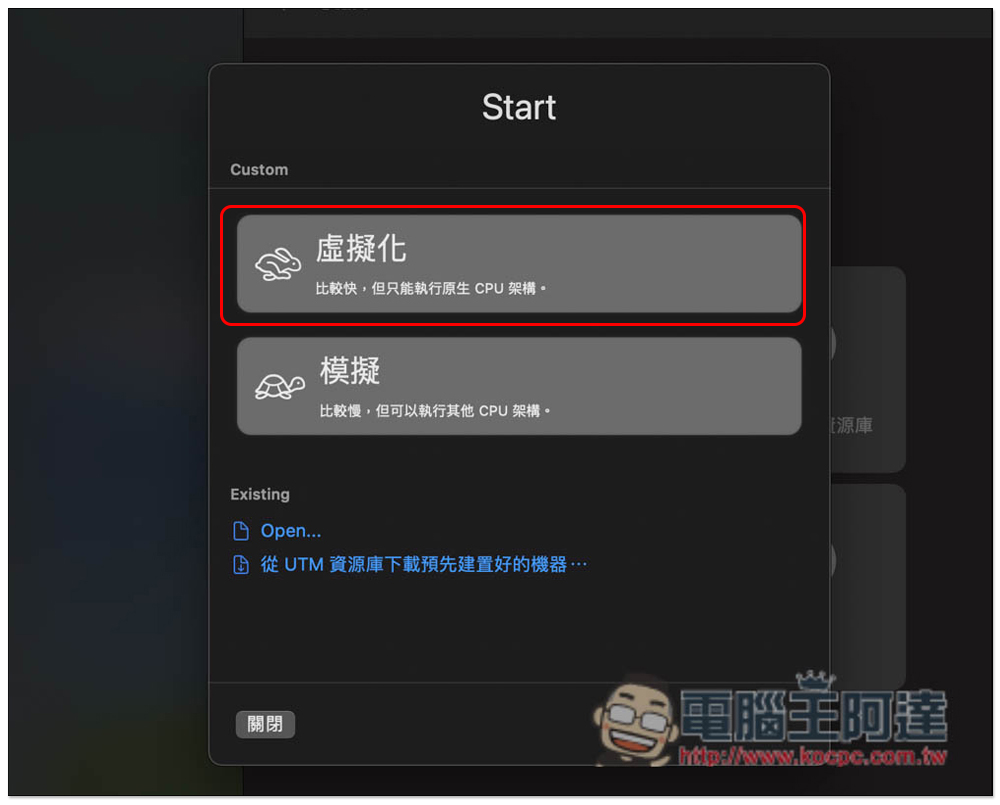
Select the first “Virtualization”:
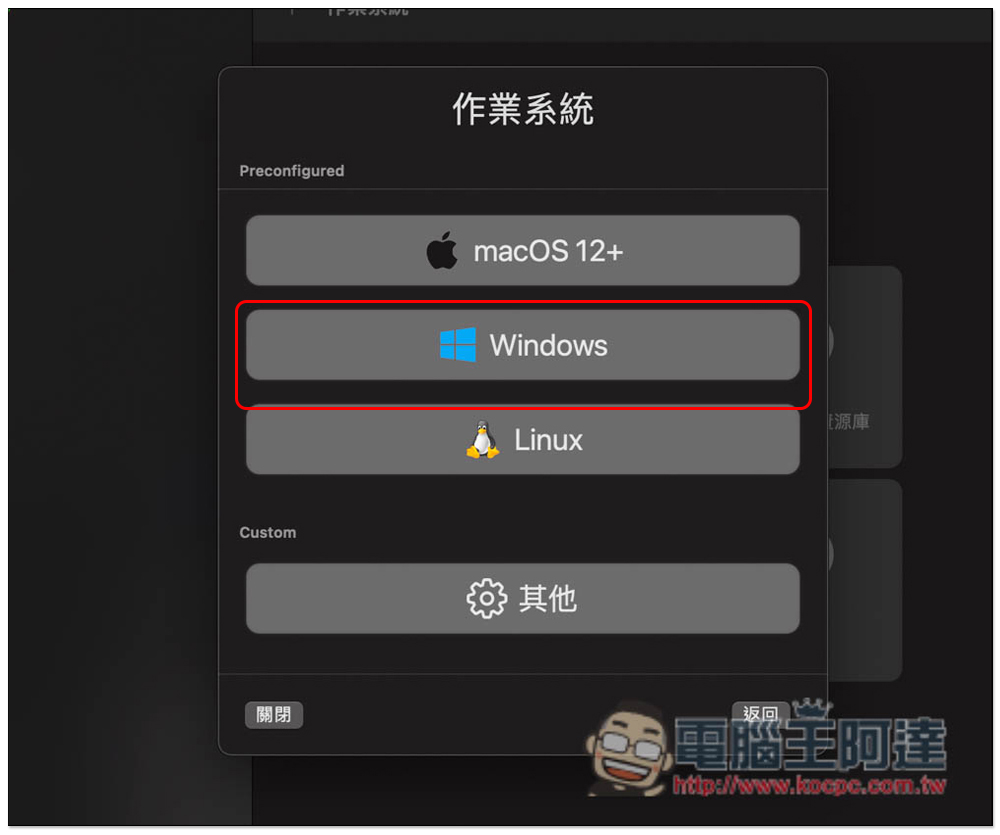
The operating system selection will pop up, please click “Windows”:
At this time, you need to download the preview version of Windows 11 first, and click “Download Windows 11 for ARM64 Preview VHDX” below the imported VHDX image file:
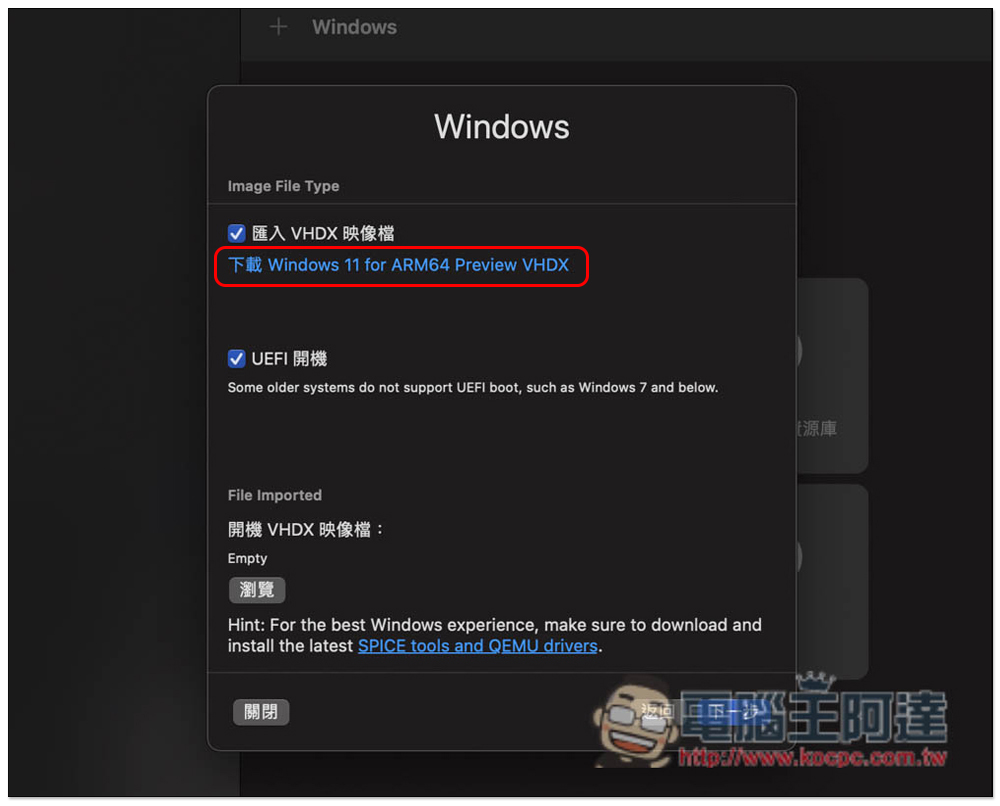
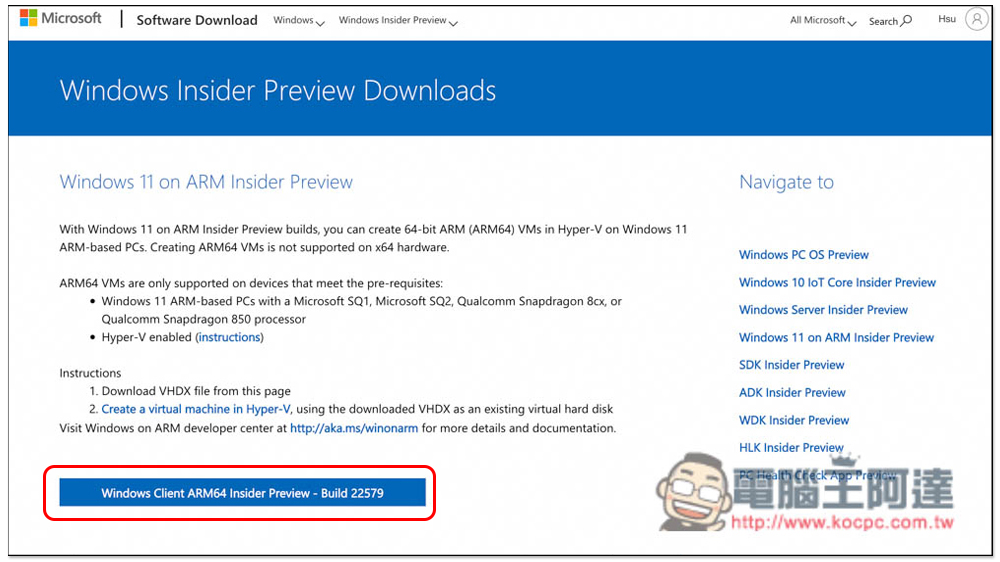
After logging in to your Microsoft account, the following screen will be displayed. Click Windows Client ARM64 Insider Preview below to download. The file is quite large, so you may need to wait for dozens of minutes, depending on your network speed:
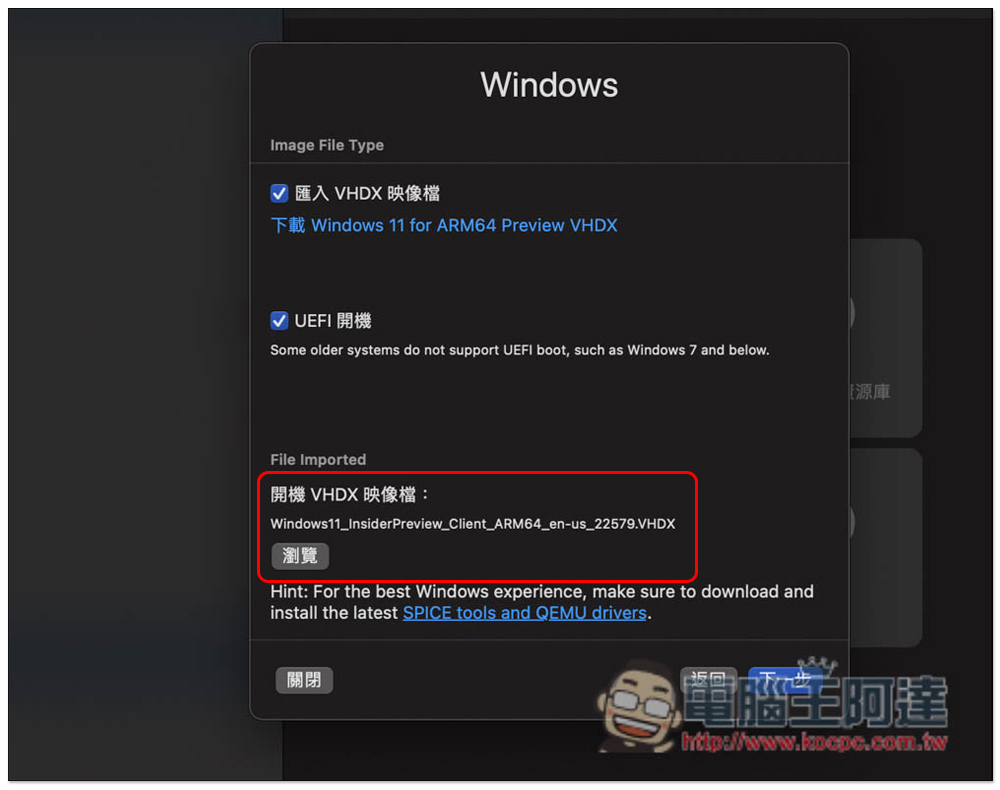
After downloading the Windows 11 Internal Preview VHDX, return to the UTM interface, click below to browse and read the file, and then click Next in the lower right corner:
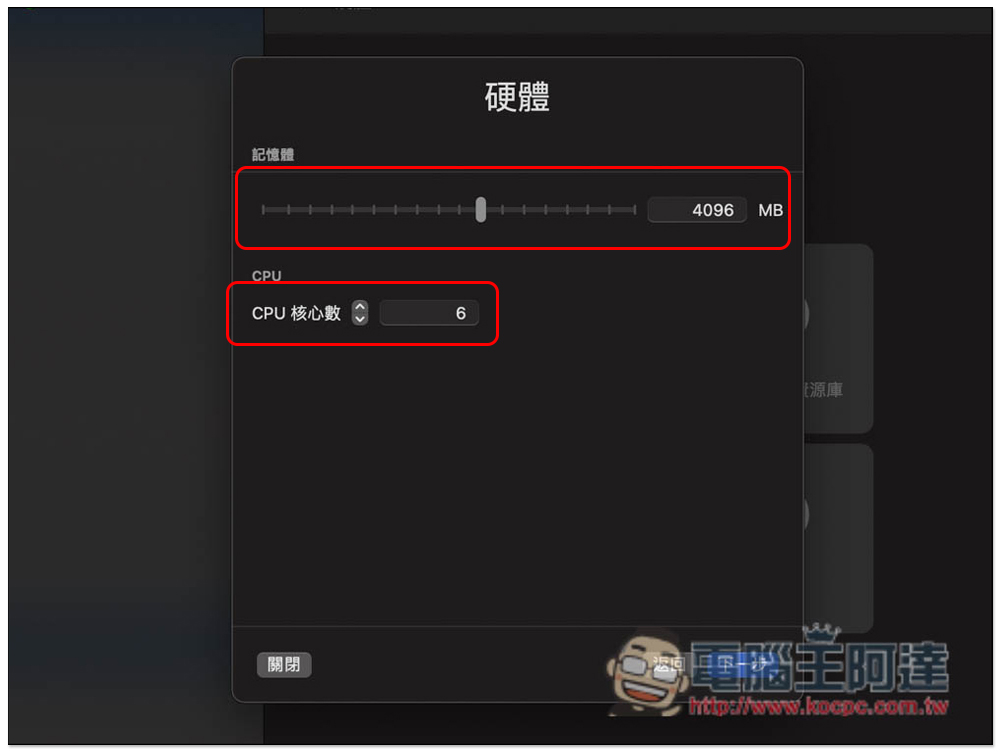
Set the memory and CPU usage environment of the virtual machine. If you want to be smoother, of course, the bigger the better. I will take 4GB memory and 6-core CPU as an example:
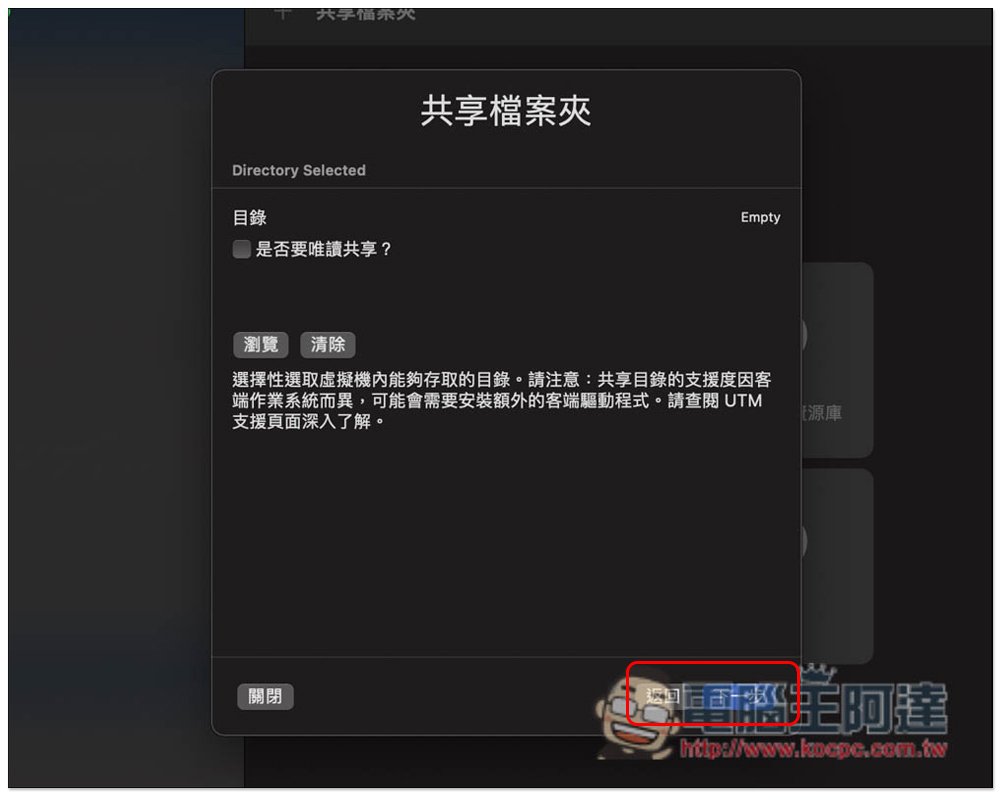
You can read the instructions for this step and check if necessary. You don’t need to press the next step directly:
Finally, press OK to create it. It depends on whether you want to change the name. The default is Windows:
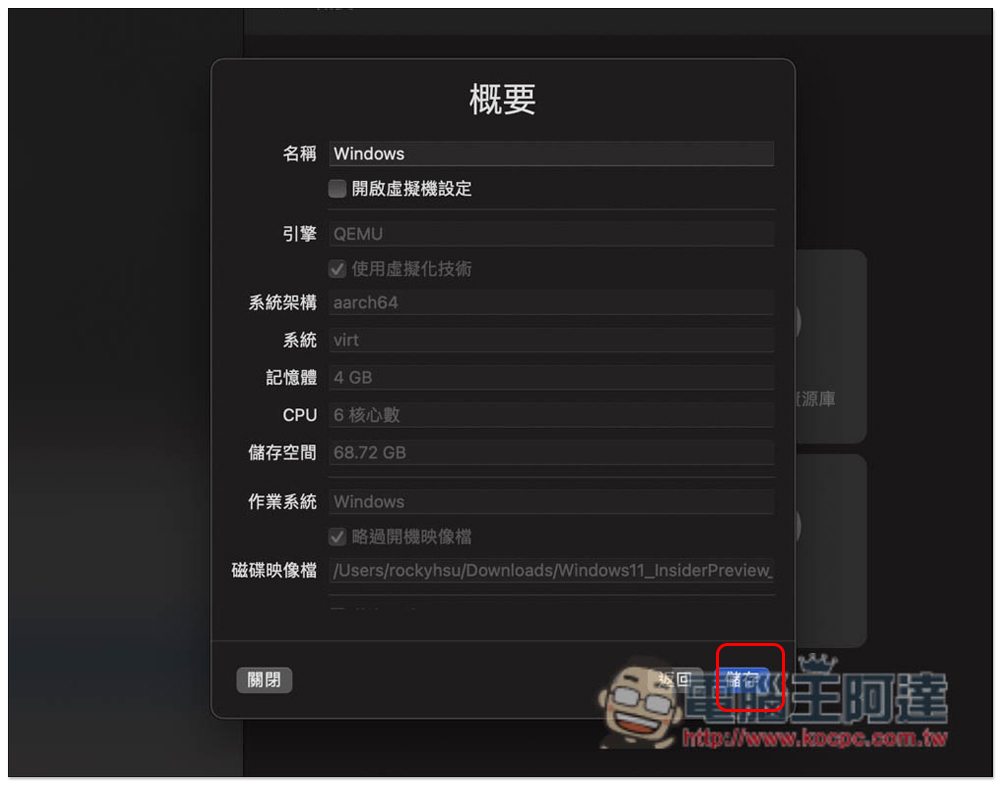
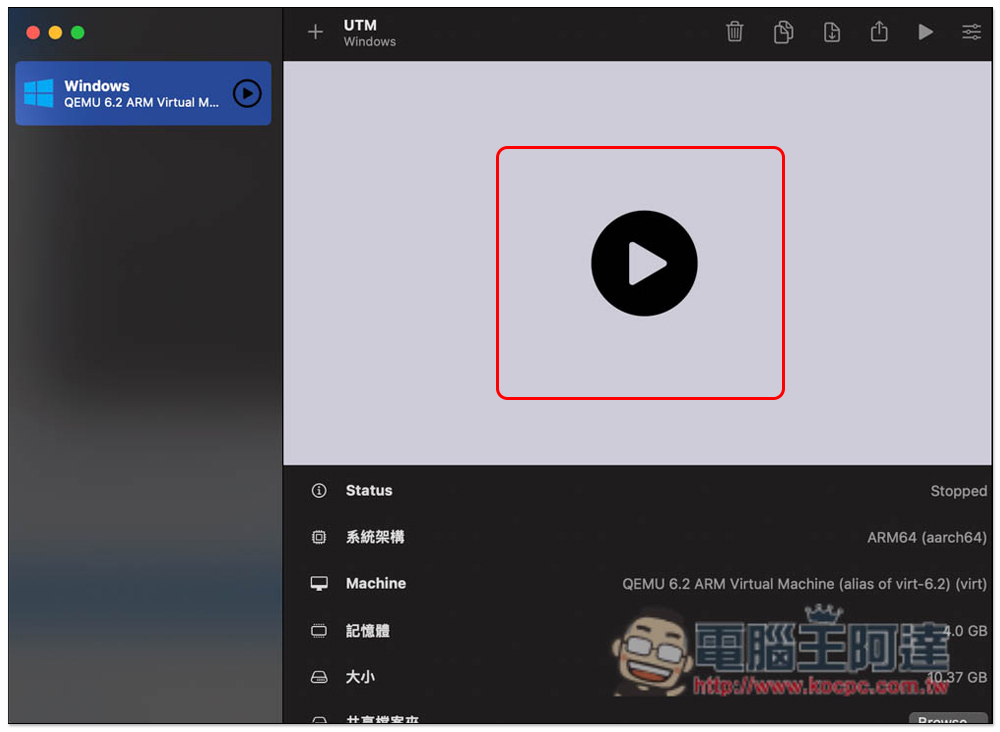
After creation, press the play button on the screen to activate the virtual machine:
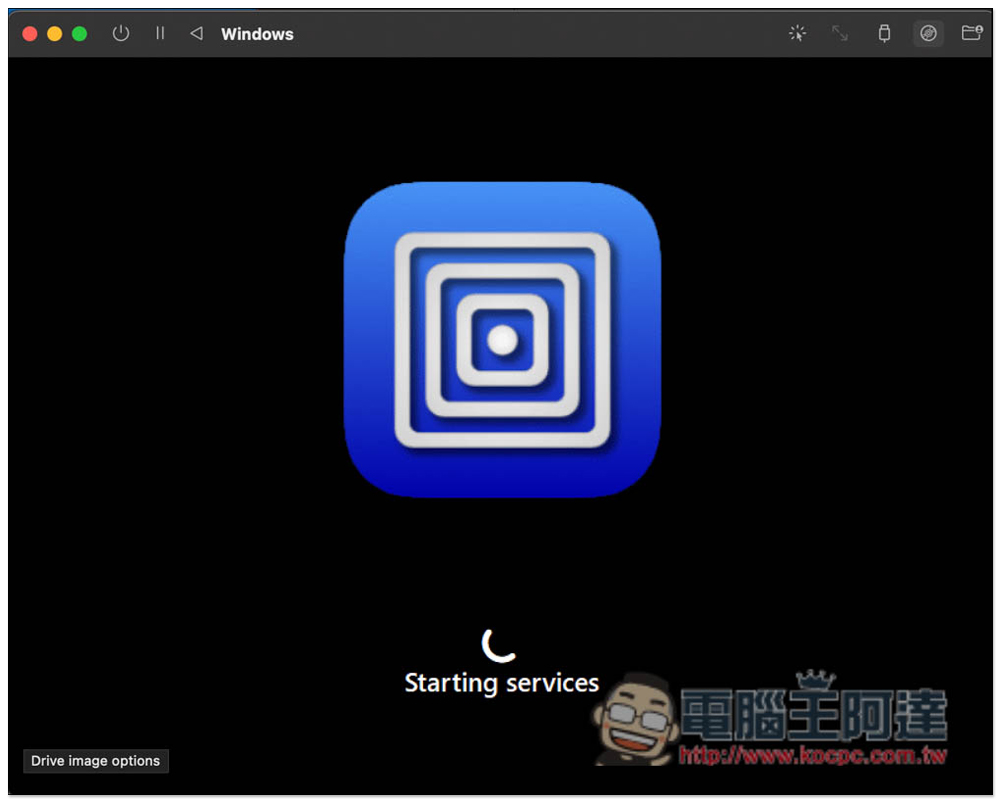
Then wait for the screen to finish:
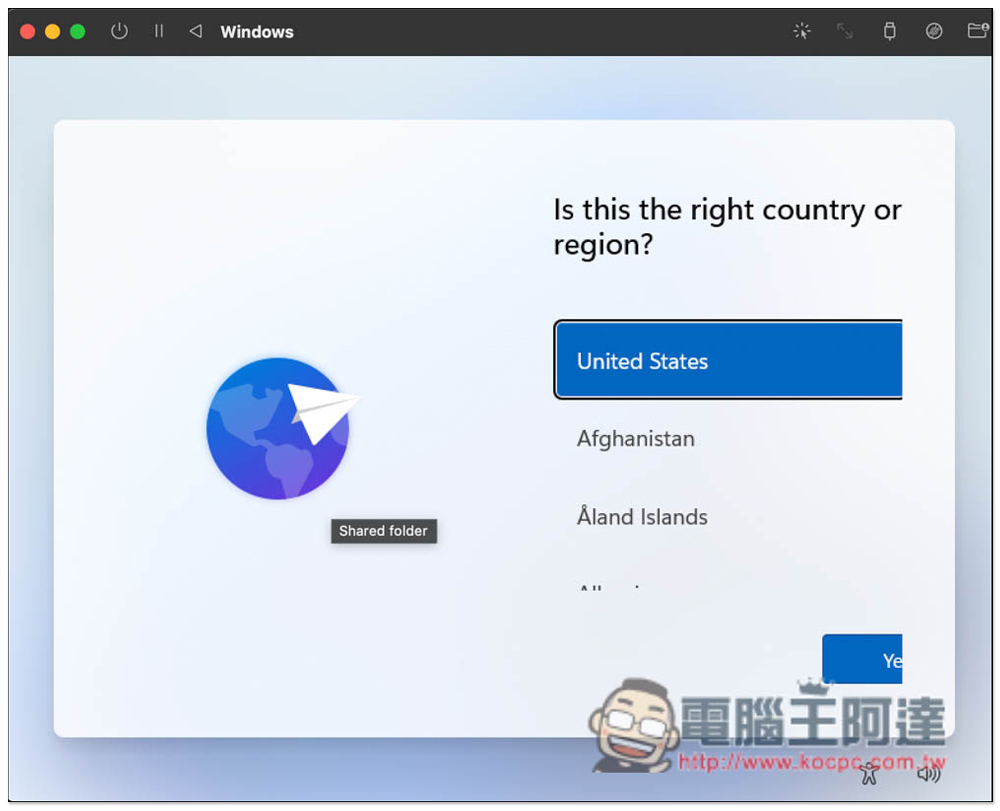
You will enter the settings screen of Windows 11. You can select Taiwan as the region. In addition, the default language of the preview version is only English, but don’t worry, I will tell you how to change it to Traditional Chinese later:
There seems to be a bug in this step of network settings in the current preview version, and there is no skip option. If you are the same, please press “Shift + F10” to open the CMD command window (remember to press the FN key at the same time, which means Shift + F10+ FN):
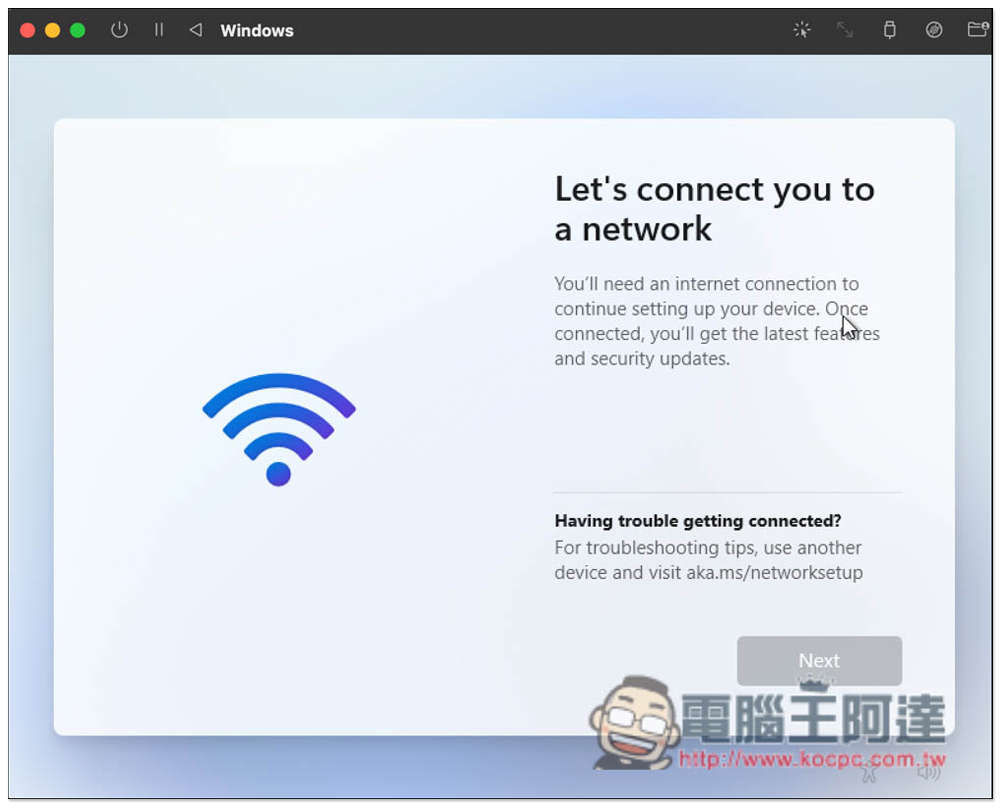
Recently, a new bug has appeared. There is no response when pressing Shift+FN+F10. Please follow the steps below to solve it:
Enter the command “OOBE\BYPASSNRO” and press Enter:
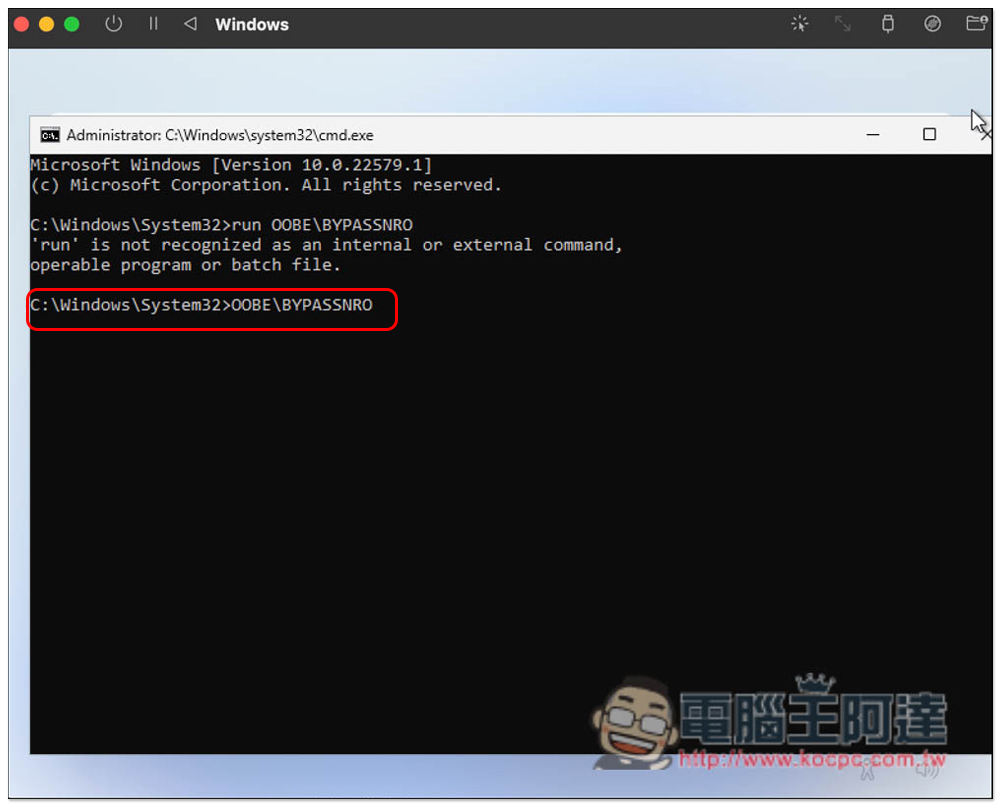
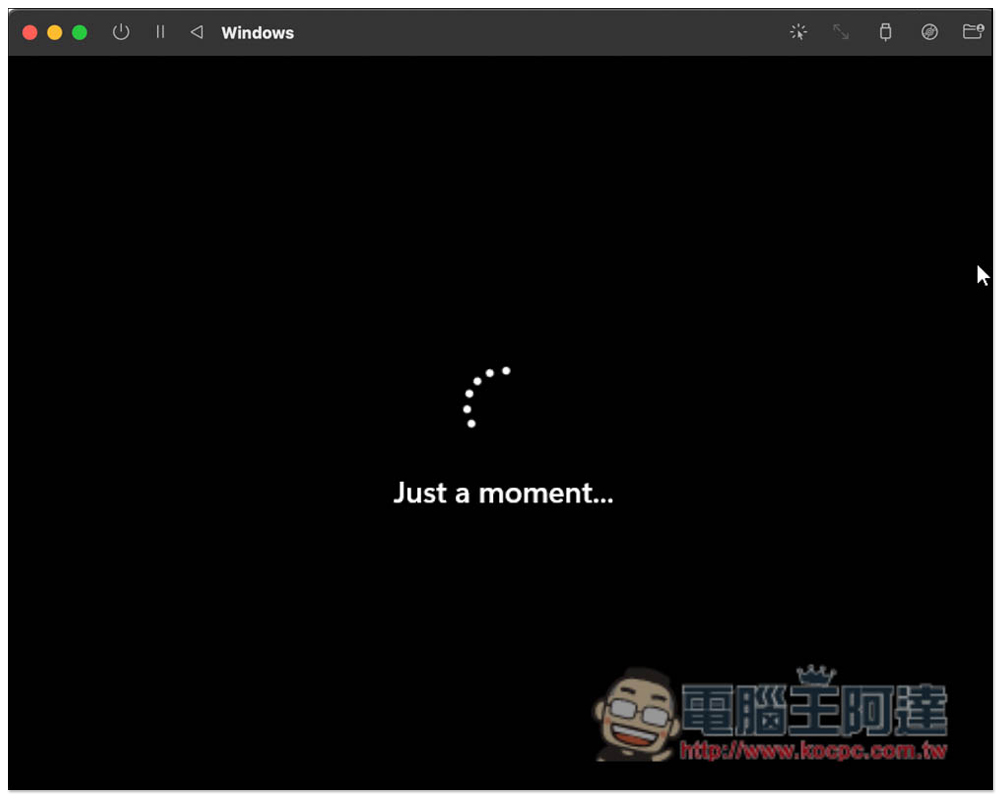
It will automatically restart:
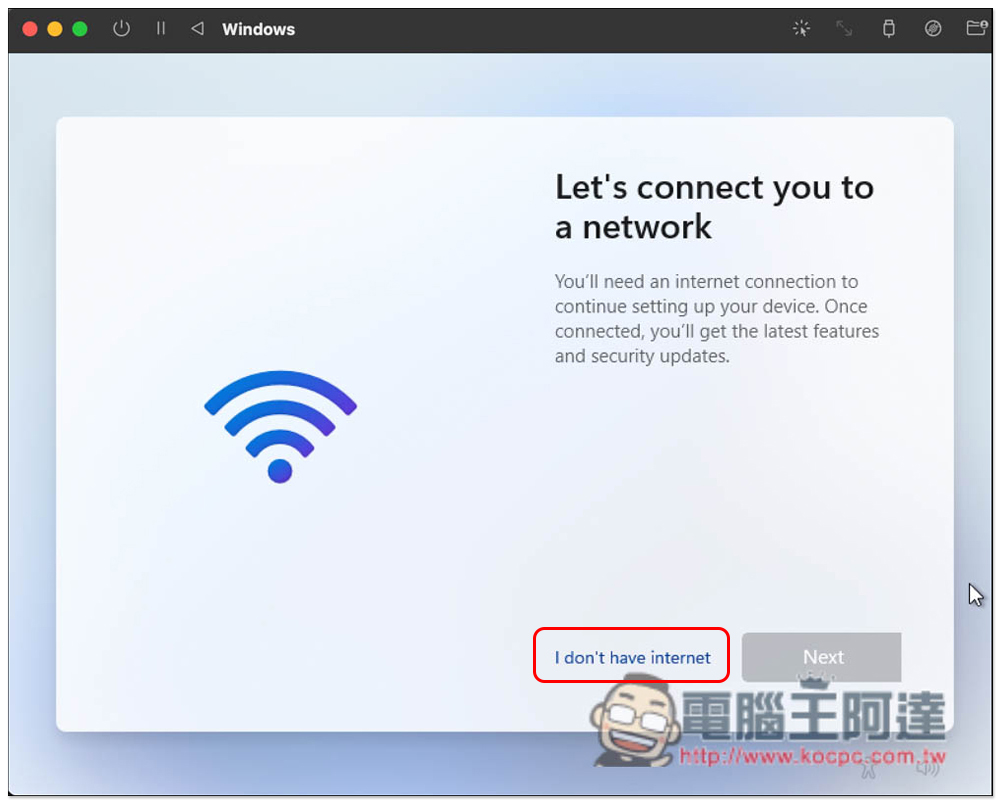
When you enter the network settings page again, the “I don’t have Internet” option will appear. Please click it:
Once everything is set up, just wait a few seconds to a few minutes:
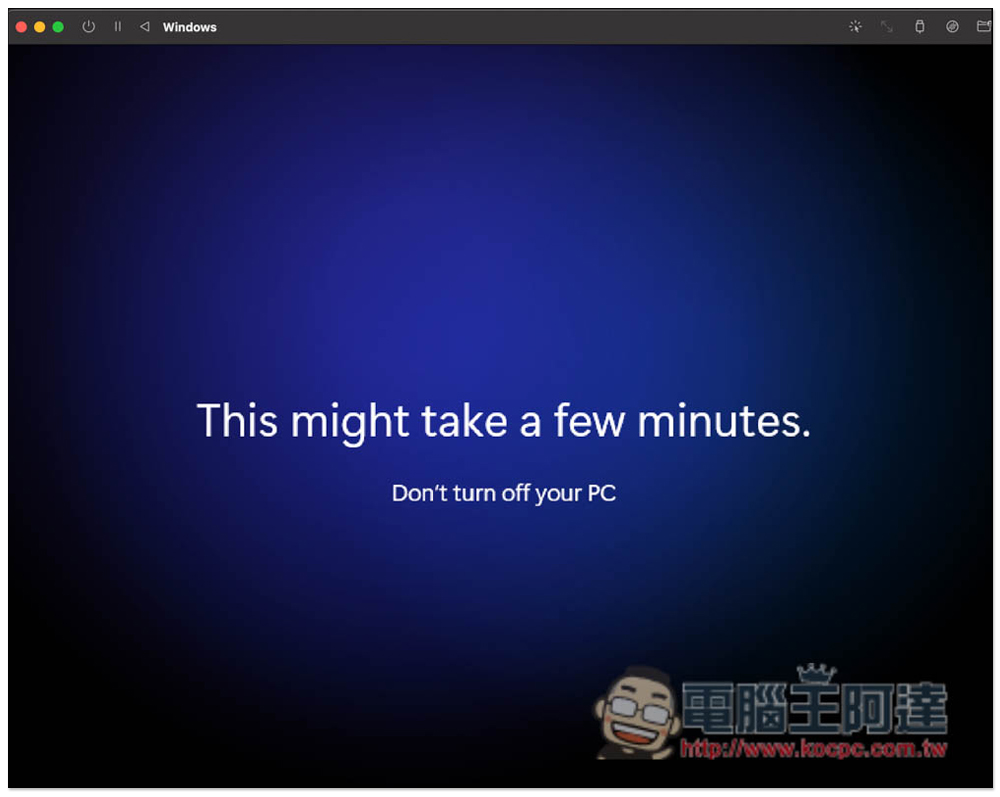
Windows 11 is installed! However, many functions are currently unavailable and the resolution is not quite right:
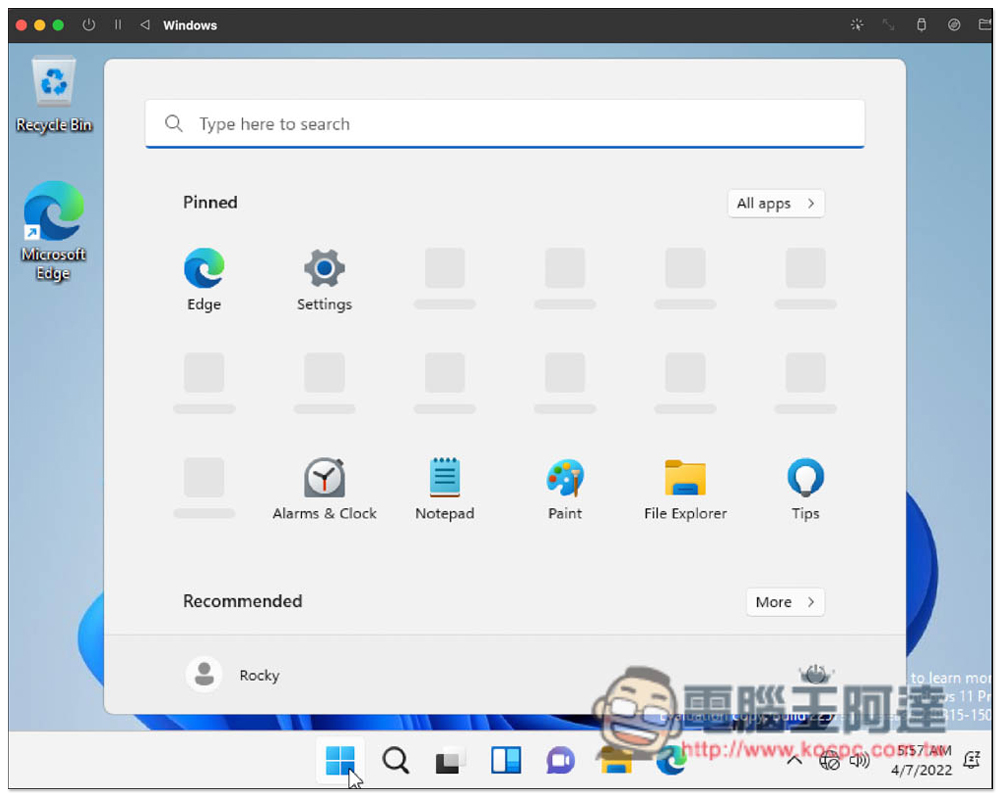
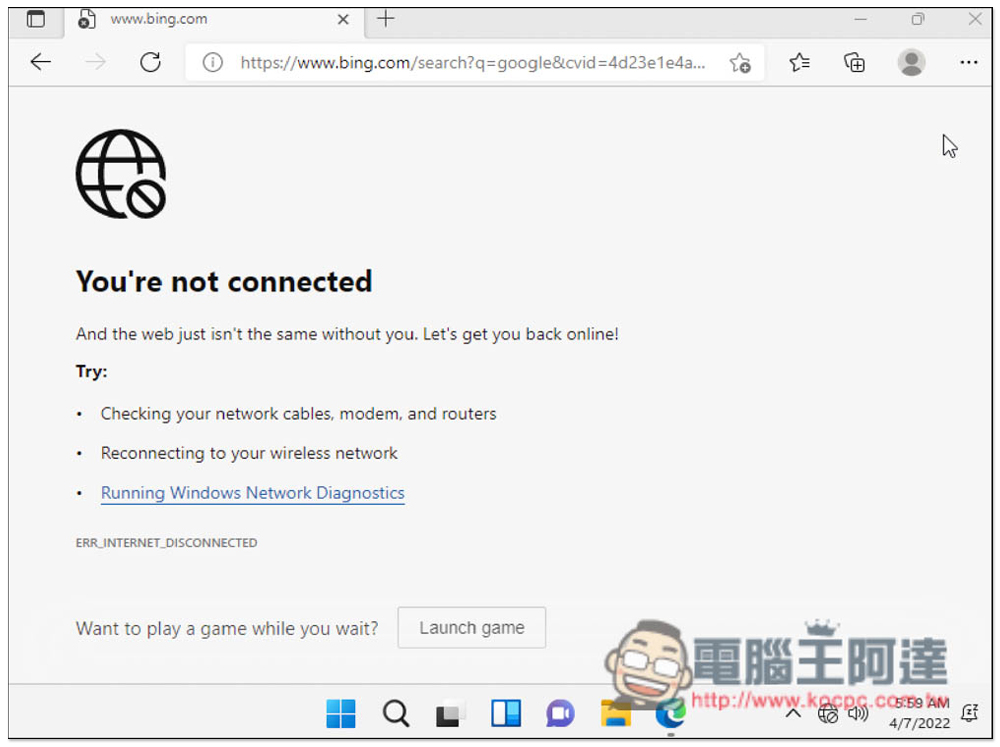
The Internet is also unavailable:
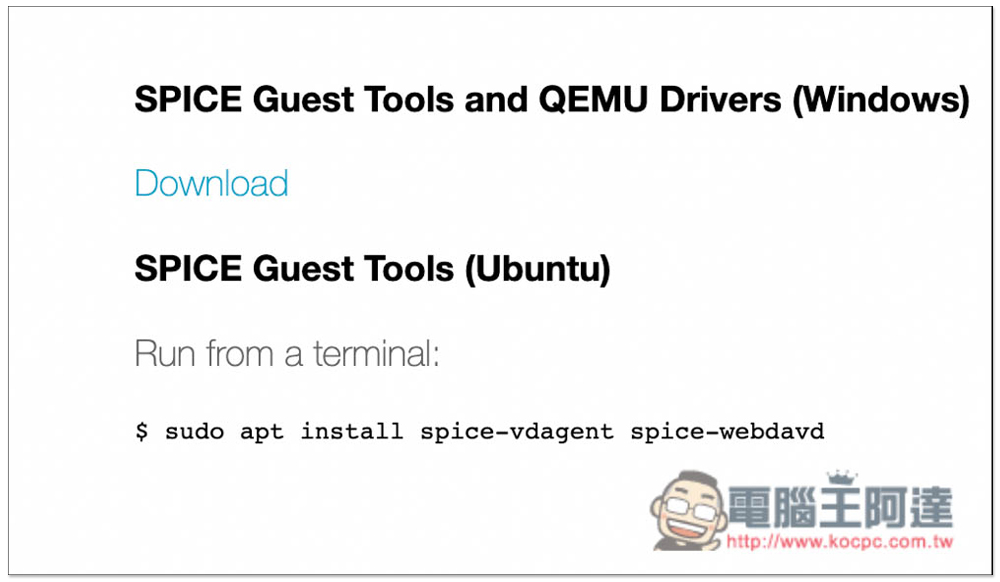
You will also need to download an archive for SPICE Guest Tools and QEMU Drivers (Windows),It can be found on the Support page of the official website, click Download:
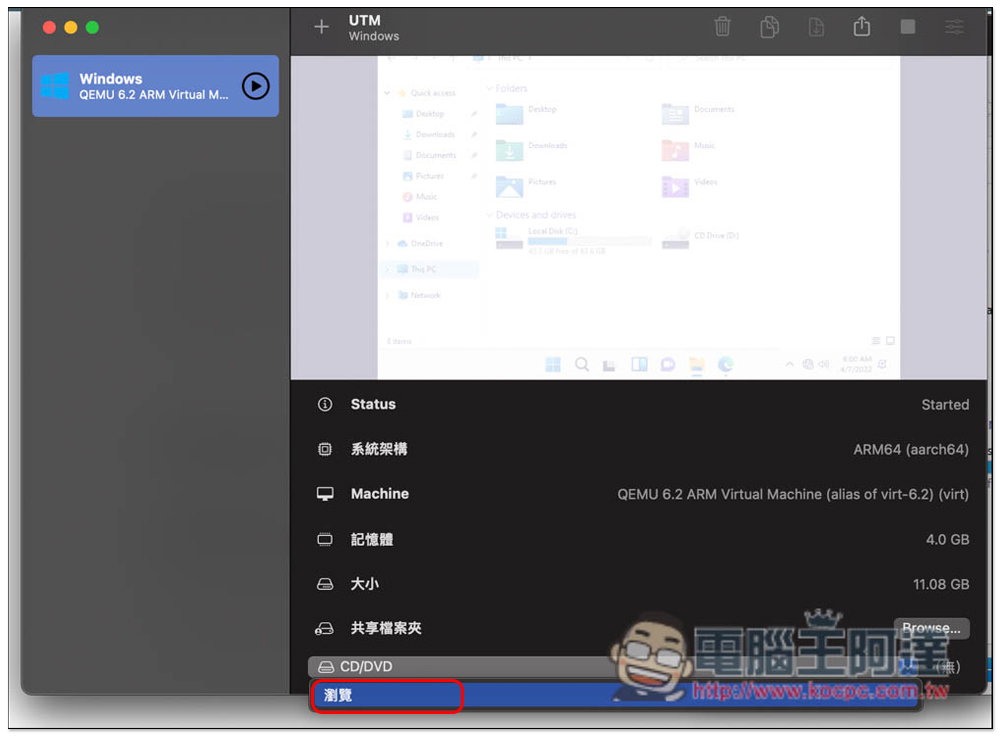
After downloading, open the virtual machine management interface, open the CD/DVD menu below and you will see the “Browse” function, please click it:
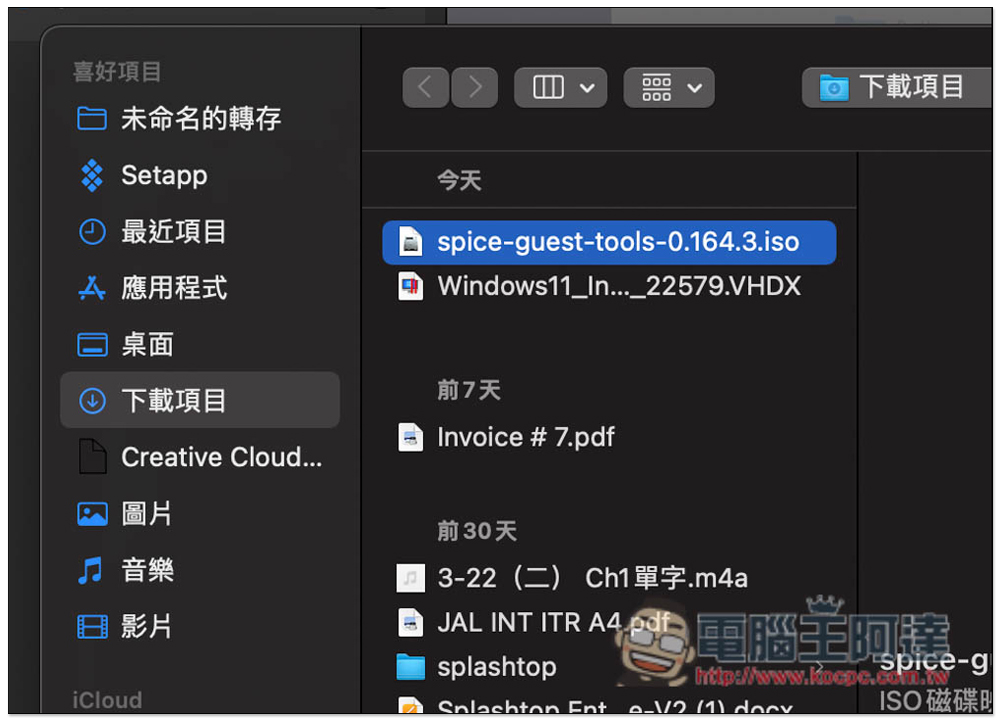
Select the spice-guest-tools file you just downloaded (the file extension is ISO):
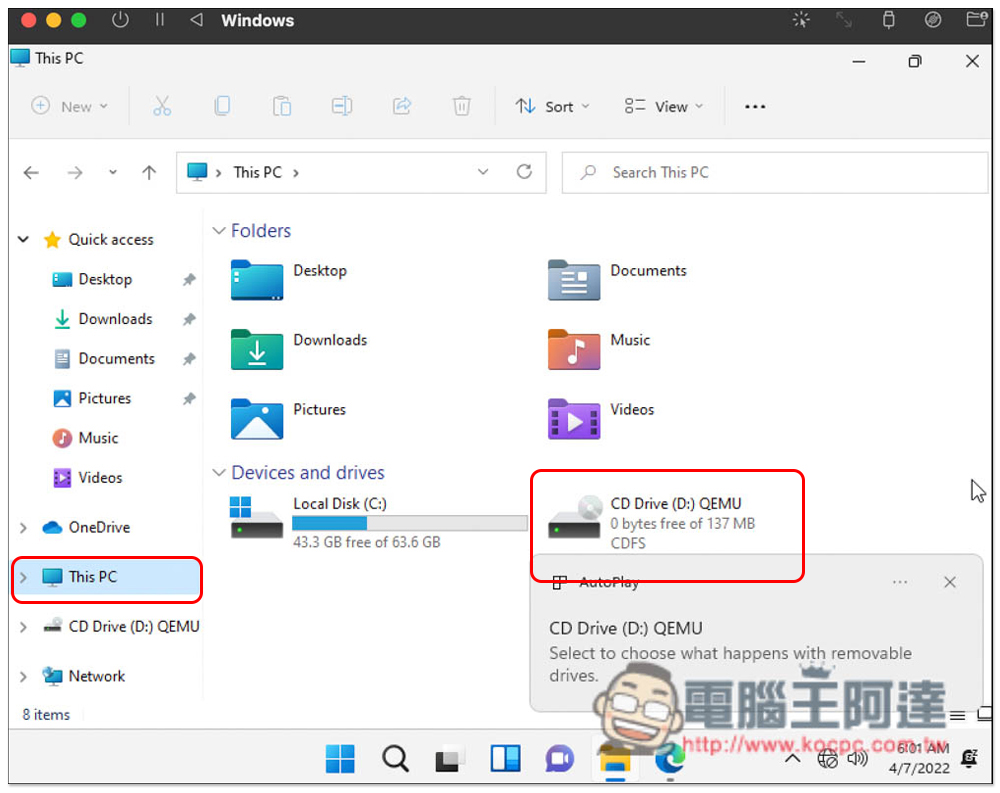
Now go back to the Windows 11 virtual machine, open the File Explorer, click This PC on the left, and the CD Drive on the right will see the ISO file you just read, named QEMU. A notification will actually pop up in the lower right corner. You can press it directly to open it automatically:
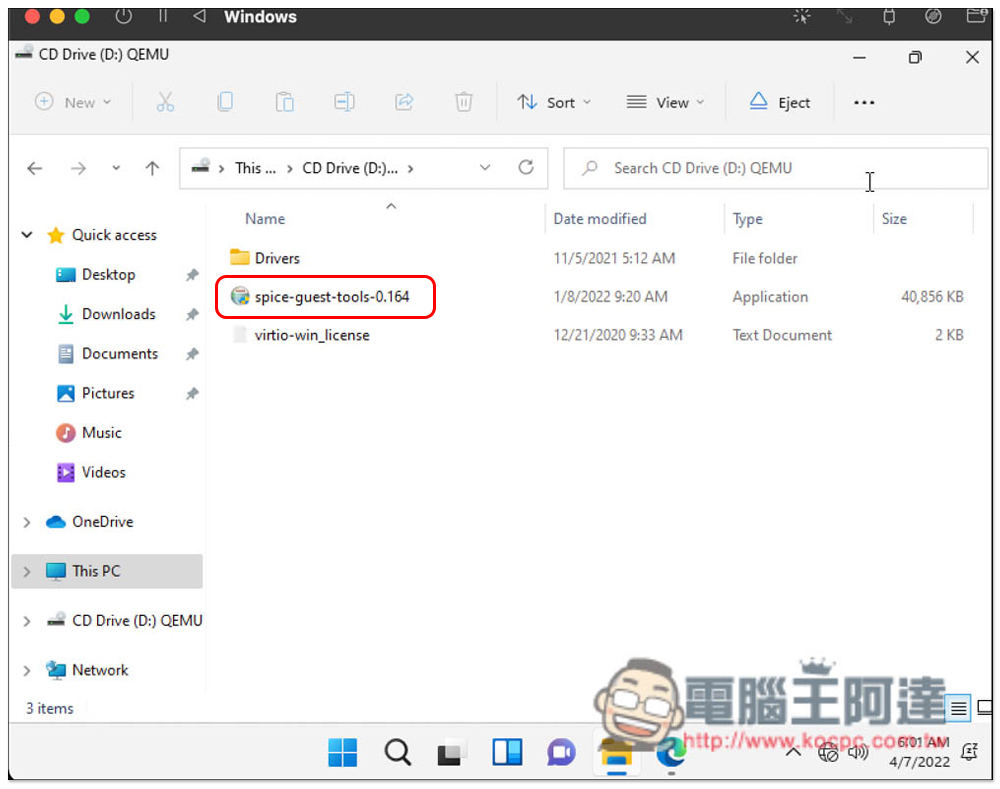
Click the spice-guest-tools file inside twice to open and install:
After installation, you will be asked to reboot Reboot now, so remember to save your current work (if any):
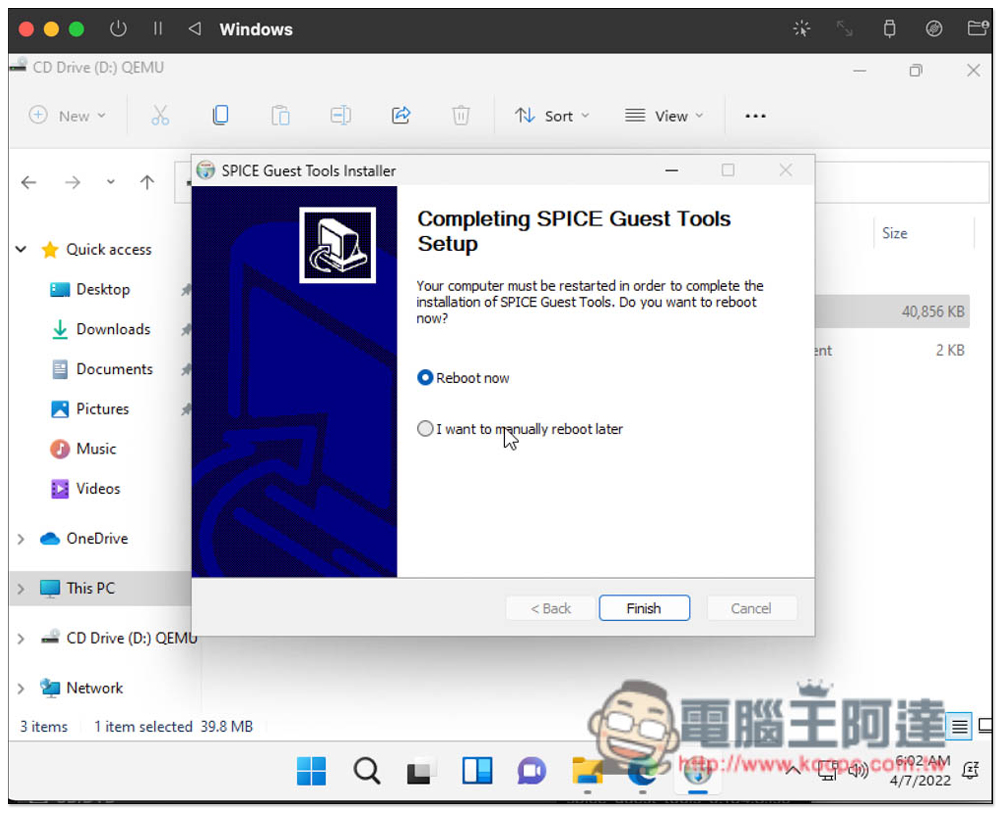
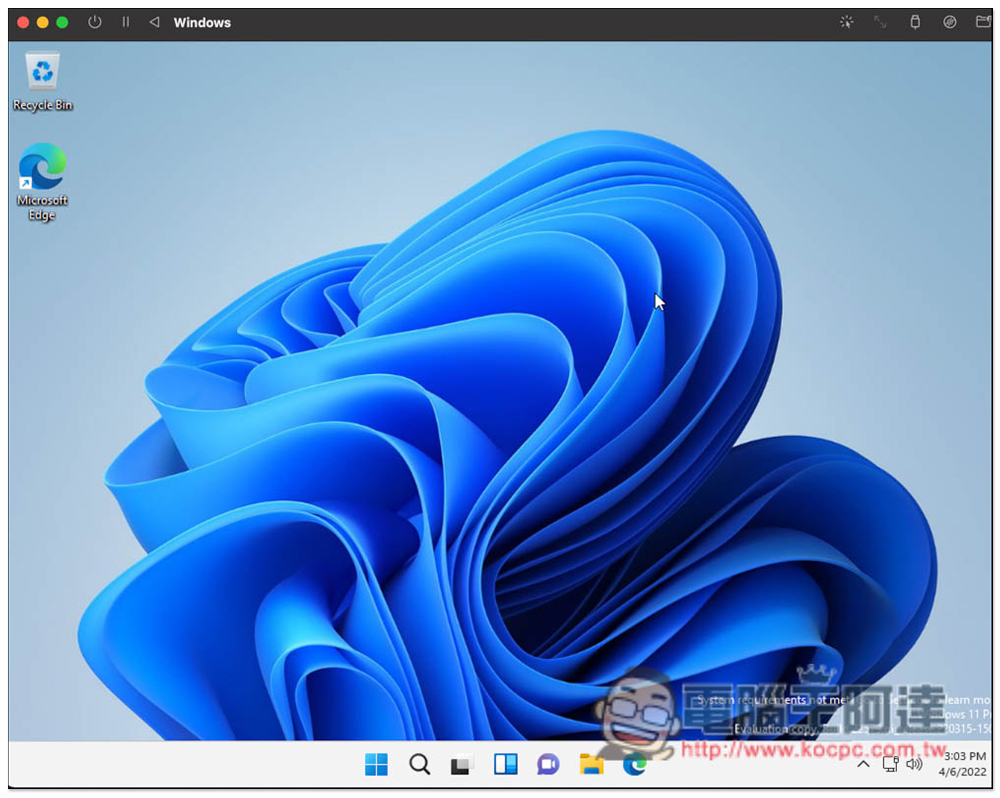
Then return to the desktop and you will see that all functions are available, including the network. It will automatically connect to the network your Mac is currently using:
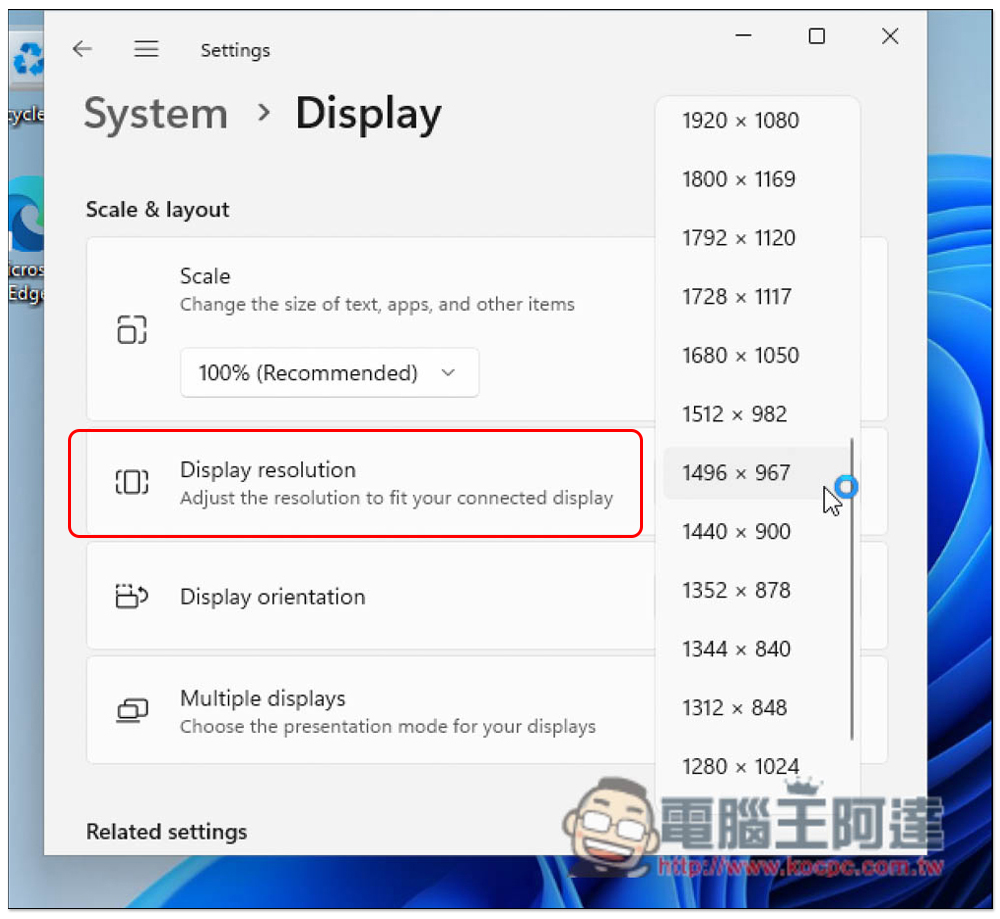
The resolution can be changed to match the size of your Mac screen. I personally recommend using a larger resolution. It will be more comfortable to use the full screen later:
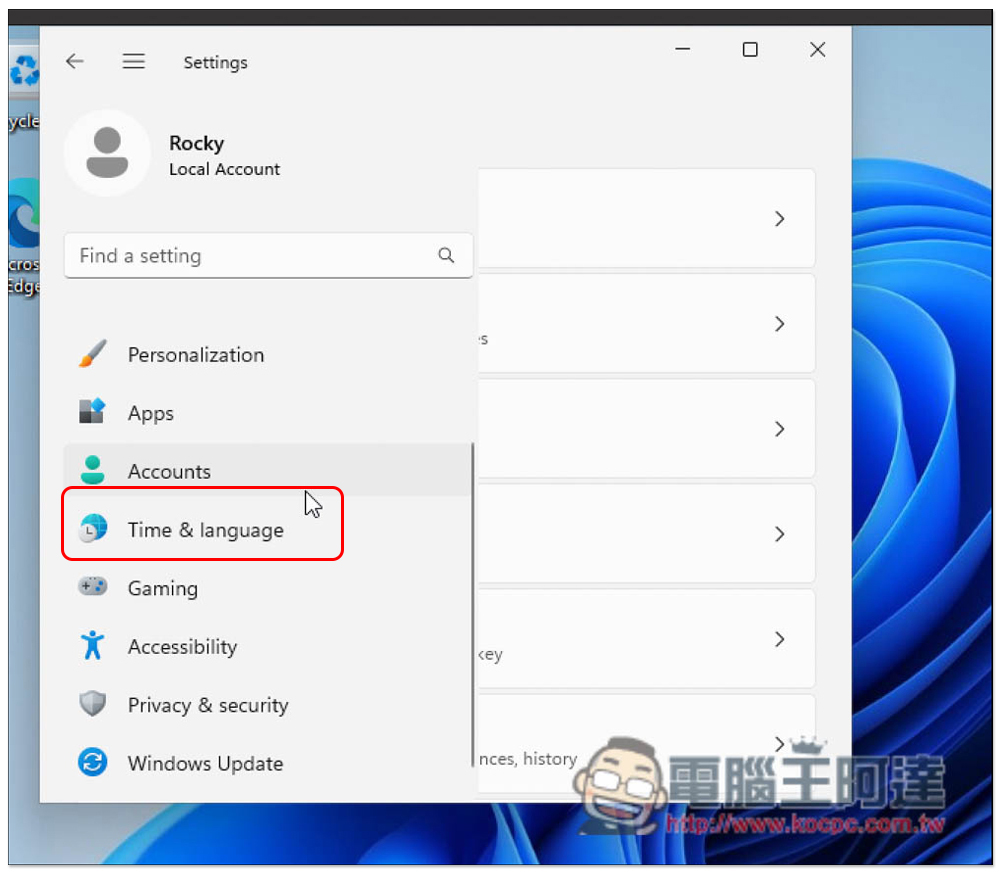
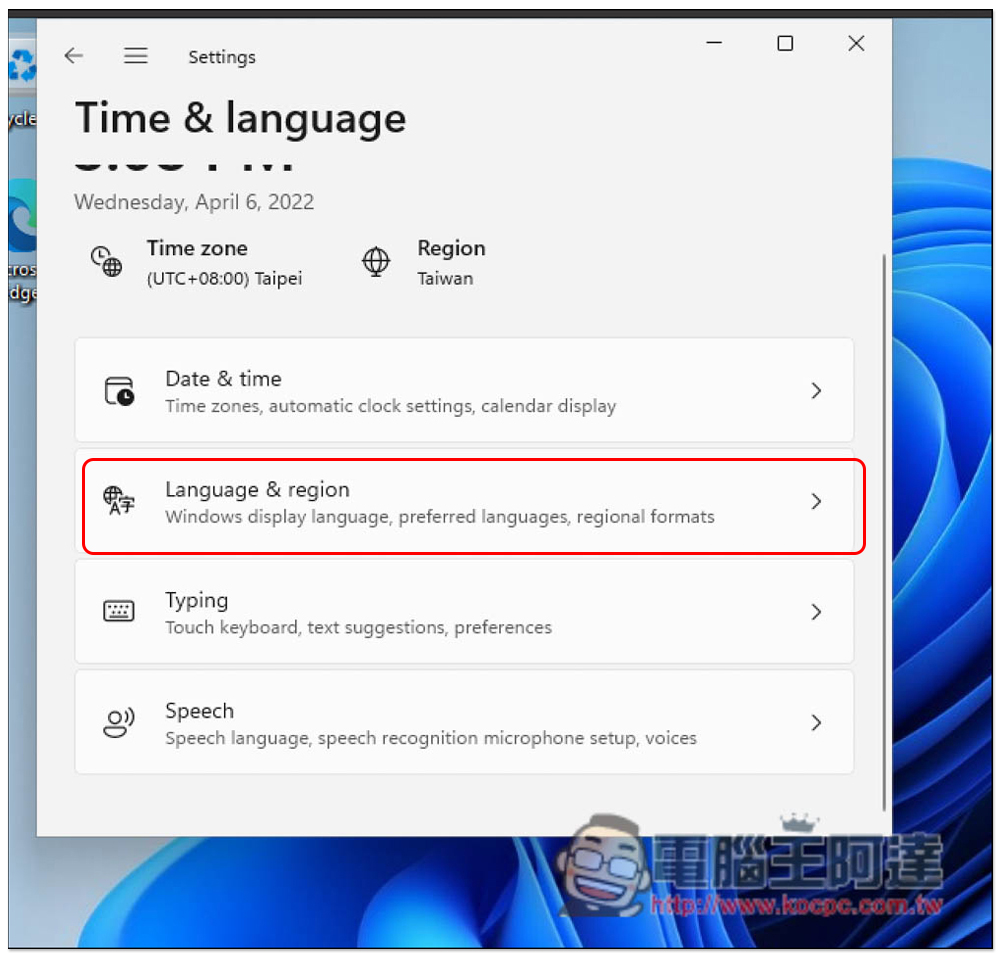
You can also download the Traditional Chinese language pack and enter the Time & language option in settings. If you don’t see it, click on the settings for the three lines in the upper left corner and you will see this menu:
Click on the second “Language & region” option:
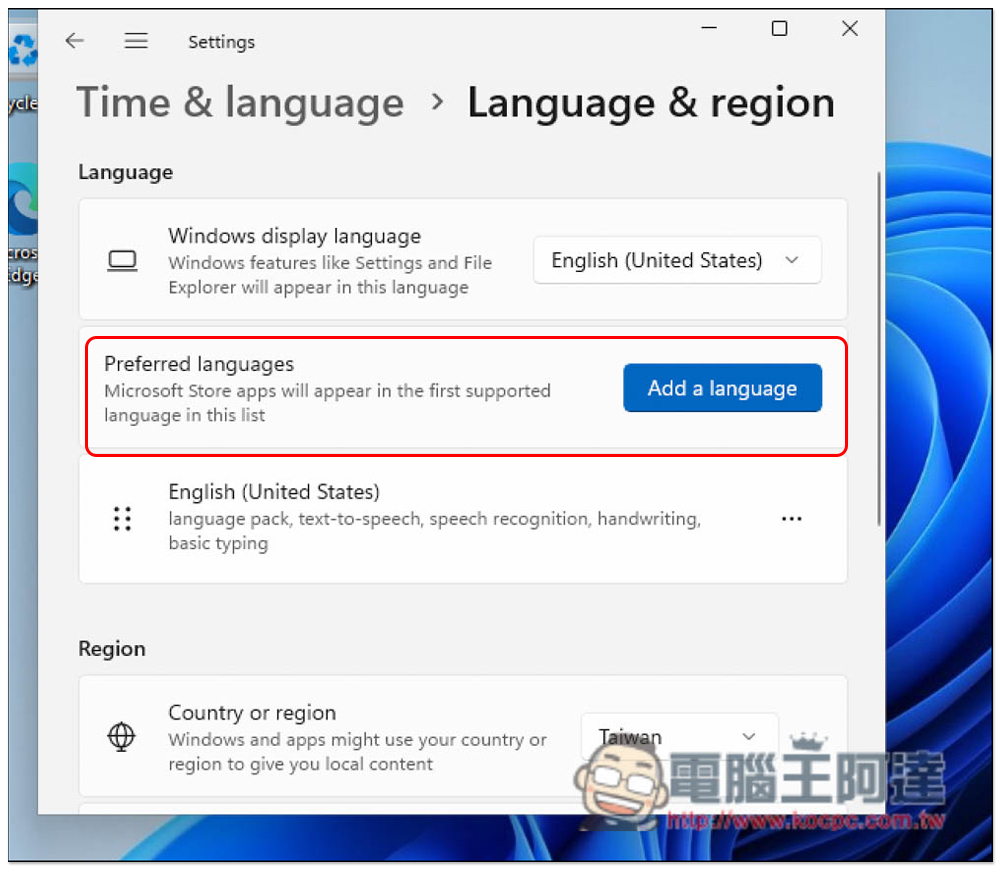
Currently, this Windows 11 system only has the English language pack. The Traditional Chinese part needs to be downloaded separately. Please click “Add a language” in the second option Preferred languages to add a new language:
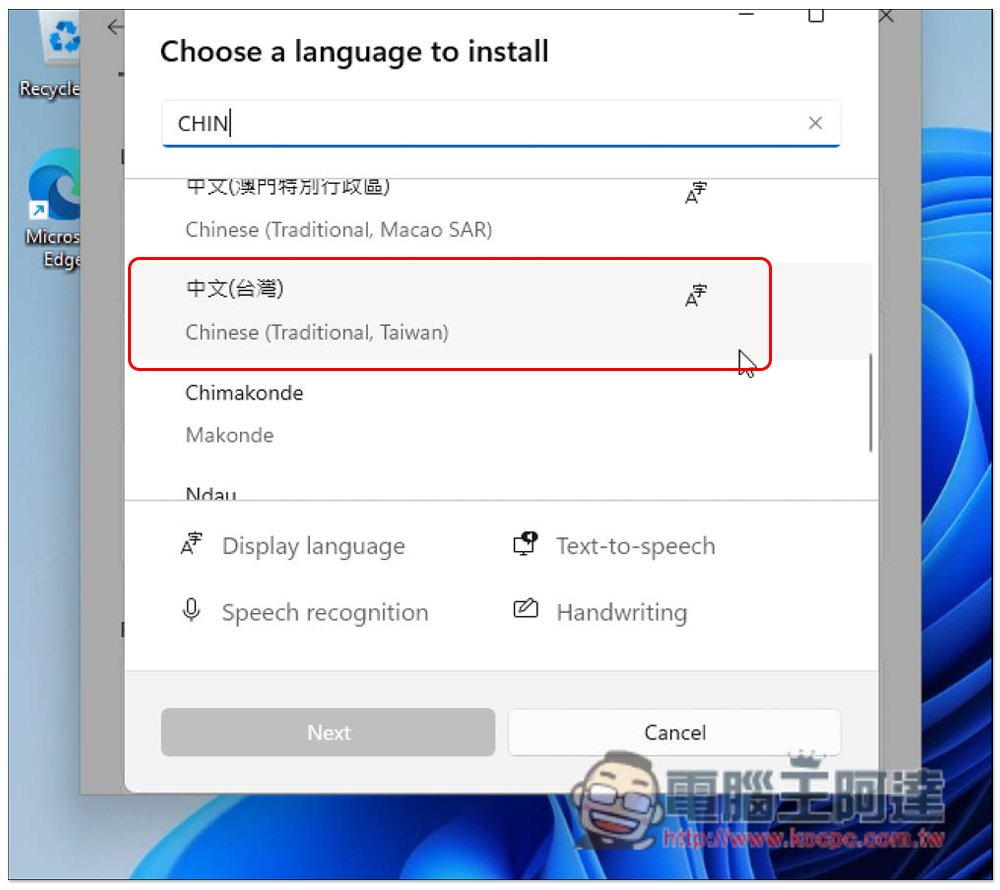
To find the Chinese (Taiwan) option, enter chinese in the search field to quickly find the Chinese language pack:
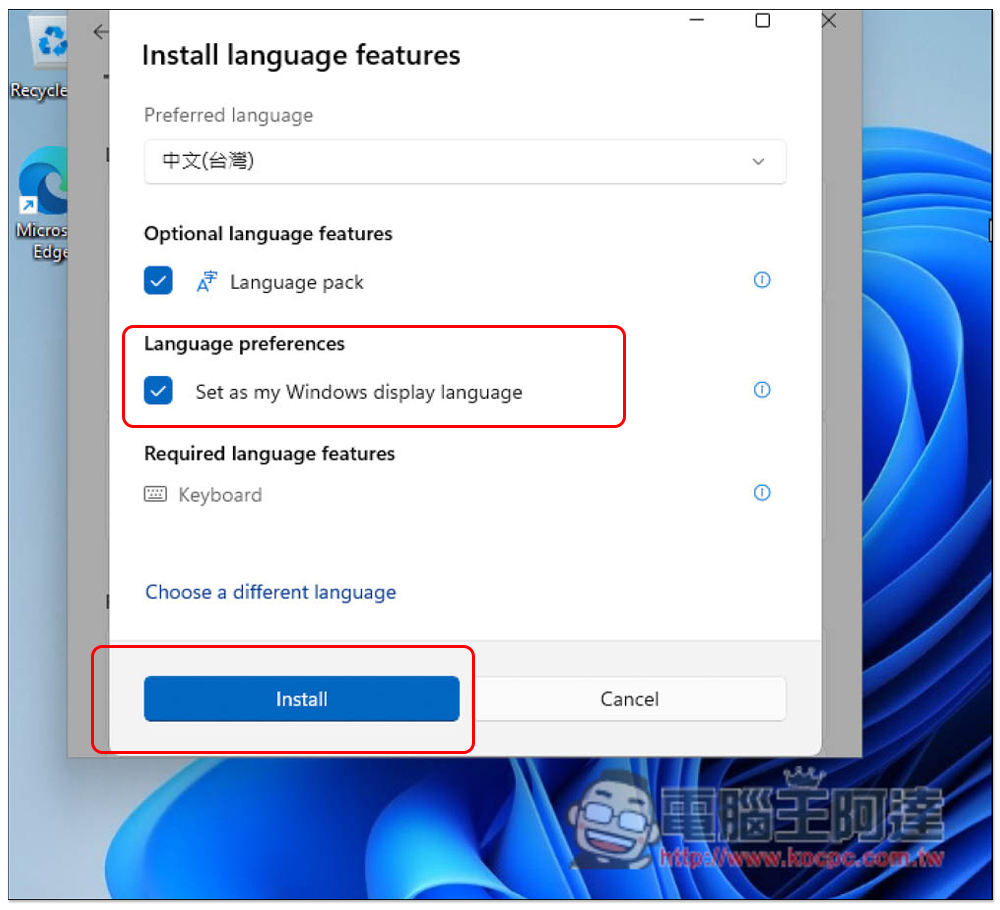
Before installation, remember to check the Set as my Windows display language option. After installation, the Windows 11 system will be directly changed to Traditional Chinese. Press Install to start the installation:
After installation, a message asking you to log out will appear. Click “Sign out”. This will only log you out of the system, not reboot:
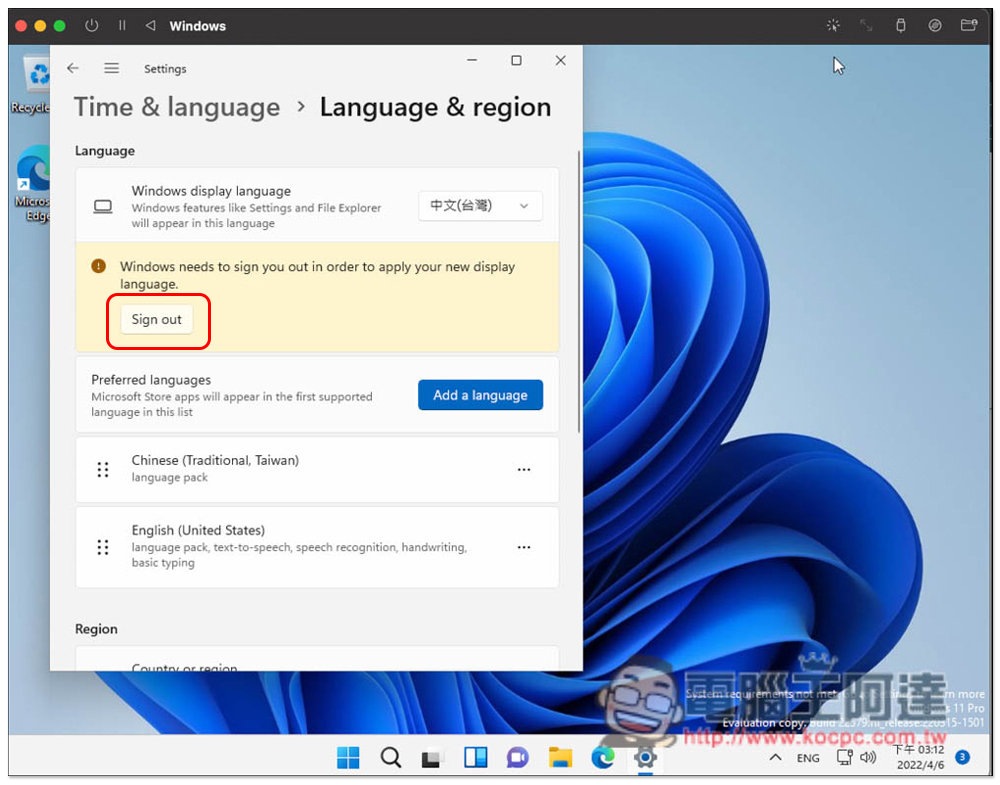
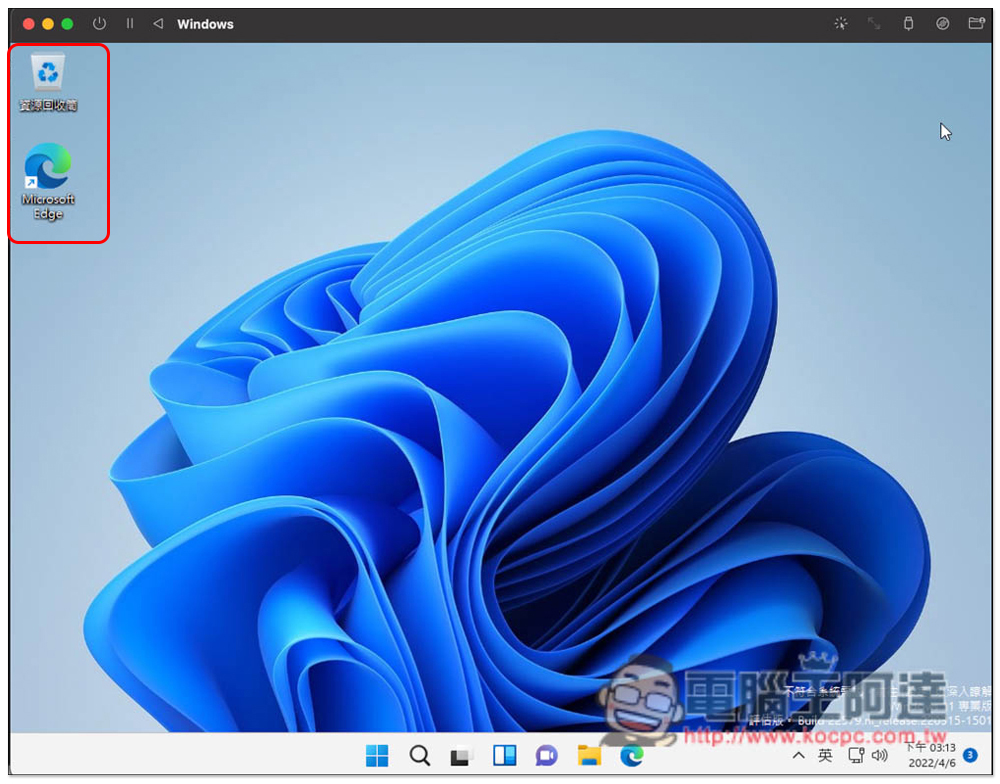
After restarting the computer, you will see that the interface has changed to Traditional Chinese:
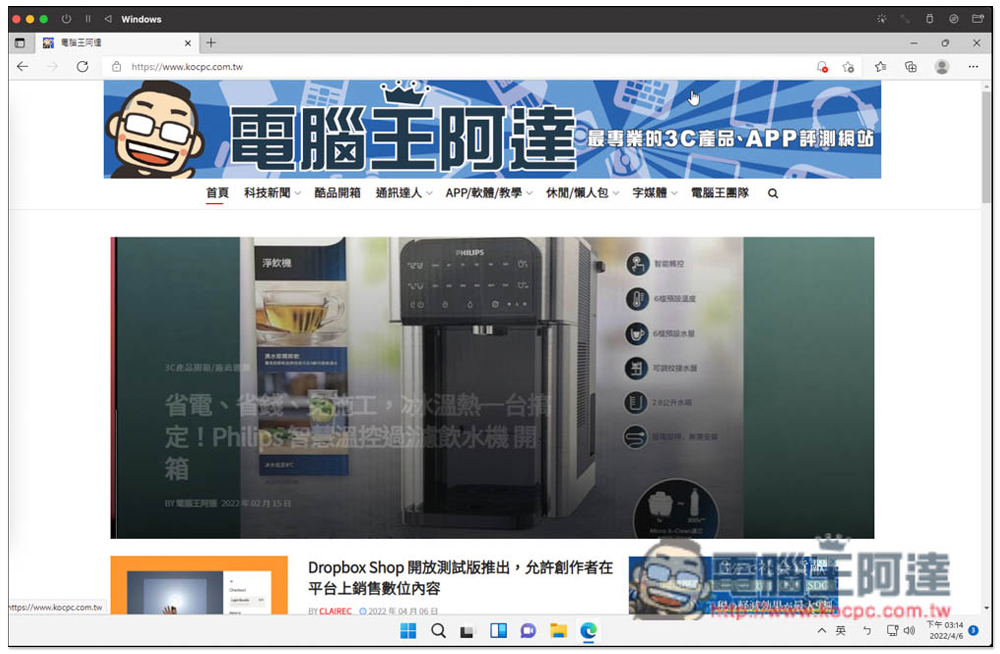
There is no problem in the actual test on the Internet, the speed is quite fast:
Summarize
If you are not doing any performance-intensive work (such as playing AAA games, 3D modeling, etc.), the Windows 11 virtual machine created by this UTM free tool is quite sufficient. Unfortunately, it does not seem to support direct dragging of files at the moment. You need to use a network shared folder to transfer files to and from Mac. But the copy function is there, which is not bad.
Source: KOCPC Chinese