


Previously we wrote an article Lightroom How to Archive Articles (hereinafter referred to as LR), after you learn how to read photos, this time we will teach you how to edit photos. However, because LR has too many functions, it is impossible to introduce them all at once, so this time we will first teach you the basic adjustment of exposure parameters, and then explain other functions in more depth:
LR basic adjustment function tutorial
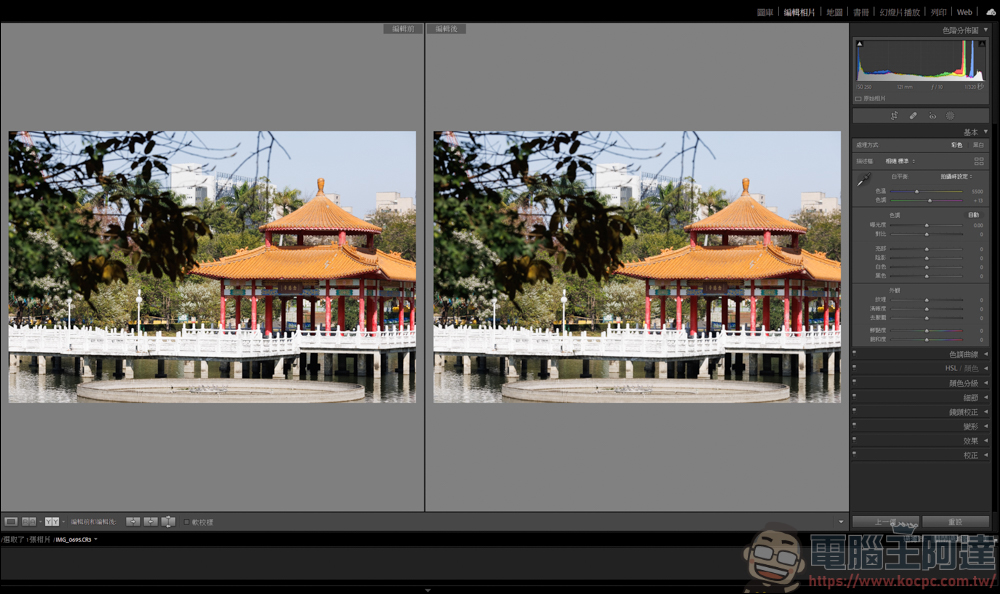
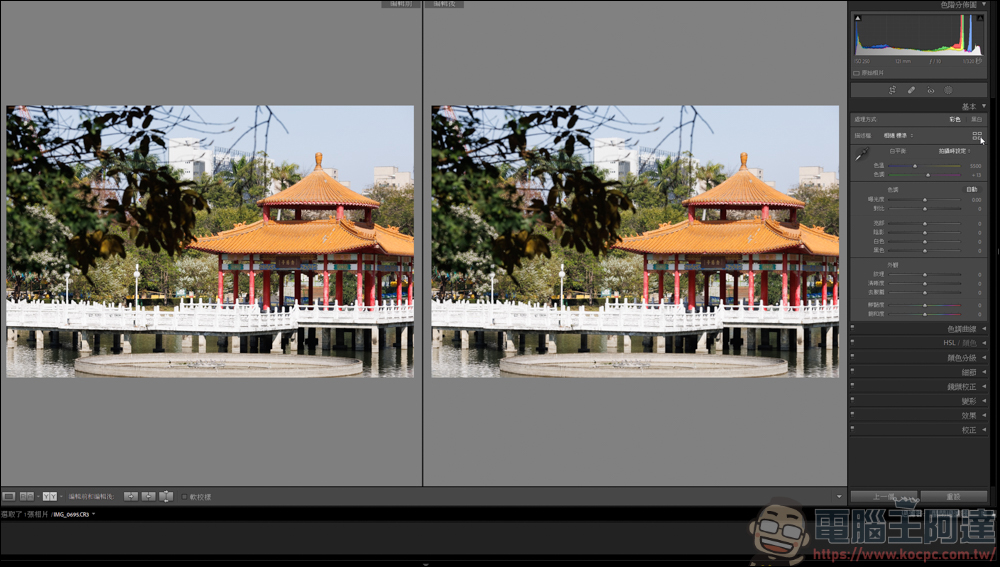
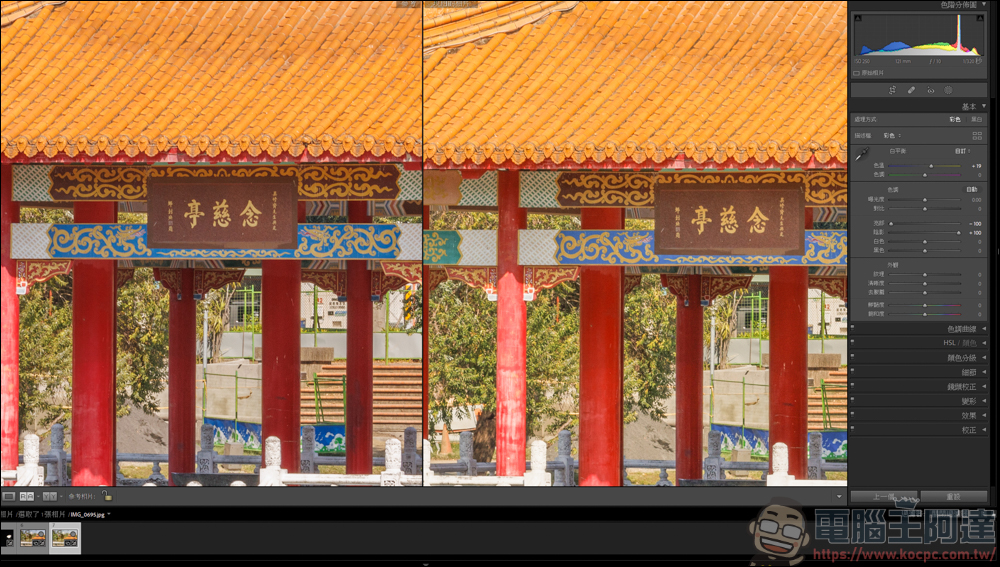
First of all, read in the photo to be adjusted. In order to facilitate everyone’s understanding of the adjustment process, here is a comparison of the photos before and after the modification. The left is unedited and the right is modified:
Before starting to adjust, it is recommended to select the description file of the photo first, because LR decodes each manufacturer’s RAW file, and the color will be different from the color of the RAW file decoded by the original software. If you prefer the color of the original camera, it is recommended to use the description file to find a similar one, but no matter how you choose, it will not be the same…:
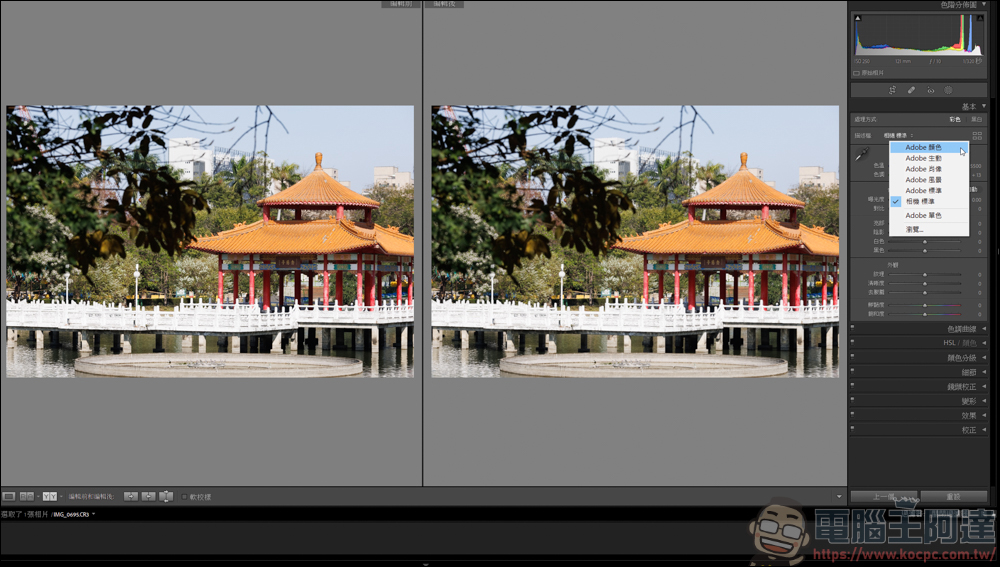
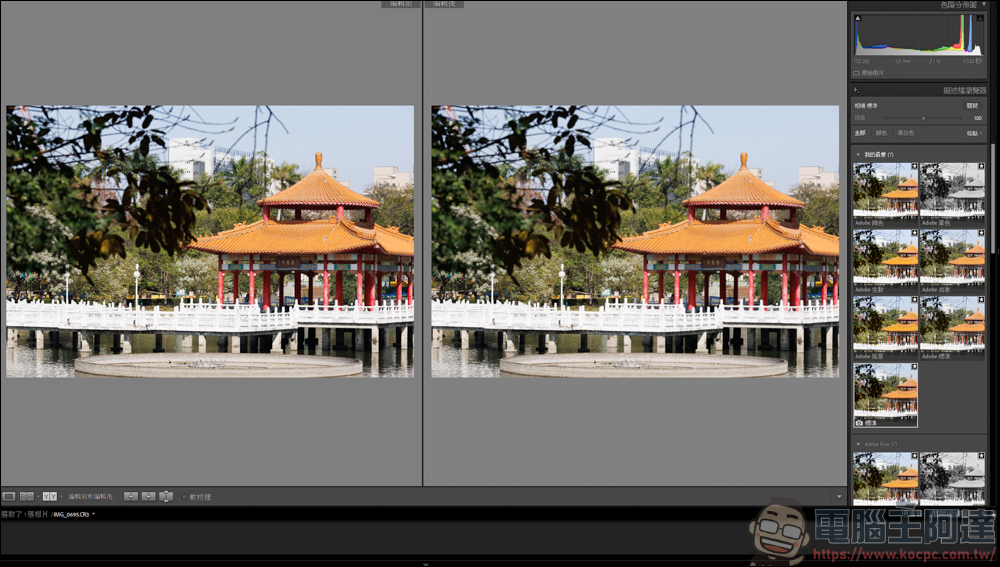
After selecting different description files, the colors and contrast will be different:
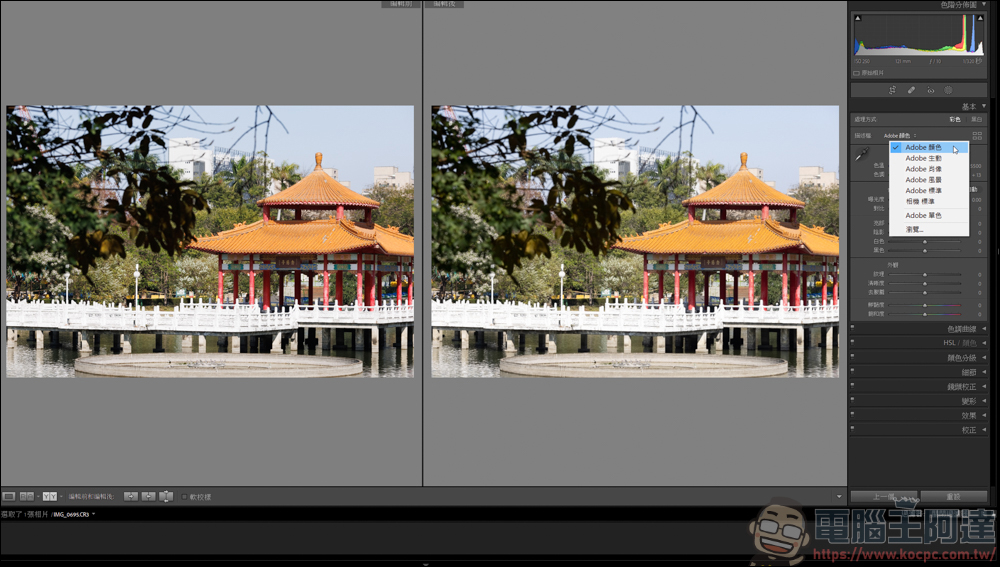
Of course, if you are too lazy to browse one by one, you can select the small box next to it:
You can directly preview the built-in description file of LR, and you can quickly browse it by previewing the thumbnail. There are also many people selling or sharing the description file on the Internet. You can check it online yourself:
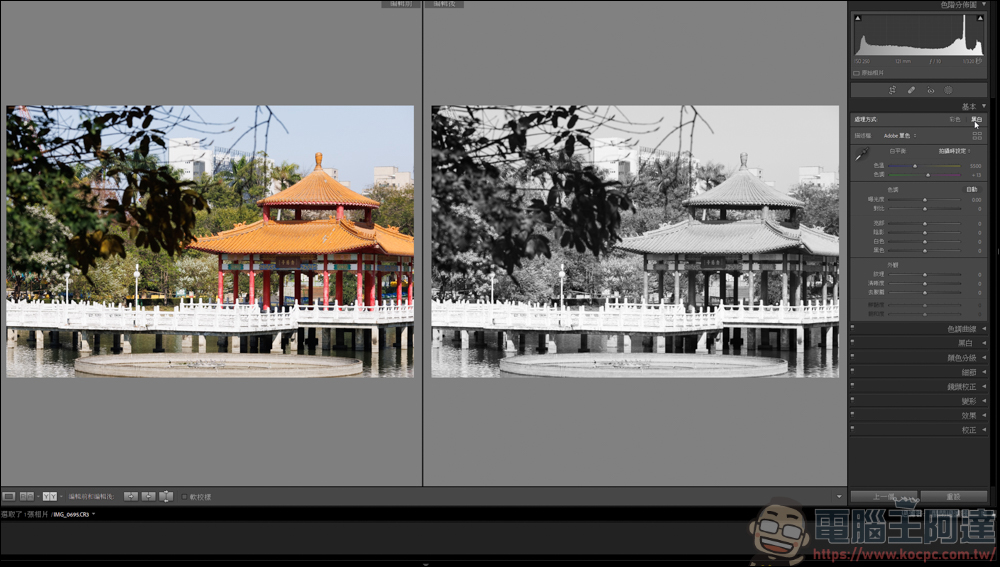
In the basic tools, you can also quickly turn the photo into black and white, and then slowly adjust your own style:
white balance
Next, let’s talk about the white balance part. If you want to adjust the color temperature and hue of the photo, you can control it here. If you use more professional color correction equipment during the shooting, you can use the eyedropper tool to quickly adjust the white balance:
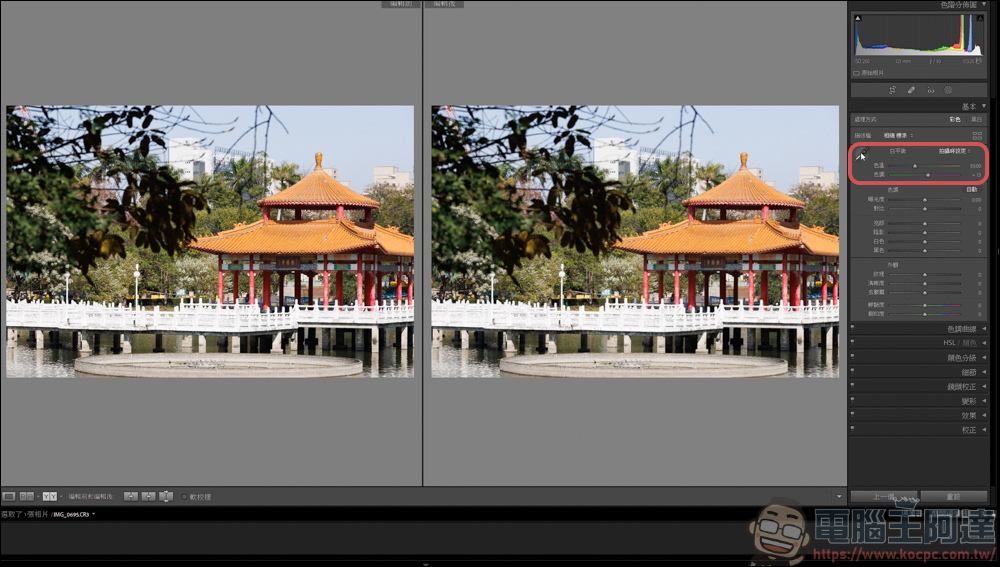
When taking photos like this, if you want to get a more accurate white balance, it is better to have professional color correction equipment as a supplement. If not, use the eyedropper tool to find the grayer areas in the picture, and then click:
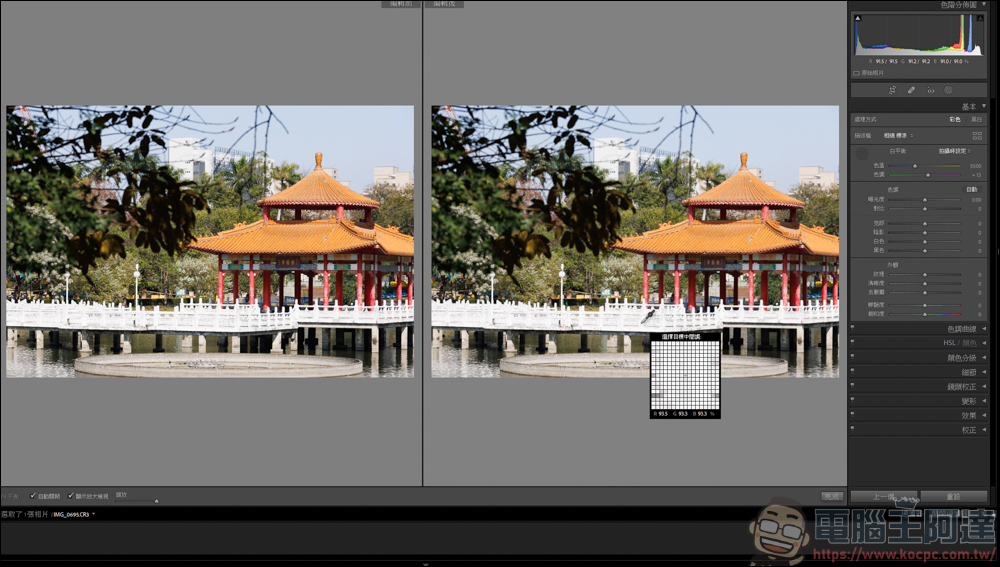
You can quickly adjust the white balance:
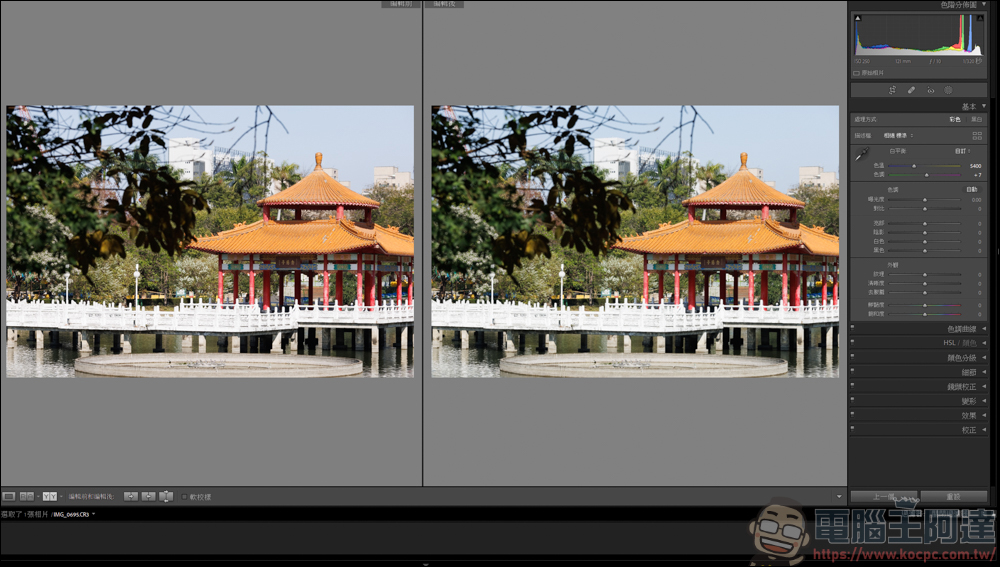
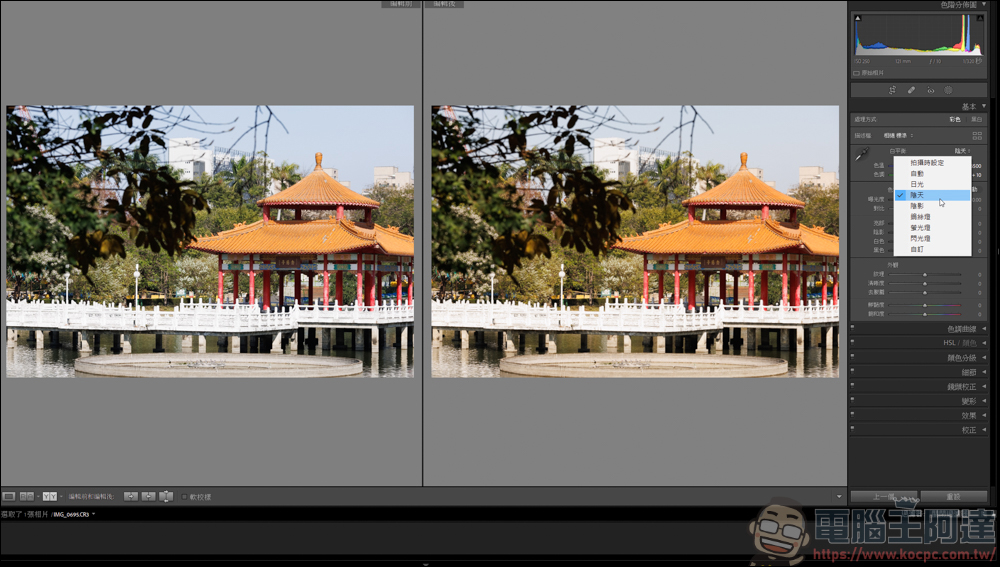
If you want to be lazy, you can also choose the built-in white balance effect. This part can actually be set by the camera when shooting:
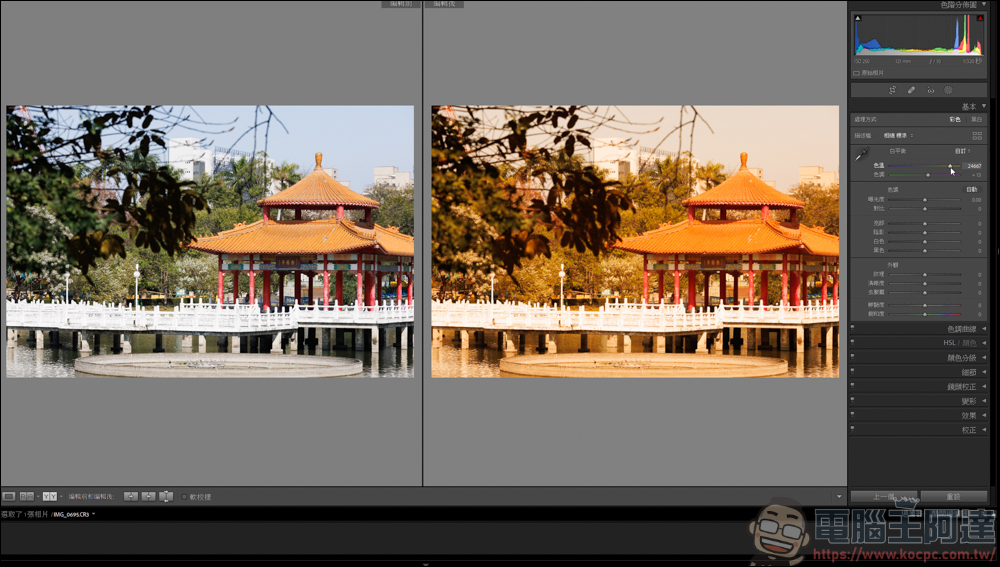
If you want to create photos with different atmospheres, you can also choose to customize the white balance value. The smaller the color temperature value, the cooler the photo will be:
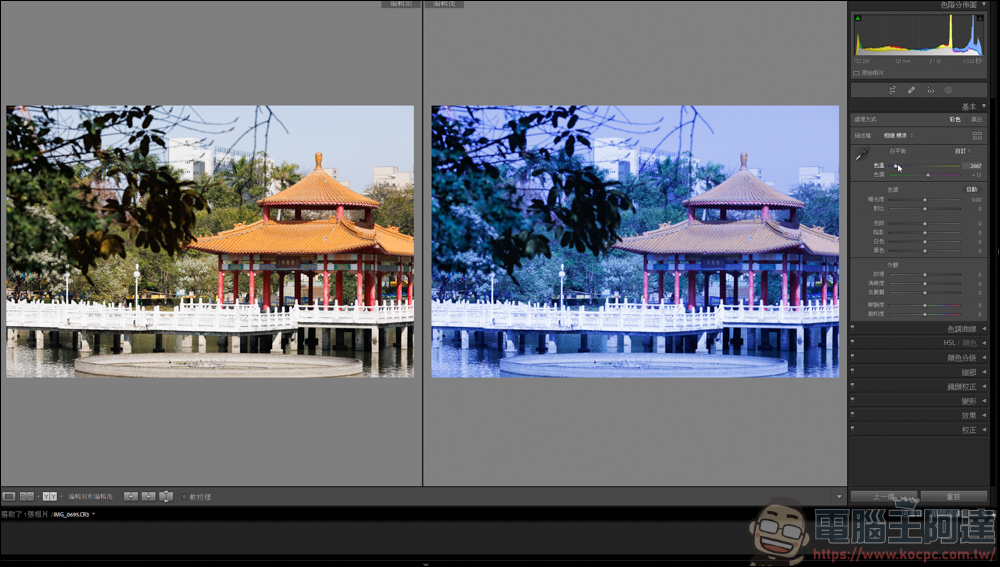
On the contrary, the warmer it is:
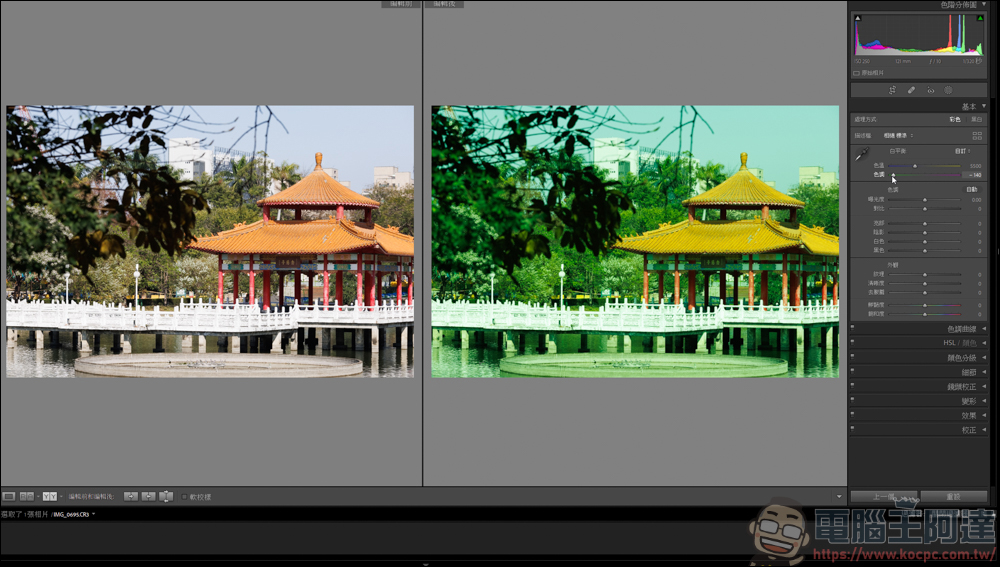
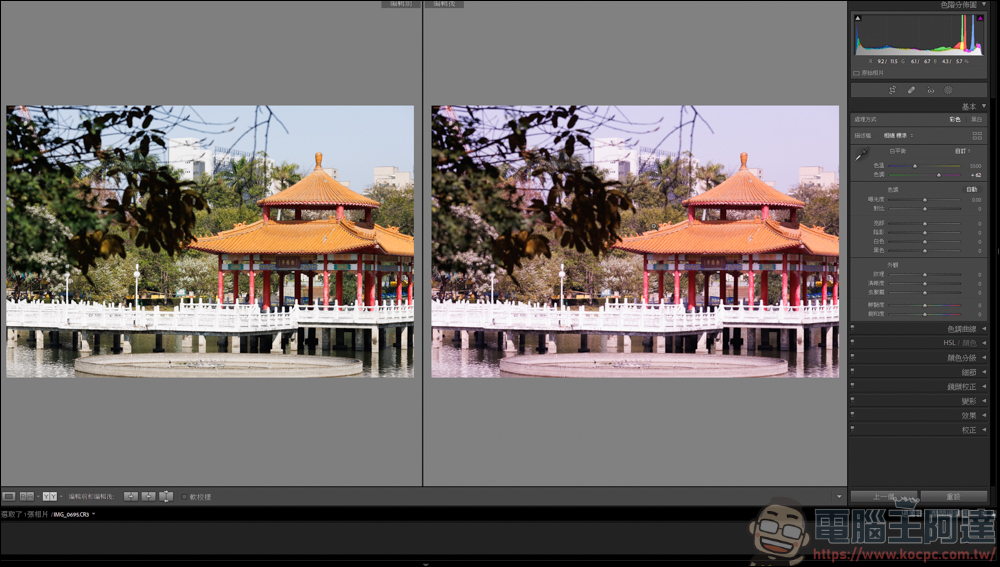
Hue is to adjust the green and magenta values:
If you are just taking photos and recording, then there is no absolute standard for adjusting parameters, but if you are taking on a business photography project, it is not suitable to adjust it casually:
The core of photo adjustment – exposure, color adjustment
Then we have to get to the main point. Whether it is a camera or a mobile phone, the photos taken are all taken with the current parameters. The photo like mine was taken with the correct exposure of the appearance of the building, but because the exposure of other places is not consistent with the building (such as leaves), it must be adjusted in post-production. The convenient thing about LR is that it can be adjusted comprehensively and locally. If you want to have higher adjustment tolerance, it is recommended that you shoot RAW files instead of JPG. I will talk about it later:
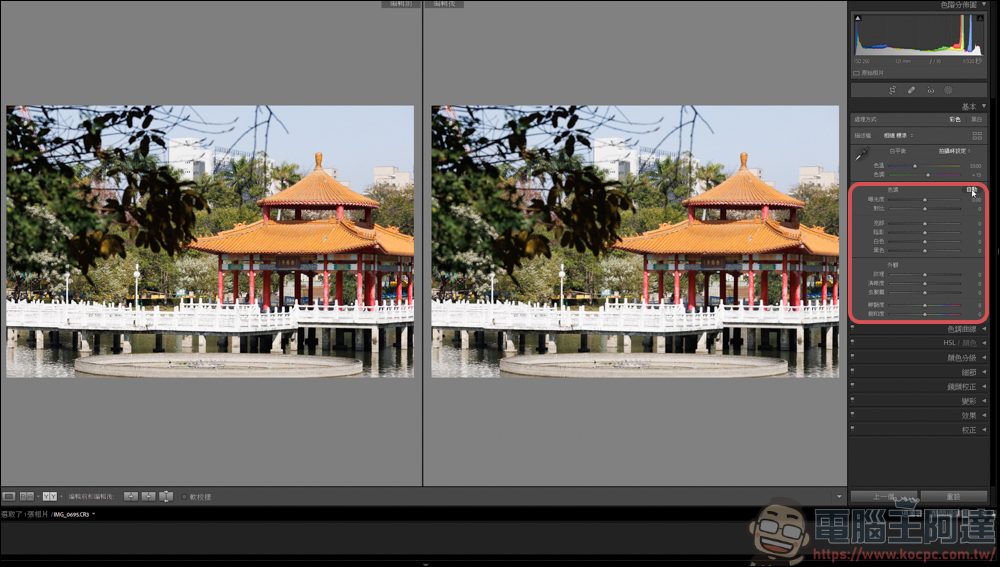
If you want to be lazy, just click Auto and LR will quickly adjust it for you XD
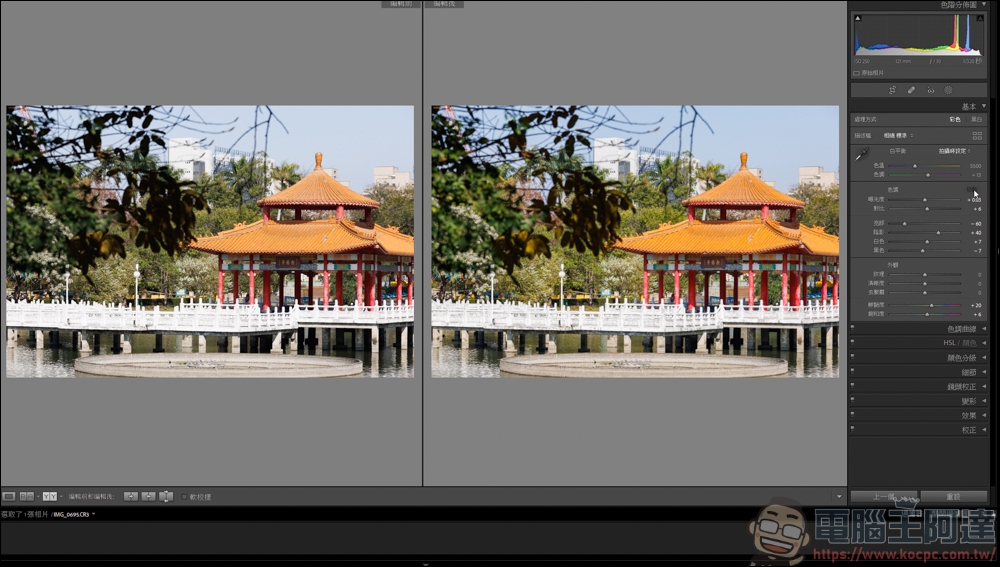
Closer to home, the exposure value is to adjust the overall brightness of the photo, which can be adjusted up to ±6:
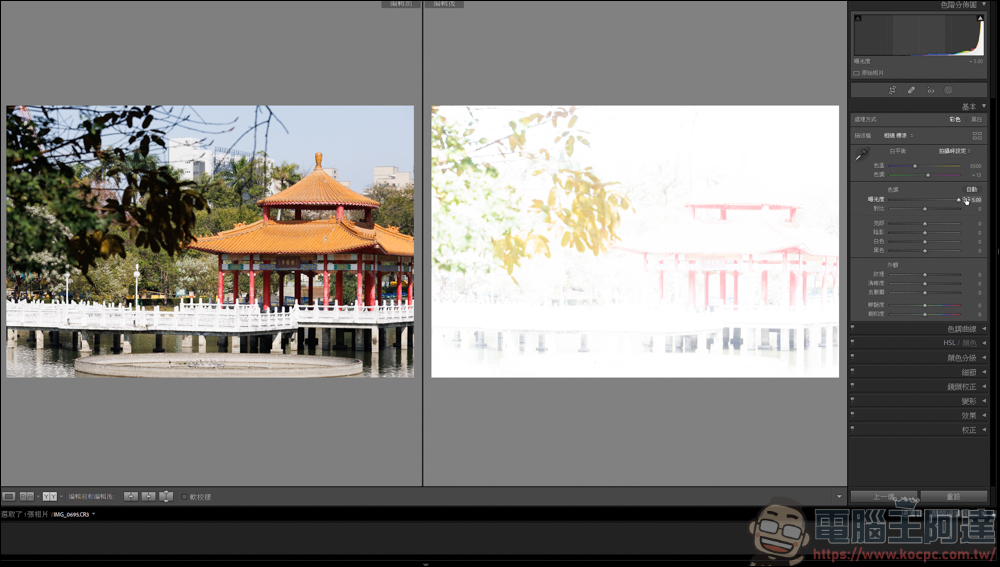
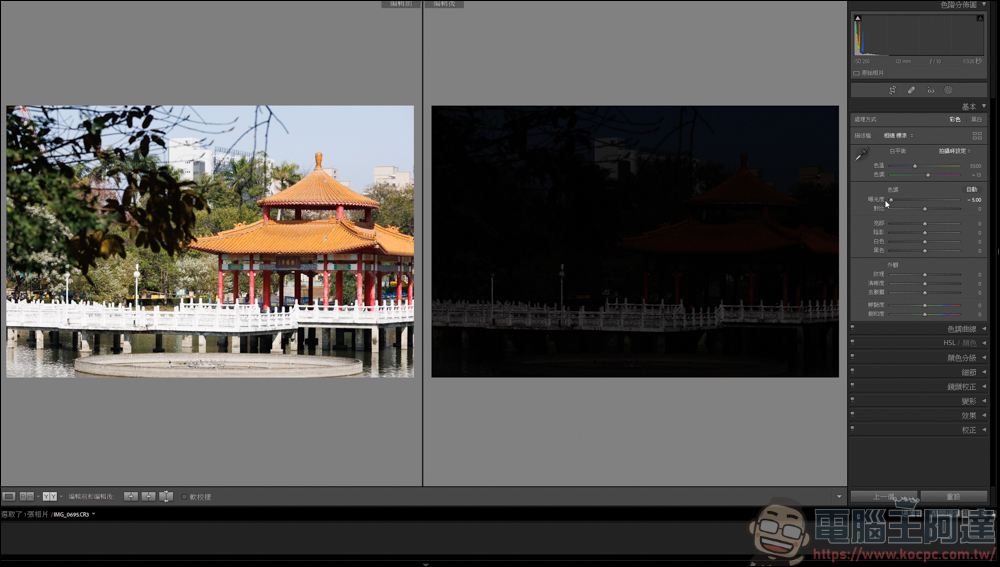
There is a color scale distribution chart on the upper right, which is used to show the brightness percentage of the photo. If the photo is overexposed, the color levels will be concentrated to the right. If the photo is underexposed, the color levels will be concentrated on the left like the picture above. A photo with contrast, saturation, and normal exposure will be evenly distributed in the center. However, if you want to present different photo styles, some people will basically choose to overexpose or make the shadows look darker. This part depends on the user, and there are no certain rules:
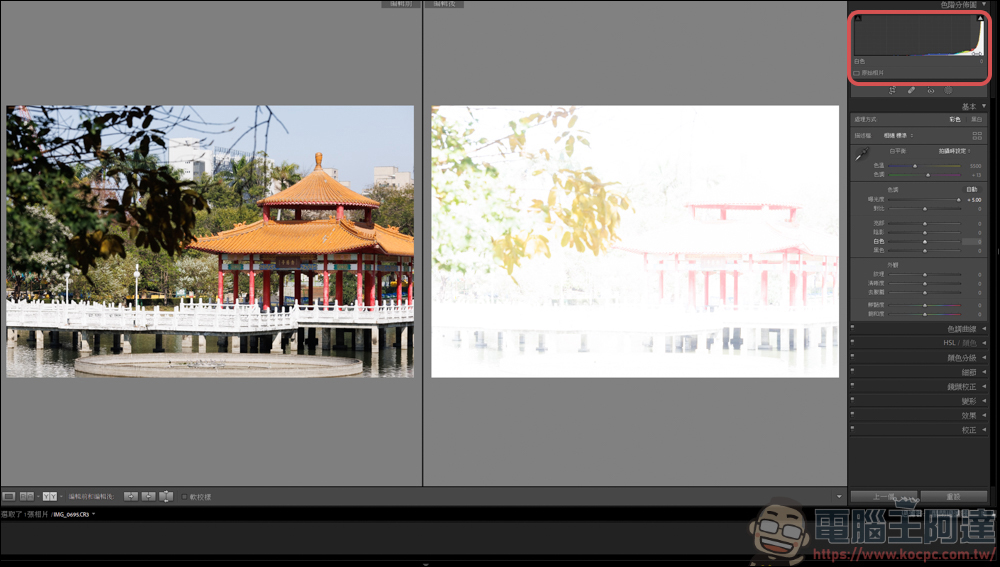
Contrast is to increase or decrease the contrast of a photo, which can be adjusted by ±100. If you increase the contrast, dark areas will be darker and bright areas will be brighter:
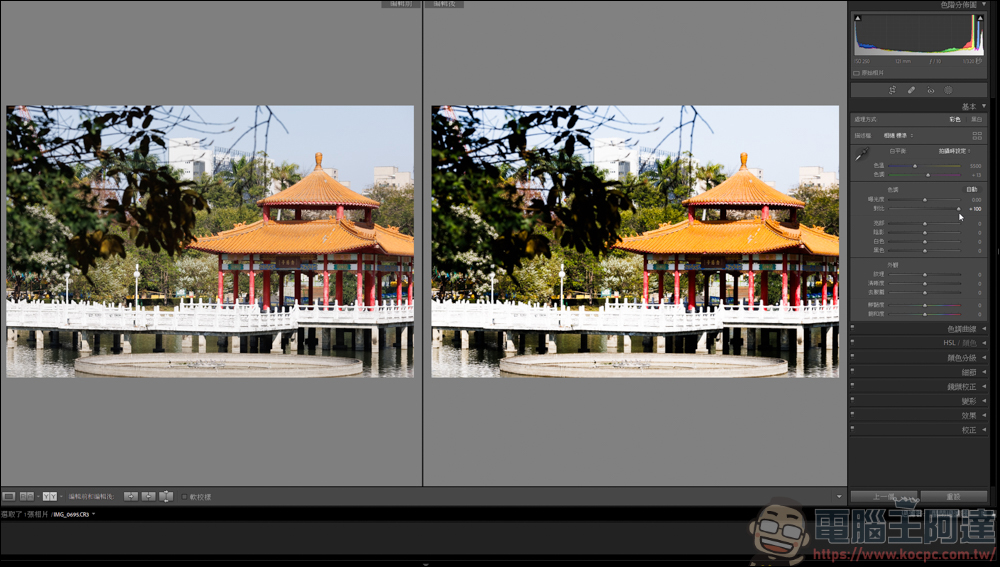
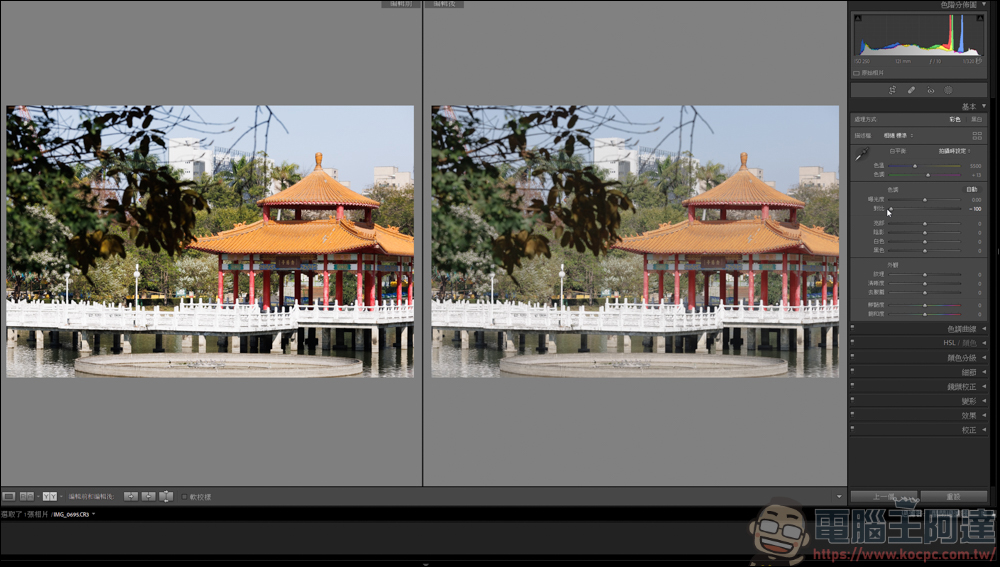
On the contrary, dark areas will be brightened, bright areas will become lighter, and the overall photo will look gray:
Highlights are adjusted for the brightest areas in the photo:
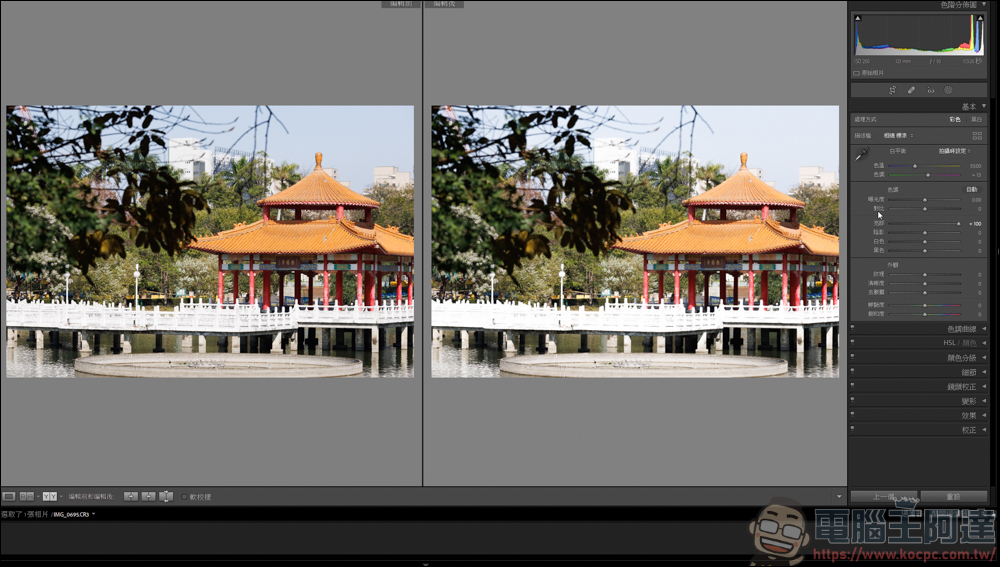
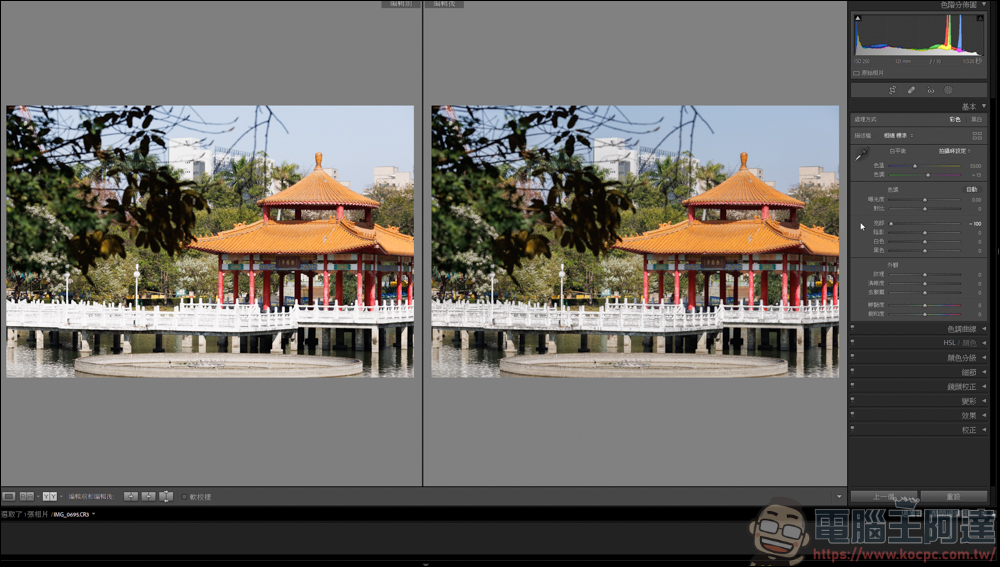
It can be seen that the brightness adjustment will only adjust the brightest areas, and the dark areas will not be moved:
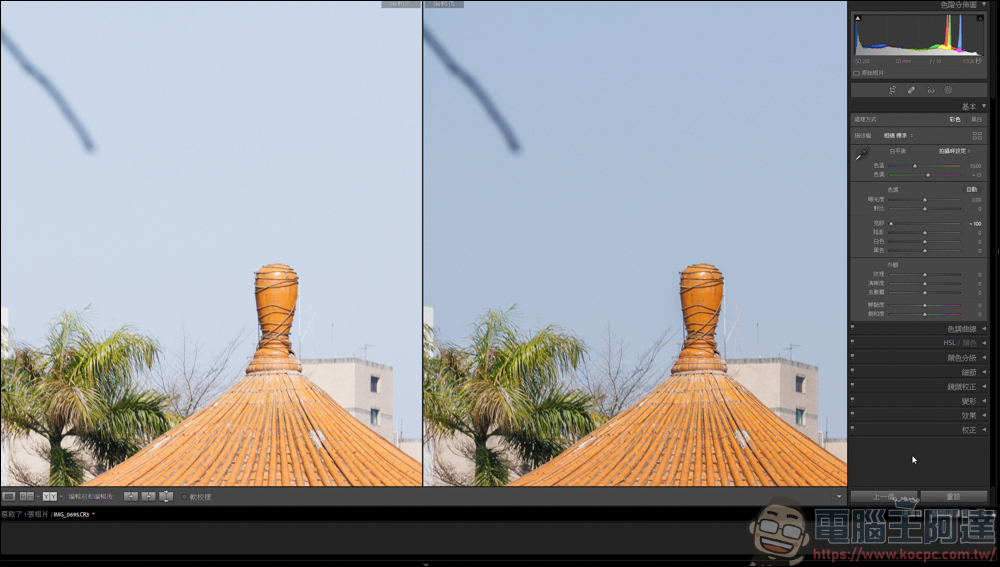
Shadows adjust the darkest parts of the photo:
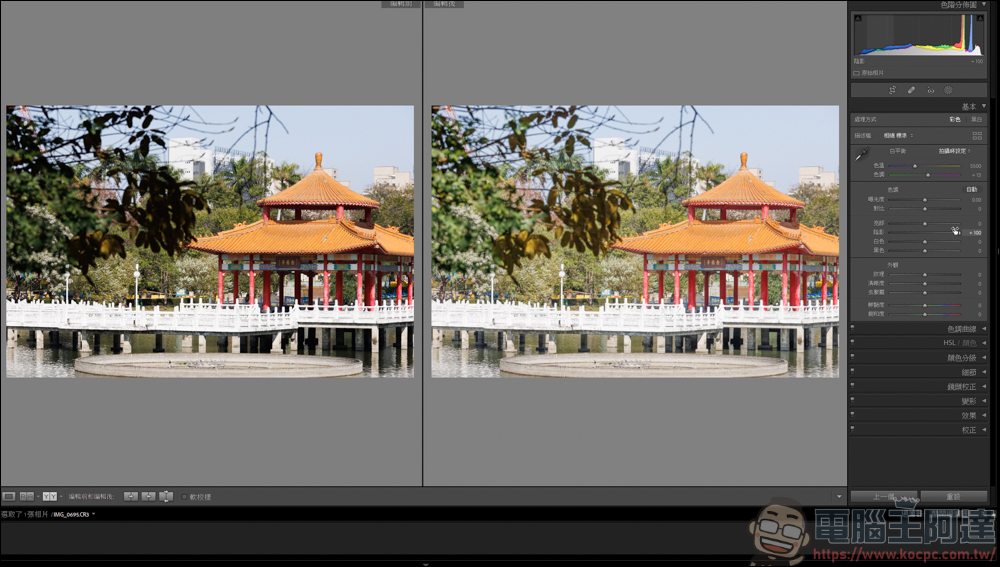
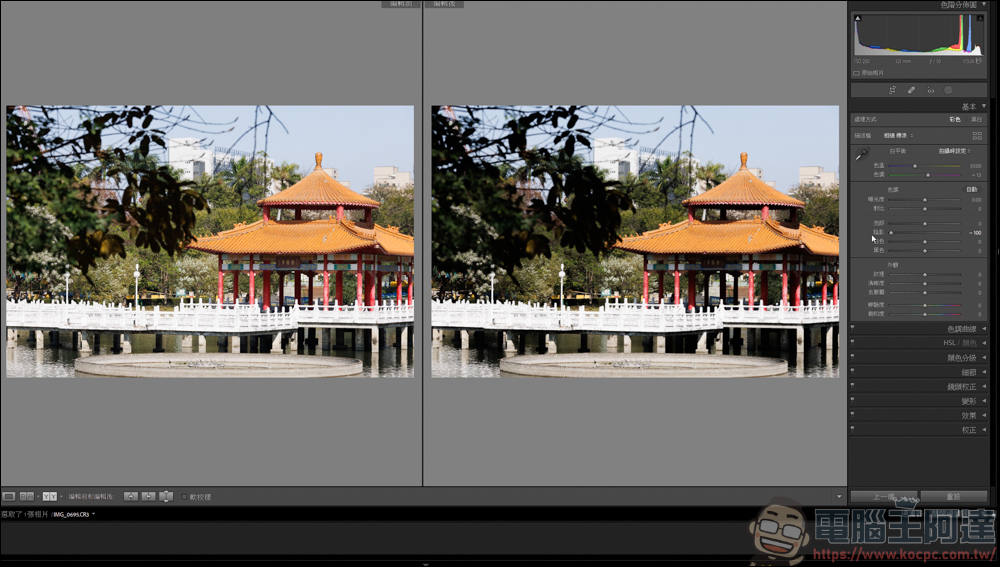
By adjusting the shadows, the shadows in the photo will be brightened. However, if the entire photo is dark, it may not be brought back:
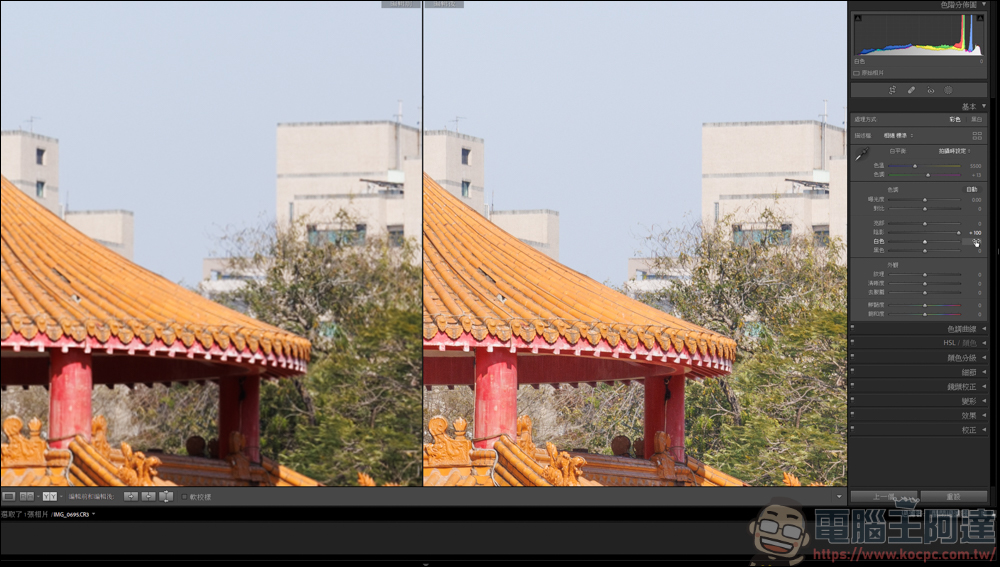
The functions of white and highlight are somewhat similar, but the details of adjustment are different. Highlight is to adjust the brighter parts of the photo, but white treats both gray and white as the adjustment range, and the adjustments will be different:
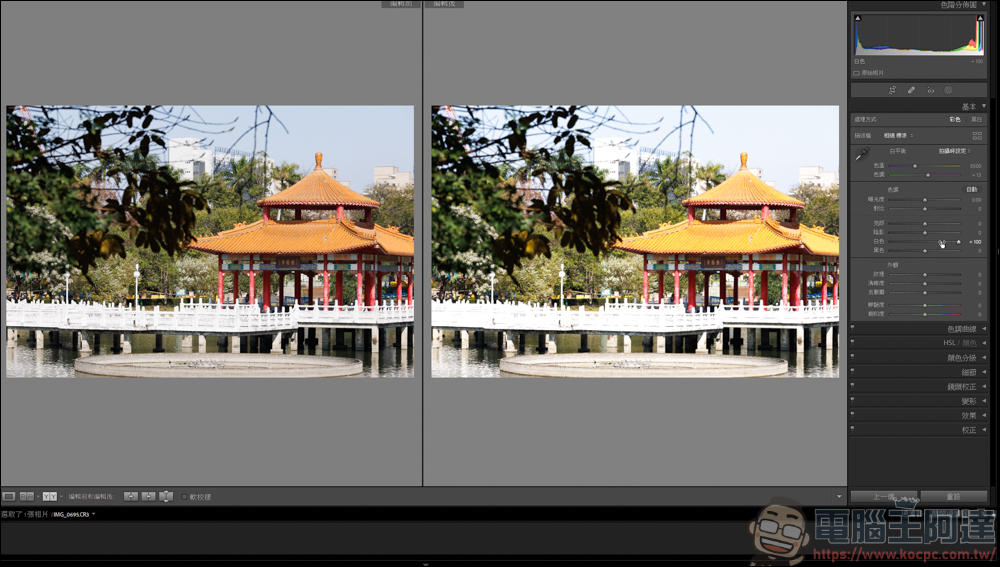
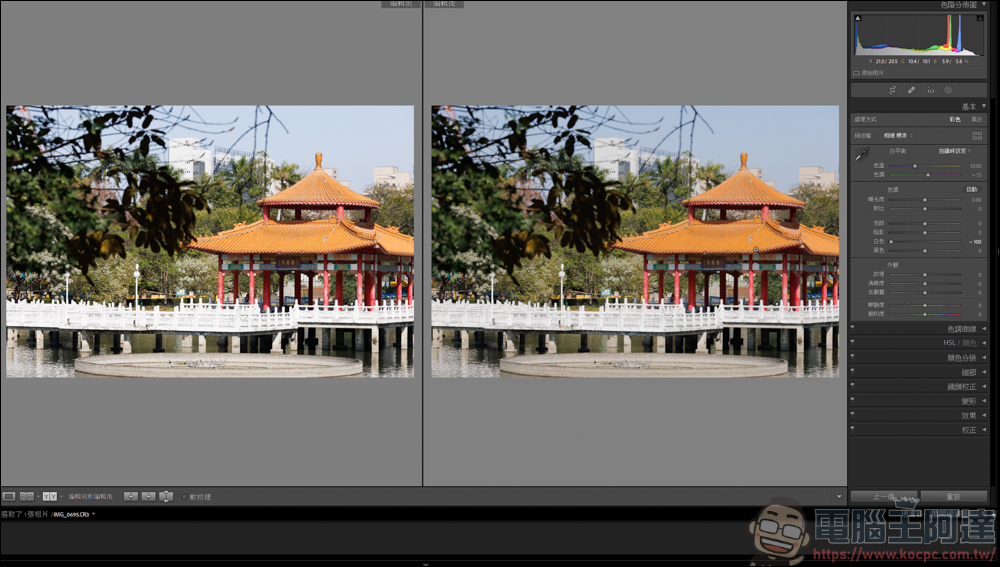
There are still differences between white and highlights. It depends on whether the photo you want to adjust is the highlight or the white and gray part of the photo. Choose:
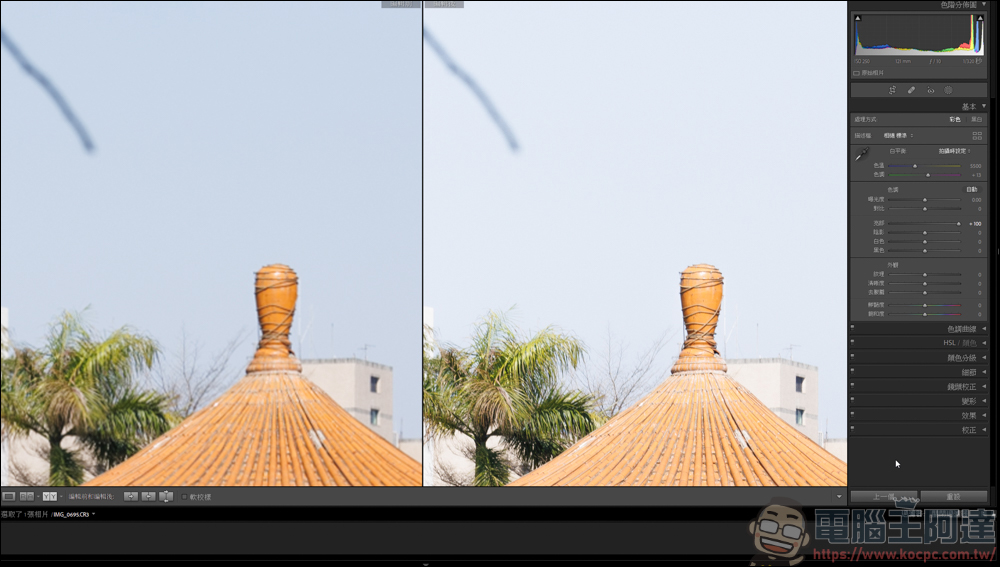
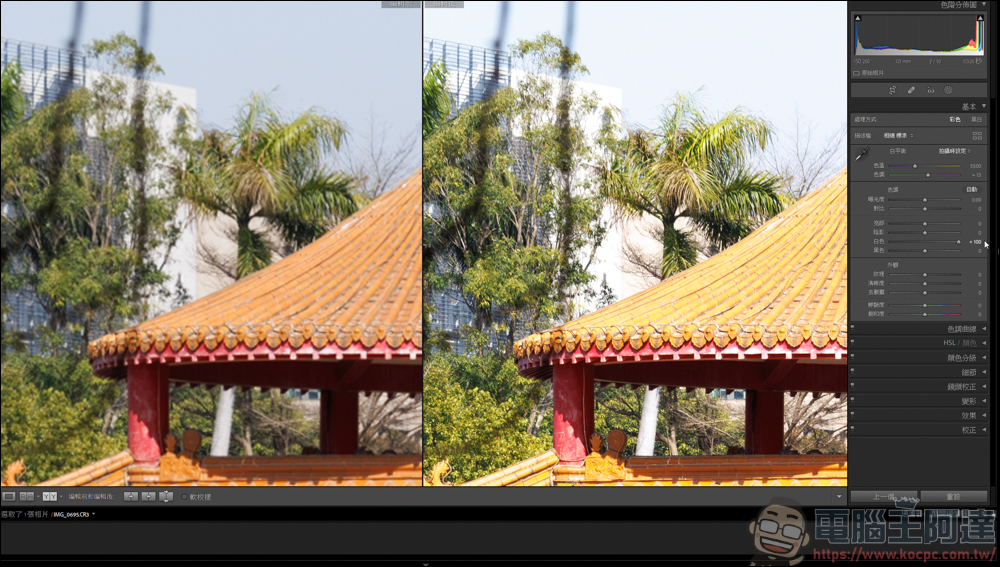
Black is also different from shadows. Black can control all the black parts of the photo:
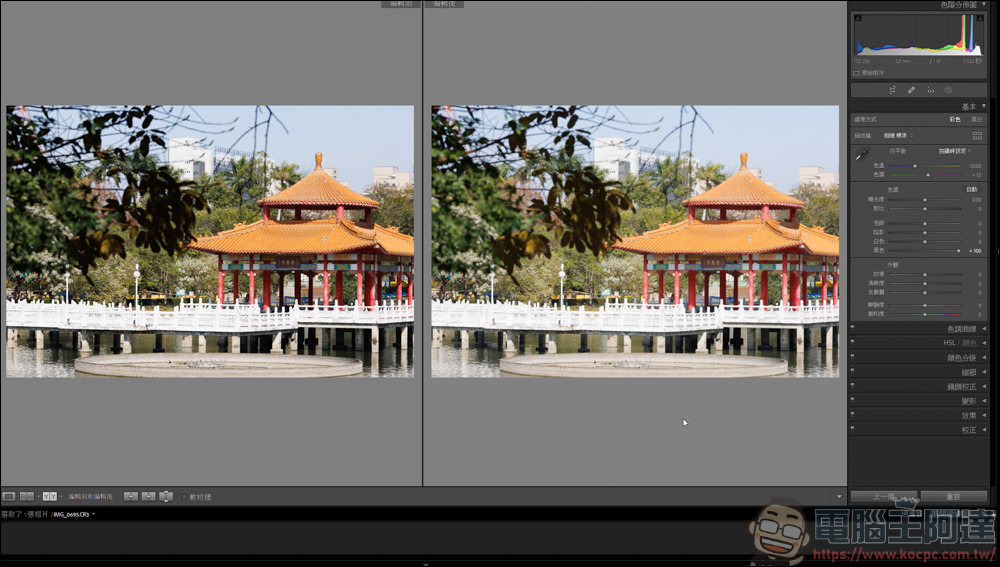
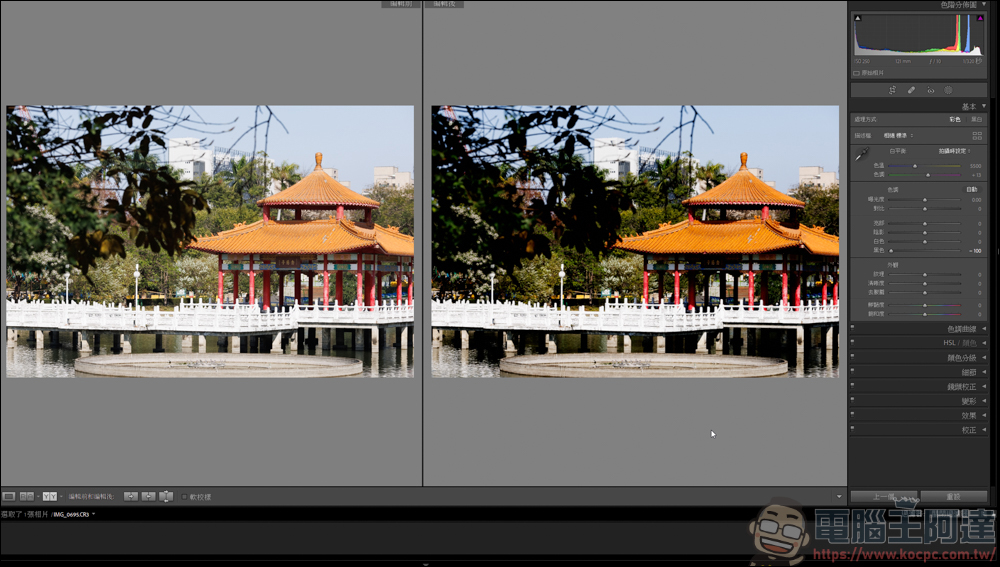
For example, if you use the same darkening method, the shadow will only be adjusted for the darkest places:
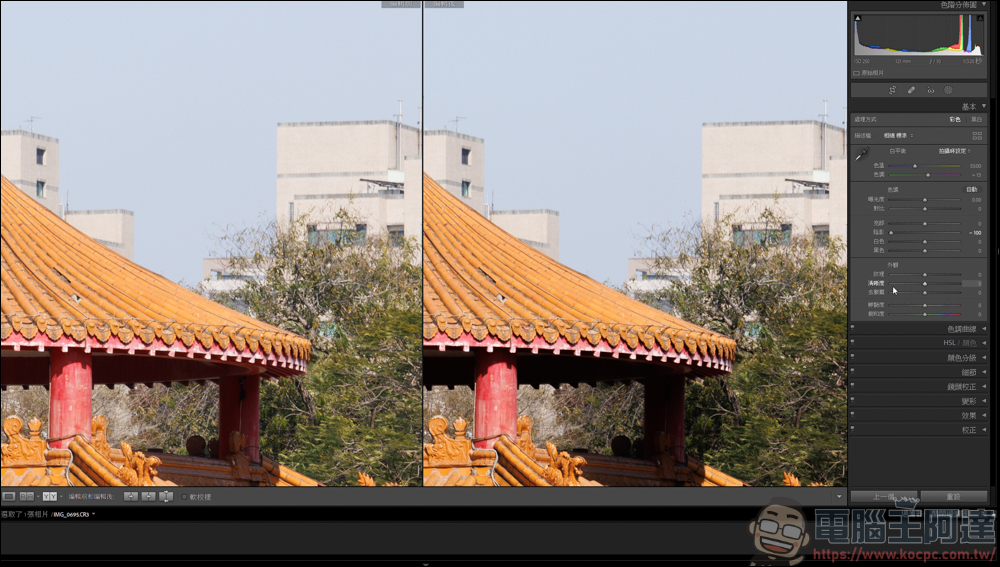
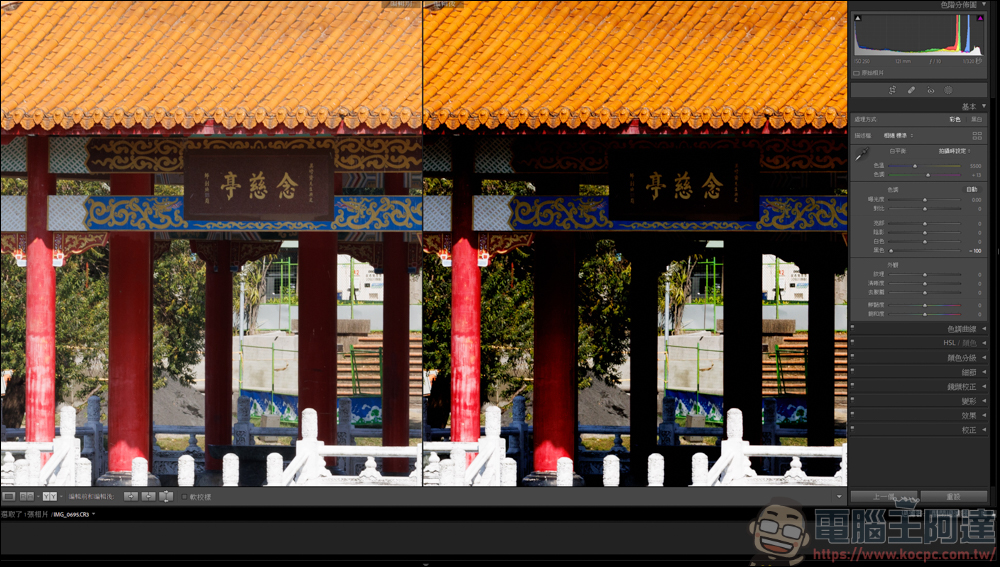
Black is different. It will adjust the dark parts of the photo instead of just the shadows:
The texture is to increase the details of the photo. If I want the tiles to be clearly visible, I just need to increase the value:
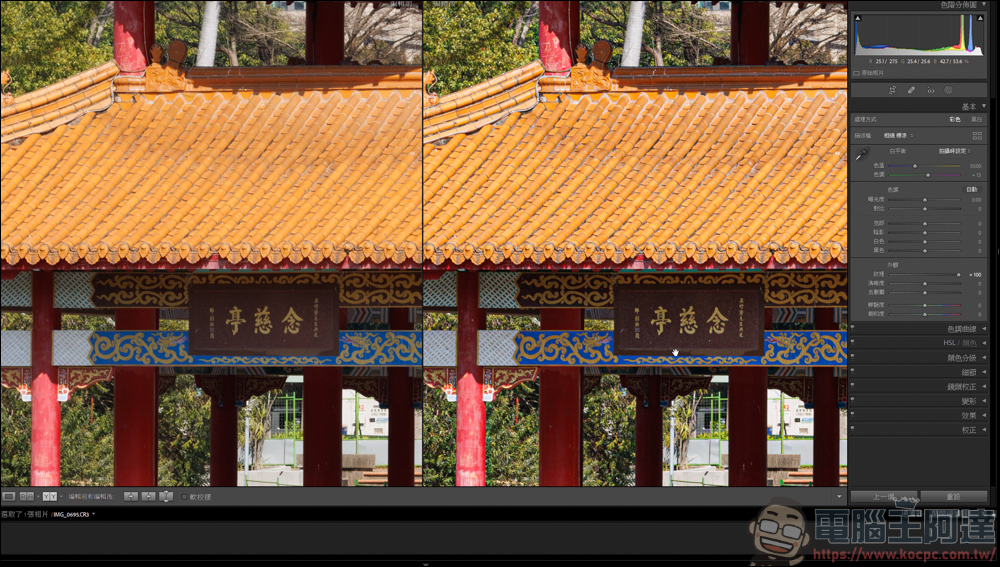
On the contrary, the details of the photo will be less clear, which is very useful for portrait retouching:
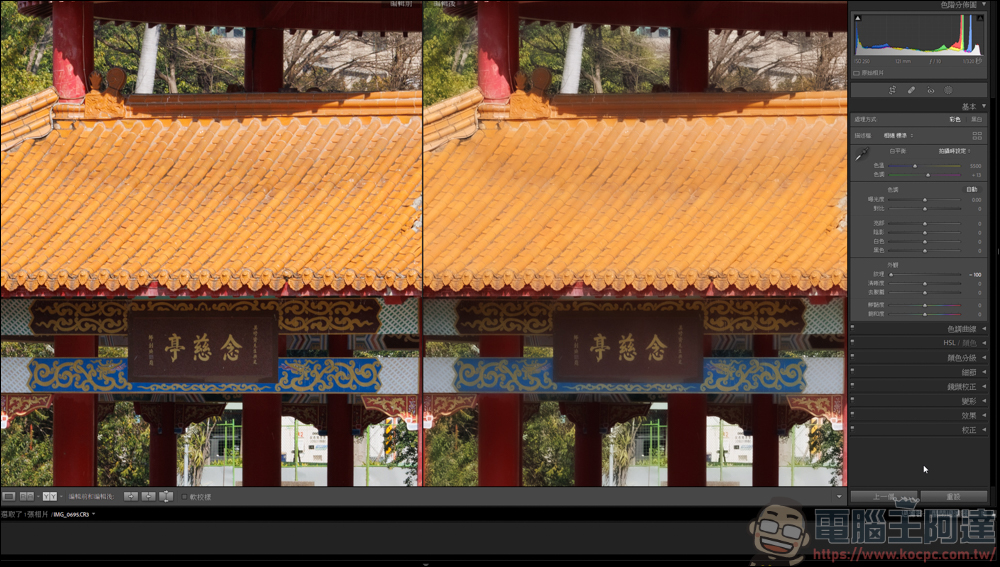
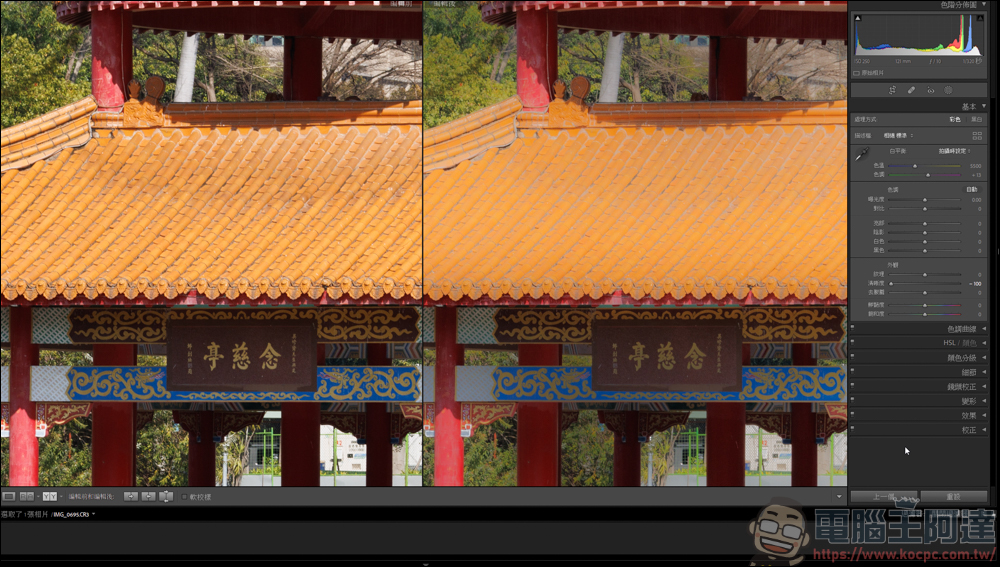
My personal opinion of clarity is a bit like the “Contrast” + “Texture” function, which focuses on increasing or decreasing the contrast between light and dark around the object. After increasing it, you can see that the details come out, but the contrast also increases at the same time:
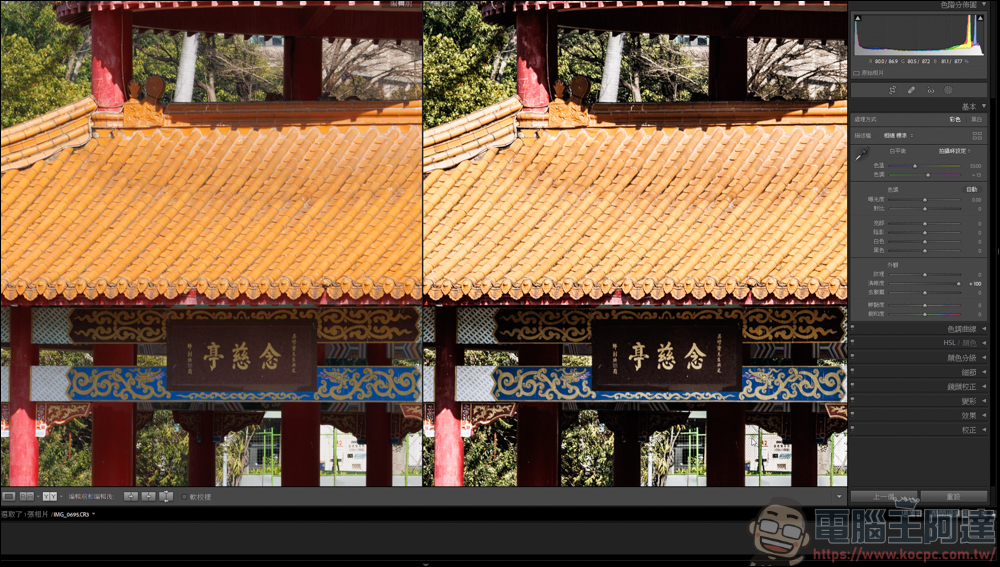
Otherwise, contrast and detail will be reduced:
The dehazing function is to reduce the fog in the picture. If the photos you take have fog or smoke, you can use this function to eliminate them, but the contrast and color will be deepened (I don’t have any similar photos to show).
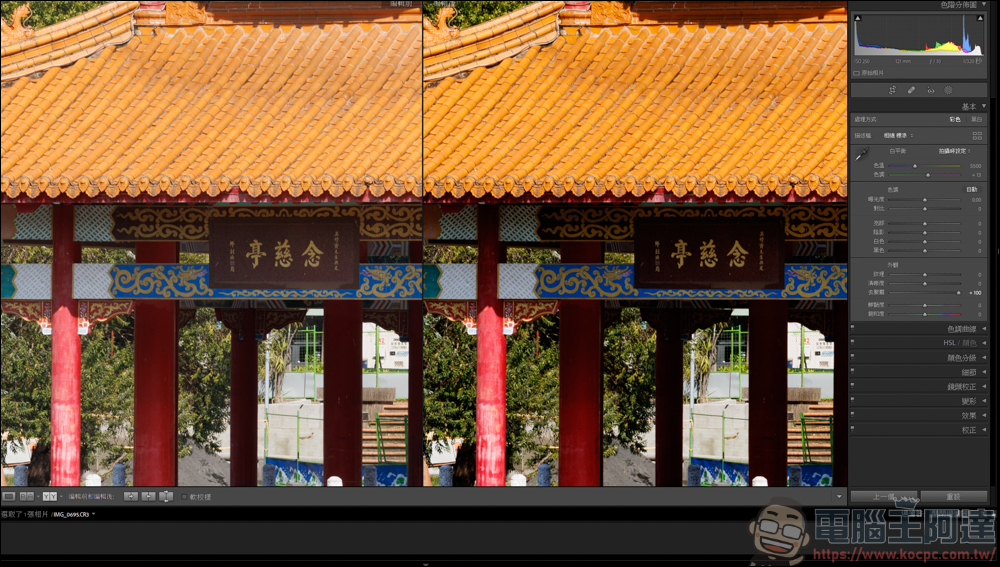
On the contrary, it adds a layer of fog to the photo:
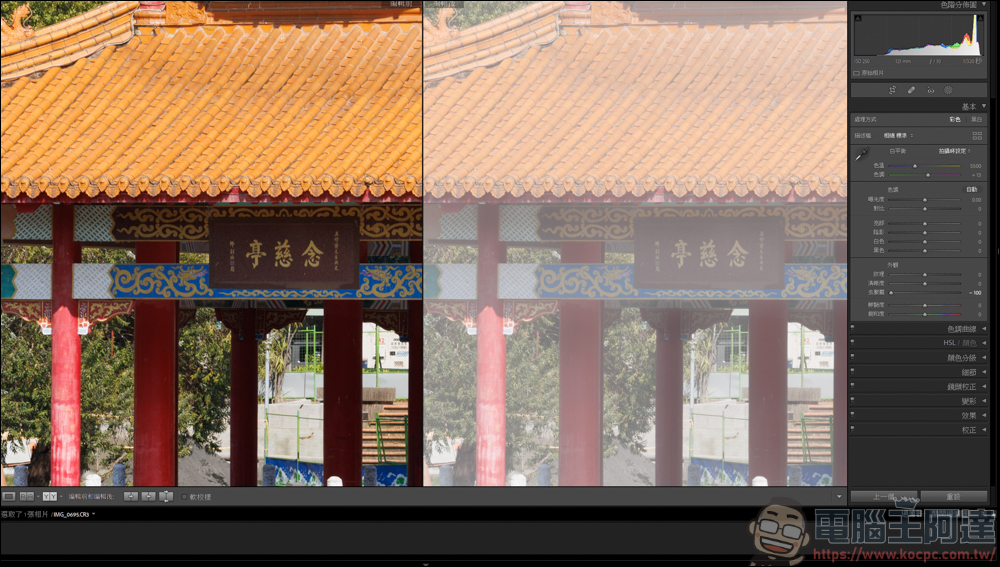
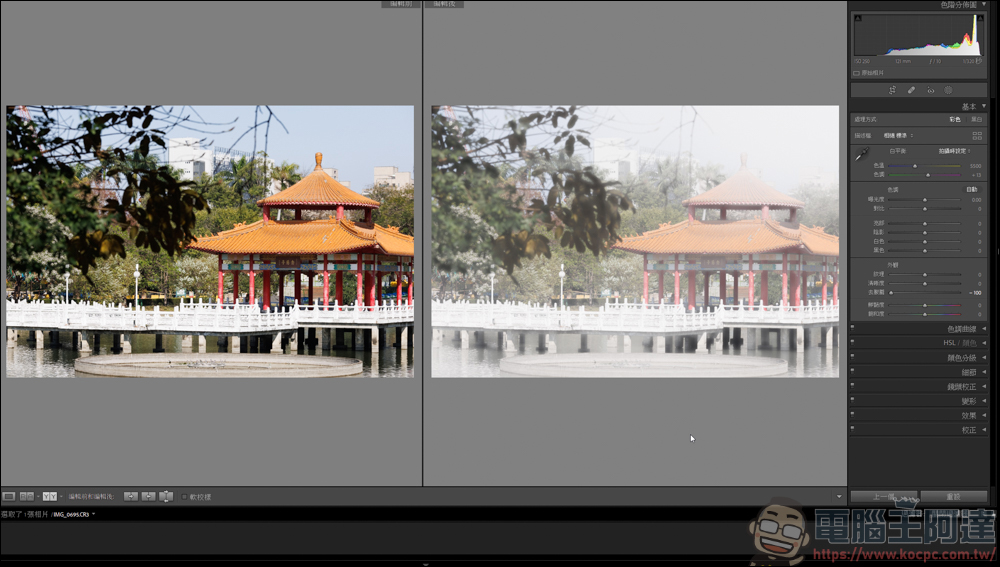
The effects of vividness and saturation are actually very similar, but the adjustment is actually different:
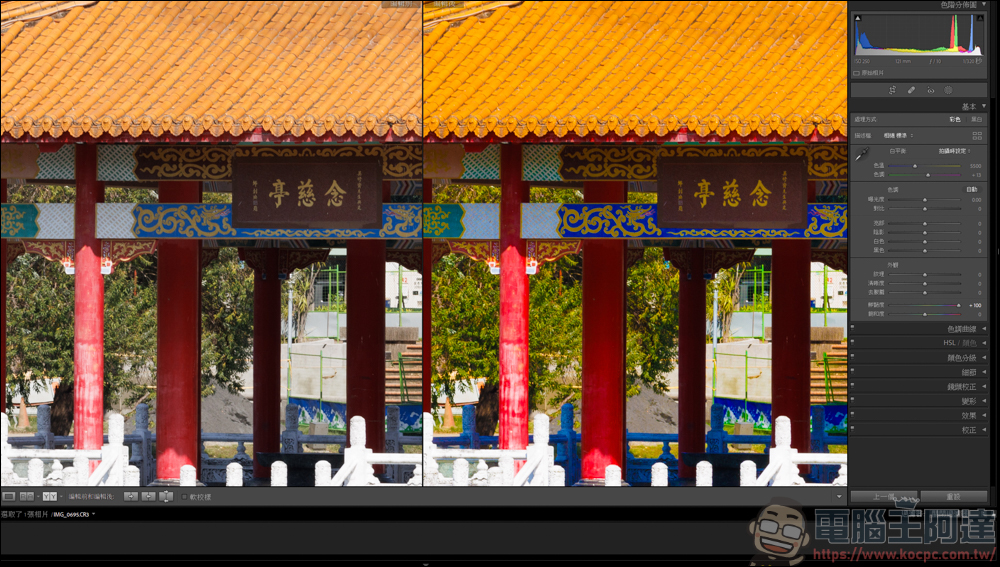
Vividness is used to enhance the less saturated colors in the picture. Even after turning down the entire vividness, you can still see some color residue:
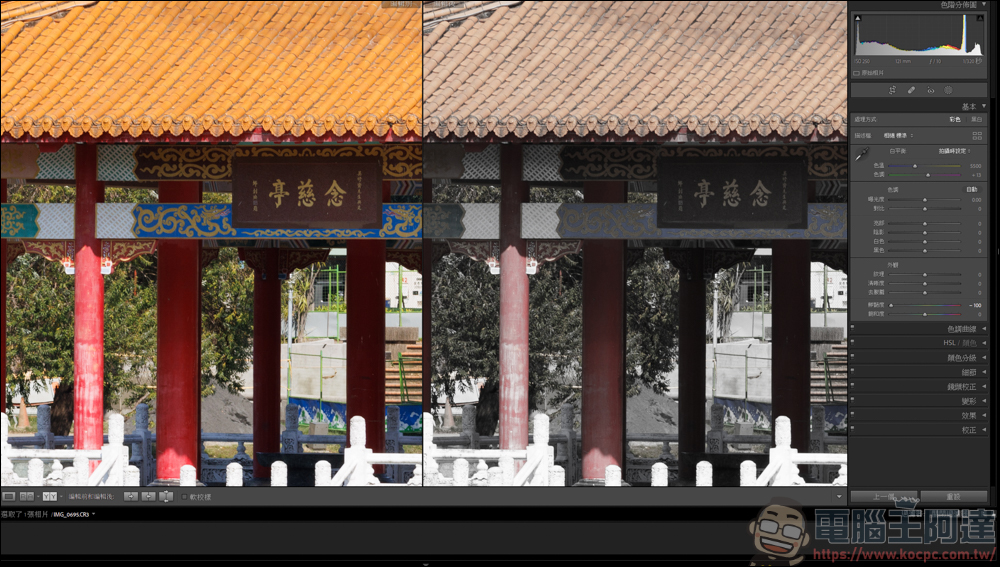
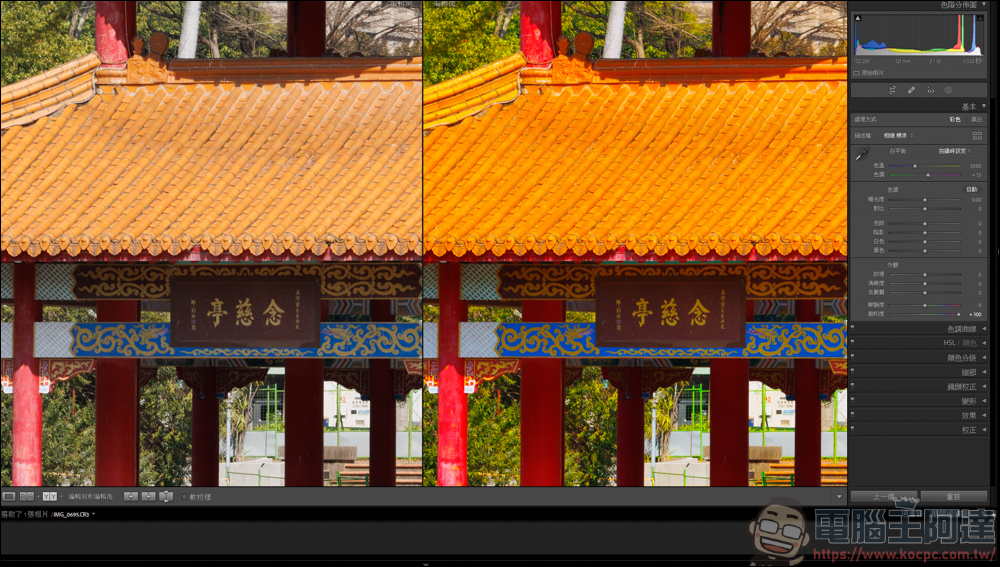
Saturation is a little different. It adjusts all the colors in the photo, and the effect is stronger than vividness:
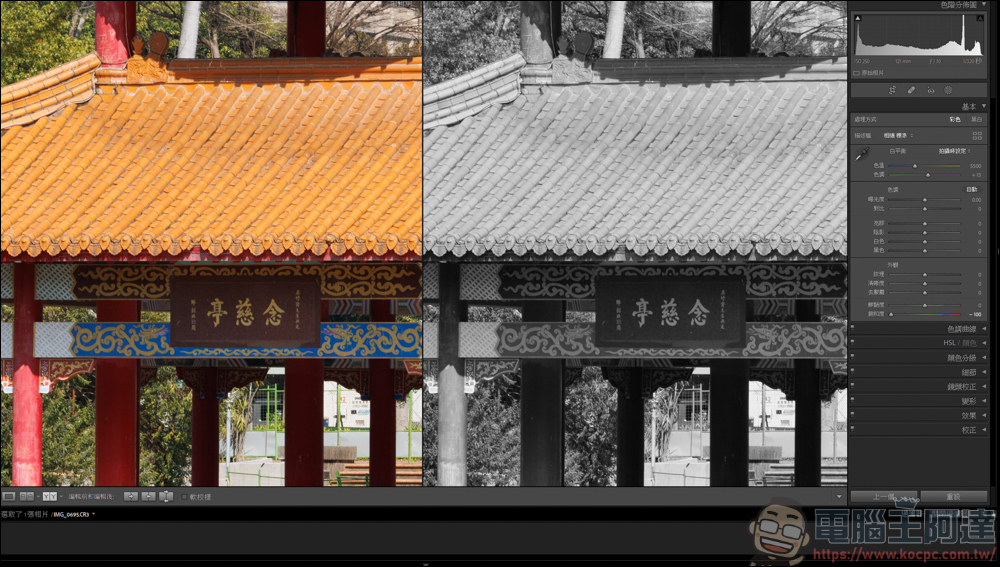
After pulling it all down, the picture has no color at all:
The adjustment of the two colors is different. If it is a portrait retouch, I will use a bit of vividness to make the color of the face look better. If I want the color of the entire photo to look quite vivid, I will increase the saturation, but this part still needs to be adjusted according to the way you like:
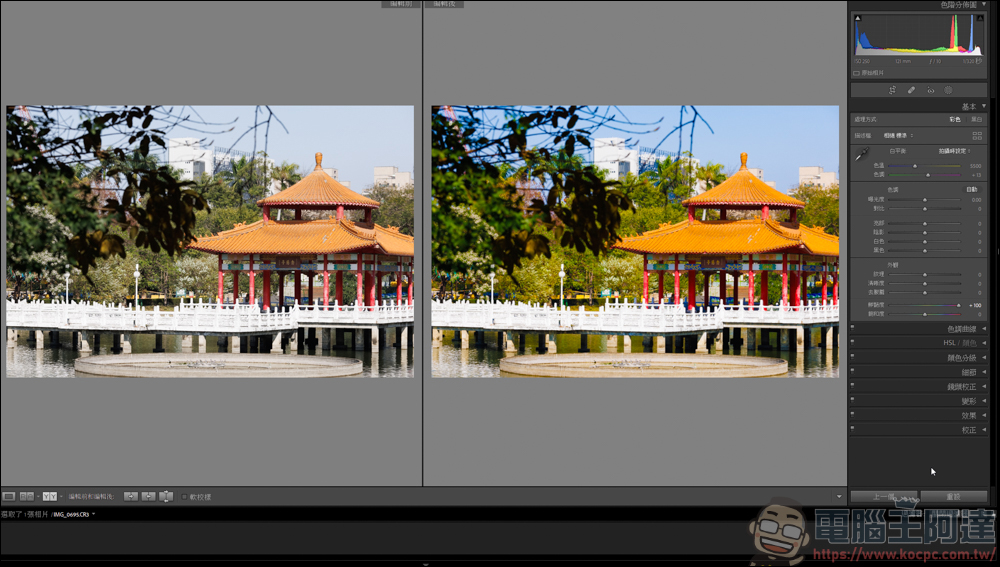
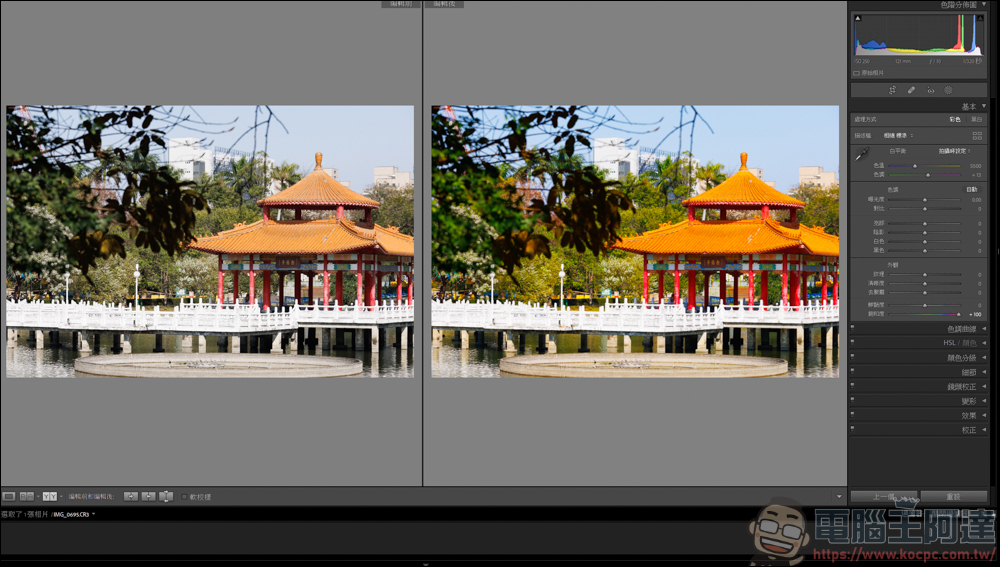
Finished product
In addition to increasing the beauty of the photo, post-production retouching can also create a unique personal style through different tonal adjustments, contrast, and presentation of details, making the photo look different from others:
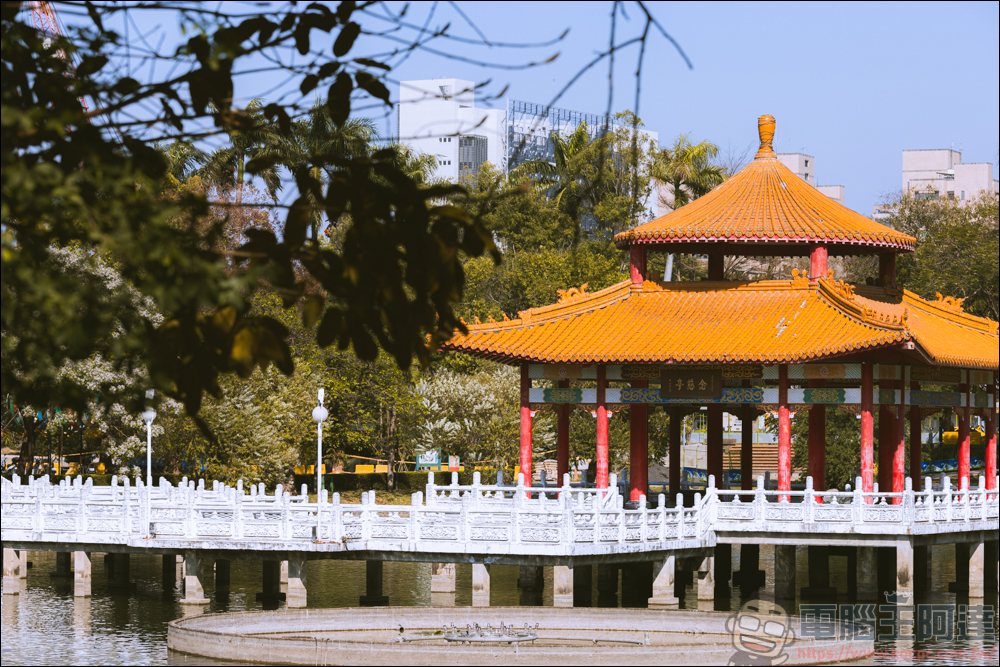
Why shoot RAW files?
Here I will also give you a brief introduction to the importance of shooting RAW files:
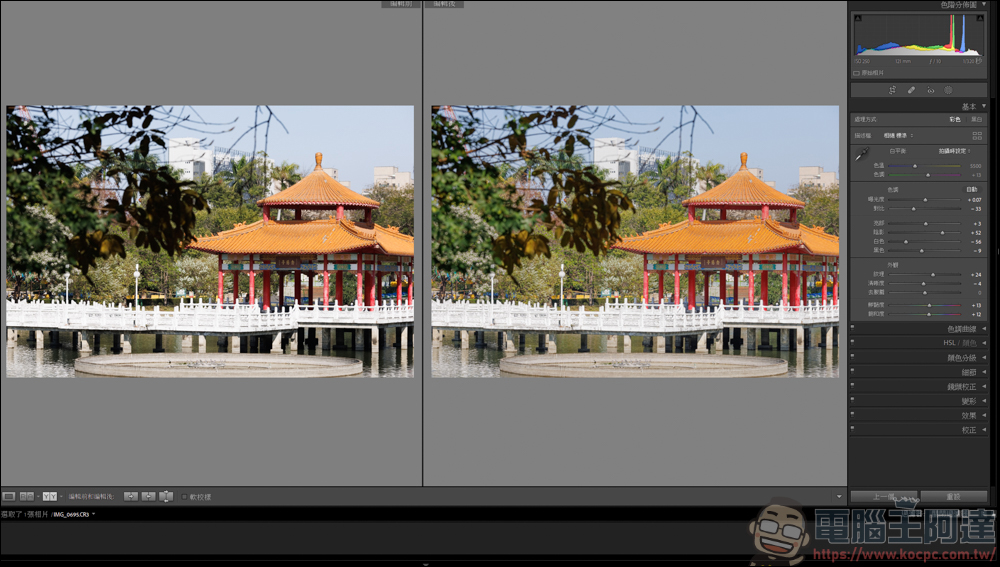
Let’s start with the color temperature. The picture on the right is a JPG file that is currently being corrected, and the picture on the left is a RAW file. JPG and RAW have different color temperature adjustments. Although both can be adjusted to cold or warm colors, the adjustment of JPG is only ± 100, and the more detailed adjustments are even less than that of RAW:
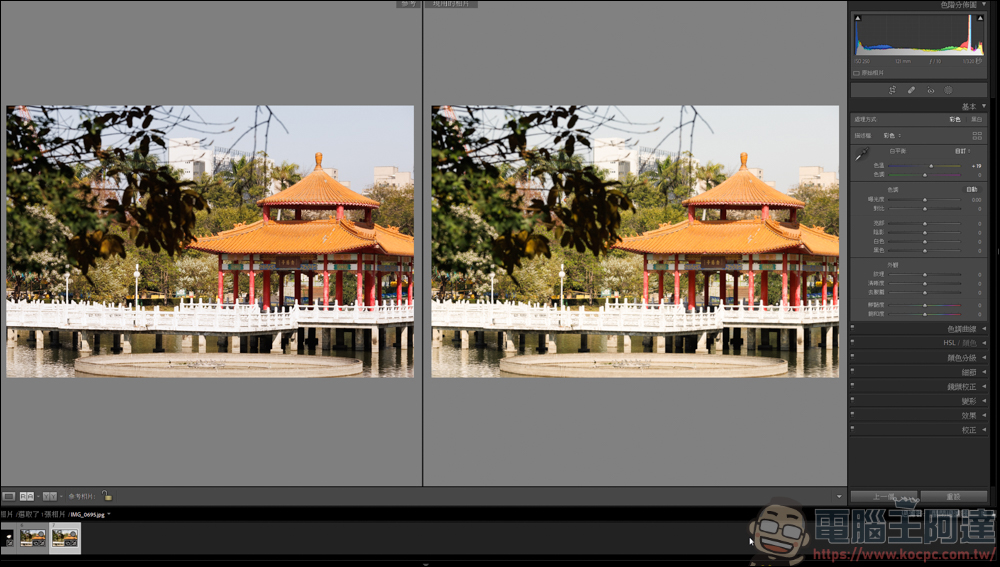
The same is true for detail processing. I adjusted both photos to the same parameters, but the RAW file retains more light and dark details. However, under the same parameters, the JPG retains less details, and the adjustment tolerance is obviously worse than that of RAW. This is why I recommend everyone to shoot RAW files. I will write a more detailed comparison article between JPG & RAW later. Although the RAW file format is larger, with the current high-capacity memory so cheap, it is more appropriate to shoot RAW files:
Source: KOCPC Chinese