


Nowadays, many people use iPhone to record. Although the operation of enabling the recording function is not complicated, it is not very convenient if you encounter an emergency or want to steal the recording. Therefore, this article will teach you a little trick: “Tap the back of the iPhone two or three times” to quickly enable the recording function, even if it has a protective case (of course, it cannot be too thick).

Set up steps to tap the back of iPhone to enable recording
This setting needs to be implemented with the “Shortcut” App. If you haven’t installed it on your iPhone, please firstClick me to jump to the App Store Download and install.
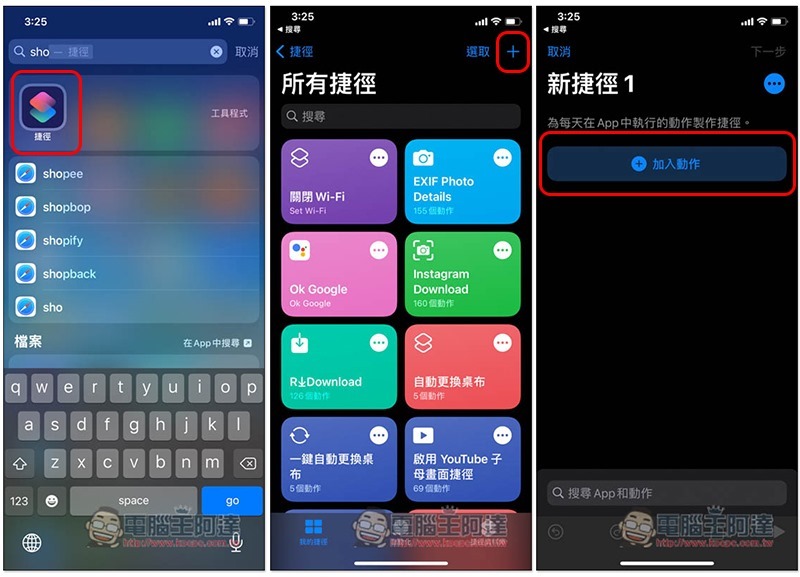
Then please open the Shortcut App and people who can’t find it can search through Spotlight. Click the + in the upper right corner of the All Shortcuts menu to add a new shortcut, and then click “Add Action”:
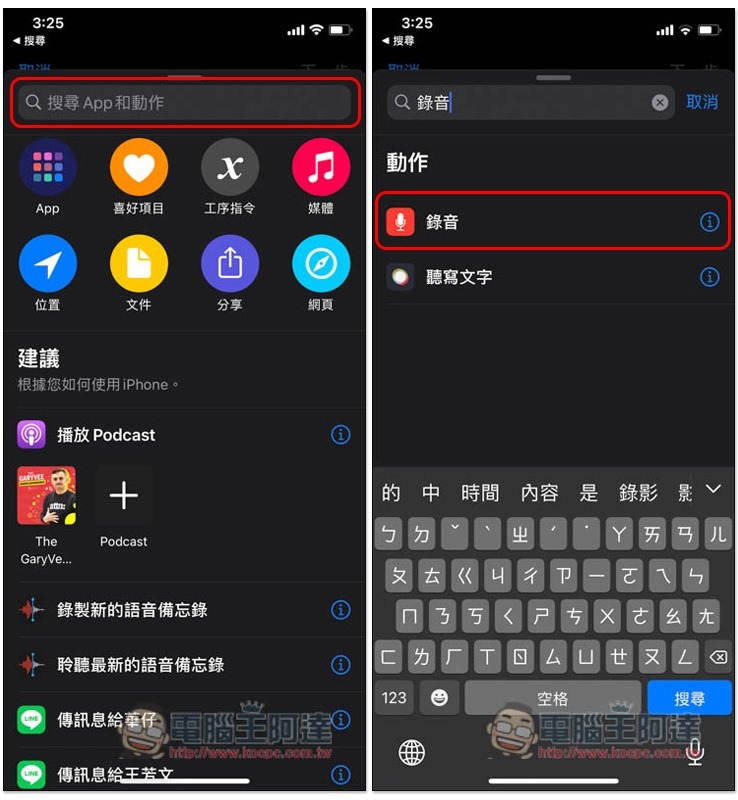
Enter “recording” in the search field to find the recording action:
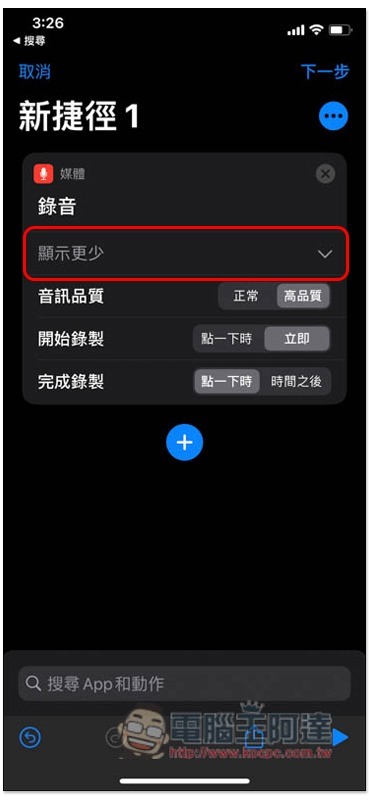
Turn on the Show more options below, audio quality –> high quality, start recording –> immediately, press + after the settings are completed:
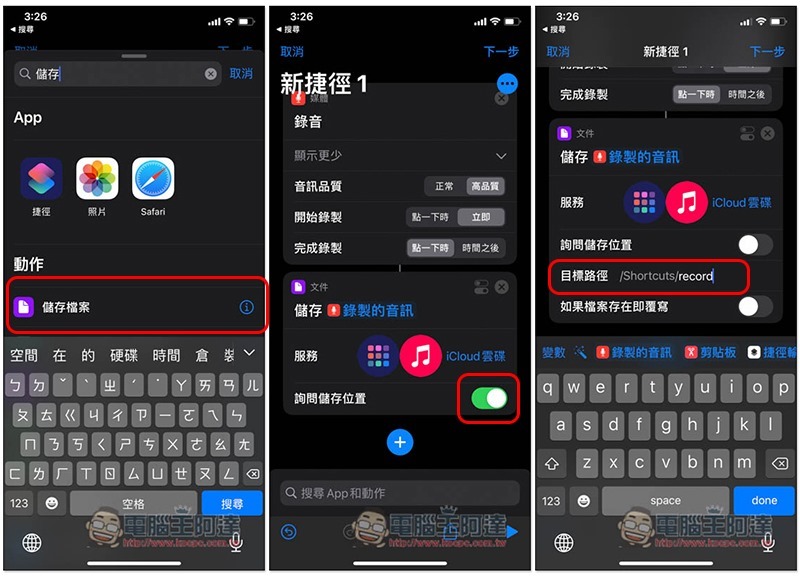
Find the “Save File” action, and then turn off Ask for storage location. After the target path, enter the name you want to save. Anything will do. For example: I enter record. When I finish recording, the recording file will be automatically saved as the record file name. Then click Next in the upper right corner:
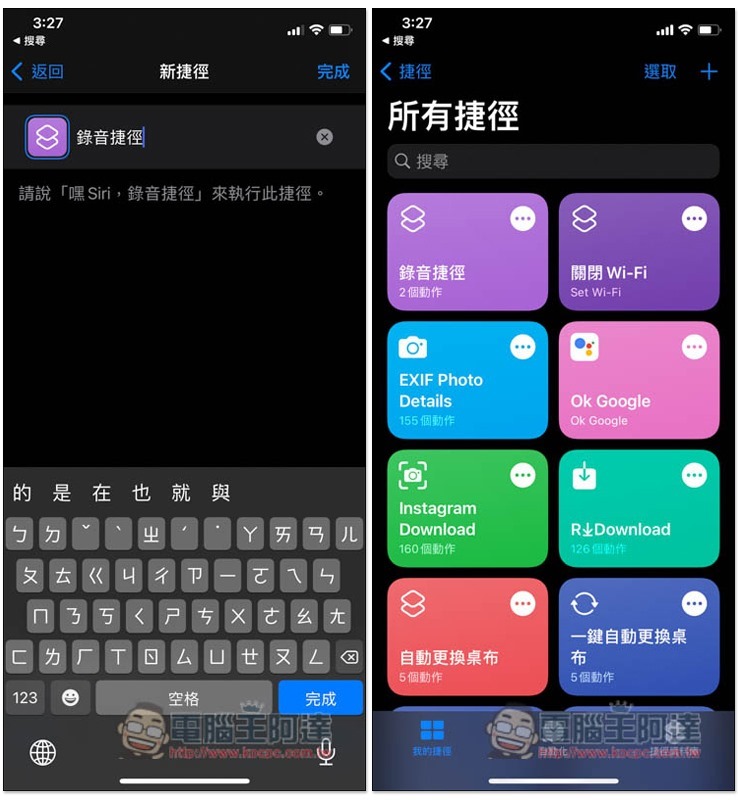
Enter the name of the shortcut. You can choose whatever you want. I will choose “Recording Shortcut”. After pressing Done, you will see this shortcut in the All Shortcuts menu:
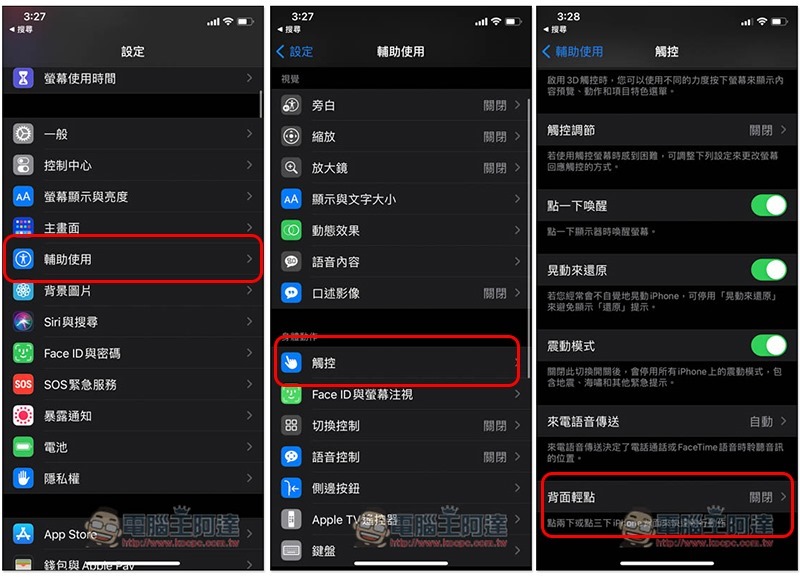
Then please open iPhone settings and enter Accessibility –> Touch –> Tap on the back:
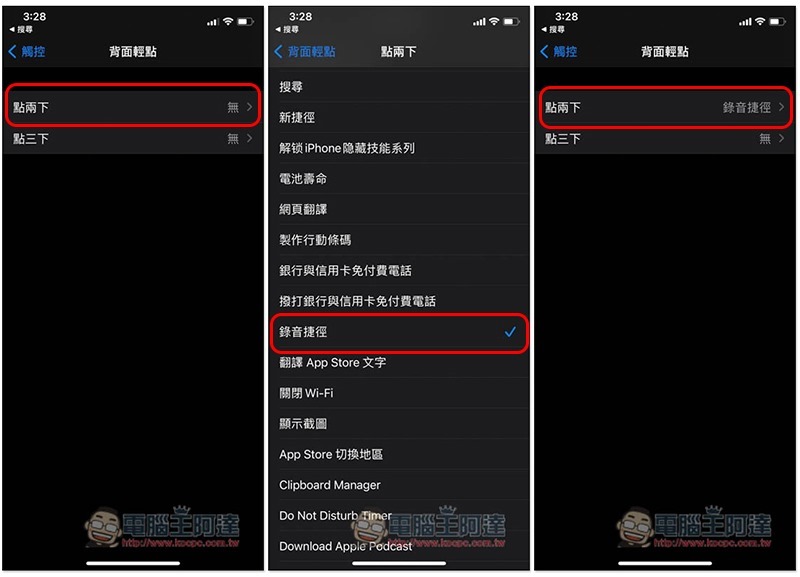
You will see two options: “Tap twice” and “Tap three times”. It depends on which one you like. For those who are afraid of accidentally touching it, you can choose to click three times. I will use two clicks as an example. Find and select the recording shortcut you just created in the menu, and the setting is complete:
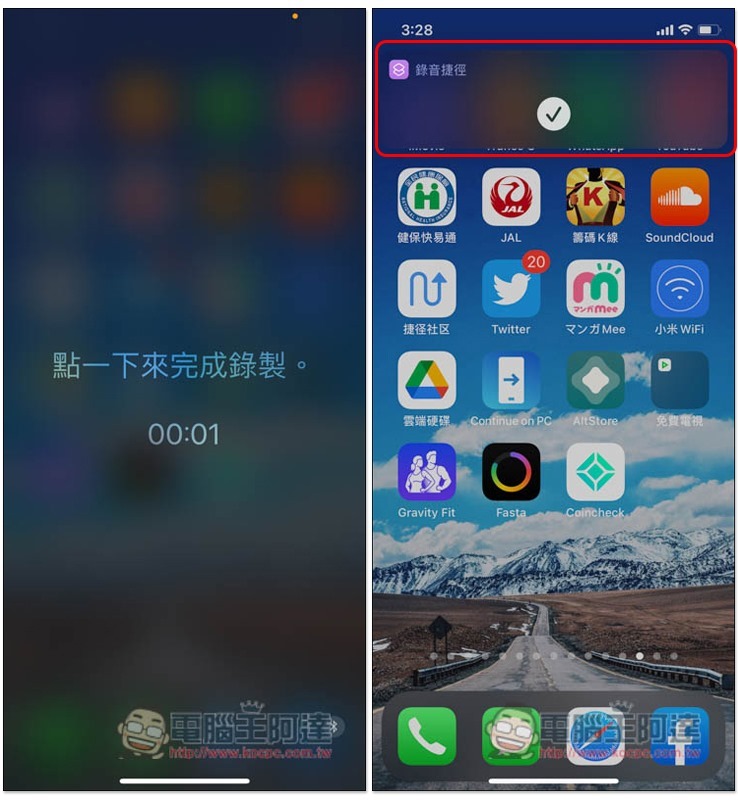
Try tapping the back of your iPhone two or three times and the Recording screen should pop up. When finished, just click the screen and the recording file will be automatically saved:
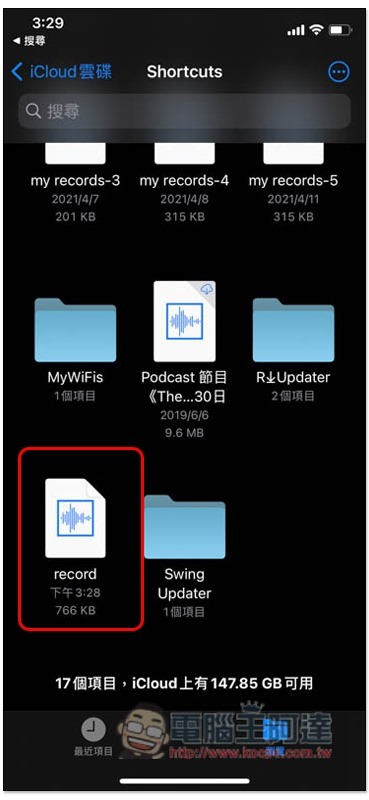
Now open the Files App, go to the Shortcuts folder of iCloud Drive, and you will find the recording file. If you record multiple times, -1, -2, -3 will be added to the end of each recording file name, and so on:
Summarize
For people who often use iPhone to record, it is highly recommended to set up this little trick, which is very convenient.
Source: KOCPC Chinese