


OpenClaw(formerly known as Clawdbot /Moltbot)AI AI assistants have suddenly become a huge hit recently, with coverage from major media outlets and heated discussions on social media. You’d definitely want to give them a try. However, many people are concerned about security—afraid something might go wrong after installing them on their computers. Accidentally deleting files would be bad enough, but getting hacked would be far more serious.
Installing it on a virtual machine is a great choice at this point. It effectively isolates your own computer, so even if OpenClaw has problems, it will only affect files and settings inside the virtual machine, and your host machine won’t be affected at all (unless you actively share folders or ports). Below I’ll show you how to install OpenClaw on a virtual machine. The steps are a bit more involved, but you only need to do them once.
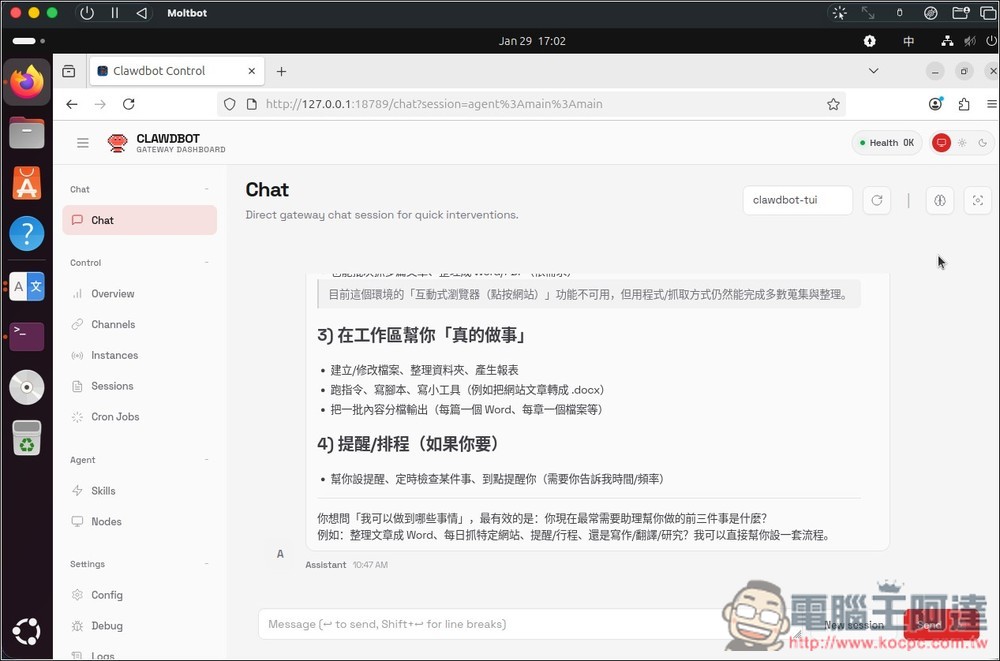
What are the current ways to run OpenClaw?
- VPS: Monthly fees, runs 24/7 year-round, stable
- Virtual Machine: Free, secure, runs locally
- Run directly on your computer: Free, installs in seconds
Before we start the tutorial, I should also remind you that OpenClaw (Clawdbot) is a self-hosted AI agent that may be granted access to your account, messages, or even your entire system. Please use it at your own risk—be sure to review the source code, restrict permissions, and never run it with accounts or credentials that could be compromised.
Additionally, if you encounter any errors during the process, it’s recommended to use AI tools like ChatGPT or Gemini to help troubleshoot, since everyone may face different issues. If you have an idle Mac mini, you can follow the video tutorial below for installation. This article mainly covers the virtual machine installation method that works across different operating systems.
How to run OpenClaw (Clawdbot) on a virtual machine?
First, you’ll need to install virtualization software on your computer. Windows users can use VirtualBox, while Mac users should consider UTM. The operating system you’ll install in the virtual machine is Linux (Ubuntu).
The advantage of using Linux is that it’s much lighter than Windows/macOS—it runs smoothly with just 2–4GB of RAM, and CPU usage is low. OpenClaw also has the most complete native support on Linux. Most importantly, Linux is completely free.
My main computer is currently a Mac, so I’ll use UTM as an example below.
Step 1: Download the virtual machine and Ubuntu image
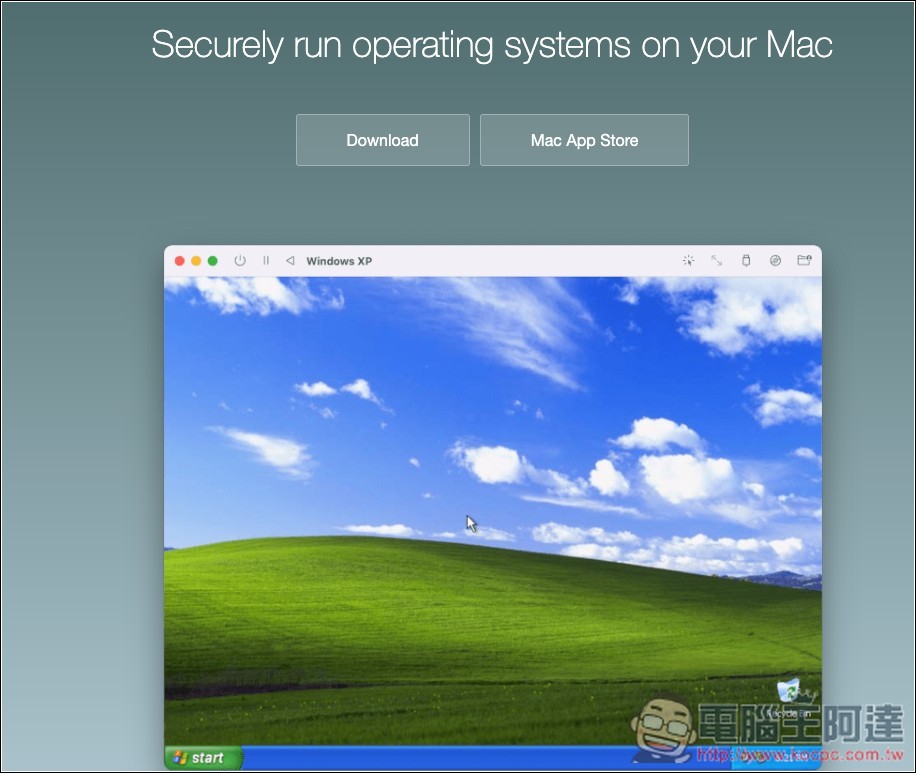
Click the link above to go to the UTM official website and download the installer:
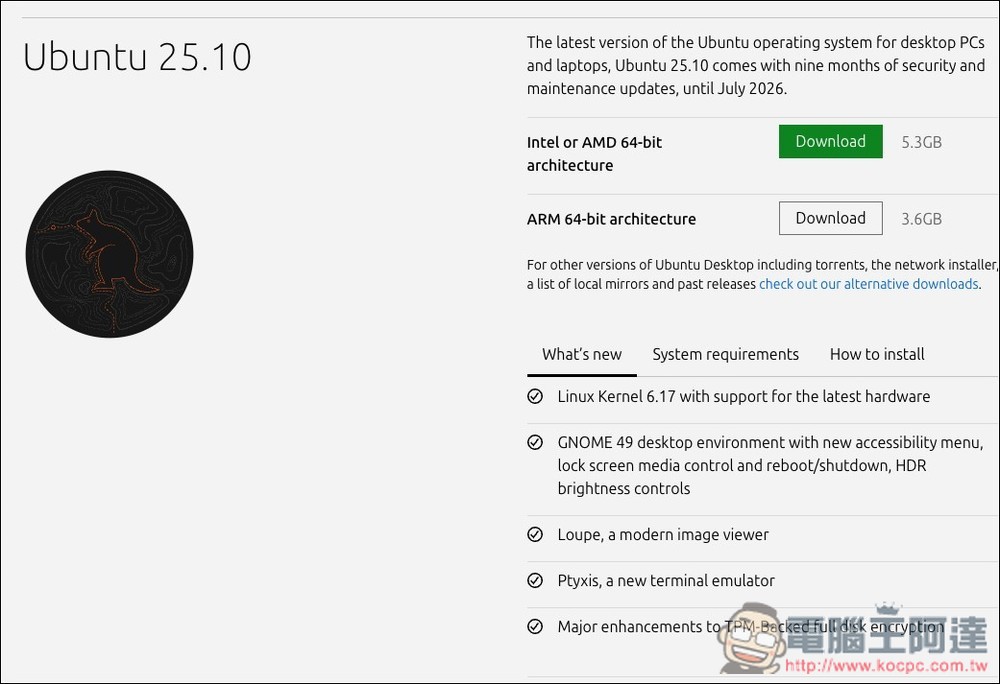
Next, download the ISO image file from the Ubuntu official website. For Intel and AMD computers, download the top one; for M-series chips, please download the ARM version below:
Step 2: Create a Virtual Machine and Install Ubuntu
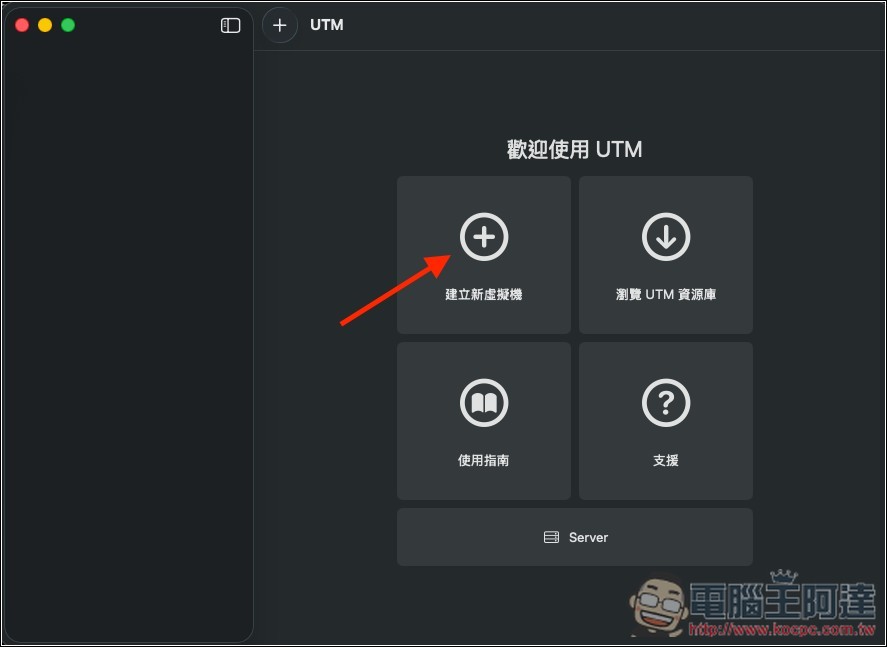
After opening UTM, click “Create a New Virtual Machine” in the upper left:
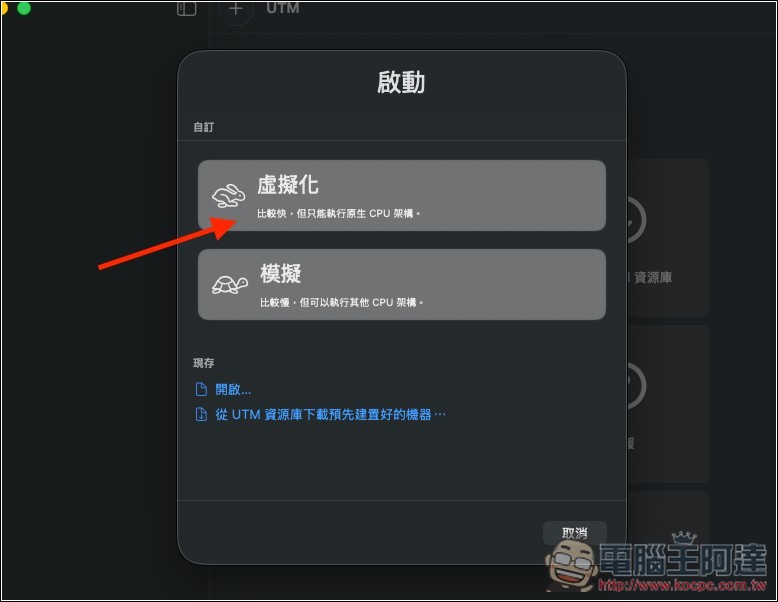
Select “Virtualization” above:
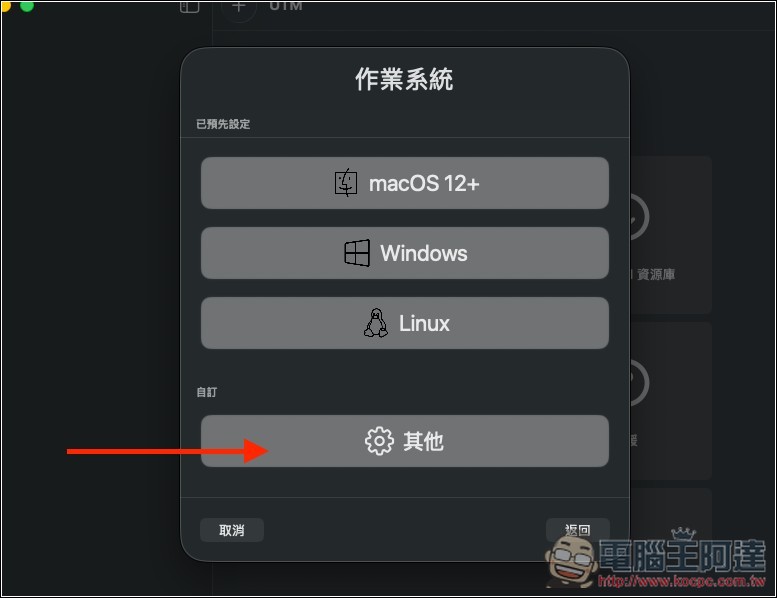
Then select “Other” below:
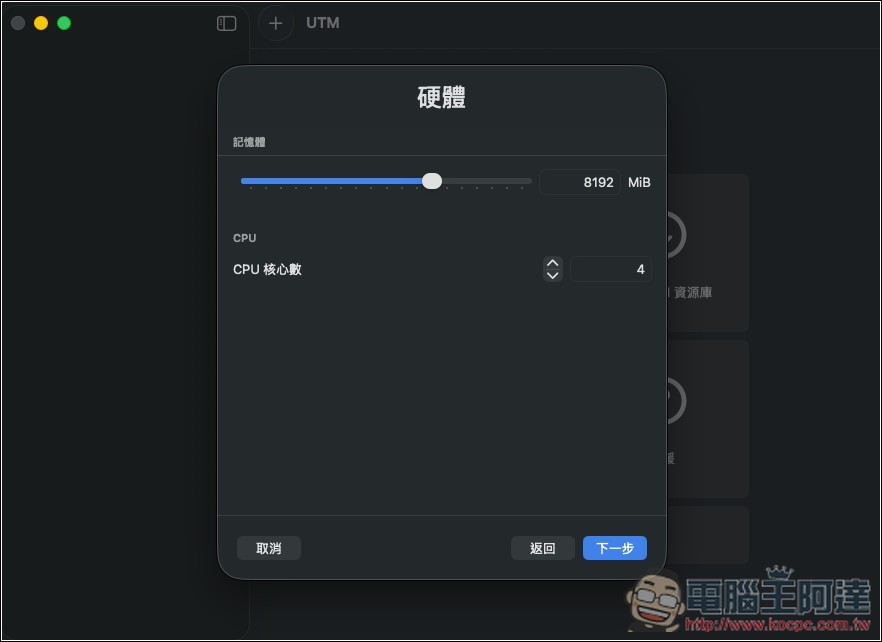
Next, you will be prompted to configure the virtual machine hardware:
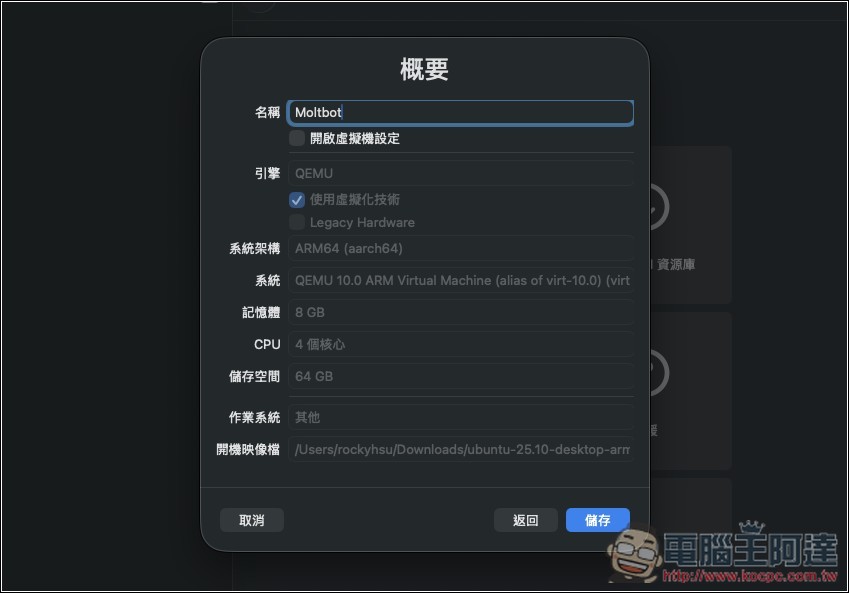
- CPU: At least 2 cores recommended (I set it to 4)
- Memory: At least 4GB is recommended (I set mine to 8GB for much smoother performance)
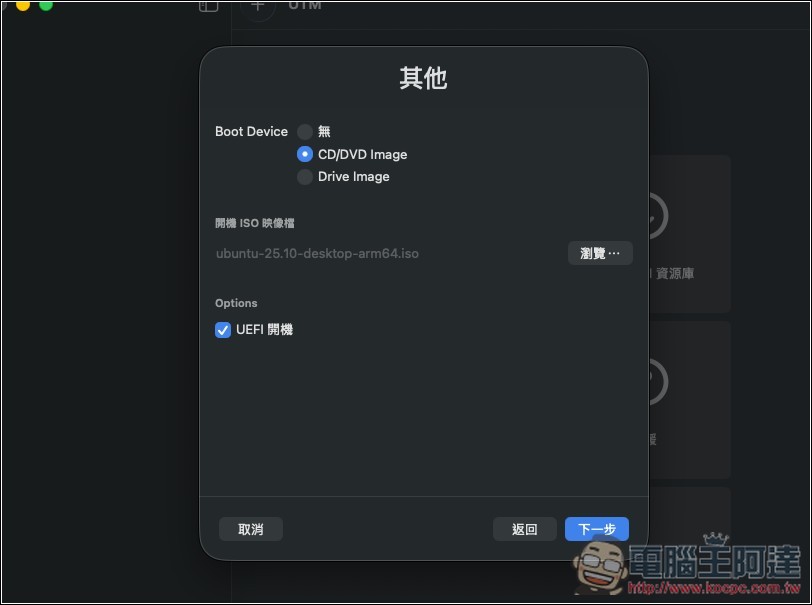
Click “Browse” in the middle below, and select the Ubuntu image file you just downloaded.
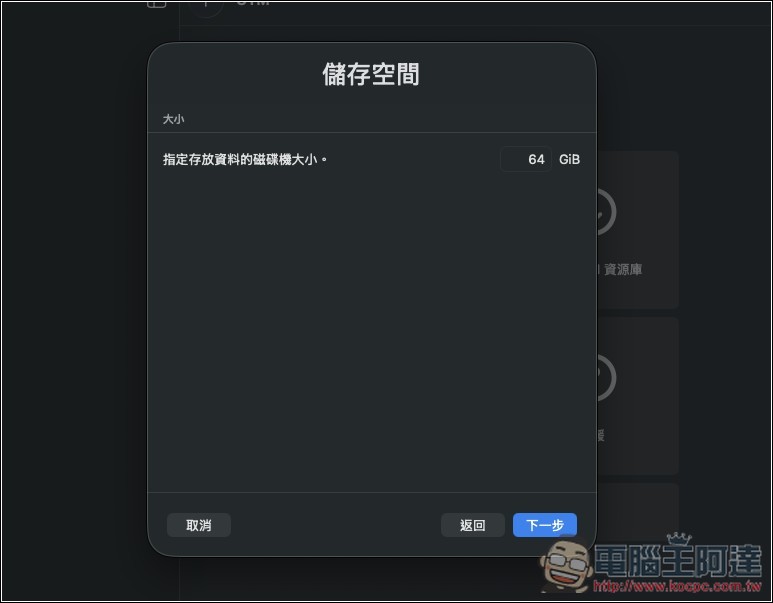
Storage requires at least 30GB, I set it to 64GB:
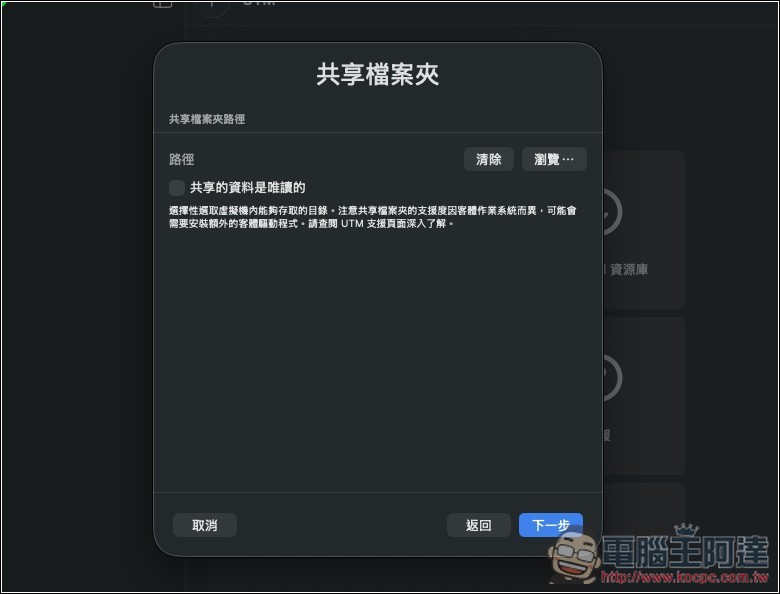
Next, it will ask if you want to set up shared folders. You can skip this for now and just click Next. You can configure it later if needed.
After setting the name for this virtual machine above, you can press “Save” in the lower right corner.
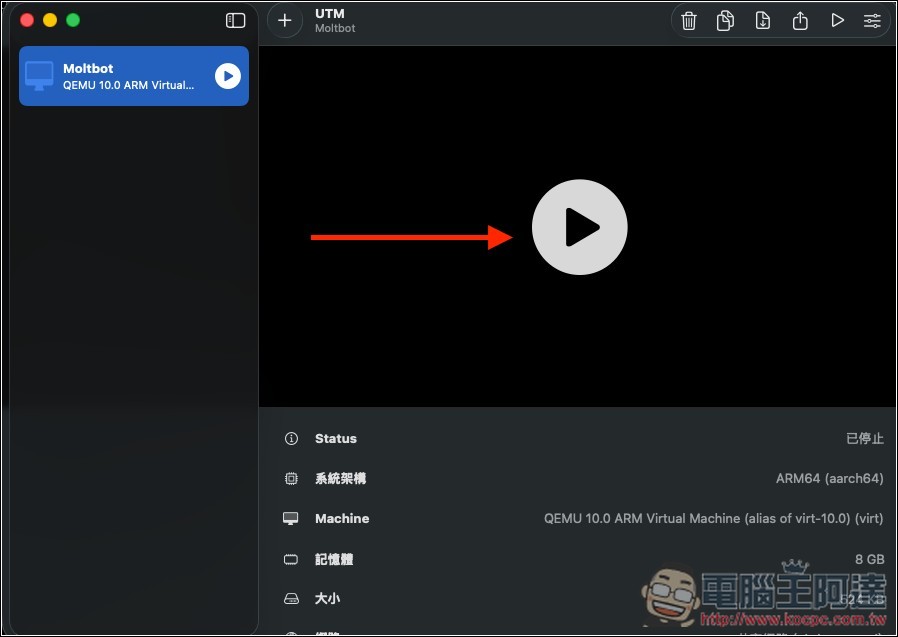
Press the play button on the screen to start this virtual machine.
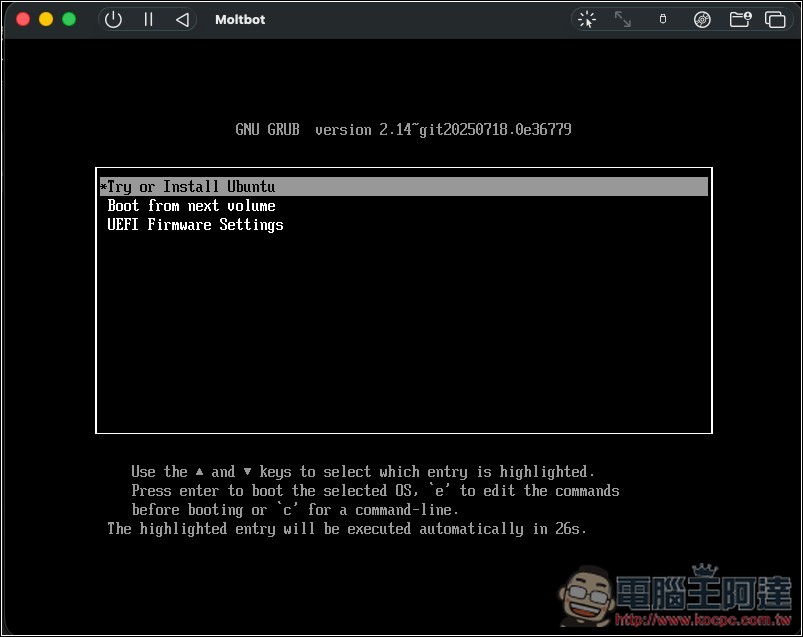
Select the first option “Try or install Ubuntu” to install the operating system. After installation is complete, select the second Boot option when starting the virtual machine in the future.
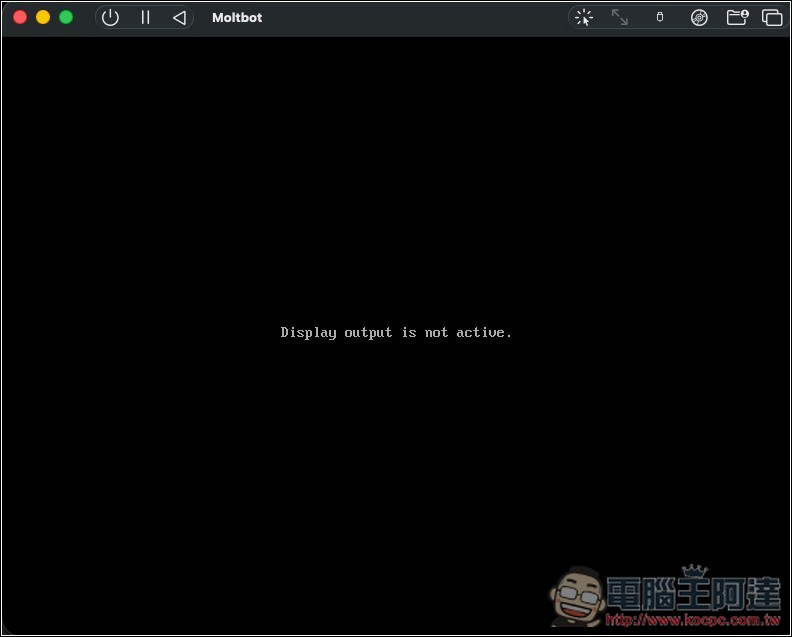
The screen may display “Display output is not active” — you can ignore this and just keep waiting until the installation screen appears.
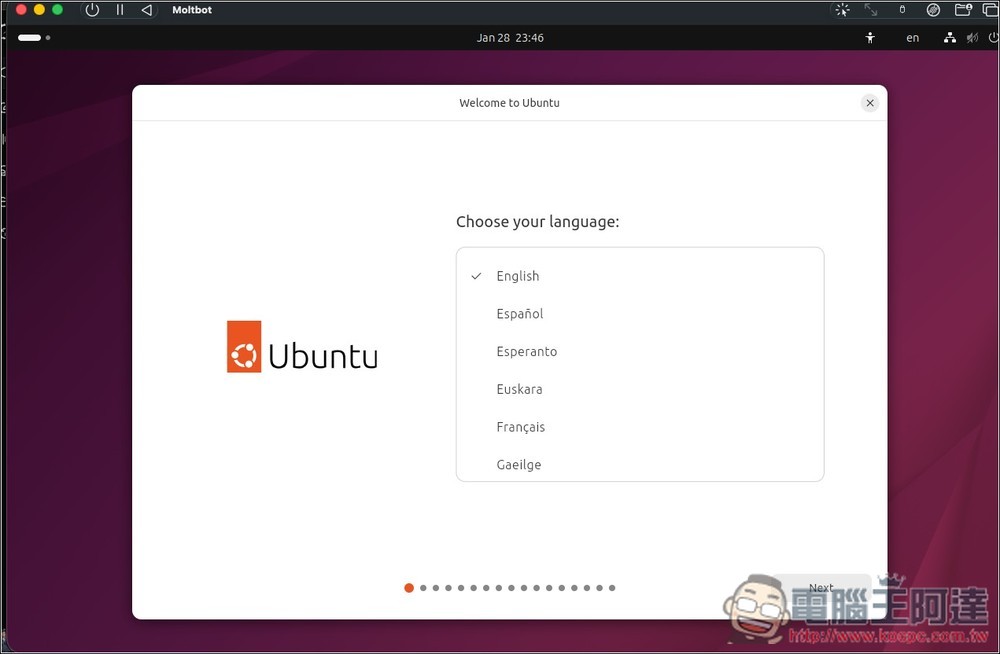
During installation, I couldn’t find Traditional Chinese (it appears garbled), so I just went with English first, then changed it to Chinese in the language settings after installation. Basically just kept clicking Next.
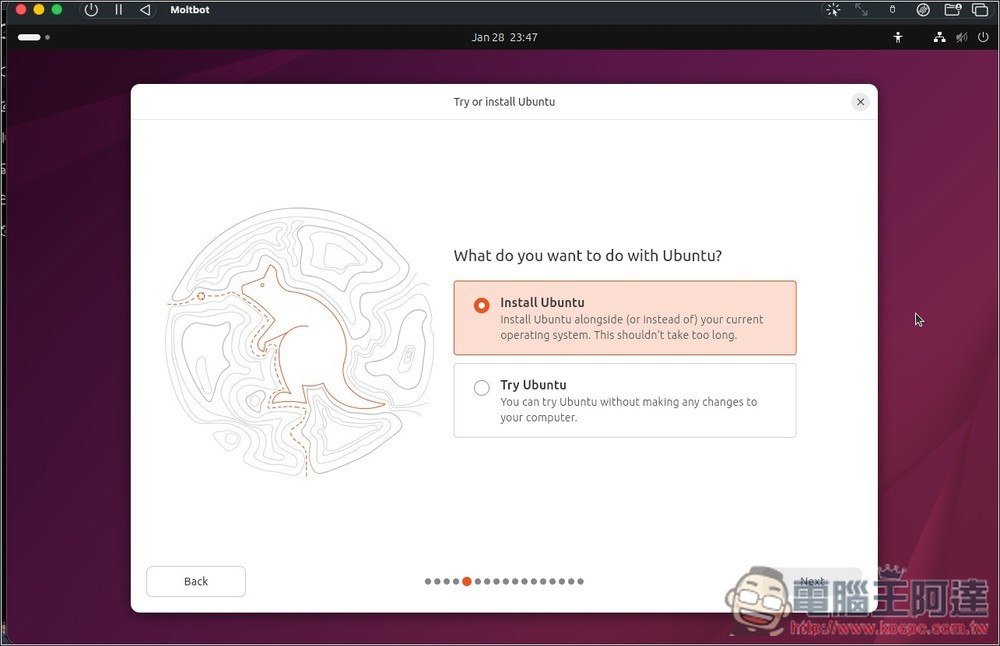
In this step, select Install Ubuntu:
Select the first Interactive Installation
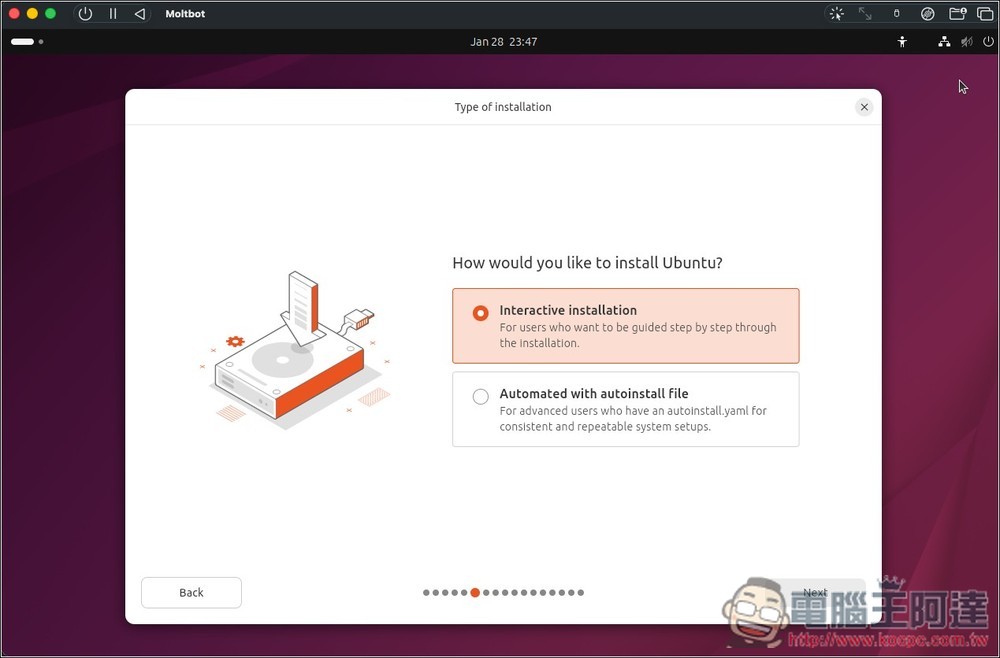
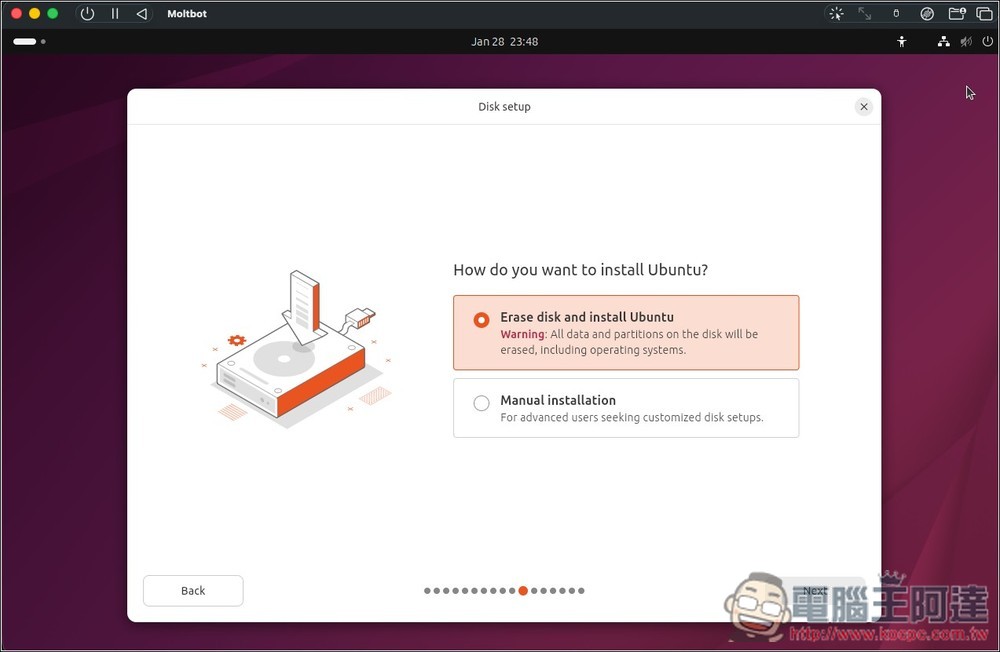
Select “Erase disk and install Ubuntu”:
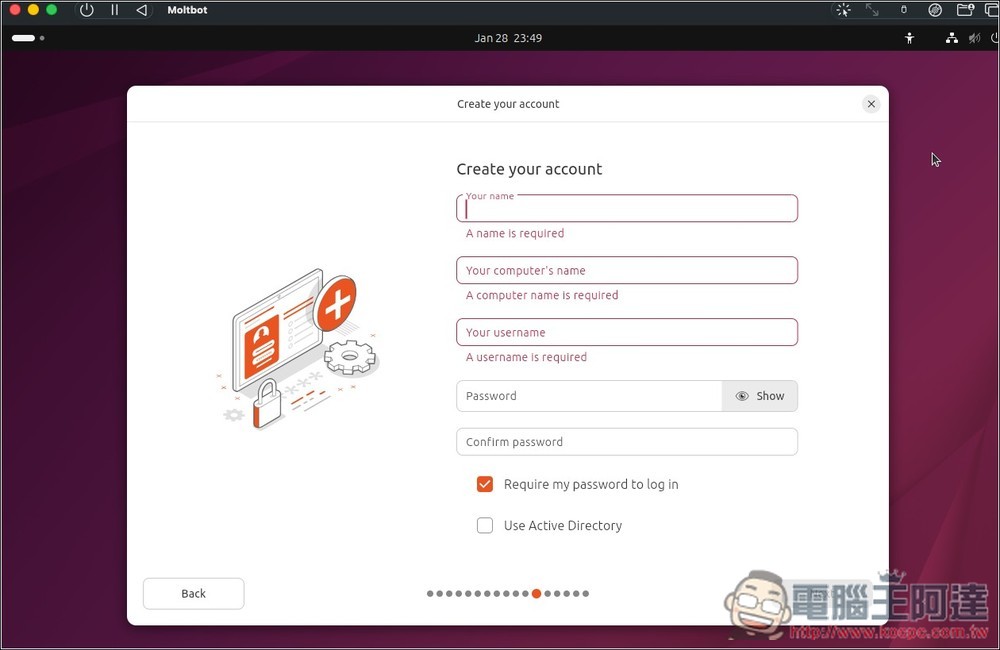
Create your login account:
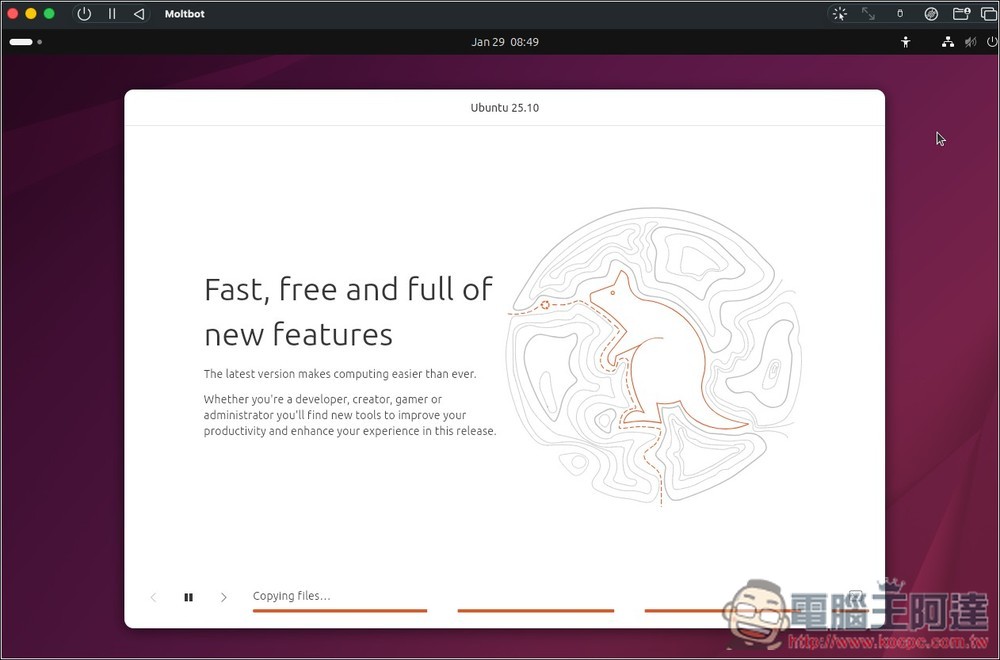
Next, just wait for the file copy to finish:
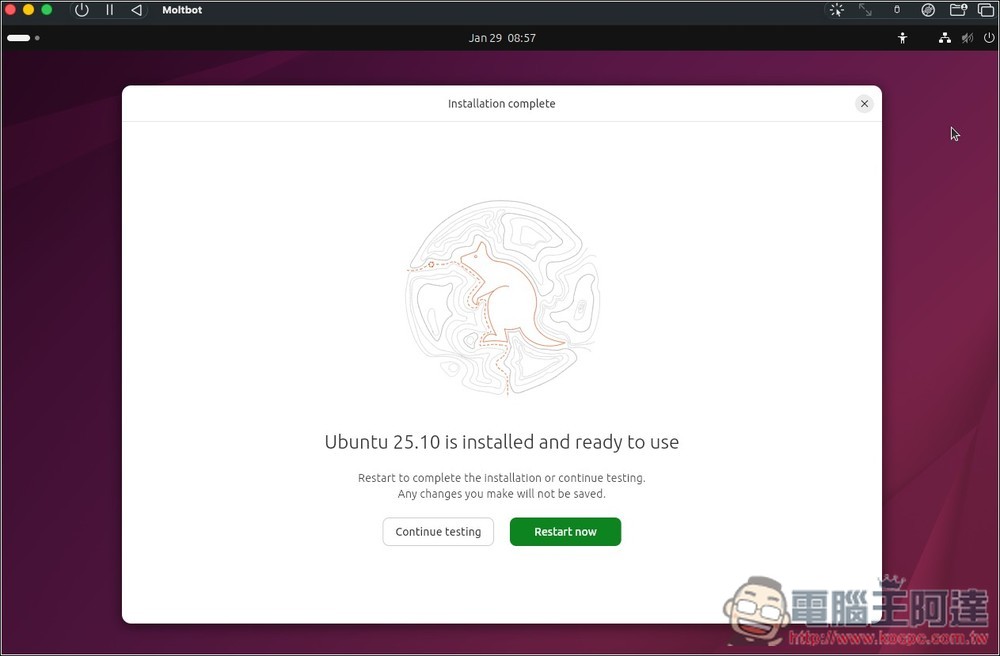
When this screen appears, it means Ubuntu has finished installing. Press Restart now:
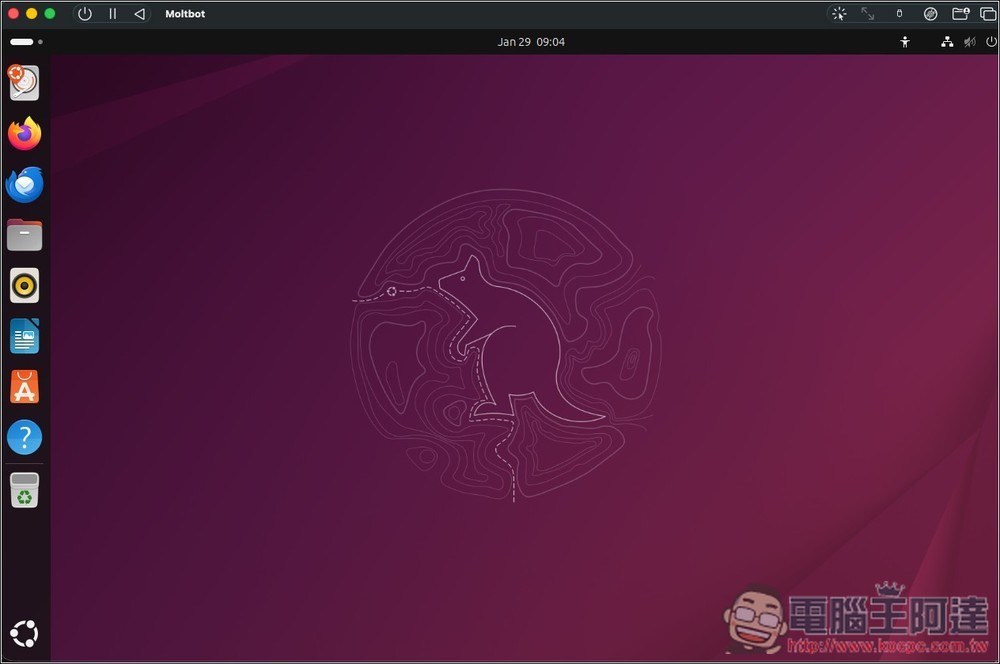
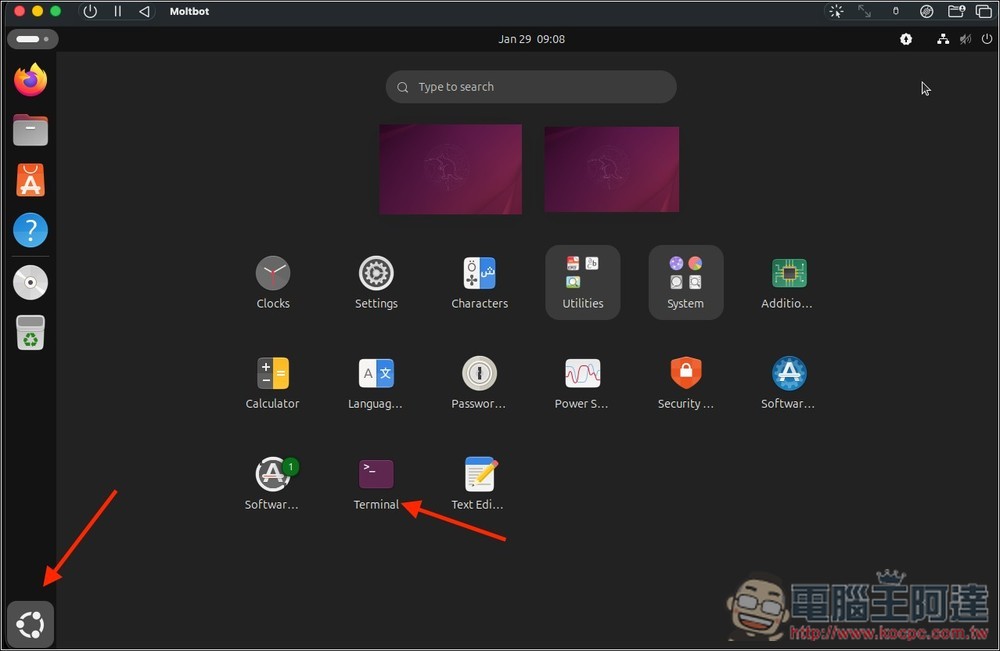
This is Ubuntu’s main screen. Click the spinning icon in the bottom-left corner to show all apps:
Enable Terminal:
Step 3: Install OpenClaw and Get Started
First, you need to install curl and Node.js.
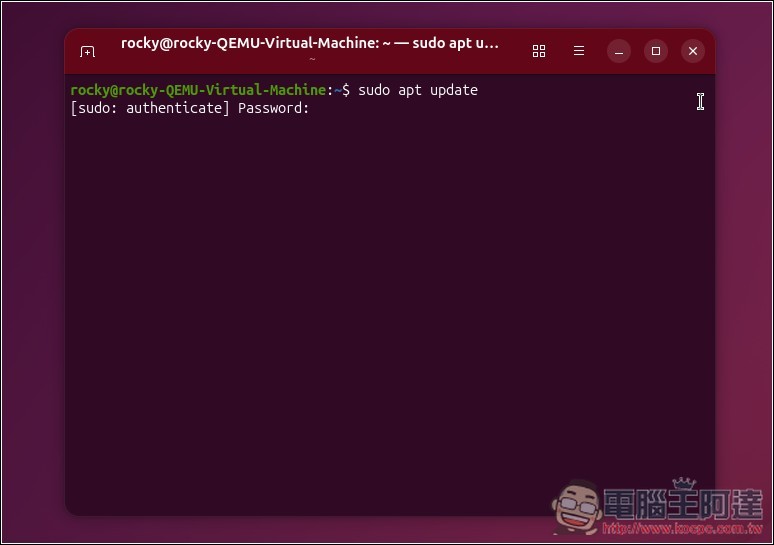
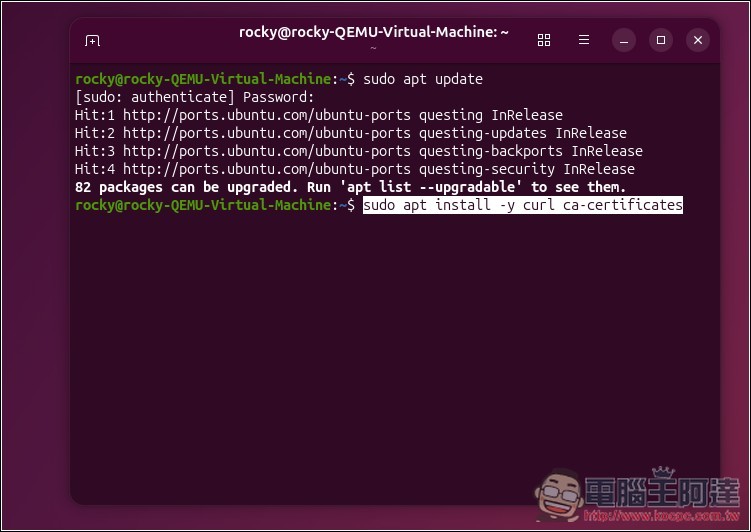
First, enter this command:sudo apt update
Will ask you to enter your login password:
Next, enter this command to install curl and certificates:sudo apt install -y curl ca-certificates
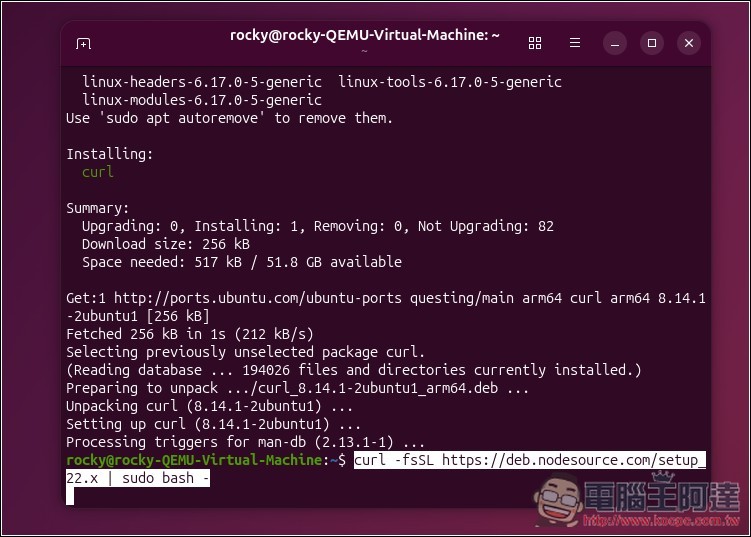
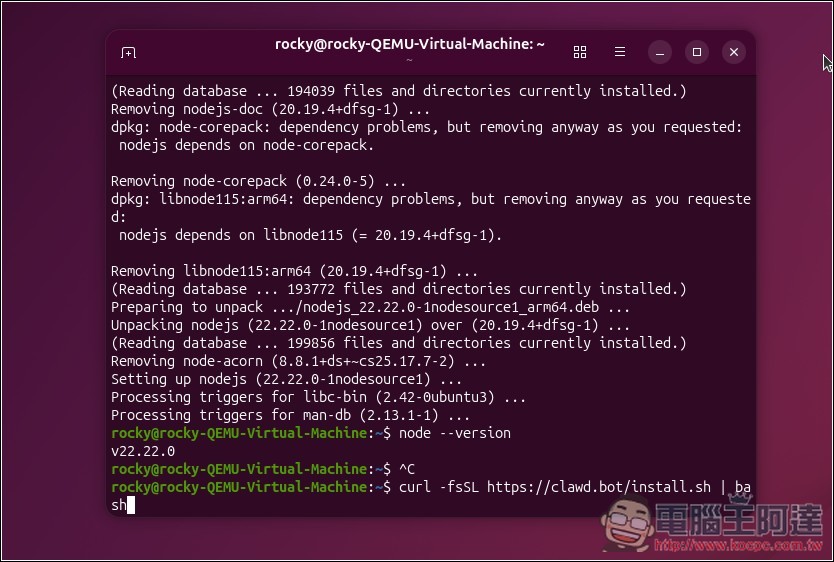
Run the NodeSource 22 installation script:curl -fsSL https://deb.nodesource.com/setup_22.x | sudo bash -
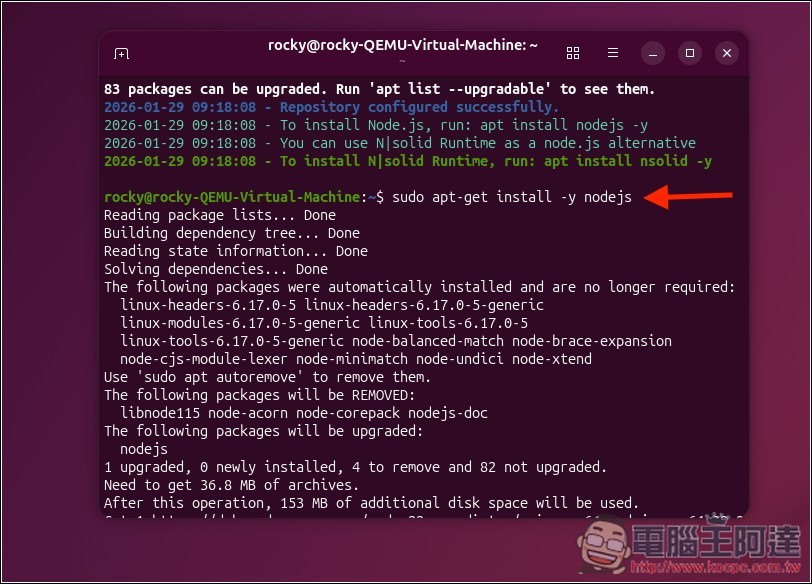
Install / Upgrade nodejs:sudo apt install -y nodejs
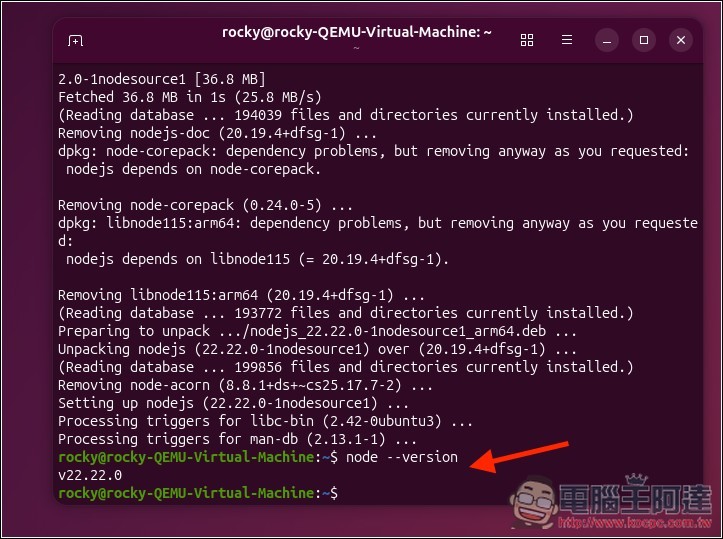
Check if the version is v22 or above.node --version
Next, we’ll officially move on to the OpenClaw installation steps.
Enter this command:curl -fsSL https://openclaw.ai/install.sh | bash
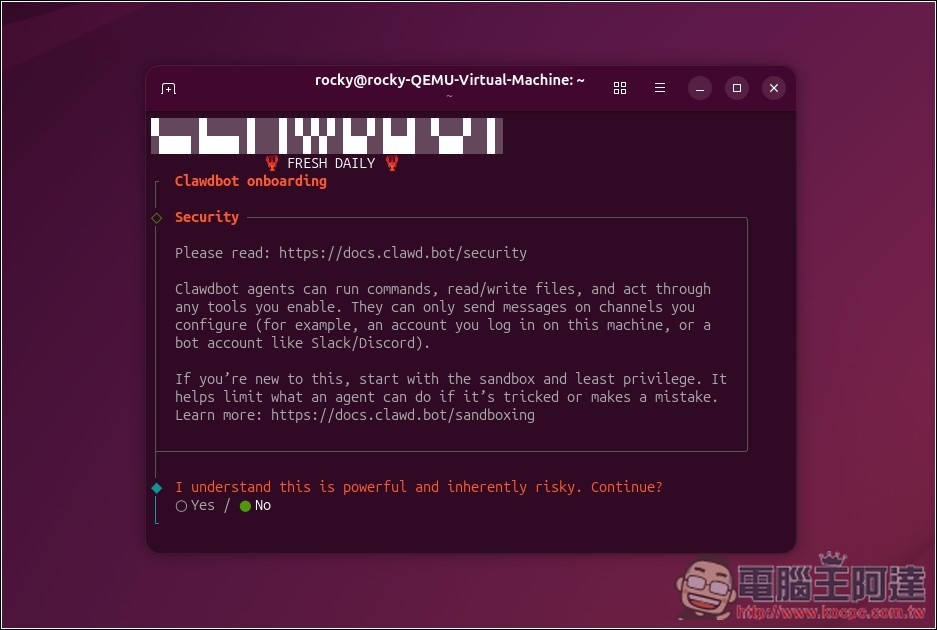
First, some security prompts will appear. If there are no issues, select Yes to continue:
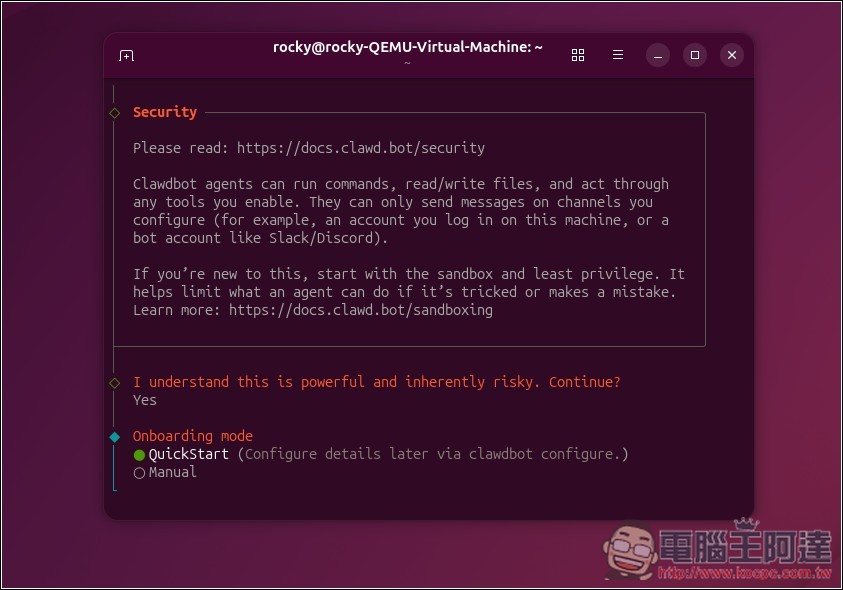
It is recommended to use QuickStart for quick installation:
Choose the model service you want to use. If you have a paid ChatGPT account, you can use the Codex OAuth method through your ChatGPT subscription by selecting OpenAI.
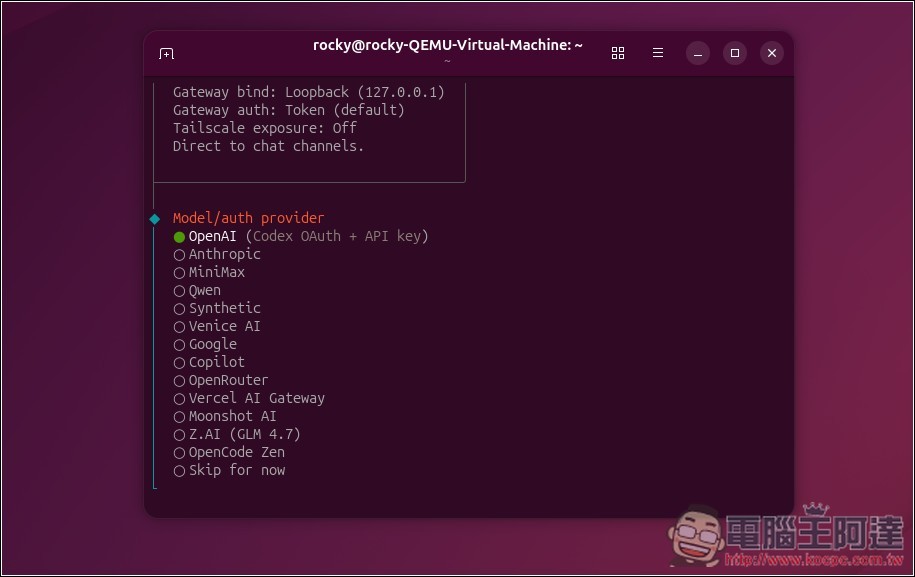
After selecting OpenAI Codex above, it will open a webpage and ask you to log in to your ChatGPT account:
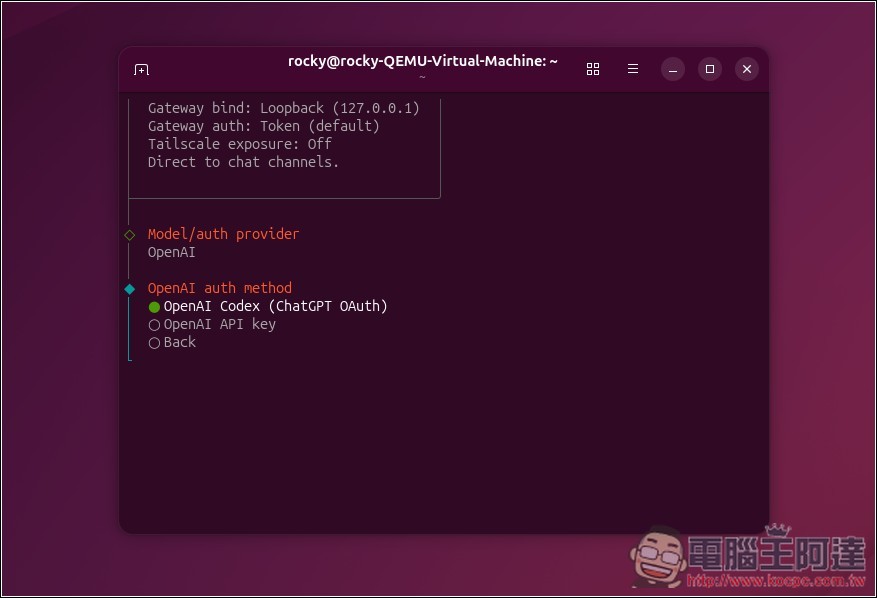
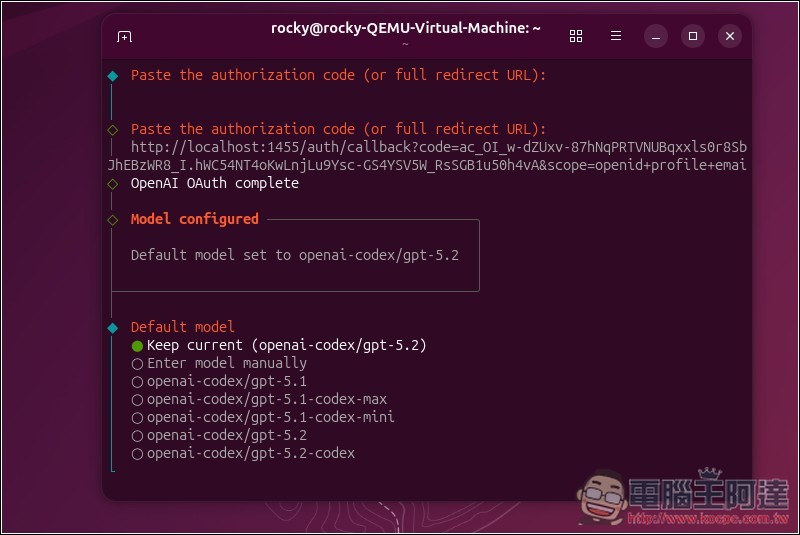
After logging in, copy the URL of the final page, paste it into the Terminal and press Enter, and you’ll be prompted to select which model to use.
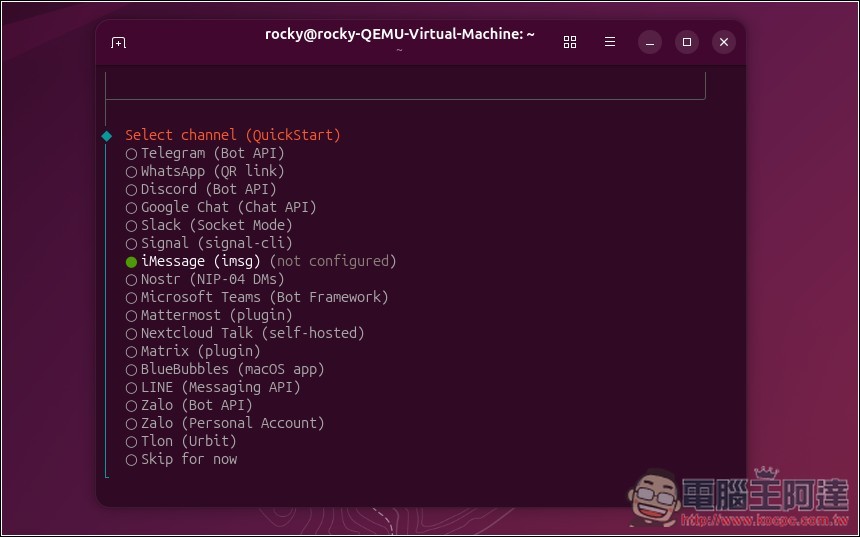
Next is the App communication channel you want to use. You can skip this for now and use the web version or Terminal first, then decide later:
The Skills section is also optional – you can skip it for now and decide later if you want to install it:
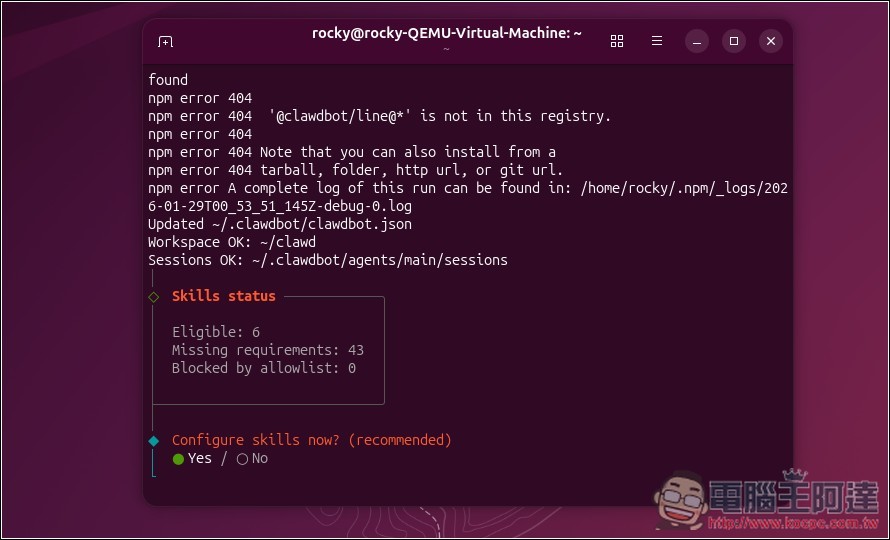
If you select Yes, it will ask for an installation manager—just select the first one, npm.
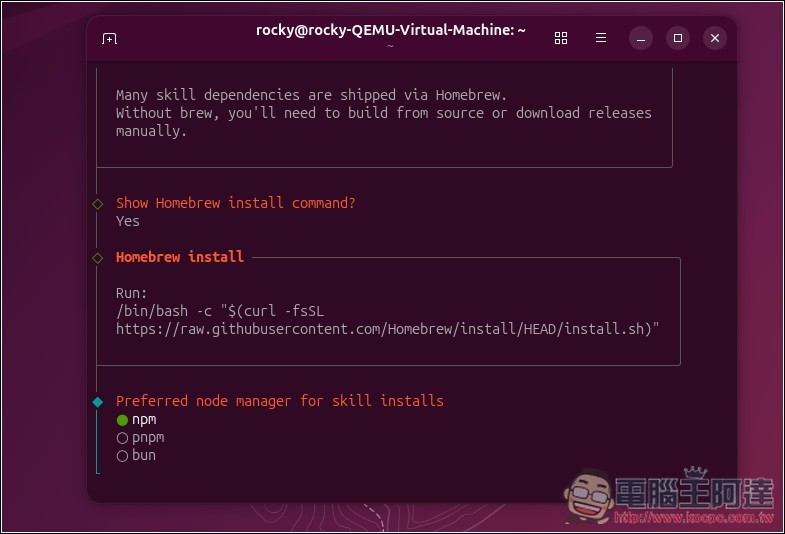
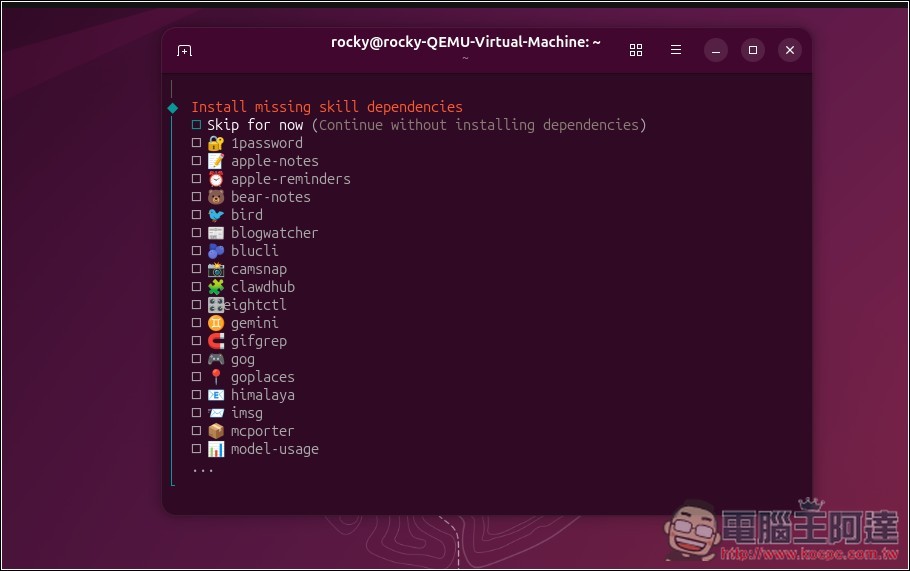
After the manager is installed, select the Skills you want to install:
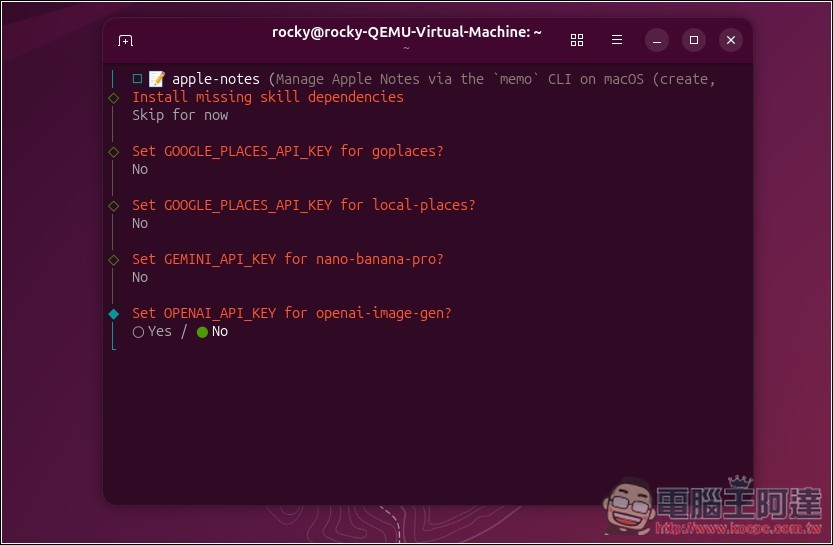
API Key: select No for all
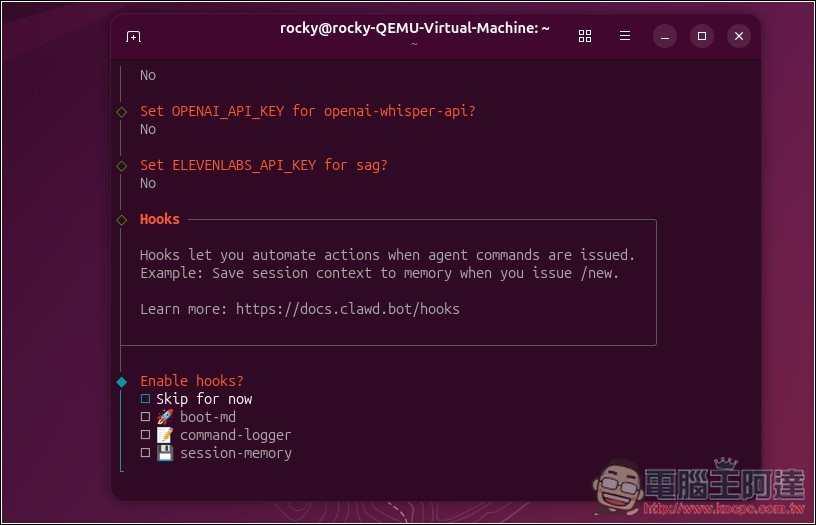
For hooks, select Skip for now:
When this screen appears, it means the installation is complete. You can start chatting with OpenClaw directly using Terminal or the web version:
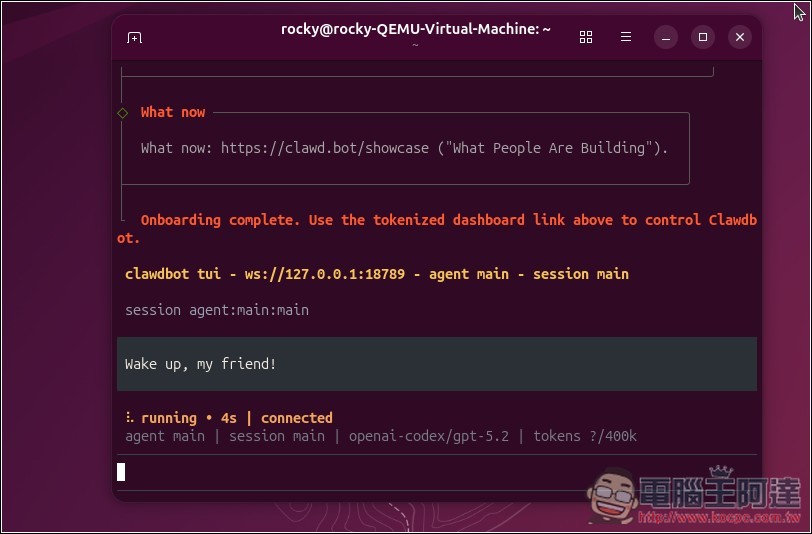
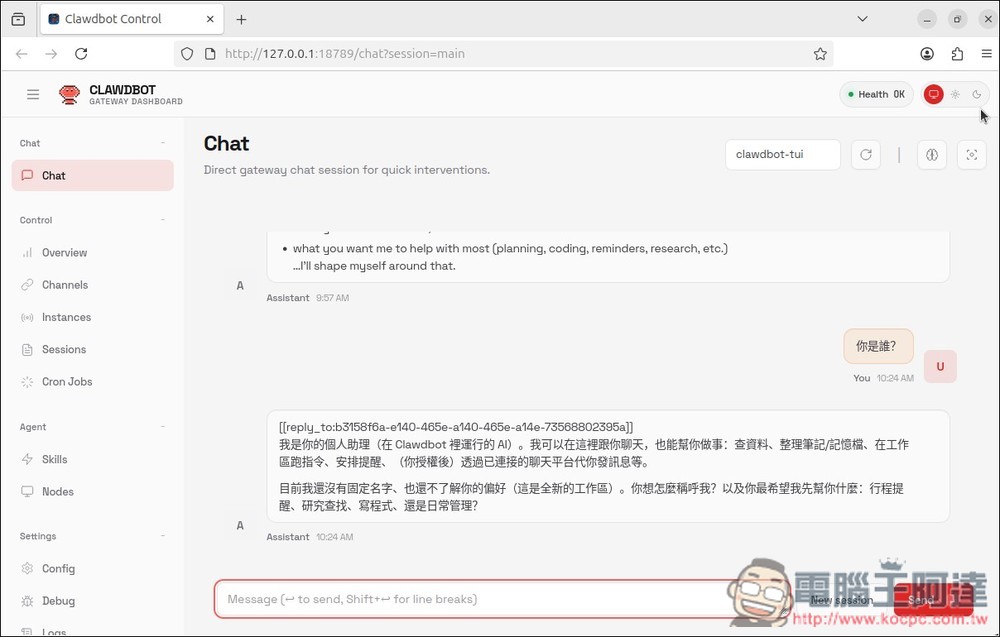
The web version URL is:http://127.0.0.1:18789
If when you open the chat you get the error “disconnected (1008): unauthorized: gateway token missing”, you can go to Terminal and enter openclaw dashboard, and will list URLs similar to the following:
http://127.0.0.1:18789/?token=xxxxxxxx
Open this and you’ll be able to chat normally. If it still doesn’t work, try sending the screenshot to ChatGPT or Gemini to ask for solutions – it should be pretty easy to solve.
Ubuntu has a Zhuyin input method. If you can’t find Chinese (Chewing) in your keyboard input settings, you can ask AI how to install and enable it.
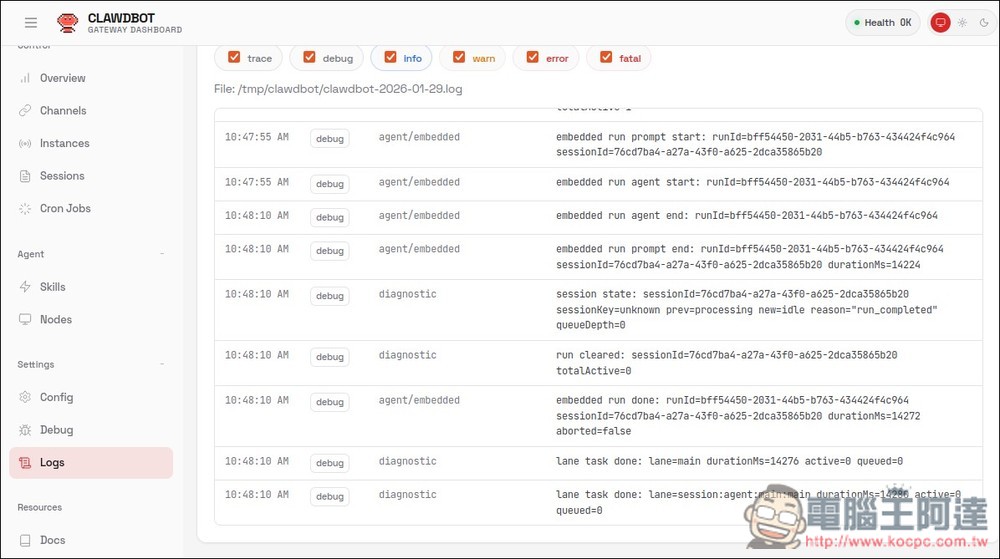
What should I do if the AI seems to get stuck when chatting with OpenClaw?
You can go to the Logs section in Settings at the bottom left to check the current status. If you don’t understand it, you can also take a screenshot and ask ChatGPT how to resolve it.
Sometimes it repeatedly tries certain tools (web scraping, executing commands) but fails to successfully complete the entire task workflow, so it keeps retrying and needs to install a specific Skill.
For example, if you want to perform a web search, you need to obtain the web search Skill and send it a message:
Add the Exa MCP for web search. The URL is https://mcp.exa.ai/mcp
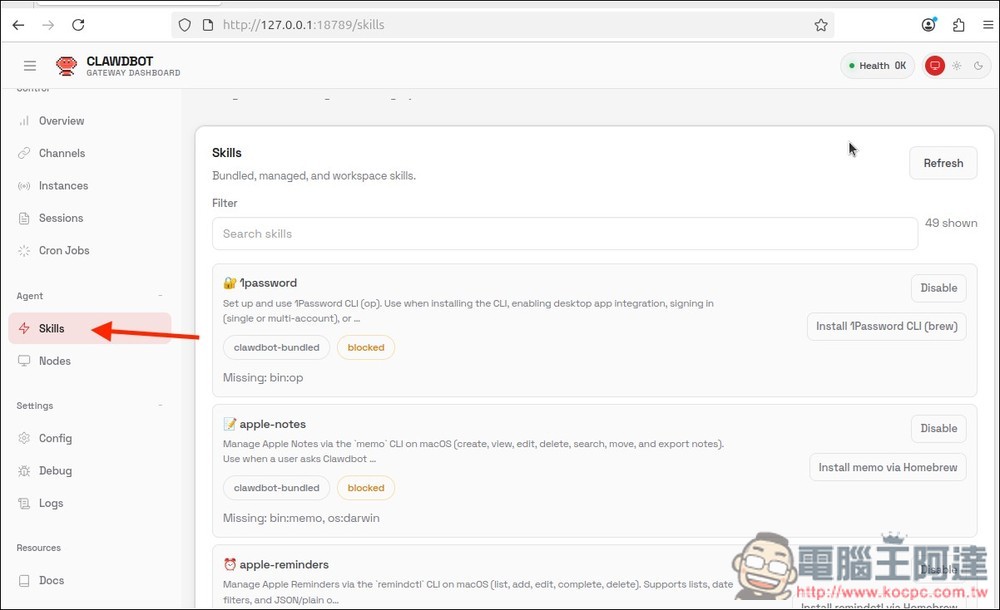
In the Skills menu on the left, you can manage and install new Skills:
Additionally, if you want to restart after rebooting, just go into the emulator and type “openclaw onboard” in the virtual machine. If you’re concerned about security issues, it’s recommended to follow the setup suggested by experts online, or have him check it himself, which can resolve most of the problems.
Source: KOCPC Chinese