


Regardless of work, school, or life, you will more or less encounter situations where you need to take a screenshot of a webpage and share it with others, such as explaining which part you are referring to, someone who is teaching a course, explaining the key points on the webpage, etc. Although both Windows and Mac have built-in and many third-party screenshot software, it is the desktop version after all. After taking the screenshot, you still need to manually share it with the other party, such as uploading to the cloud. In this case, you can actually consider the useful Snippyly free Chrome screenshot extension plug-in. After taking the screenshot, it not only provides editing functions, but also adds text, marks (arrows, frames, etc.), and can also generate online links, allowing you to quickly share it with others. All operations are completed in one step, which is very convenient.
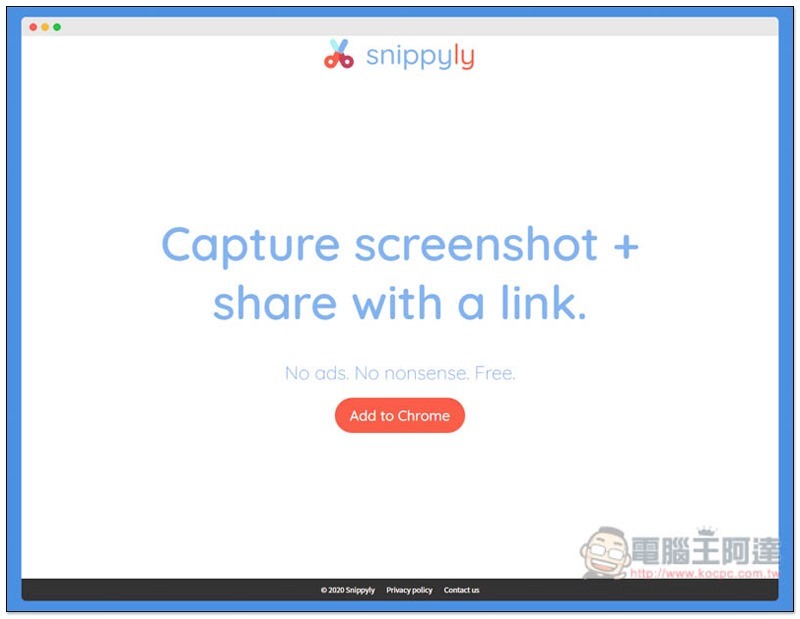
Snippyly free Chrome screenshot extension plug-in introduction and operation tutorial
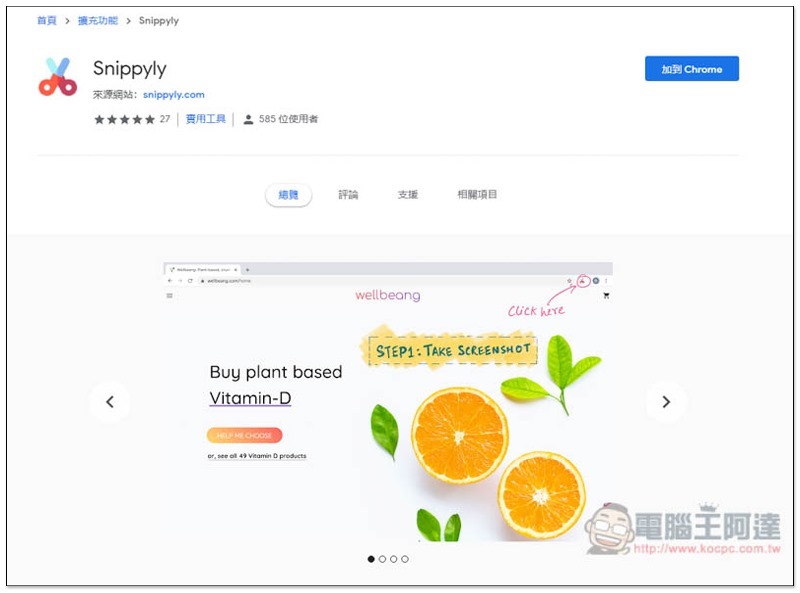
Click me to enter the Snippyly extension store page, click “Add to Chrome” on the right:
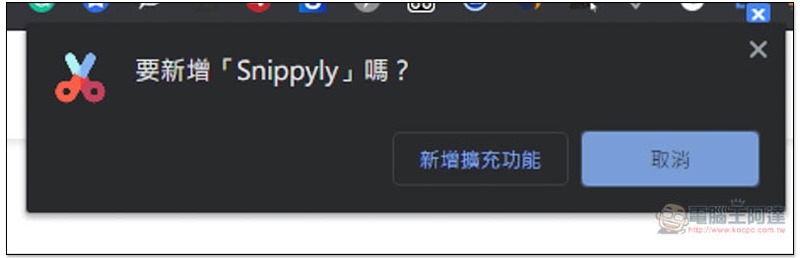
This message will pop up above, click “Add extension” to install:
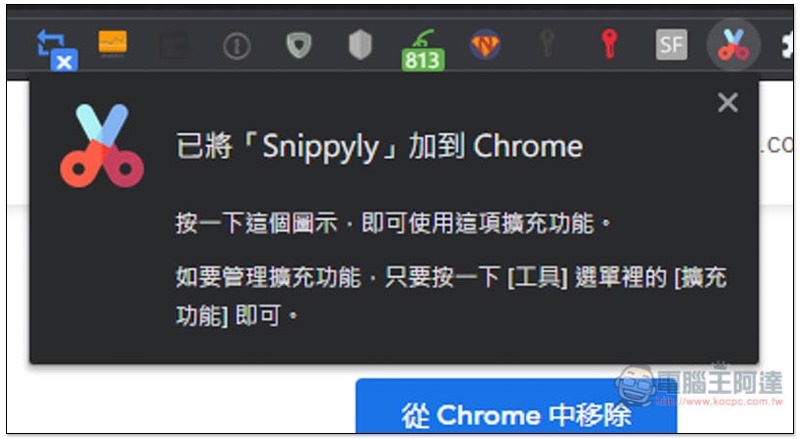
When the small colorful icon of scissors appears in the upper right corner, it means the installation is complete:
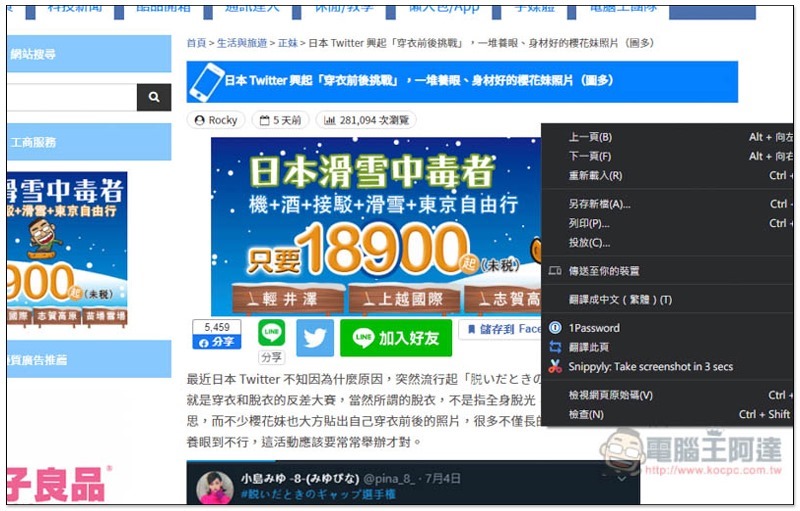
There are two ways to take a screenshot. The first is to find the webpage you want to take a screenshot and press the scissors icon in the upper right corner. The second is to open the right-click menu on the web page, and you will see the option “Snippyly: Take screenshot in 3 secs” to take a screenshot after 3 seconds. If you need to wait a few seconds to take a screenshot, of course choose the second option. In general, just press the small icon:
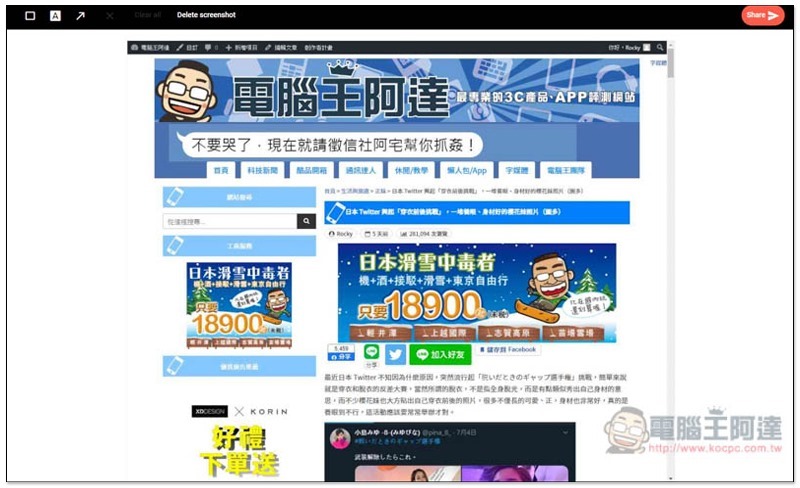
Then a new page will open, and you will enter the screenshot editing screen. The functions are located on the upper left, including “frame”, “text” and “arrow”:
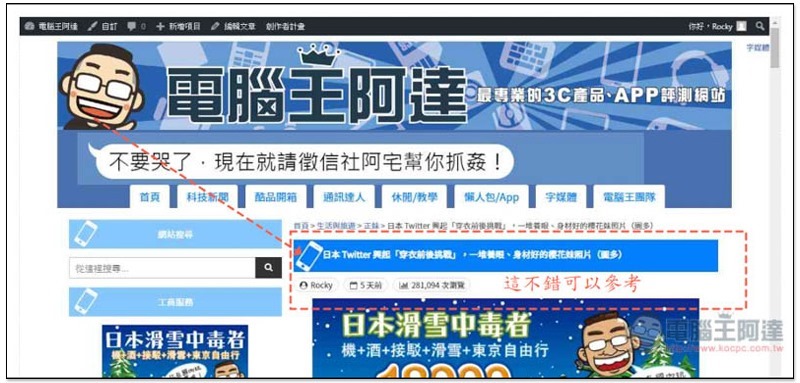
The frames and arrows are both dotted lines and cannot be changed. The same goes for the text. The color is only red and the font size is only this. I think it is a pity that there is not much flexibility for changes, but it is still enough for basic screenshot sharing:
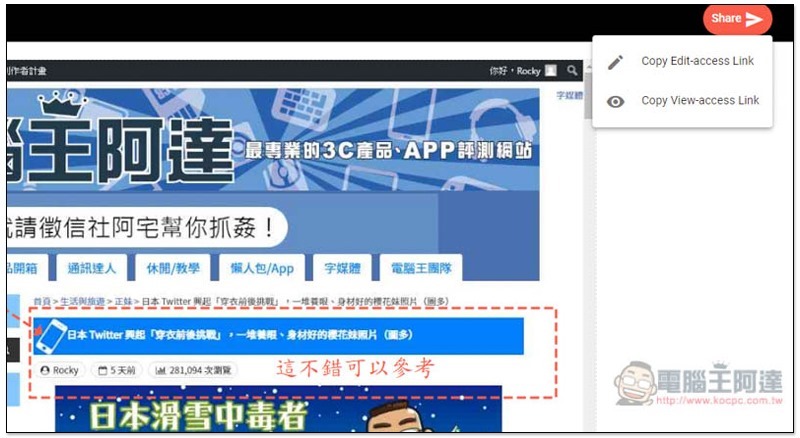
After completion, click the Share function on the upper right, and two options will pop up, namely “Copy Edit-access Link to copy the editable sharing link” and “Copy View-access Link to copy the view-only sharing link”. It depends on your needs. If you just want to show the other party a screenshot, then use View-access. If the other party needs to mark or modify the screenshot, then use Edit-access:
I hope that more editing functions can be added in the future, such as customizable colors, line shapes, numbers, etc., especially the size modification of frames and arrows. Now if you make a mistake, you can only clear it and start over, which is a little troublesome.
Supplementary information
- Chrome extension plug-in: Snippyly
- Nature: Free
- Installation page:Click here to go
Source: KOCPC Chinese