


The day before yesterday, Taiwan experienced an annular solar eclipse that was once in 195 years. I believe everyone should have participated in this once-in-a-century astronomical event in various ways. Photographer Shi Xinfeng, who is good at shooting various ecological and natural landscapes with iPhone, also participated in his photo yesterdayinstagramPost a photo of the sun’s path that he took with his iPhone. He also secretly shares his shooting tips and the auxiliary equipment he uses with everyone. If you are interested in trying it yourself, you can guarantee success as long as you follow the drawings!
Prepare in advance
First of all, you need to prepare a set of stable tripod, mobile phone holder, Bard film or light reduction filter (about ND1024). Although Bard film has a better light reduction effect, considering that you are not shooting close-ups, wide-angle shots of the sun will not have too many details, so it may be more ideal to choose a more commonly used light reduction filter. Then how to stably put the camera filter on the camera is a topic (Editor’s note: Not only will the light reduction filter explode if not used,The photosensitive element also has GG)。
The filters used here are from STC. Just prepare a mobile phone case with a flat back, and then stick the adapter ring in the appropriate position:
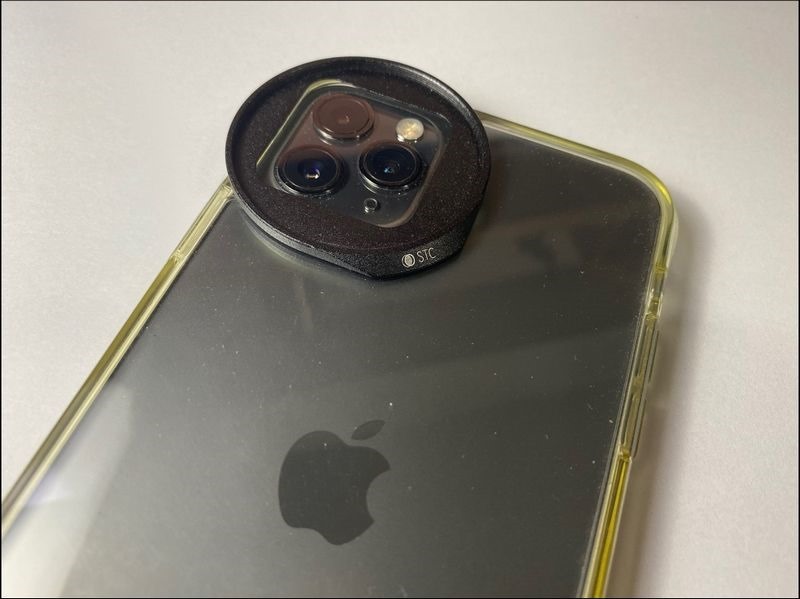
▲As long as the adapter ring is pasted flat, the filter can be locked stably without light leakage.
Then install the nd1024 light reduction filter and it will become almost light-proof:
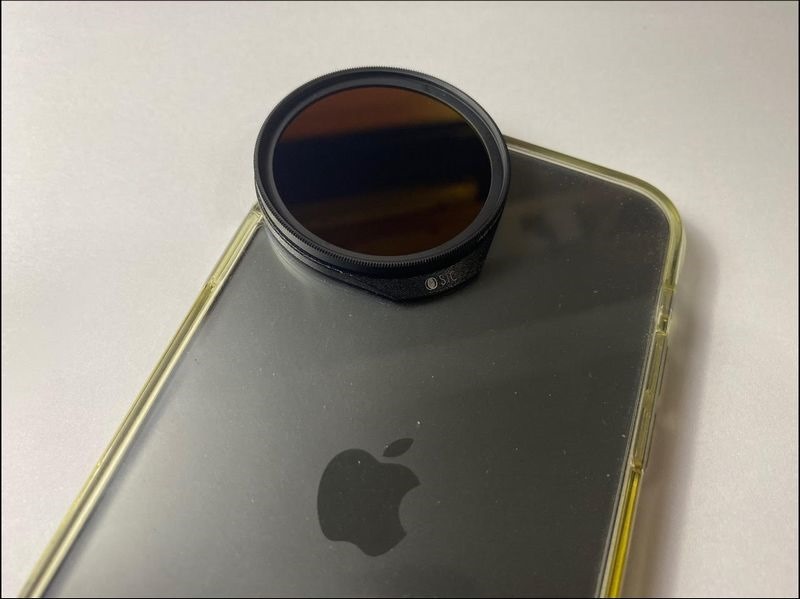
Japanese rail shooting tips
It is necessary to predict in advance the trajectory of the sun as it continues to set in the west, and take a base image before the sun has completely set (shooting after the sun has set will affect the exposure of the background), and then install a light reduction filter and wait for the moment when the sun sets.
After installing the filter, due to the high degree of light reduction, the screen will become completely black and only a single point of light from the sun will be visible. Using the built-in camera will activate night mode, so you must use a third-party APP such as ProCam 7 Let’s take manual shooting. First focus on the sun. If the focus is successful, the shape of the solar eclipse will appear. Otherwise, it will become a round ball of white light. Then adjust the ISO value to the lowest value and adjust the shutter speed to a state where the solar eclipse can be correctly exposed. Normally, the picture taken will only have a small light spot of the sun, and the rest of the picture will be completely dark:
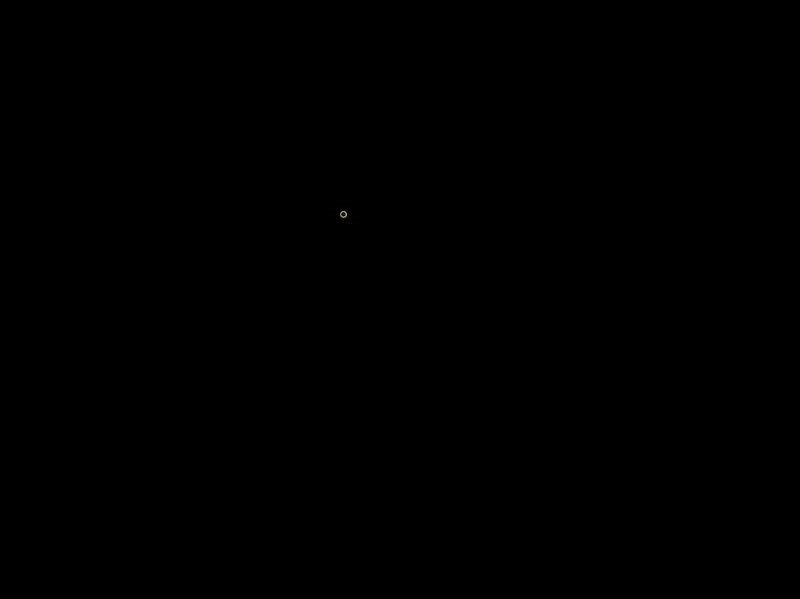
After successfully taking the photo, be very careful not to keep the screen on your phone, because the high heat of the sun will overheat the phone and make it unusable. Therefore, after the photo is taken, you will turn off the screen first, and then prepare a light-blocking cover to cover the phone, and turn it on again every three to five minutes to take pictures. At this time, please be careful not to move the tripod, and continue to repeat until the annular eclipse is completed.
Post-production
After successful shooting, you should get a base image with correct exposure, and then a set of spaced photos of an annular solar eclipse. Use post-production software, such as pixlr or snapseed’s repeat exposure function, to first slightly darken the base image (so that the sun is more obvious when attached), and then just slowly stack the sun on top of it in sequence and you’re done:
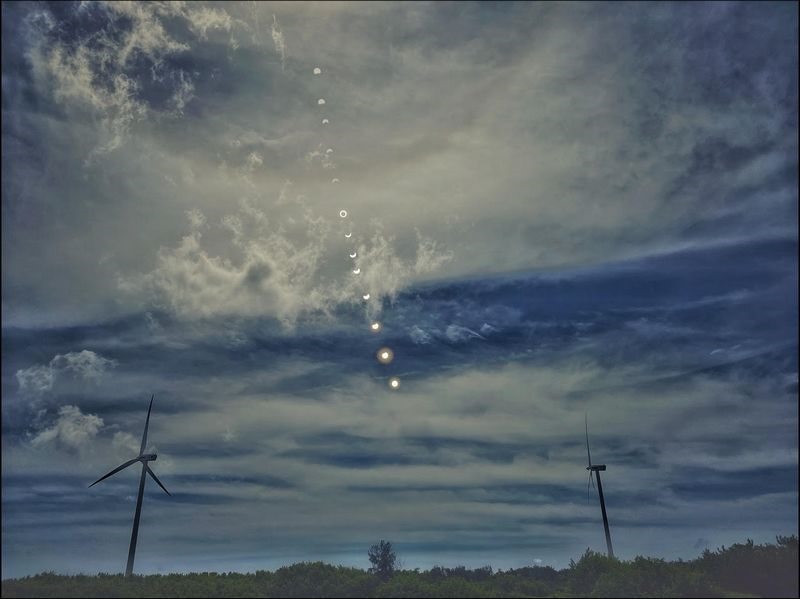
Pretty simple isn’t it? Friends who are interested may wish to try it out by themselves!
Please click me on Shi Xinfeng IG
Source: KOCPC Chinese