


To be honest, I have always felt that the iTunes interface is quite unfriendly to use. If you don’t spend a little time studying it, you really don’t understand how to use this software. People like me who usually buy physical albums and digital albums (I am not a music streamer) often use iTunes to put music into my iPhone. Sometimes when I pick up the phone to listen to music on certain occasions, many friends often see it and ask: “Huh? How do I put music into the iPhone?” I found that although many people have iPhones, they are not familiar with iTunes at all, and have not even installed iTunes on their computers. Today I will teach you two tutorials: “How to convert music purchased on iTunes” and “How to put music and ringtones into iPhone”:
Use iTunes music to convert files quickly and conveniently
This tutorial also has a video version, welcome to watch and subscribe to the channel:
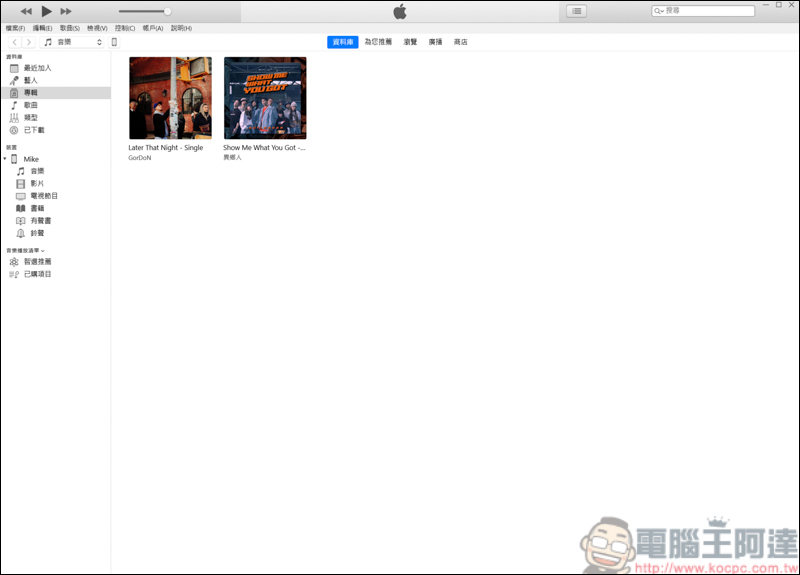
First open your iTunes and click on the music library:
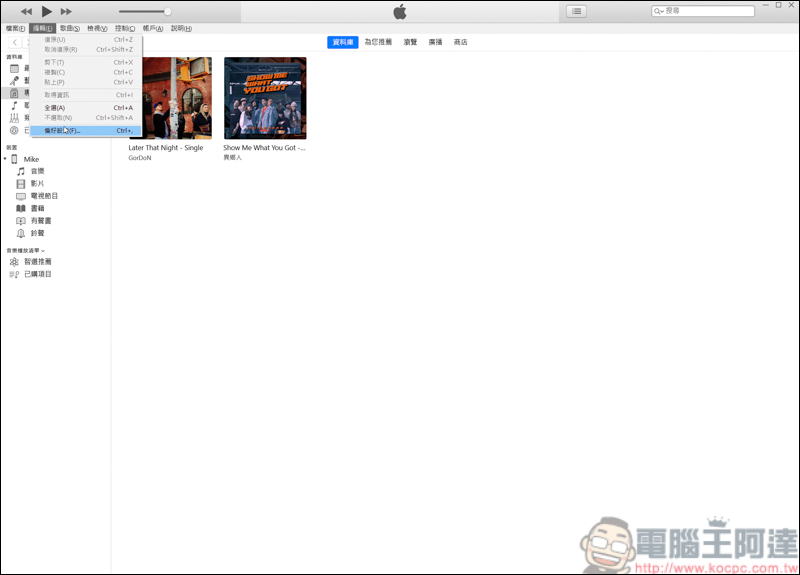
Then click Edit→Preferences:
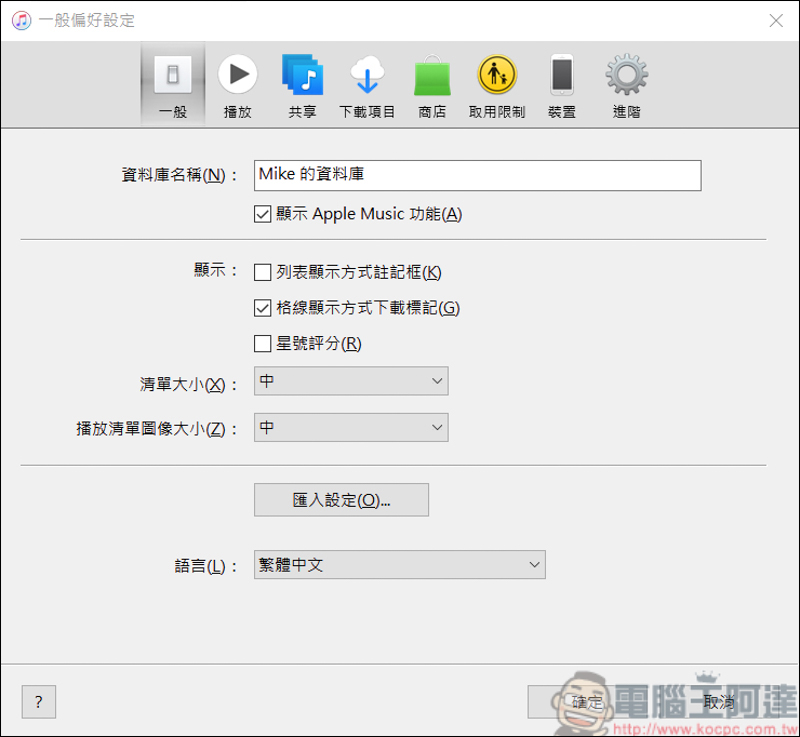
After entering the preference settings, click [Import Settings] on the general page:
After entering the import settings, you can see the current iTunes audio encoding settings (the default is AAC):
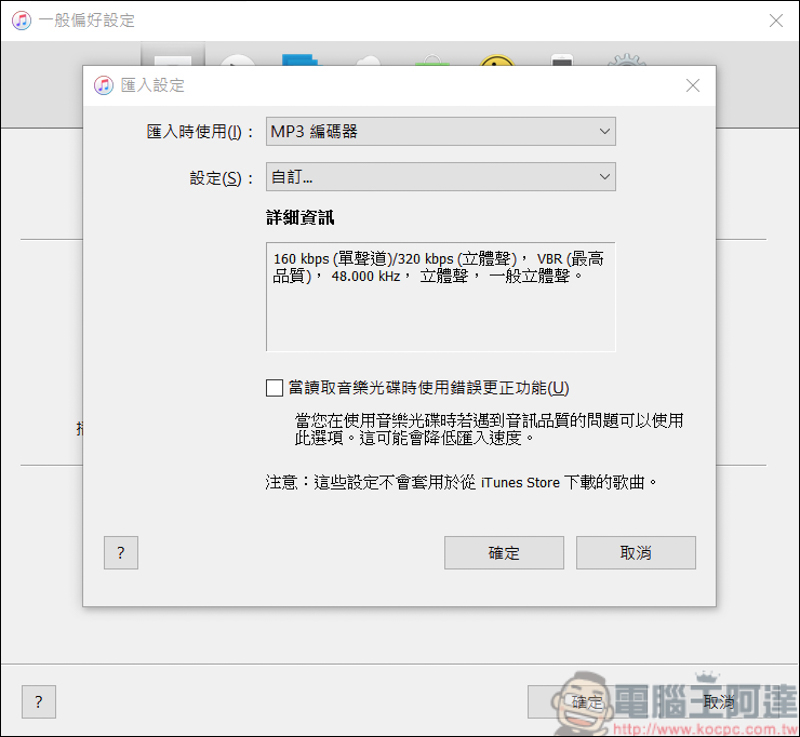
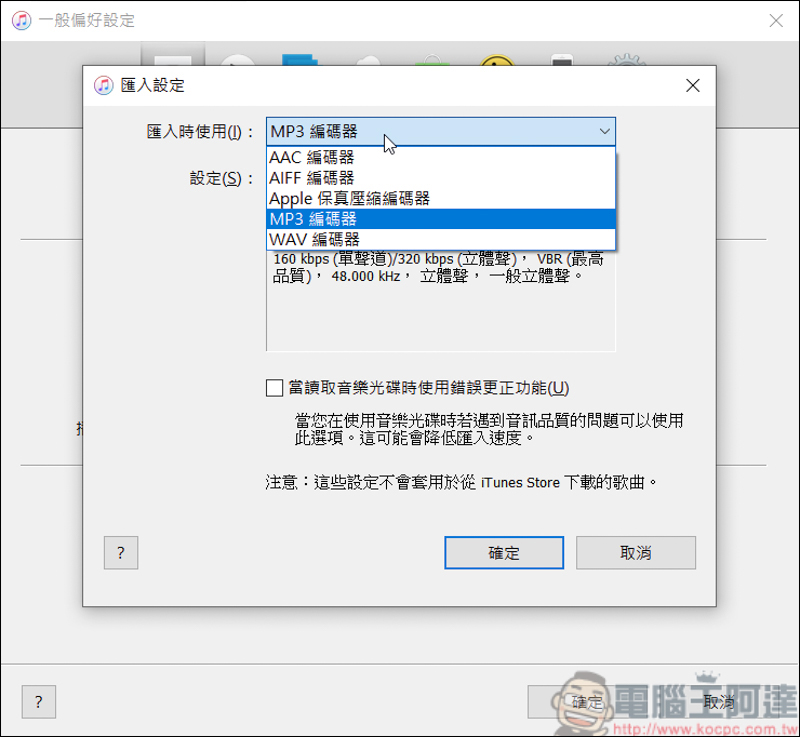
Use this when importing to select the audio encoding you want to output. If you want to use it on a general device, the MP3 format is recommended:
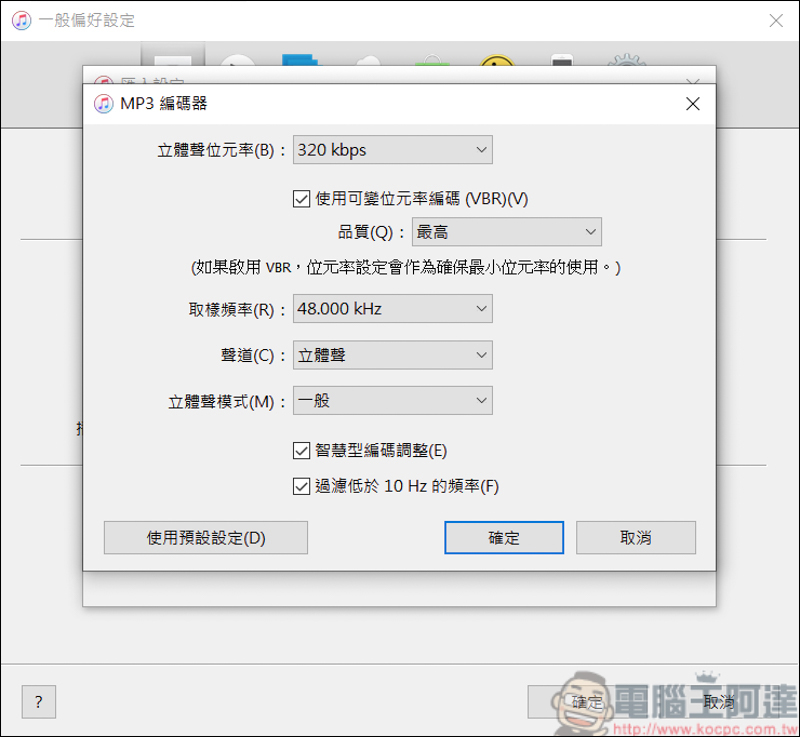
In the second setting, you can adjust the bit rate and audio channels. . Wait, or you can set it up like this:
After setting up, click on the music you want to convert, then press File → Convert → Make MP3 version, and the MP3 will be automatically generated. Please note that the converted version here depends on your audio encoding settings. If you set AAC before, then it will be AAC during the conversion. Please note:
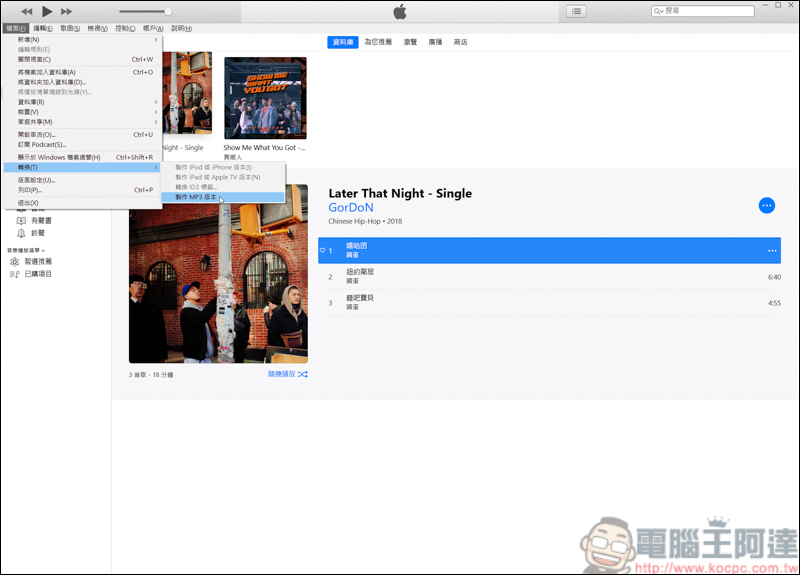
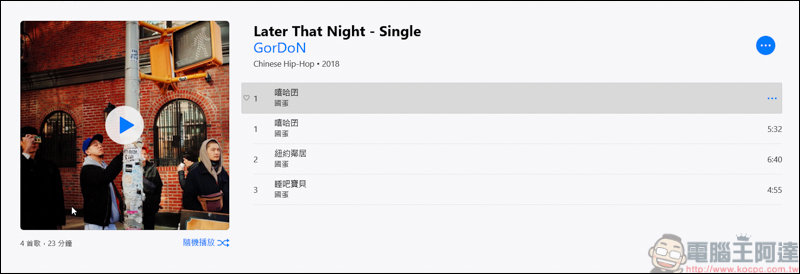
After the conversion is completed, the album will have an additional MP3 version:
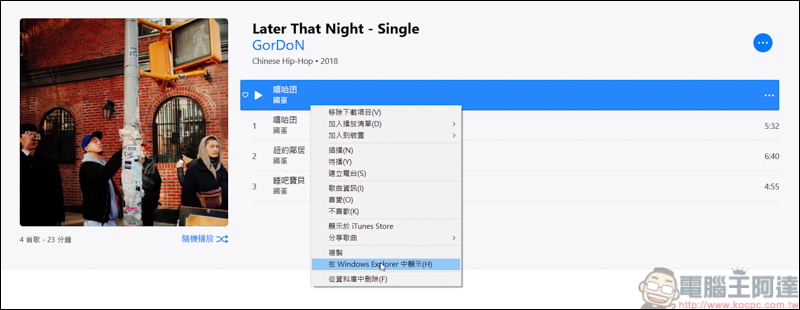
If you are too lazy to find the folder, you can just right-click on the music and it will jump to the folder when displayed in Windows Explorer:
The default file extension m4a is the digital music we purchased on iTunes, and MP3 is the audio file we just transferred. Isn’t it very simple?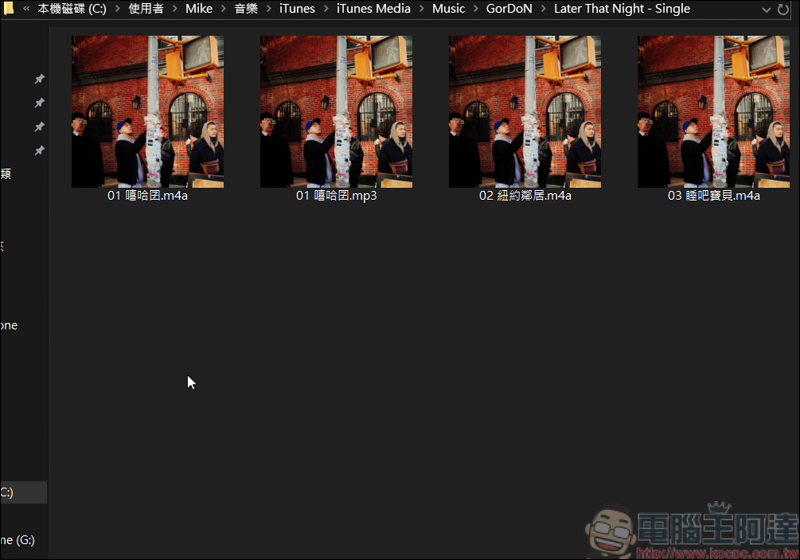
Manually manage iPhone music and decide what you want to listen to
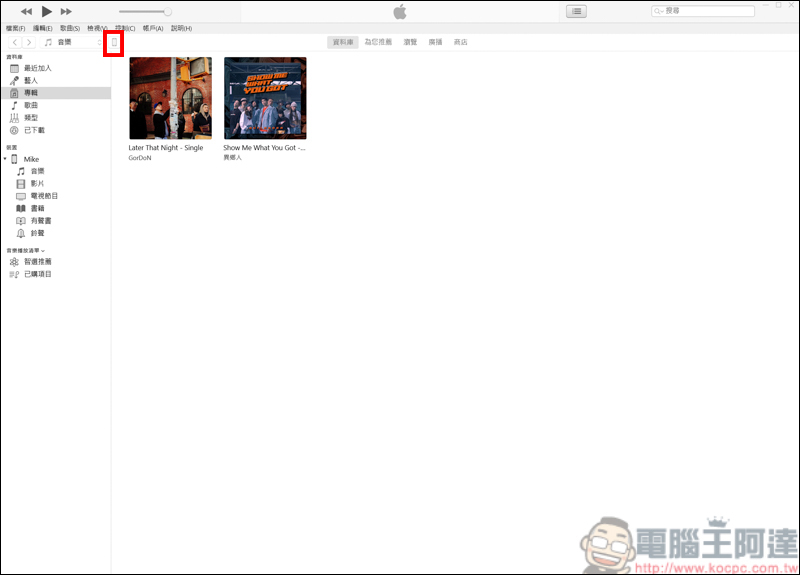
Next, I will teach you how to put music into your iPhone. After inserting your iPhone, a mobile phone symbol (red frame) will appear in iTunes. Click on it:
It will enter your iPhone information:
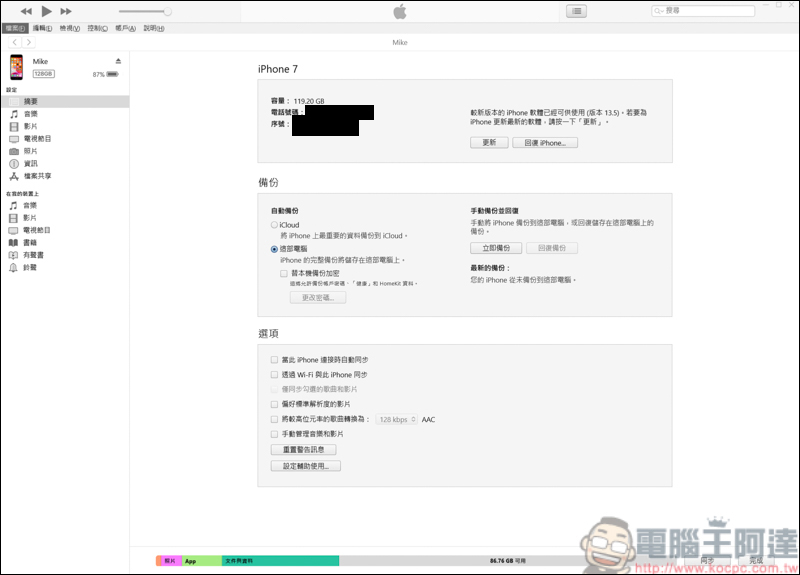
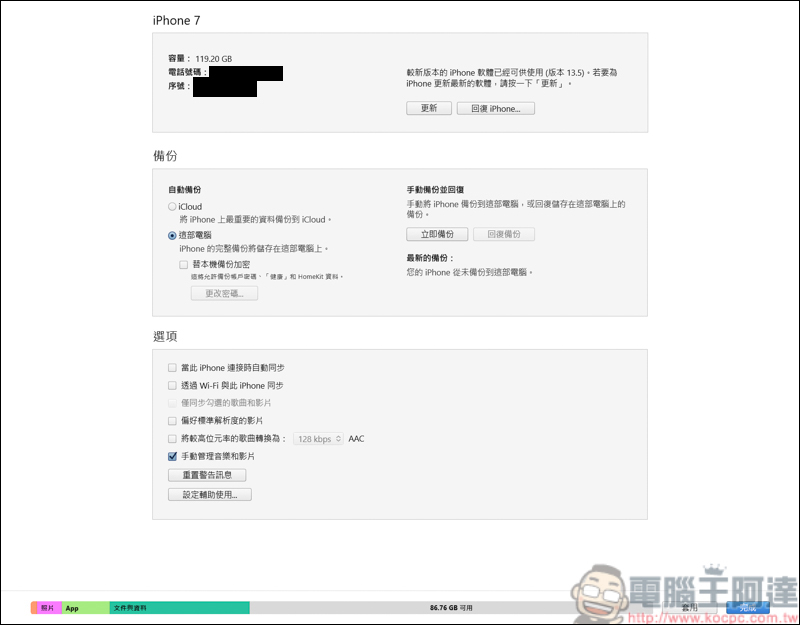
Check the box below to manually manage music and videos, and press Done on the lower right:
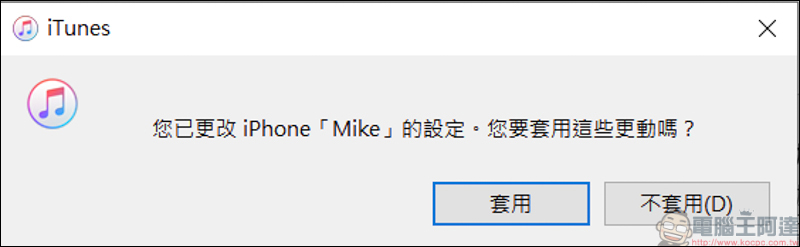
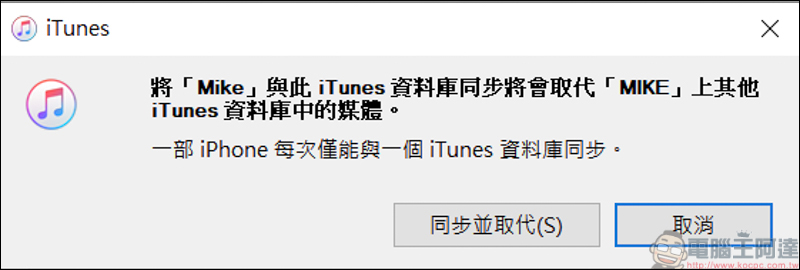
Since I just reinstalled the computer, the phone recognized that it was a new computer, so it had to be resynchronized. This is also the most troublesome part of iTunes for me. When you reinstall the computer or change computers, even if you authorize this computer, the music and ringtones you have manually managed will disappear, and you have to put the music into the iPhone again in this way:
After setting up, click on the music bar on the left:
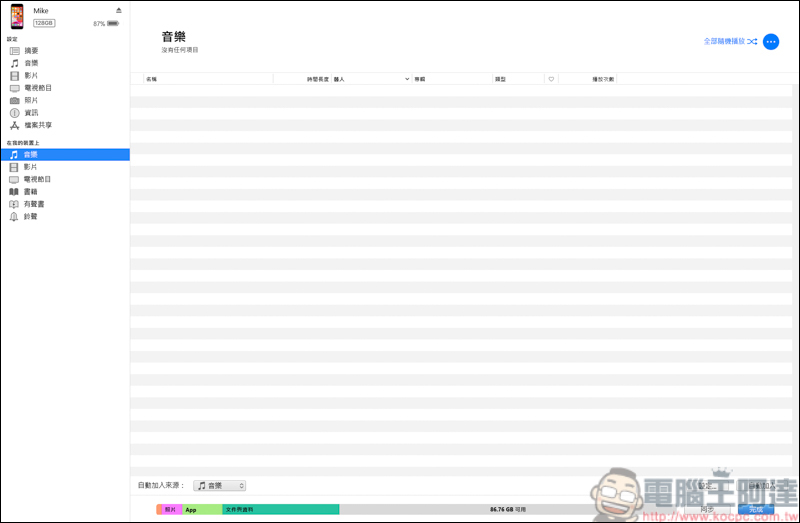
Then open the folder where you want to put the music:
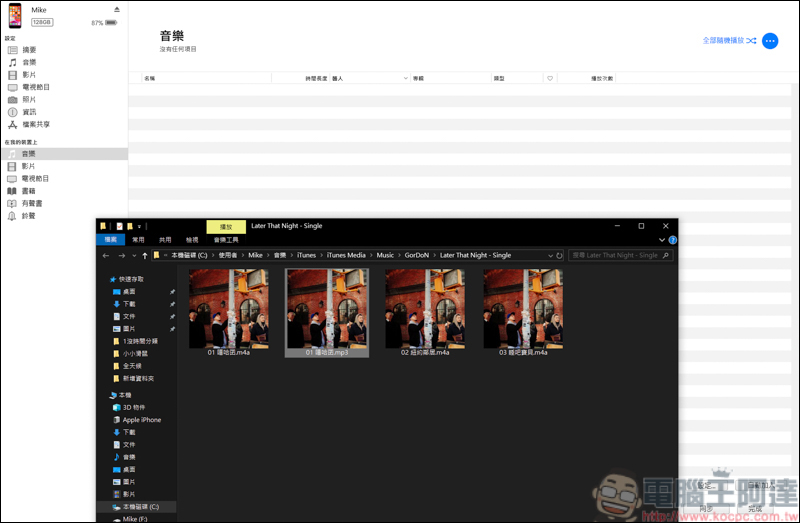
You can directly drag and drop the music you want to listen to into your iPhone:
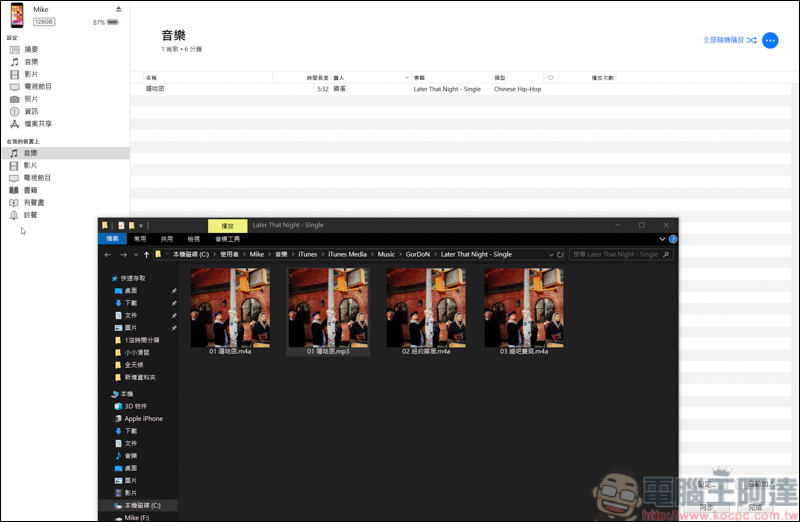
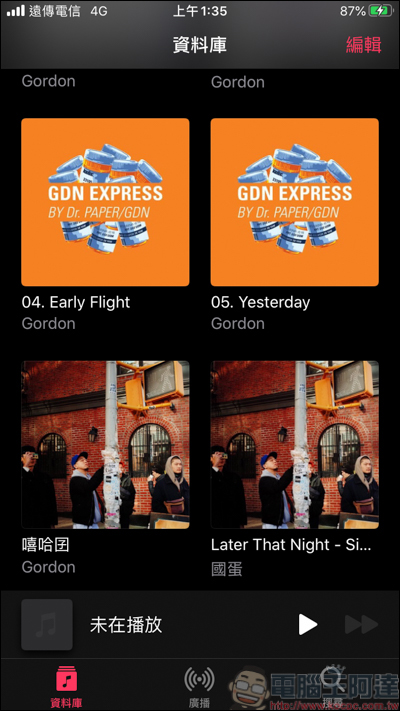
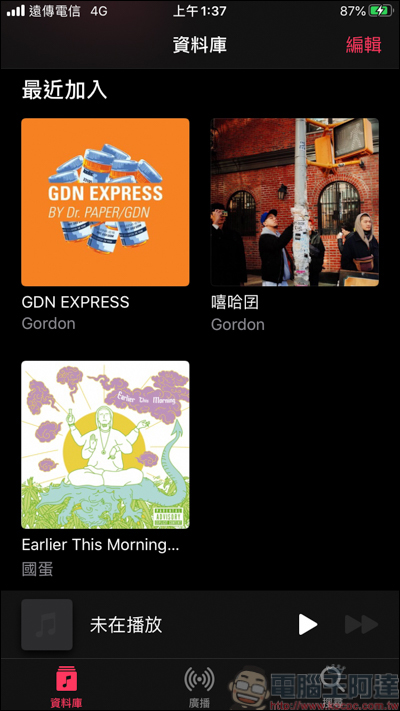
Then there is a problem with iTunes. As shown in Figure 1, when you first put the music of this album into the iPhone, it is obviously the same album, but it will not be merged together. Then you delete the album in iTunes and put it in again, and something magical happens, and it will be merged on the iPhone (Figure 2). So if you want the layout of your iPhone to be tidy, you have to do the action of adding → deleting → adding again in iTunes:
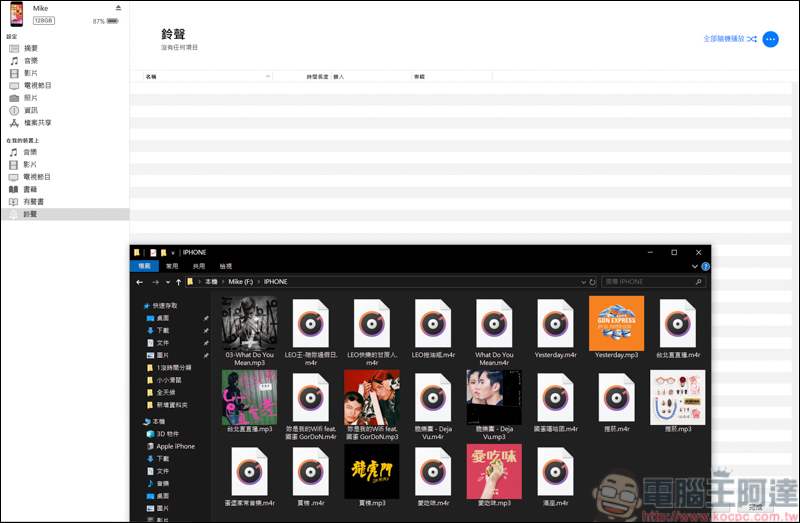
As long as you click on manual management, even ringtones can be dragged into the iPhone in the same way as above:
If you have an iPhone like me and are not into streaming, then this method will allow you to manually manage music, videos, and ringtones. Although it still has its inconveniences, this is a method that can be done through official software!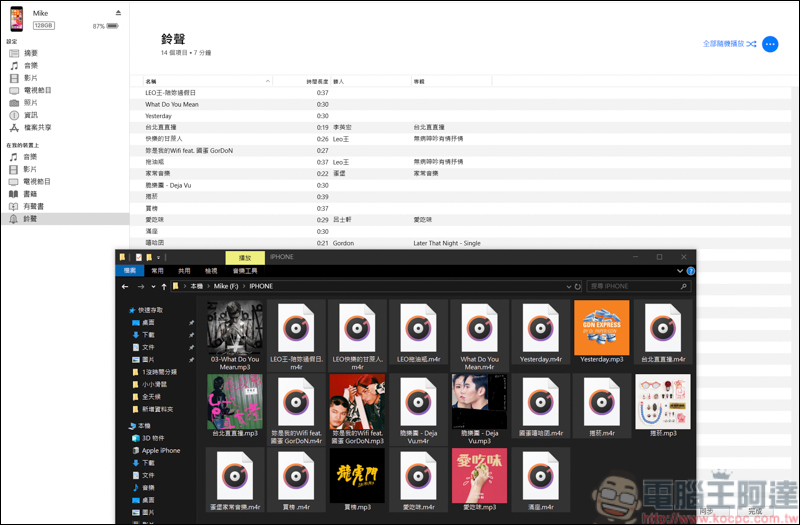
Source: KOCPC Chinese