


When generating images in ChatGPT, it’s unlikely that you’ll get a completely satisfactory result on the first try, so many people use the partial editing feature afterward, adjusting the content with prompts. But this process is actually a bit troublesome, since you not only have to figure out how to phrase the prompt, but the output is also random and may not be what you want. This article will teach you a simple trick: by connecting the Canva plugin, you can directly edit the generated image—even the text—and still keep the original font style after editing.
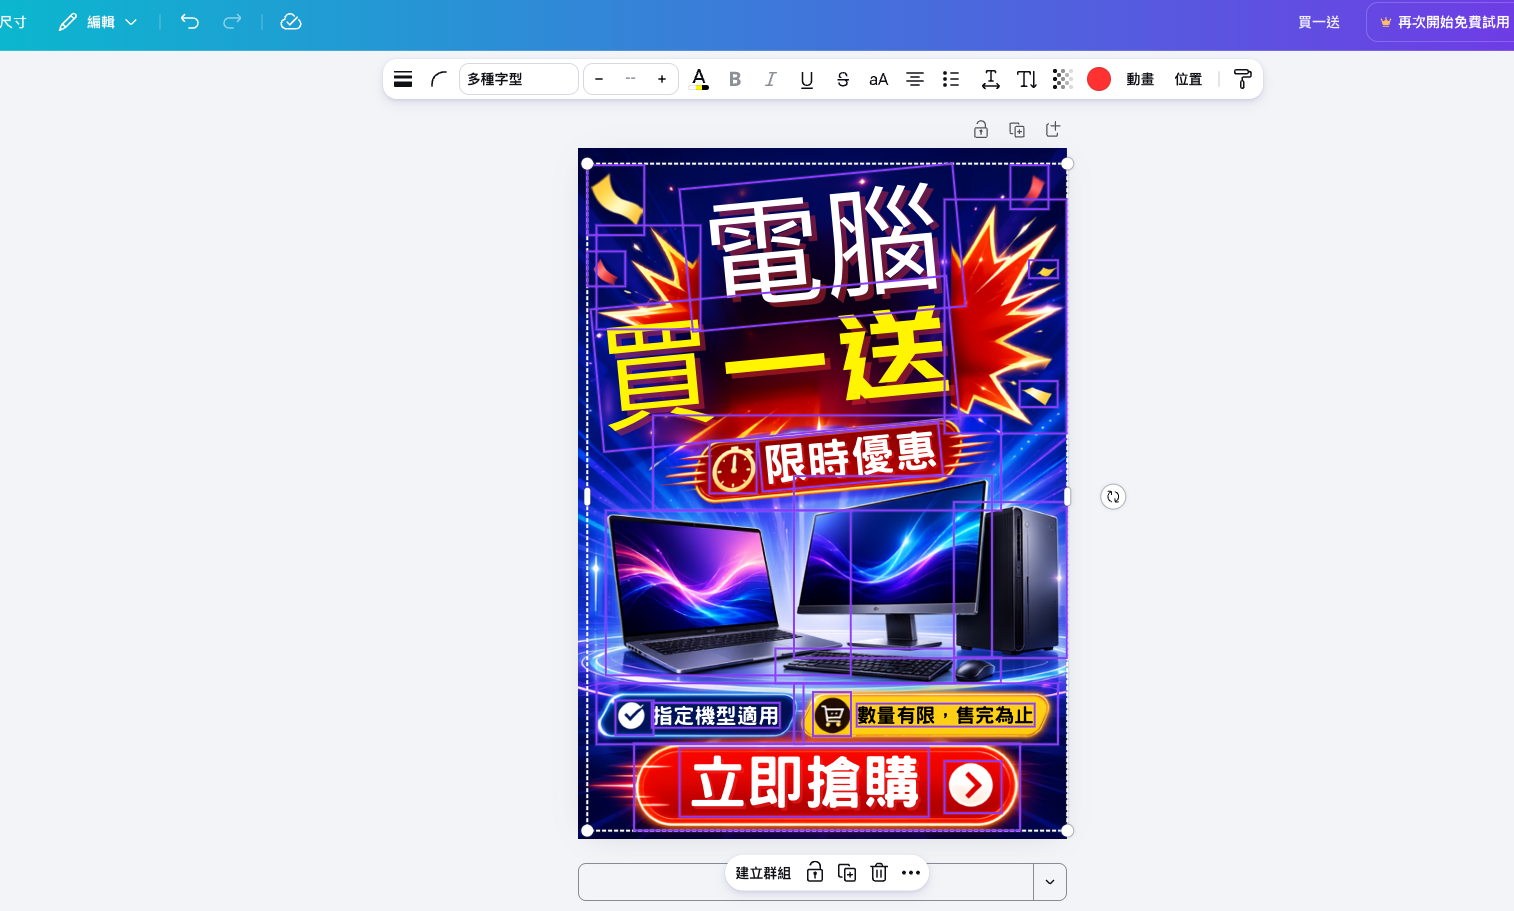
With the Canva plugin, you can edit images generated by ChatGPT.
First, it should be noted that this feature is not exclusive to ChatGPT Plus paying subscribers. Even if you’re using the free version of ChatGPT, you can still connect the Canva plugin to experience it.
Before using it, you just need to link your Canva account to ChatGPT. Once linked, when you generate an image in ChatGPT, you can use Canva’s Magic Layers feature command, which will analyze the text, background, and various objects in the image, and then split them into layers that can be individually selected, moved, and modified.
This is also the biggest difference from just asking an AI to edit an image for you. In the past, if you weren’t satisfied with a piece of text, a location, or an object in an image, you had to re-enter a prompt for ChatGPT to make changes. Not only was the result random, but sometimes changing one thing would also alter other parts you were originally happy with. With Canva, you can directly select the area you want to adjust and edit it, just like using a regular image editing tool—no need to regenerate the entire image from scratch every time.
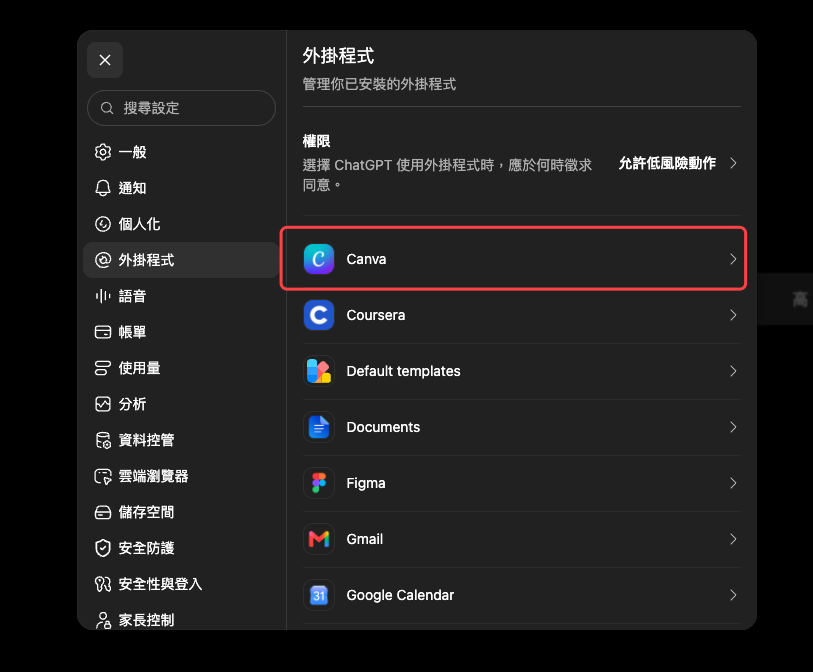
Open ChatGPT’s settings menu and go to the Canva option under plugins:
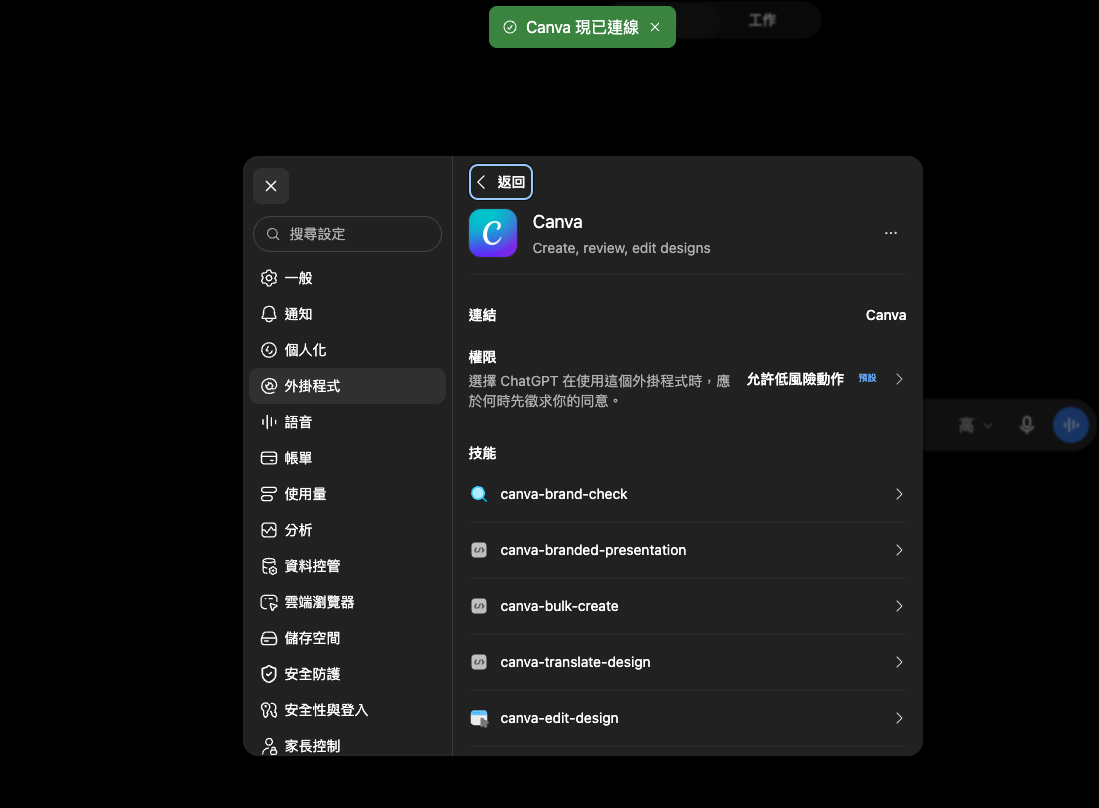
Next, connect your Canva account. When it shows “Canva is now connected” at the top, that means it was successful:
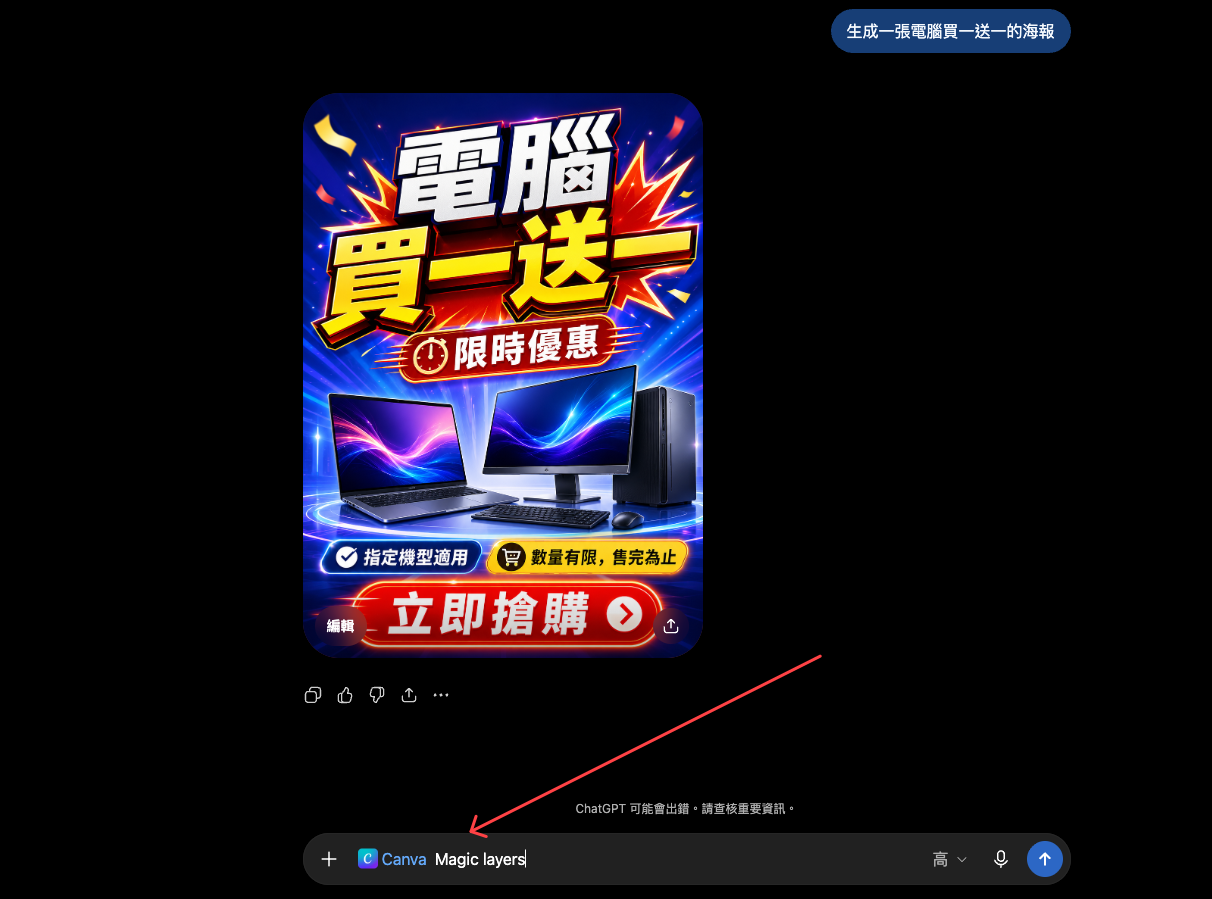
After the image is generated in ChatGPT, type @Canva and select Canva, then follow it with Magic layers:
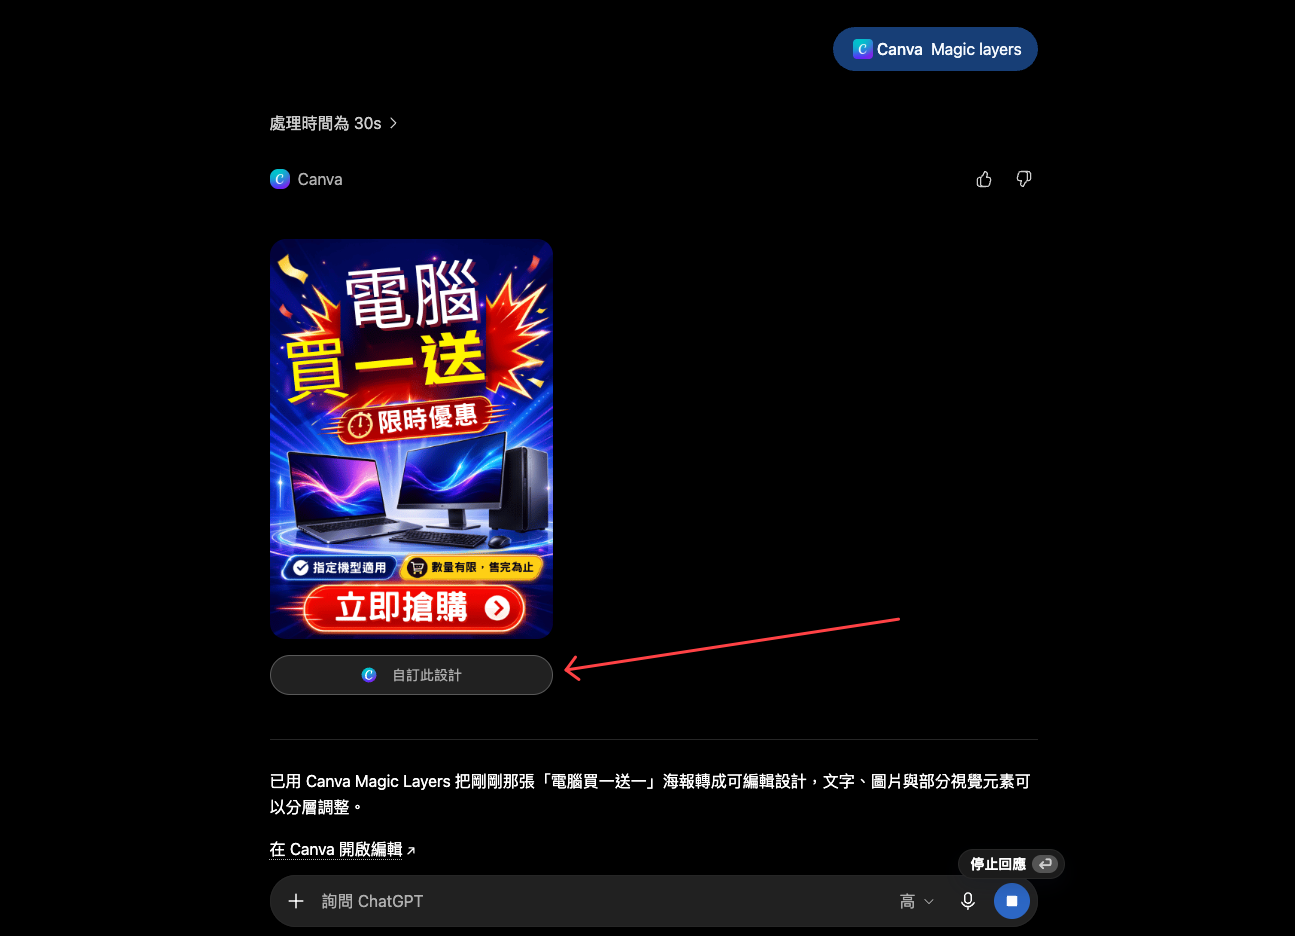
After waiting for a while, Canva will split the image into layers. You might also notice that if the image has strong visual effects, like mine here, there are still missing parts after the conversion. The “Buy One Get One” text above became “Buy One Get”, but that’s fine; we can just add it back during editing later. Click “Customize this design” below.
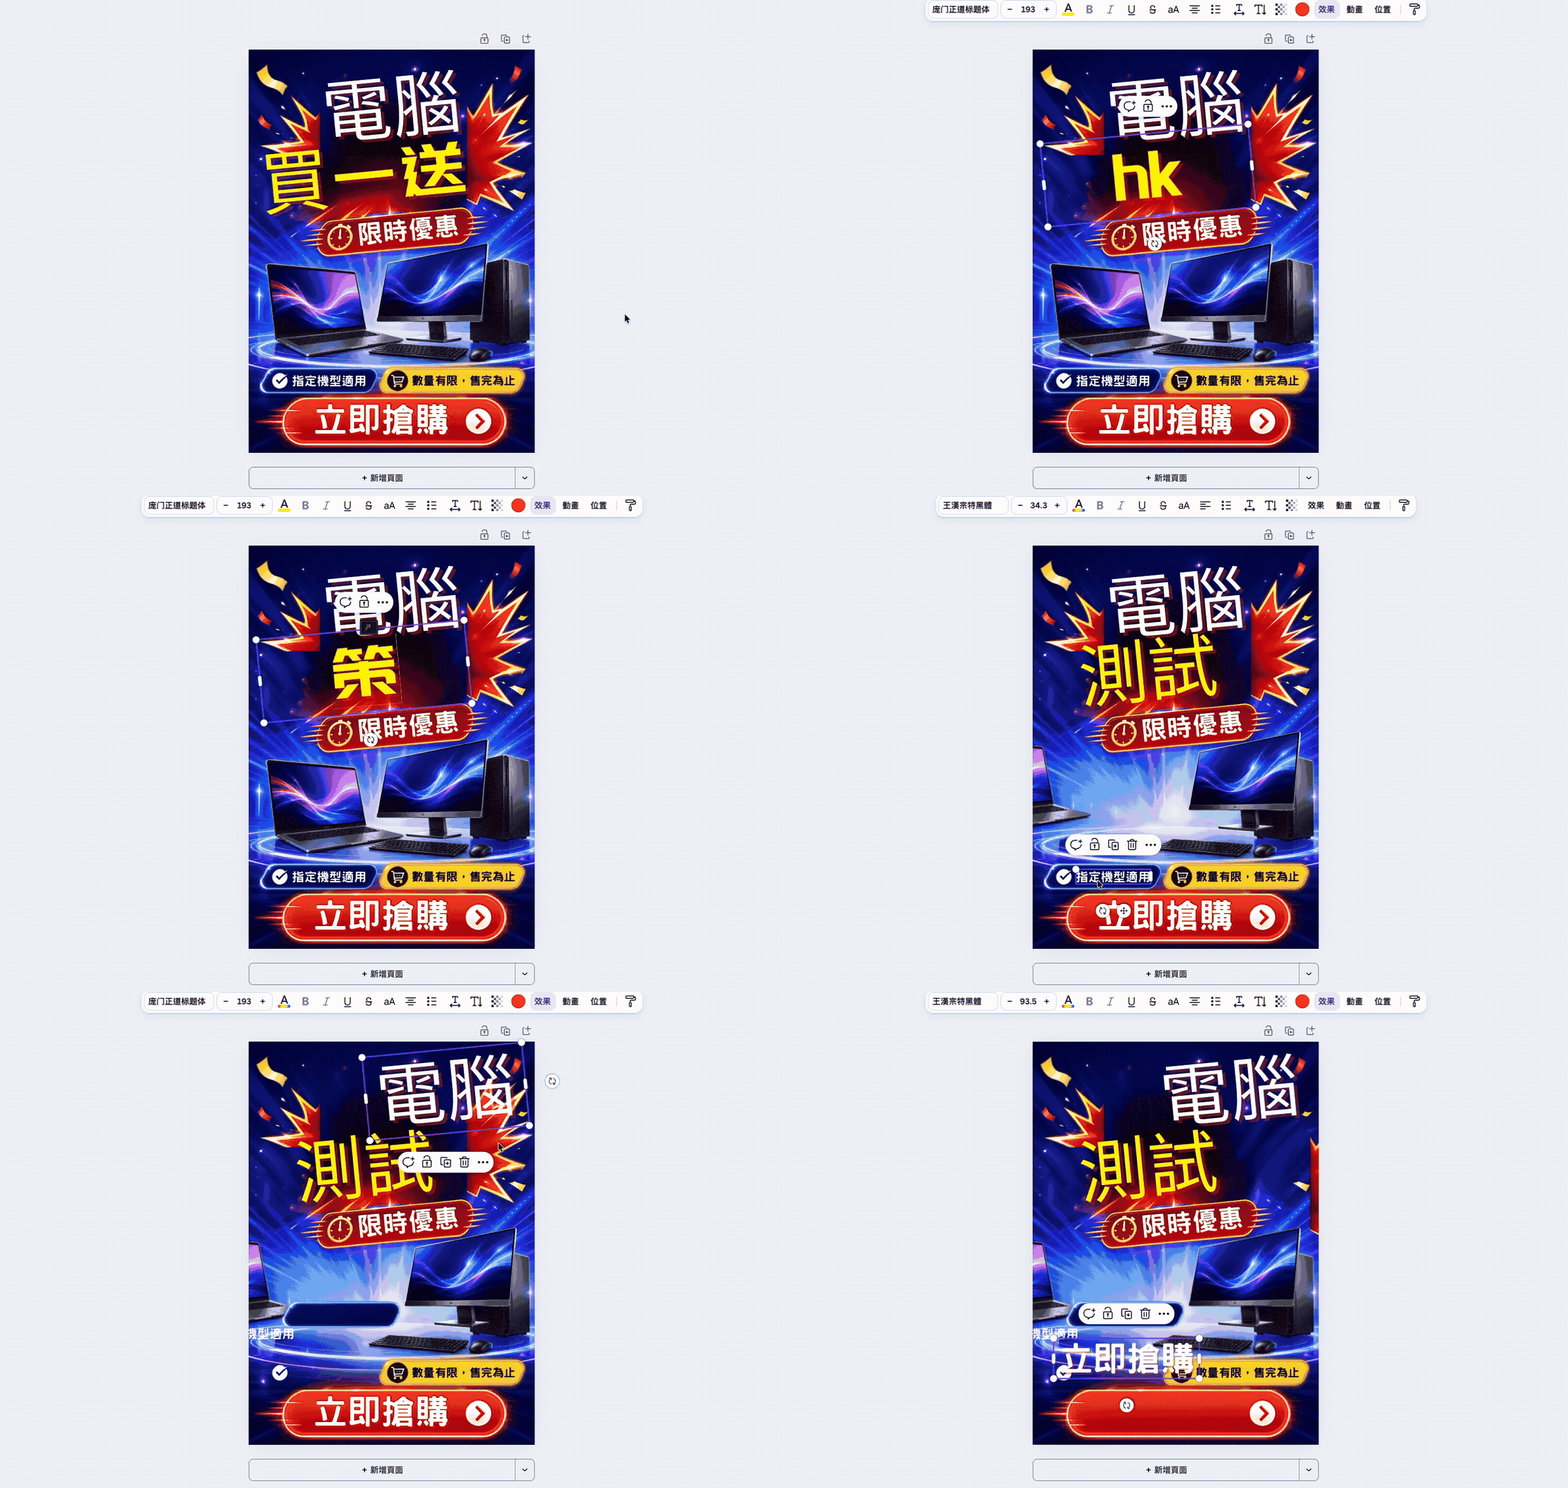
Then it will open the Canva editor, and you can modify each object. In the first half of the demo below, I never switched to Chinese input, so please ignore that.
Source: KOCPC Chinese