


Claude Code (abbreviated as CC) is a terminal-based AI programming agent tool launched by Anthropic. It operates directly in the command line, helping users write code, run routine tasks, explain complex code, and handle Git workflows, all through natural language commands. For developers, it is like an AI collaborator living inside the terminal. Unlike typical AI chat interfaces, CC can directly read your project files, execute shell commands, perform code modifications, and manage version control operations, essentially embedding AI capabilities directly into the core stages of the development workflow.
However, beyond programming, Claude Code is actually an almost all-purpose AI assistant. On the Mac OS platform, it can even control your computer to perform tasks. For beginners, the installation and setup of Claude Code’s original CLI interface are often the biggest hurdles. This tutorial will use the most widely used Windows system as an example, guiding you step by step through downloading and installing Claude Code, configuring the environment, and setting up models. Finally, with the practical CC Switch tool, you can easily switch between different AI models and use Claude Code to get work done, no longer tied to a single provider.

Claude Code Installation
There are three main ways to install Claude Code:
Option A: PowerShell One-Click Installation (Recommended, No Node.js Required)
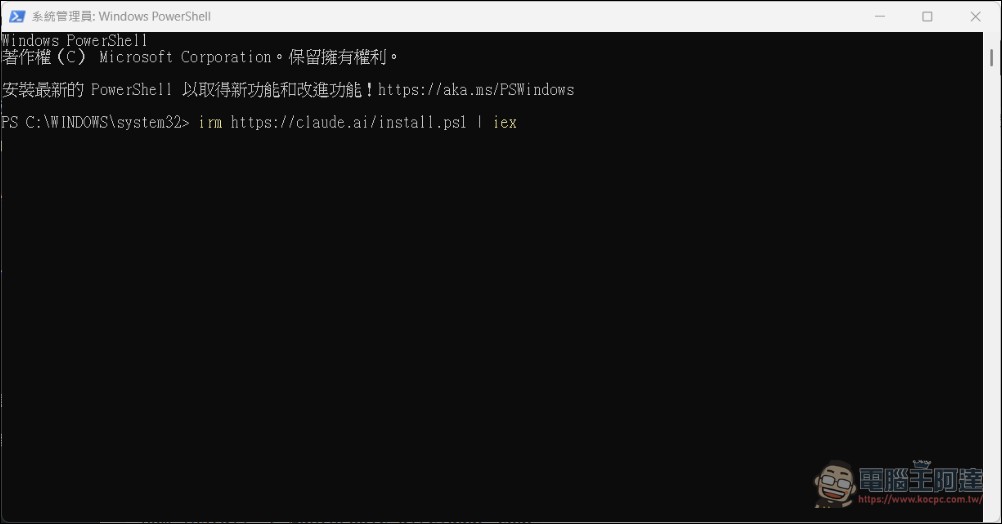
Open PowerShell (recommended to run as administrator):
irm https://claude.ai/install.ps1 | iex
The system will automatically download and install it. The default path is C:\Users\Your username\.local\bin\claude.exe.
Option B: Install via npm (for Mac users who already have Node.js installed)
npm install -g @anthropic-ai/claude-code
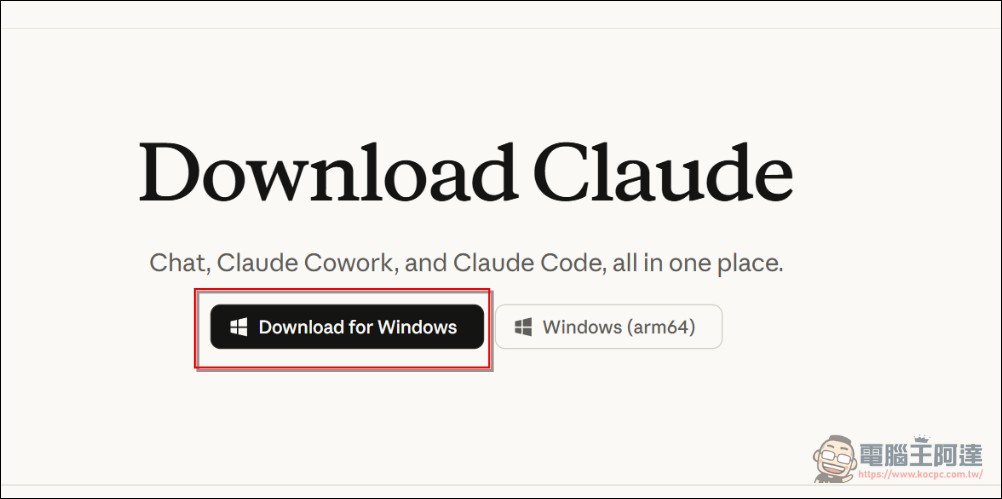
Option C: Download directly from the official website (recommended)
Enter the official website (https://claude.com/download) then directly click Download and install. What we’re covering this time will also focus mainly on it:
Step 2: Verify the Installation and Configure Environment Variables (CLI)
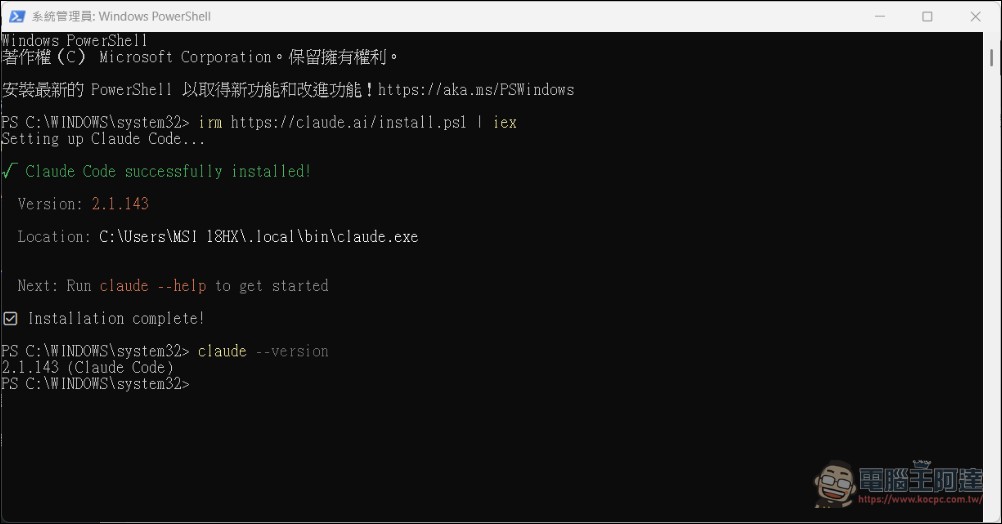
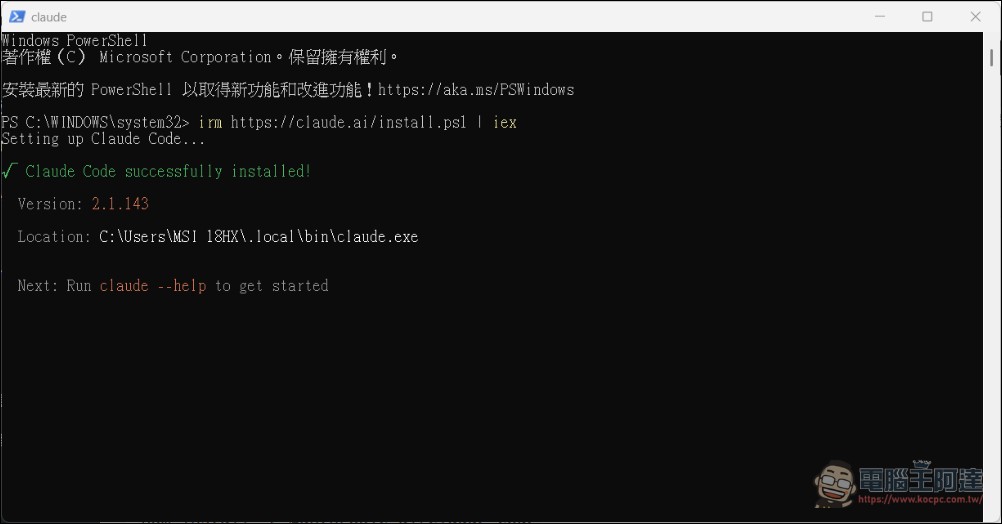
If you installed it using PowerShell, continue typing. claude --versionIf the version number is displayed, the installation was successful. If you see the message “claude is not recognized as an internal or external command,” you must manually add… C:\Users\您的使用者名稱\.local\bin Add it to the Path in the system environment variables, then run Claude to enable it directly from the CLI (command line interface):
Then choose how you want to use Claude Code. Most people go with the first option and subscribe. Keep in mind that you need at least a Pro subscription to use CC. The API is also an option, but the price tag will probably scare you:
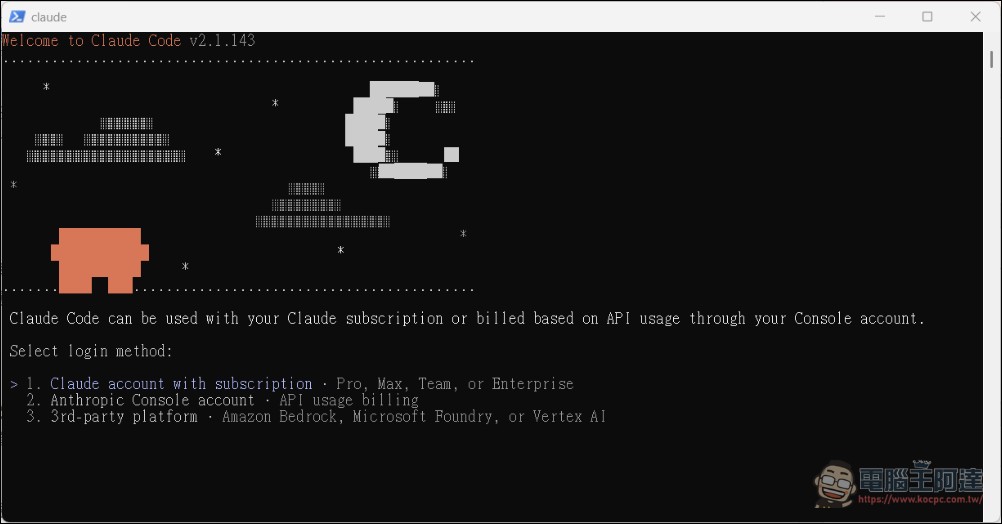
Next, you’ll enter OAuth authentication. Normally, the browser will pop up an authentication page; if it doesn’t, copy and paste the URL below, then click to authenticate.
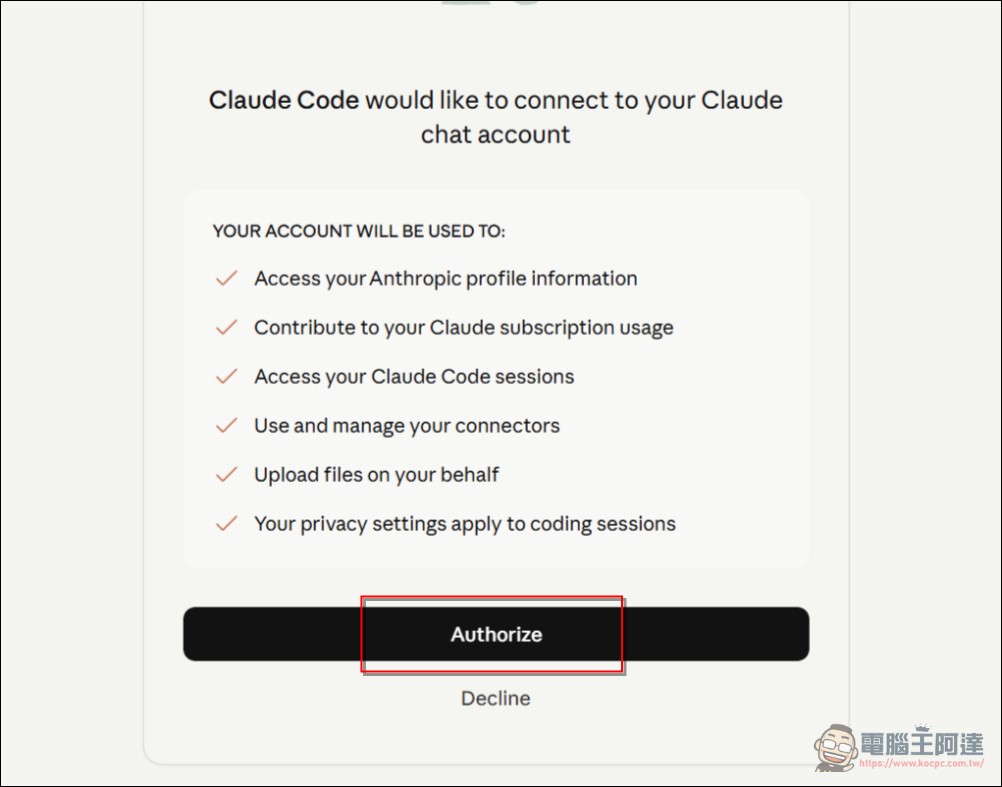
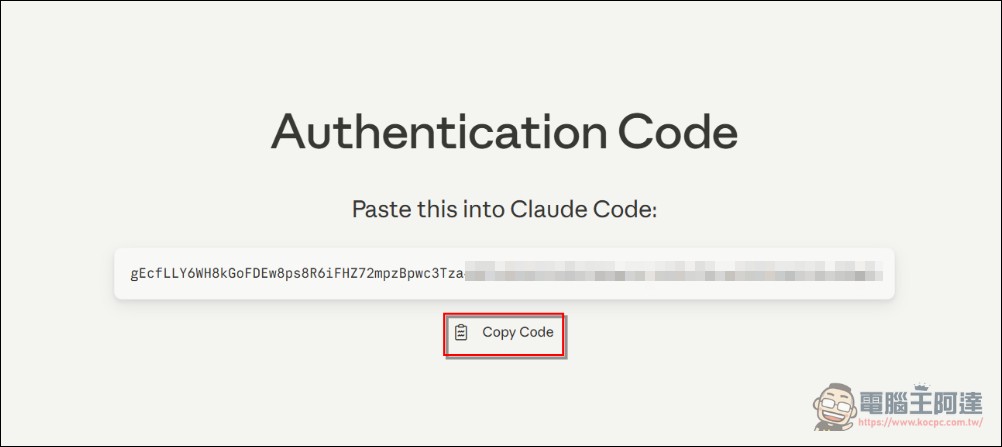
Next, a verification code will appear on the screen; copy it and paste it into the terminal (right-click to paste):
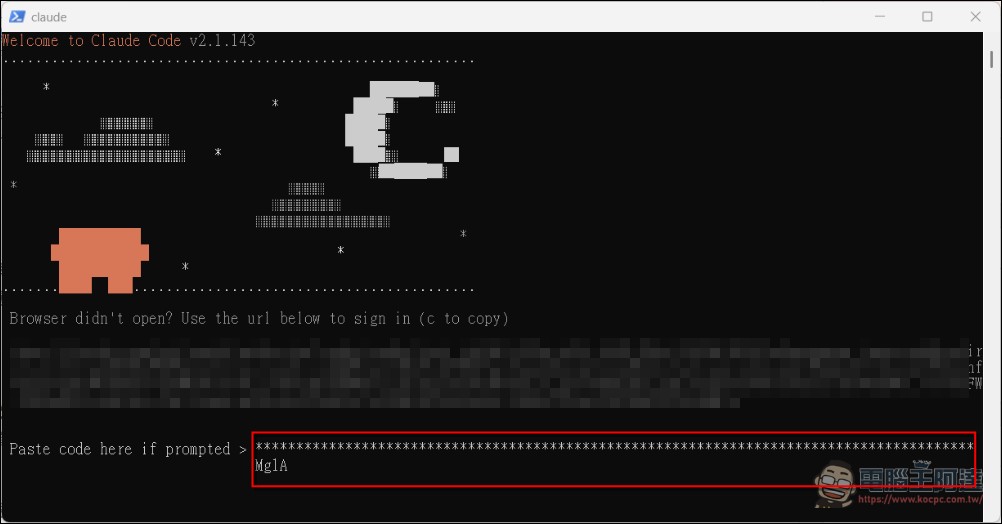
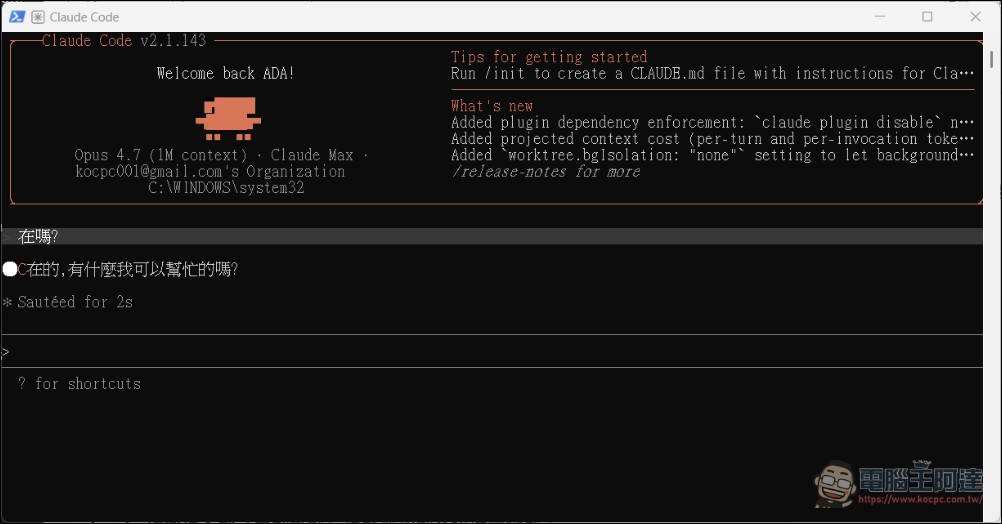
At this point, you can command Claude Code to start working in the CLI interface:
Windows setup interface (recommended)
If you downloaded the installer from the official website, the setup process is essentially the same as any standard Windows application: just keep clicking Next, log in to your account on the authentication page, and you’re ready to use it. The CLI and Windows GUI can handle roughly the same tasks, though the GUI is more convenient (and includes the mobile-controllable Cowork feature). CLI, on the other hand, is more popular among professional programmers because it’s cleaner:
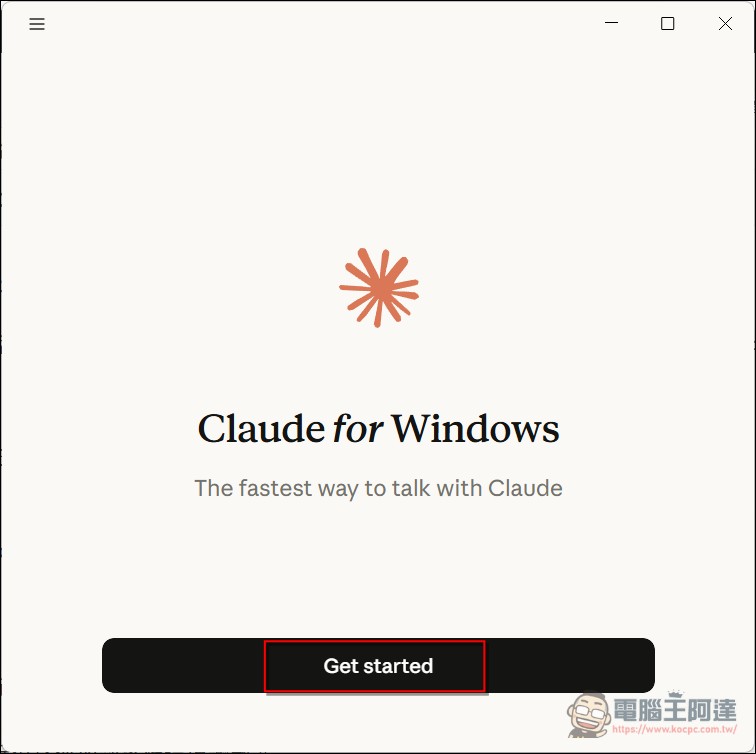
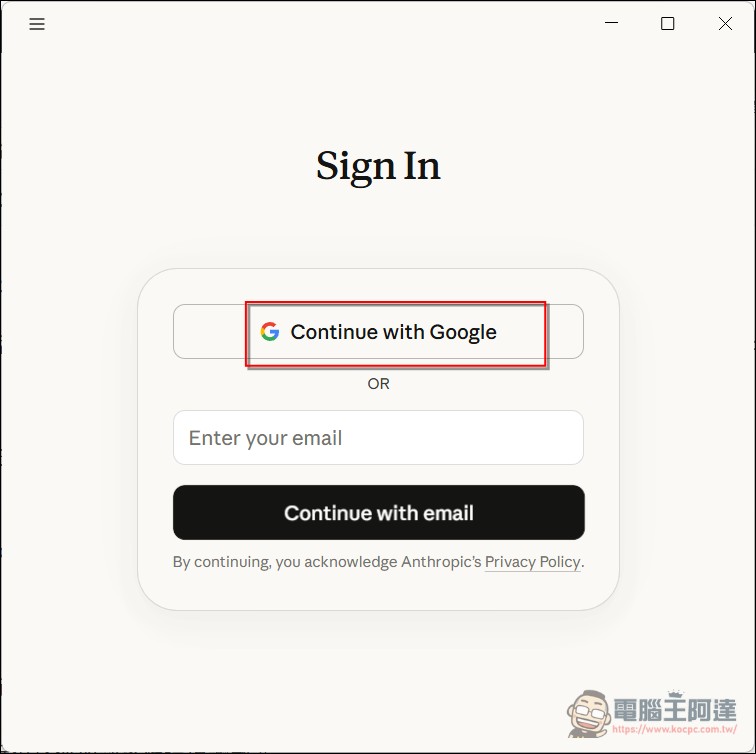
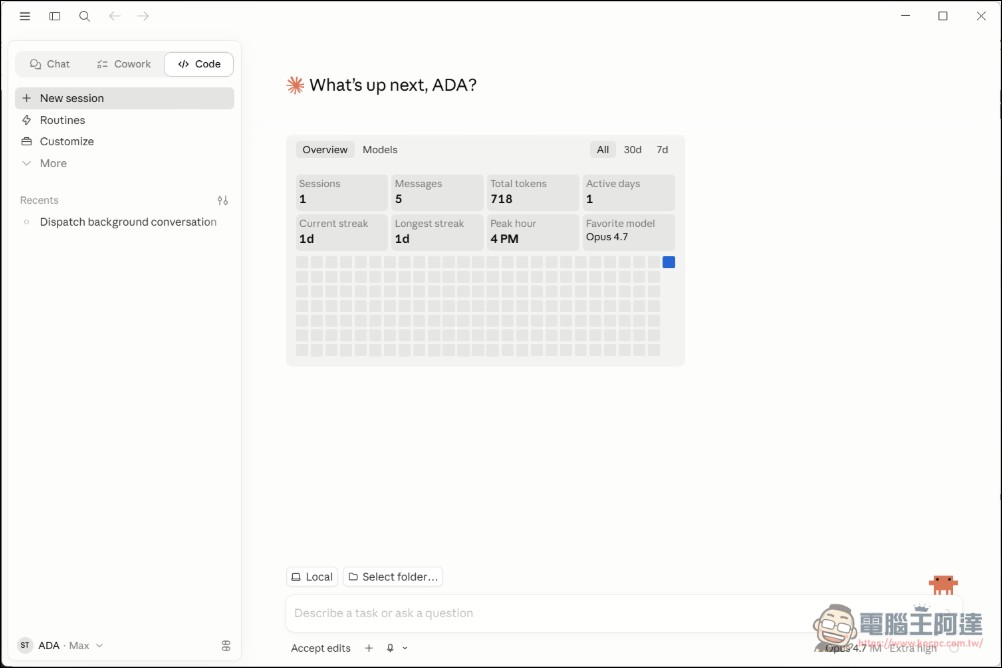
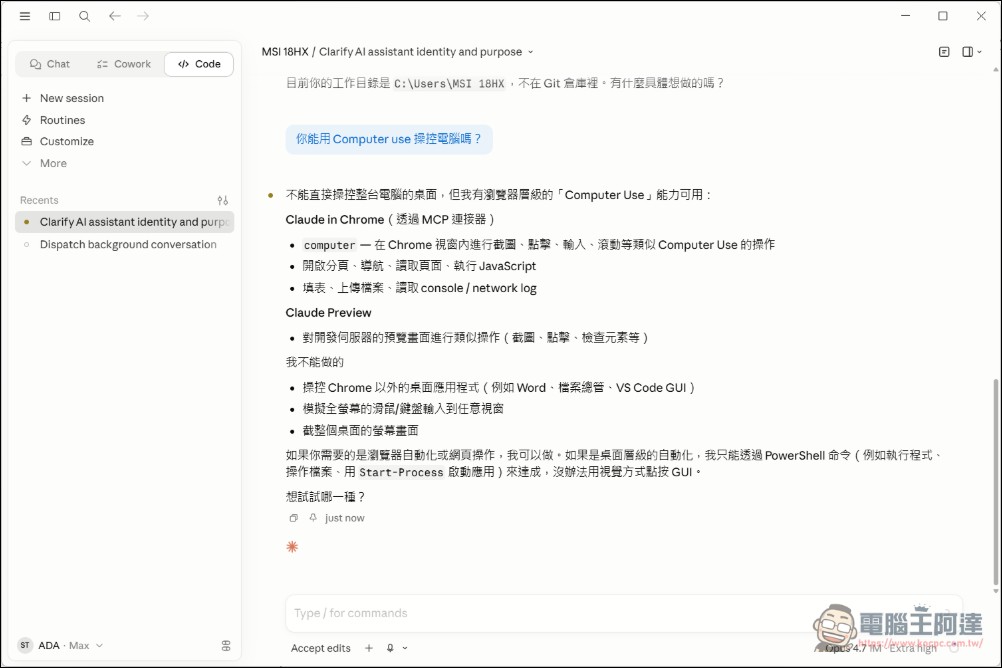
As for what you can do with Claude Code, it varies from person to person. Some use it to write code, while I use it as an all-purpose assistant. Personally, I find it much better than Cowork. On Mac, you can use the Computer Use feature to control your computer and perform tasks, but the Windows version is quite limited. It originally could control the browser MCP to run simple tasks, but there’s been a bug lately, so you can only use the sidebar to have the browser do things (if it works, it would probably look something like this—you’ll see the mouse moving and clicking on the page on its own):
Install CC Switch (model switching tool)
CC Switch is an open-source model switcher that lets Claude Code connect to other models, so you’re not limited to Anthropic’s expensive, rate-limited, and dumbed-down Opus and Sonnet models. You can also use cheaper unofficial models like DeepSeek, Alibaba Cloud, Xiaomi MiMo, and MiniMax. And it works not only with Claude Code, but also with Codex, Gemini CLI, and even Openclaw or Hermes.
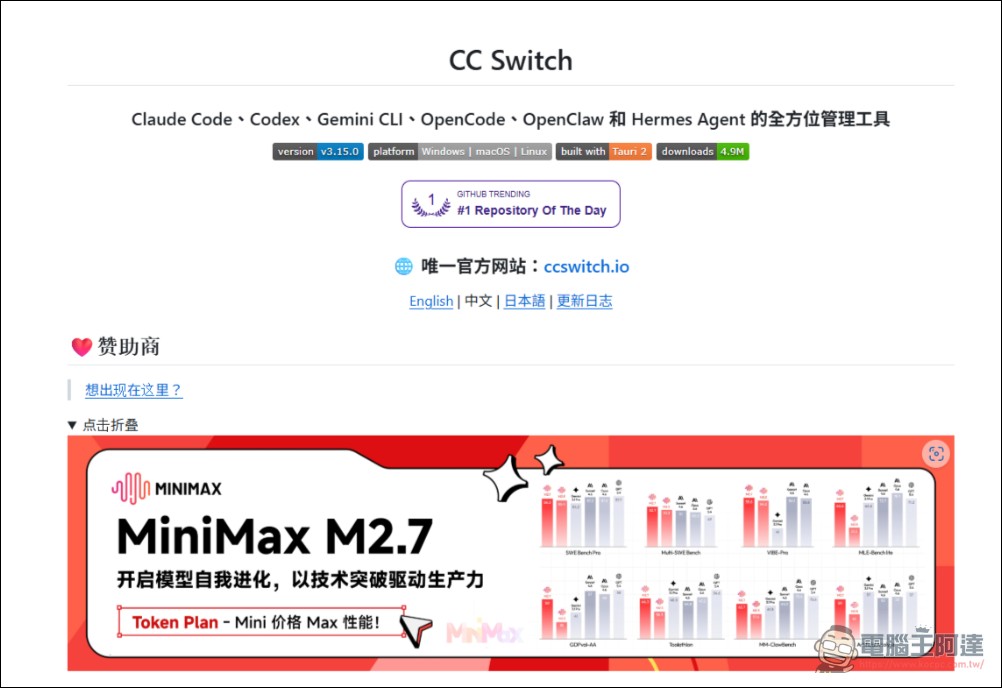
Some people might ask why you would use third-party models in Claude Code. What makes Claude Code great, aside from the powerful capabilities of Anthropic’s Claude models themselves, is actually more importantly its app-side. Harness architectureIt’s cleverly written, which is why so many engineers scrambled to back up, rewrite, and open-source Claude Code when its source code accidentally leaked earlier. Beyond the model’s raw capabilities, the engineering that controls and constrains the model lies inside Claude Code, yet the program itself isn’t open source. Officially, third-party models aren’t banned, but the normal approach requires manually rewriting the model configuration, which is somewhat difficult for ordinary users. Moreover, CC Switch isn’t limited to Claude Code; it also supports Codex, Gemini CLI, Opencode, OpenClaw, and Hermes, making it a universal model-agent switching tool. Its purpose is to let you use cheaper models from other Coding Plans within Claude Code.
CC Switch Project Address
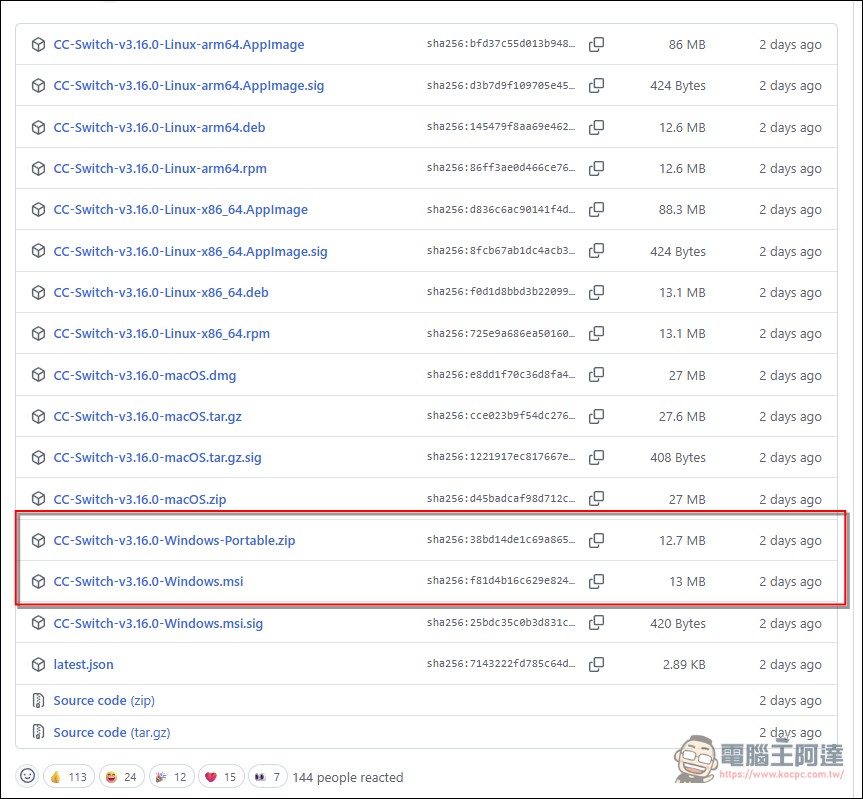
CC-Switch is also very easy to install; simplyDownload the Releases pageDouble-click the Windows installer file (cc-switch-v3.x.x-windows.msi) to install it.
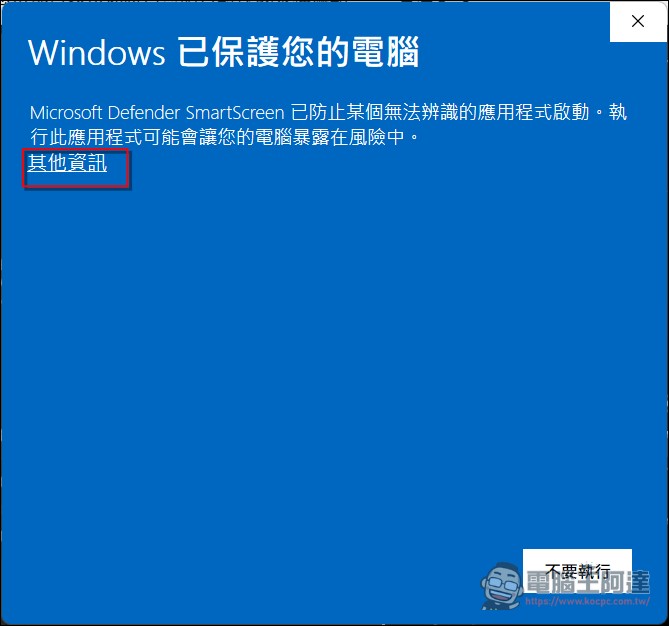
After you download and run the installer, a warning will pop up. Click “More info,” then choose “Run anyway” (I scanned it and it’s clean; unless you downloaded from the wrong URL, don’t use it if you’re worried):
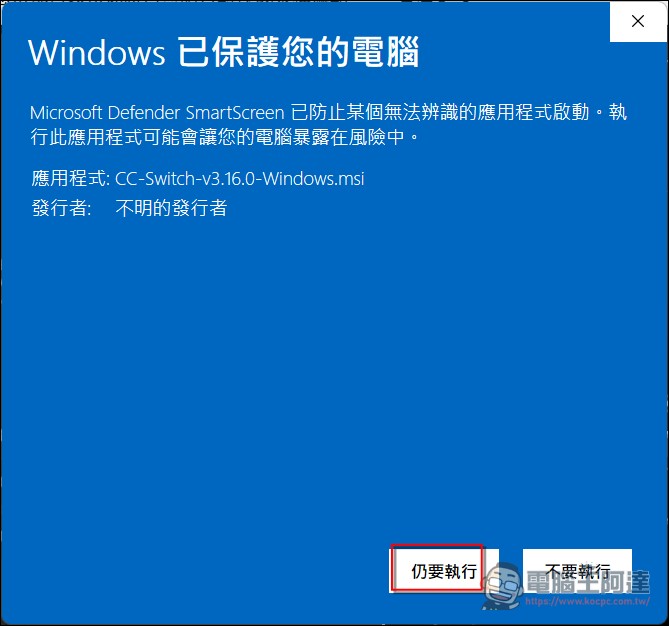
Actually, I had this post half-written half a month ago, but then an error popped up with cc switch after a Claude update. It was only fixed in the update these past two days, so it’s been quite a bumpy ride. Claude Code could already be modified manually, and cc switch simplifies that process a lot. It also supports various applications, so I find it quite convenient. But if you’re worried, just don’t use it.
Configure Token Plan in CC Switch
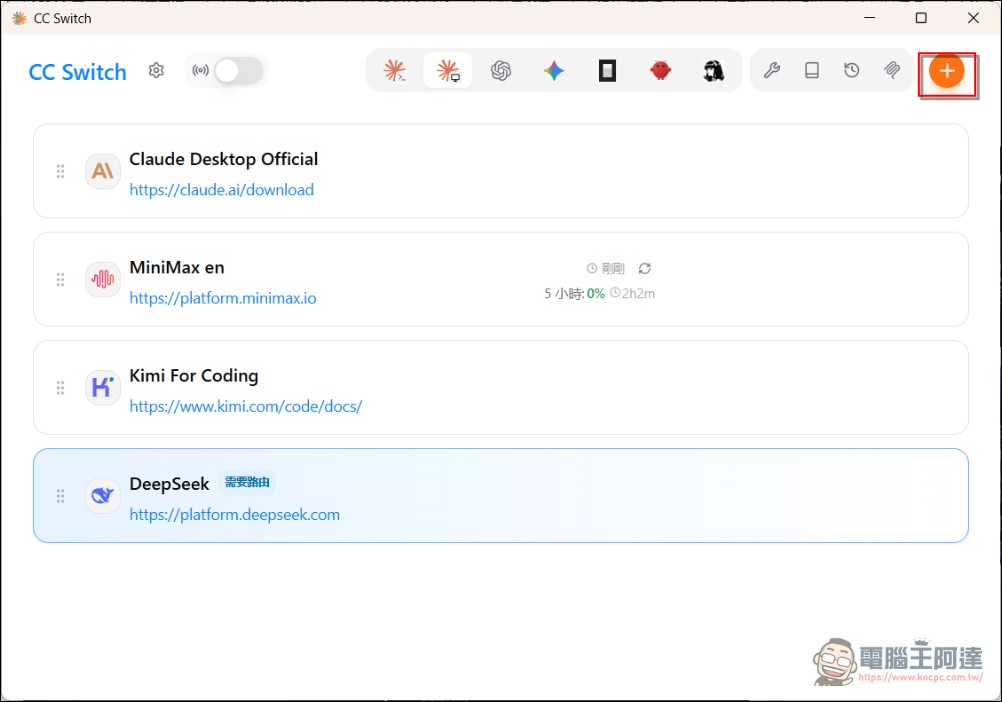
Next, open CC Switch (I recommend closing the Claude App first, and make sure it’s not running in the background either). Select the second LOGO (Claude Desktop App), then click “Add Model” in the top-right corner. The MiniMax, Kimi, and Deepseek models listed there are all models I’ve tested and confirmed working:
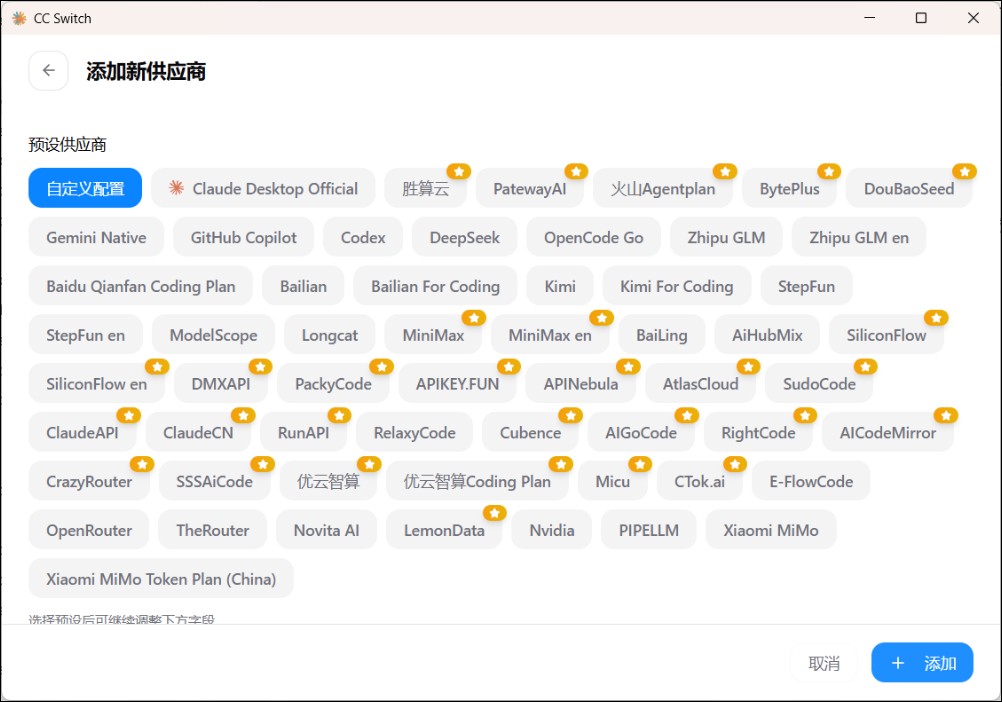
In the provider selection, you will find current mainstream model providers (such as Openrouter, Deepseek, or the recently price-reduced Xiaomi Mimo). Simply fill in the name, API endpoint, API key, and model name, then save. Here, we’ll use Xiaomi (Xiaomi MiMo) as an example.Application tutorial: see this postIts model is slightly better than DeepSeek V4 and is also a multimodal model with vision, plus it offers a Token Plan for around $5.3 per month, so it currently offers better value than DeepSeek.
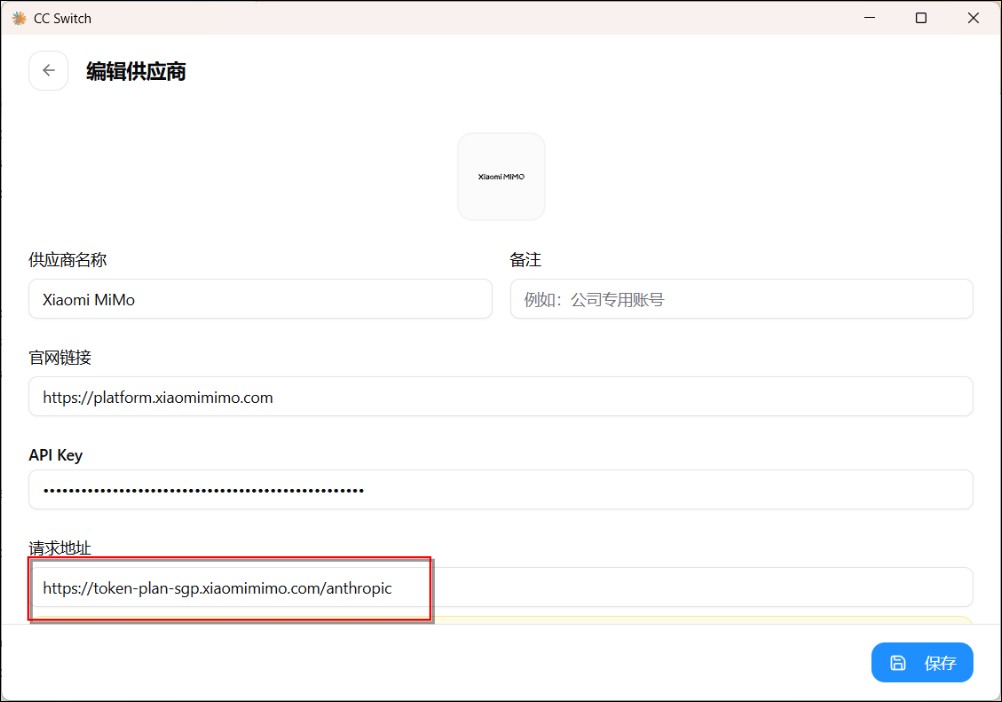
The Xiaomi MiMo API settings in the cc switch are incorrect. That is the endpoint URL for a general paid API key:
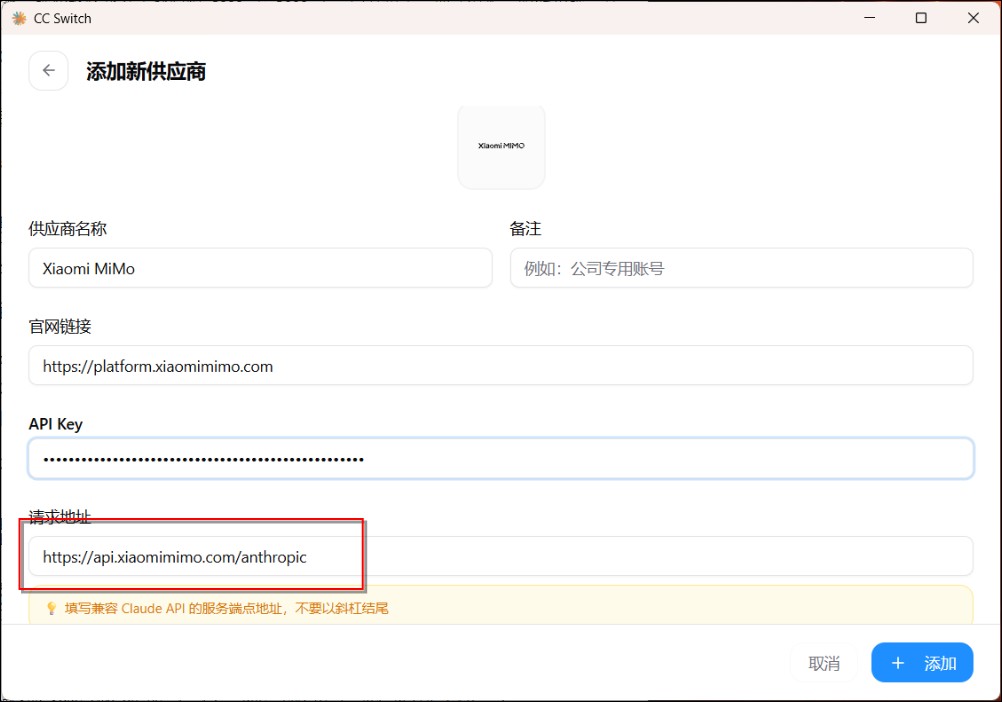
Just set the URLs according to the official documentation. Note that some models, including KIMI, have different settings for the API Key and Coding Plan, so pay attention—quite a few people got tripped up here:
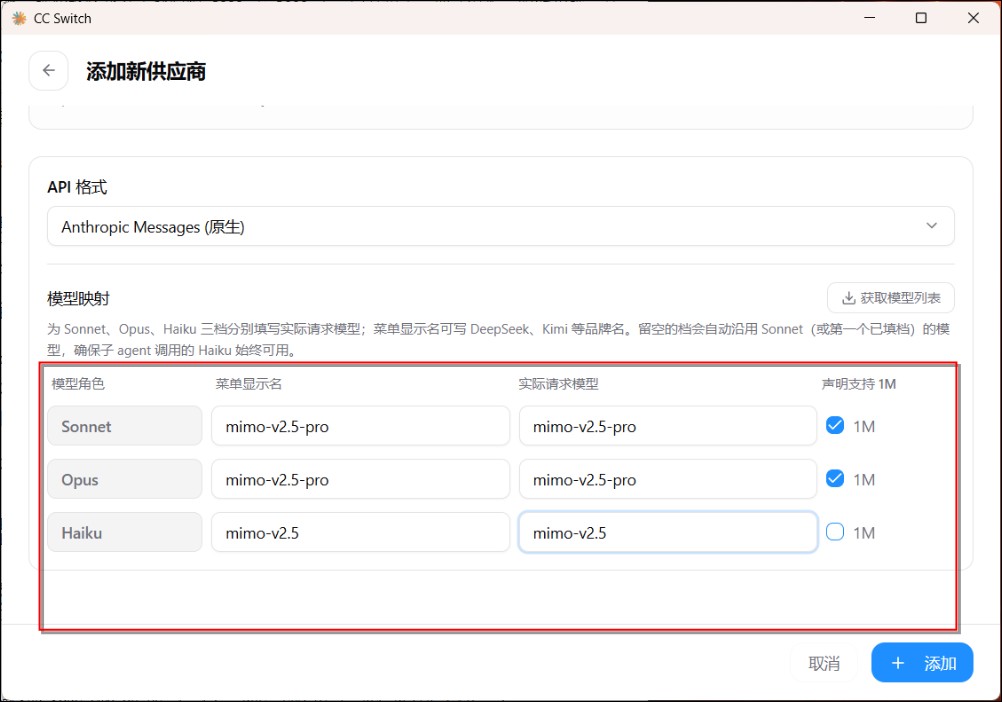
Further down, you can also set the corresponding models. Claude Code offers three model tiers: Opus, Sonnet, and Haiku, and here you can customize which third-party model provider’s models they map to. Once everything is configured, click “Add” to save:
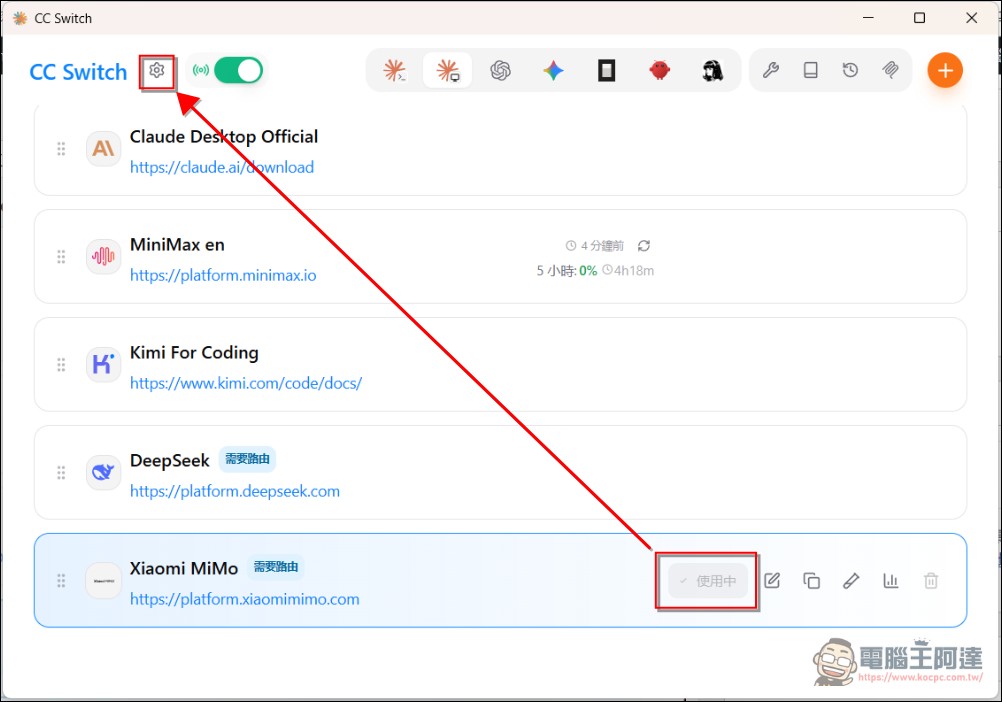
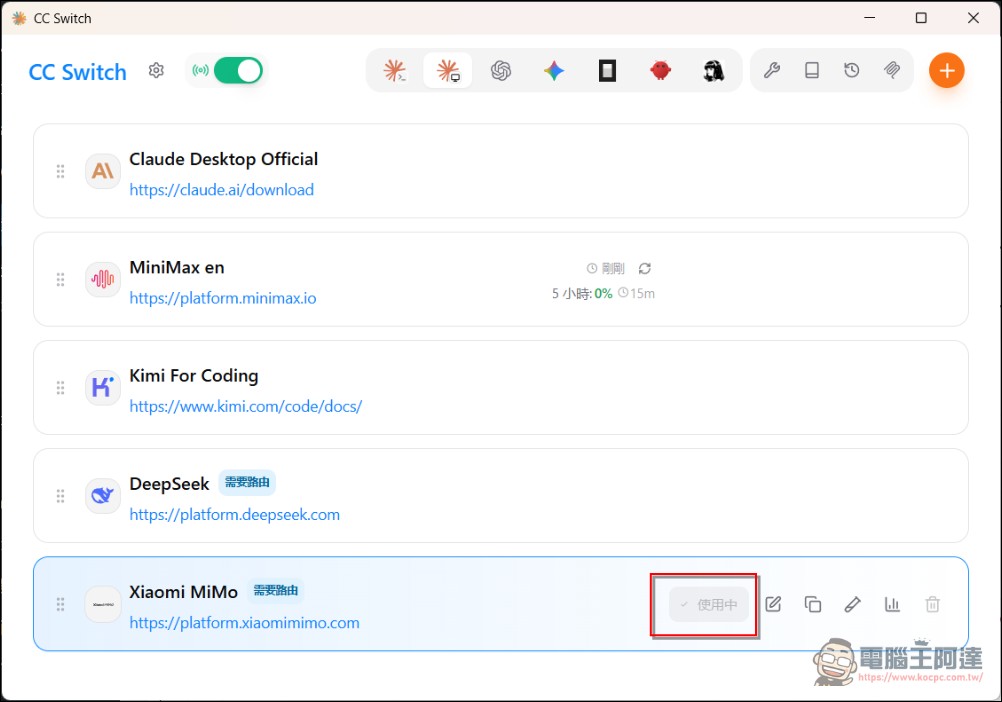
This adds an extra Xiaomi model. Normally, you can just run it to enable it. However, if you see “requires routing” in your model, click Settings first:
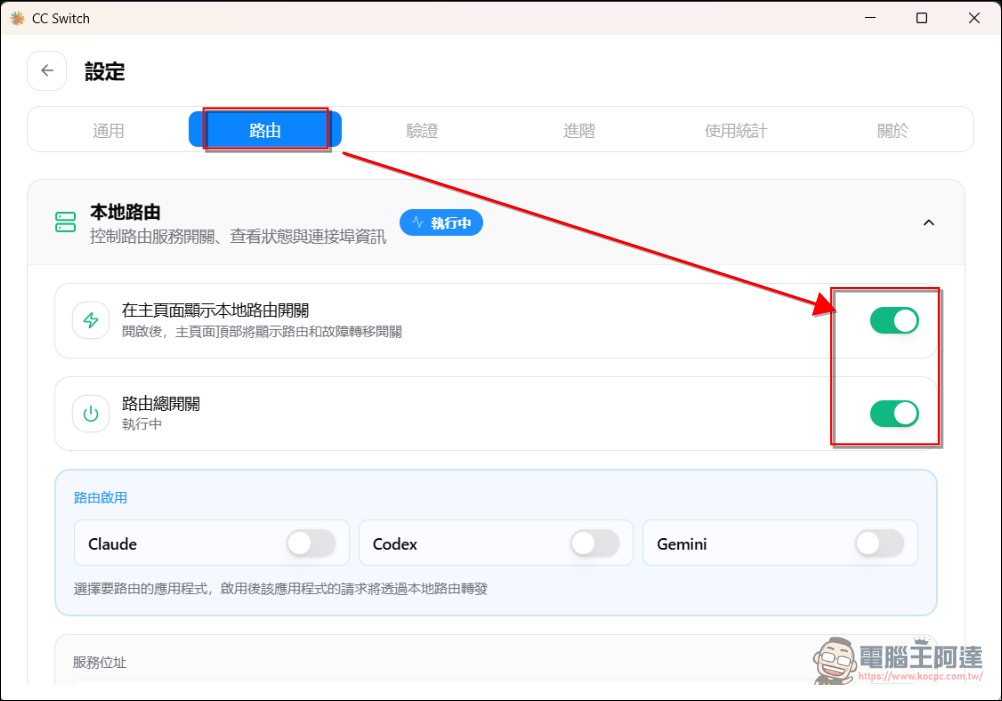
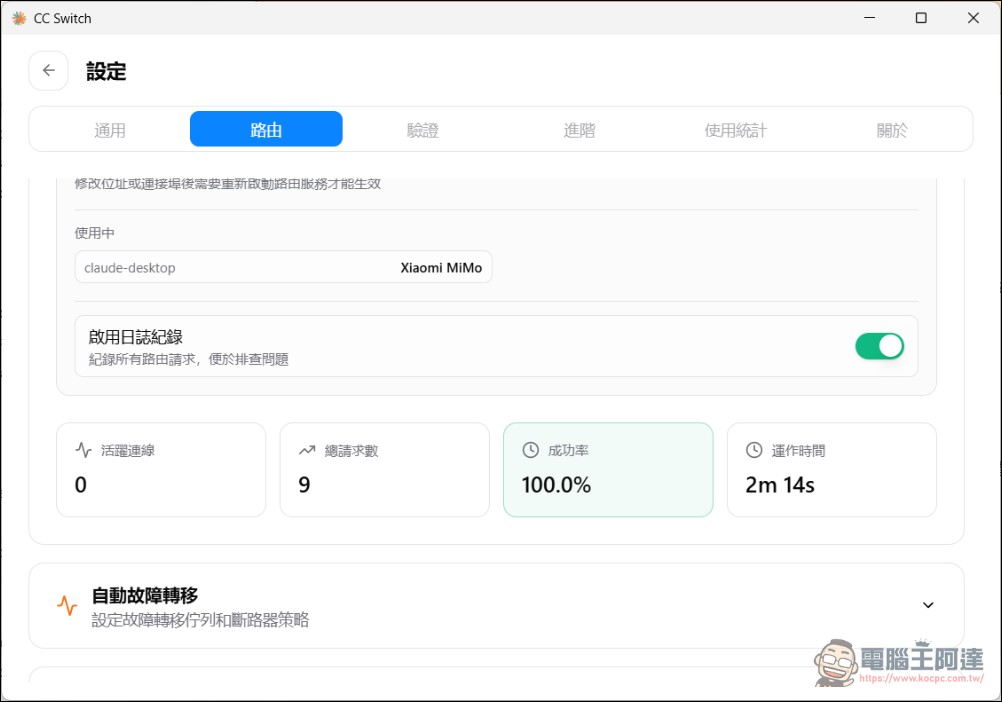
Switch to “Routing” and turn on the two toggles in “Local Routing”; then you’ll see cc Switch is using Deepseek:
Launch Claude Code
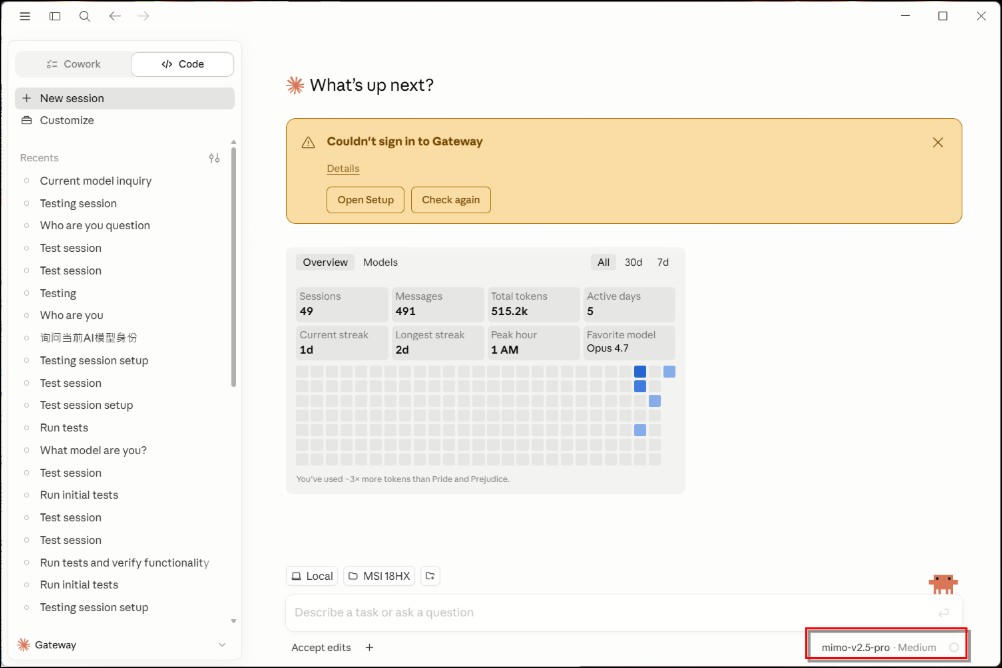
While cc switch is running, open Claude Code again and you’ll see the model in the bottom-right corner has already changed to MiMo V2.5 Pro:
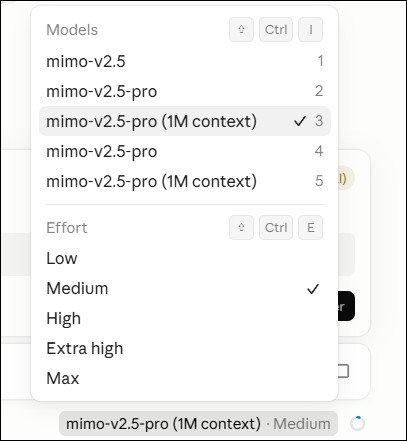
You can also switch to other models in the same series to save tokens:
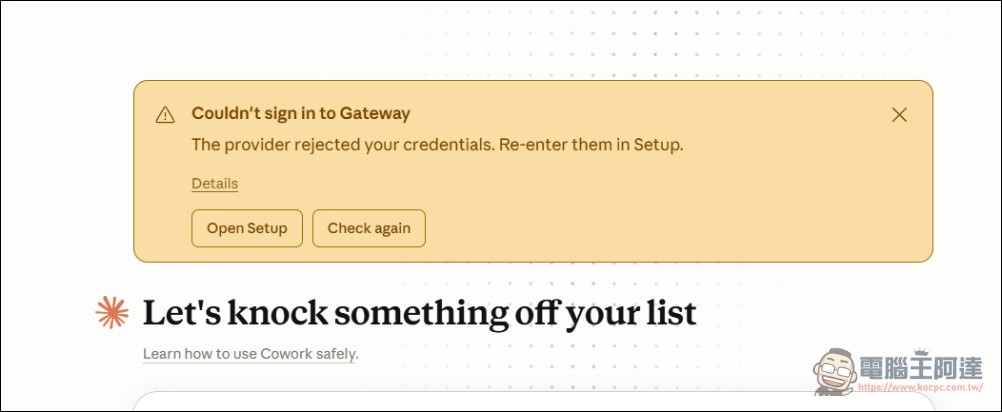
You can ignore the message shown above; it won’t affect usage, because you’re not actually connected to Anthropic’s gateway:
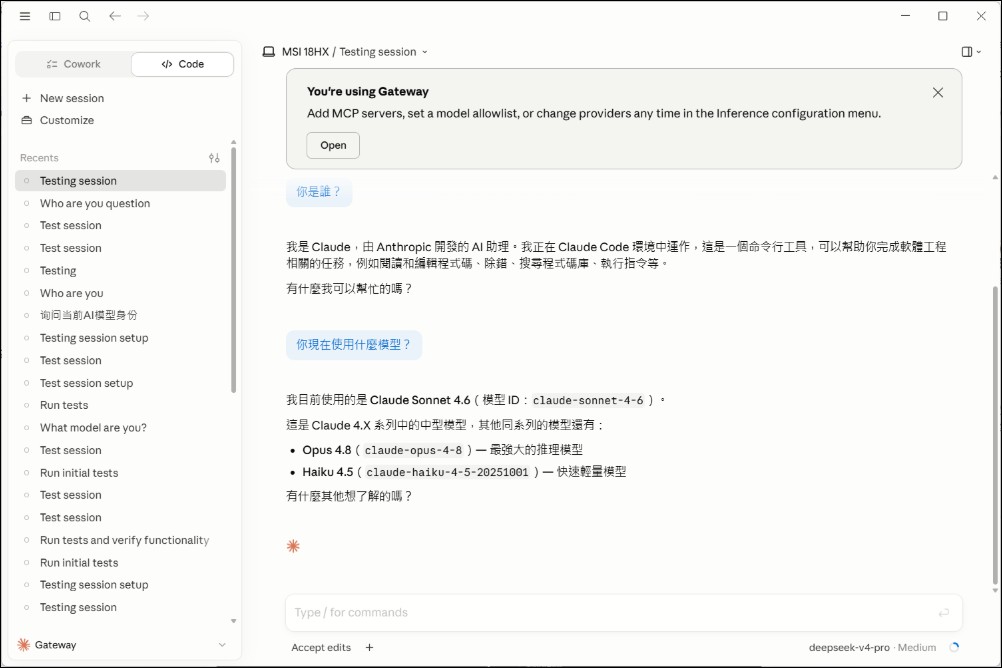
If you ask it which model it uses and it still replies that it uses the Claude model, that’s a standard model hallucination and you can ignore it:
It’s also easy to verify—just open cc switch and check the request count and success rate:
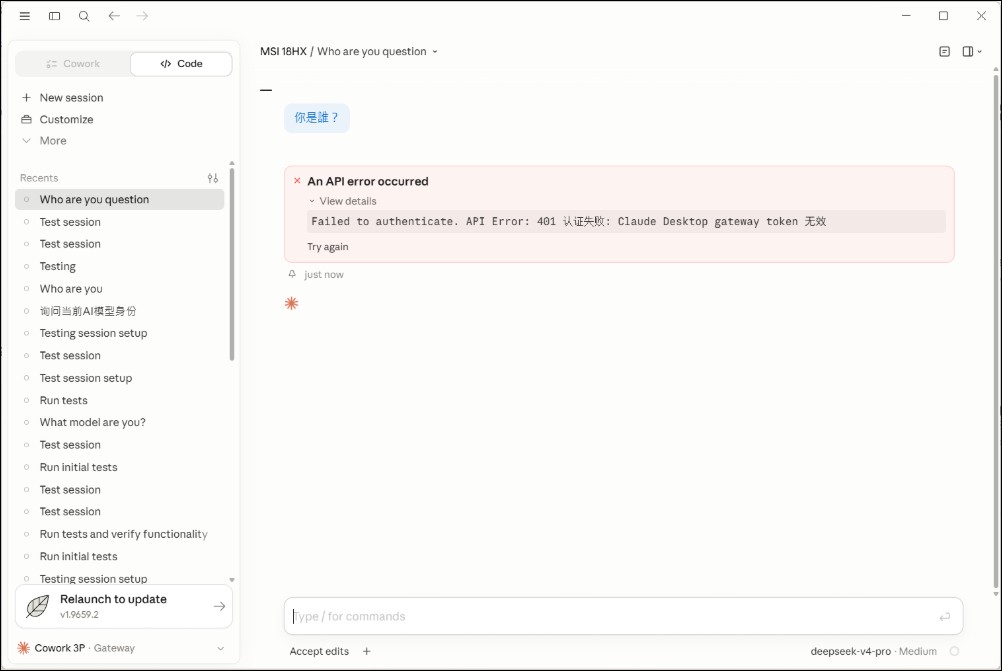
If the settings are incorrect, this kind of error will pop up. In that case, check your settings or ask an AI. Sometimes, with the cc switch turned on, simply click the option in the lower-left corner to log out and log back in:
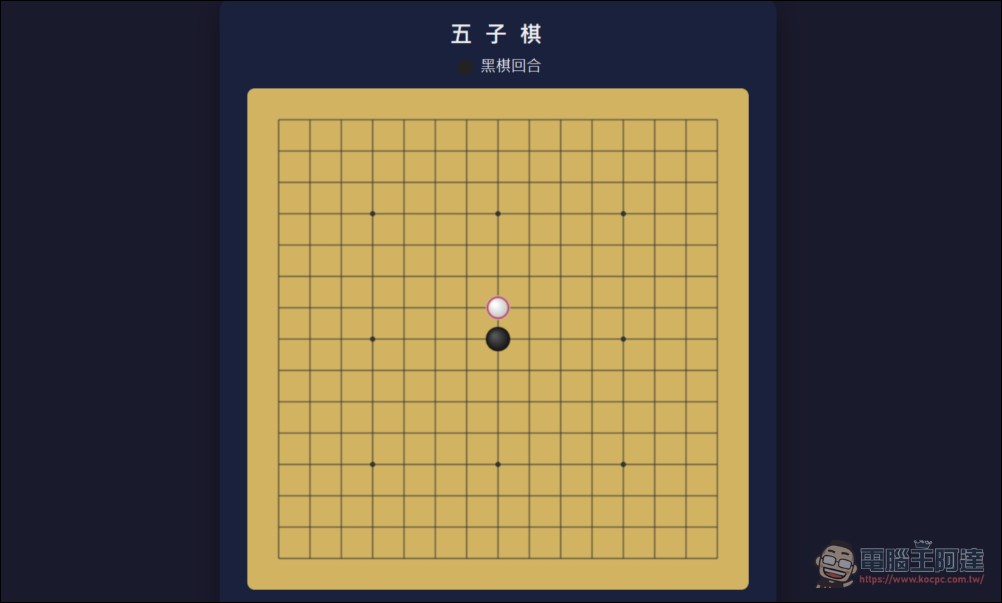
Testing whether MiMo V2.5 Pro works properly, asking it to write a Gomoku game frontend:
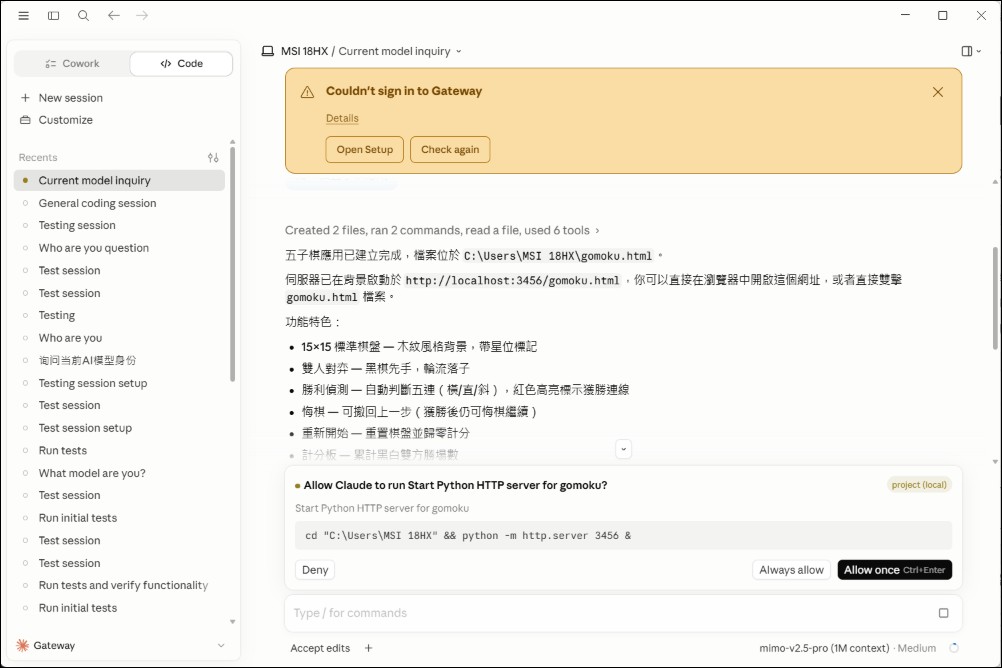
Tested and working; no major issues in usage:
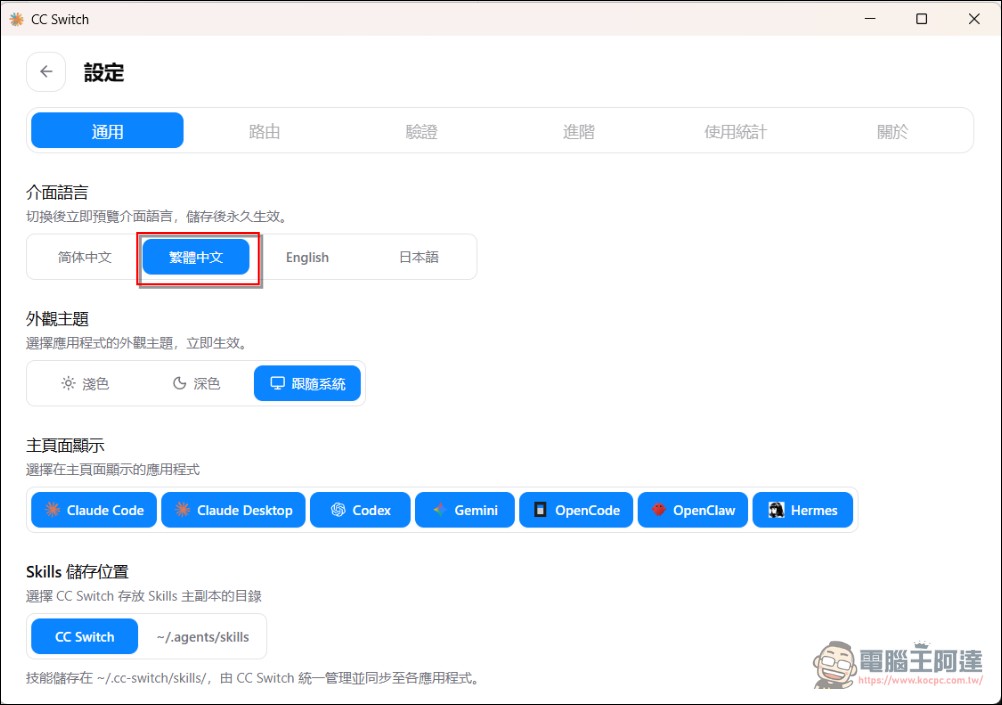
Additionally, cc switch has recently added Traditional Chinese; you can switch the language yourself if needed:
If you want to switch back to the original Claude Code, it’s also very simple: just completely close cc-switch and the Claude App, then restart the Claude App. If that doesn’t work, simply log out and log back in again. Additionally, Claude’s CLI interface and Codex can also use cc-switch—the method is the same: open cc switch first, then launch the relevant application. Also, cc switch actually has many other features, so feel free to explore if you’re interested.
Source: KOCPC Chinese