


It should be used by anyone who is running a website or wants to clear more space.Image compressionIf you haven’t found a useful tool yet, the “SHORTPIXEL” introduced in this article is a very good choice. It is an onlinepictureFree compression tool, you can use it when you open the website, and you can upload up to 50 images at a time.compressionThe rate is also quite high, and three levels of options are available, allowing you to choose according to your needs.
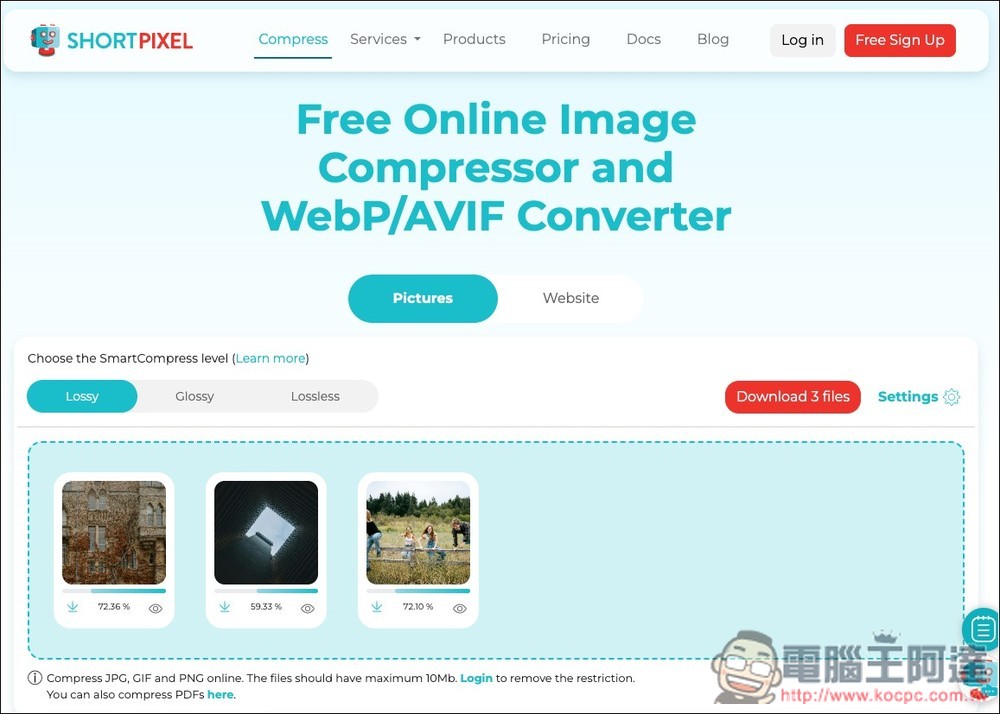
SHORTPIXEL Free Image Compression Online Tool Introduction and Operation Tutorial
SHORTPIXEL is a tool specially designed for website optimizationOnline tools, for many website managers, images can be said to be one of the culprits that slow down web pages, but they are afraid that excessive compression will lead to poor quality. This tool was developed to solve this pain point. Just drag the image to the web page, and it will be compressed immediately through the algorithm. It provides three different compression level options: Lossy, Glossy and Lossless, with a maximum compression ratio of up to 90%.
Main features
- Three compression options: Lossy (high compression rate), Glossy (designed for photographers), and Lossless (lossless image quality) for you to choose from.
- Intuitive visual slider: After the image is compressed, it also provides an instant comparison slider of “original image vs. compressed image”, allowing you to clearly see the difference in image quality, and then download it if you are satisfied.
- Supports mainstream image formats: supports compression of JPG, PNG, GIF and even PDF files.
- No need to register to use: You can drag images directly by opening the webpage, no need to register an account.
Go to SHORTPIXEL Free Image Compression Online Tool
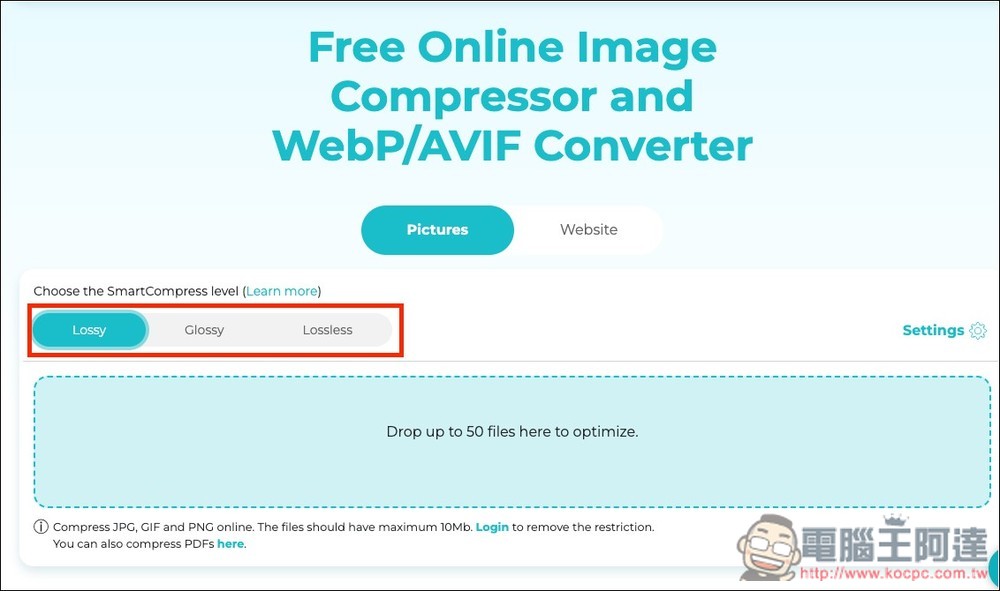
After clicking the link above to enter SHORTPIXEL, you will enter the compression tool. First select the compression method you want. It is recommended to try Lossy first, which has the highest compression rate. If you feel that the image quality is seriously affected, then change to Glossy or Lossless:
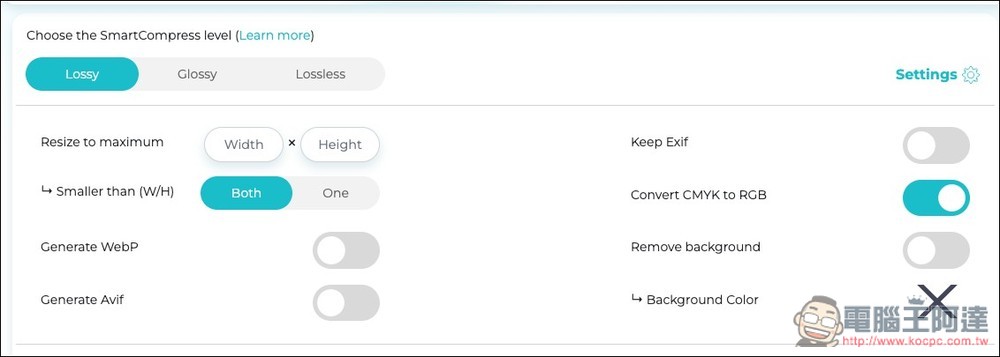
The Settings on the right also have some setting options, such as whether to resize, generate WebP or Avif, retain Exif, convert CMYK to RGB, remove background, background color, etc.:
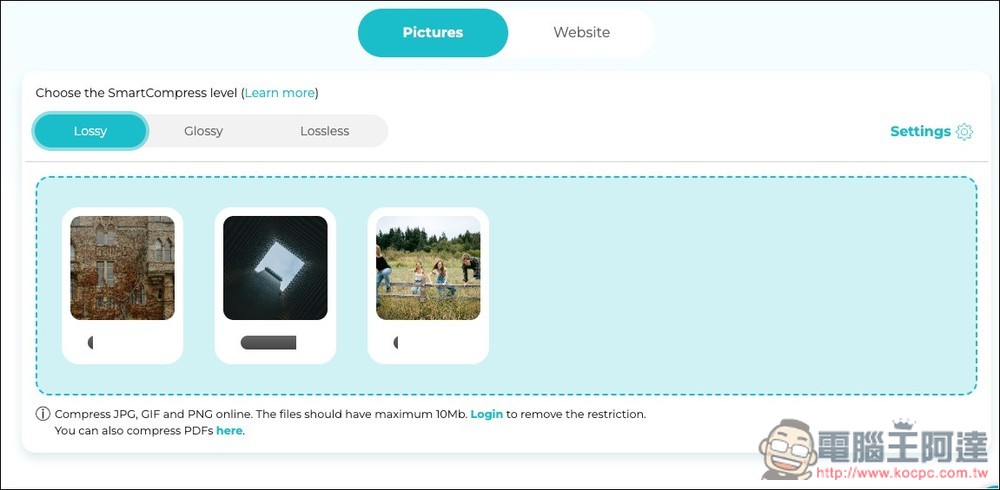
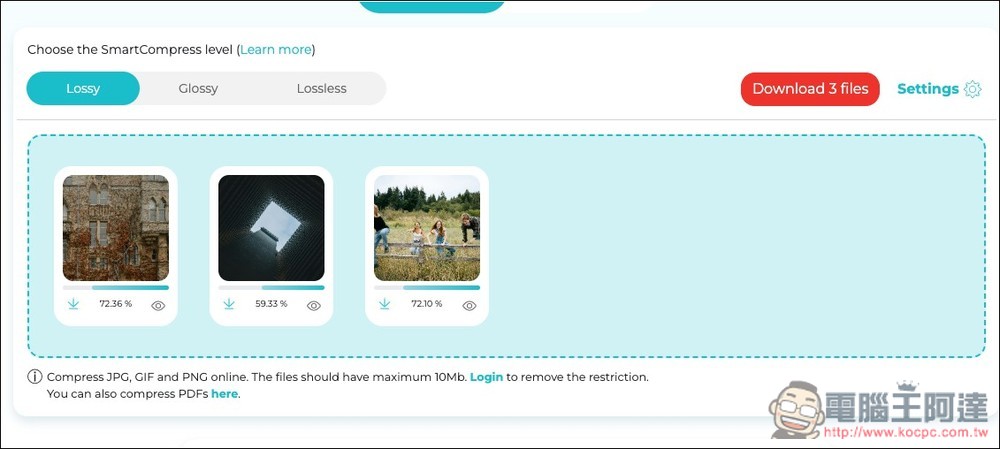
Then you can drag in the image you want to compress. It supports JPG, GIF and PNG formats. The maximum size of a single image is only 10MB. Compression processing begins directly after dragging, without pressing any keys. Compression takes a while:
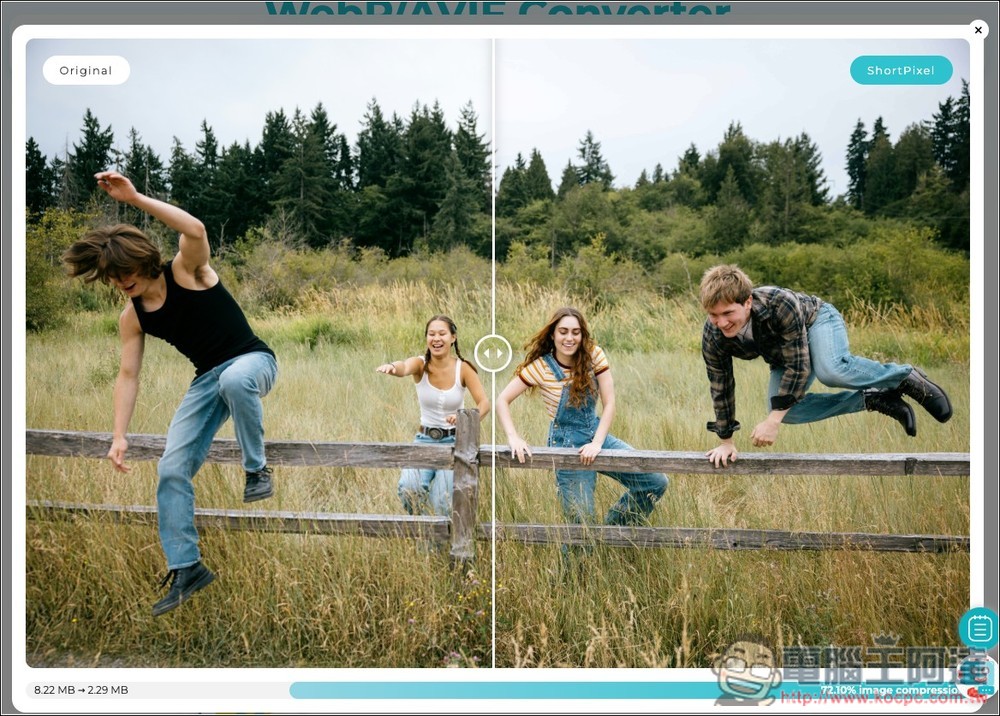
After compression, the compression percentage will be displayed below each picture. Press the eye icon on the lower right to browse the difference before and after compression:
You can slide the slider in the middle to view it. Even Lossy, which has the highest compression rate, will only damage the image quality a little. You still can’t see the difference in this size. You have to enlarge it to a very large size to see it. In addition, the original size and the size after compression will also be displayed below. For example, my picture was originally as high as 8.22MB, but after compression, only 2.29MB is left, which is a lot less:
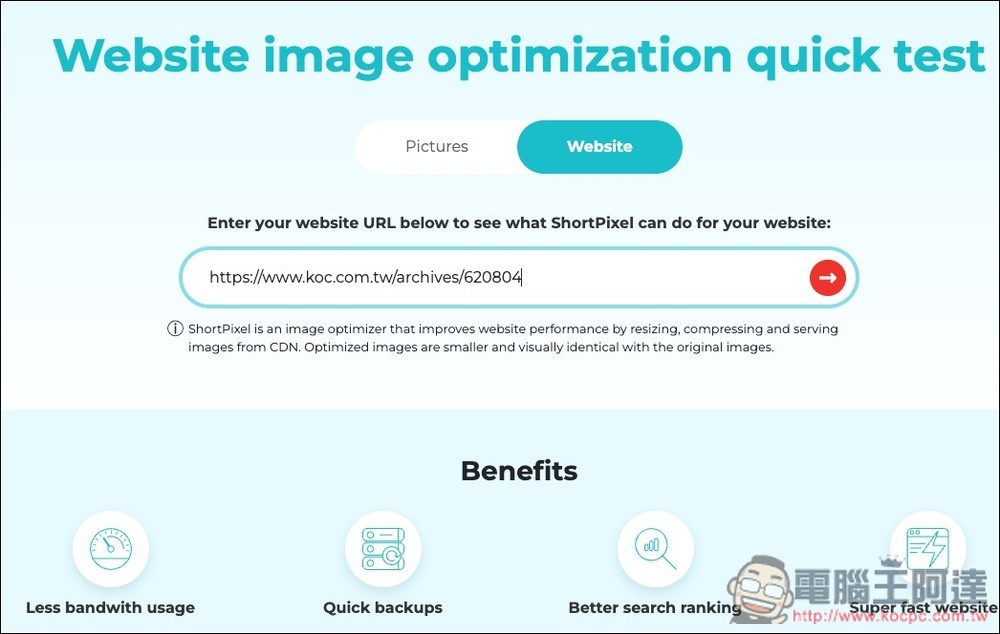
In addition to image compression, it also provides web page detection function. You can paste your URL and let the system scan how much space can be saved if all the images on this web page are compressed:
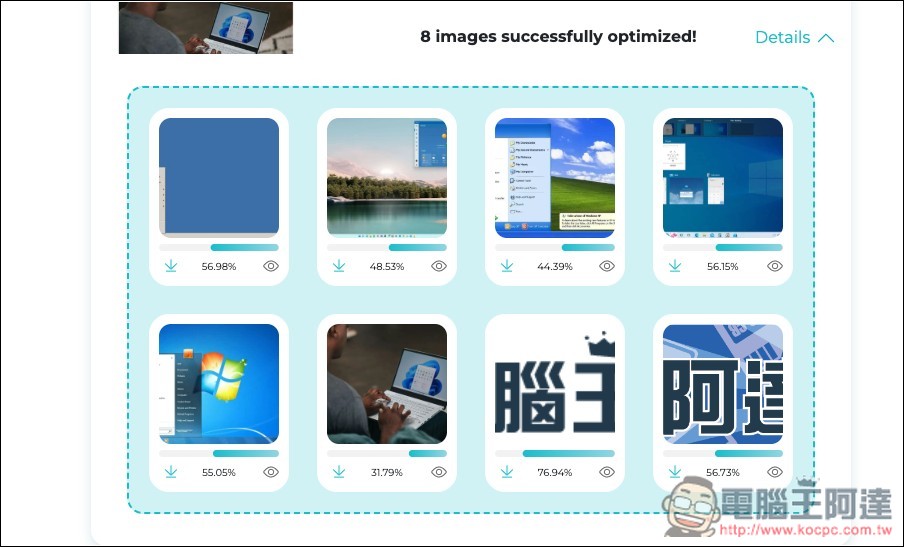
It will tell you how much space can be saved after compressing the image:
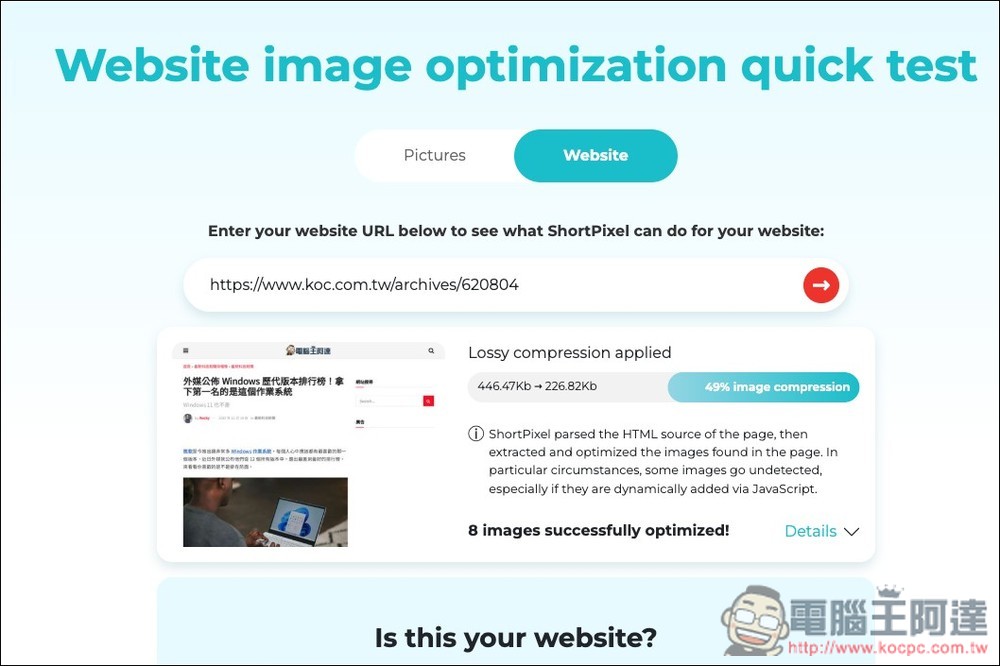
Opening Detail can also check the compression percentage of each image:
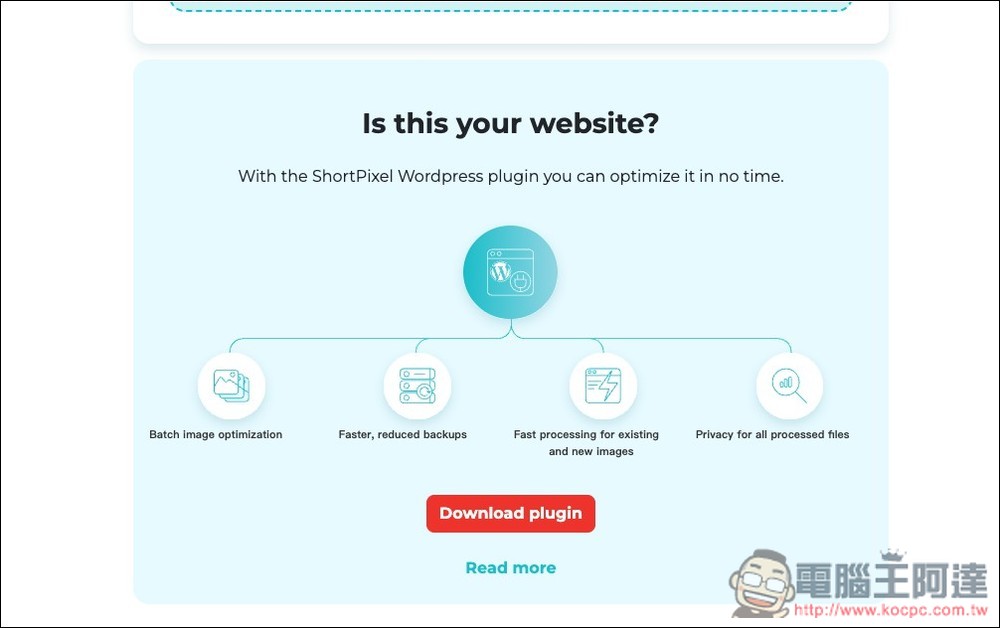
If you think it’s good, you can try their WordPress plug-in:
Source: KOCPC Chinese