


intend toReinstall Windows 11 , you will definitely need to make a USB installation flash drive (or boot disk). If you still don’t know how to make one, this article will sort out 3 methods. In addition to Microsoft’s official media tools, there are also third-party tools, which can remove TPM and memory restrictions, and even allow you to use it without logging in to a Microsoft account. The operation is very simple.
- Further reading:If your computer encounters these 8 problems, it’s time to consider reinstalling Windows 11
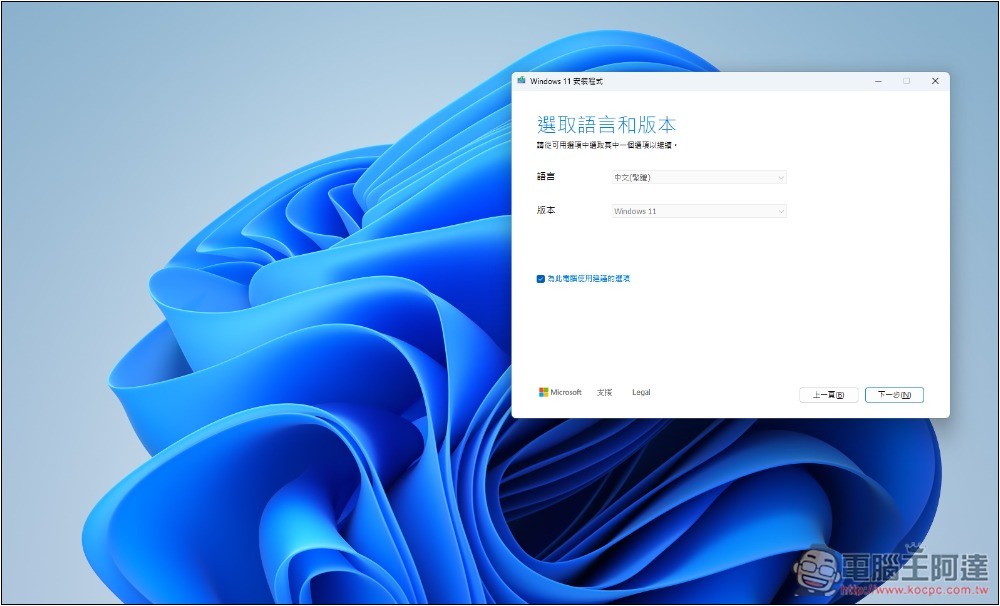
1. Use Microsoft Windows 11 Media Creation Tool
For those who don’t trust or don’t like to use third-party tools, you can use Microsoft’s official Windows 11 Media Creation Tool, first you need to download it from the official website. After it is completed, open it and you will see this screen. Click next:
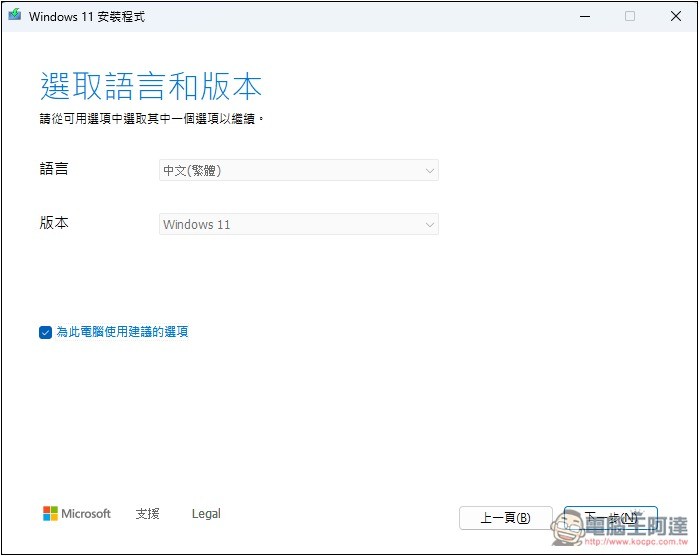
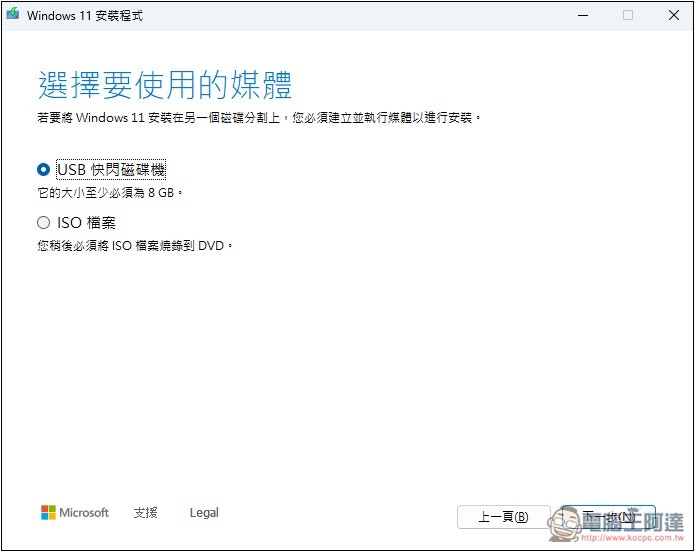
Connect the USB flash drive you want to use to your computer. Remember it must be larger than 8GB. If it is too small, it cannot be installed. Make sure you select a USB flash drive and click Next:
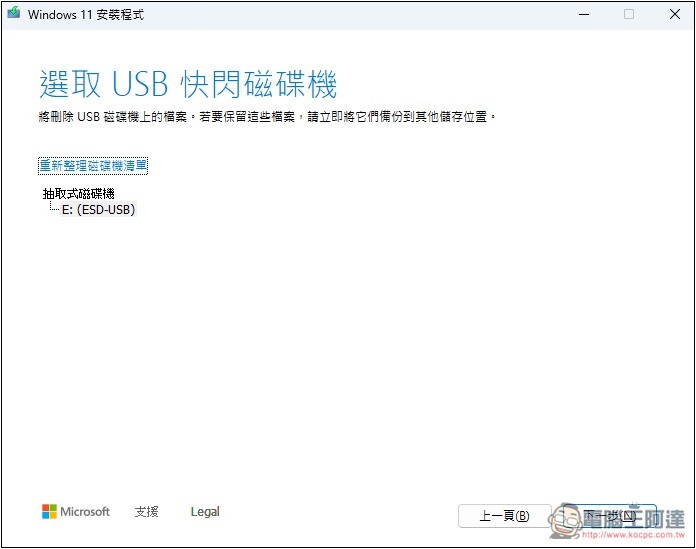
Confirm that the recognized USB is correct. If there is no problem, click Next:
The download of Windows 11 will begin. After the download is completed, it will be directly created into a USB installation drive. Just leave it and wait:
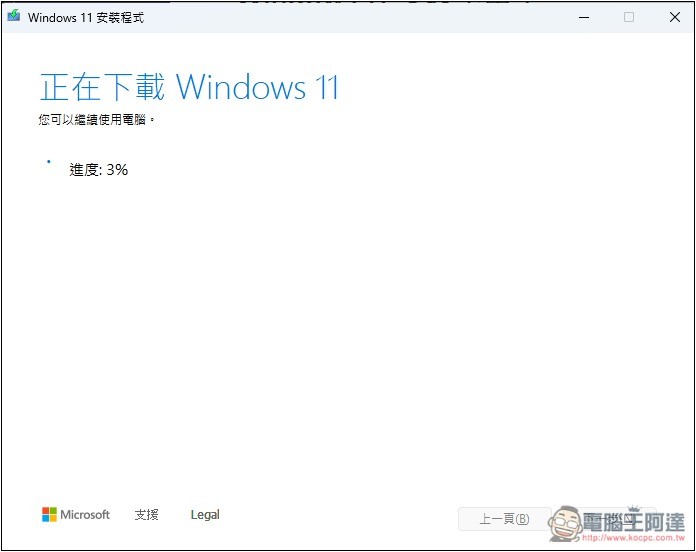
When everything is complete, the Windows 11 USB installation drive is created and you are ready to start repriming.
2. Use Rufus Free Tool
Rufus is my most recommended among the three methods. It is a free tool that can be set in more detail and can remove many Windows 11 restrictions, such as TPM, memory, Microsoft account, automatic creation of local accounts, etc., and you do not need to prepare the Windows 11 ISO file first, you can also download it through it.
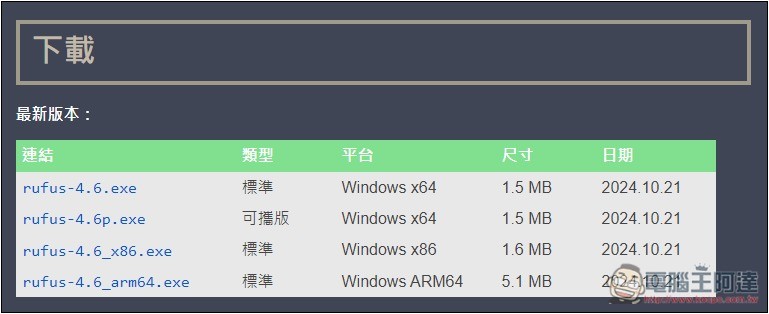
arrive Rufus official websiteDownload the version you need. It supports X64, X86 and ARM. X64 also provides an installation-free version (portable version). I always use this one:
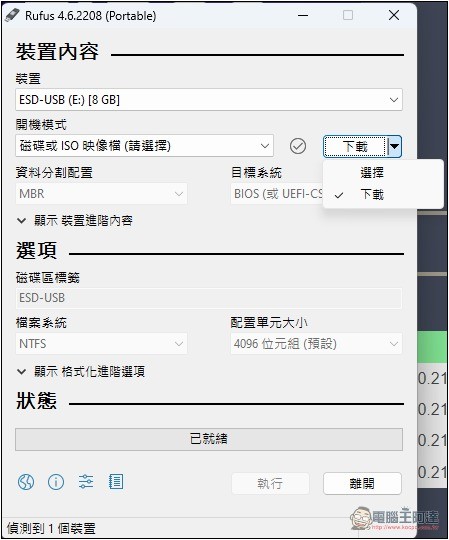
After opening the Rufus tool, if you have the Windows 11 ISO file, you can select it directly. If you don’t have it, switch to download:
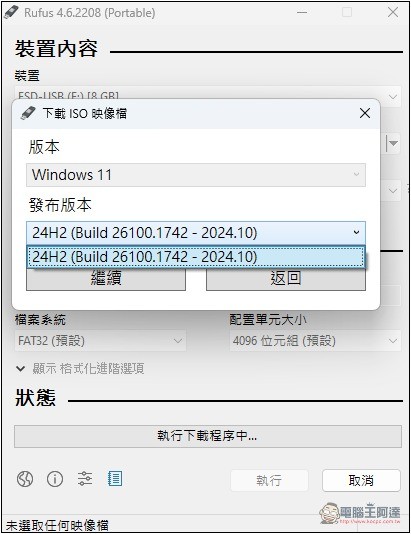
After pressing download, a screen will pop up allowing you to select the ISO image file version. Select Windows 11:
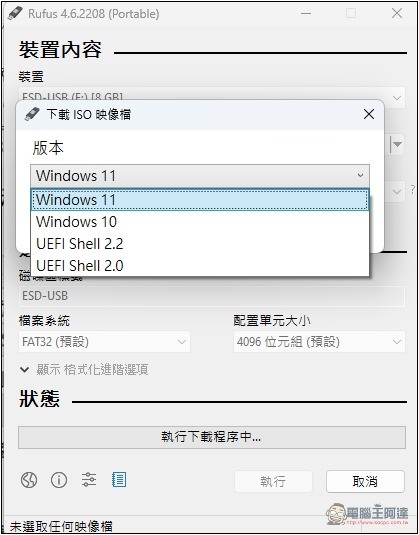
However, Windows 11 can only download the latest version. When writing the article, it was 24H2. There is no way to download earlier versions, such as: 23H2, 22H2:
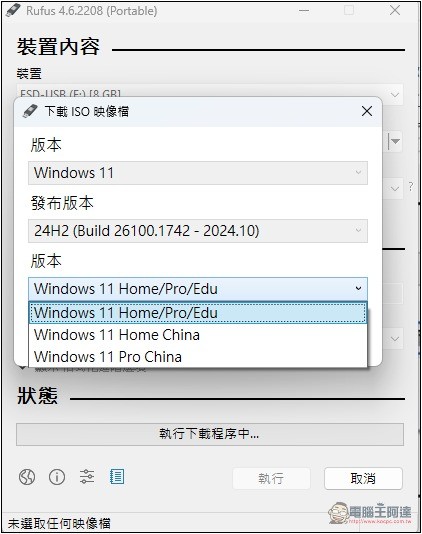
Choose the version you want, basically choose the first one Windows 11 Home/Pro/Edu:
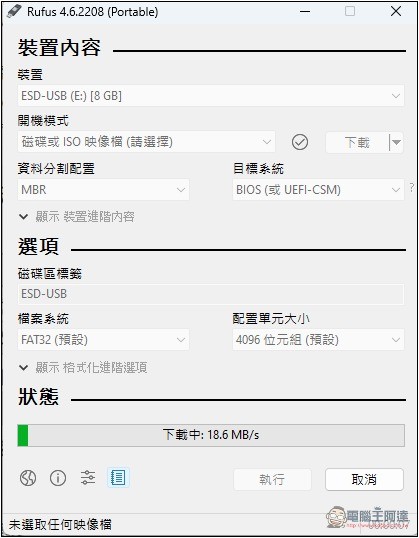
The download will start. You can refer to the status bar below. The speed is quite fast:
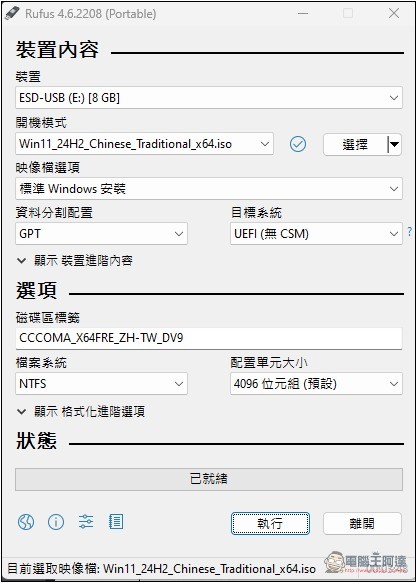
After downloading, there is no need to adjust, just press execute:
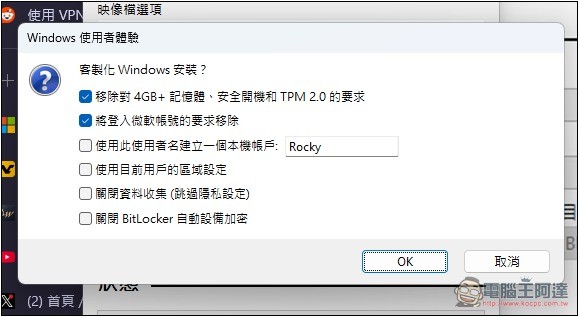
The Windows user experience screen will pop up. By default, 4GB+ memory, secure boot, TPM 2.0, and Microsoft account login requirements will be removed. If you don’t want to remove it, remember to uncheck the previous check. The options below depend on whether you need them. If so, check the box and press OK to start creating a USB installation flash drive:
3. Use UNetbootin free tool
UNetbootin Although it is a free “Live USB” tool for creating Ubuntu or other Linux distributions, it also provides the function of manually selecting ISO files, so it can also create a Windows 11 USB installation drive.
First of all, you must have the Windows 11 ISO file. Those who don’t have it can download it from Microsoft’s official website.
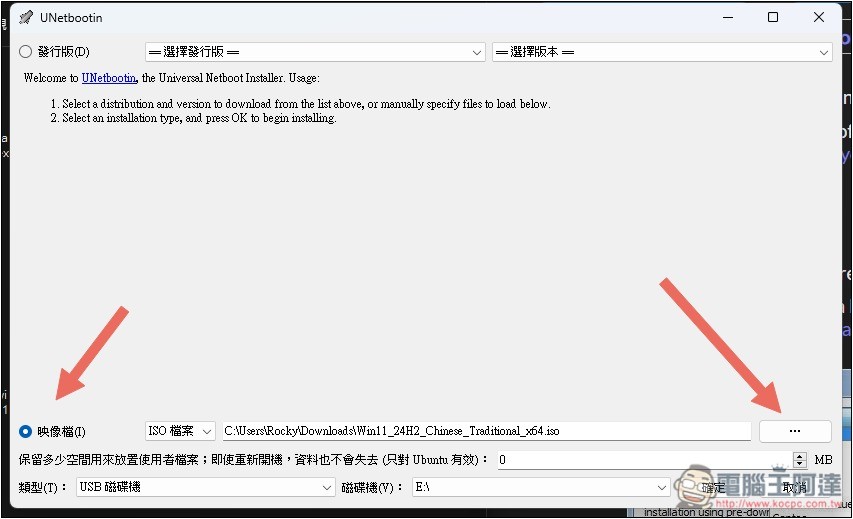
After opening UNetbootin, select “Image file”, click next to… to read the Windows 11 ISO file, confirm whether the disk drive is your USB code, and click OK if there is no problem:
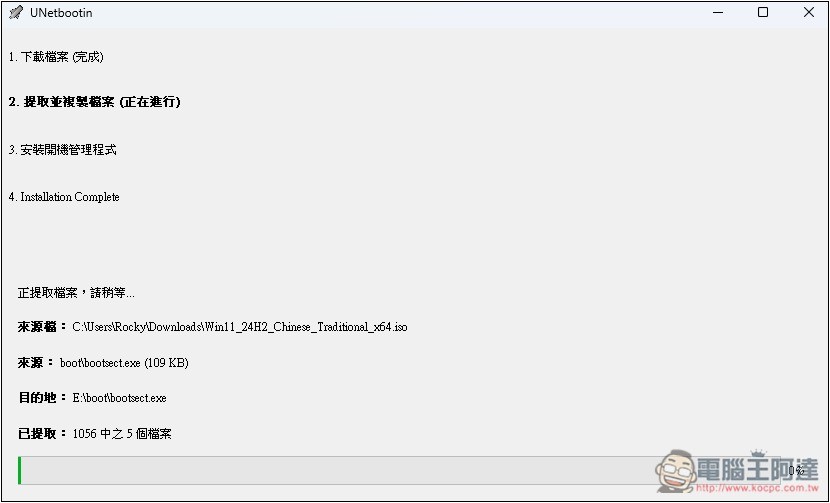
The production will start and will be completed after running:
Source: KOCPC Chinese