


Recently, Aiarty company launched a new Aiarty Image Matting software, which focuses on “cutting out images”. Simply put, it uses an AI model to achieve the effect of one-click removal + self-replacement of backgrounds. It also has a built-in magnification function that can enlarge images with lower resolutions in a near-destructive way.
In order to celebrate the launch, we are currently launching a 10-day limited free event for Aiarty Image Matting. Just enter your email address to get the latest version of the registration code. If you don’t upgrade, you can use it for life. The original price of this product is US$109, which represents more than NT$3,500 in the province.
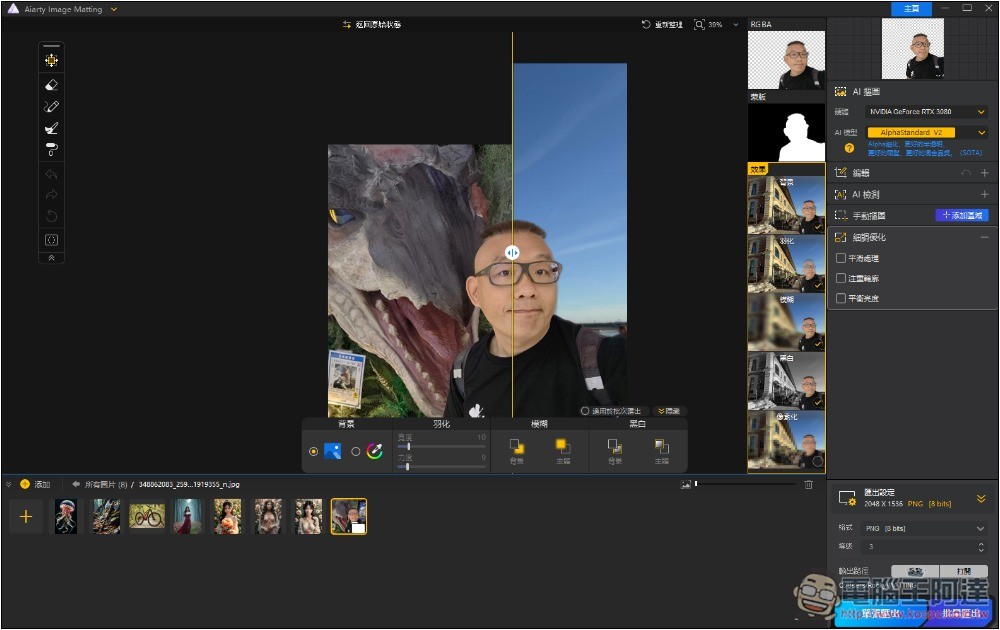
Aiarty Image Matting is free for a limited time, using AI models to achieve one-click background removal + background replacement
Aiarty Image Matting is currently only available for Windows for a limited time. After obtaining the registration code, remember to activate the software as soon as possible. Do not wait until the limited time is over.
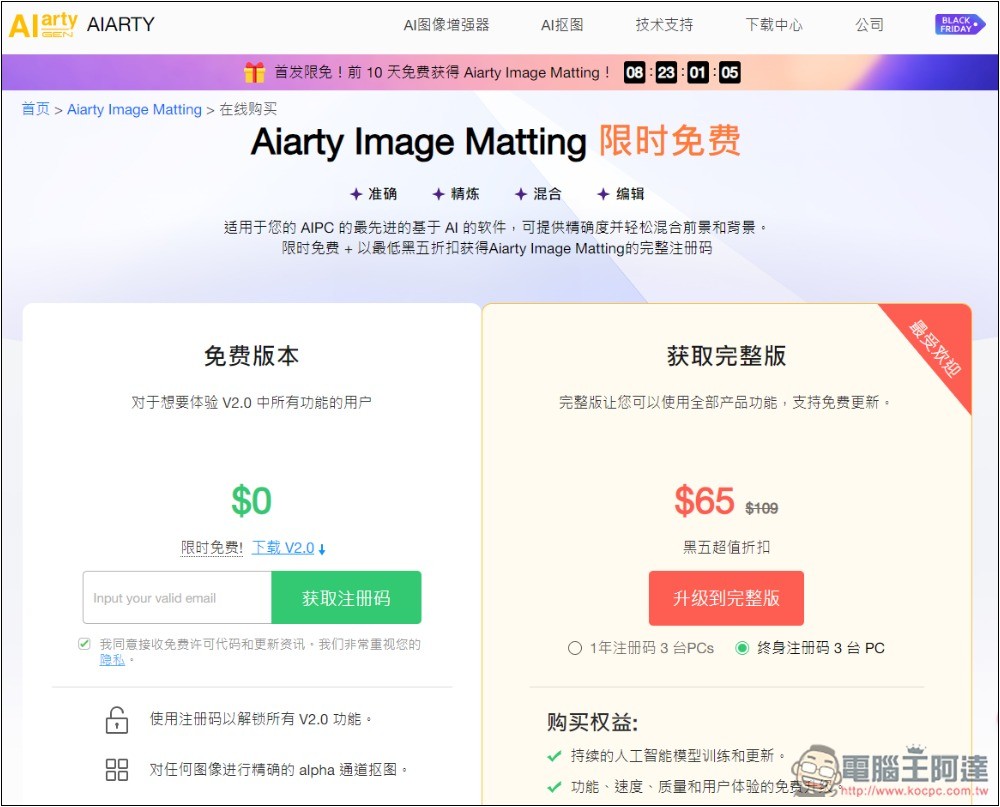
After clicking the link above to enter the Aiarty Image Matting limited free event page, the countdown time will be displayed at the top, and there are currently more than 8 days. Fill in your email on the left and click “Get Registration Code”:
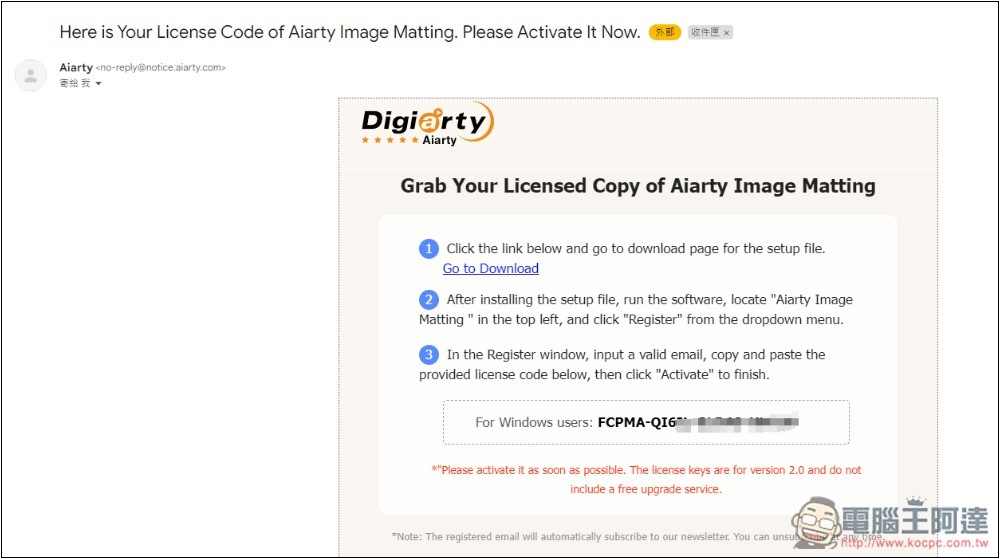
You will receive this letter in your mailbox, with the Windows installation download point and activation serial number:
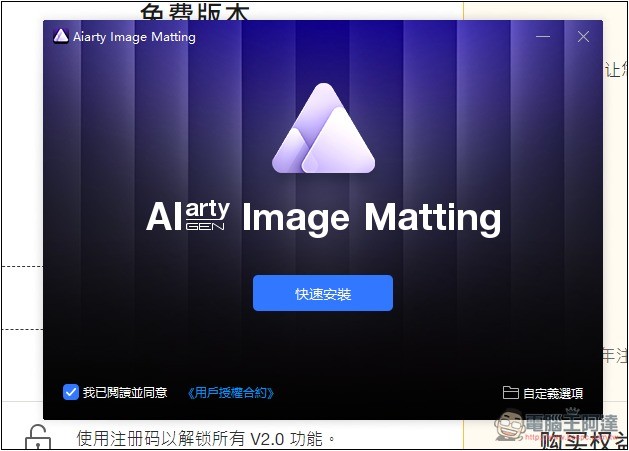
After downloading the installation file, open it and follow the instructions on the screen:
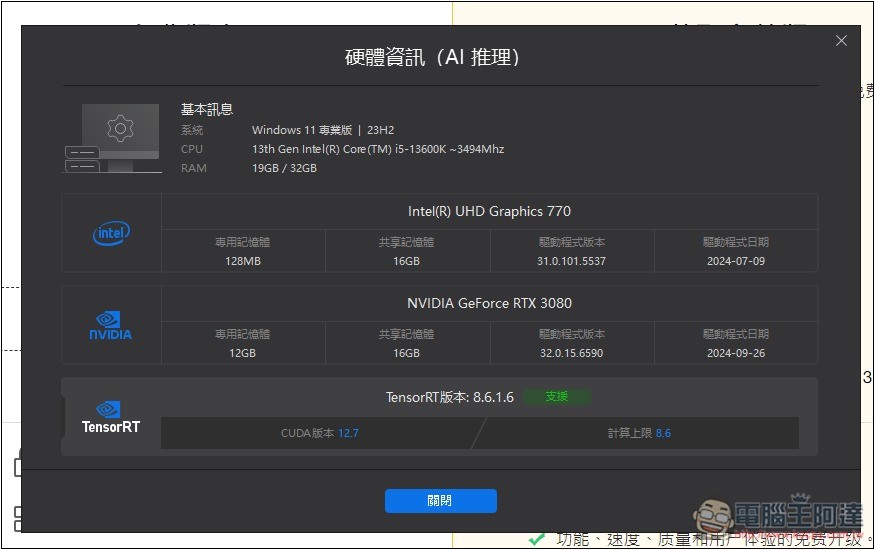
After the software is opened, it will detect the computer’s hardware specifications for the first time. If you are like me and your CPU has built-in graphics or NVIDIA discrete graphics, then it will use the NVIDIA graphics card by default:
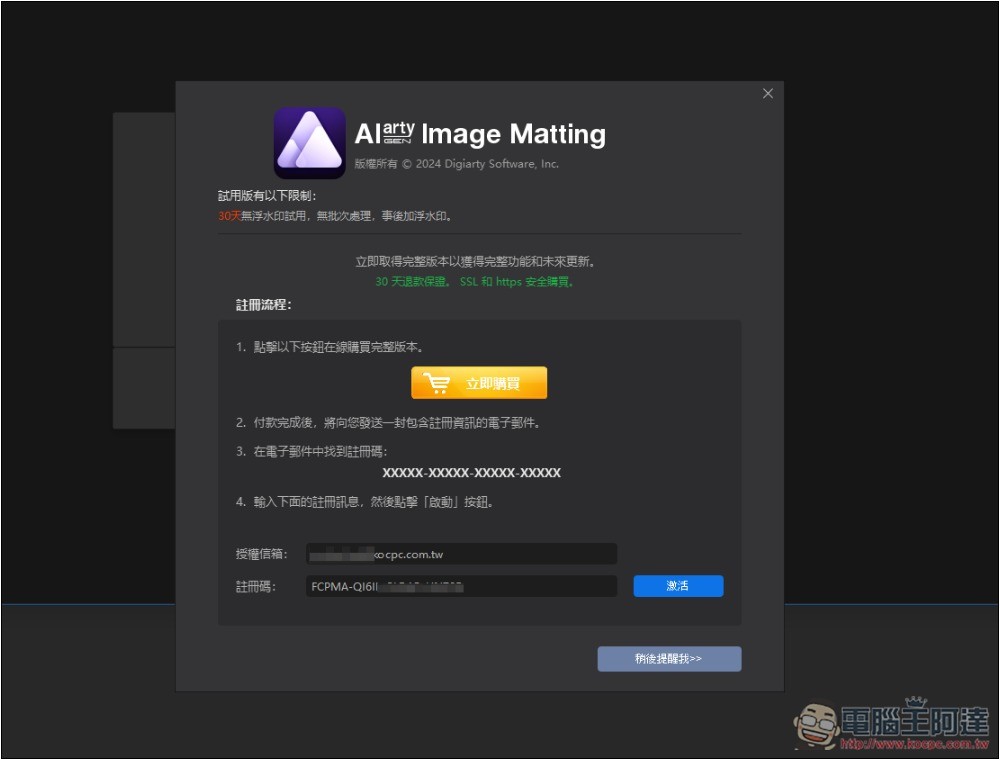
Then enter the registration code and email you just obtained:
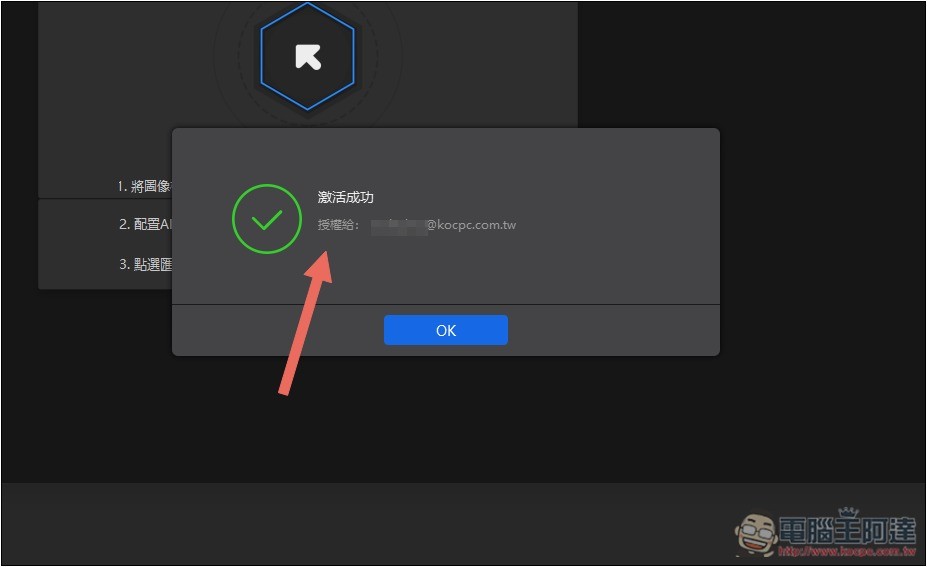
This enabled it successfully:
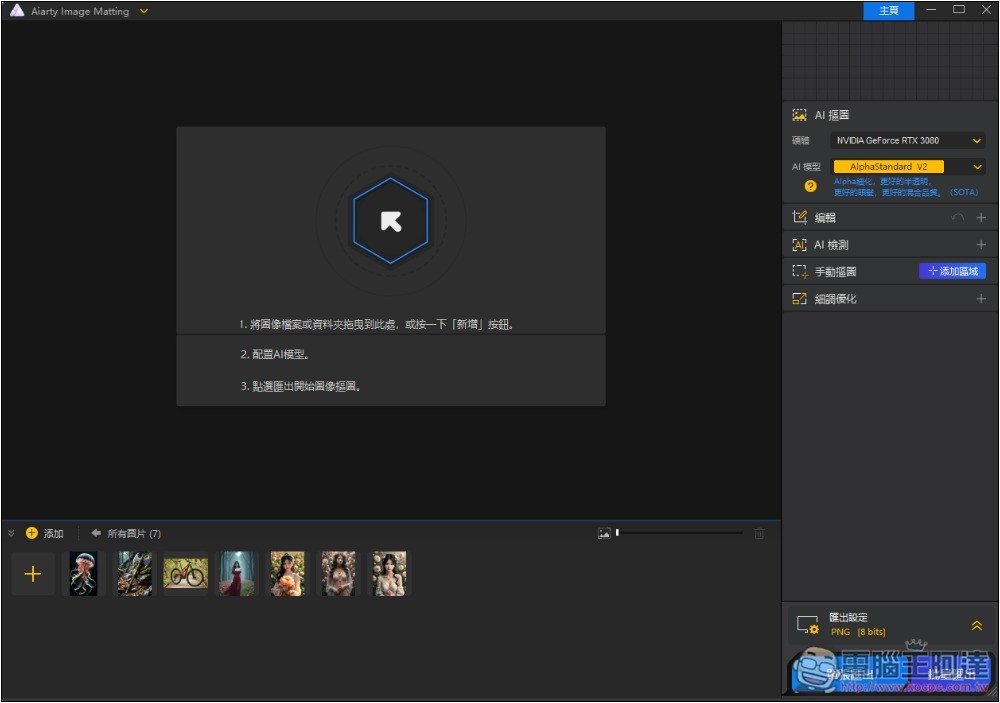
The user interface of Aiarty Image Matting seems a bit complicated, but after actually using it, you will find it quite simple. The first step is of course to throw in the pictures you want to memorize. You can also add them to the picture gallery below:
For example, if I want to memorize the picture of Ada, I need to perform AI reasoning first and press the start button on the lower right:
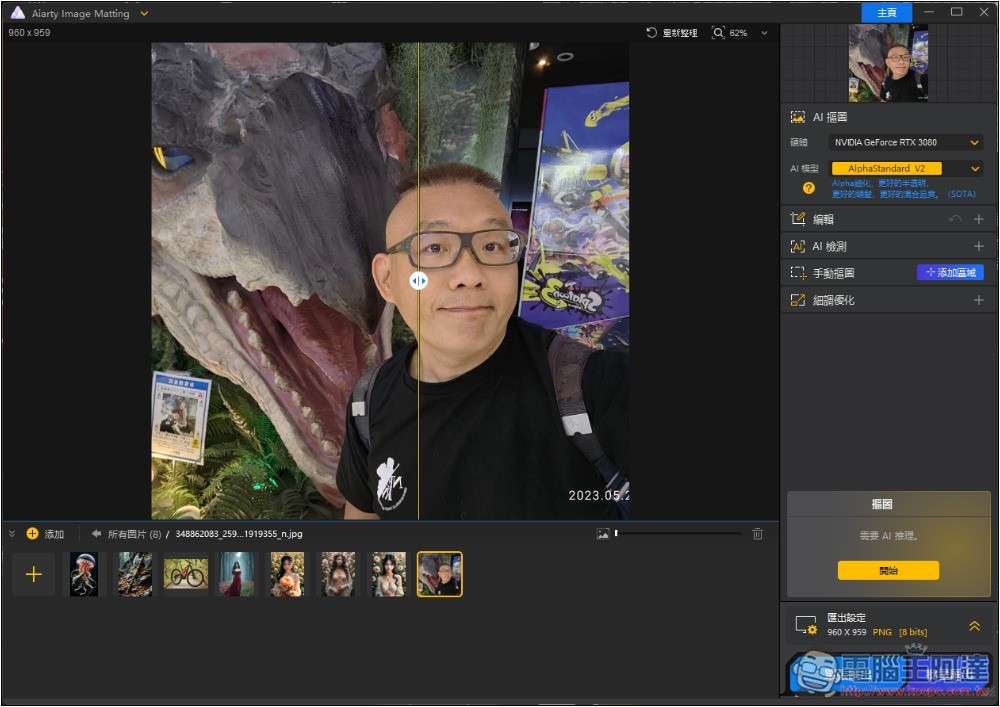
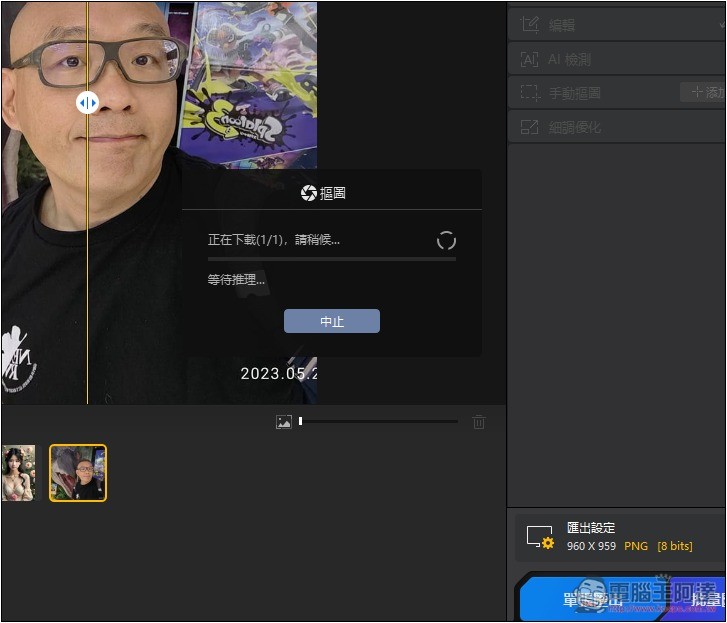
Then wait for it to finish running:
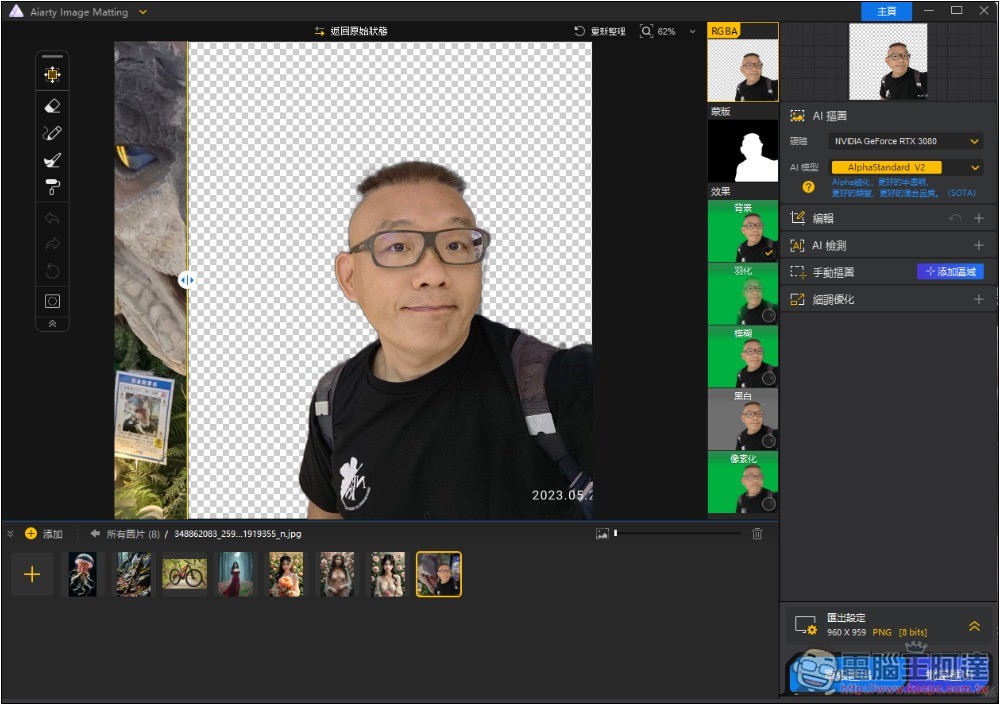
After running, you will see that the picture has been memorized, the effect is super strong, and even the hair has been processed very well. If you want to apply another background image, you can click on the green background image below the effect on the right side of the image:
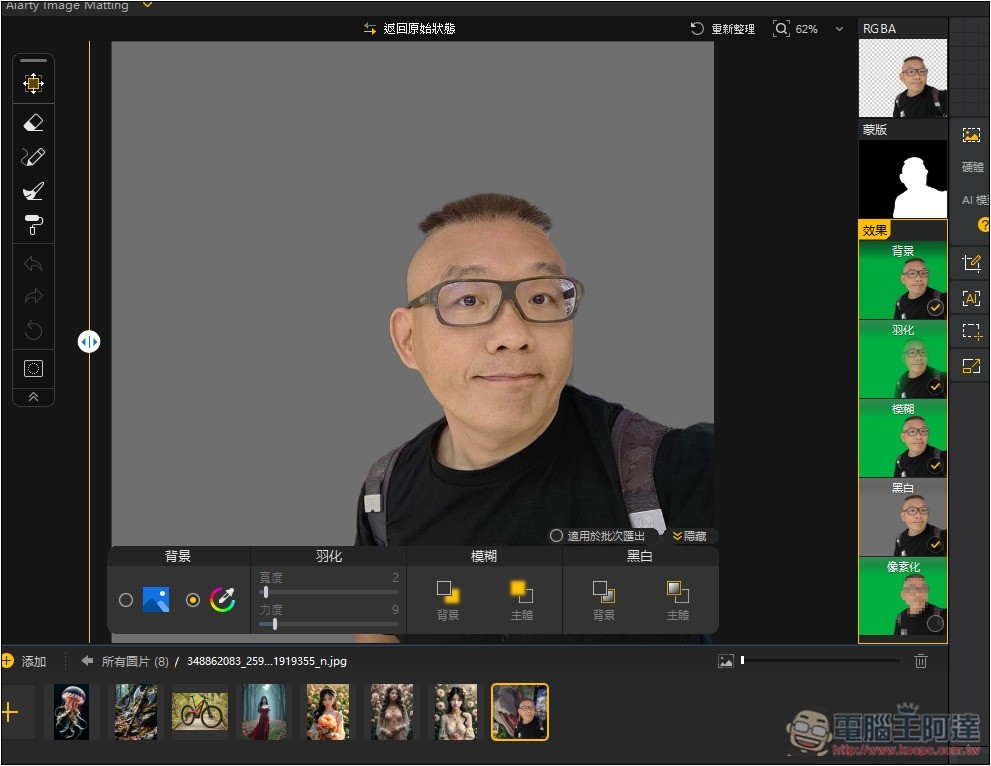
Then a row of toolbars will appear below. On the left is the “Background”. You can use a solid color or upload other images. In addition, you can feather the subject, blur the background or subject, and adjust black and white:
There are three built-in background images. You can apply them directly if you like, or click Browse to upload them manually:
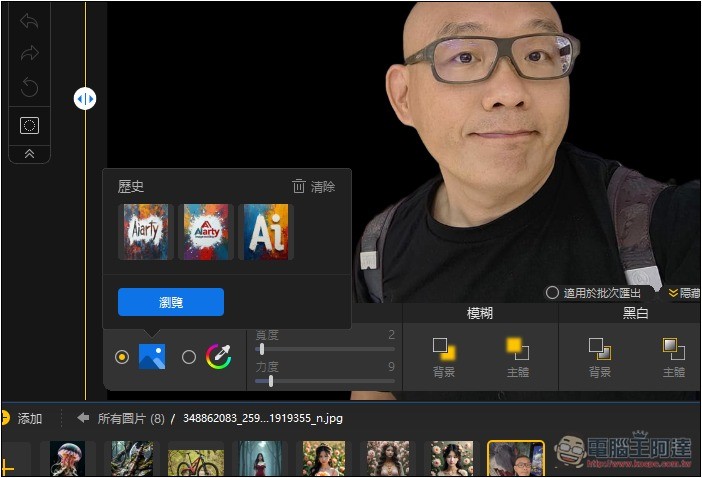
Like this, I used the built-in background image and it was applied immediately. I also set the background blur effect:
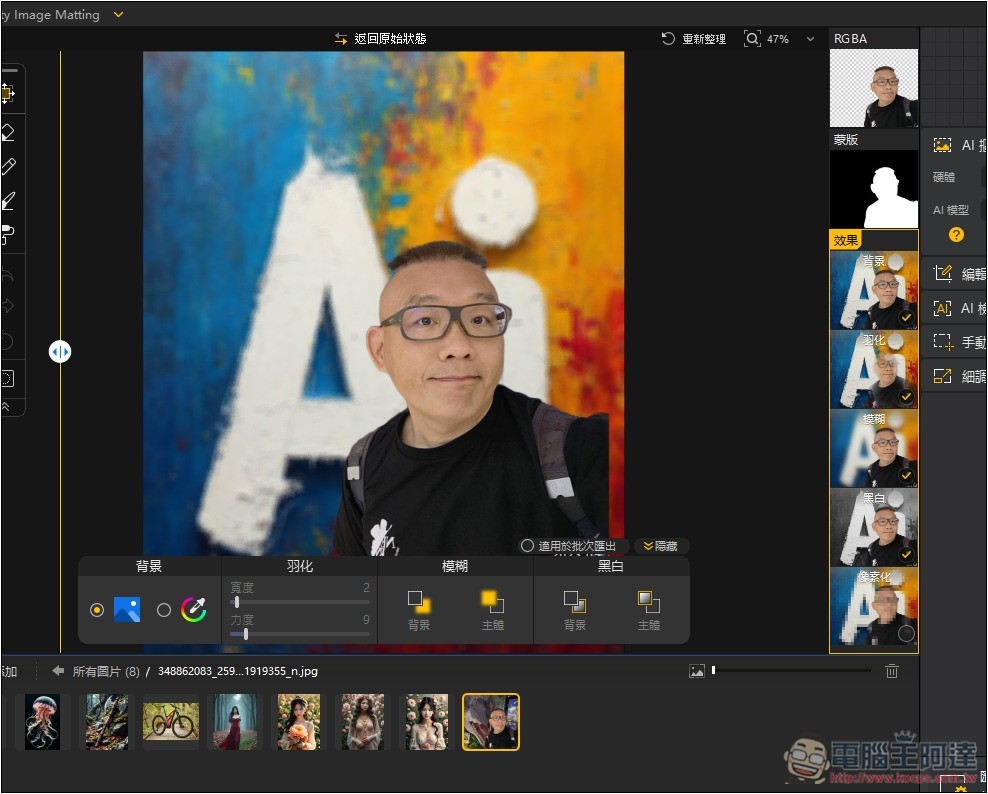
Applying to other images is also very simple, and the edges are well processed:
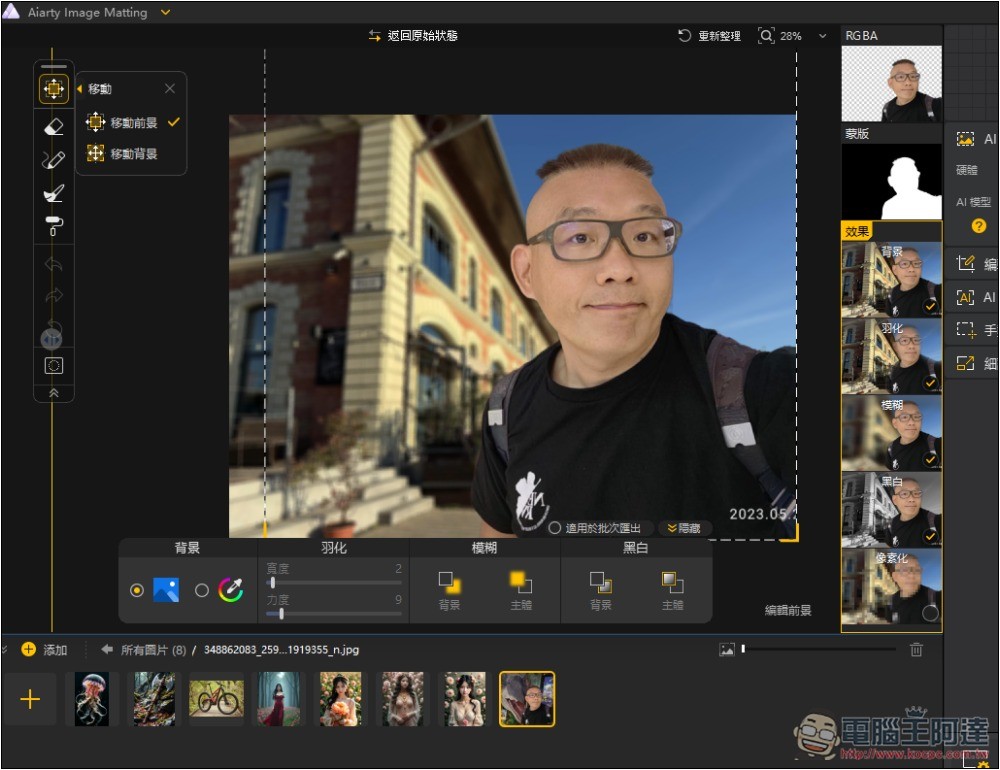
You can also resize the body:
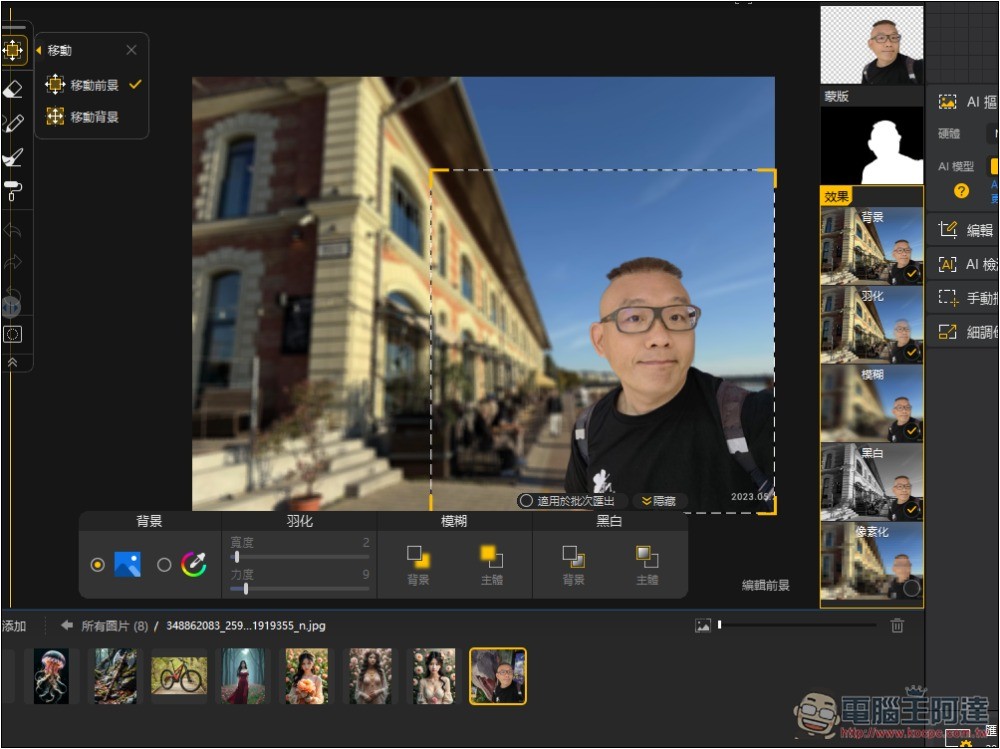
There are some AI model and editing function options on the right, such as optimization for details, including smoothing, focusing on contours, and balancing brightness:
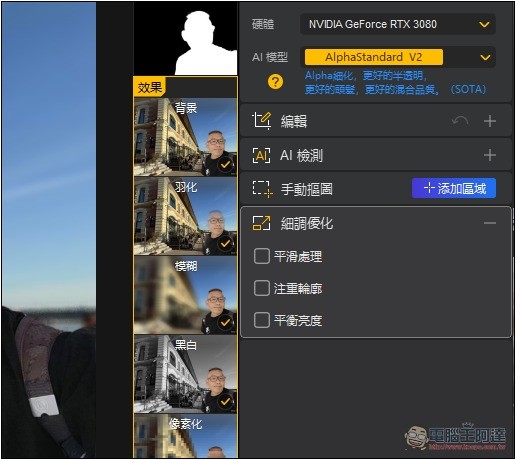
The default AI model is AlphaStandard V2. There are also four models including AlphaEdge V2, Edge Clear V2, and SolidMat V2. Generally speaking, it is good to use the default one:
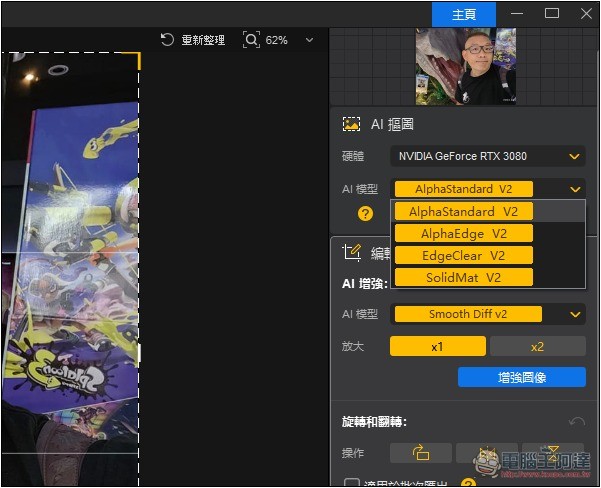
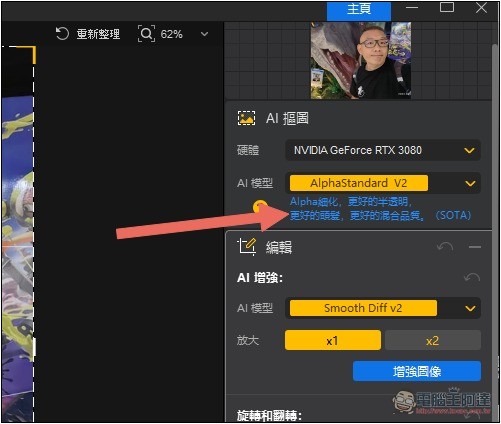
The features of each model are explained below. You can also press i to view a more detailed description:
If you want to zoom in, use AI to enhance this edit, which allows you to zoom in up to 2x:
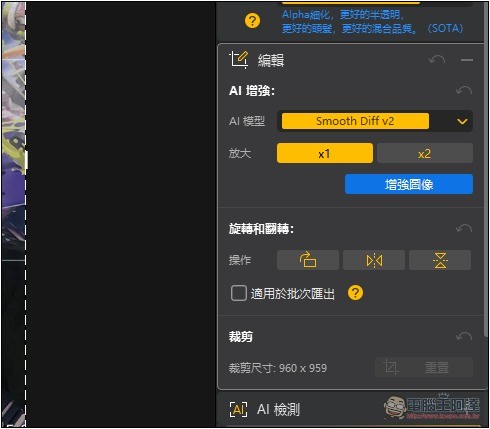
Once finished, click on the lower right corner to export the image:
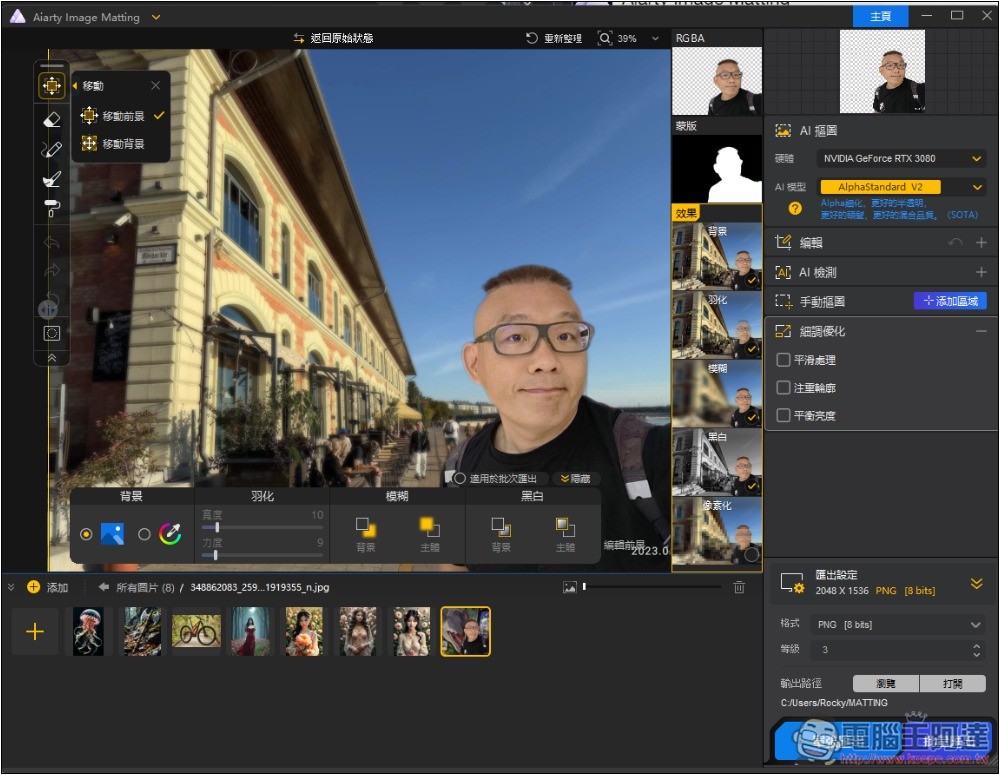
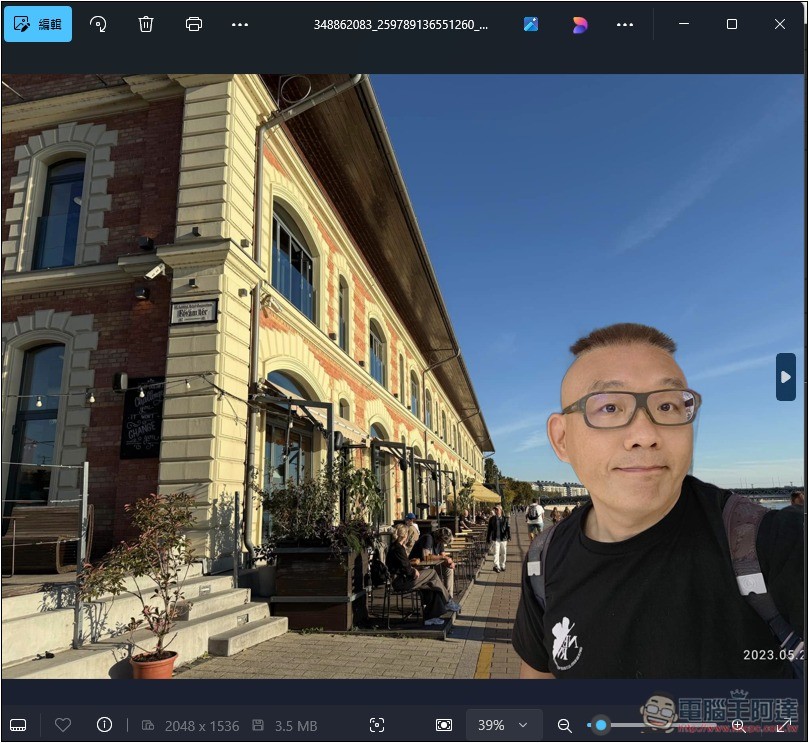
Like this, it only takes a few minutes to complete the character removal + background change:
Source: KOCPC Chinese