


When you delete a file on Windows 11, you usually want the file to be gone forever. However, more established data recovery services can usually bring back these files. Therefore, if you have sensitive data that you want to completely delete, it is very important to know how to do it. This time, we will tell you how to delete this data truly safely.

How to safely delete sensitive files on Windows 11
First, let’s talk about why deletion is not real deletion. When you delete a file on Windows, it does not immediately disappear from the hard drive. Instead, Windows marks the file’s storage space as empty, meaning that the location where the file was originally stored can be overwritten by new data in the future. Before then, parts of the files were still on the hard drive, so they could be retrieved relatively easily with the right tools and knowledge.
Encrypt files to prevent recovery
The easiest way to solve the problem is to encrypt your hard drive or the individual files and folders you want to delete. You can use third-party tools like Bitlocker or Veracrypt to get the job done. This doesn’t stop someone from recovering deleted data, but without the decryption key, the data is all gibberish so it can be deleted without any worries.

Cipher directive overwrites available space
Windows has a built-in tool called ” Cipher ” that will overwrite any empty space with random data. This prevents the archive from being undeleted, which can take a long time if you have a lot of free space, and I wouldn’t recommend doing this on an SSD as it will increase the amount of wear. As the name suggests, Cipher is actually an encryption tool, but if you use the “/w” switch, it will overwrite unallocated space. All you have to do is open the Command Prompt or Terminal application as administrator and type:
cipher /w:c:
This will cover all available space on the C hard drive. Change the hard drive name as needed. You also don’t have to execute the entire hard drive, you can use a full path, such as “C:\secretstuff”, which is faster because it will only overwrite what was deleted from that folder. Keep in mind that this only works on hard drives using the NTFS file system.

Use third-party file shredding apps
You can also use special file shredding apps that will overwrite a deleted file multiple times until there is almost no chance of recovering it. Again, due to how SSDs work, the same method doesn’t apply, but some file shredding apps are SSD-aware and will use the correct methods to ensure that files cannot be recovered from the hard drive after deletion.

Completely wipe the entire hard drive
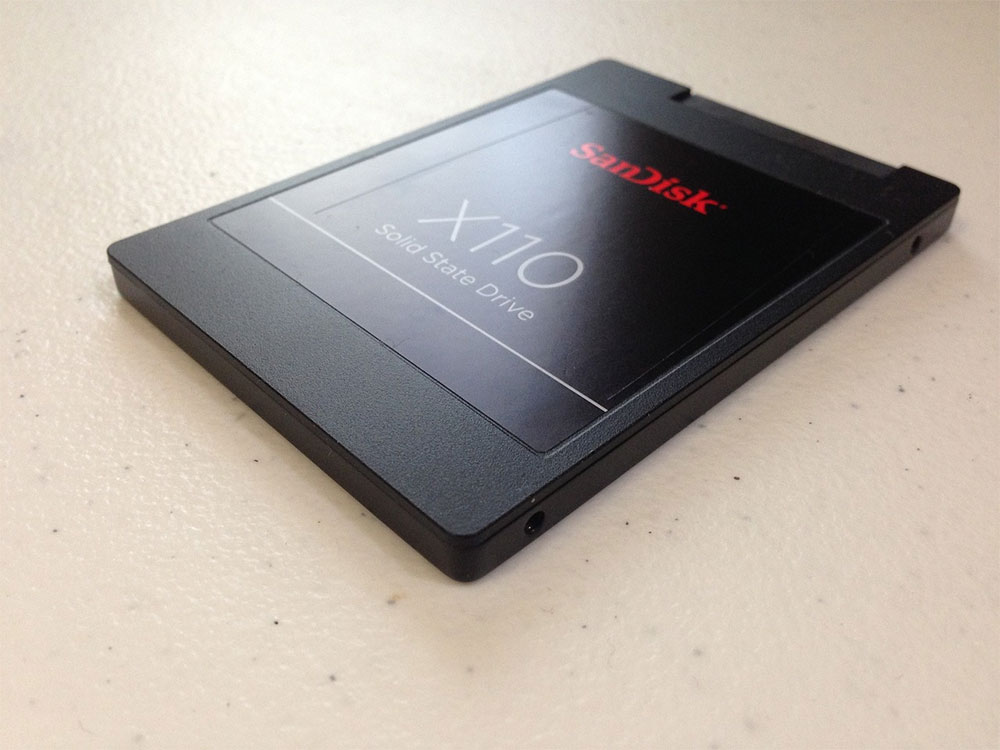
For SSDs, the best way to ensure that data is unrecoverable is the Secure Erase feature. Now, the way SSD management works (particularly the TRIM command) makes it impossible to recover deleted data, but sometimes you can find a safe SSD wipe function in your computer’s BIOS, or use software provided by the hard drive manufacturer. Before using the BIOS or other third-party tools to securely erase your SSD, check if the manufacturer provides official tools for this purpose.
Try recovery to test
If you’re a little paranoid, one of the best steps to take after safely wiping your drive is to try to recover the files yourself. You can use an application like Recuva to check if any files are in a recoverable state. You don’t actually have to perform a restore, you just check to see if the software finds anything, but you don’t actually restore the data.
Source: KOCPC Chinese