


Most of the methods on the Internet that teach people how to play PC games on Mac are through the Whiskey app. Although the operation is very simple, the support has become significantly worse recently. Many games have become unplayable, and there are even some bugs. For example, in my recent test, I couldn’t even install Steam, even if I deleted Whiskey and reinstalled it.
This article will introduce another better alternative: Wineskin Winery. The installation process is a little more troublesome, but the support is better. It can play many Steam games. I tested Blizzard’s Diablo IV with no problem. It can be played through a Bluetooth controller, and even Windows software can be installed and used.
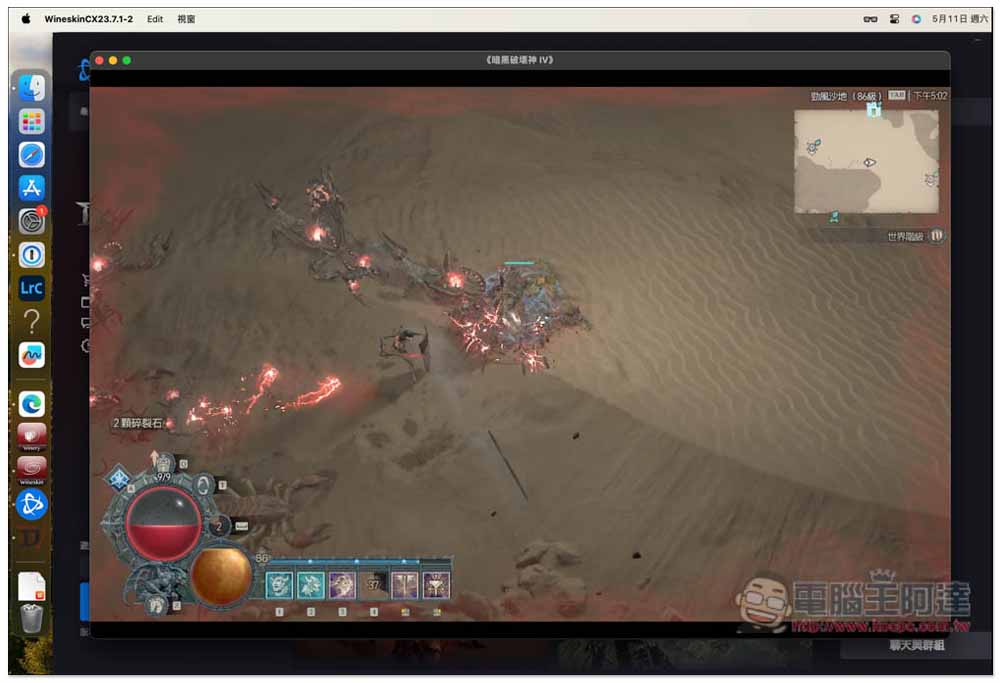
Teach you how to play Steam, Diablo IV and other PC games on Mac, and even Windows software can be installed and used.
Wineskin Winery is also an open source project and needs to be installed through the Homebrew command, so you need to obtain Homebrew first. For details, you can go to Wineskin’s GitHub projectCheck.
1. Install Homebrew and Wineskin Winery
and Homebrew There are two installation methods, “via terminal” or “.pkg installation package”, I personally recommend using the terminal, because after installing it with .pkg, you still need to use the terminal to get Wineskin.
Here I demonstrate the installation process using a terminal. Open the Mac’s built-in terminal and enter this command:
/bin/bash -c "$(curl -fsSL https://raw.githubusercontent.com/Homebrew/install/HEAD/install.sh)"
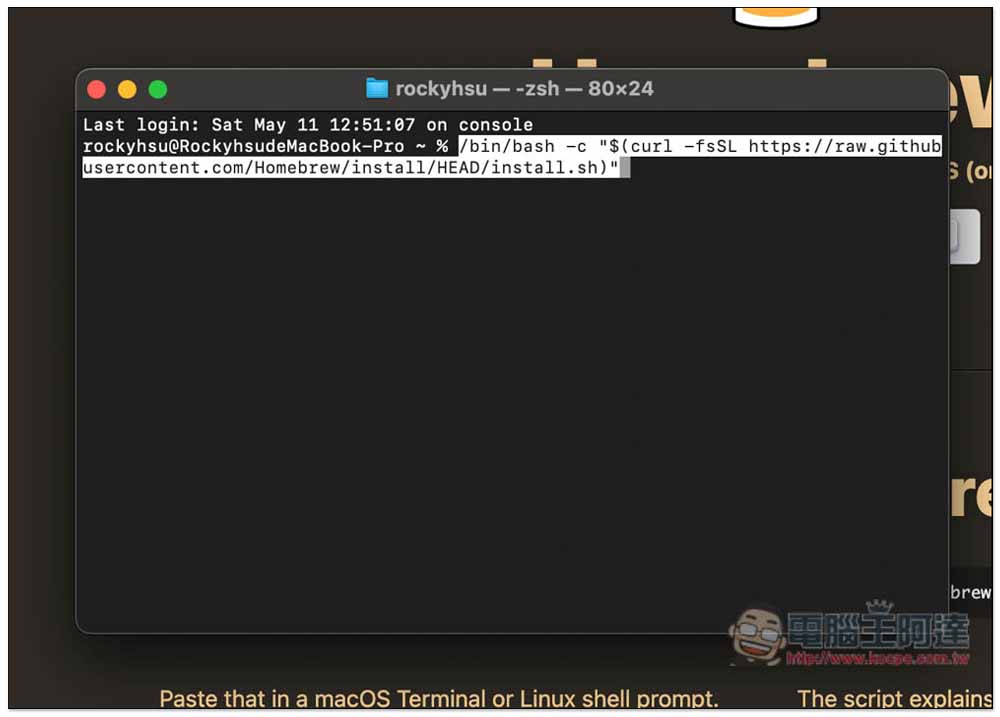
You will then be asked to enter your Mac login password:
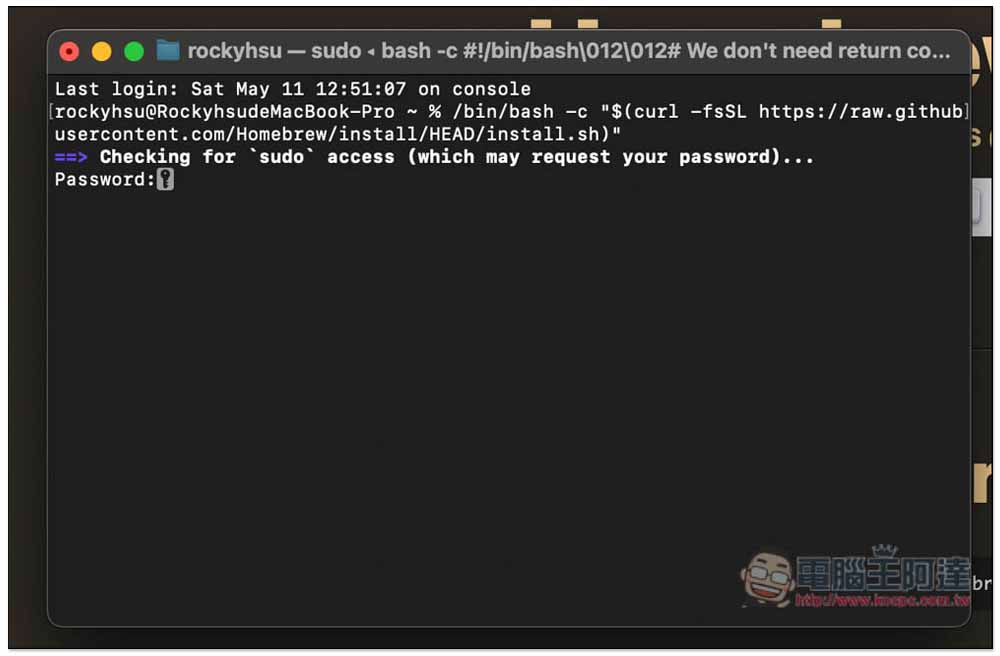
Wait for the installation to be completed. After that, the screen will display the “Installation successful!” prompt, and then in the Next steps: section, copy the specified instructions required to enter, that is, (echo; echo…. This large section is marked with a red line in the picture below:
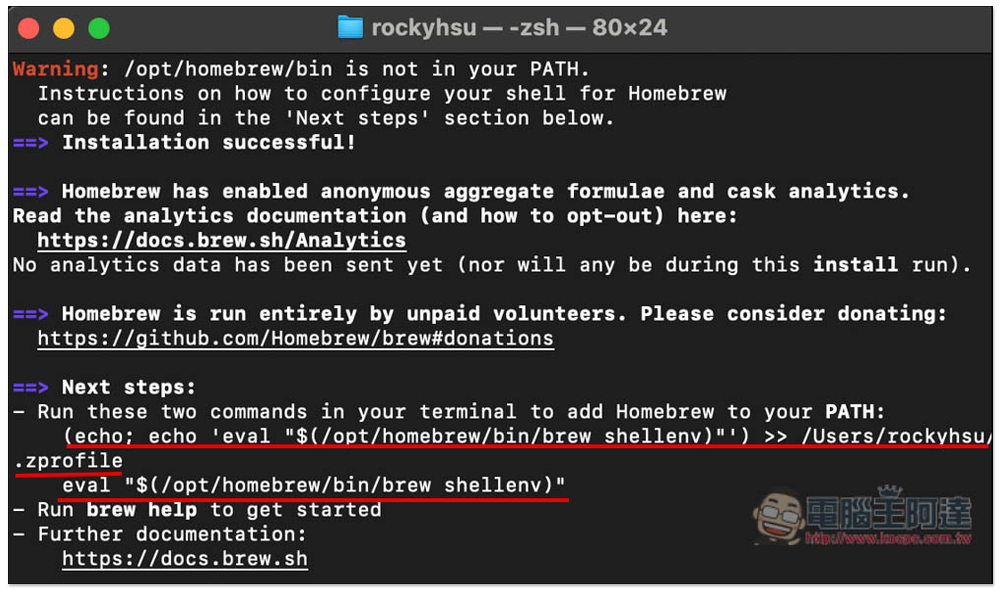
Then you can enter the installation Wineskin Winery The instructions are:
brew install --cask --no-quarantine gcenx/wine/wineskin
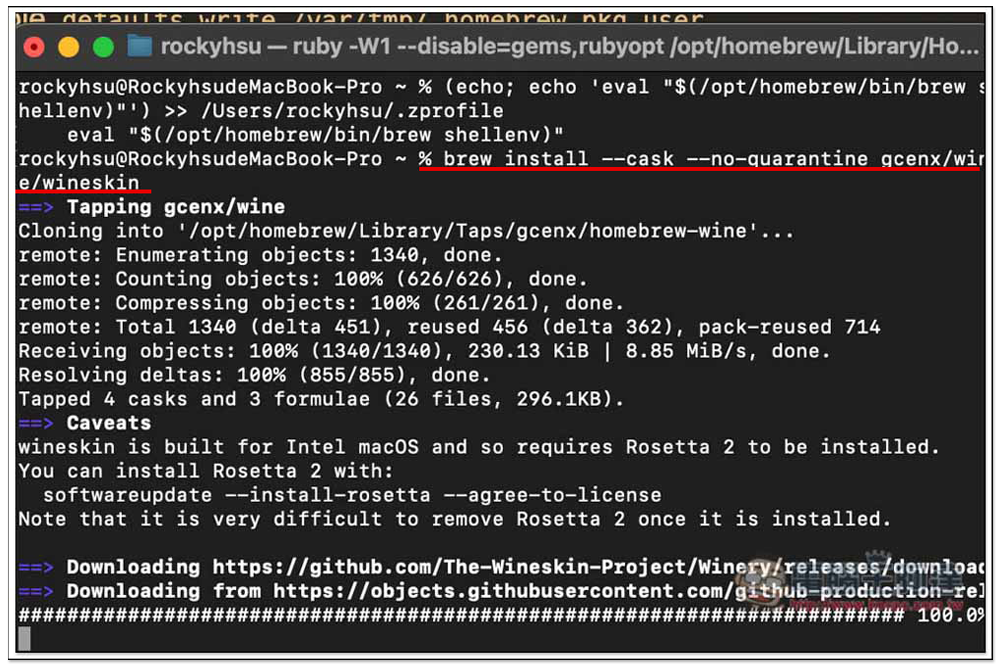
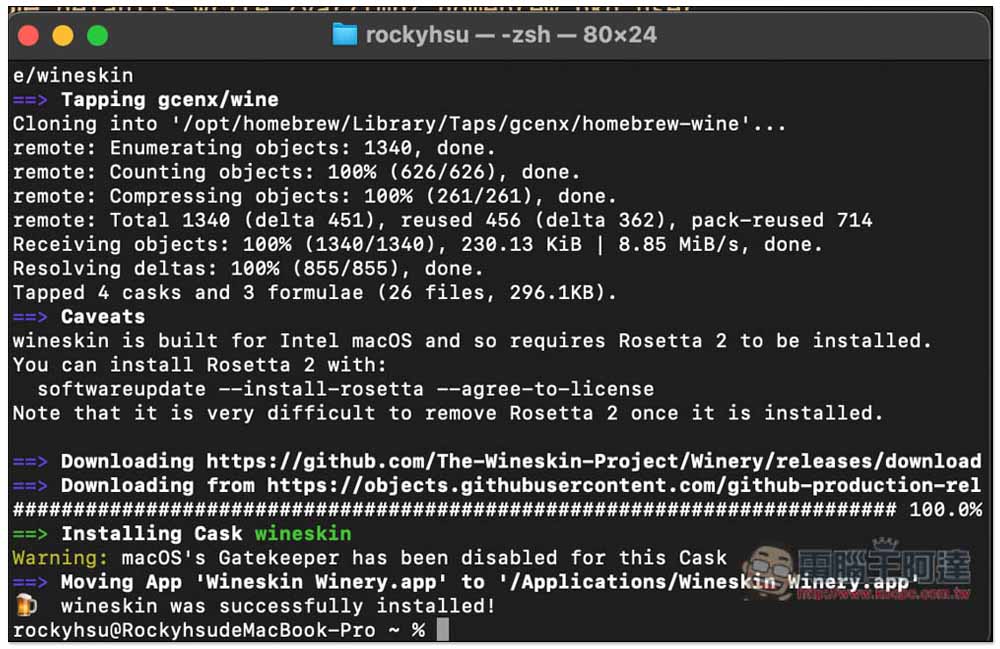
After downloading and installing, “wineskin was successfully installed” will appear. At this time, you can turn off the terminal and you will not need it in the future:
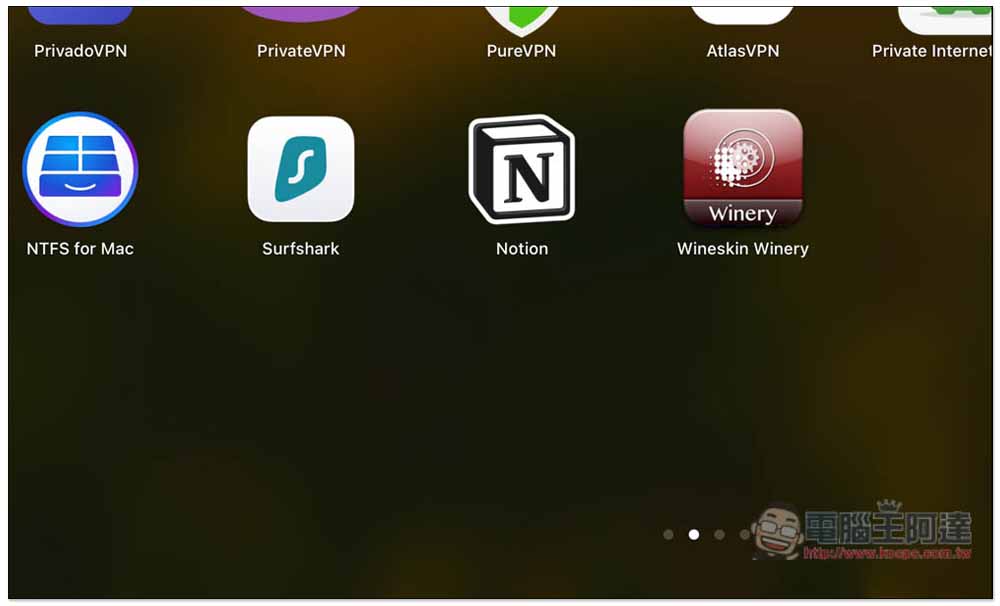
You will see the Wineskin Winery application in the LaunPad launcher. Please open it:
2. Get the latest Wrapper and engine
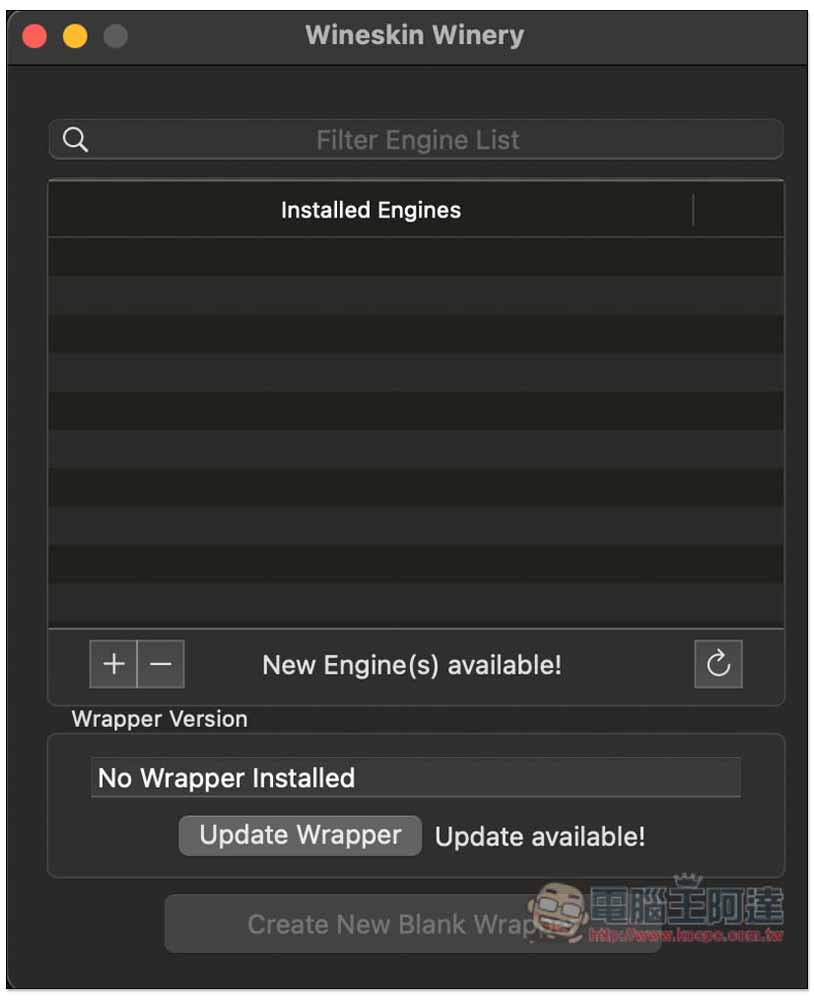
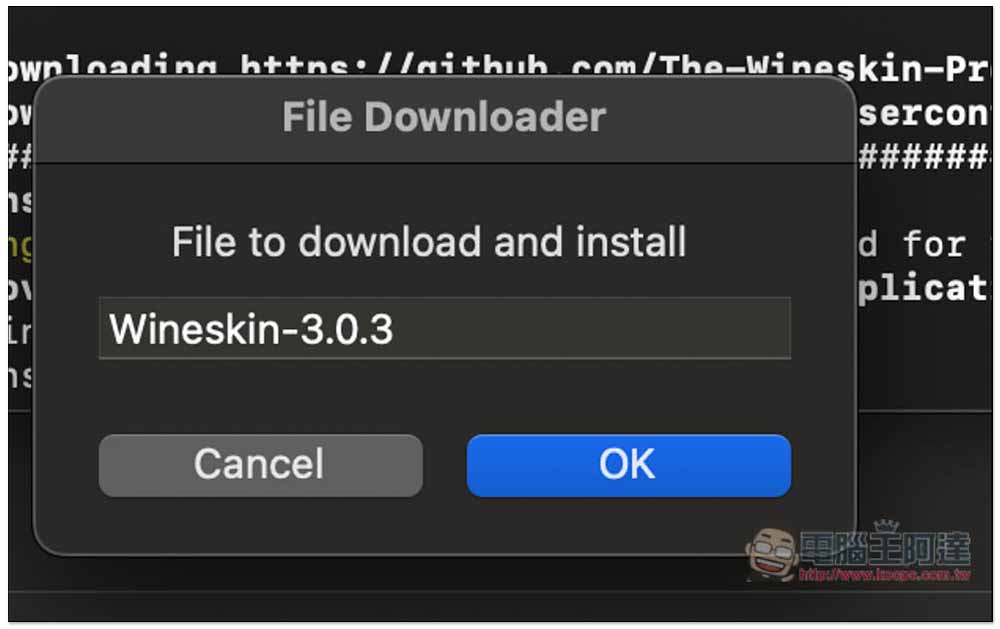
The operation interface of Wineskin Winery is quite simple. After opening it, you need to obtain the latest Wrapper version first and click “Update Wrapper” below:
The latest version is Wineskin-3.0.3, press OK:
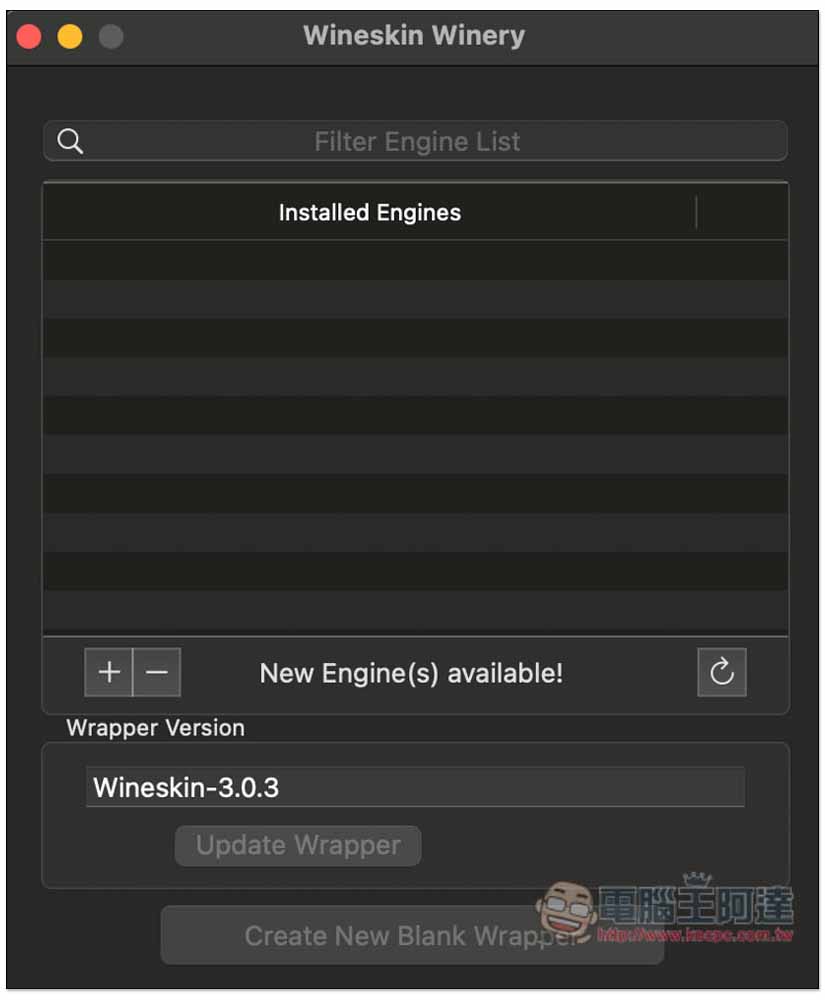
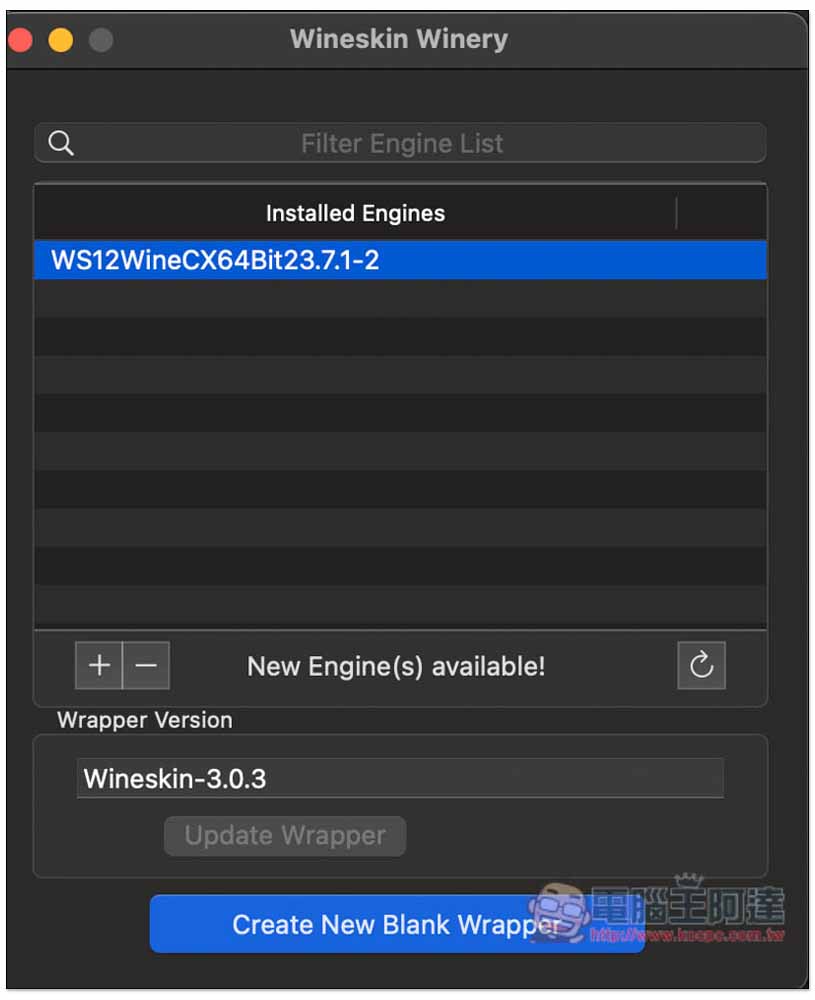
After completion, Wrapper Version will display Wineskin-3.0.3, then press + above to add the engine:
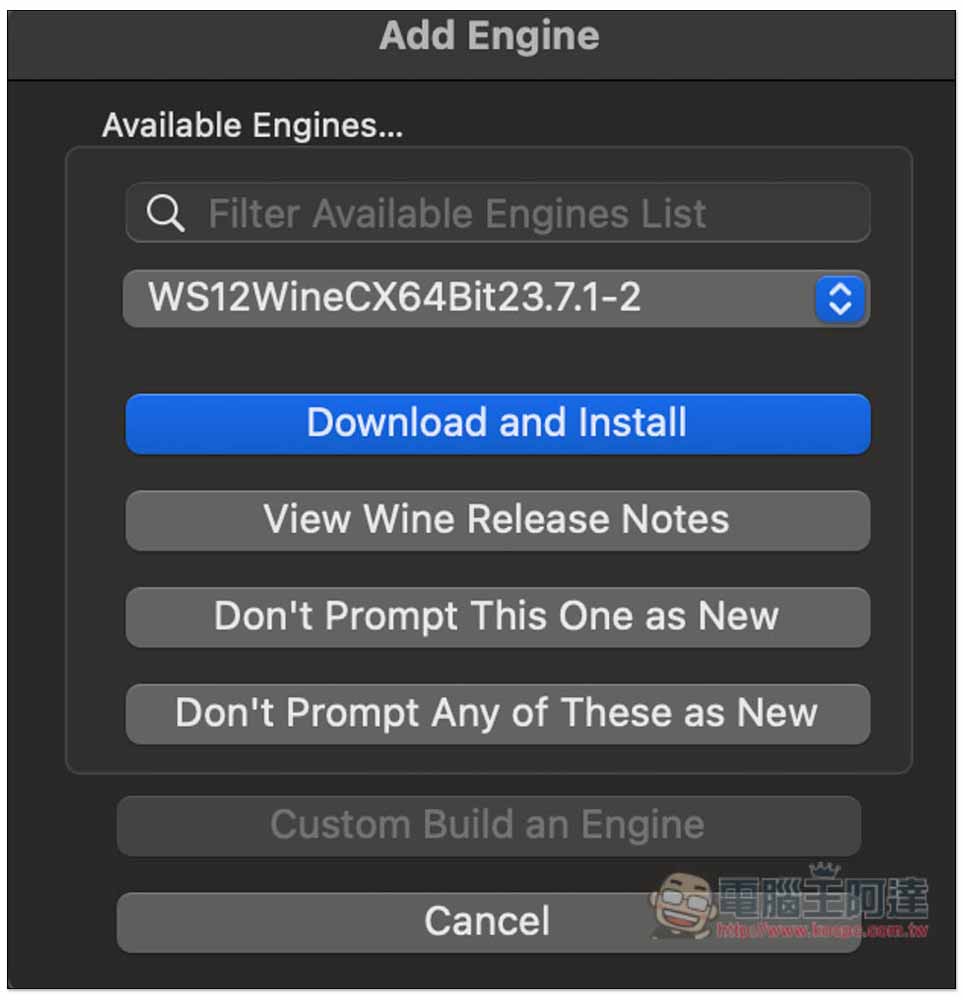
A variety of engines are provided. Basically, just use the latest engine, which is WS12WineCX64Bit23.7.1-2. Press Download and Install to install:
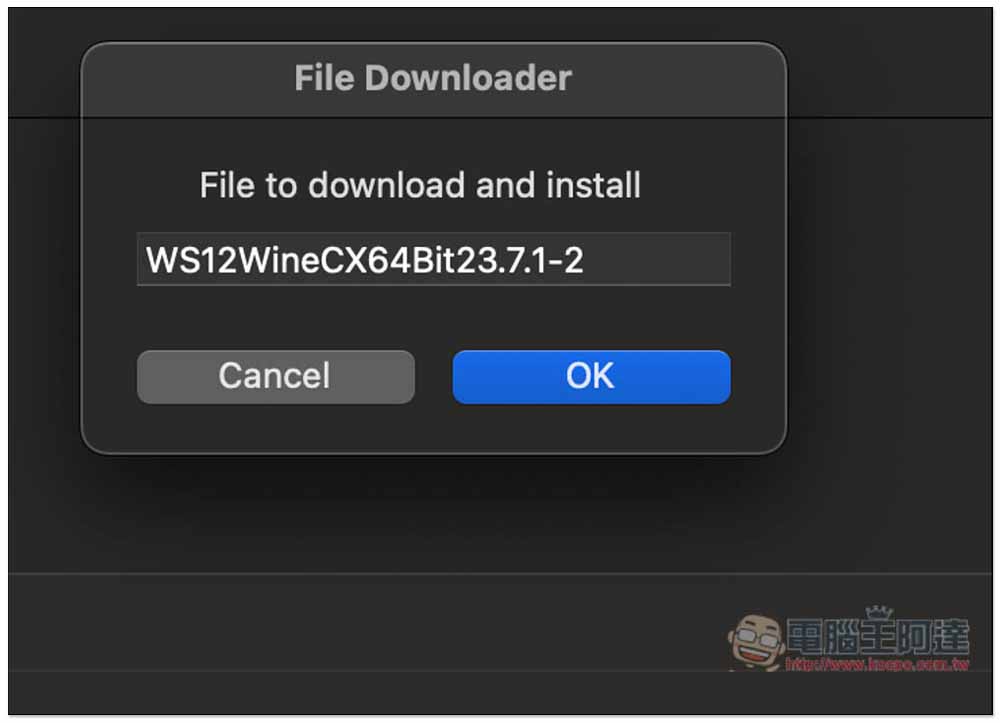
Jump out of this screen and click OK:
The engine installation is complete, and then you can start installing the PC games and software you want to play. Click Create New Blank Wrapper at the bottom:
3. Install PC games and software
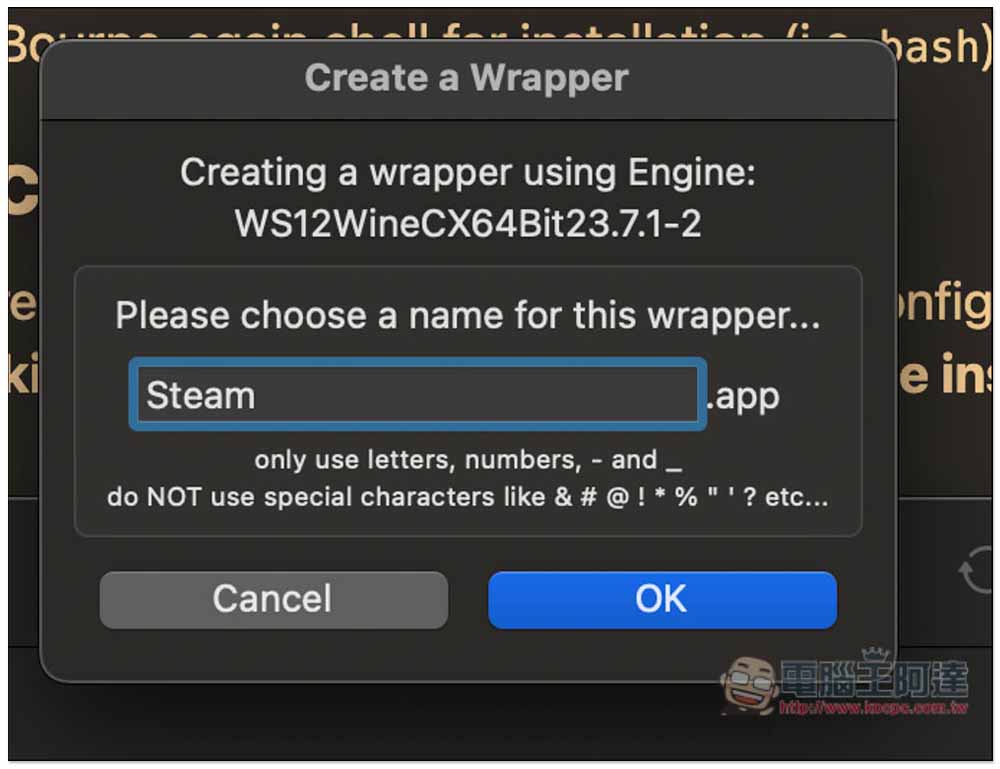
The name part depends on what you want to install. Just name it. For example, if I test Steam first, I will name it Steam.app:
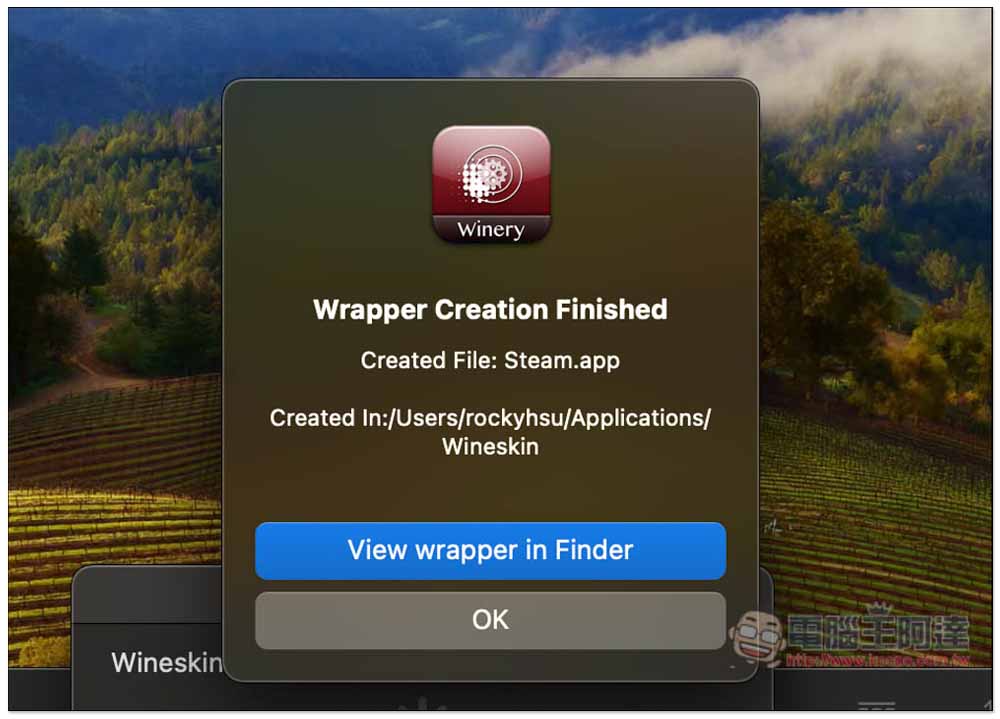
The establishment will take a while, just let it run. Basically it will be completed within 3 to 5 minutes. If it exceeds, you can force it to close and then re-establish it:
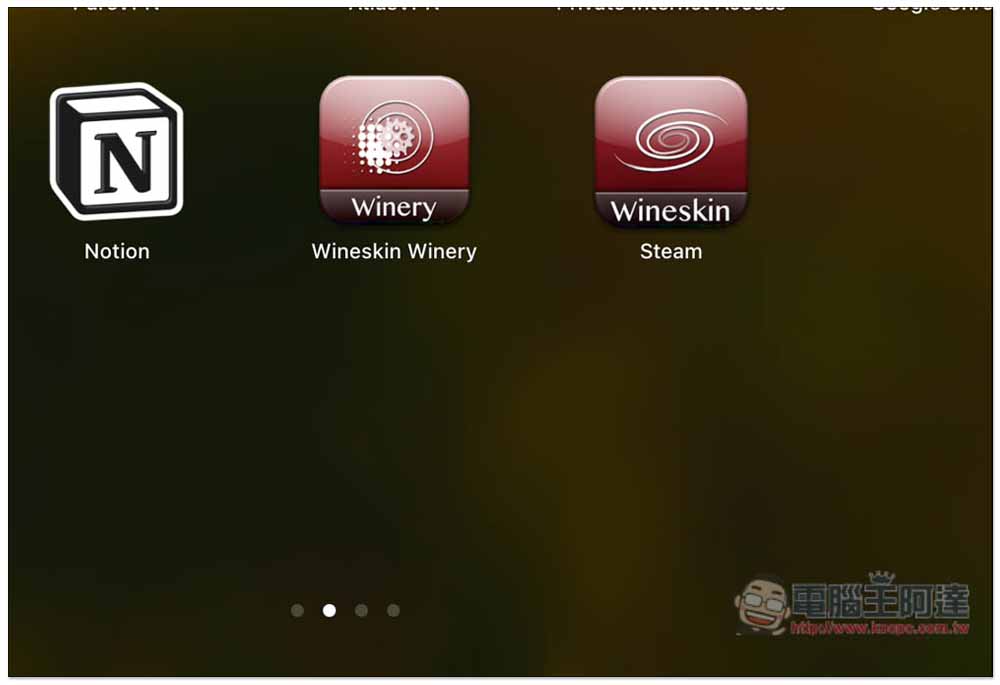
After it is created, you will see it in the LanchPad launcher:
This window will appear when you open it. Click the first “Install Software”:
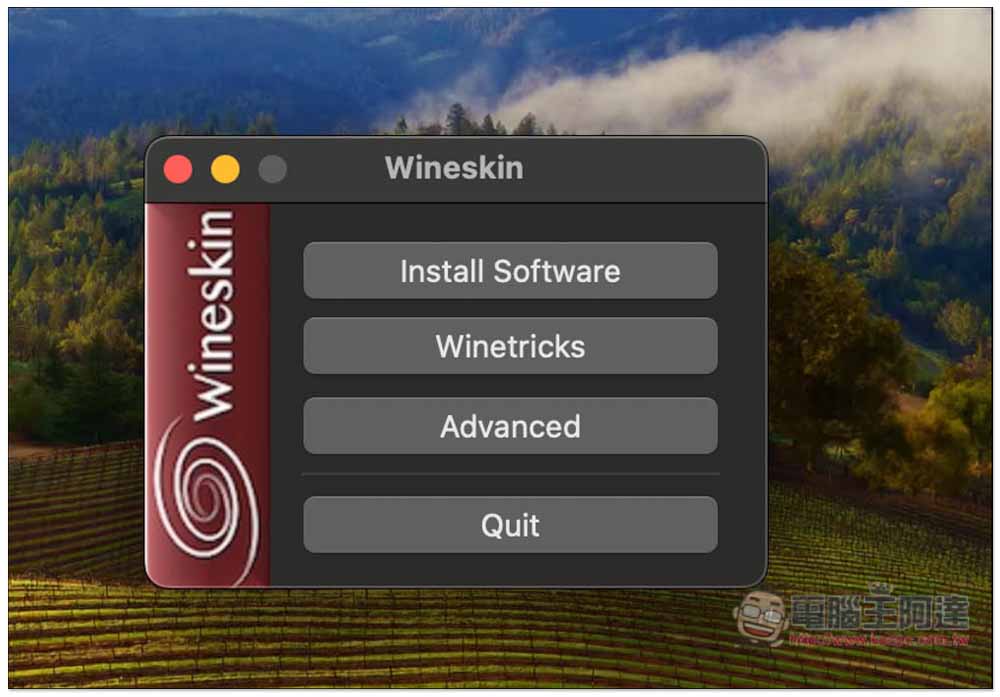
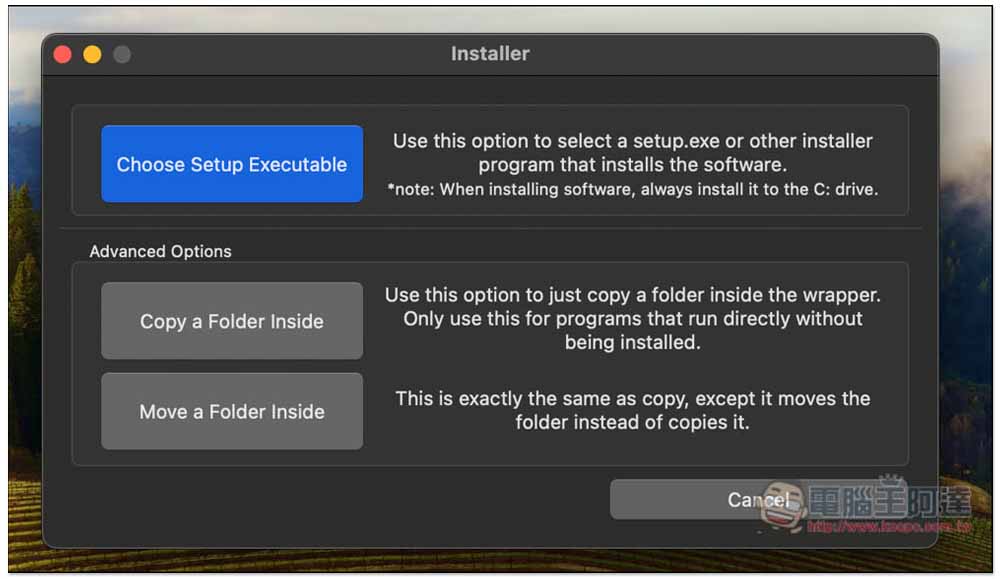
Then you downloaded the installation file, then click the first Choose Setup Executable and select the installation file. For installation-free files, use the following Copy a Folder inside or Move a Folder inside:
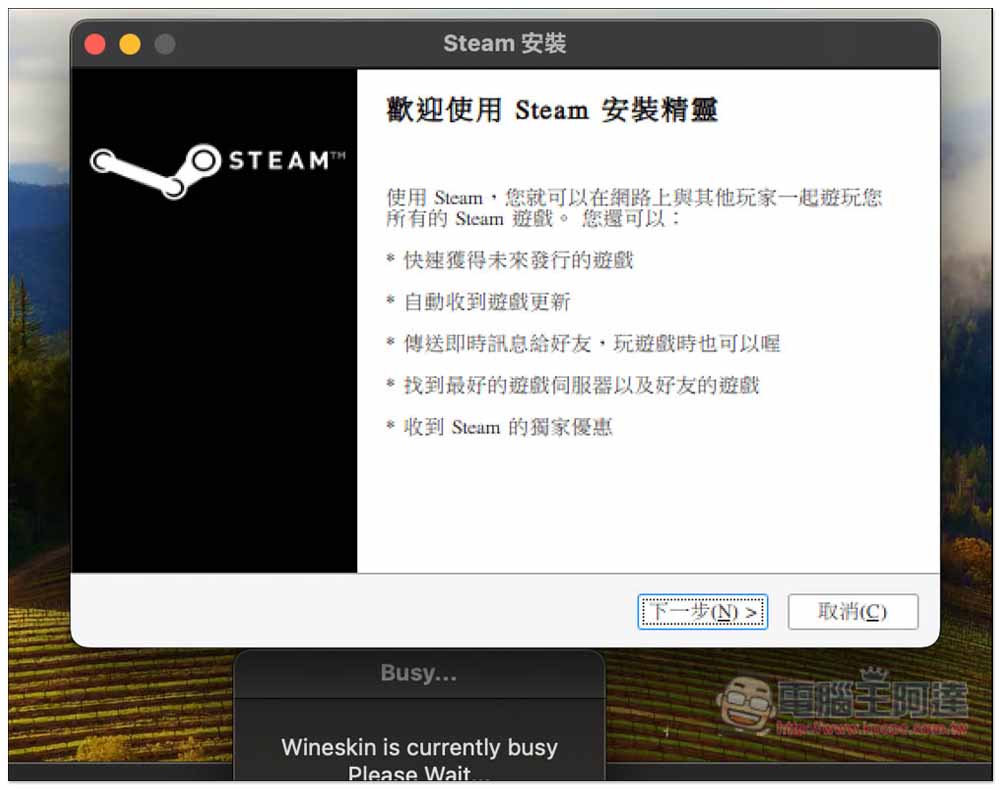
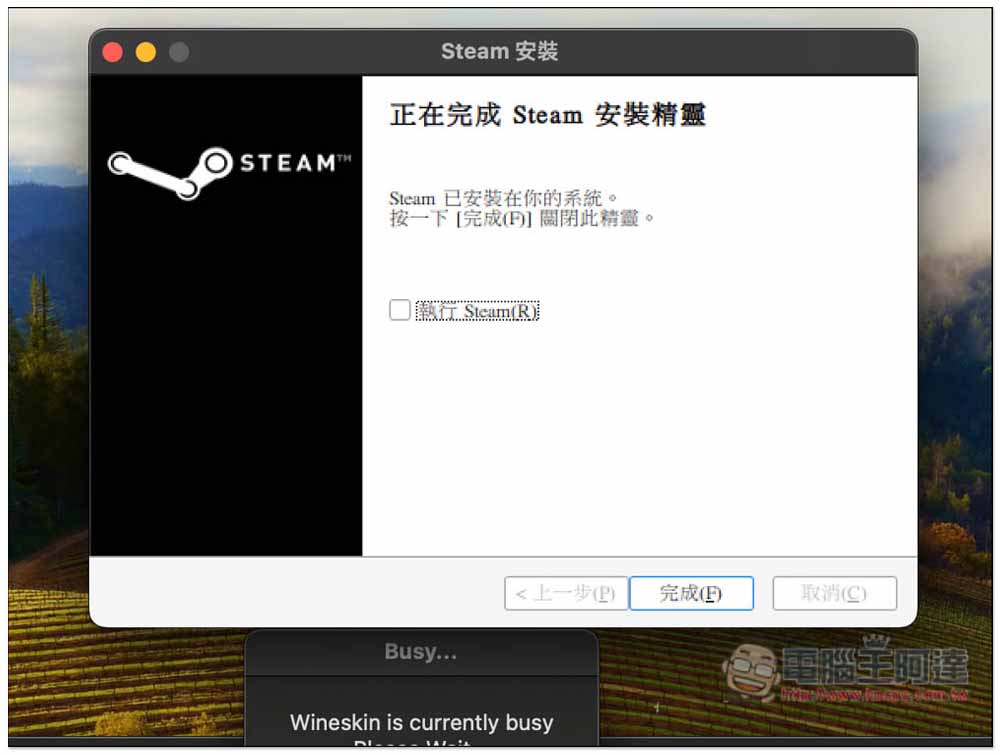
I chose Steam’s Windows version installation file. Just click Next for the installation steps. Some words may be garbled during the process, so don’t worry about it:
After installation, you can open Steam directly:
The familiar Steam login screen will appear:

After logging in, select the game you want to play. However, I am not sure whether every game is supported, so I can only download it and give it a try:
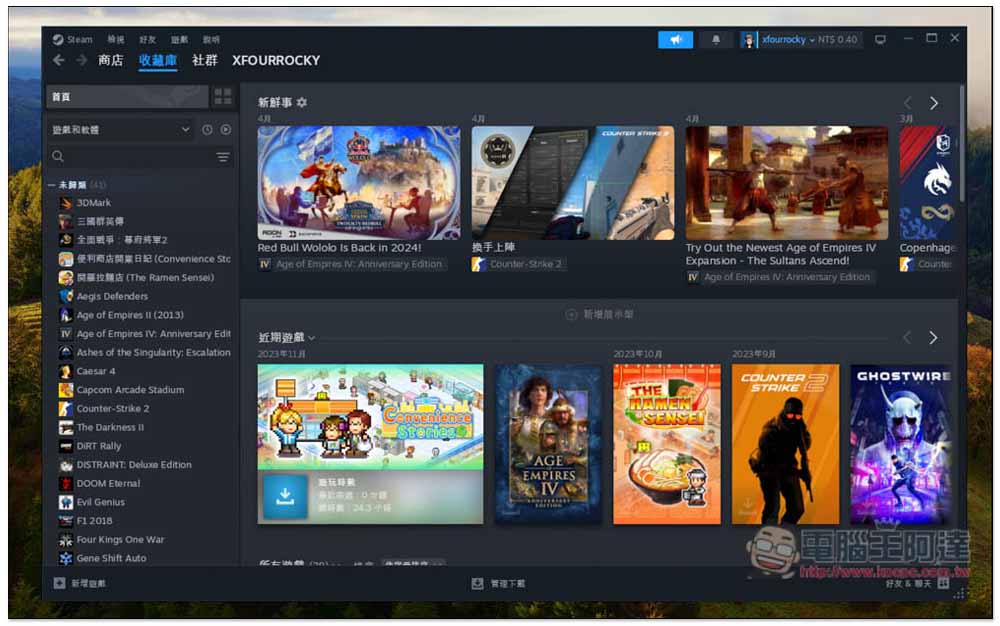
I tested ONE PIECE PIRATE WARRIOSRS 3. There is no Mac version of this game, only Windows. The installation steps are the same as on PC, click Install on the screen:
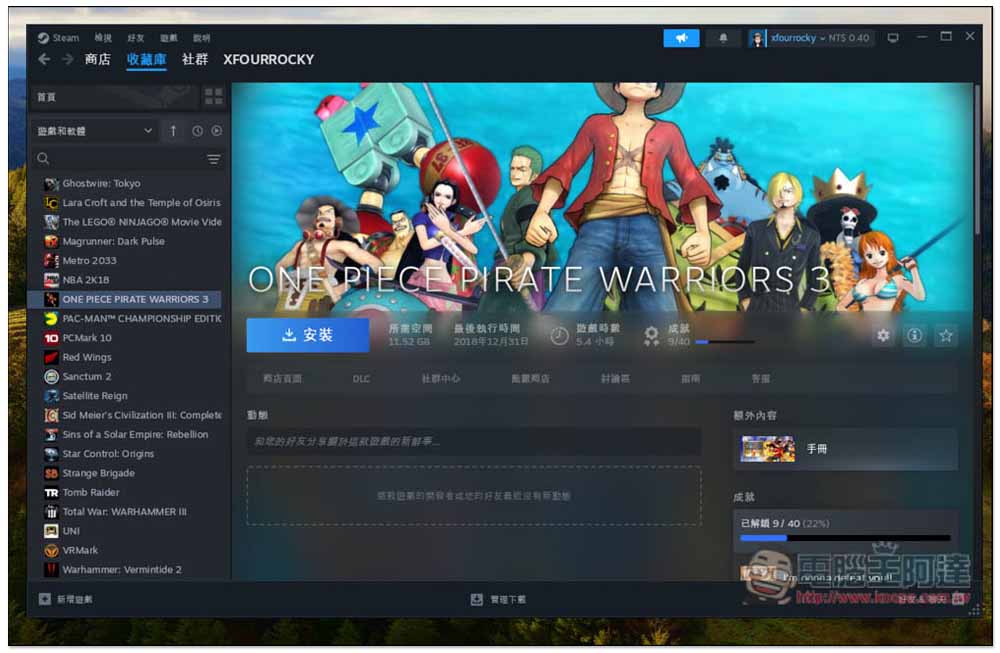
After downloading, click Start Game. If the download process gets stuck, that is, the download does not continue, you can try restarting Steam:

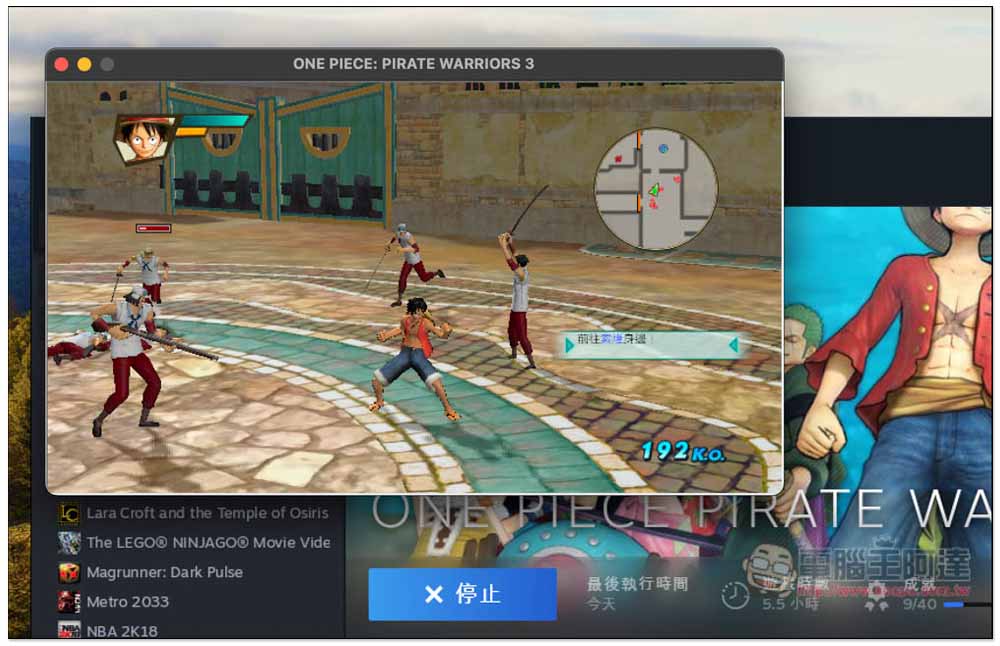
The actual test successfully started, and I still use the PS5 controller to play. After connecting to the Mac Bluetooth, I can use it directly without setting anything:
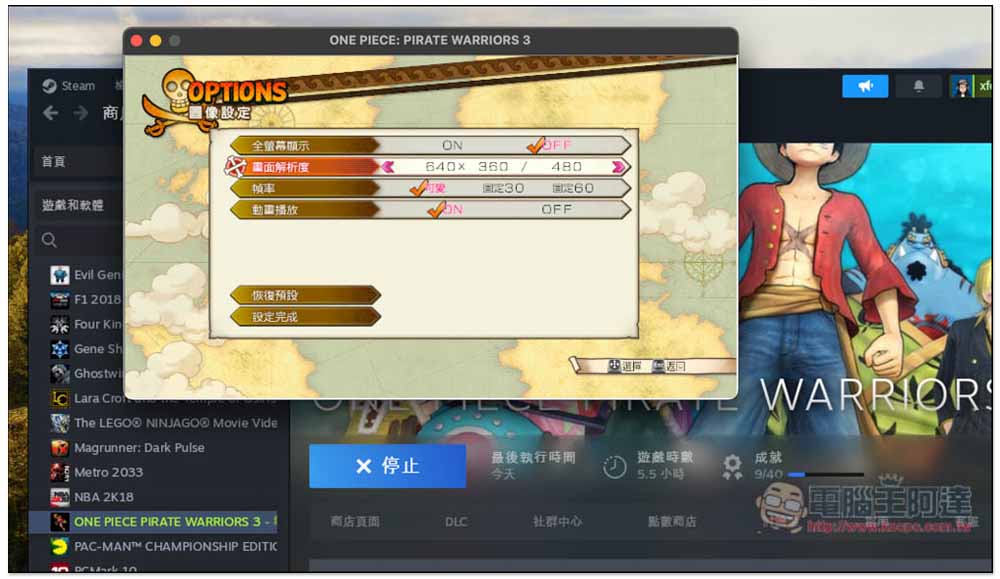
The gameplay speed is also super smooth, with no lag at all. I originally played in full screen, but switched to windowed mode for screenshots:
When closing, this Choose Executable setting will pop up. This is asking you to download this App. To open the path file, remember to change it to the startup file of the game or software. For example, in my Steam:
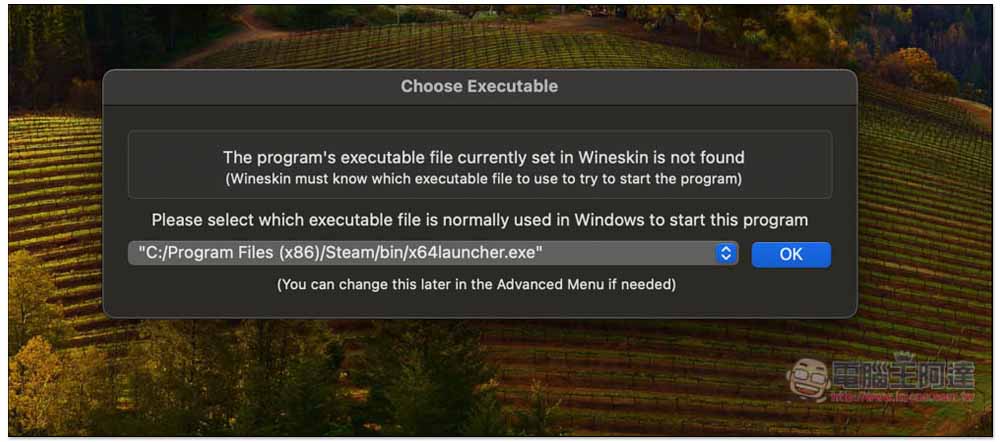
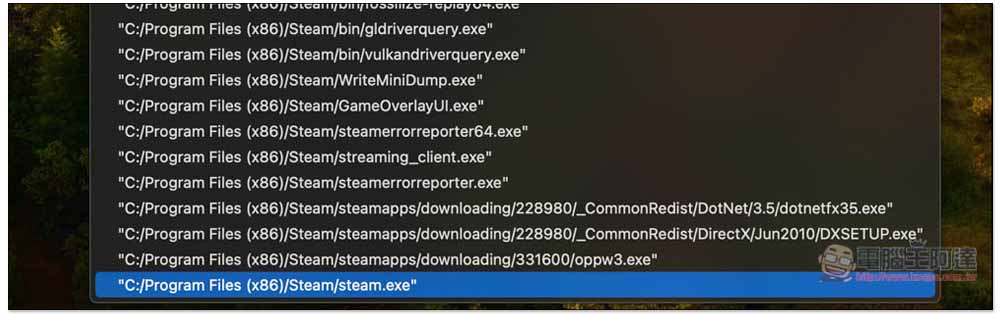
Select the steam.exe one:
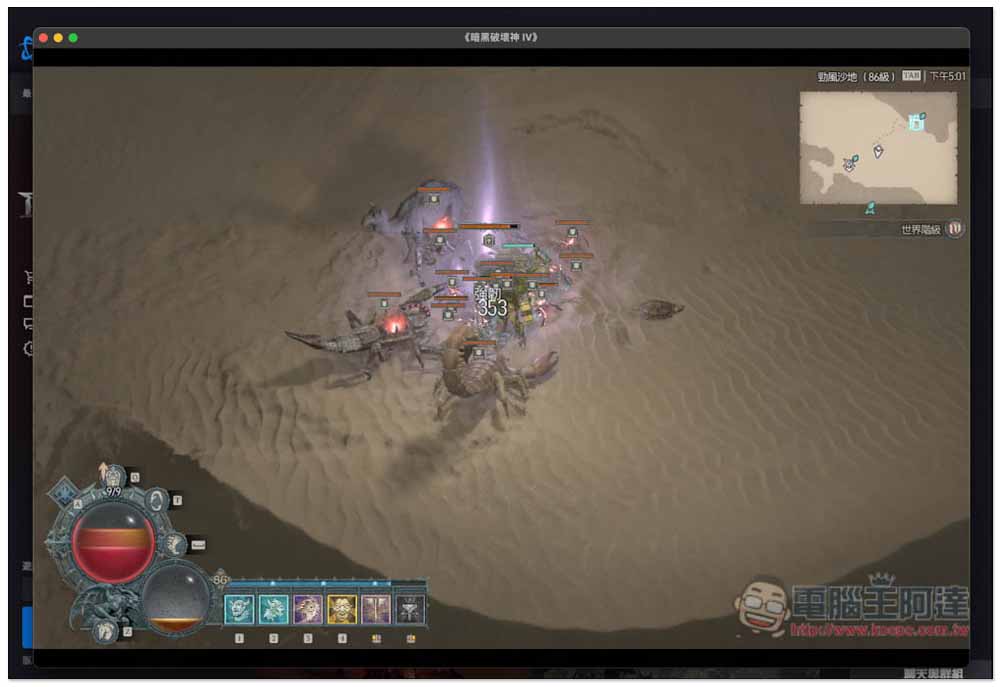
I tested Blizzard’s Battle and installed it successfully. Diablo 4 is definitely playable, and I can play it with my PS5:
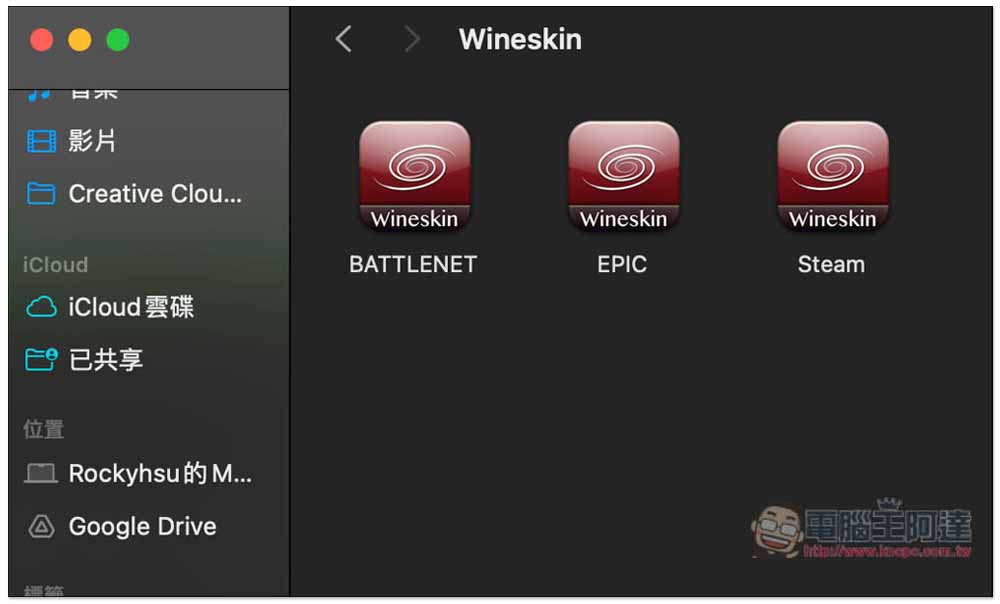
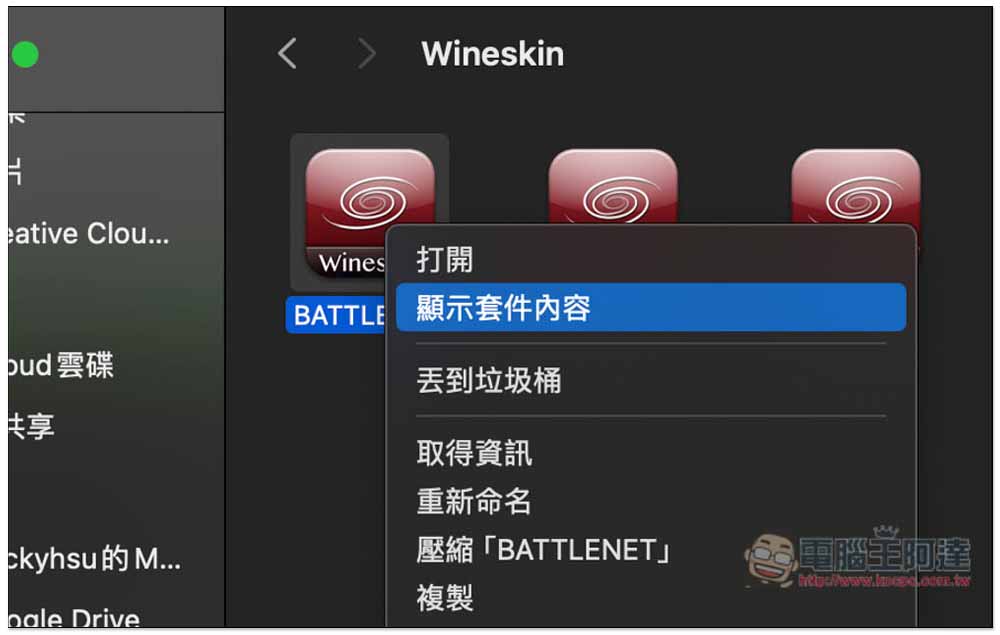
However, Diablo IV will be stuck on the animation screen at the beginning, so a setting needs to be changed, which needs to be adjusted in the advanced settings of the app. The opening method is as follows. The App path created by Wineskin will be under the Mac user name, not the Mac. Please note this, and then find the BATTENET I created:
Select “Show package contents”:
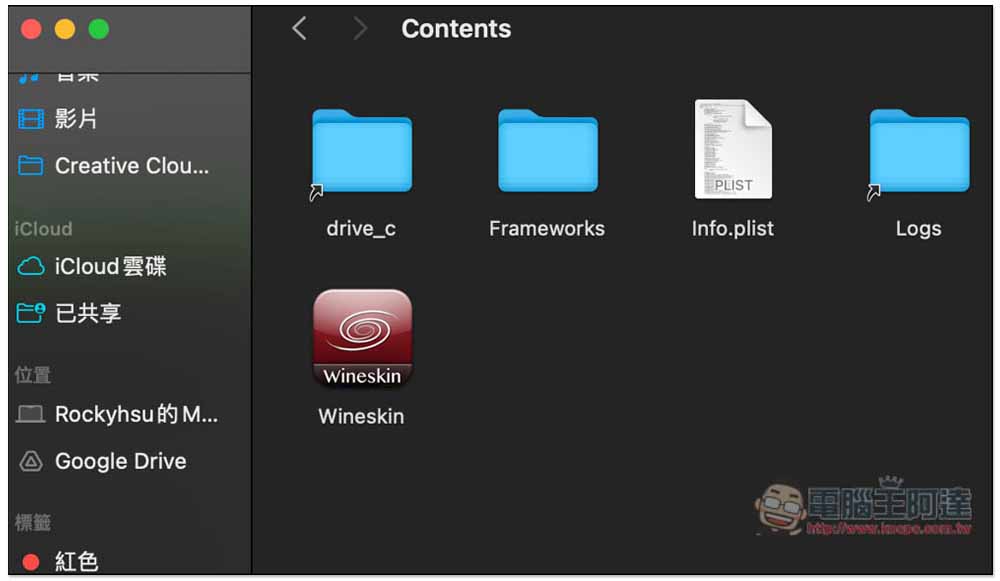
After entering, open the Wineskin file inside:
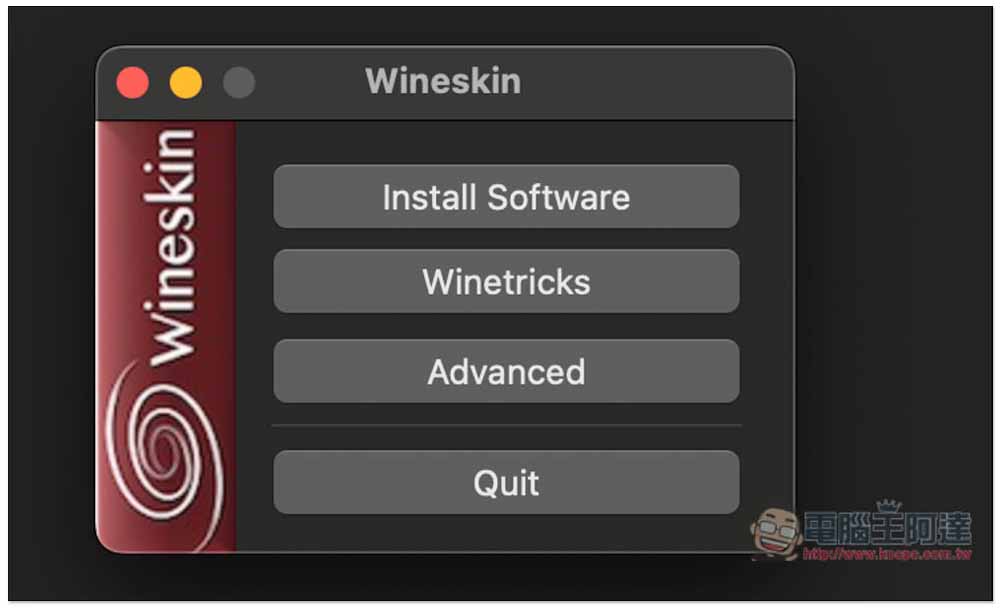
Select the third Advanced:
Check “Direct3D to Metal translation layer – (D3DMetal/GPTK)” and this will solve the problem. So, if you encounter similar situations when playing other games in the future, you can check here to see if you can solve it:

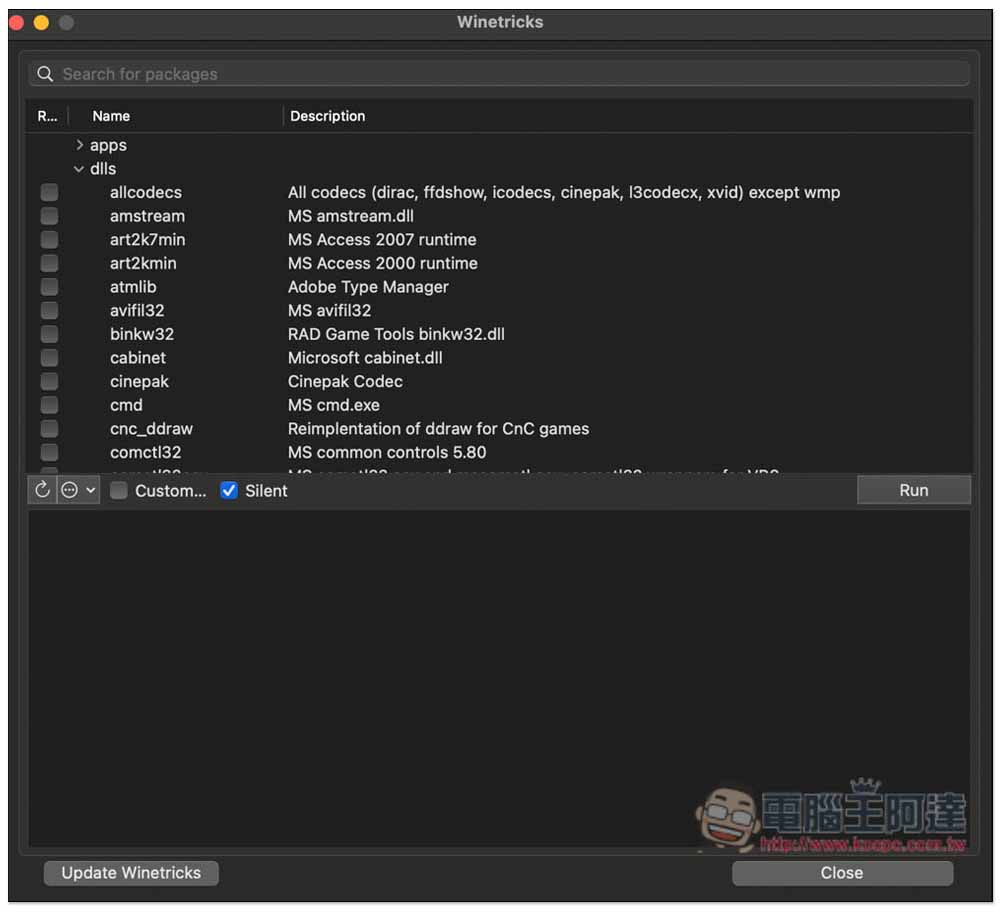
In addition, if any .dll files are missing when opening a game or software, you can enable it in the Winetricks options:
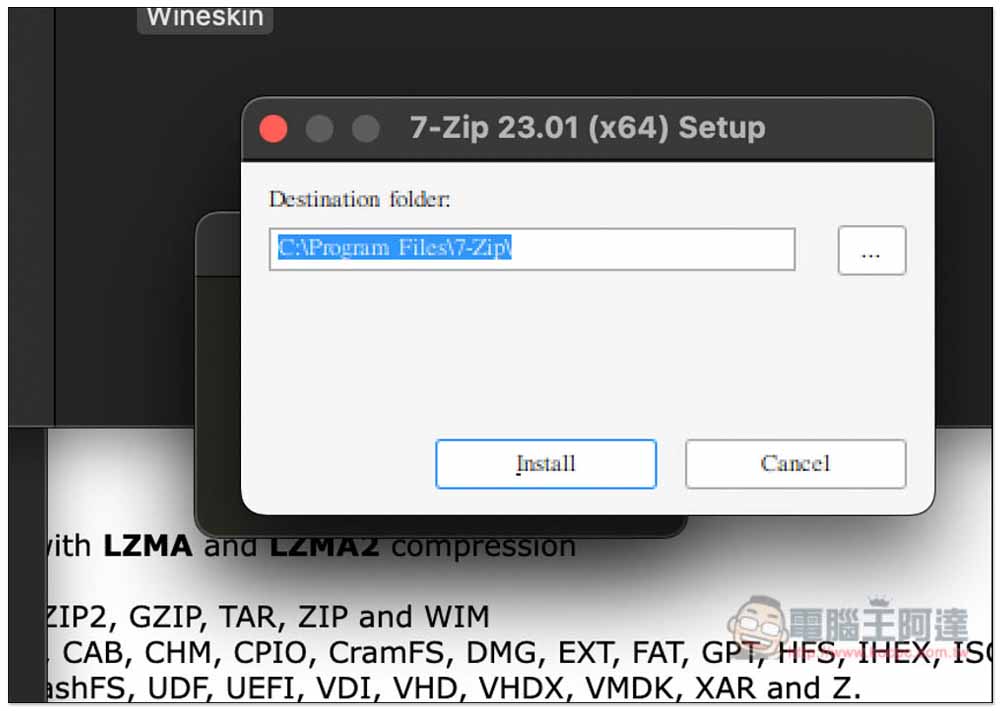
Next, I also tested the Windows software. 7-ZIP only has the Windows version, and the installation file was successfully executed:
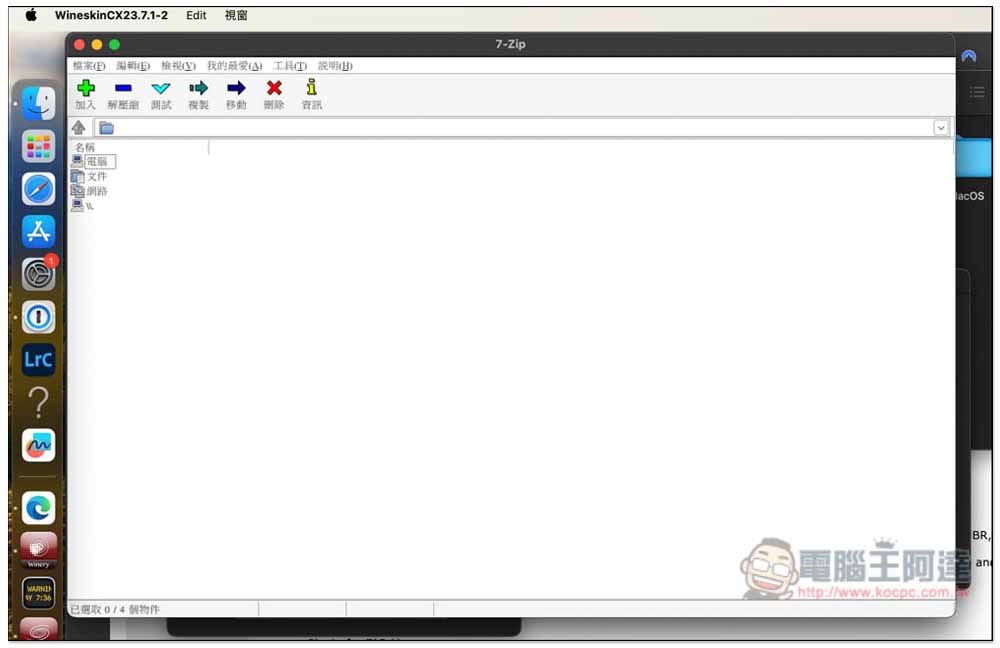
After installation, it can indeed be opened and used normally:
Source: KOCPC Chinese