


OpenAI Whisper can be said to be the most powerful speech-to-text model currently. Recently, due to the demand for some video subtitles, we originally used the one we introduced before. Whisper JAX online tool, this one also uses the best large-v2 at present, and the conversion speed is also fast, but each video has to be uploaded. Although the converted text has a time point, the time format still has a punctuation mark wrong after pasting it in Notepad, which needs to be changed manually, so it is quite troublesome. In the end, I decided to install OpenAI Whisper directly in the computer. It is really convenient. Not only is it faster, but it also generates a lot of formats. Not only does it have SRT that can be used directly Subtitle files also come in plain text format (.txt), .tsv, .json, etc.
Some people may think that the installation steps should be difficult and require technical background. In fact, it is not necessary at all. The installation can be completed in a few simple steps. I will share it with you below.
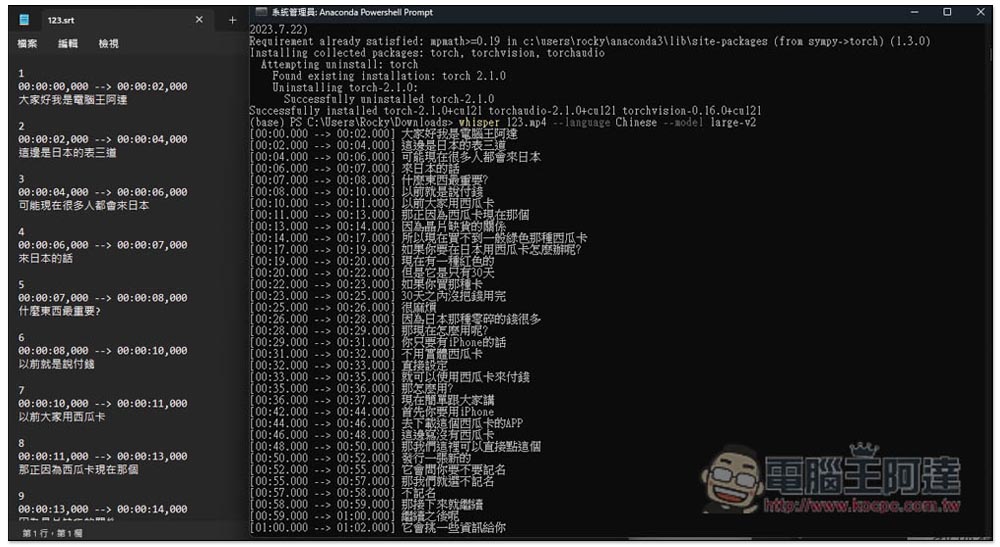
Teach you how to install and use OpenAI Whisper (completely free) on Windows 10/11 to easily convert videos and sound files into text and subtitle files
OpenAI Whisper is open source, so it is completely free. After installation, you don’t need to fill in any APIs to use it, and there are no restrictions. However, you should pay attention to the specifications of the computer’s CPU processor or GPU graphics card. It is recommended not to be too entry-level, otherwise the conversion speed may be a bit slow, and the speed of using an NVIDIA graphics card will be much faster than that of a CPU.
There are basically 3 installation steps:
- Install Anaconda(This software already has Python and pip built-in, so there is no need to install it separately. Of course, you can also install Python and pip separately. It depends on your choice. I use Anaconda)
- Install Chocolatey, ffmpeg, Whisper using Anaconda PowerShell Prompt
- Start converting speech to text (not only audio files, but video files are also supported)
- Options: For those with NVIDIA GPU, it is recommended to install PyTorch
1. Install Anaconda
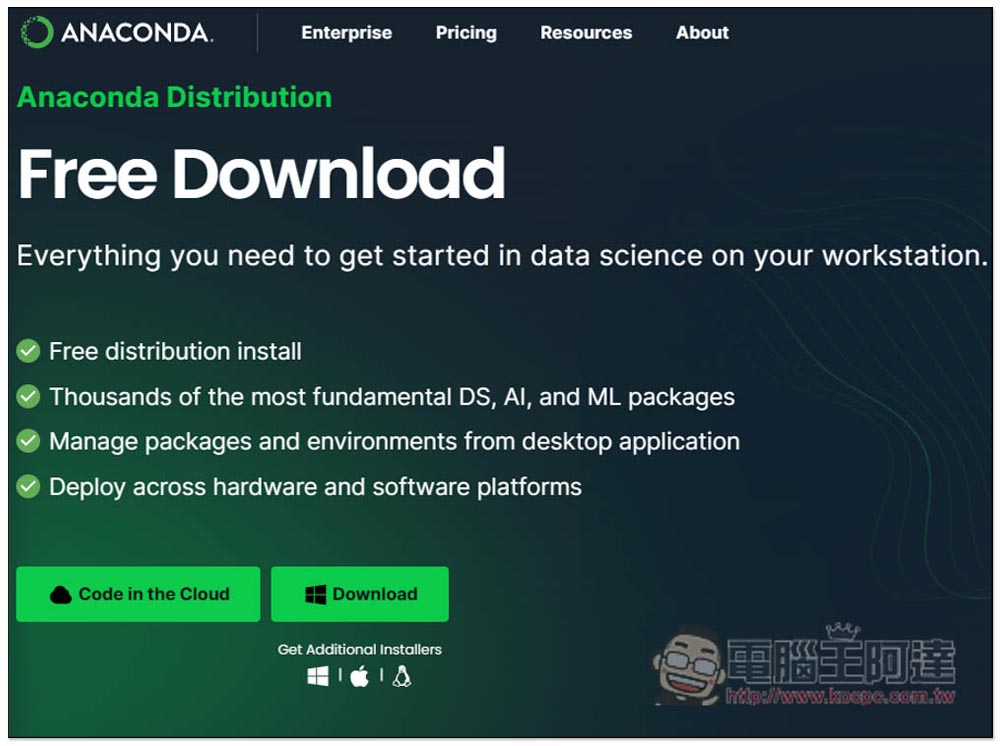
first come first come Anaconda’s official website downloads the installation file, click Download and the download will start. The file is quite large, exceeding 1GB, so you need to wait for a while to download:
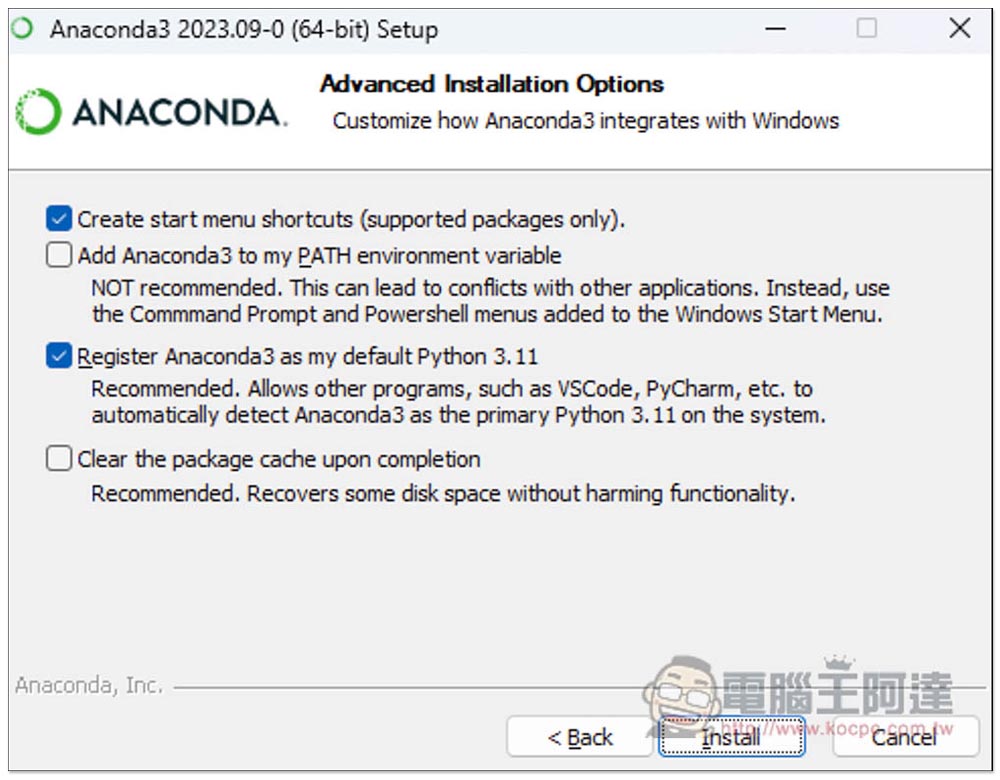
Just keep pressing Next during the installation process, there is no need to adjust anything:
After installation, please open the Anaconda Powershell Prompt and remember to execute it as a system administrator, otherwise there may be problems during the installation process:
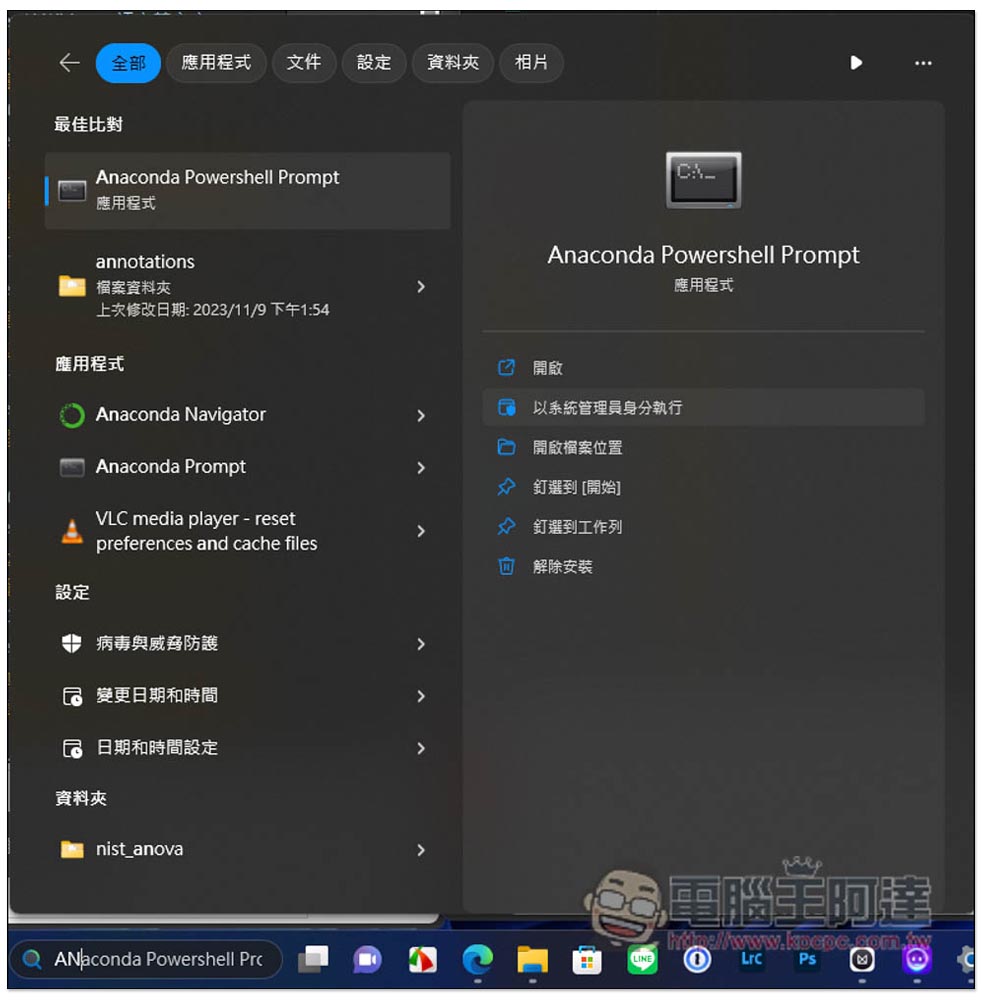
If it is opened as a system administrator, “System Administrator:” will be written in front of the title bar of the software window, and the default path will be C:\WINDOWS\system32. You can use these two to judge.
2. Use Anaconda PowerShell Prompt to install Chocolatey, FFmpeg, and Whisper
The first step is to install Chocolatey, because we need to install FFmpeg and Whisper through Chocolatey. Please check that your Get-ExecutionPolicy is not restricted. Enter the following command:
Get-ExecutionPolicy
If “Bypass” is displayed, there is no problem and you can proceed to the next step. However, if “Restricted” is displayed, please enter the following command, and then you will see a string of descriptions. Enter Y and press Enter to complete the modification:
Set-ExecutionPolicy AllSigned
After confirming as Bypass, you can start installing Chocolatey. Please enter the following commands (as shown in the figure below):
Set-ExecutionPolicy Bypass -Scope Process -Force; [System.Net.ServicePointManager]::SecurityProtocol = [System.Net.ServicePointManager]::SecurityProtocol -bor 3072; iex ((New-Object System.Net.WebClient).DownloadString('https://community.chocolatey.org/install.ps1'))
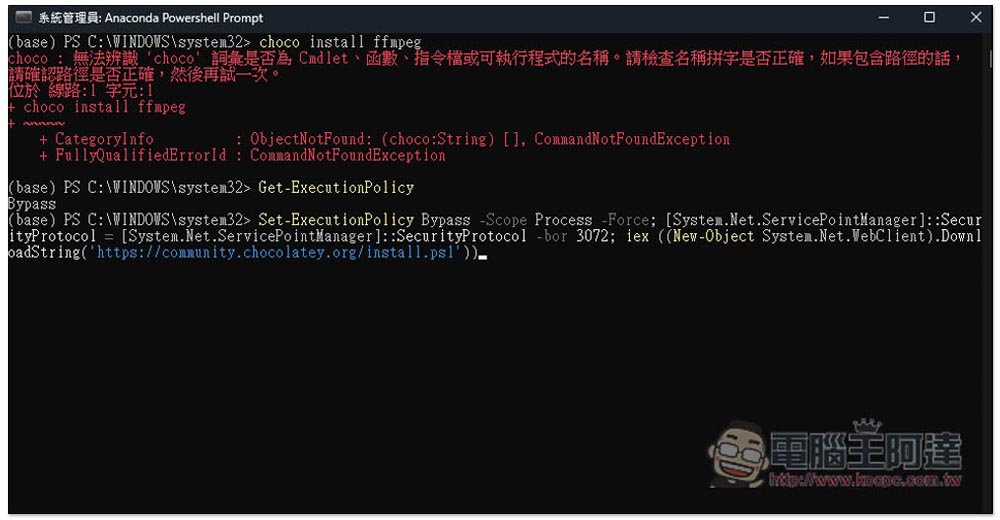
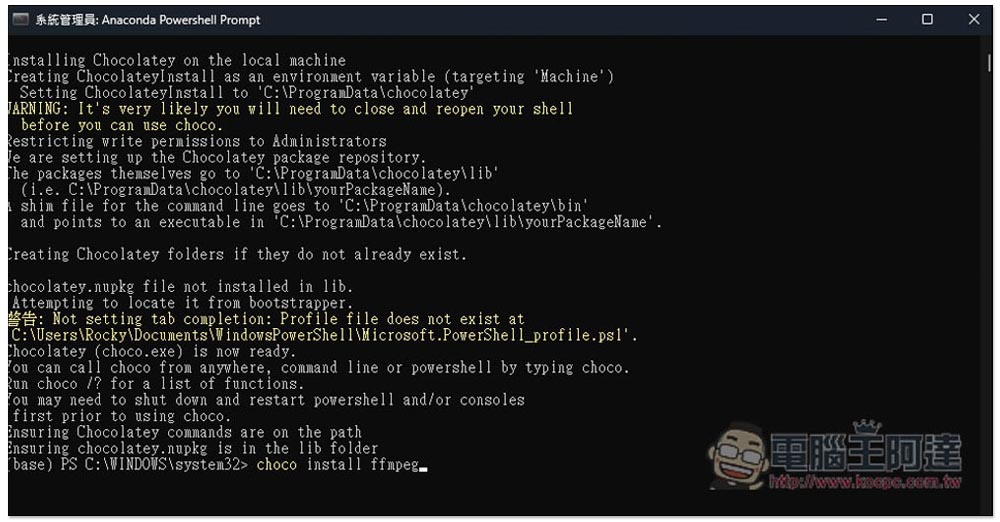
After pressing Enter, the installation will start and let it finish automatically. After running, the next step is to install FFmpeg. Please enter the following command:
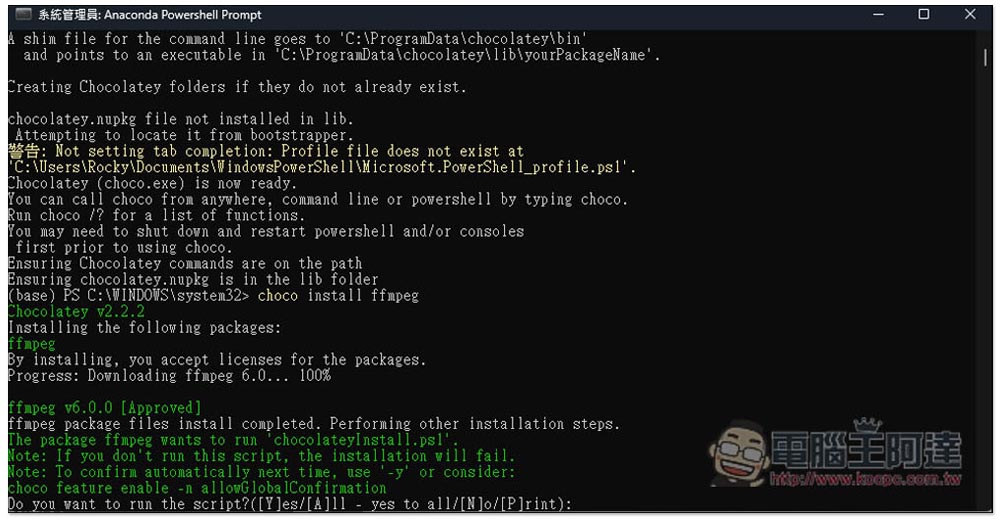
choco install ffmpeg
After the installation is complete, you will be asked if you want to enable this Script. Please enter Y and press Enter. FFmpeg is here, and then there is the Whisper model:
Before installing OpenAI Whisper, please reopen the Anaconda PowerShell Prompt. Remember to use the identity of the system administrator, and then enter the following command:
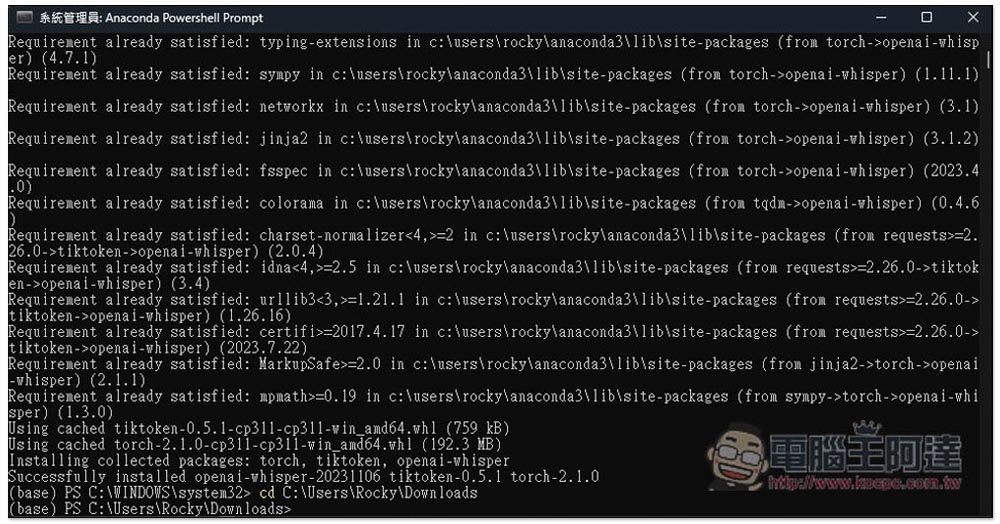
pip install -U openai-whisper
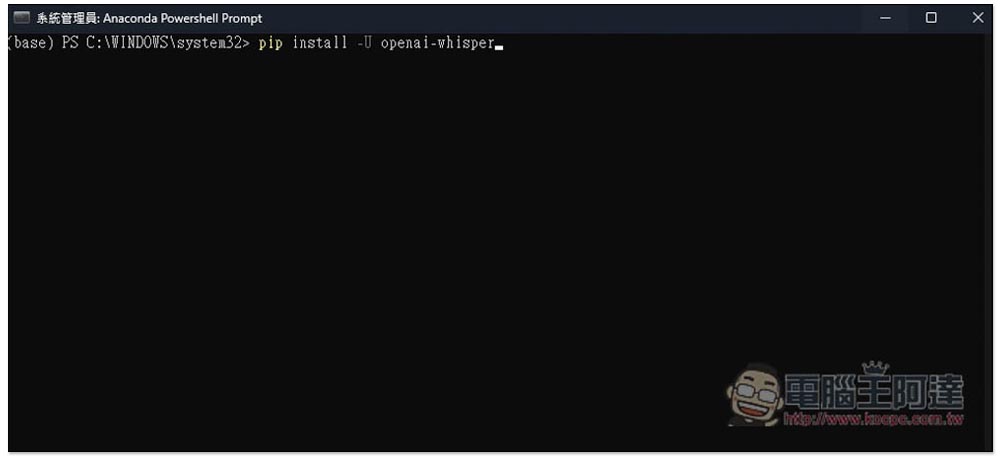
After running it, the installation steps are all completed, and you can start preparing to convert speech to text and video to subtitles.
3. Start speech-to-text conversion (not only audio files, but video files are also supported)
First, you must point the path to the file location you want to convert. For example, if I put it in the download folder, enter the following command (the command to return to the previous folder is cd ..):
cd C:\Users\Rocky\Downloads
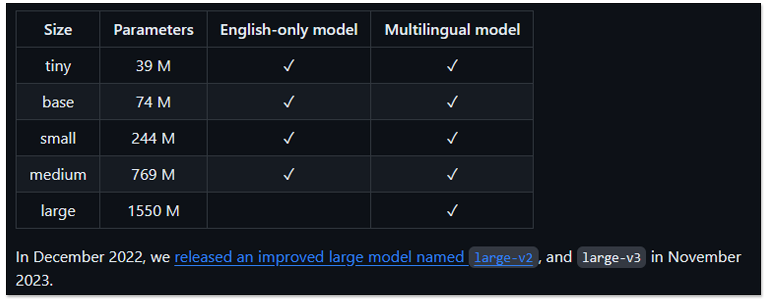
Here, first select the model you want. Whisper currently has 7 models, all of which support multiple languages. The larger the model, the more accurate the recognition will be, but it will consume more resources. Therefore, for those who do not have bad computer specifications (especially those with NVIDIA graphics cards), it is recommended to use large or above. I tested large-v2, and the latest is large-v3:
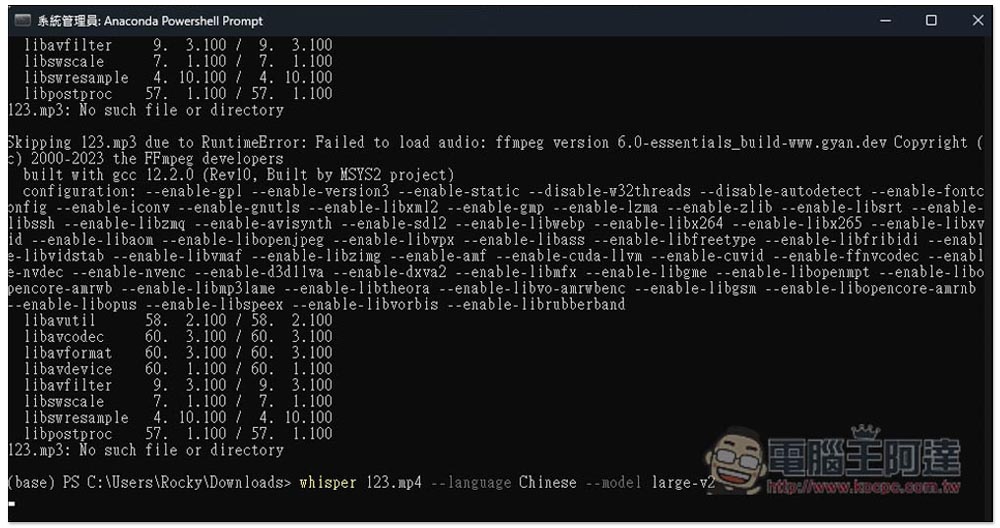
Also, be careful when converting file names. There cannot be spaces or (), otherwise the file will not be found.
After everything is fine, please enter the following command. 123.mp4 is my file name. Please change it to yours. Language will check later to see what language your source file is. For Chinese, enter Chinese and for English, enter English. Other languages are also supported. Model is the model you want to use:
whisper 123.mp4 --language Chinese --model large-v2
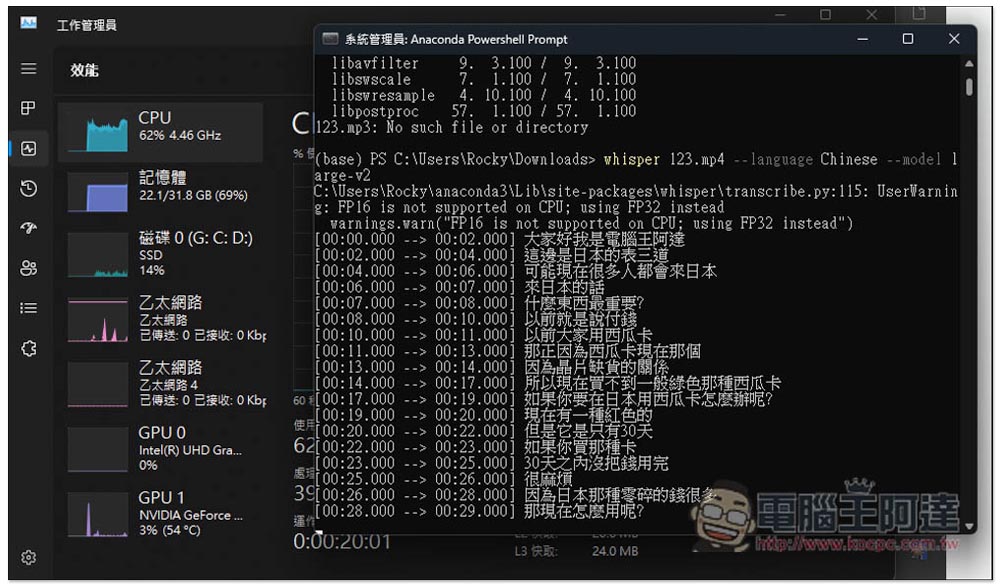
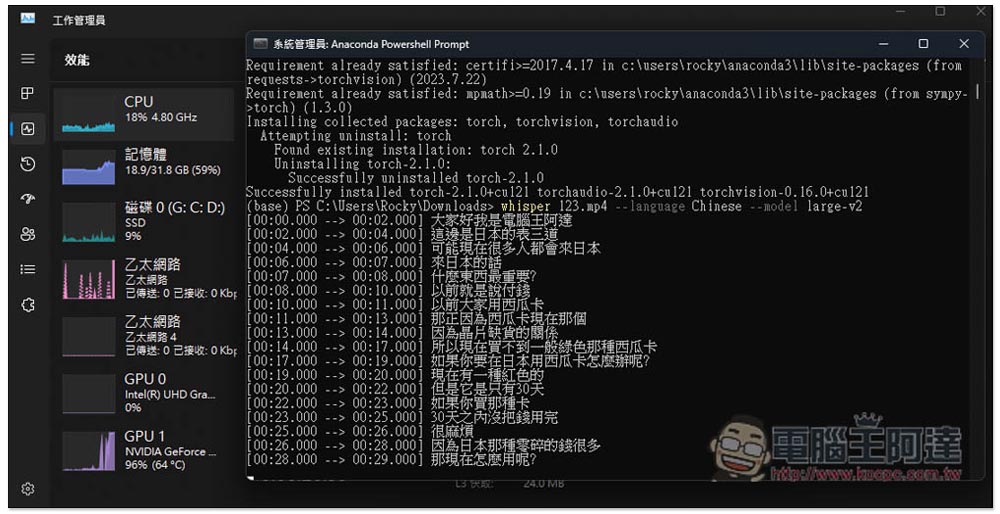
The conversion will start. The default is to use the CPU processor. You can notice that the CPU usage on the left side of the picture below increases instantly, and the GPU is not used at all. The CPU speed is really slow. My video is more than 5 minutes long and it took about 3 minutes to complete. So if you have an NVIDIA graphics card like me, it is recommended to install PyTorch (will teach you below). It is much faster. Mine is an RTX 3080 graphics card, and it only takes 5~10 to complete:
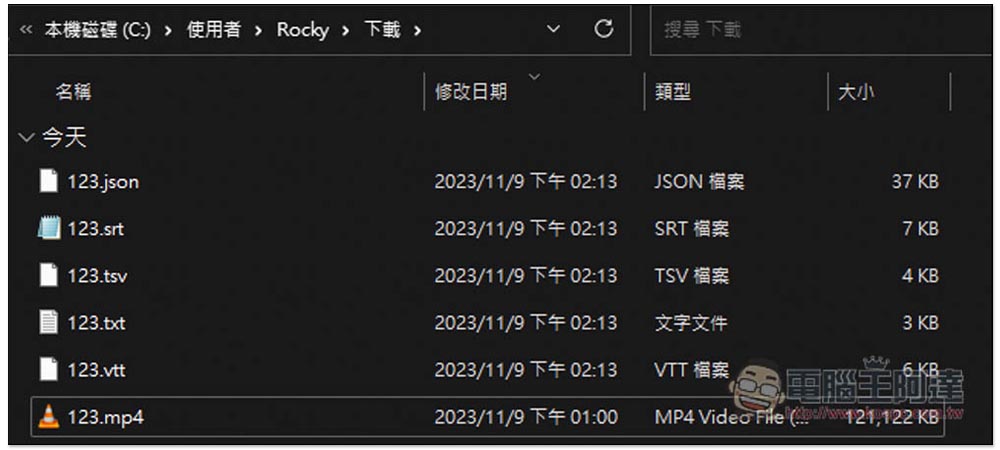
After the conversion, .json, .srt, .tsv, .txt and .vtt formats will be automatically created in the folder of your file. You can decide which ones to keep according to your needs:
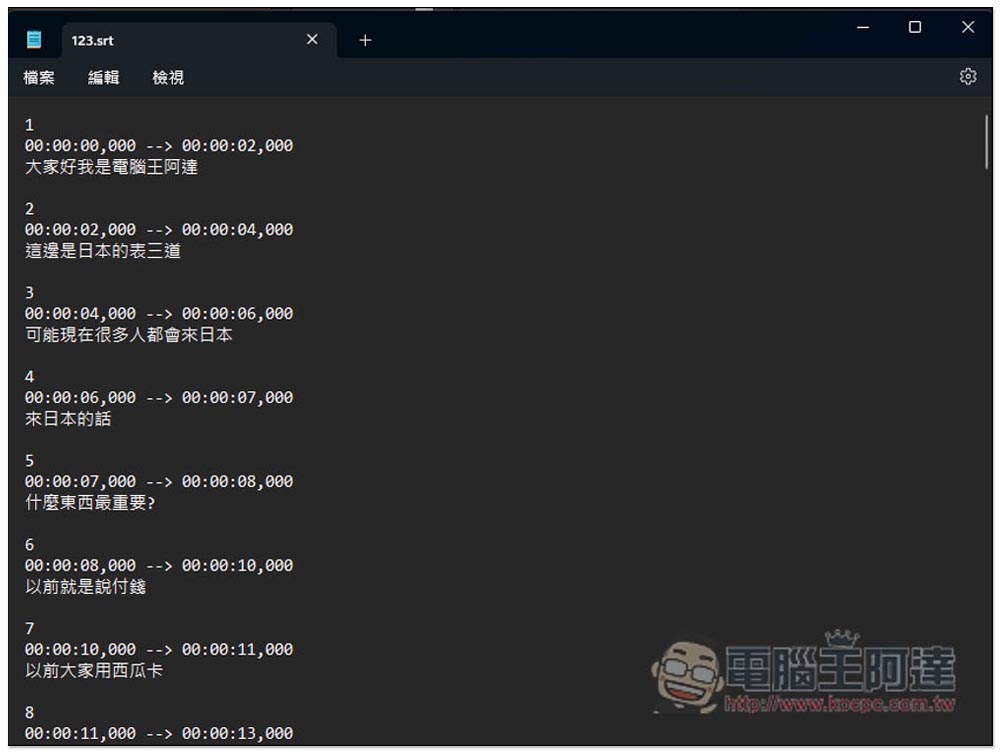
SRT subtitle files can be used directly without modifying anything:
4. Option: For those with NVIDIA GPU, it is recommended to install PyTorch
First come first PyTorch this page, choose the one that suits youVersion(CUDA 11.8 or CUDA 12.1), other settings can be the same as mine, then Run this Command below will display the installation instructions, copy it and paste it in the Anaconda PowerShell Prompt (remember to use the system administrator to open it, simply speaking, all installations require this identity). Below are the instructions for CUDA 12.1:
pip3 install torch torchvision torchaudio --index-url https://download.pytorch.org/whl/cu121
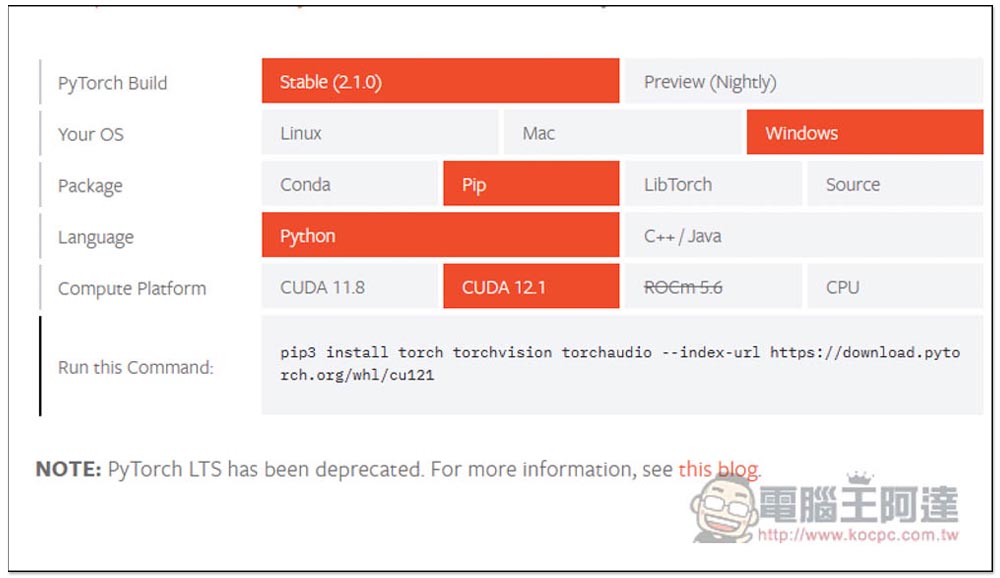
Press Enter after pasting:
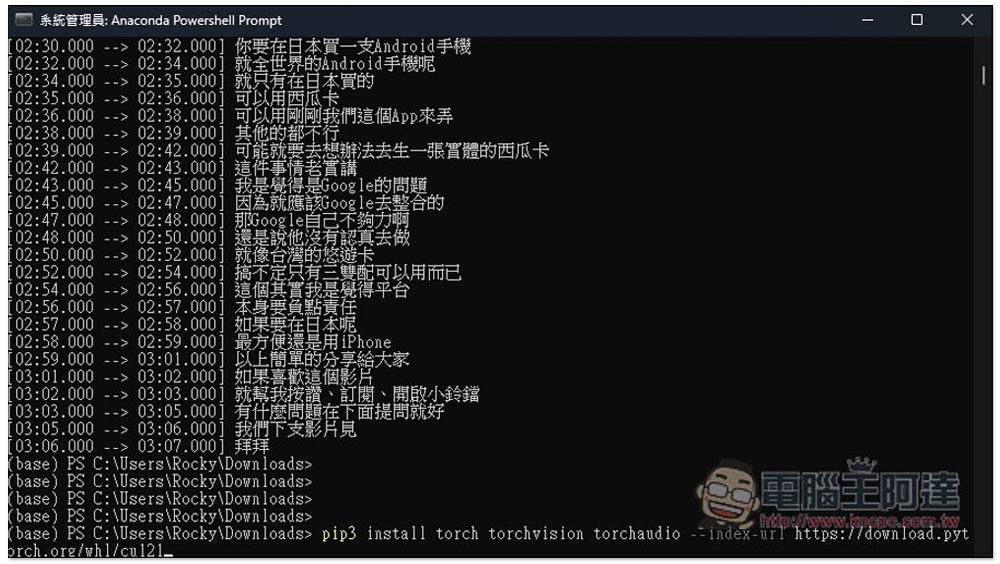
Once the installation is complete, you can start the conversion:
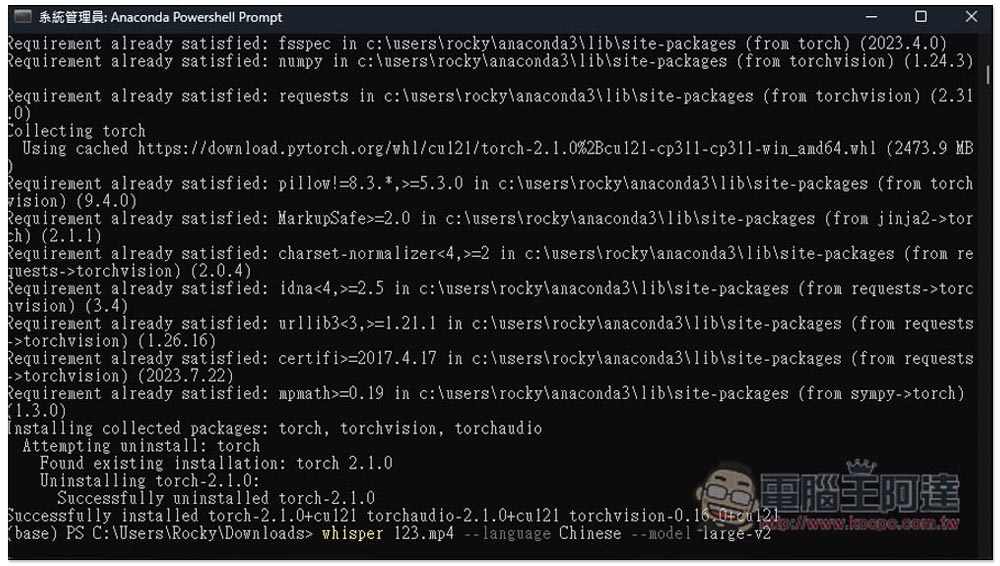
After PyTorch is installed, it switches to using the GPU. The GPU on the left side of the picture below instantly rises to 100%, which is super fast and can be completed in an instant:
Summarize
The above is how to install and use OpenAI Whisper on Windows 10/11 computers. If you don’t want to use it in the future and want to remove it, just go to the new removal program and remove Anaconda and PyTorch.
Source: KOCPC Chinese