


Today I want to teach you a little trick on Adobe Premiere. Generally speaking, when making a video, we will add a soundtrack to set off the video. For example, when we usually shoot unboxing and introductions, this type of video will basically just add a soundtrack, which will not make the video follow the rhythm.
But if you want to present shooting samples, film materials or B-roll of aerial scenes, most of them will let the materials follow the beat of the soundtrack, so that the materials and the soundtrack have a perfect combination. As for making the material follow the correct soundtrack beat, I think most people adjust the length of the material while listening to the soundtrack. To be honest, it is a bit labor-intensive. In fact, as long as you mark each section of the soundtrack in the early stage, the material can be inserted more easily and quickly in the later stage. This is what we are going to teach today:
Music node teaching
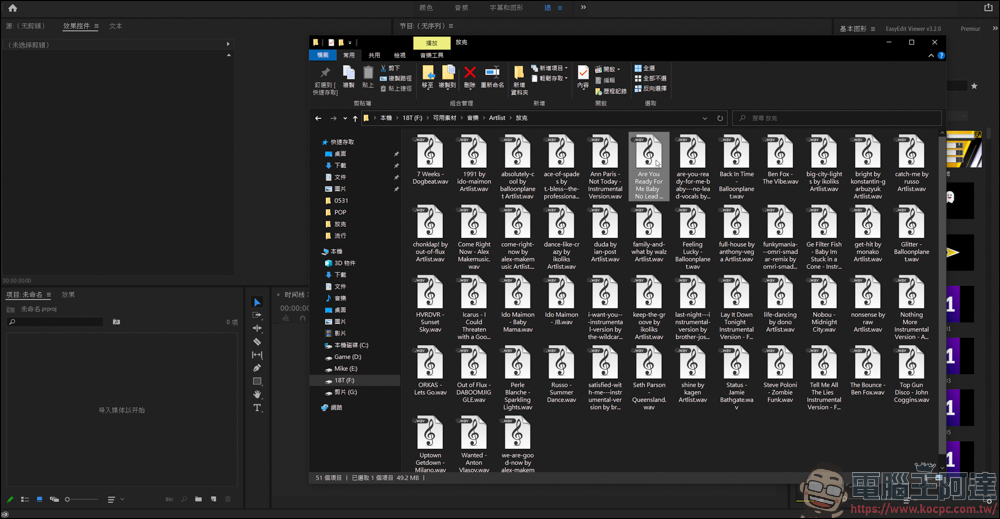
As usual, open your Premiere first, and then choose a soundtrack you want to use for the video:
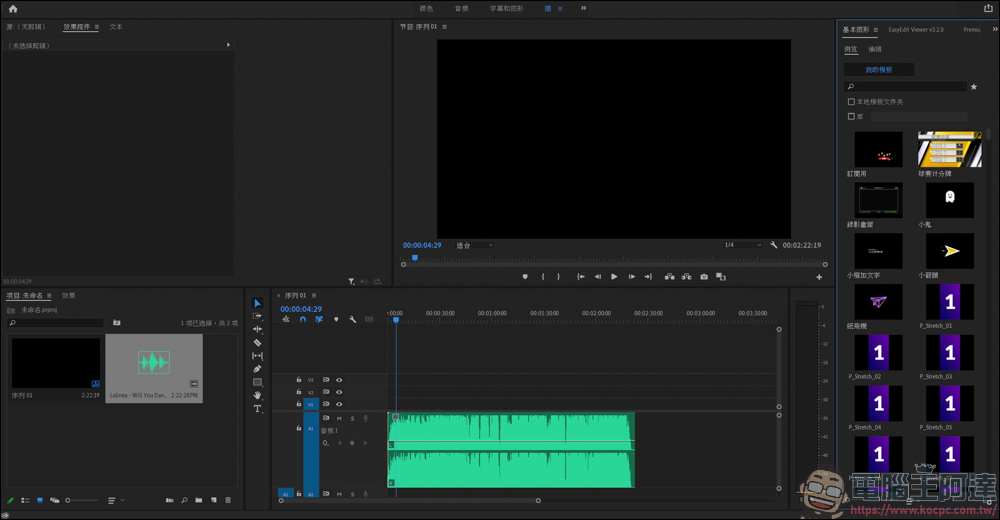
Then create a sequence that brings the music closer to the clip:
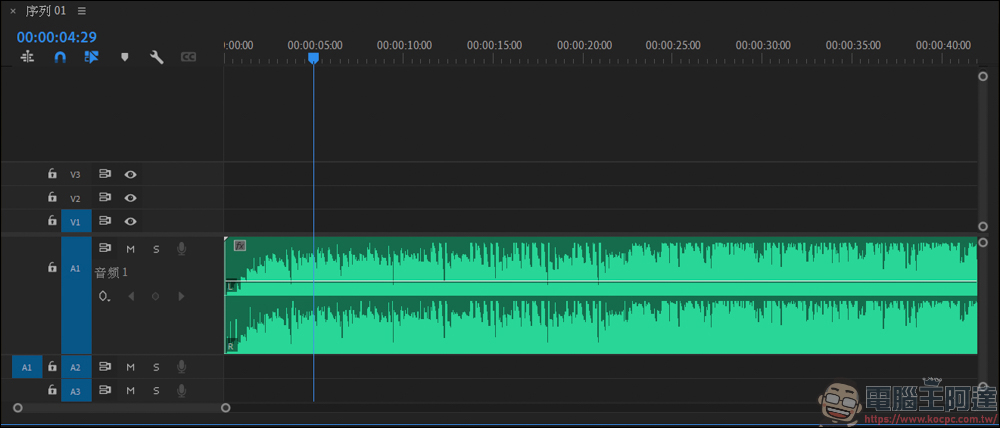
Just move the mouse pointer over the clip list and press Alt + mouse wheel to zoom in and out of the timeline:
How to mark?
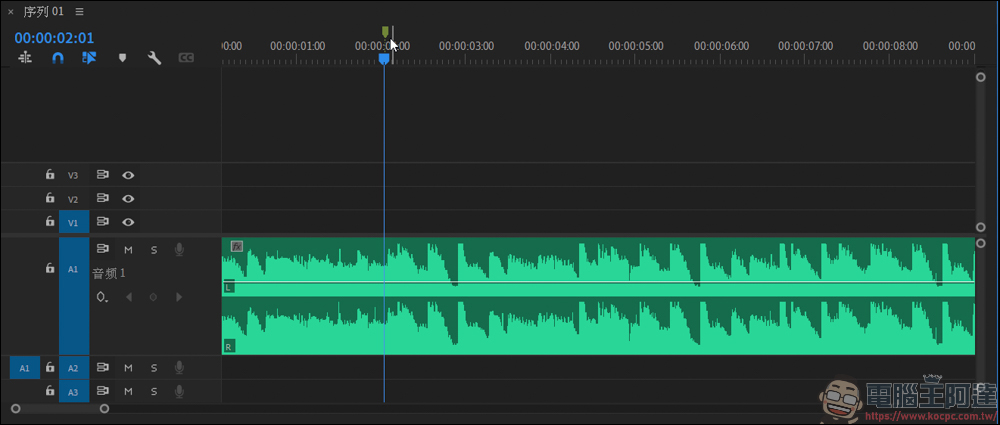
The marking function is very simple. Just press “M” to create nodes. However, the position of the marking will change depending on the position you click. For example, in the picture, I did not click on any material, but just clicked on the entire clip column. At this time, I press M, and the node mark will only appear on the timeline above:
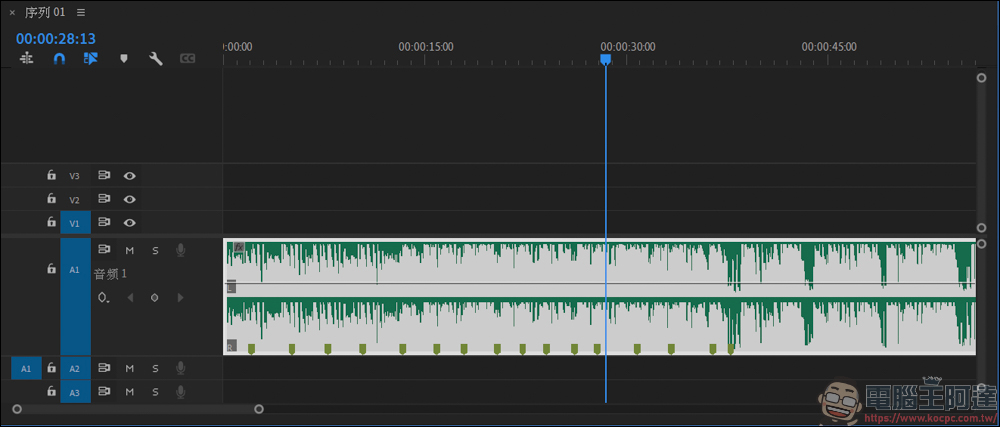
On the contrary, if you directly click on the material and press M on the blue selection bar, it will set a node mark at that position. It is feasible to mark while listening to this piece of music. In this way, you can mark nodes according to the ups and downs of the soundtrack, making it easier to record where you want to place the next material:
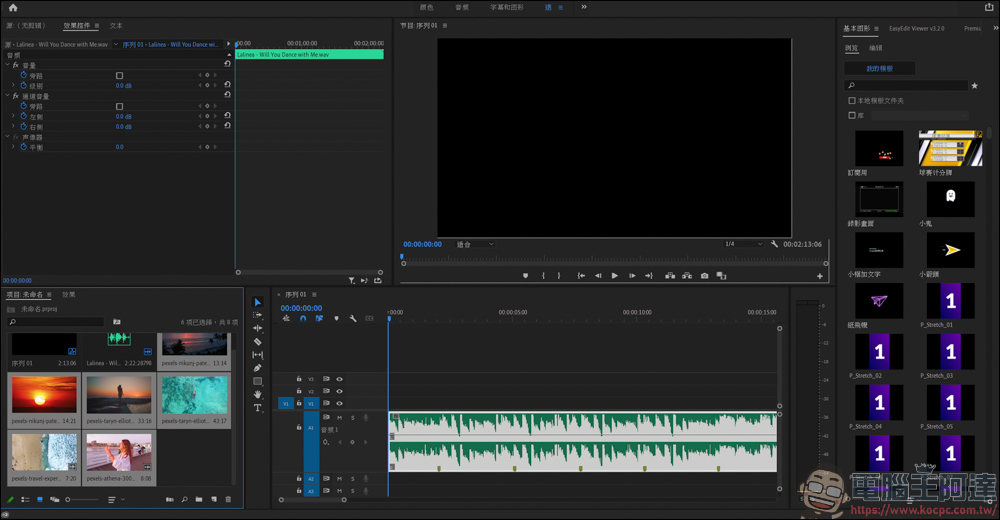
Then read in the material we are going to edit the video:
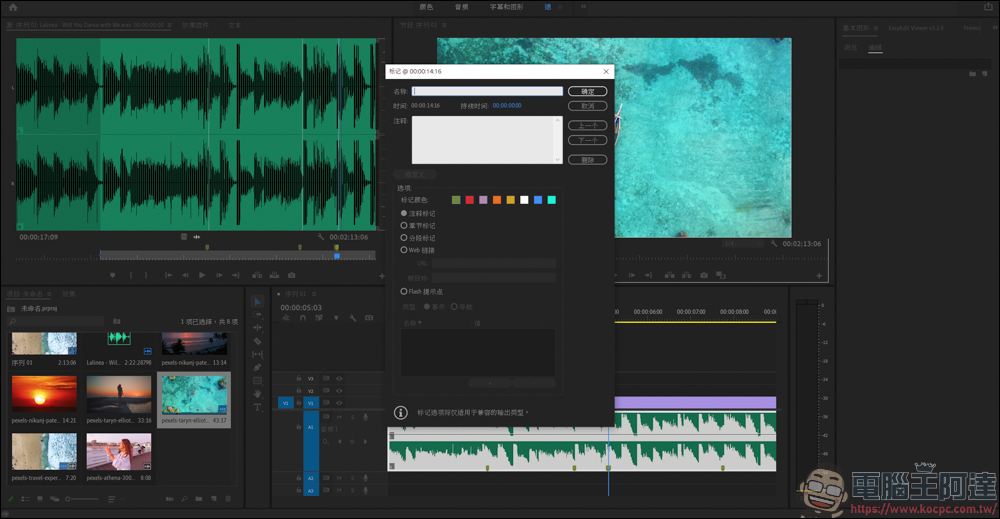
When editing, you find that the node is wrongly placed. You only need to click on the material and press M again to delete it. After pressing the M function at the same time, you can also change the node color and mark the node:
Then you can add your material according to the node mark. One advantage of using node mark is that when you adjust the length of the material, a black line will appear at the position of the node. This black line is the stop point of the node, which facilitates you to adjust the material:
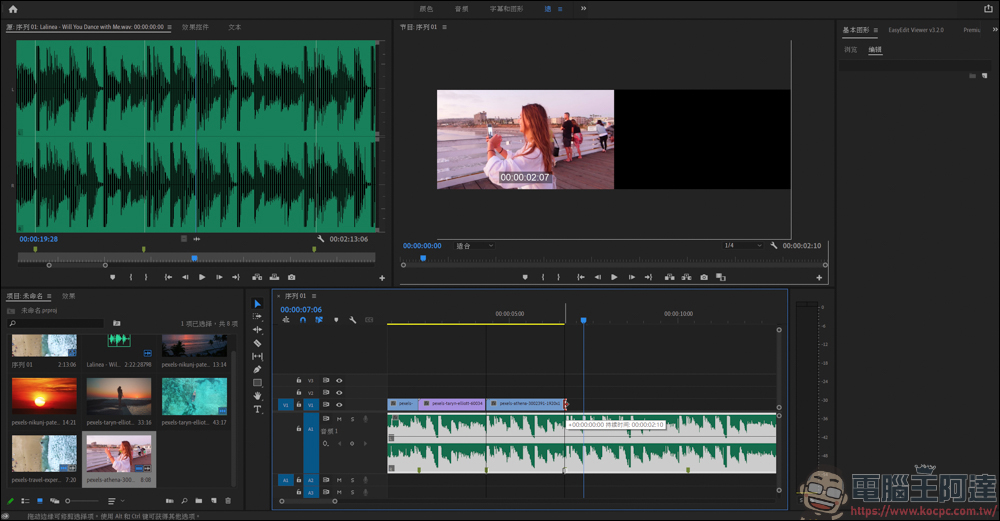
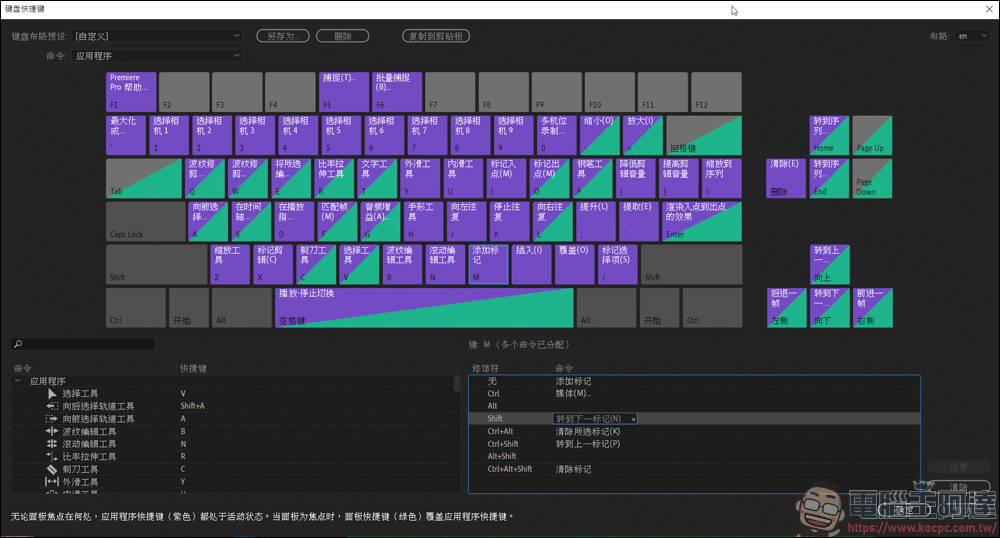
It is a bit difficult to accurately align the node markers by dragging the pointer alone. In this case, you can use the default shortcut keys (you can also reset them yourself). The default shortcut keys for moving to the upper and lower markers are Shift and Ctrl + Shift. If you want to quickly delete, use Ctrl + Alt + Shift:
After you learn the node marking function, you will save a lot of effort when making videos where the material matches the rhythm of the soundtrack, and you can also adjust the length and position of the material more accurately. This is a very practical tip:
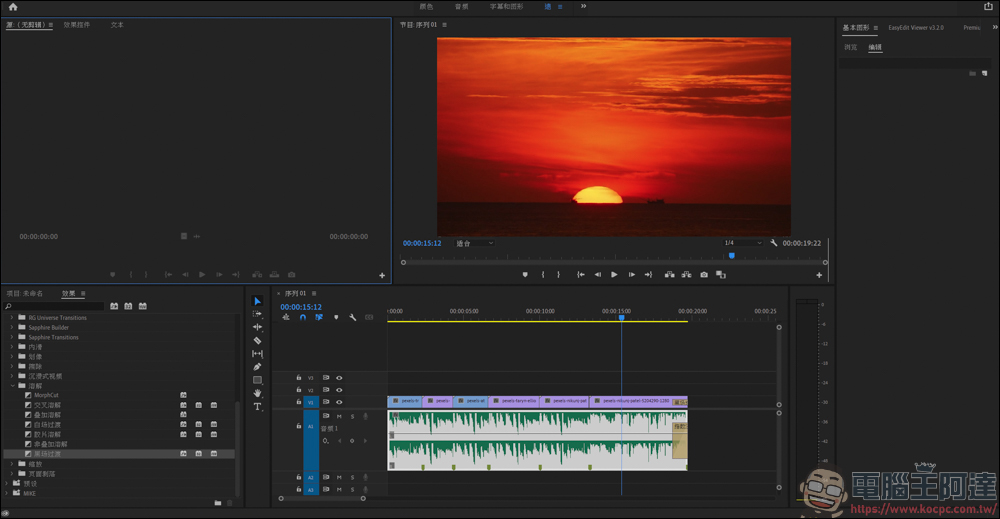
Here is also a quick demonstration video for everyone to see:
Source: KOCPC Chinese