


When writing articles, I often need to take screenshots of web pages. Although direct capture can be used, I always feel that it is not that good-looking, and it is too time-consuming to edit with software such as Photoshop. Originally, I used Screely, but it is still not very sophisticated. Recently, I discovered another and better TinySnap extension function. After taking screenshots, the quality is super high, and there are many color background options, including the outer frame (Windows or Mac) style), and also provides many editing tools. If you, like me, often need to capture web pages, this one is highly recommended.
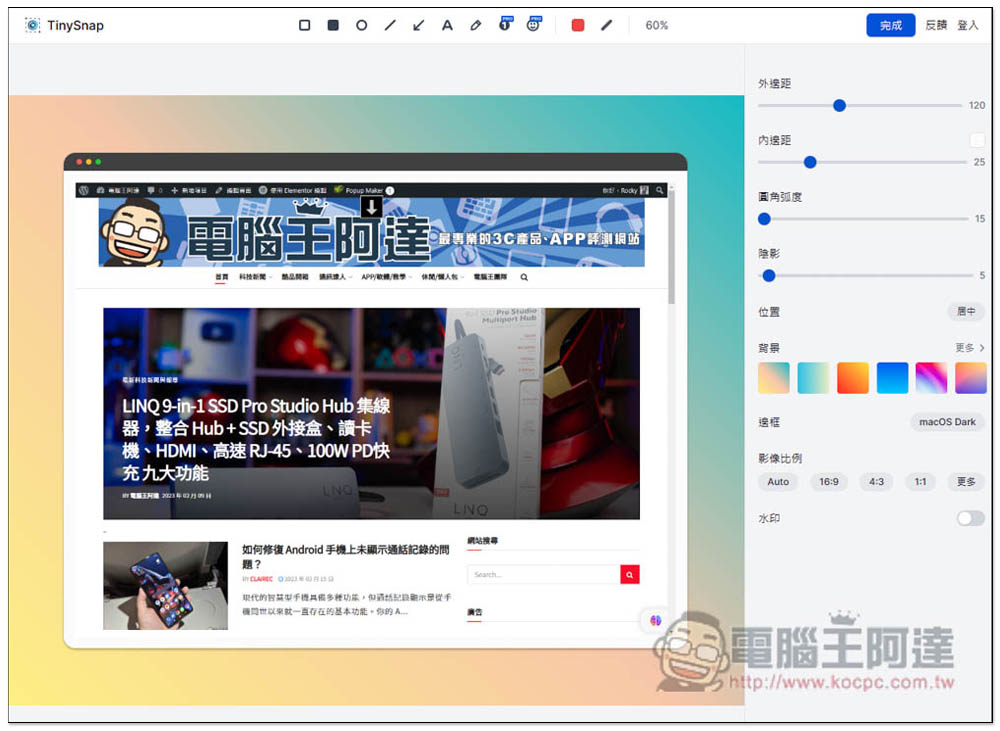
TinySnap makes web page screenshots more refined and beautiful with extended functions and provides various editing tools.
- Click me to go to the Microsoft Edge Extended App Store
- Click here to go to the Chrome Extension Store
TinySnap has Chrome and Microsoft Edge extensions, and the usage methods are the same. I use Edge as an example.
After entering the Microsoft Edge extension app store page, click Get in the upper right:

A message will pop up above, click “Add extension”:
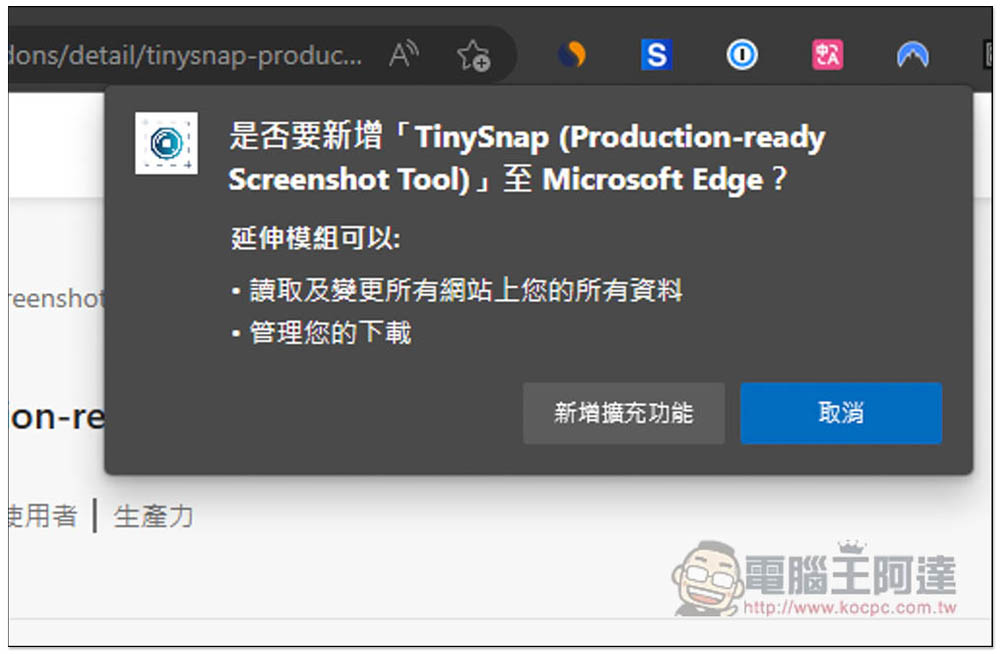
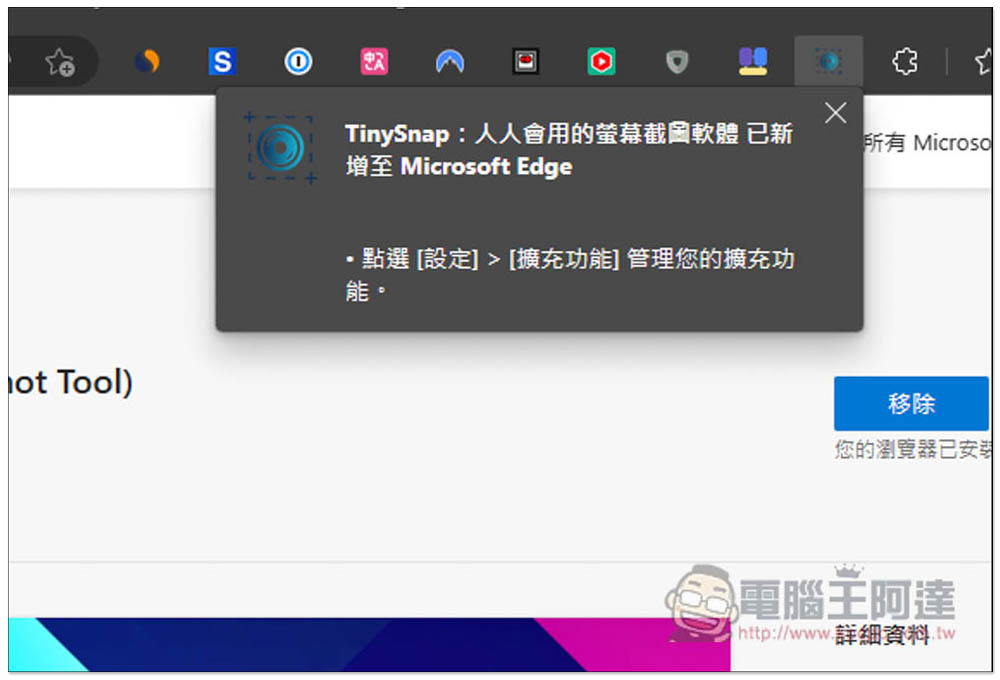
Displaying this message means it is complete and the addition has been completed:
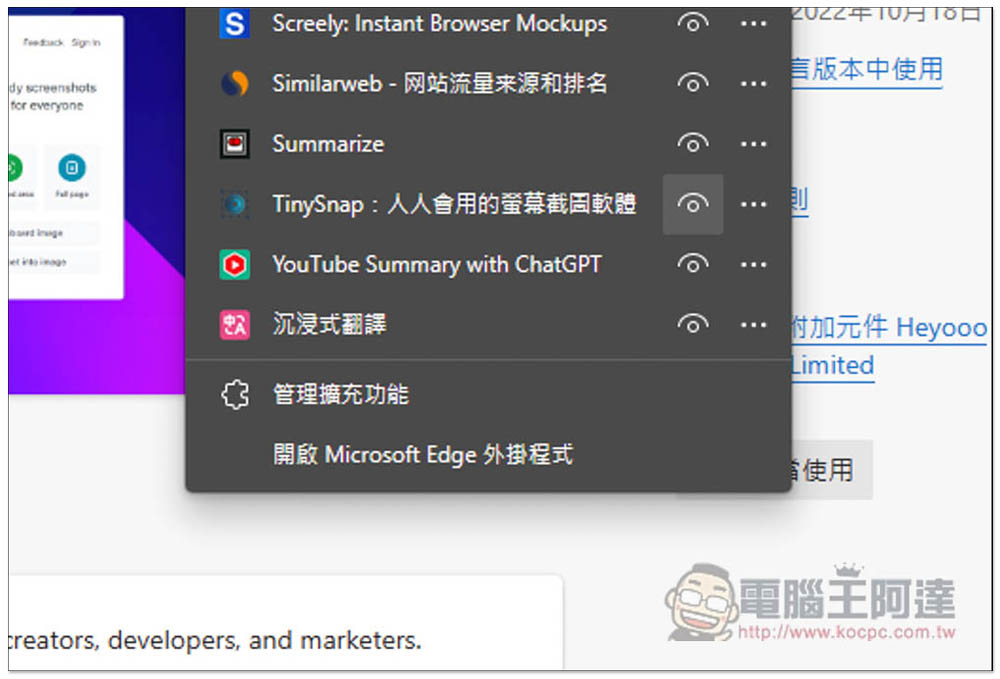
The default browser will hide new extensions. Open the puzzle icon on the far right. After finding TinySnap, open the left eye so that it will be displayed in the upper right corner:
When you want to use it, open this extended function and select the mode you want. There are three types, “visible area”, “selected area” and “entire page”. The visible area is the web page currently displayed by the browser. The selected area is for you to circle the range to be captured. The entire page is used for long web pages. It also supports the use of local images and the conversion of program codes into images:

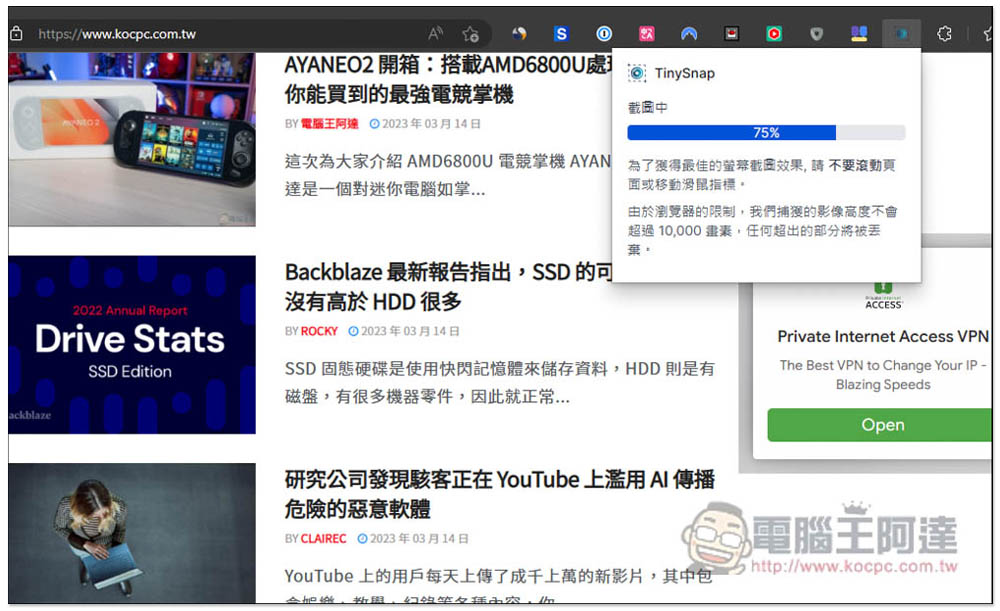
The screenshot process of the entire webpage will take time. No matter which mode is used, please do not move the mouse or scroll the webpage when capturing. Simply put, just wait for it to finish:
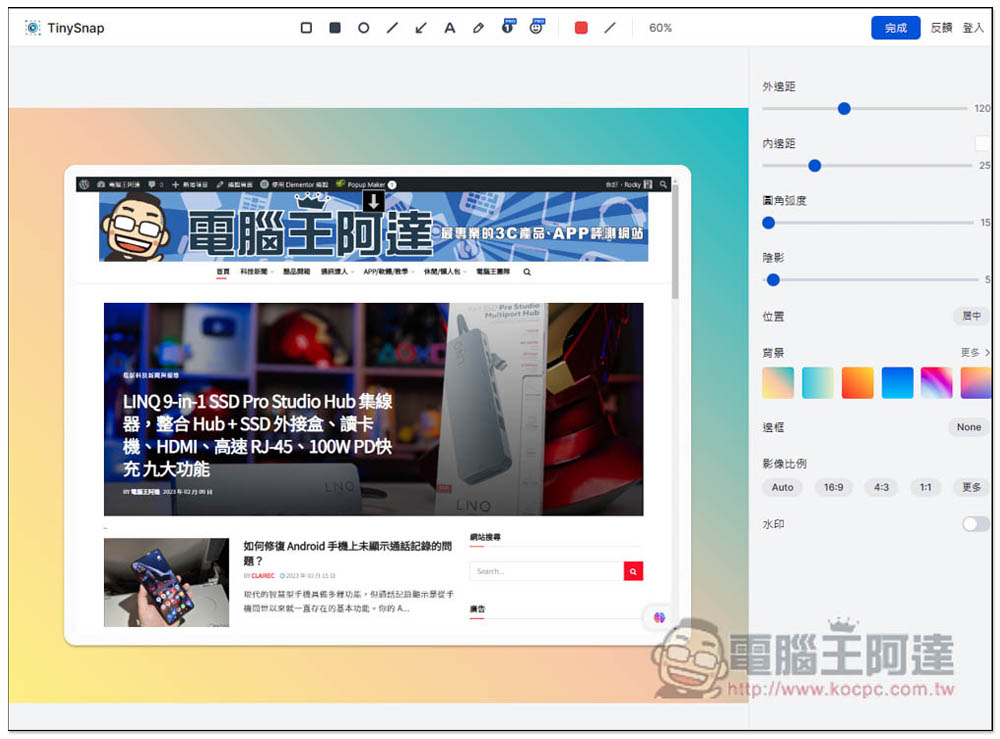
I use the visible range. After cutting, it will automatically enter the editing background. There are many options on the right that can be adjusted, including: margins, padding, fillet arc, shadow, position, background, border, image ratio, and watermark:
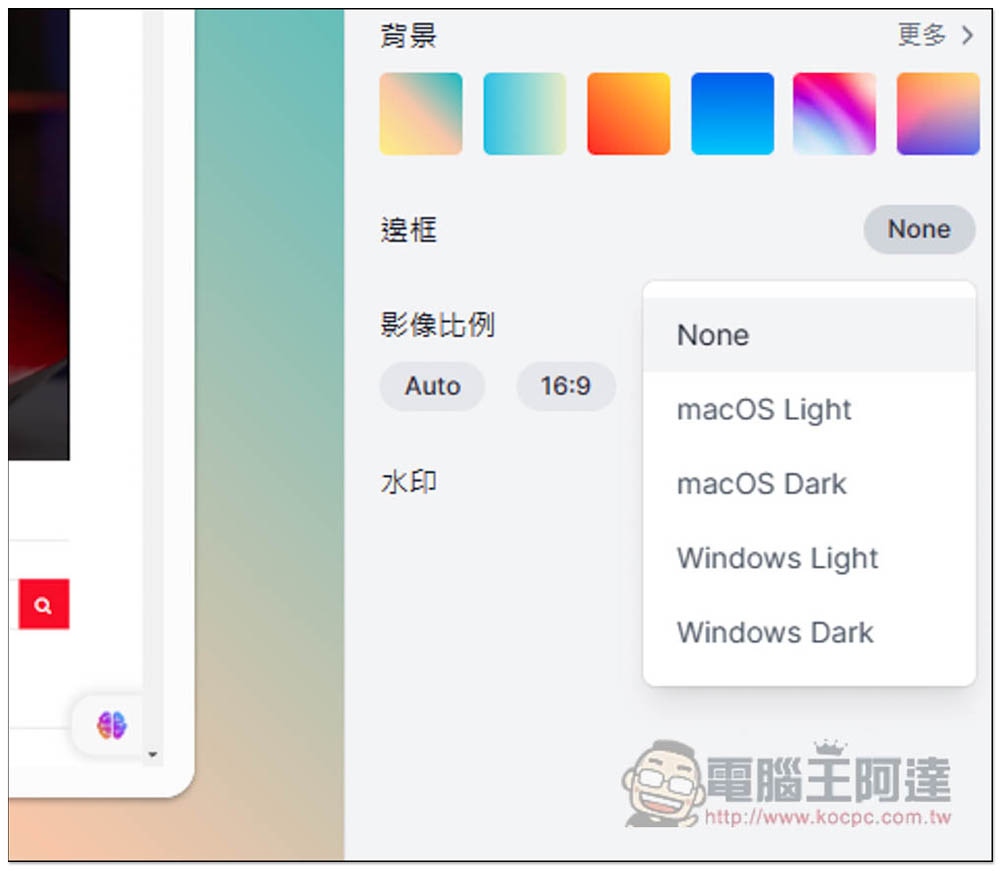
There are four bezel options, macOS Light, macOS Dark, Windows Light, and Windows Dark:
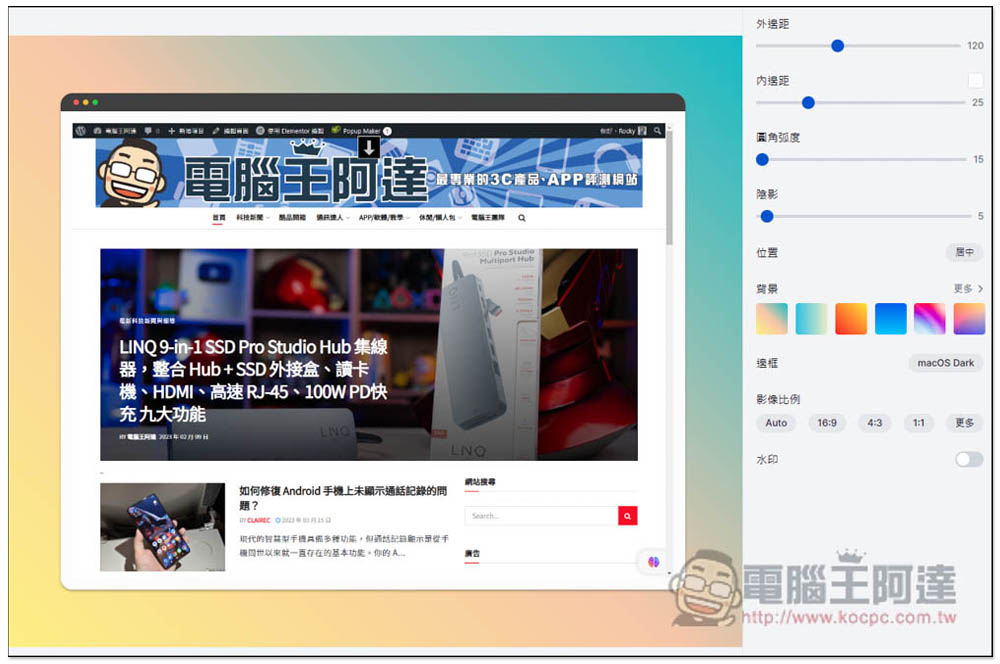
Even if you don’t have a Mac, you can still create a screenshot of a Mac-like window:
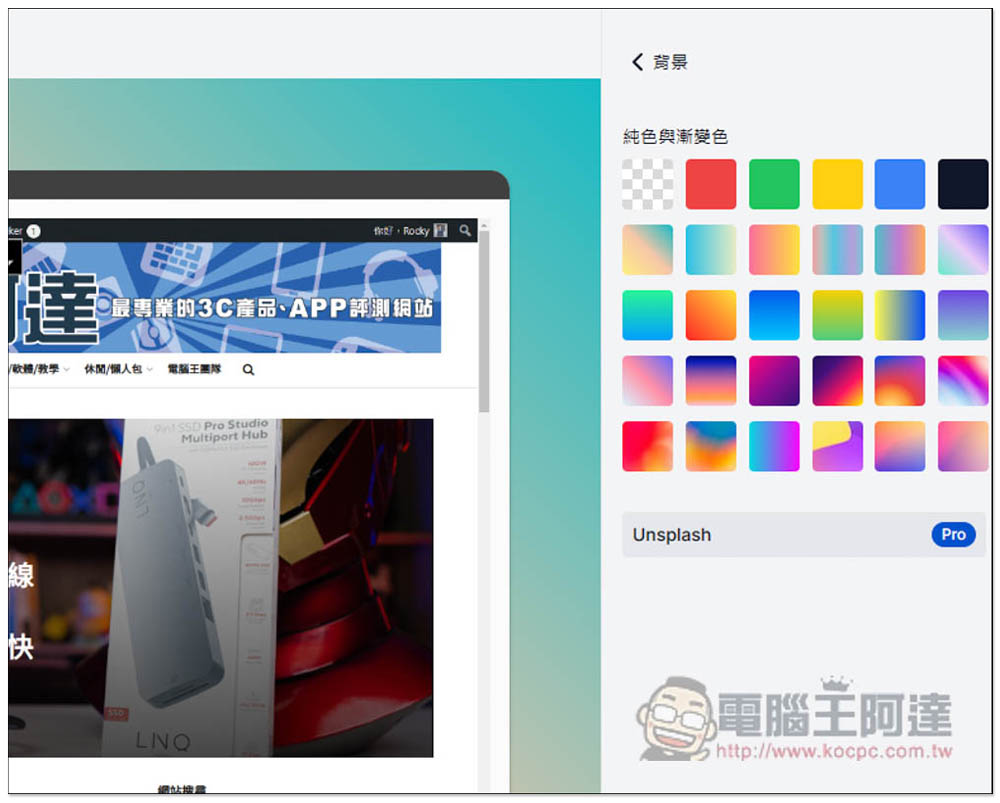
There are also many color choices for the background, each of which is very textured. Pro users can also connect to the Unsplash free gallery:
There are many editing tools above, such as arrows, allowing you to mark the key points of the screenshot. There are also text, pencils, circles, frames, etc. The texture part is only available to Pro users:
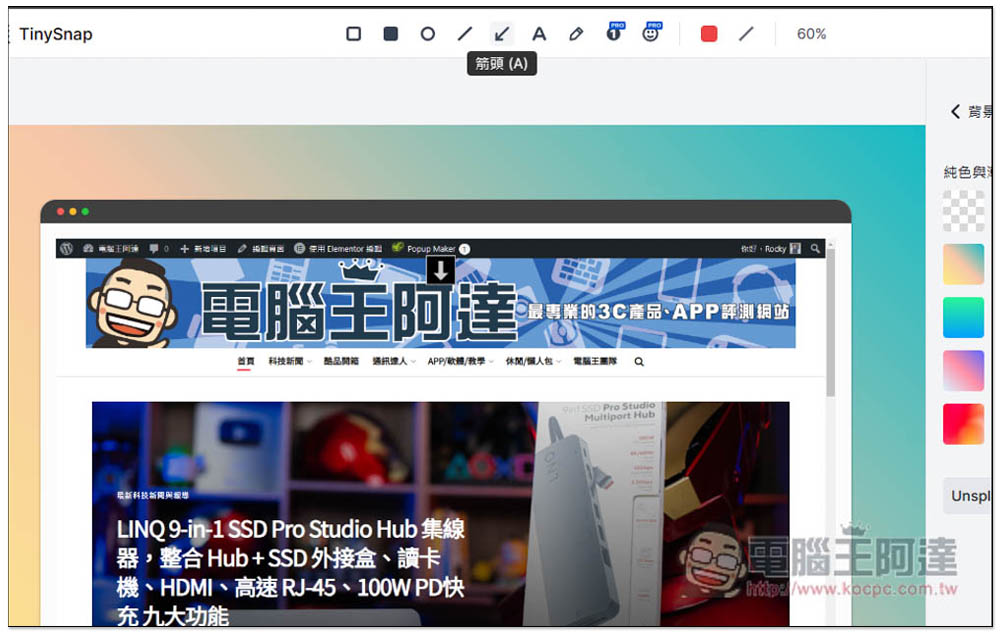
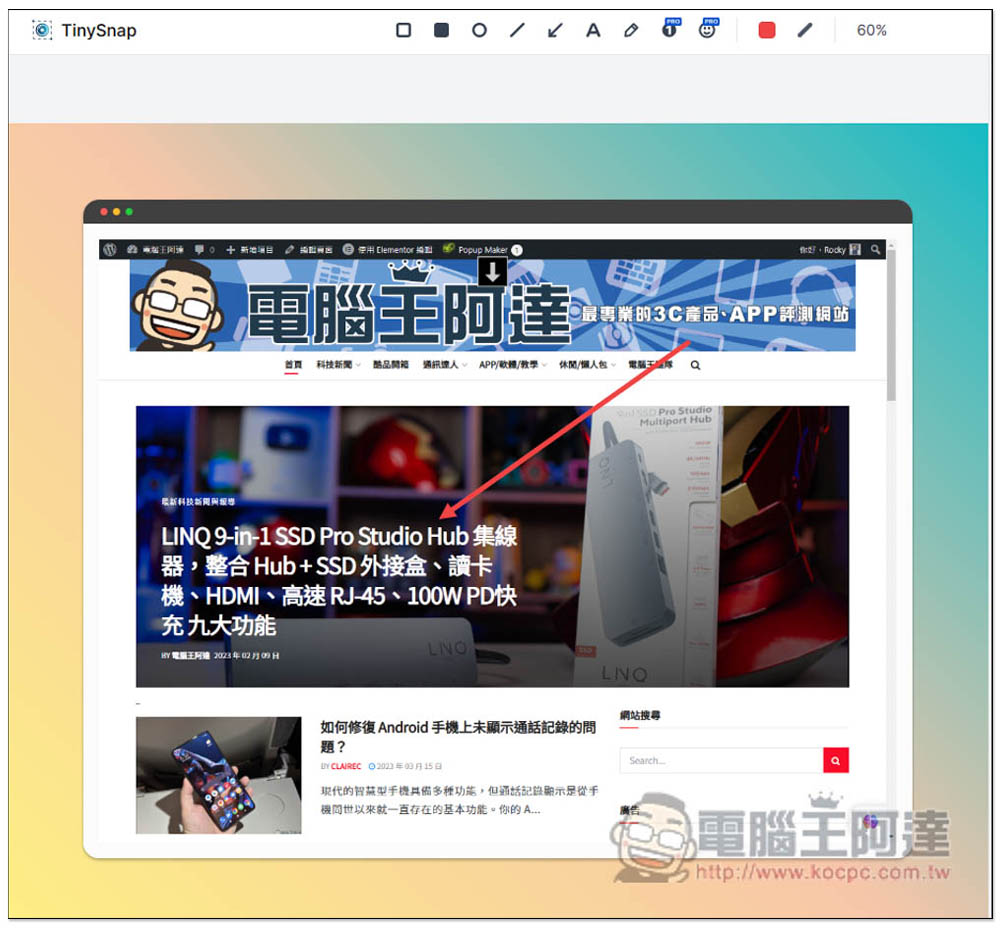
Like this, use arrows to mark the key points you want, and you don’t need to use other editing software to create them. This is really convenient:
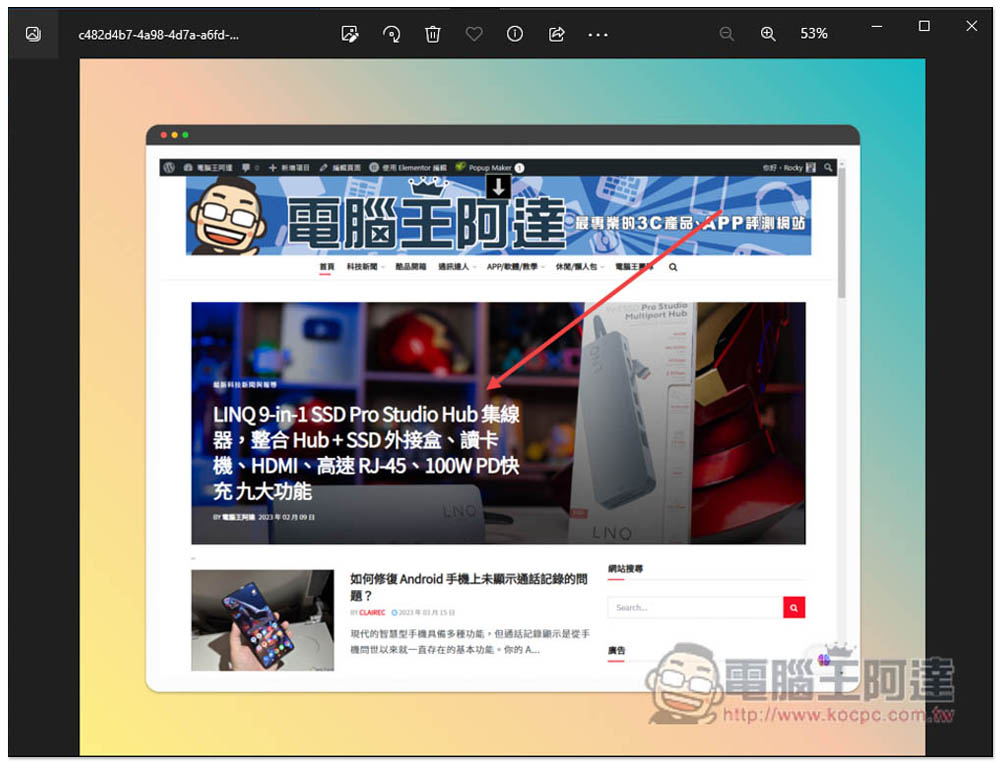
After making it, press Done and you can download it. It is a high-resolution large image with no watermark. People who often need to take screenshots of web pages really recommend this tool. The quality is super high:
Source: KOCPC Chinese