


Apple’s Macs are great productivity tools. In fact, many creators rely entirely on MacBook Pro because it combines functionality and portability, allowing you to get the most out of everything at once. If your work content tends to involve a lot of text input, you will often switch between the various built-in fonts in order to make more customization for the text content you are working on. But many Mac users don’t know that macOS also supports third-party fonts.
How to install, remove, and disable third-party fonts in macOS?
Installing and using third-party fonts in macOS is a little different from Windows, but the steps to install fonts in macOS are not difficult. Whether you are using macOS Ventura or an older version, you can follow the steps we teach you today and enjoy using more personalized fonts in supported applications!
- Buy and download the fonts you want from reliable sources. Please be careful not to be greedy for petty infringement. Computer King Ada has previously shared many free fonts with open authorization. You can refer to them (Click here)。
- Open the Finder folder and go to “Downloads” to find the downloaded font file. The most common extensions of font files are .OTF, .TTF and .FNT, and you can easily see them.
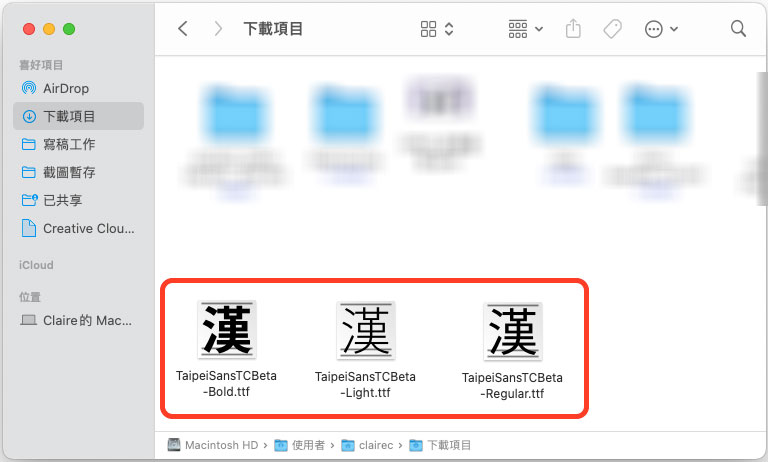
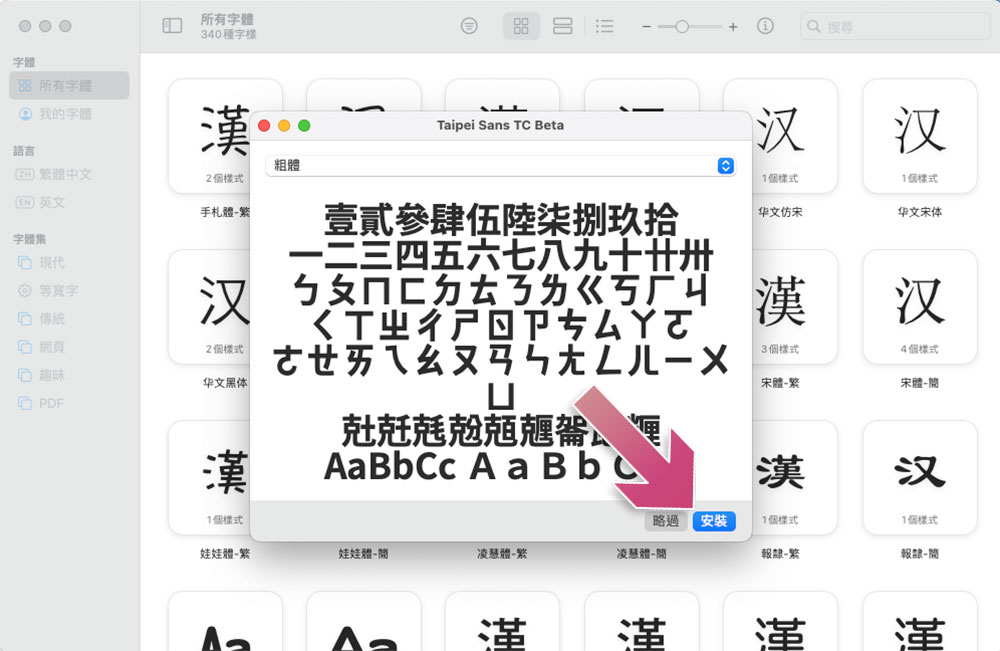
- Double-click on the downloaded font file, and the system will pop up a preview to confirm that you really like the font and want to install it. The system will automatically verify whether it can be installed. After verification, click “Install” in the lower right corner.
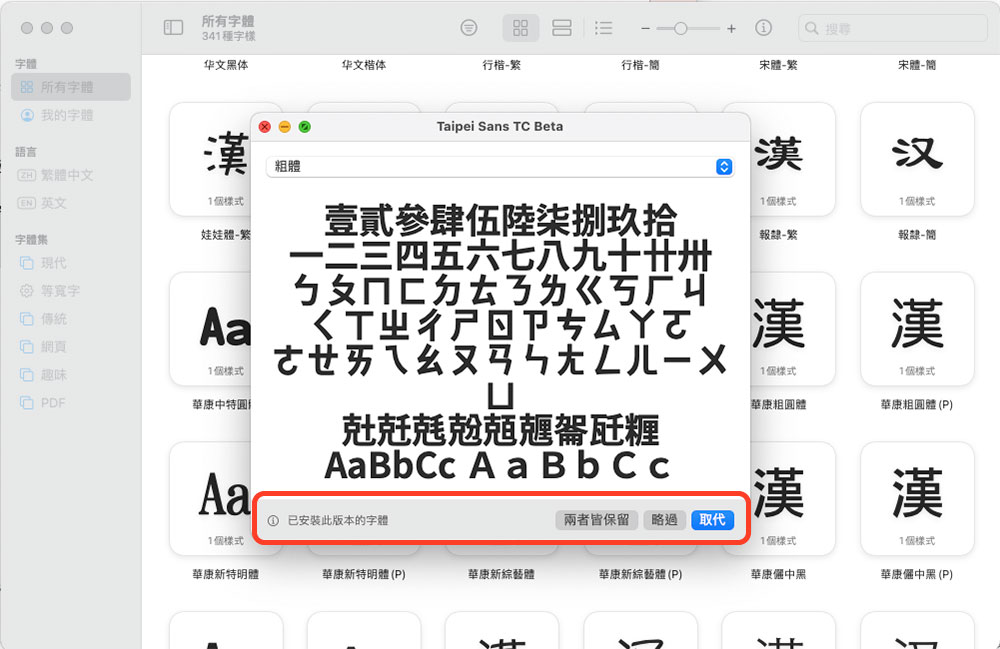
- If the font you select this time has been installed in the past, you will see an installed prompt below and ask you whether you want to keep or replace the originally installed version.
- Just wait a few seconds and the installation will be completed. Then you can use it on applications that support font changes, such as Pages.
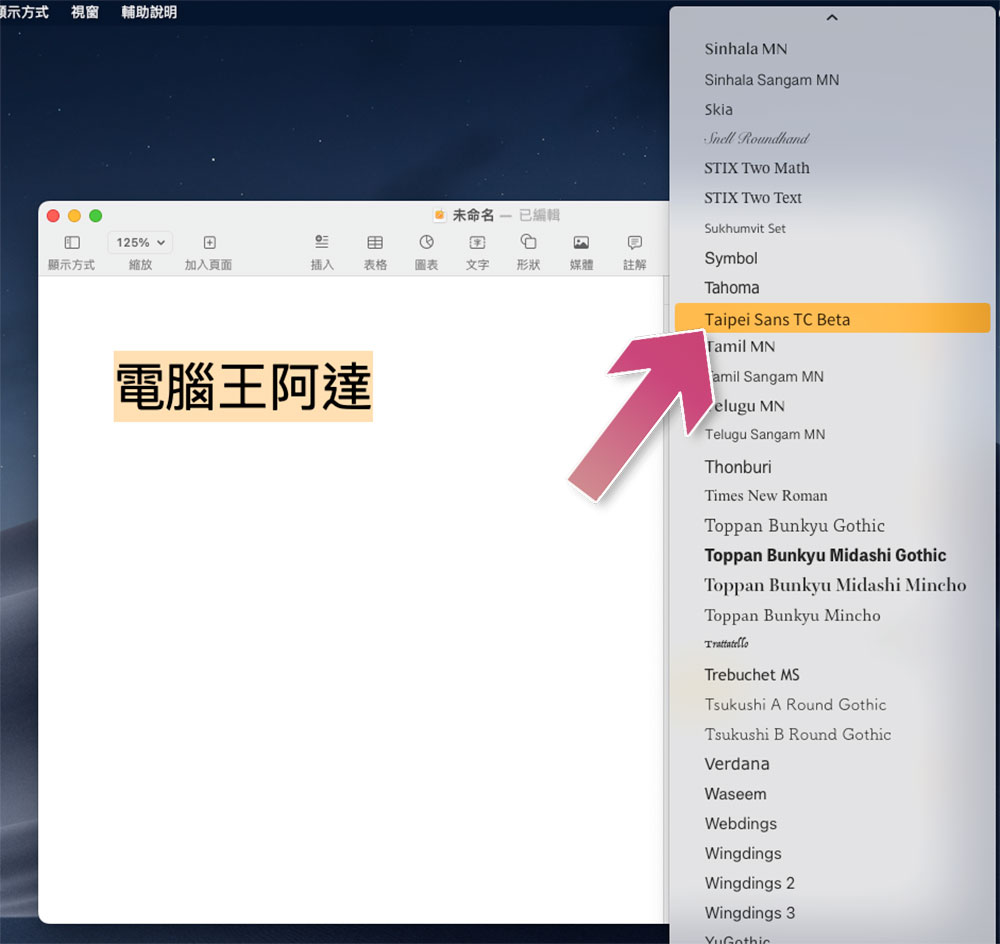
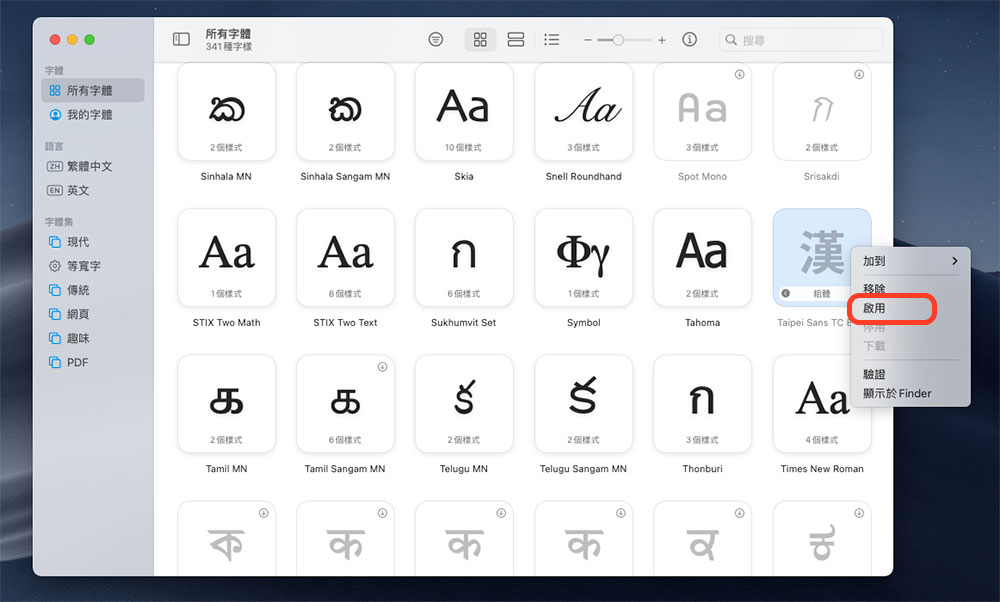
- If you want to install the standard, thin, and bold fonts of the same font today, click “Keep Both” during installation, and the system will classify them in the same folder. Then find the font in the font book, right-click on the icon, and select “Enable” to enable three styles at once. The option will only appear in applications such as Photoshop and Pages where font thickness can be selected.
When you want to remove or disable a specific font…
If you want to organize your fonts so that you don’t end up with a bunch of them every time you select a font, most of which you haven’t used at all, you can remove or deactivate (not show up but still keep on your computer) specific fonts from the font book.
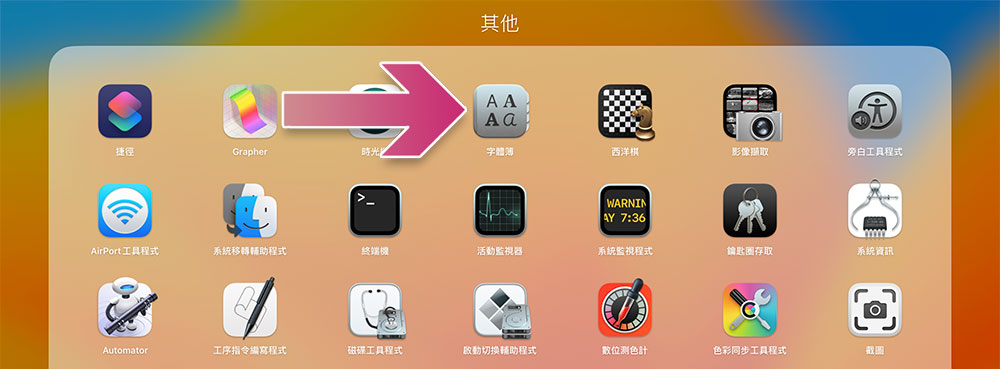
- Find the “Font Book” from the launcher. There are four A’s on the icon which are easy to identify.
- Right-click the font you want to remove or deactivate, and then you can choose to remove or deactivate it. The difference between the two is that the former is completely deleted from the computer, while the latter just does not display but still remains on the computer. As a reminder, system fonts cannot be removed or disabled!
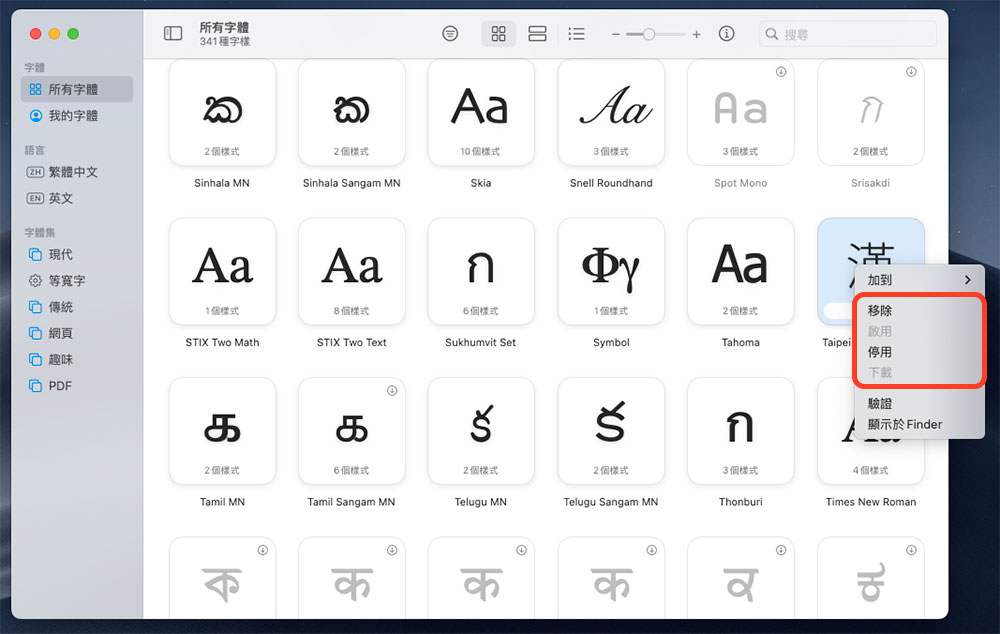
- When a disabled font is in the font book, its icon will change from black to gray, making it easy to identify.
Now you can use third-party fonts when working with text in your favorite apps. I would like to remind you again, please make sure to download fonts from reliable sources to avoid containing malicious files. If you receive a warning from macOS when trying to download or install a font, be sure to abort the process, delete the file, and list the website from which the file was downloaded as denied.
Source: KOCPC Chinese