


You must have seen various product photos on e-commerce websites. Regardless of the quality of the product, the beautiful appearance of the product is a big plus. In fact, this is all because they have a mini studio shooting product. This article would like to share with you how to make a DIY small light box at an ultra-low cost.
The picture below is a super cheap light box I made. Inside is a moss jade that a friend borrowed from me. Is the effect as good as the product photos on the Internet?
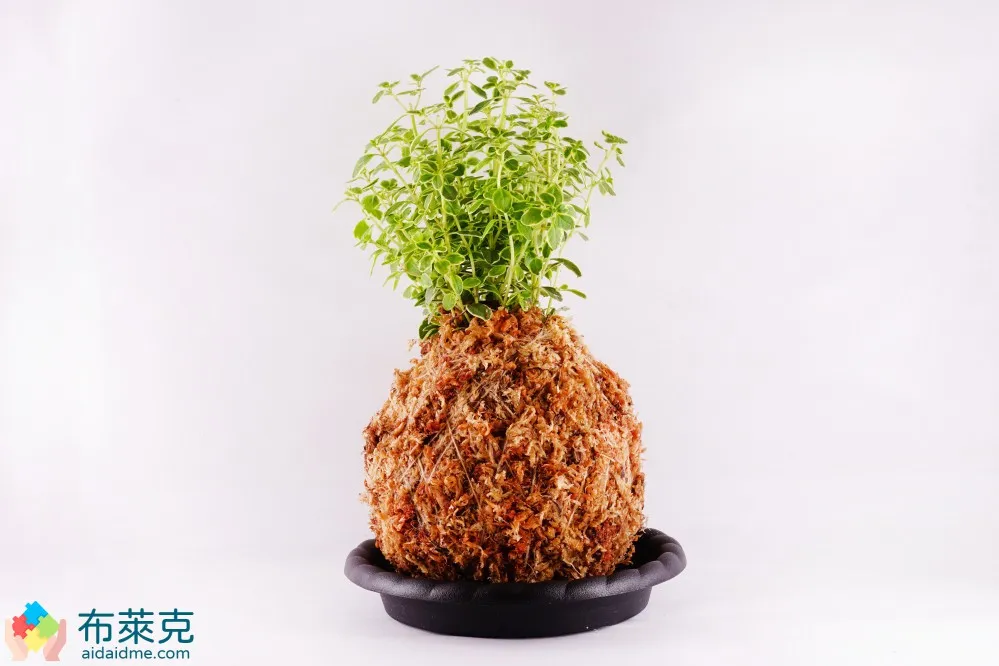
▲ Picture 1: Moss jade
If you think the content of the article is helpful to you, thenSubscribe to my contentBar! It’s free! When I publish a new article, it will be pushed to your inbox immediately. This is the easiest and most convenient way to encourage me!
What are the advantages and disadvantages of a mini photo studio?
In order to save everyone’s precious time, the editor has compiled the advantages and disadvantages of making or buying a small photo studio. If you don’t want to do some handicrafts, you can just buy ready-made ones.
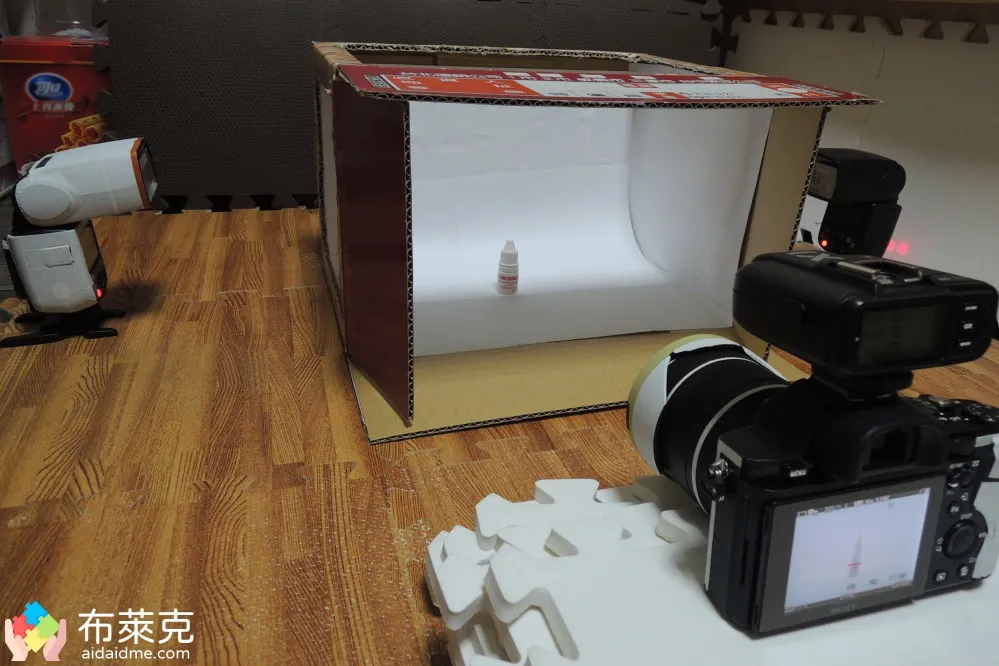
▲ Picture 2: Self-made small photo studio
- super cheap price
- Light and easy to store
- Item size is not limited
- Have to do it by hand
- It’s not easy to change the background
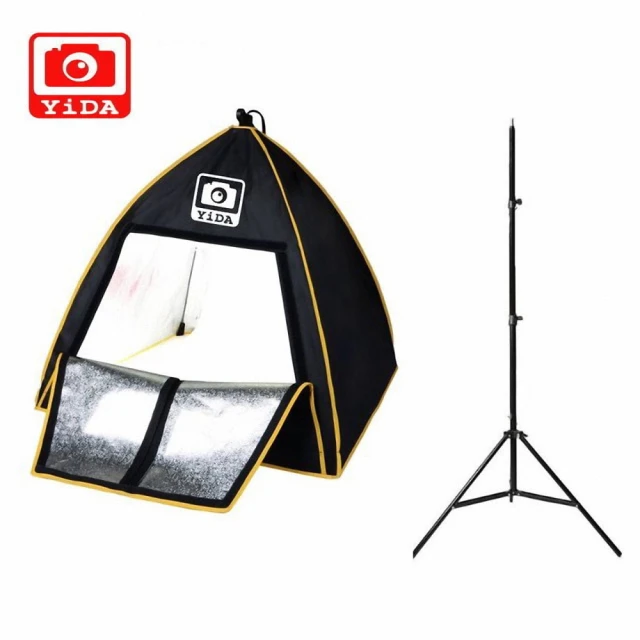
▲ Picture 3: Purchase a ready-made small studio
Materials prepared in advance
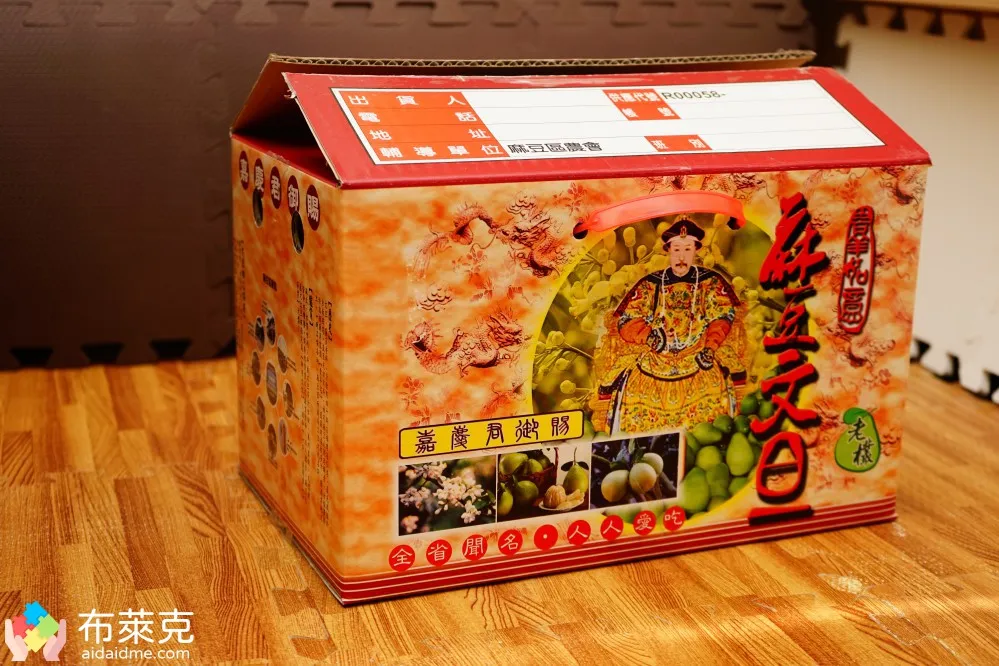
▲ Figure 4: Cartons of any size
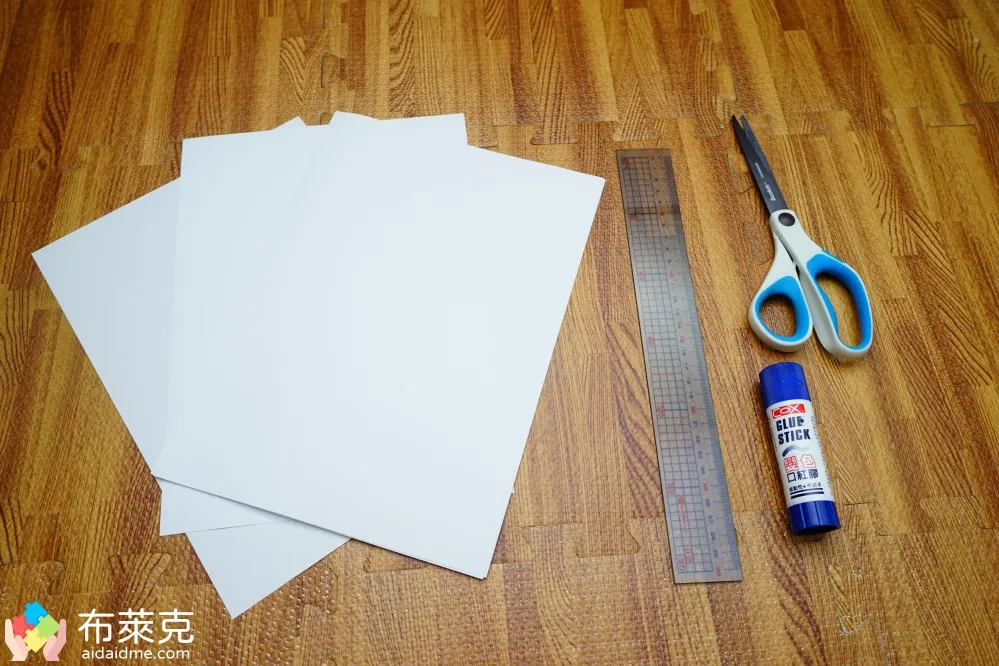
▲ Picture 5: White paper, signature pen, ruler, scissors, glue
- carton
- signature pen
- ruler
- Several sheets of white paper or fabric
- Scissors or utility knife
- Glue or lipstick glue
The cost of the above stationery is less than 100 yuan, and they are all common stationery at home. If you can’t find a cardboard box, I suggest you go to the store and pick up free ones. The cardboard boxes there are large and thick, which are very suitable for DIY small photo studios.
DIY small photo studio
After preparing the above-mentioned things, it is time to start doing handicrafts. The editor hasn’t done any crafts since graduating from high school, and it’s time to put his skills to the test.
Step 1: Mark the carton with the cutting area
The editor used a cardboard box left over from the Mid-Autumn Festival a while ago. The width is 36 cm, the height is 21 cm, and the depth is 22.5 cm. Thicker cardboard boxes are easier to cut. I left 2 centimeters around the edges of the carton so that there would be space to apply glue on the inside of the carton later.
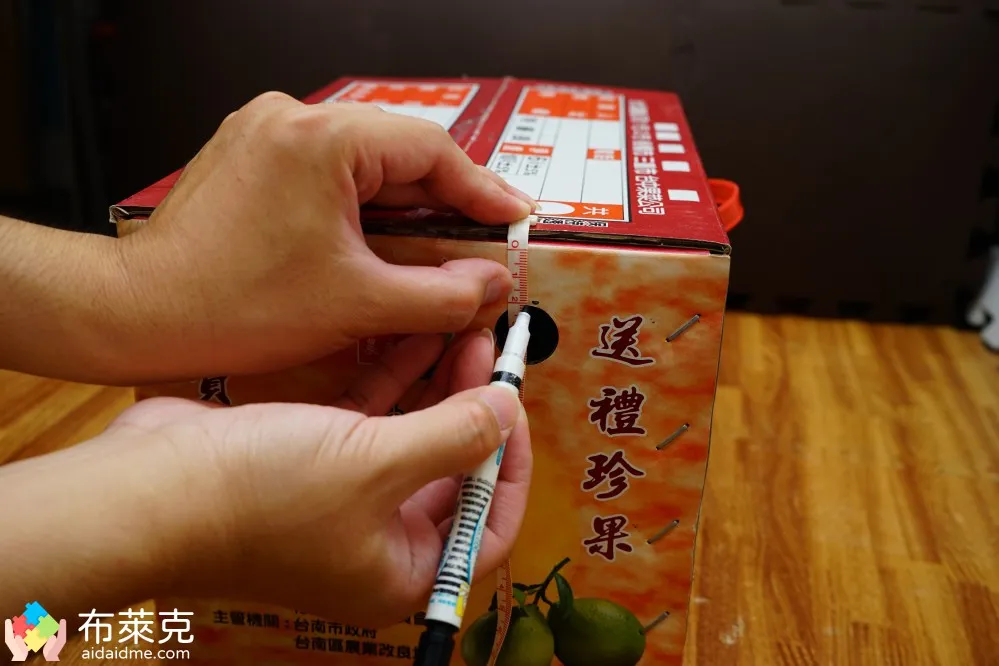
▲ Picture 6: Reserve 2 centimeters of edge, mark the rest and cut it off
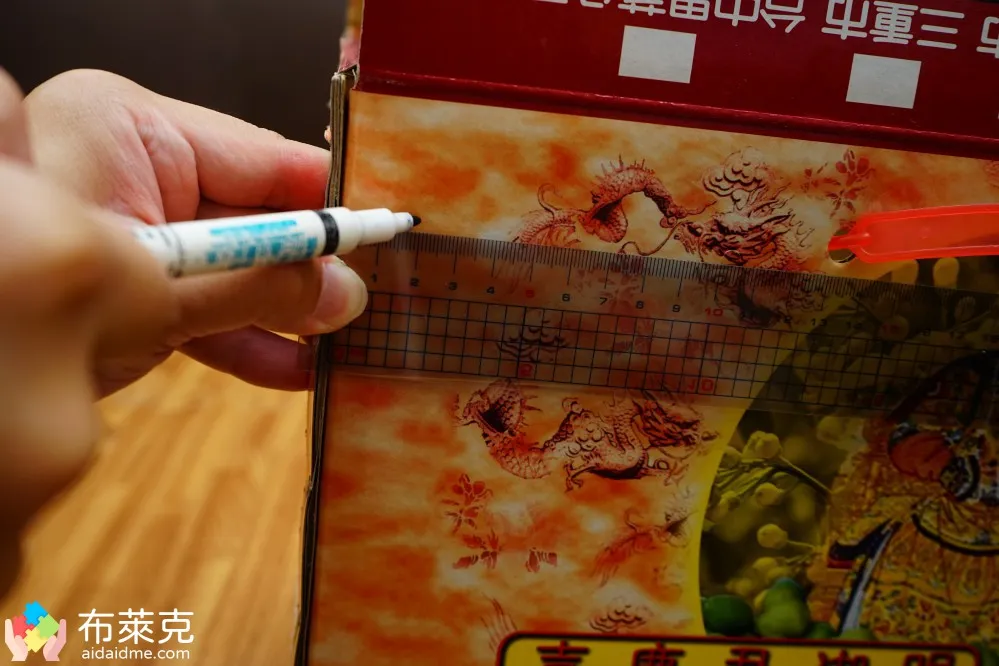
▲ Figure 7: 2 cm is also reserved on the front of the carton
Just leave a little space around it, and then use a marker pen to mark the area you want to crop later.Please do the same method for the left, right, top and front of the carton.
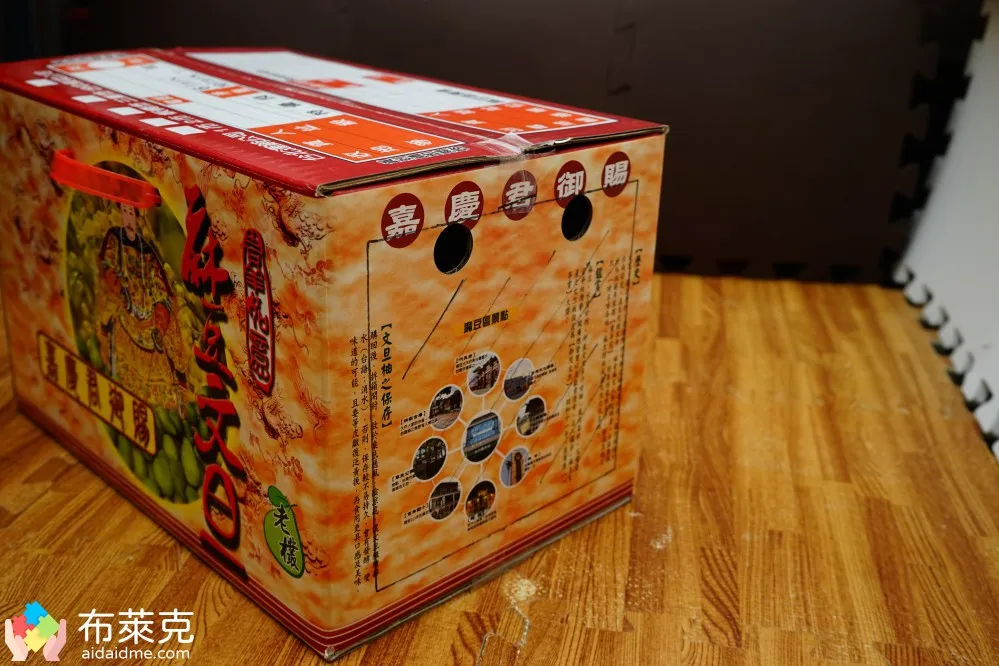
▲ Picture 8: Leave edges on all sides and use a marker pen to draw the area to be cut out.
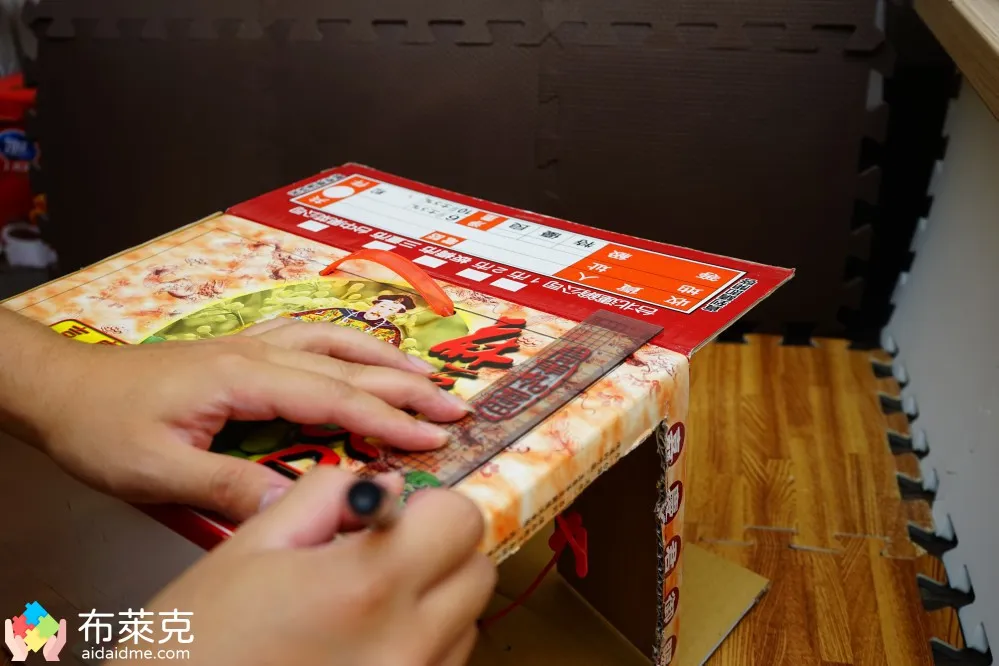
▲ Figure 9: The same is true for the front of the carton
Step 2: Cut off the left, right, top and front cardboard
The next step is to use scissors or a utility knife to cut off the cardboard you just marked. Be careful when using the utility knife!
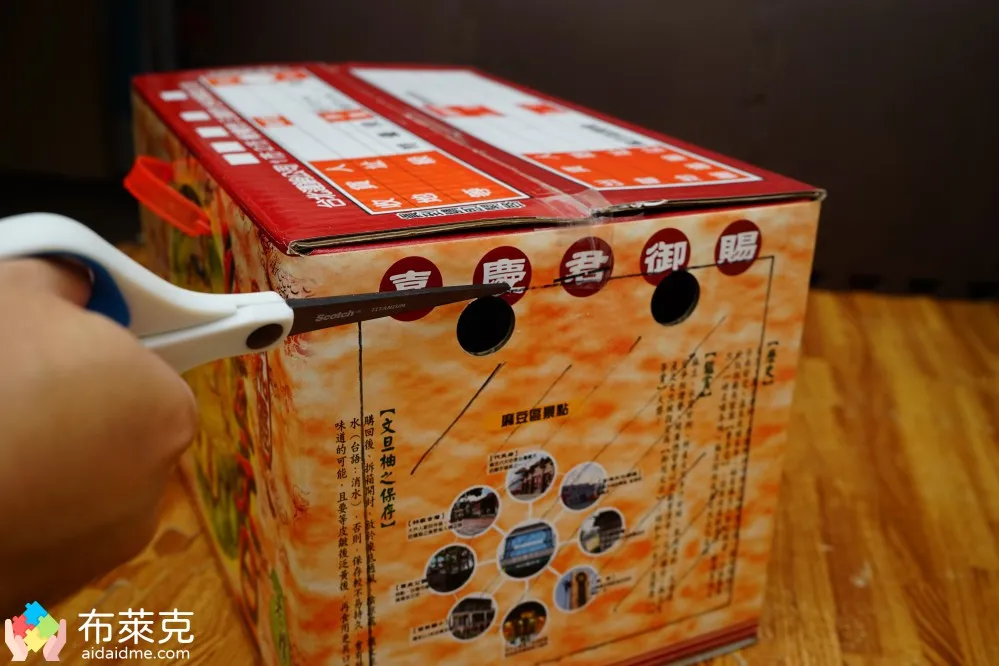
▲ Picture 10: Use scissors to cut off the cardboard
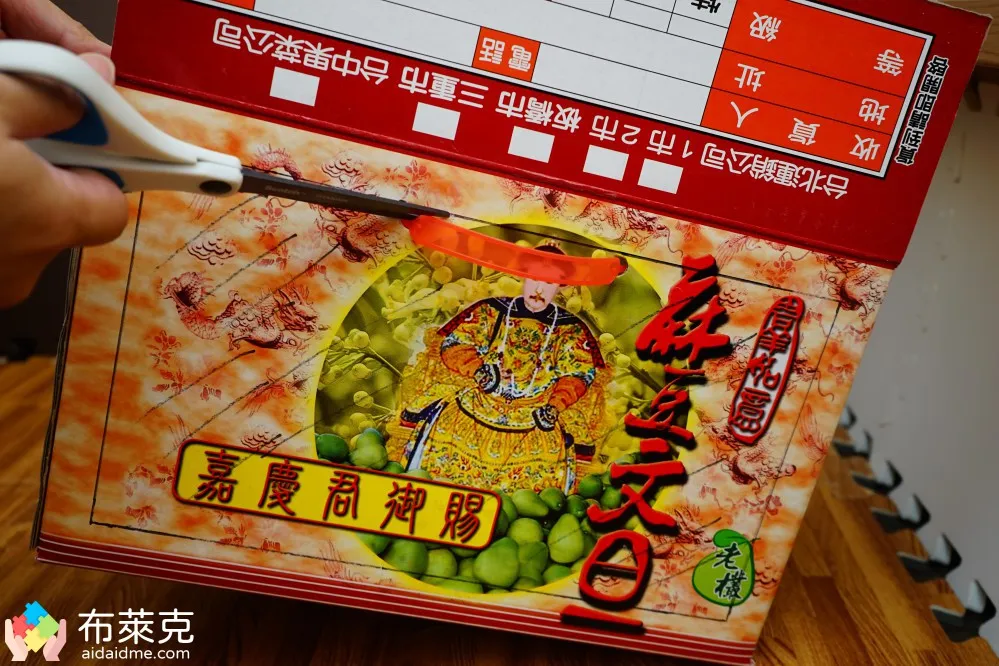
▲ Figure 11: The front of the carton also has cardboard cut out
After the left and right cardboards are cut off, the front cardboard may have no support. Please pay attention to the strength when cutting! This is the time to test whether your crafting skills are full!
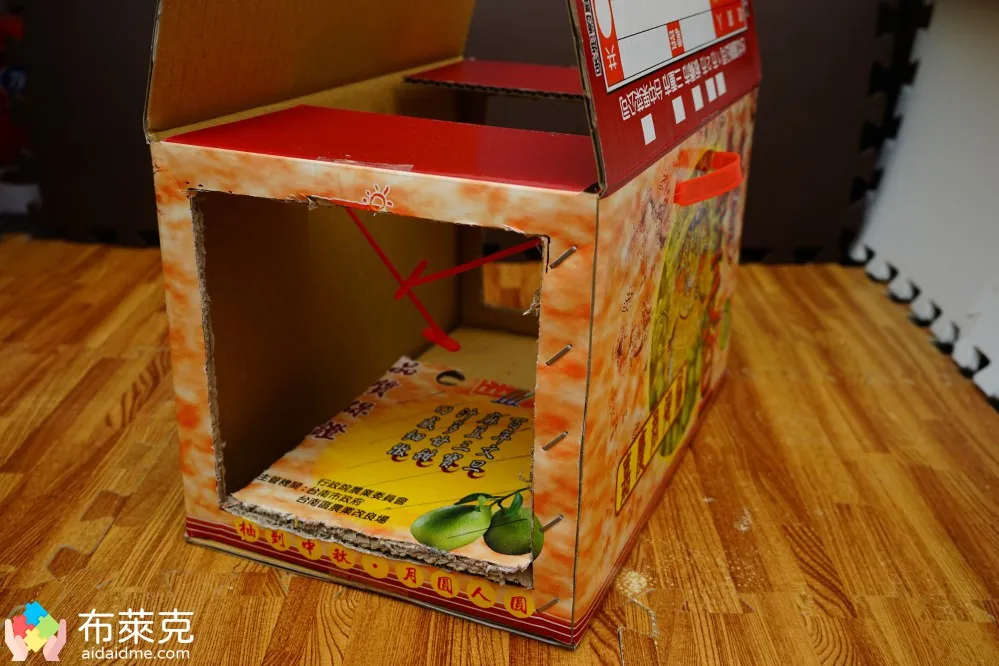
▲ Picture 12: Cut off the cardboard on the side and it will look like this
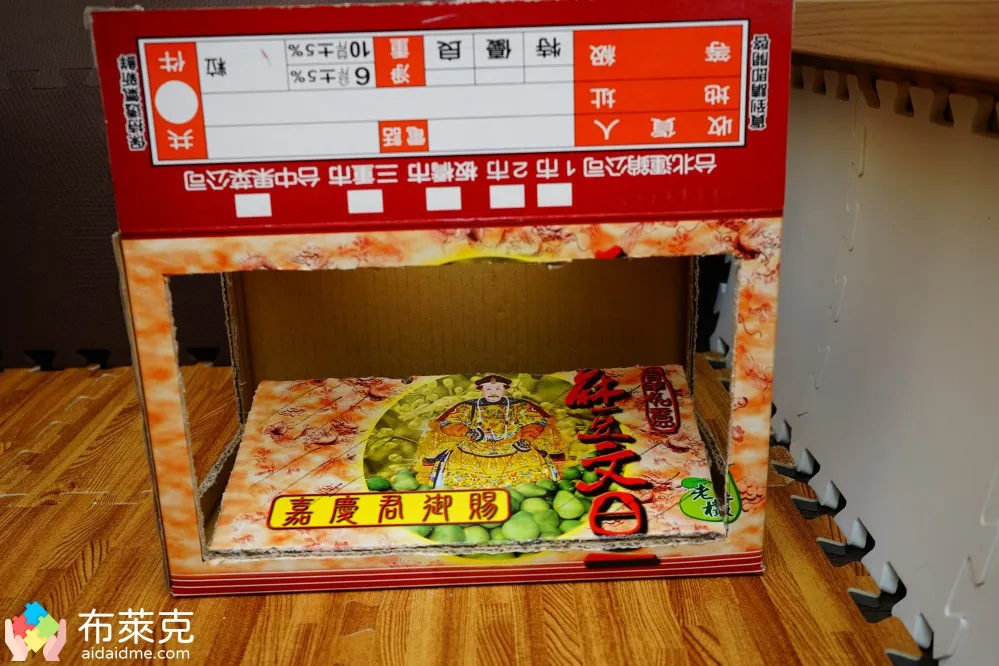
▲ Figure 13: The cardboard may be soft when cutting out the front, so be careful.
We already have a prototype here, and I can’t wait to try it out and see the effect. With the lighting effects, it feels pretty good, but it really can’t be seen without the background.
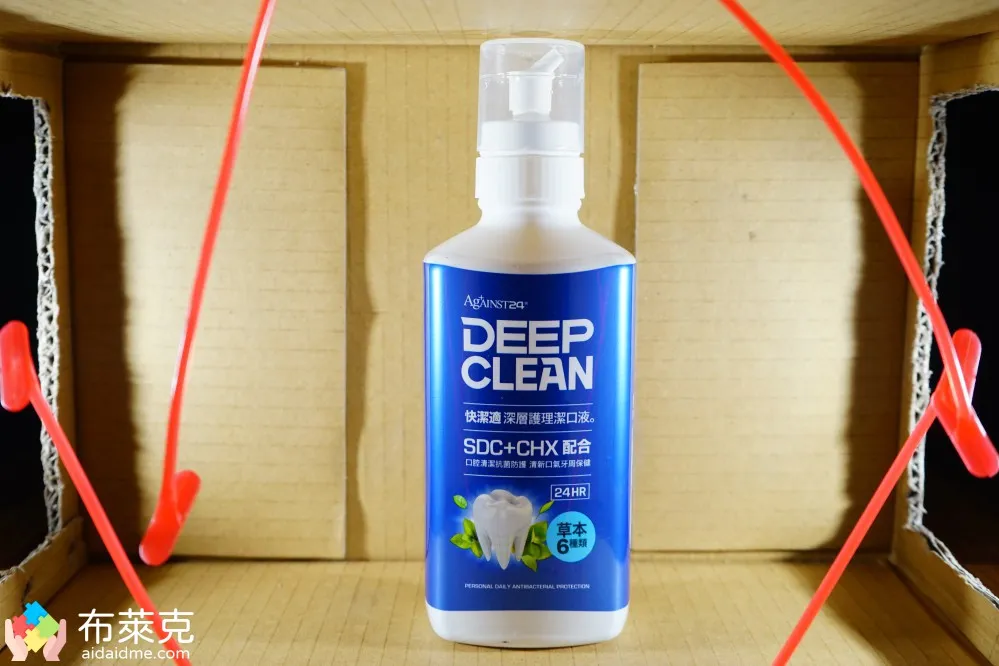
▲ Figure 14: Test the photography light box
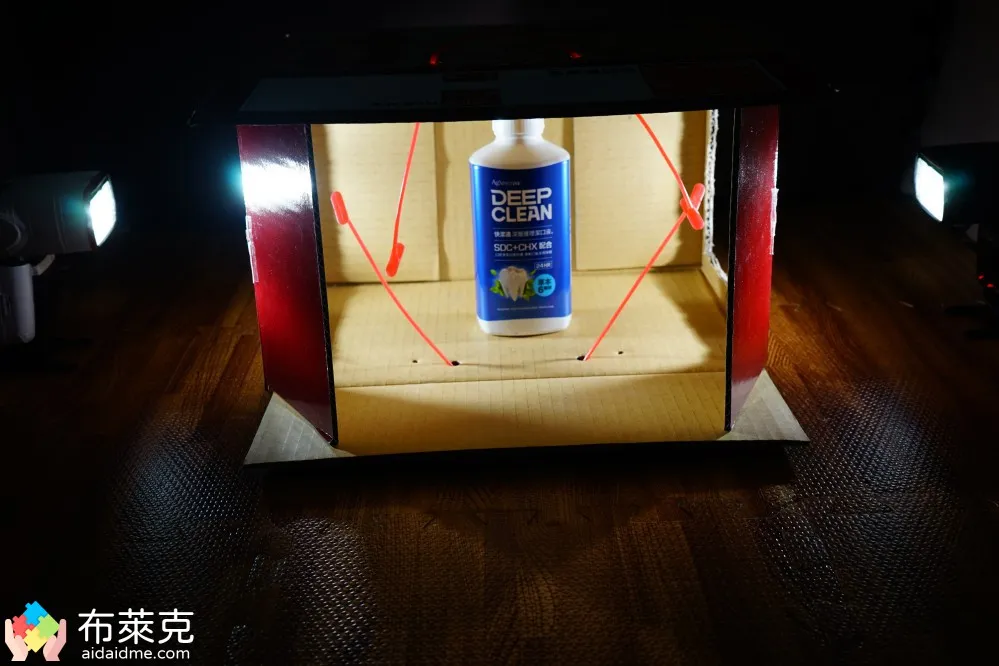
▲ Figure 15: Light position
Cut the cardboard to the appropriate size to fill the gap at the bottom of the carton.
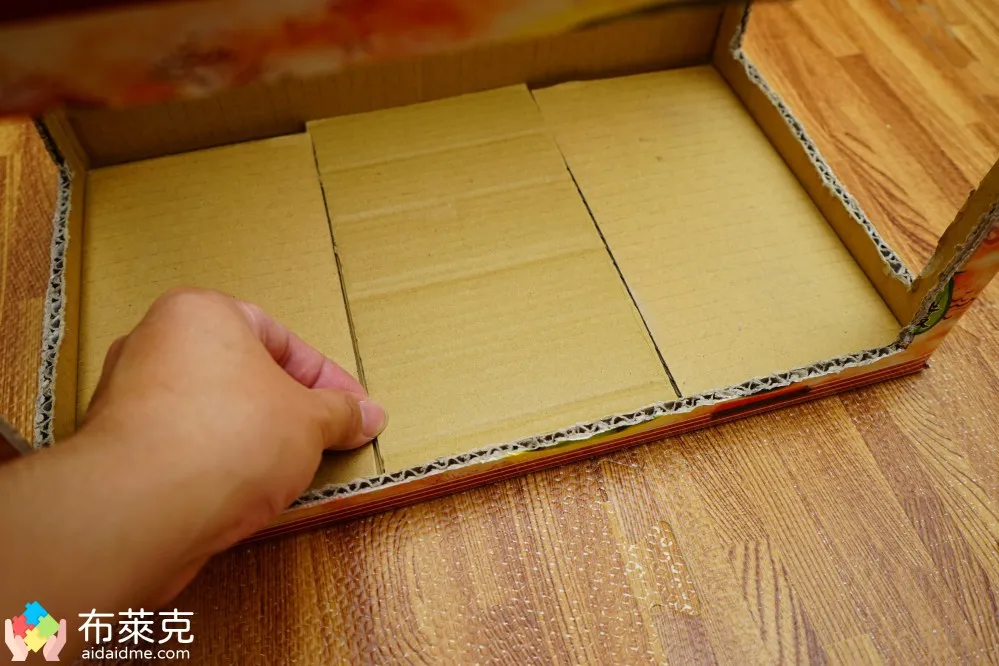
▲ Figure 16: Repair the bottom of the carton
Step 3: Paste white paper or fabric inside the carton
The last step is to paste the background inside the carton. Generally, white is used as the background, so the most direct way is to paste A4 size white paper. You can paste white paper on the left and right sides, or use a light-transmitting fabric.
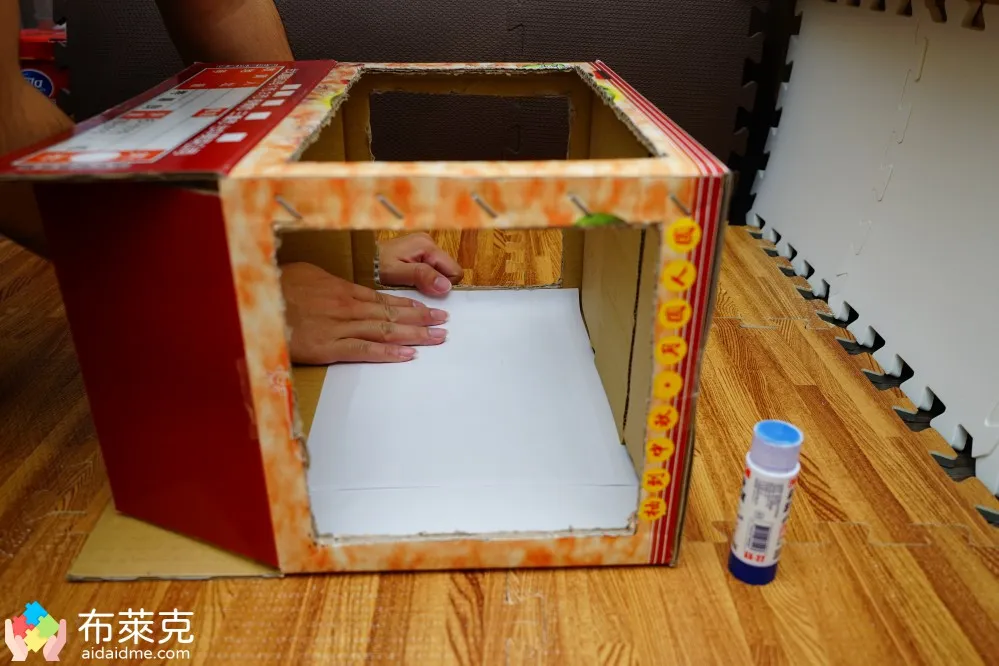
▲ Figure 17: White paper is pasted on the inside of the carton
Paste white paper or fabric to soften the light. Once you’ve posted it, you’re done. Isn’t it super simple? In fact, it just takes time. The photo studio you made yourself doesn’t cost anything at all.
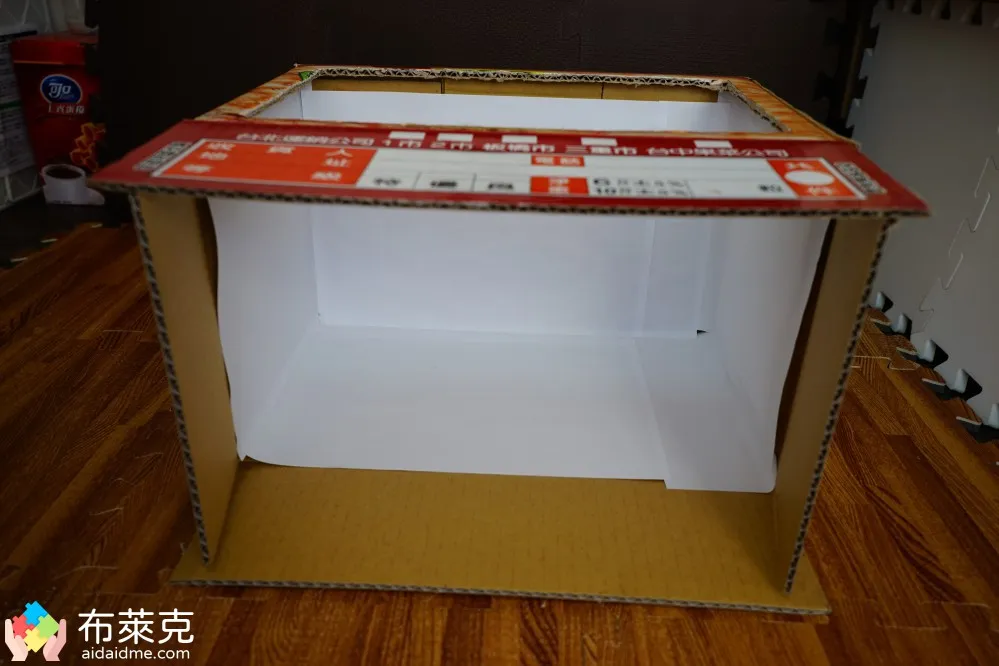
▲ Figure 18: The background is pasted on the carton
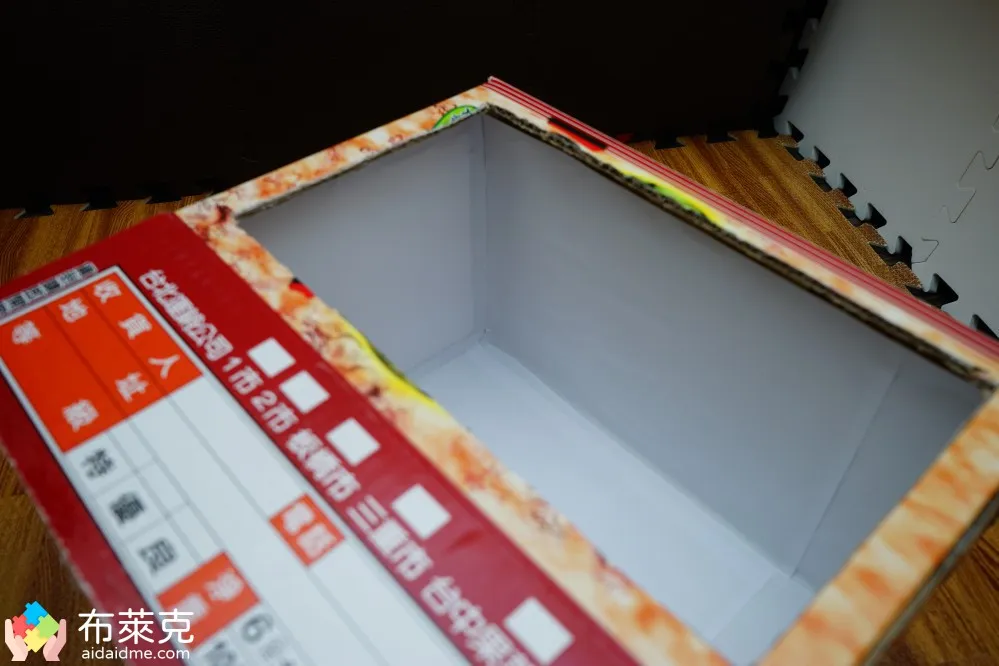
▲ Figure 19: Looking at the past from another angle
Real shot effects of small things in daily life
The following are the small things in daily life that were taken using the DIY small studio made this time.
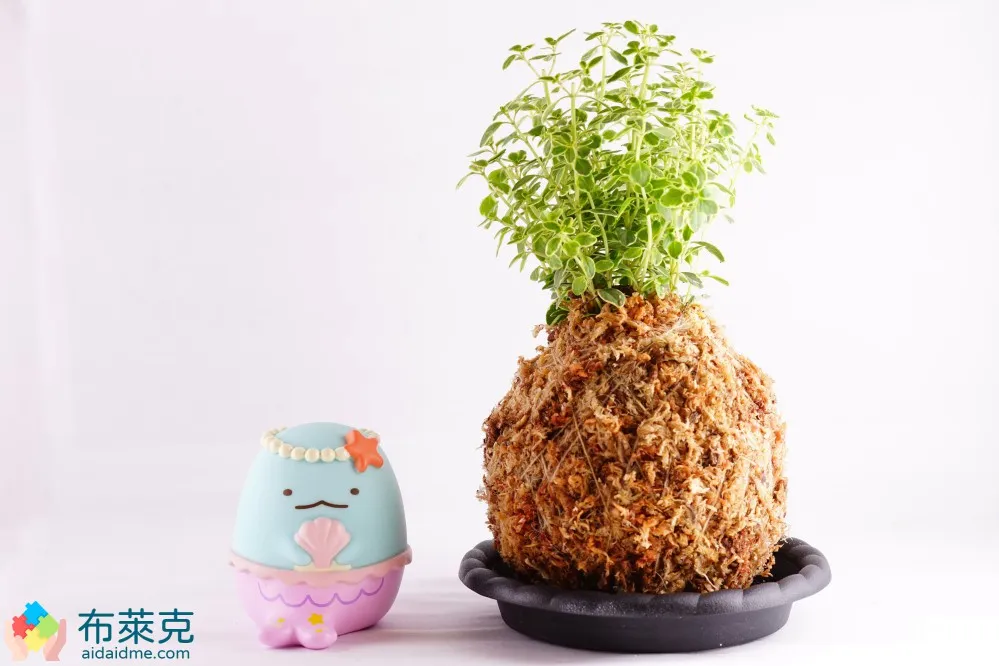
▲ Figure 20: Moss Jade + Corner Creature Lizard
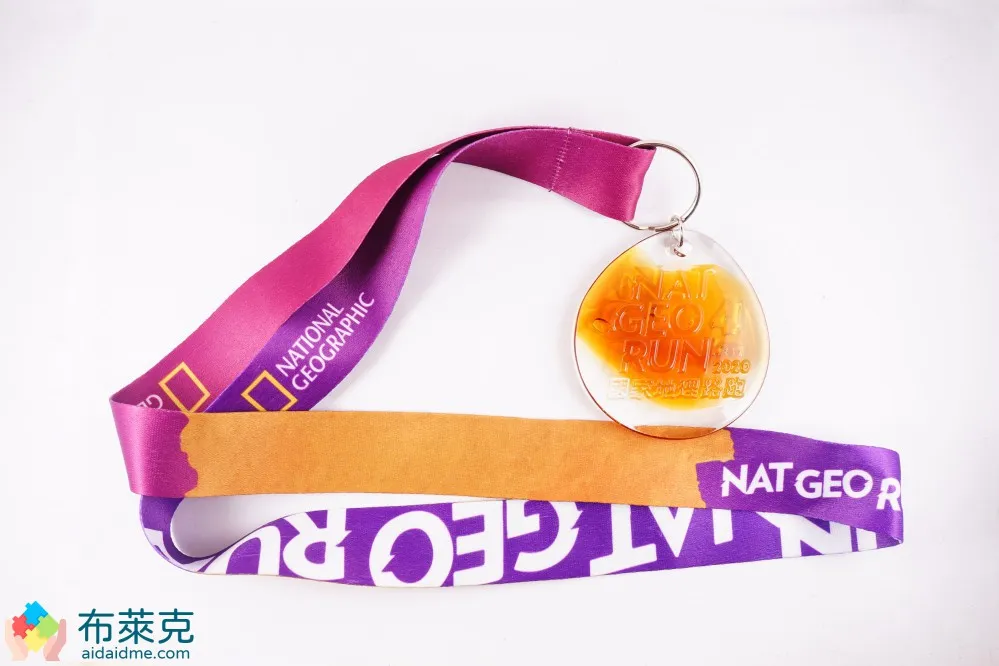
▲ Figure 21: Road running medals
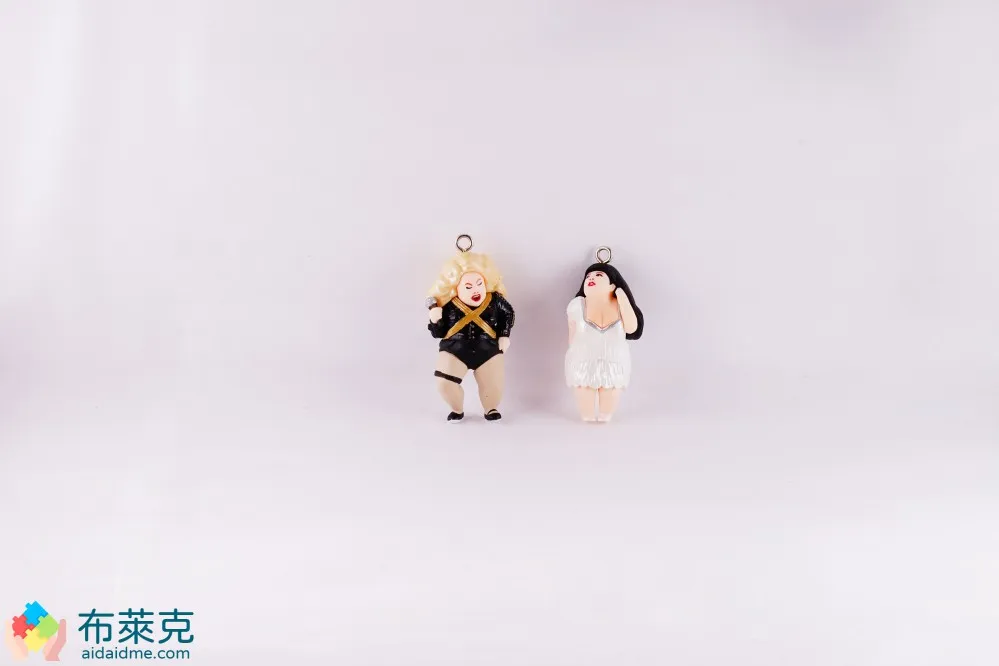
▲ Picture 22: Naomi Watanabe Doll Gacha
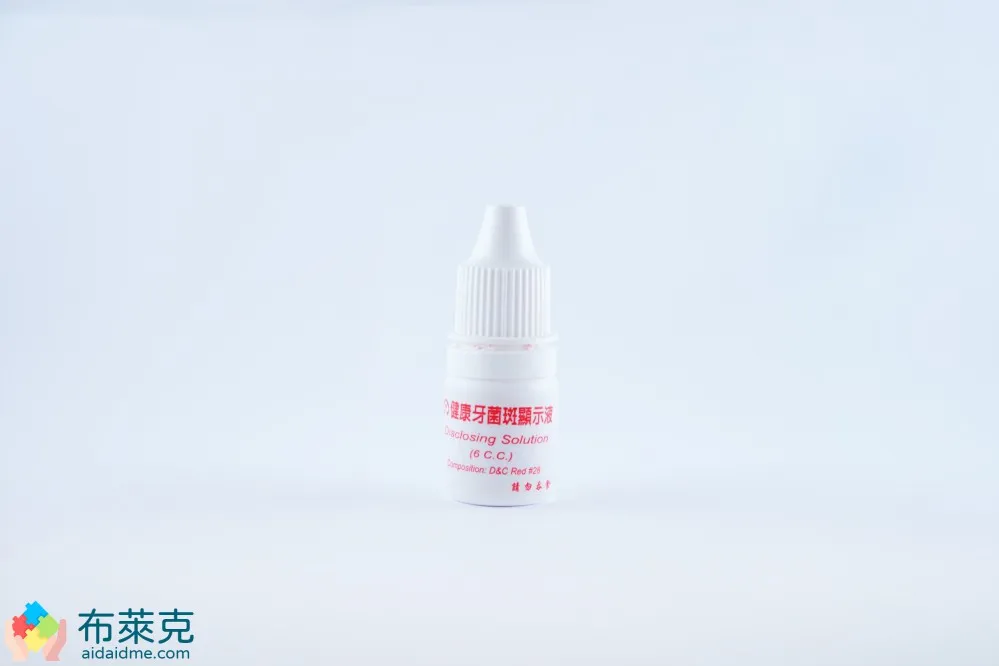
▲ Figure 23: Plaque display solution
I just couldn’t find any small daily necessities at hand, so I took a photo with this one XD.
FAQ
Is the mini photo studio easy to use?
If you want to be a photographer who takes on projects, then I would suggest you have a studio. However, the size of the studio depends on the scale and shooting space. The mini studio shared this time is relatively suitable for photographers who are just starting out.
If the items you want to photograph become larger and larger, such as restaurant dishes, wine, indoor landscaping, etc., placing them in a small light box will only receive uneven light, making it more difficult to carry them back.
How to turn on the lights?
Different light directions can easily cause shadows, sometimes making items more three-dimensional. This looks good, but it may not be suitable for product photos. The most commonly used lighting method by the editor is a flash on the left and right, but the angles are very different. You can take a look at the shooting effects below.
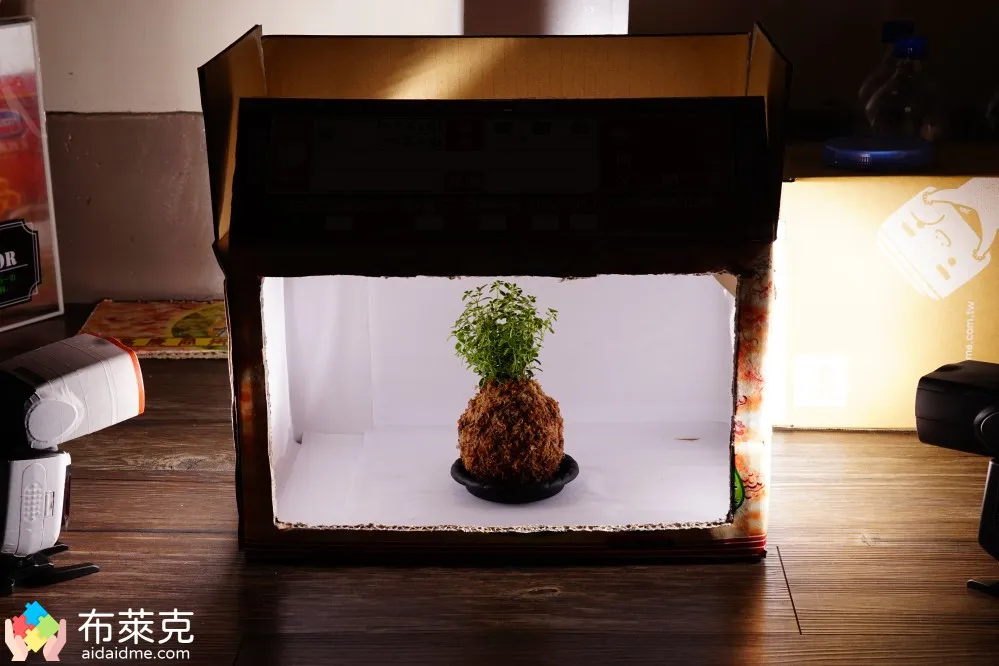
▲ Figure 24: One light on the left and right
Both flashes are facing the object, but at a 45-degree angle, which makes the front of the object brighter.This method of lighting is the one I use most often.
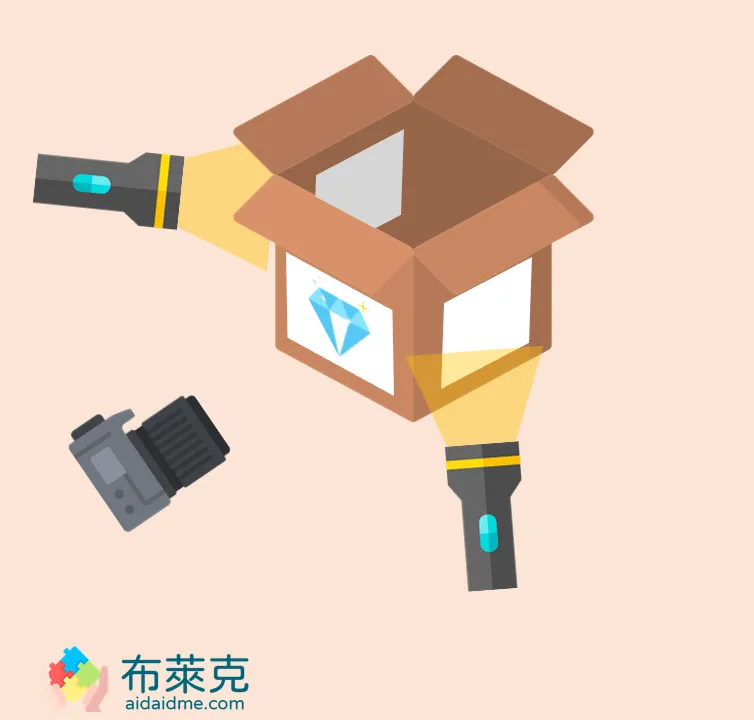
▲ Figure 25: The light is directed towards the object, and the two flashes are at a 45-degree angle.
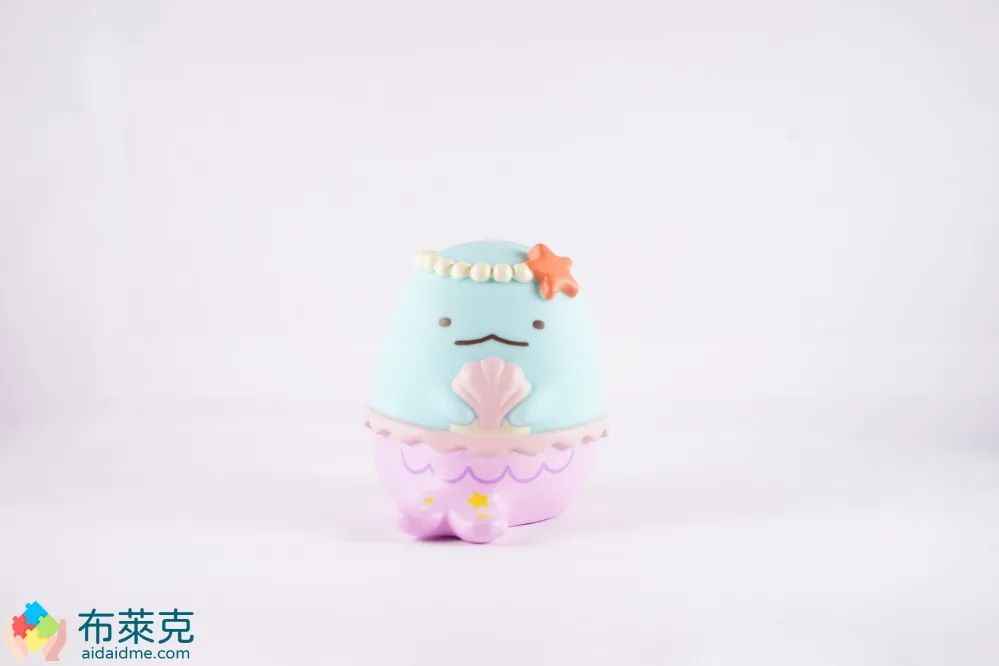
▲ Figure 26: Shooting effect
If there is only one object to be photographed, the effect of two flashes illuminating each other is not bad. But if there are two or more items side by side, there will be a shadow in the middle of the screen, which may not look good.
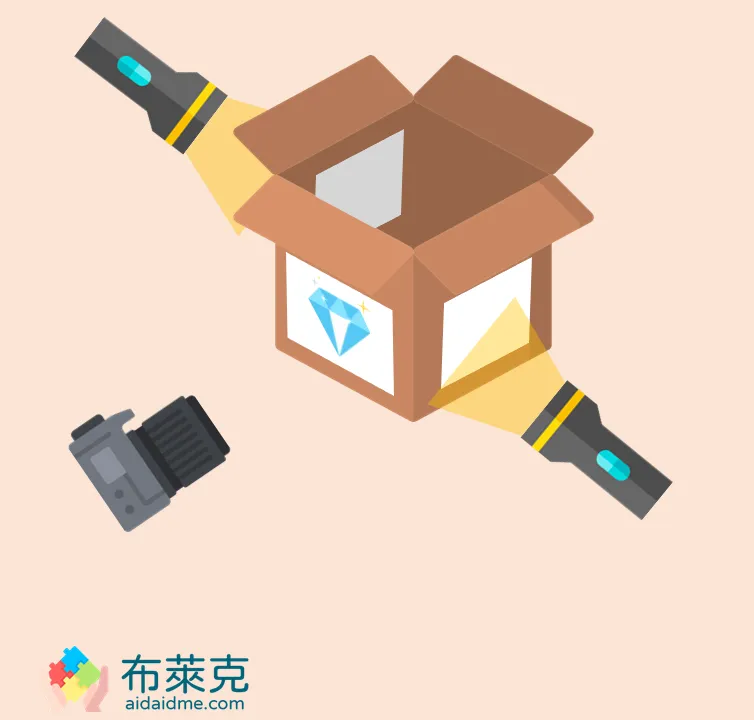
▲ Figure 27: The light is directed towards the object, and the two flashes look at each other
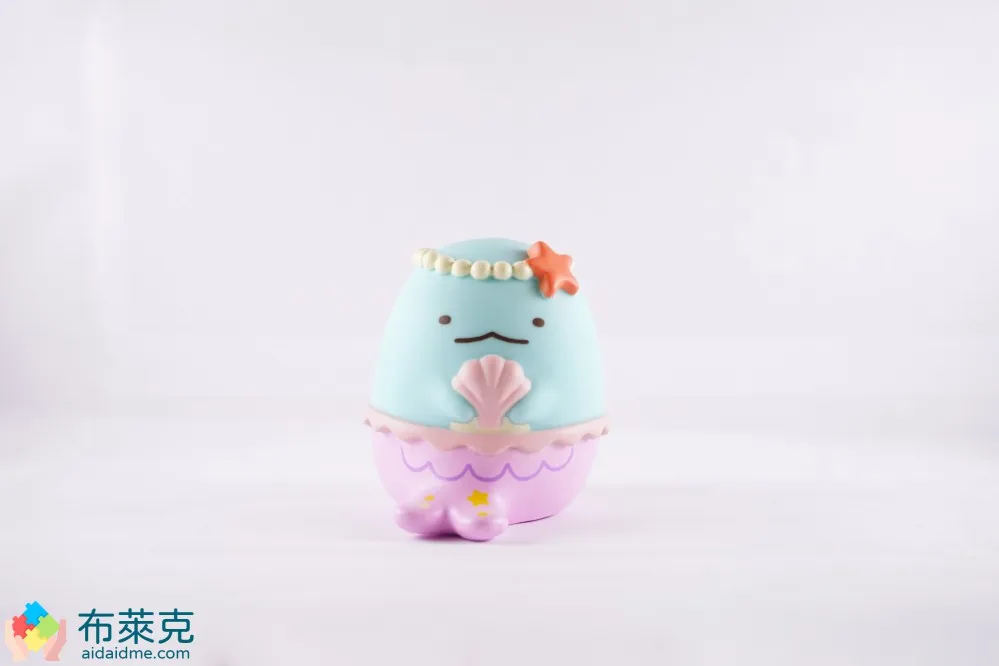
▲ Figure 28: Shooting effect
If the light is pointed towards the camera, the front of the object will be photographed darkly, which will enhance the texture of the object if photographed well. Properly placed lighting angles will give you a great feeling! This is especially true when there is a flare. This is my personal opinion, please refer to it!
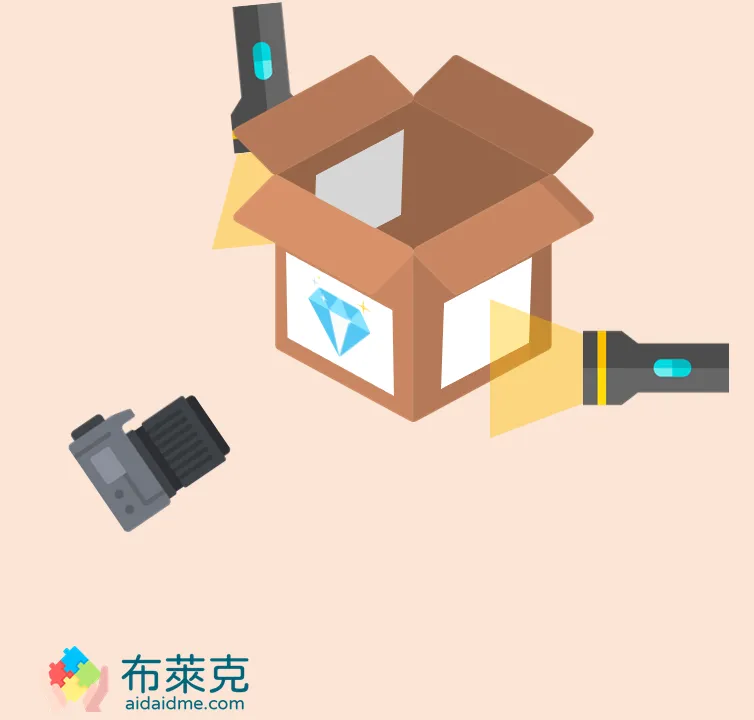
▲ Figure 29: The light is facing the camera, and the two flashes are at a 45-degree angle
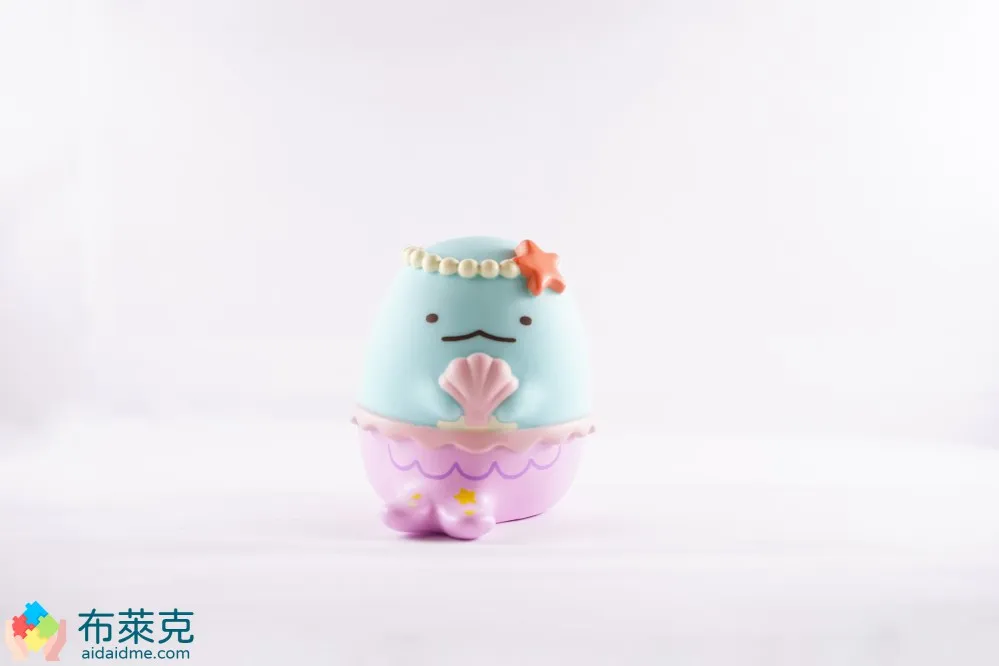
▲ Figure 30: Shooting effect
If you only have one flash, consider pointing the light from top to bottom towards the object. Since there is no white paper on the top of this carton, the edges of the items will be too sharp when illuminated by light. Pasting white paper can produce a soft light effect.
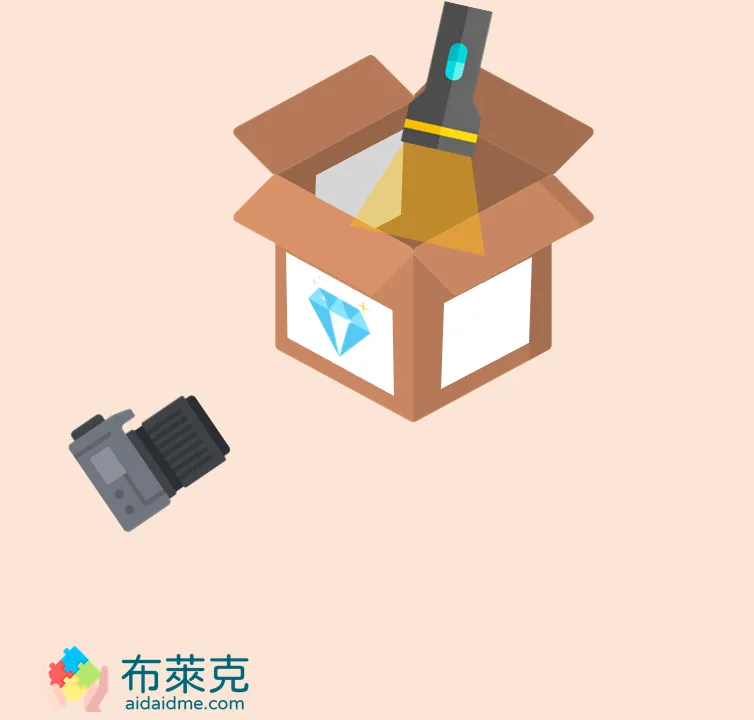
▲ Figure 31: Only use a single flash, lighting from top to bottom towards the object
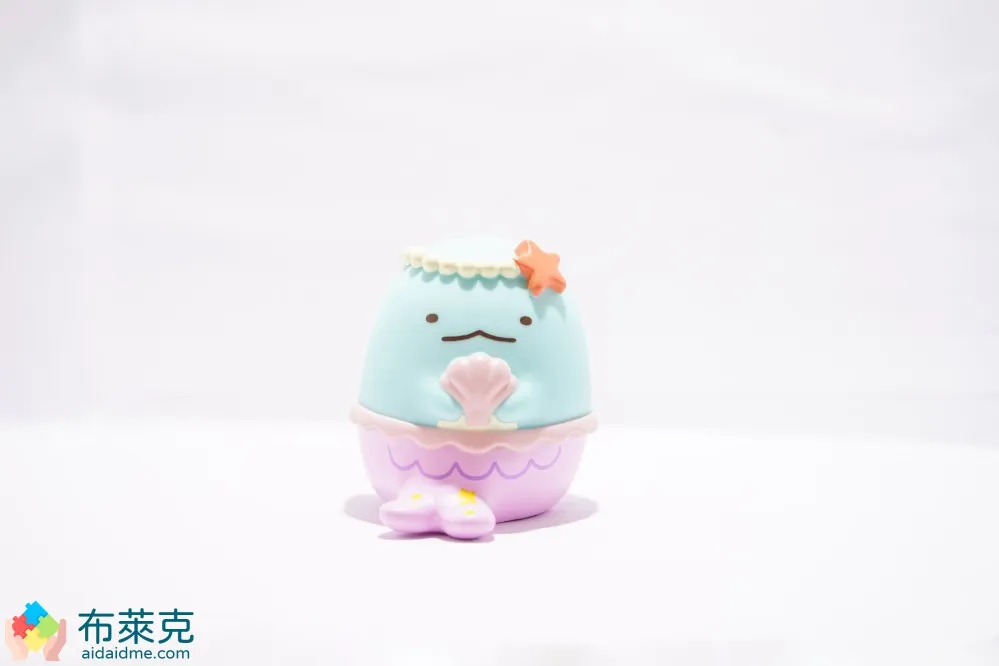
▲ Figure 32: Shooting effect
Can I use a desk lamp?
Can.
If you don’t have a flash, you can use a desk lamp as a substitute, but it is still recommended to have one lamp on each side. Doing this can also reduce the shadow of the item, making it easier to carry it when the time comes. Of course, the angle is also very important. You can test it more based on the items you want to shoot.
Conclusion
Those beautiful product photos on e-commerce platforms are all taken in photo studios. Don’t think that photo studios are very professional and expensive when you look at them. There are also many mini photo studios that are cheap, easy to use and can be stored. There are already many cheap small photo studios on the market, but no matter how cheap they are, they only cost 500-1,000 yuan. With the size of the volume, the price is also proportional. Today’s article will teach you how to DIY a photo studio at the lowest price and keep the “children” in your pocket.
After actually doing it, you will find that DIY light box is not difficult, and the materials are readily available around you. If you are really too lazy to make it, you can just buy it ready-made. It just depends on your choice.
If you like the above article, welcomeSubscribe to newsletter, and you will receive photography-related teaching articles!
by Engineer Blake
Source: KOCPC Chinese